 Myrijam
In the latest posts, I described how we installed the buzzer and the switch and here is how we put it all together on the Raspberry!
As we mentioned before, we fist tired them out on a prototyping board (breadboard) and a spare Raspberry Pi3 and after we were sure everything is fine, we integrated both to the Venenfinder as an “embedded medical device”:
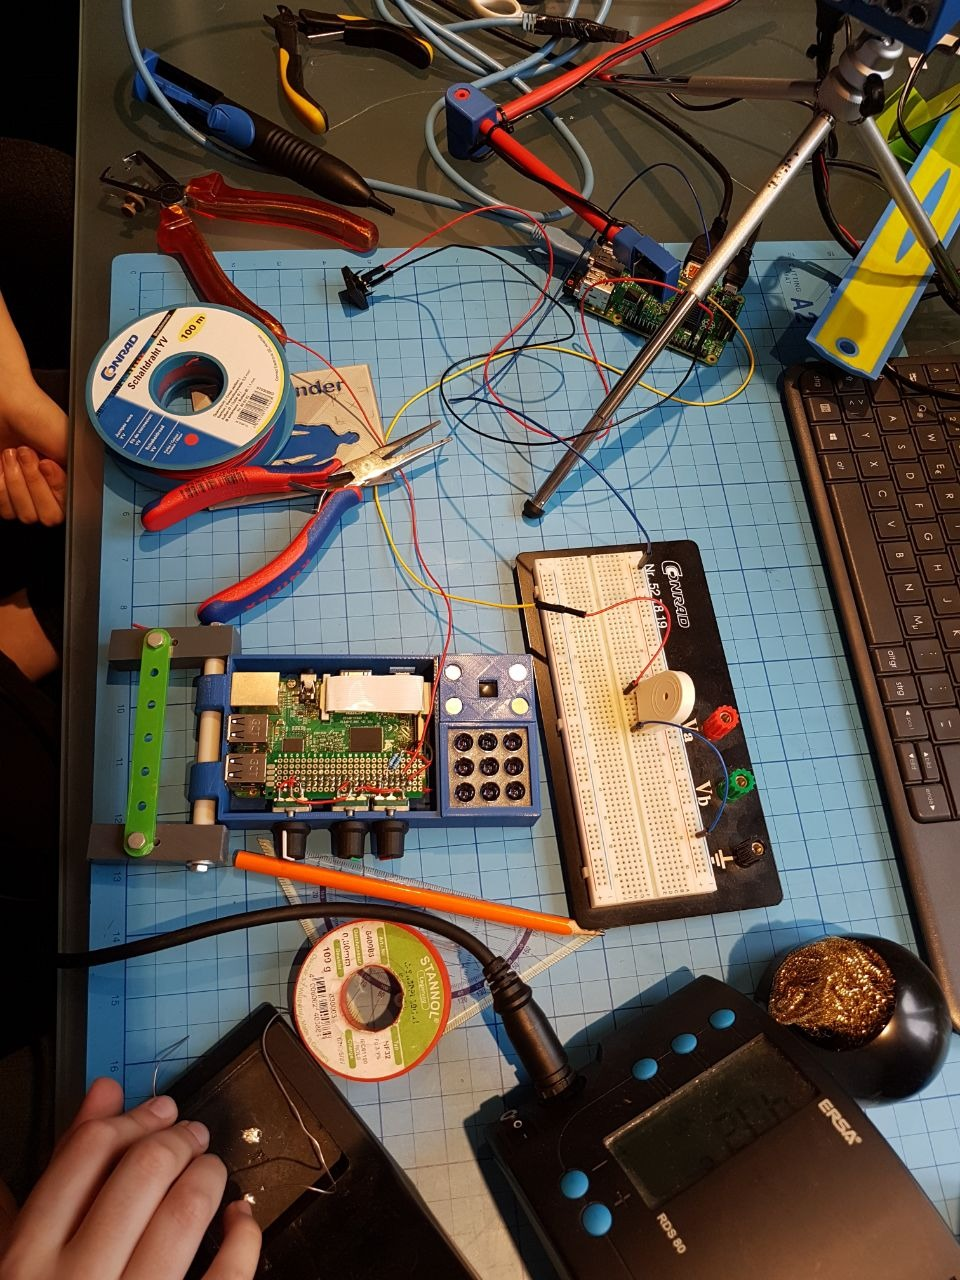
Here we had to deal with a few issues – we wanted to “lock down” the Venenfinder a bit in term of casing, so people who just want to use it for medical reasons won’t have to worry about electronics, wires etc. Of course it is still open under the CC license! But since we did not plan to have easy maintenance access, we had to take our device a bit apart, unfortunately.
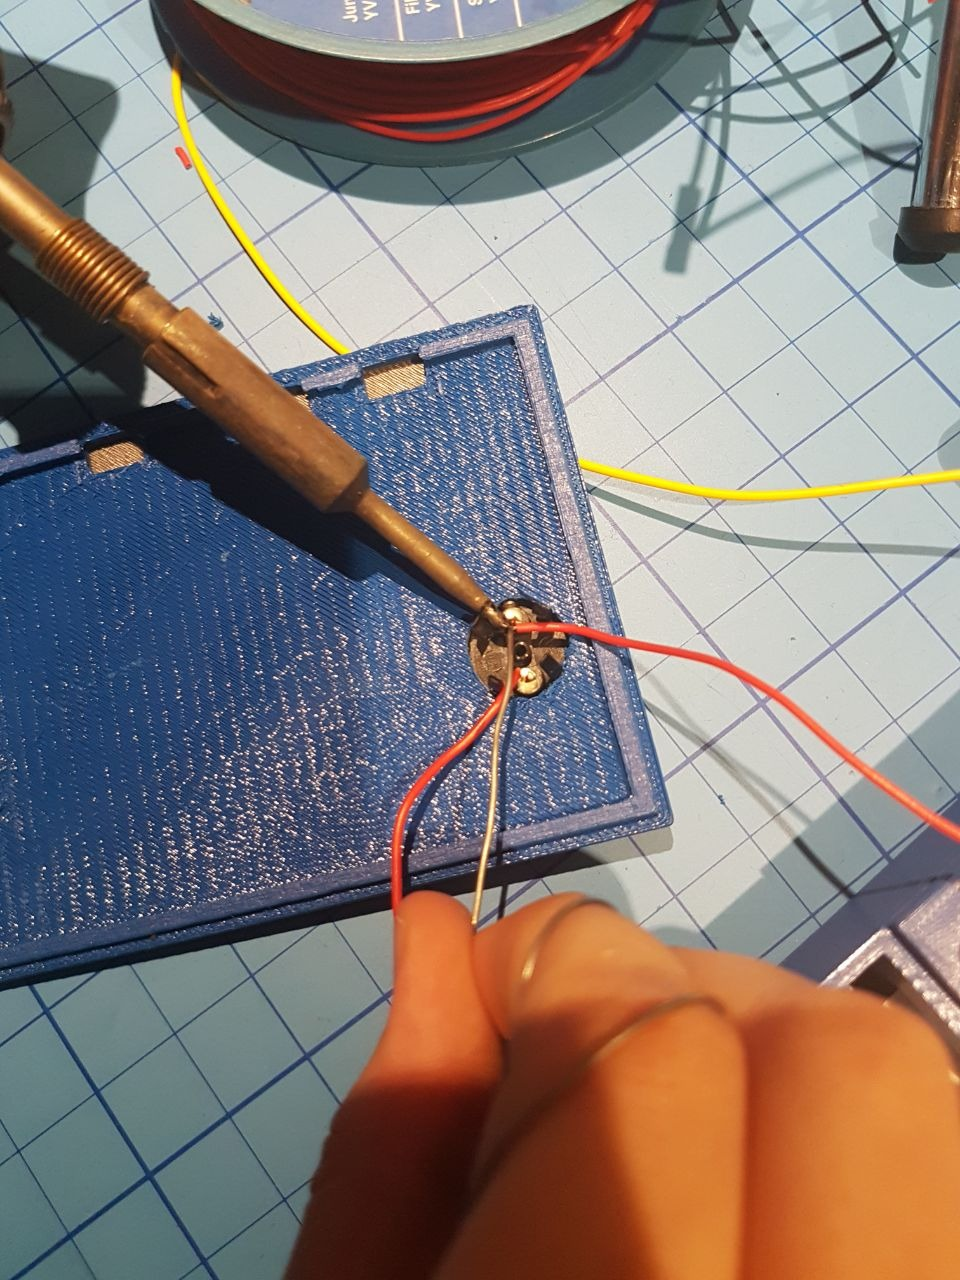
The (active) buzzer fits in the casing quite well, and we even found a little space for the on/off push button. In order to save time we opted against 3d-printing the lid again with a precise opening for the switch. We just drilled a hole instead (a real “life-hack” 😉).
And we integrated the code from the buzzer and on/off examples into the main Venenfinder – which is updated on the Github repo along with the new schematics:
Furthermore, we got the chance to present this new prototype at another hemophilia patient meeting in Berlin on October, 15th and several people tried it immediately as you can see in the pictures. My brother Elias did a little presentation in front of the entire audience and gave the opportunity to test the device by imaging veins of different people…
Discussions
Become a Hackaday.io Member
Create an account to leave a comment. Already have an account? Log In.