The first step is to calibrate the lens and camera system so that we know how the size of a feature printed on the paper compares to the size of that feature on the film. Additionally, lenses inherently have some amount of distortion, so that distortion will need to be compensated for in the printouts.
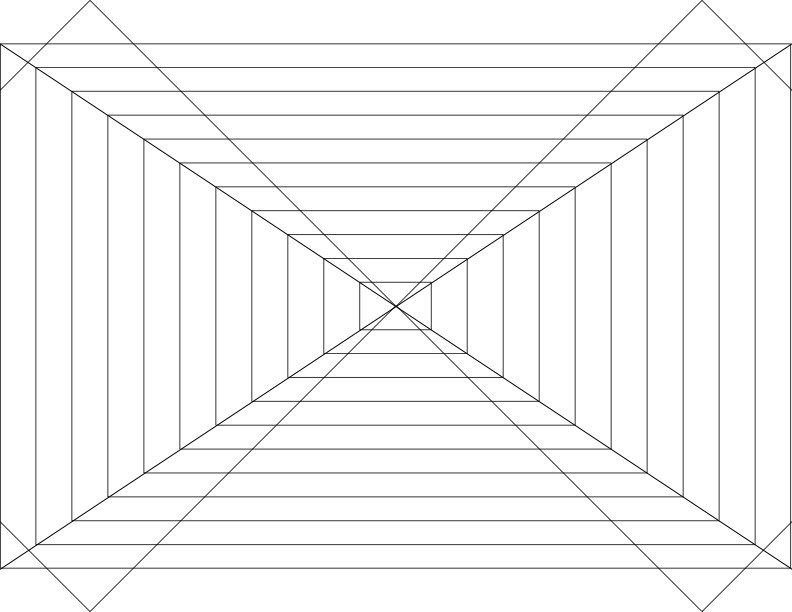
The first printout is a simple targeting and sizing demo to determine the barrel distortion of the lens and get a first idea of the ratio of paper size to film size. The pattern was created in Inkscape and has a pair of horizontal lines - one square, the other following the edges of the film. These lines will be used to center the lens. There are also rectangles of increasing size that are the ratio of a 35mm film image which will be used to determine things like viewfinder coverage and the correct position to get maximum coverage of the film frame.
These images could be captured directly onto the film, developed, and scanned, but I happen to have both a Canon EOS 300 (35mm film SLR) and a Canon EOS 300D (APS-C digital SLR). Since using the digital SLR removes the requirements of constantly developing film, we can iterate a lot faster to find optimal parameters. Since the lens can be put onto either camera body, we can determine the optical characteristics quickly using the DSLR and only use film when we have things dialed in.
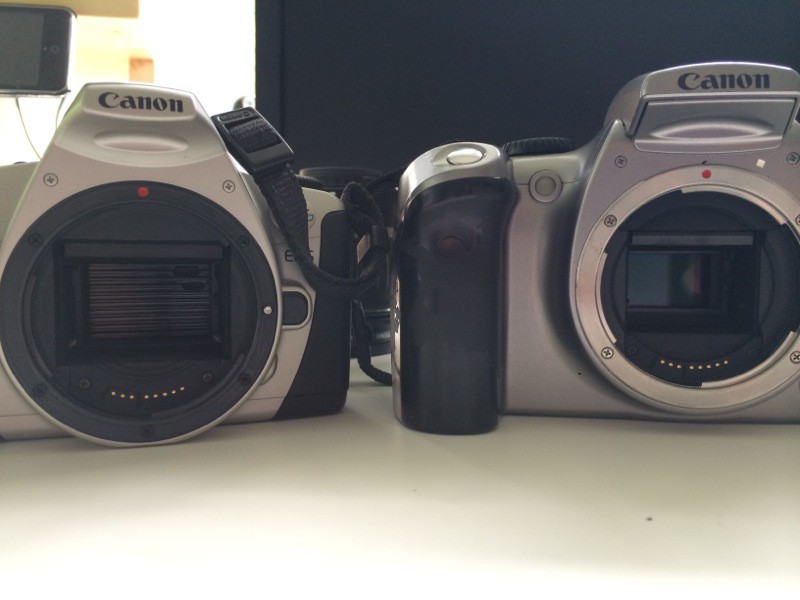
The calibration setup consists of a test pattern positioned on a wall and well lit. The camera is mounted so that the center of the lens is on the same line as the center of the paper. At this step, we have to make a note of where the focal plane is for the cameras. The two camera bodies, while being broadly similar, are different thicknesses and the tripod mounting holes are in different places. That means that the tripod has to be moved a small amount when swapping cameras. Fortunately, SLR cameras have a graphic showing the focal plane of that camera, and since the lens settings will remain the same we simply have to be sure the focal plane is in the same place when swapping camera bodies.
A quick snapshot and the data is taken. I’m using Hugin to compute lens barrel distortion from the digital image.
Discussions
Become a Hackaday.io Member
Create an account to leave a comment. Already have an account? Log In.