 magnustron
-
1Step 1
Produce PCB
This is an ordinary 8x8 cm^2 double-sided PCB. Got mine done at WE direkt.
-
2Step 2
Populate PCB
This is best done step by step. For the processors, I'd loved to had sockets...
-
3Step 3
Produce case
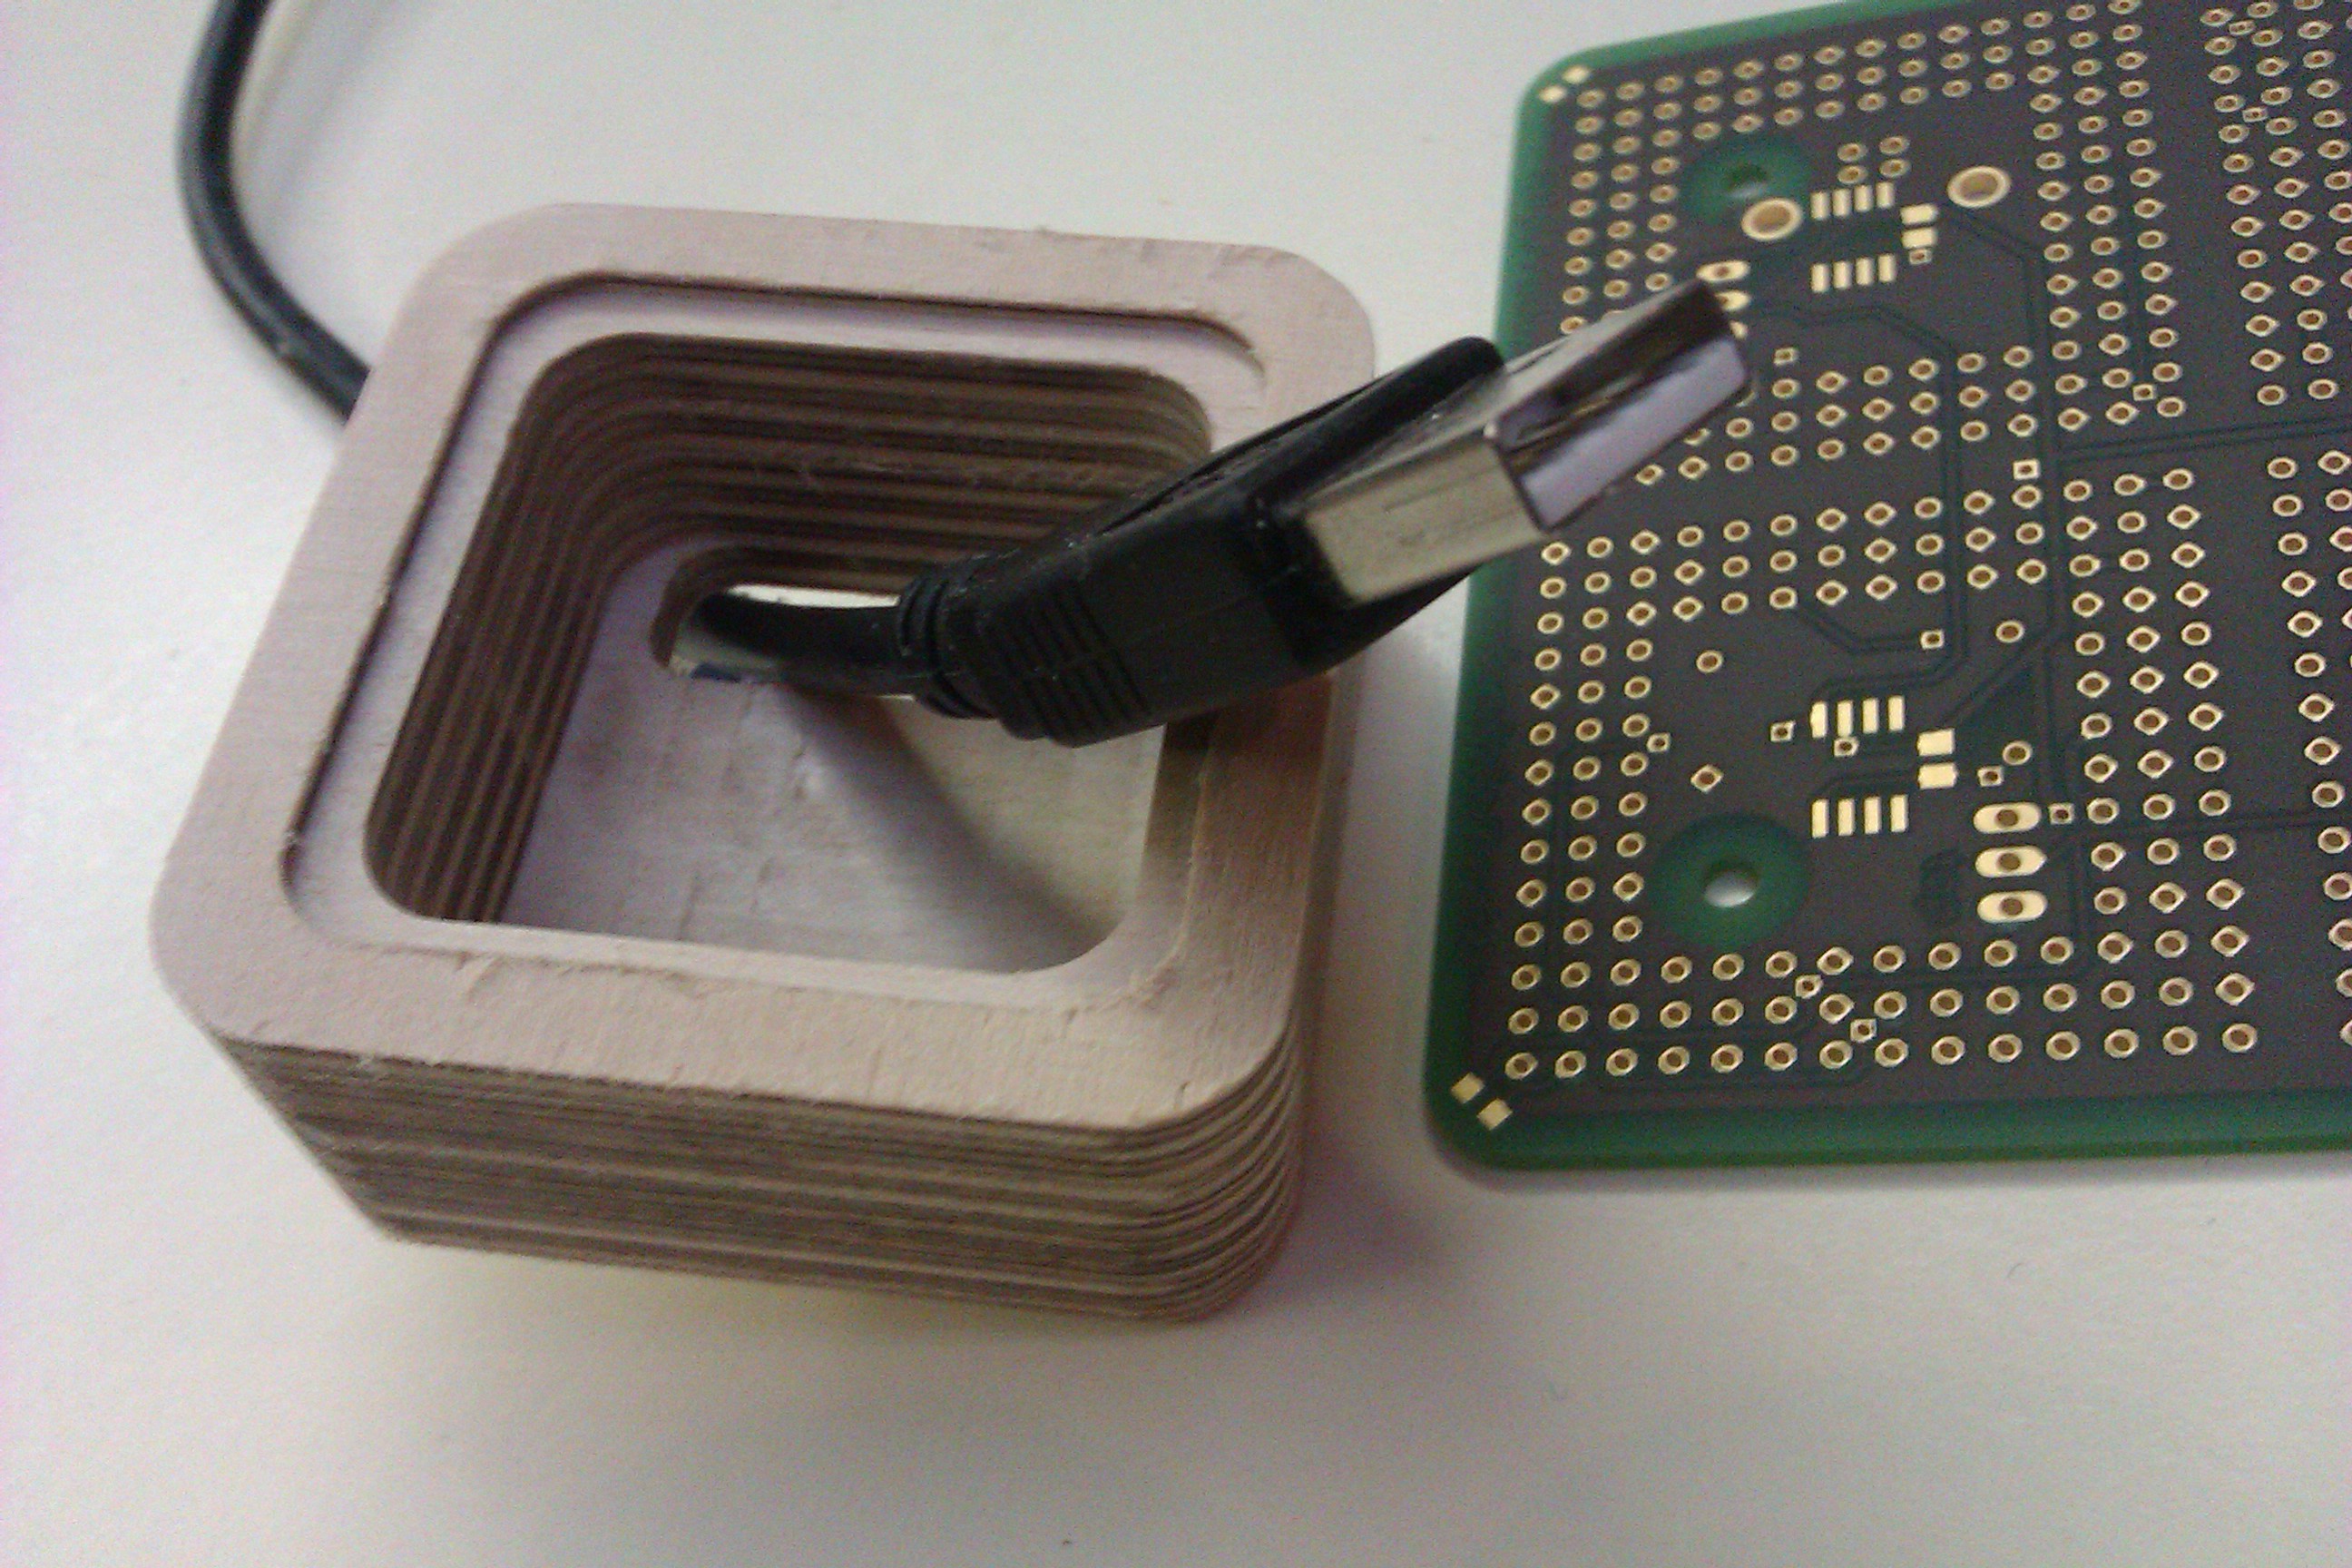
Get a pice of wood and a CNC machine - my great thanks to Paul for installing the Badog X2 @ PTL. You can use the provided ruby script to directly generate gcodes.
Here are a pic from one of the first trials. Its scaled down to one CPU (perhaps the "Espresso"-version)
![]()
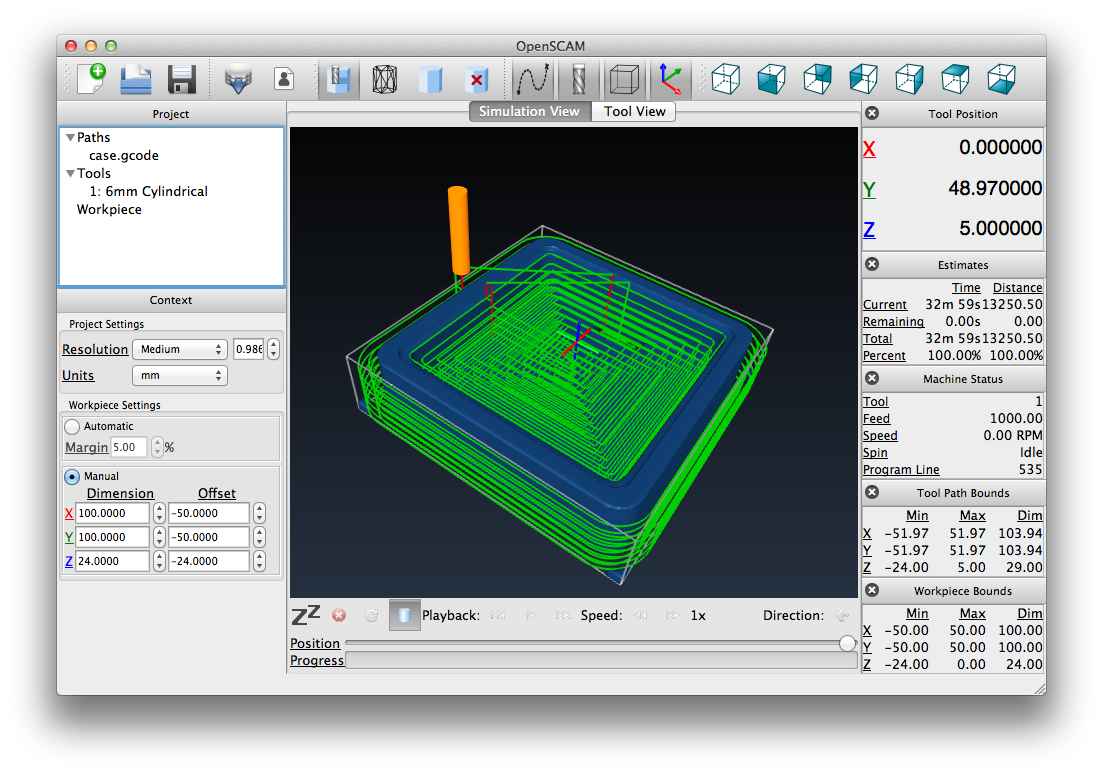
Here actually a nice and - very helpful - simulation with OpenSCAM:
![]()
-
4Step 4
Flash firmware
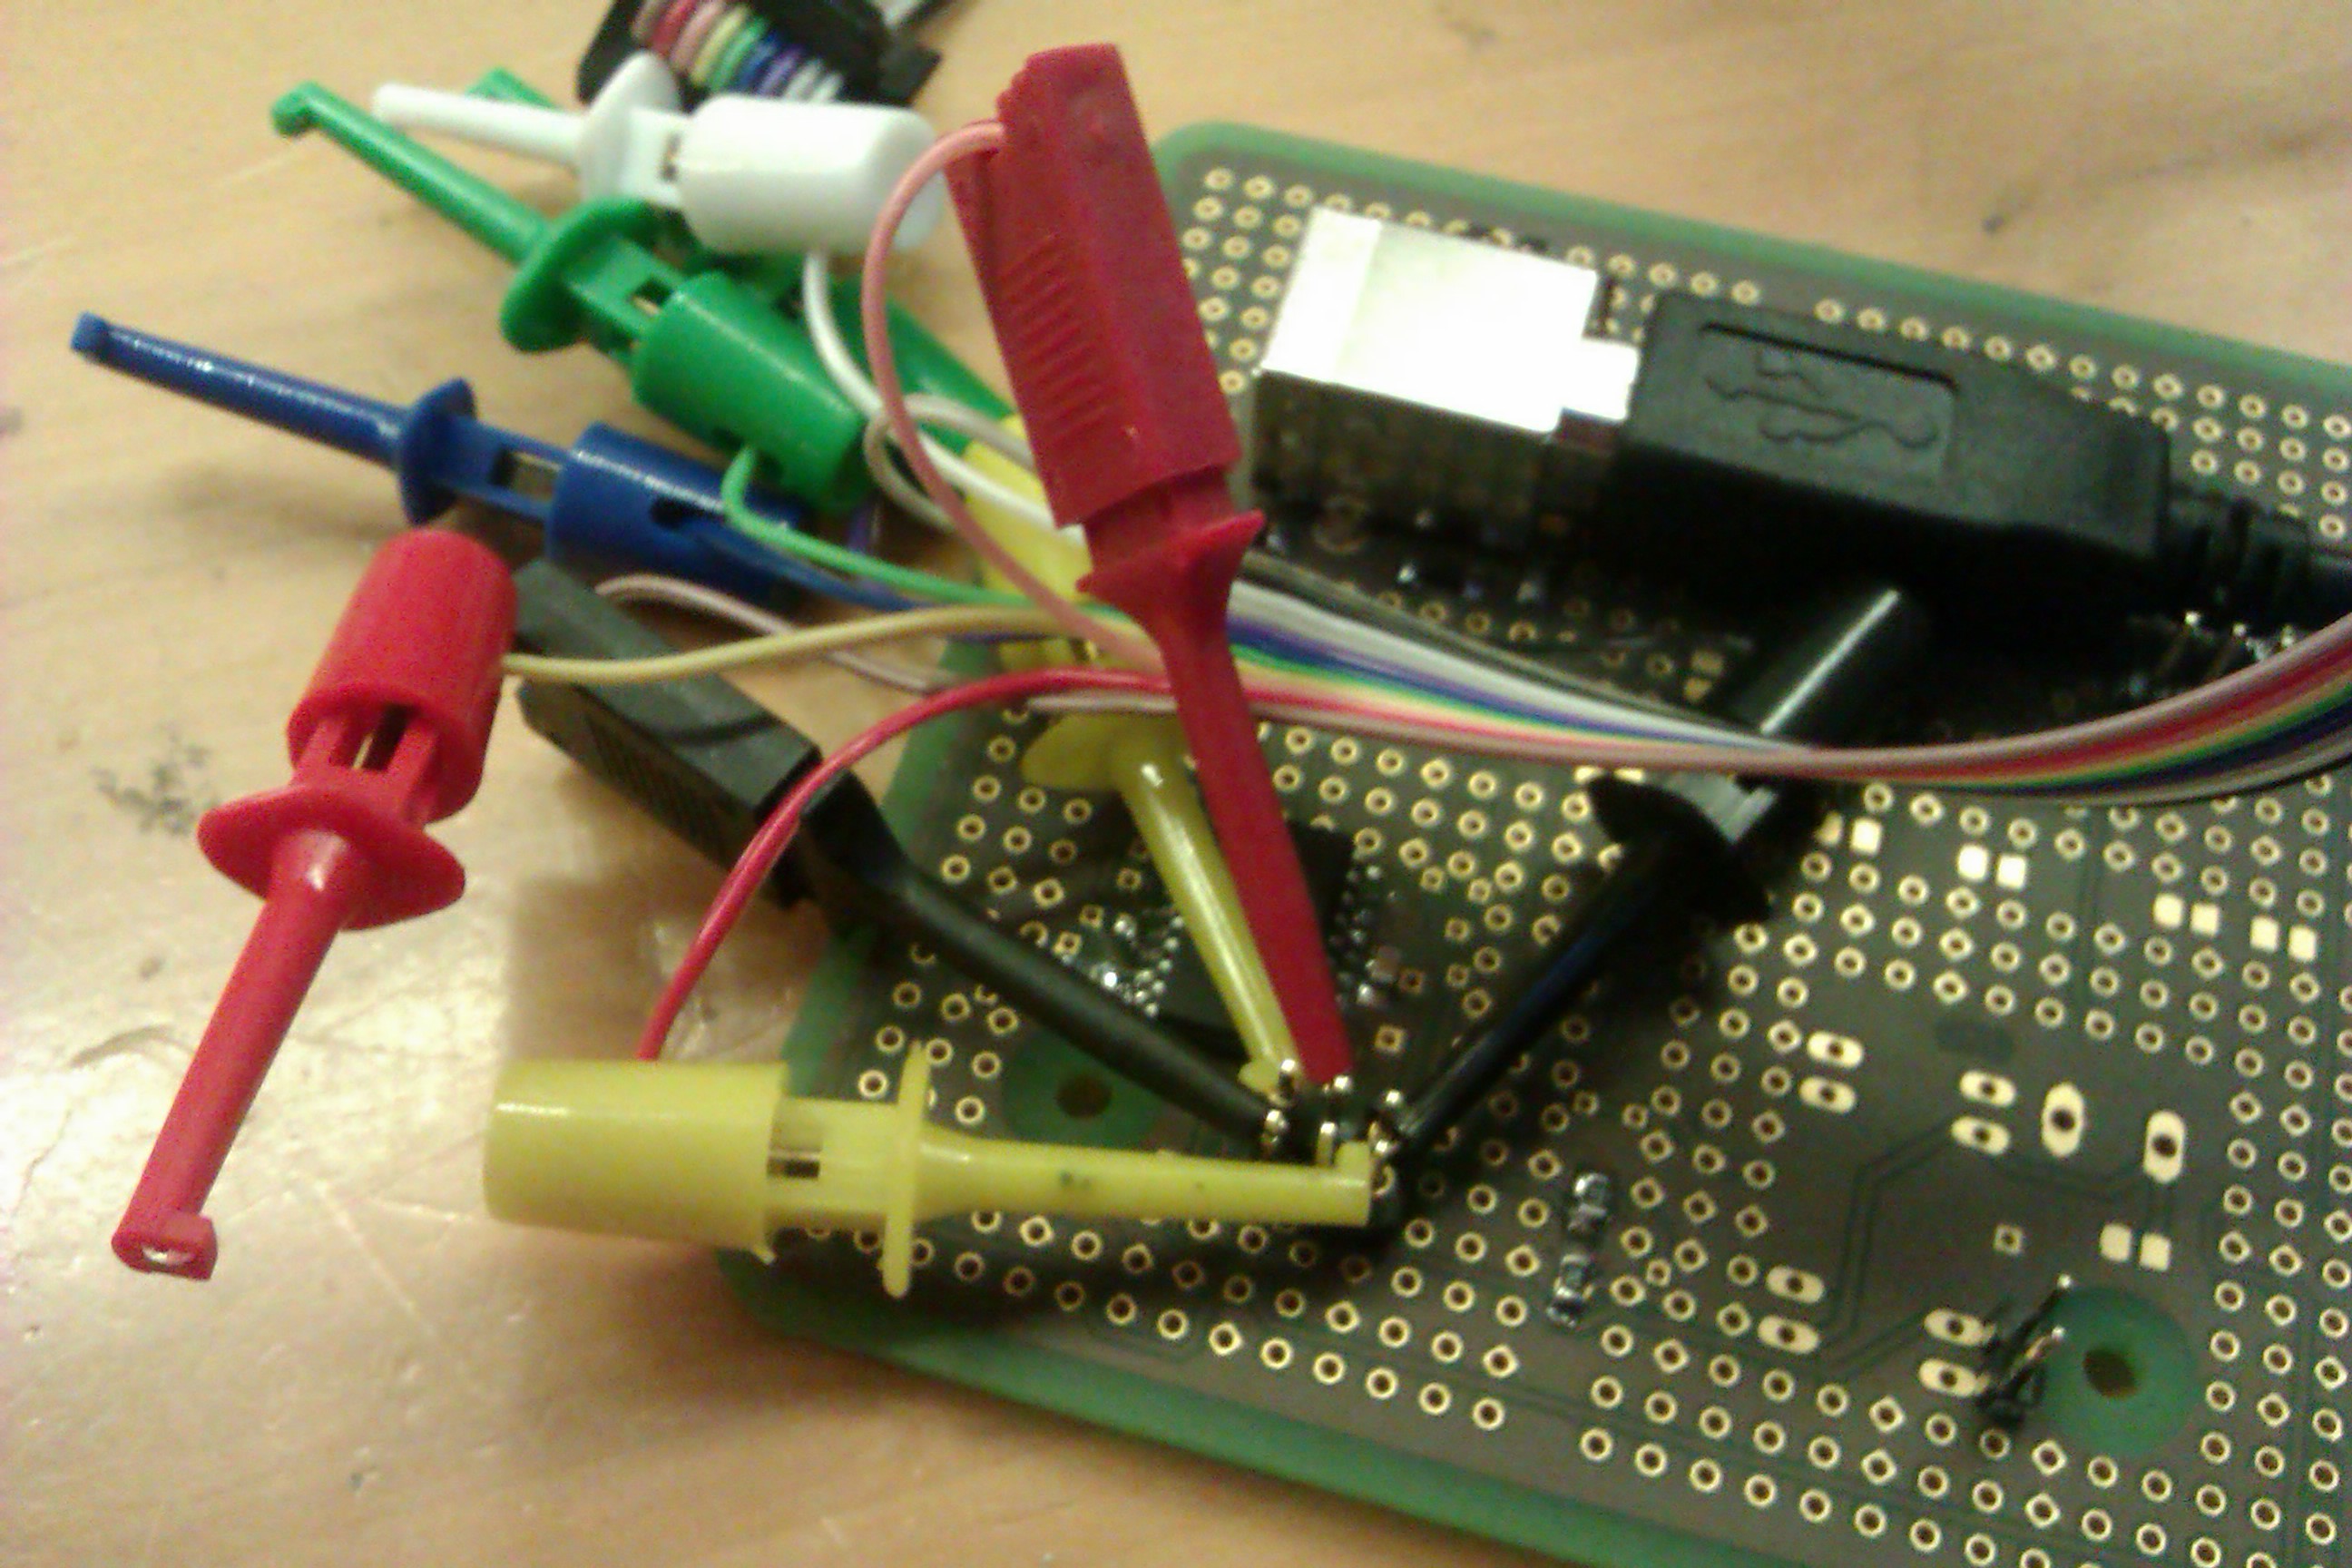
Nothing special, use avrdude or similar. I used the bus pirate at PTL:
![]()
(sligthly before mounting all components)
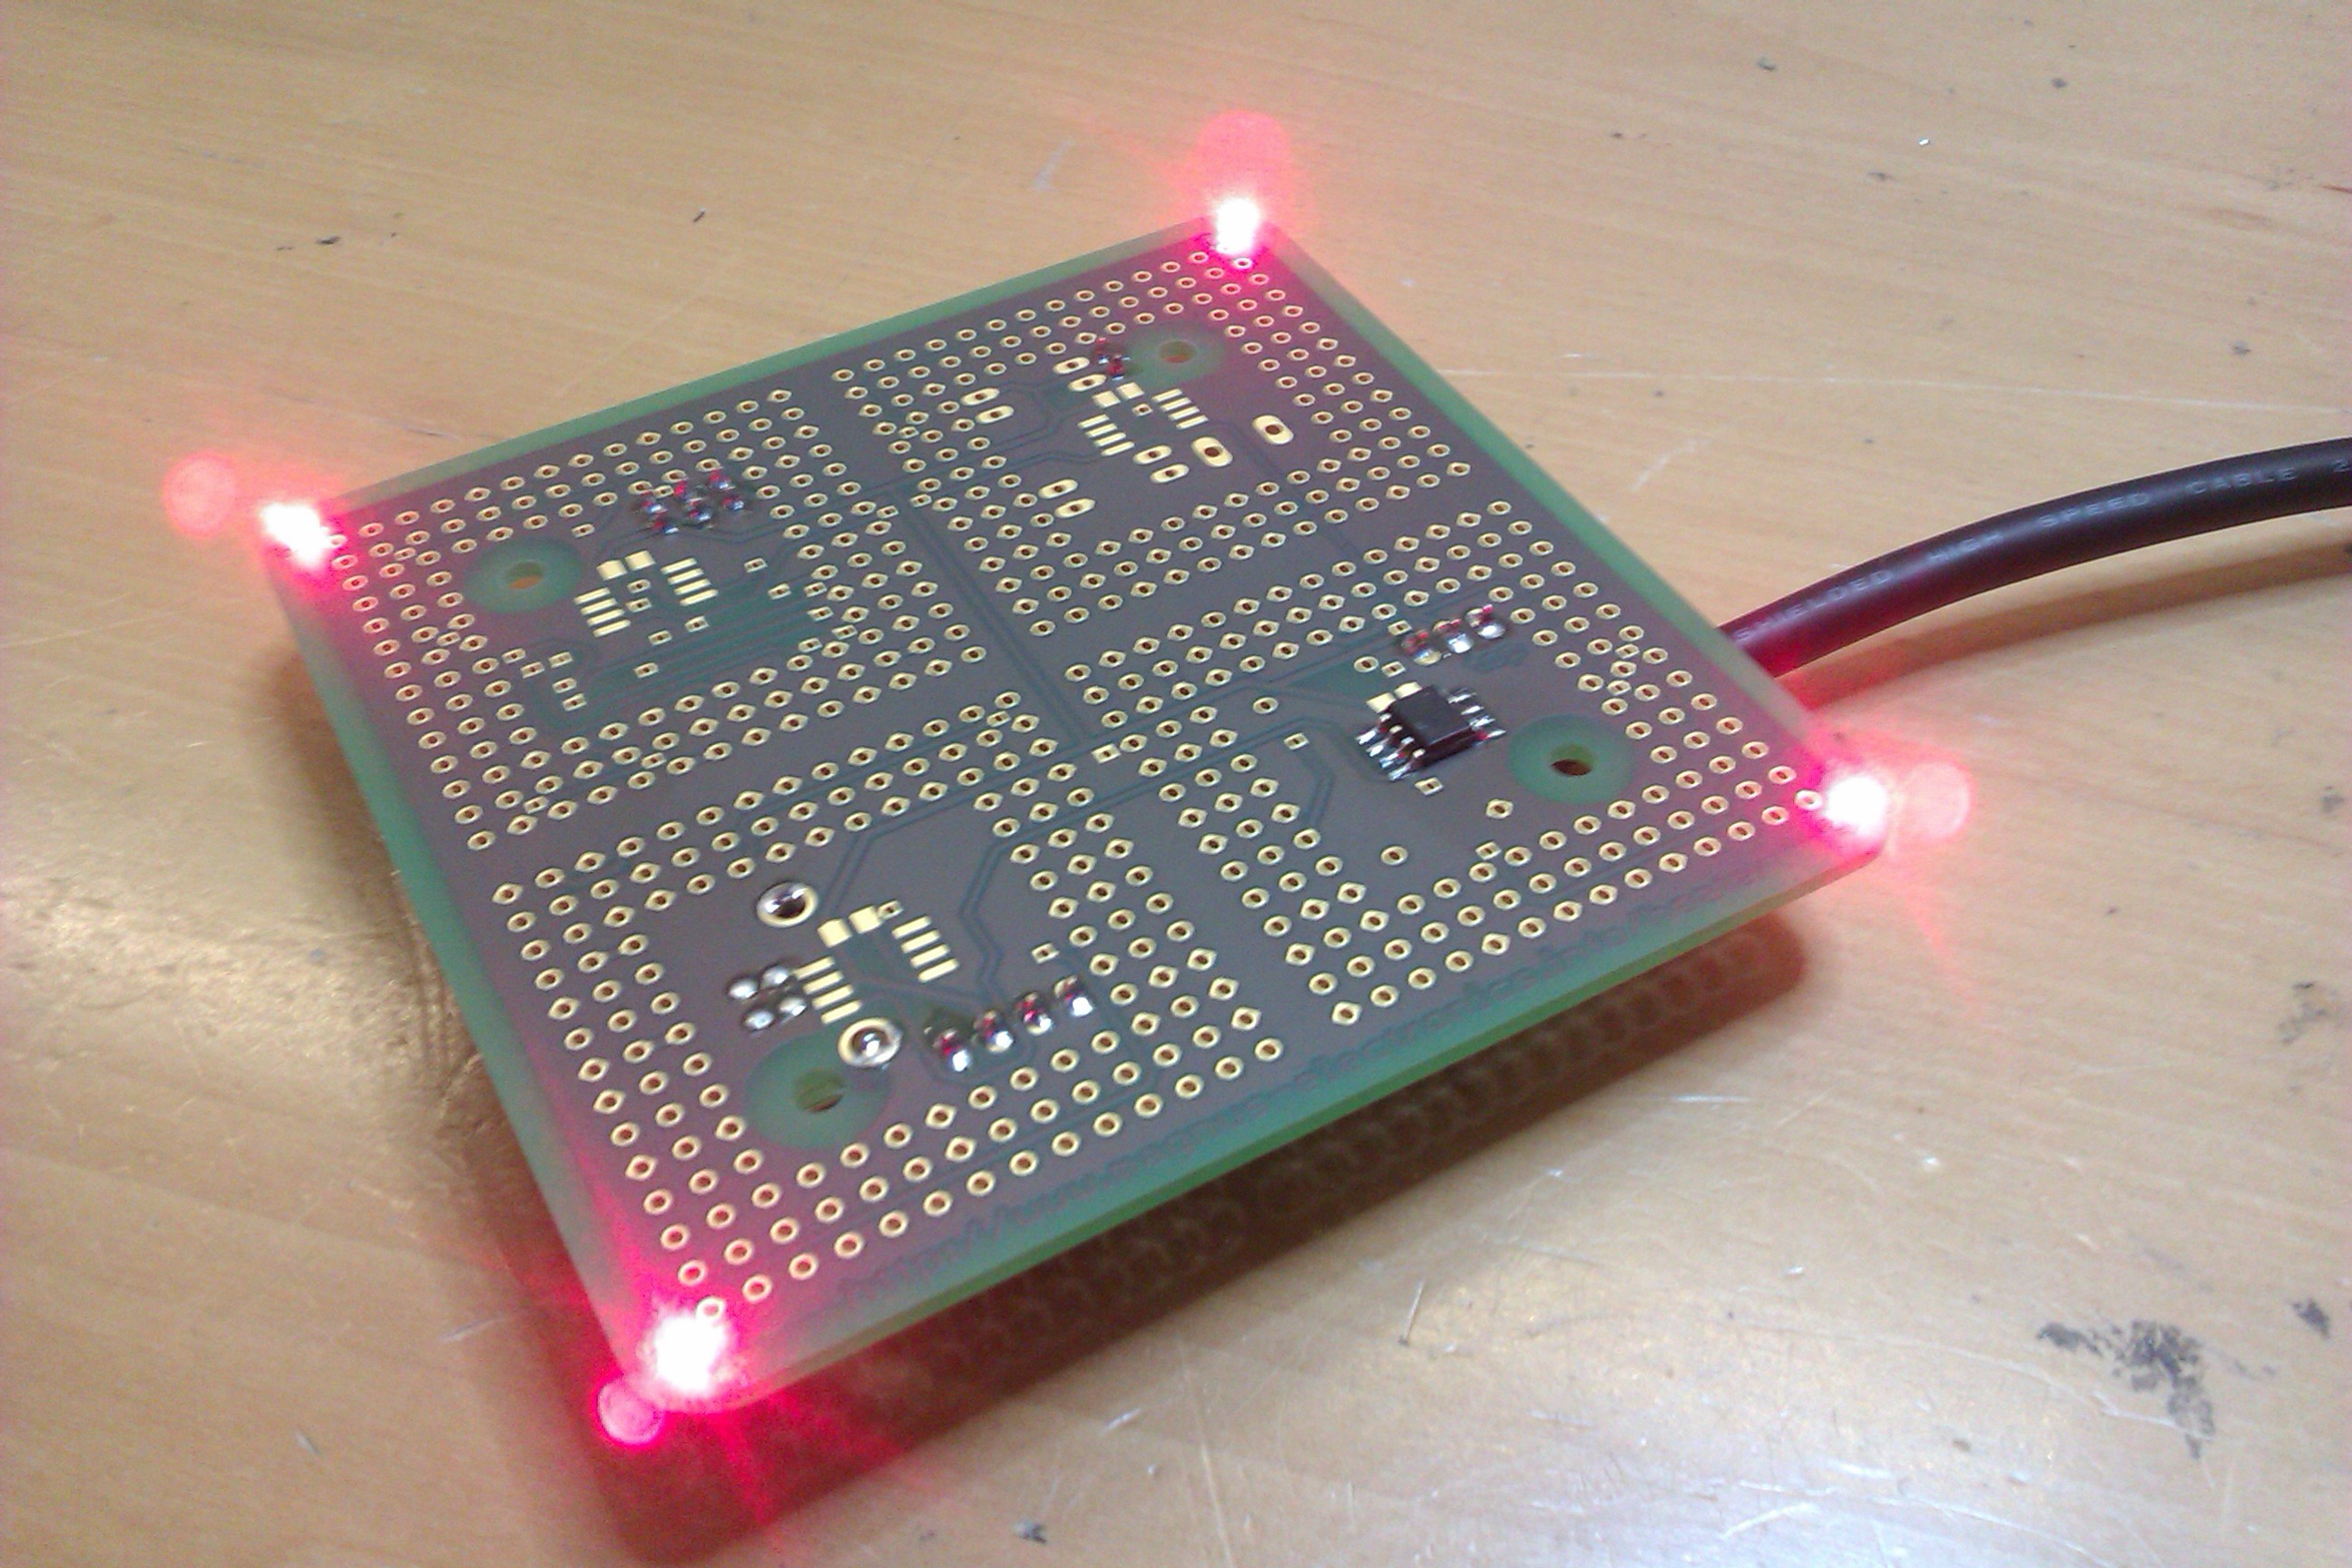
Here a first test of V-USB to test the LEDs:
![]()
(again before mounting the other components)
-
5Step 5
Connect to PC
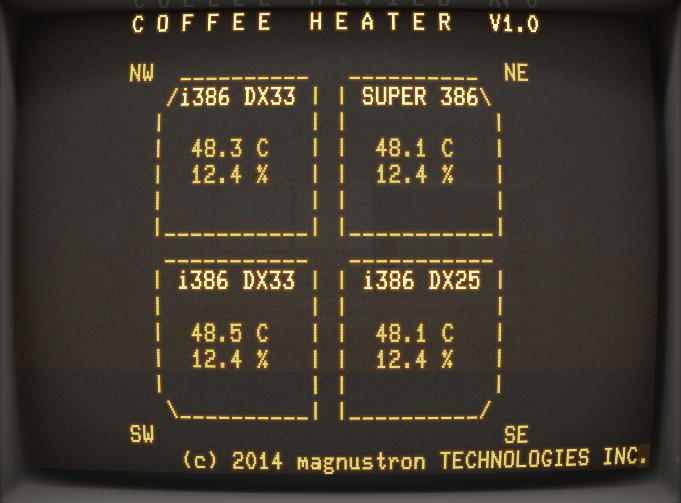
Hook up the USB cable and start coffee.py -- for some vintage feeling check out Cathode if you are on Mac.
![]()
-
6Step 6
Enjoy...
... or you may also try with tea ;)
quad-386 coffee heater
Who says CPUs waste energy by producing heat? - It can be used to warm coffee! A USB-driven, temperature-monitored quad-386 coffee heater.
Discussions
Become a Hackaday.io Member
Create an account to leave a comment. Already have an account? Log In.