 Spencer
With the PCB out of the way it's time to put serious thought to the mechanical portion. If I can I'd like to try and avoid glue. I want it to come apart easily for work and display. I can't glue the PCB down like I might have done in the past.
I decided to have the displays all sit on a sub frame in the clock. This will hold them together and provide wire routing. The first order of business was to get the sub frame sitting right and use the right spacing for the displays. I don't have a data sheet so there was some guess work. I used fusion 360 to create the models you see below.

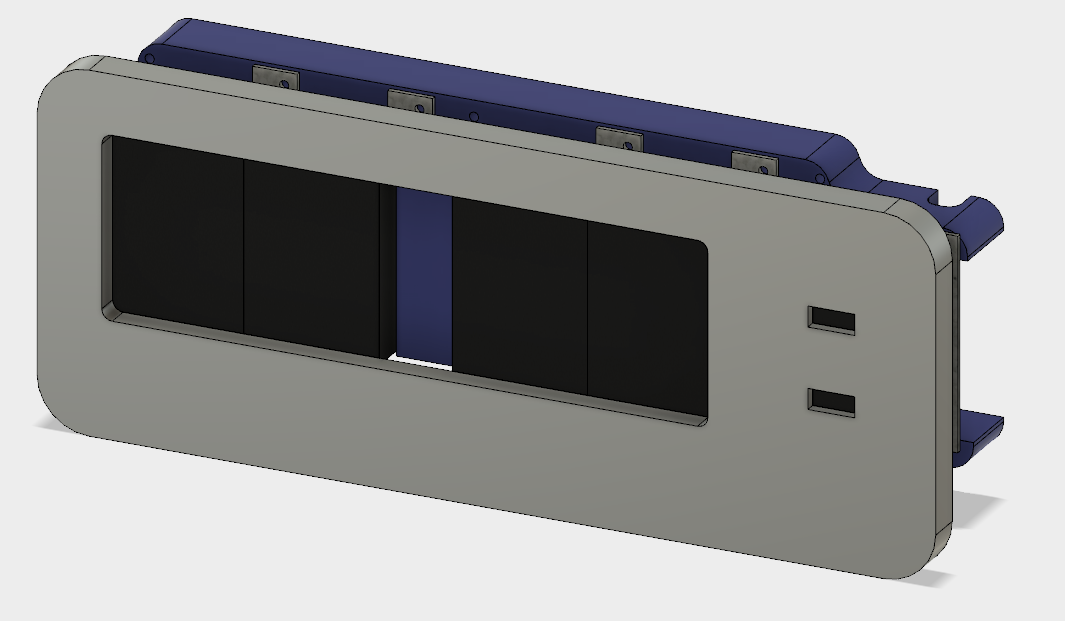
The parts aren't too complex. All the hard work went into the close fit. My first print didn't fit right but I mostly nailed it on the second try.
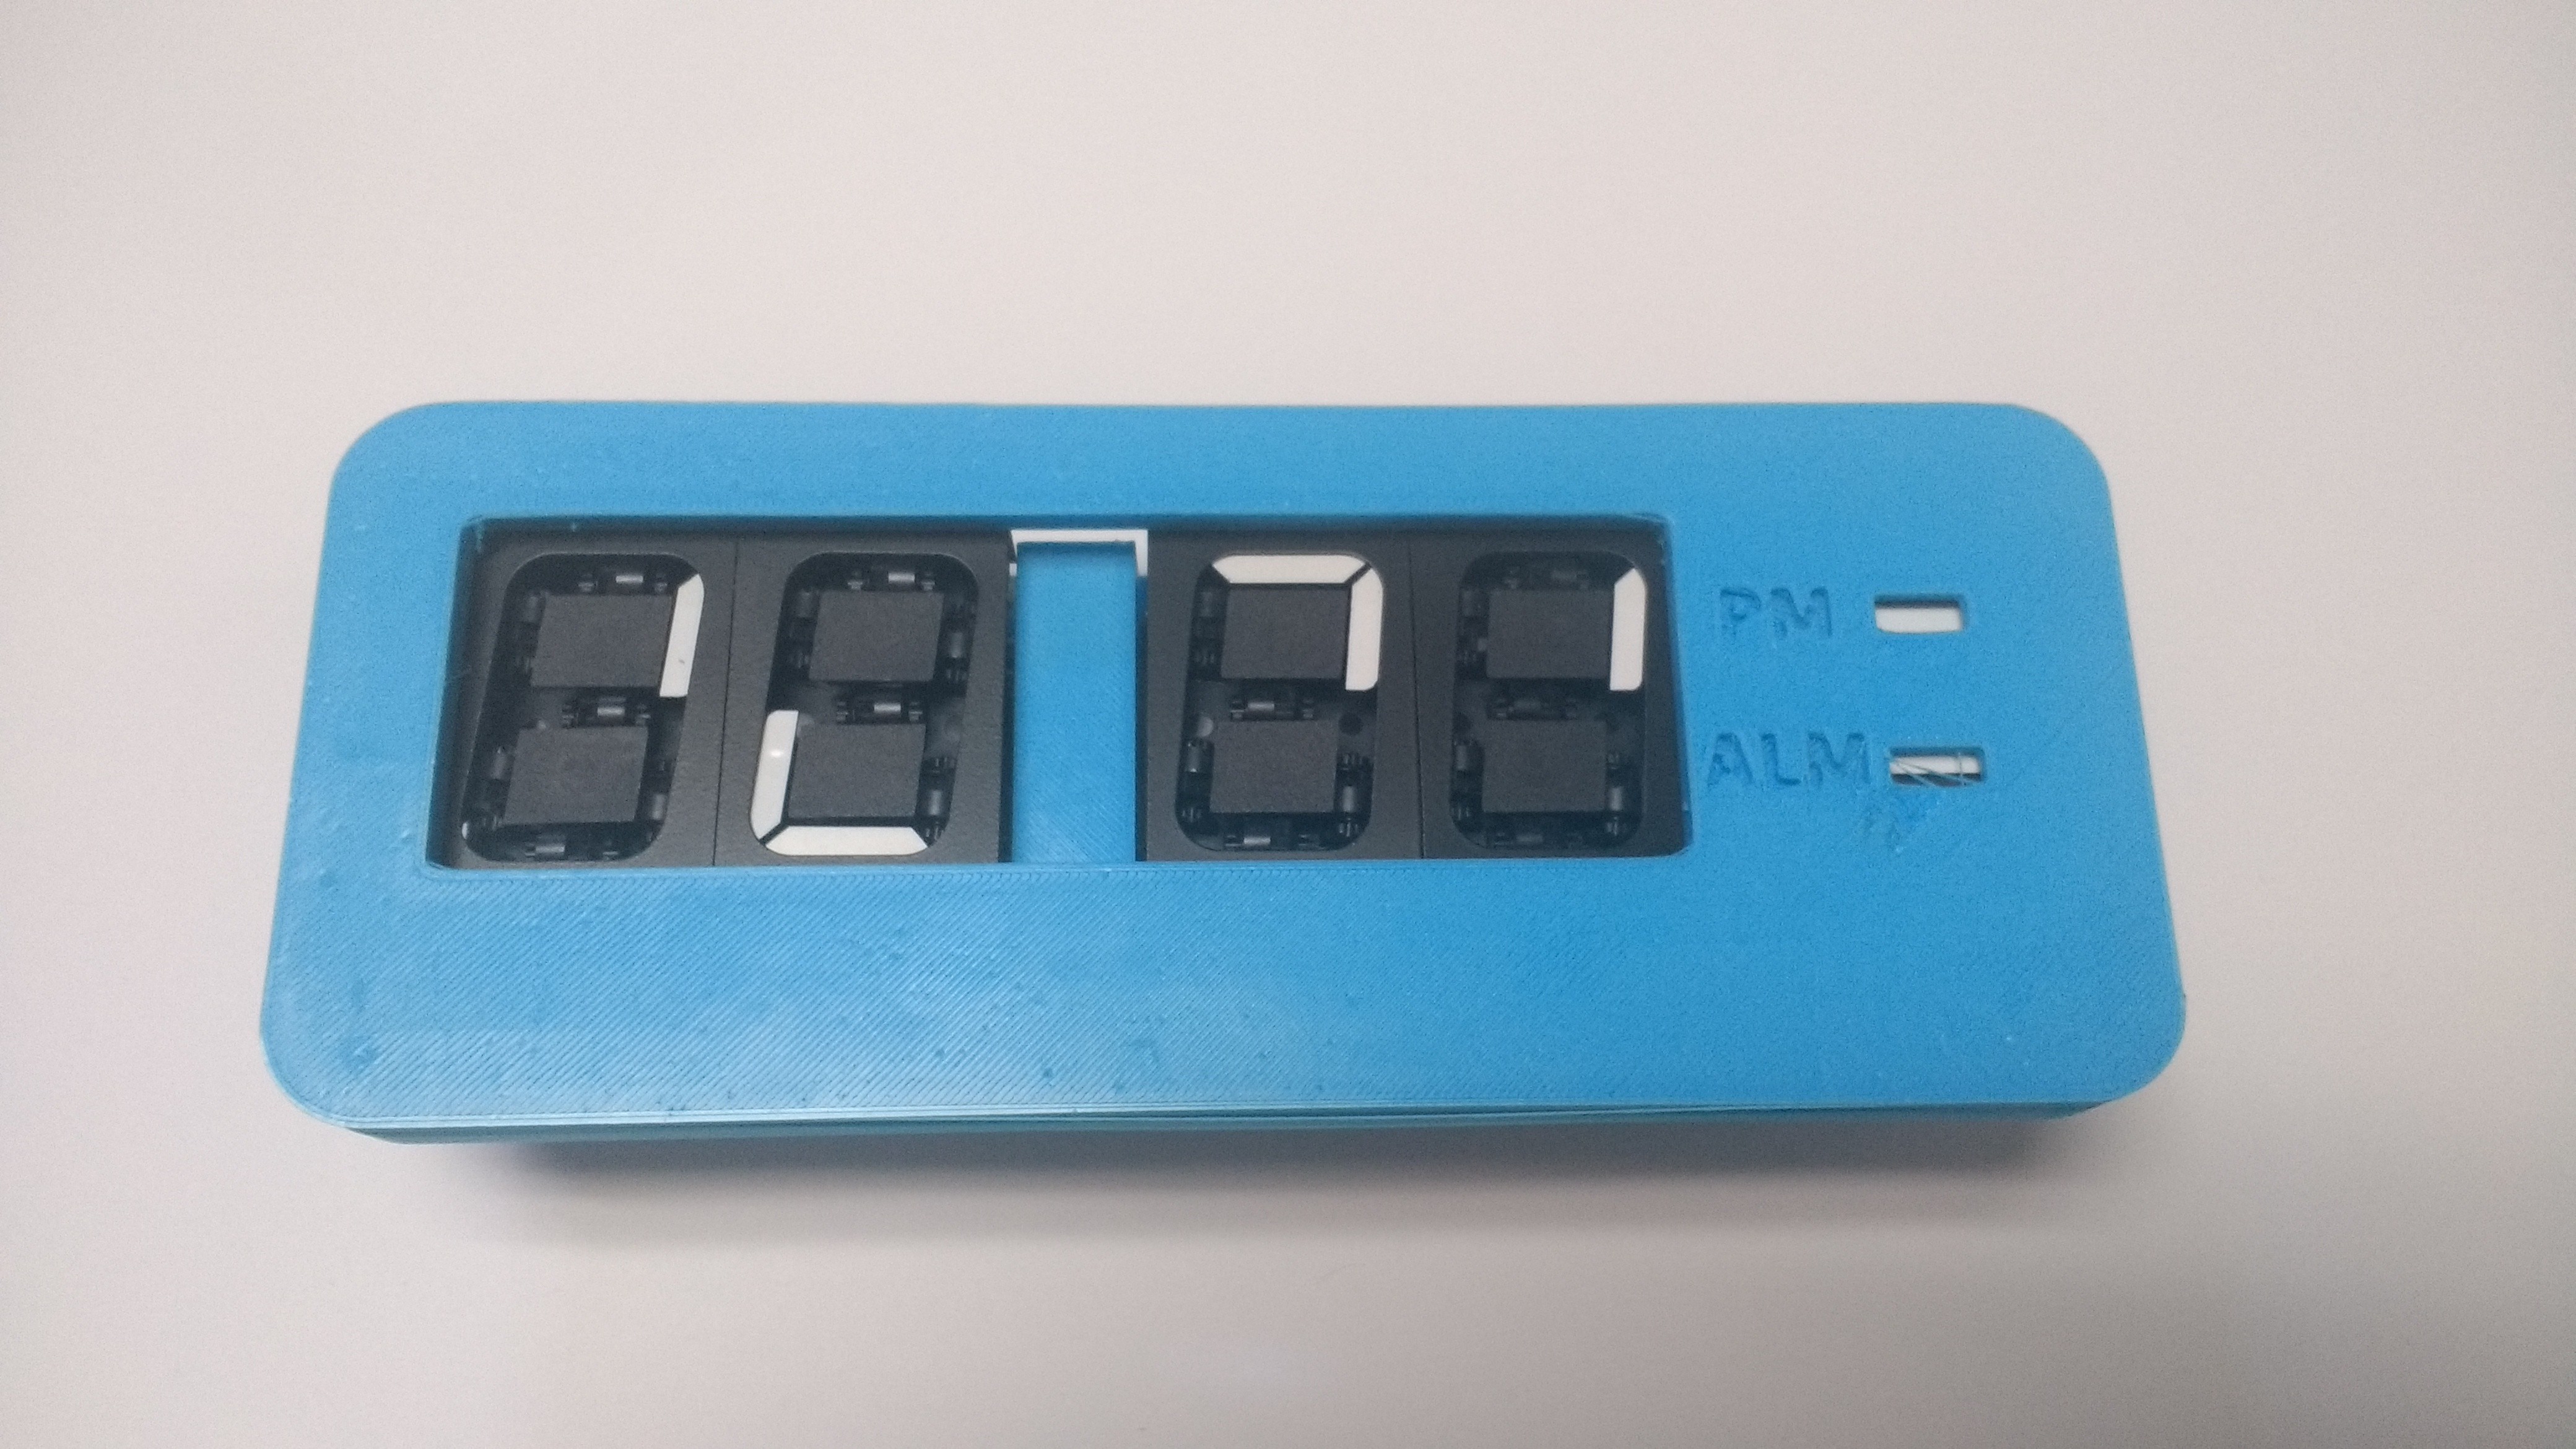
The indicator window on the right doesn't quite line up but it's an easy fix. One thing I did notice was the printer was printing about 10 thou over. Not a huge issue but I have to be mindful. In the final design only the sub frame will be 3D printed. The outer parts will be wood.
The design for the clock took me a while of just staring at the displays in the sub frame. Eventually I came up with one I liked. After fiddling around with CAD for a while hear it is!
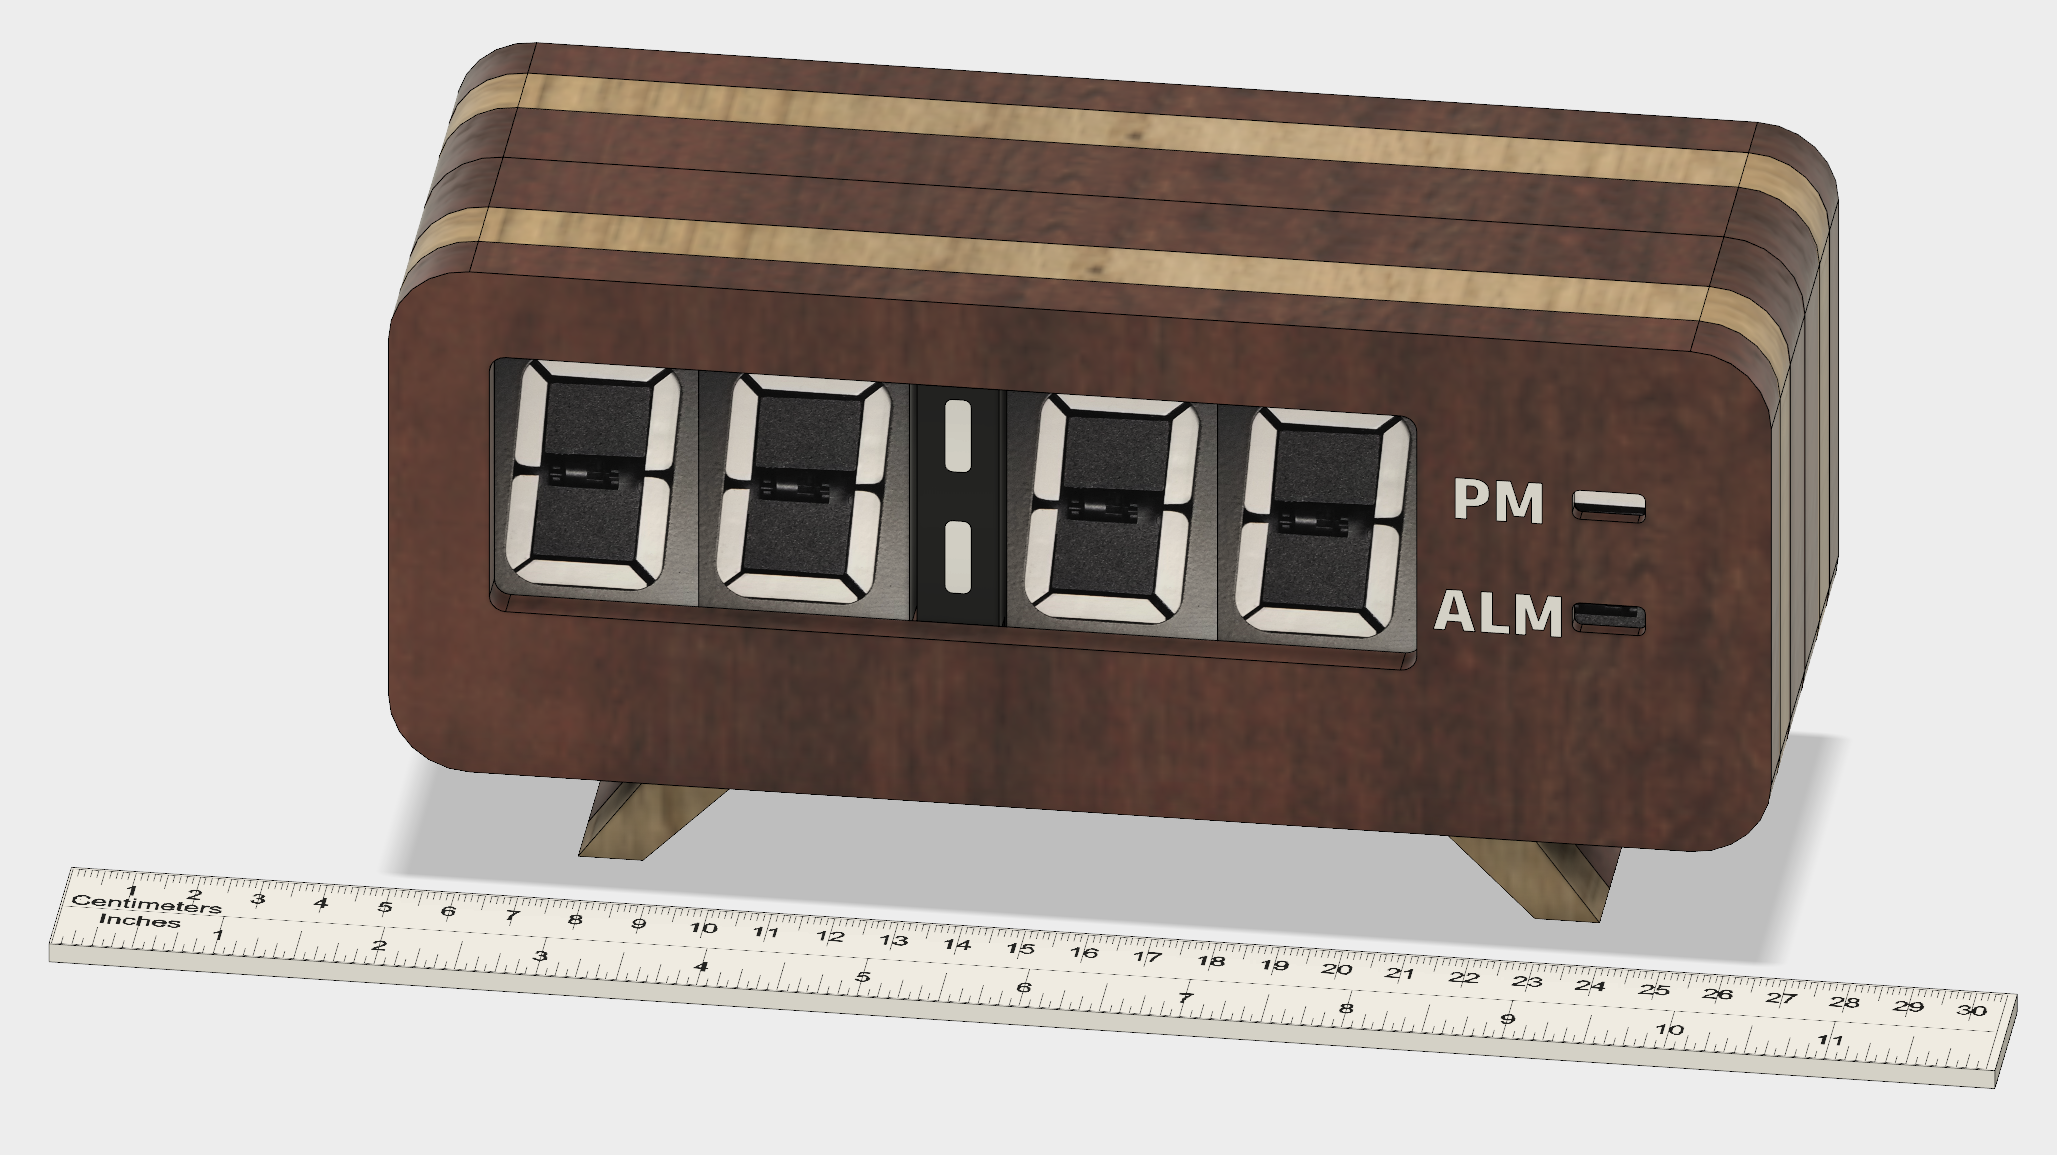
Sorta of a modern art-deco look I think. I put a ruler at the bottom for scale. It's not massive but it's a good size. 8.5 inches wide. 4.5 inches tall and 3 in deep. I need to work on the hole in the back for the buttons next and try to find a really long 1/16 end mill. PCB should come in this week so that'll likely be the next update.
Discussions
Become a Hackaday.io Member
Create an account to leave a comment. Already have an account? Log In.