 Ronivon Costa
The interface is composed of a CPLD with the logic that allow MSX to send data to Raspberry Pi. The logic implements Z80 I/O ports for read and write operations.
On the MSX side, there are client applications running under the operating system, consuming resources on the Raspberry Pi (server).
Each application (or DOS command) implements a single function. For example, there is a command to update the system time (pdate.com). It will read the RPi date and time and update the MSX. There is also a pcopy,com command, that will copy files from anywhere in the network to a MSX disk, and even a command to configure RPi wifi from MSX (pwifi.com), and run commands directly on RPi (prun.com).
On the server side there is a C application always running, listening to MSX commands and performing the requested tasks.
On both MSX and RPi side, a set of functions (library) is available to implement new commands easily, with a minimum effort.

 Hiram Villarreal
 Dmitry
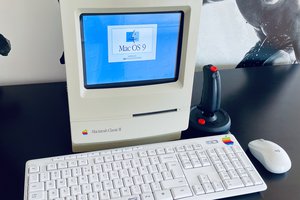
 Jarosław Mazurkiewicz
It's now RIP.
You can find whole project available on github.