 makufelis-xyz
Features:
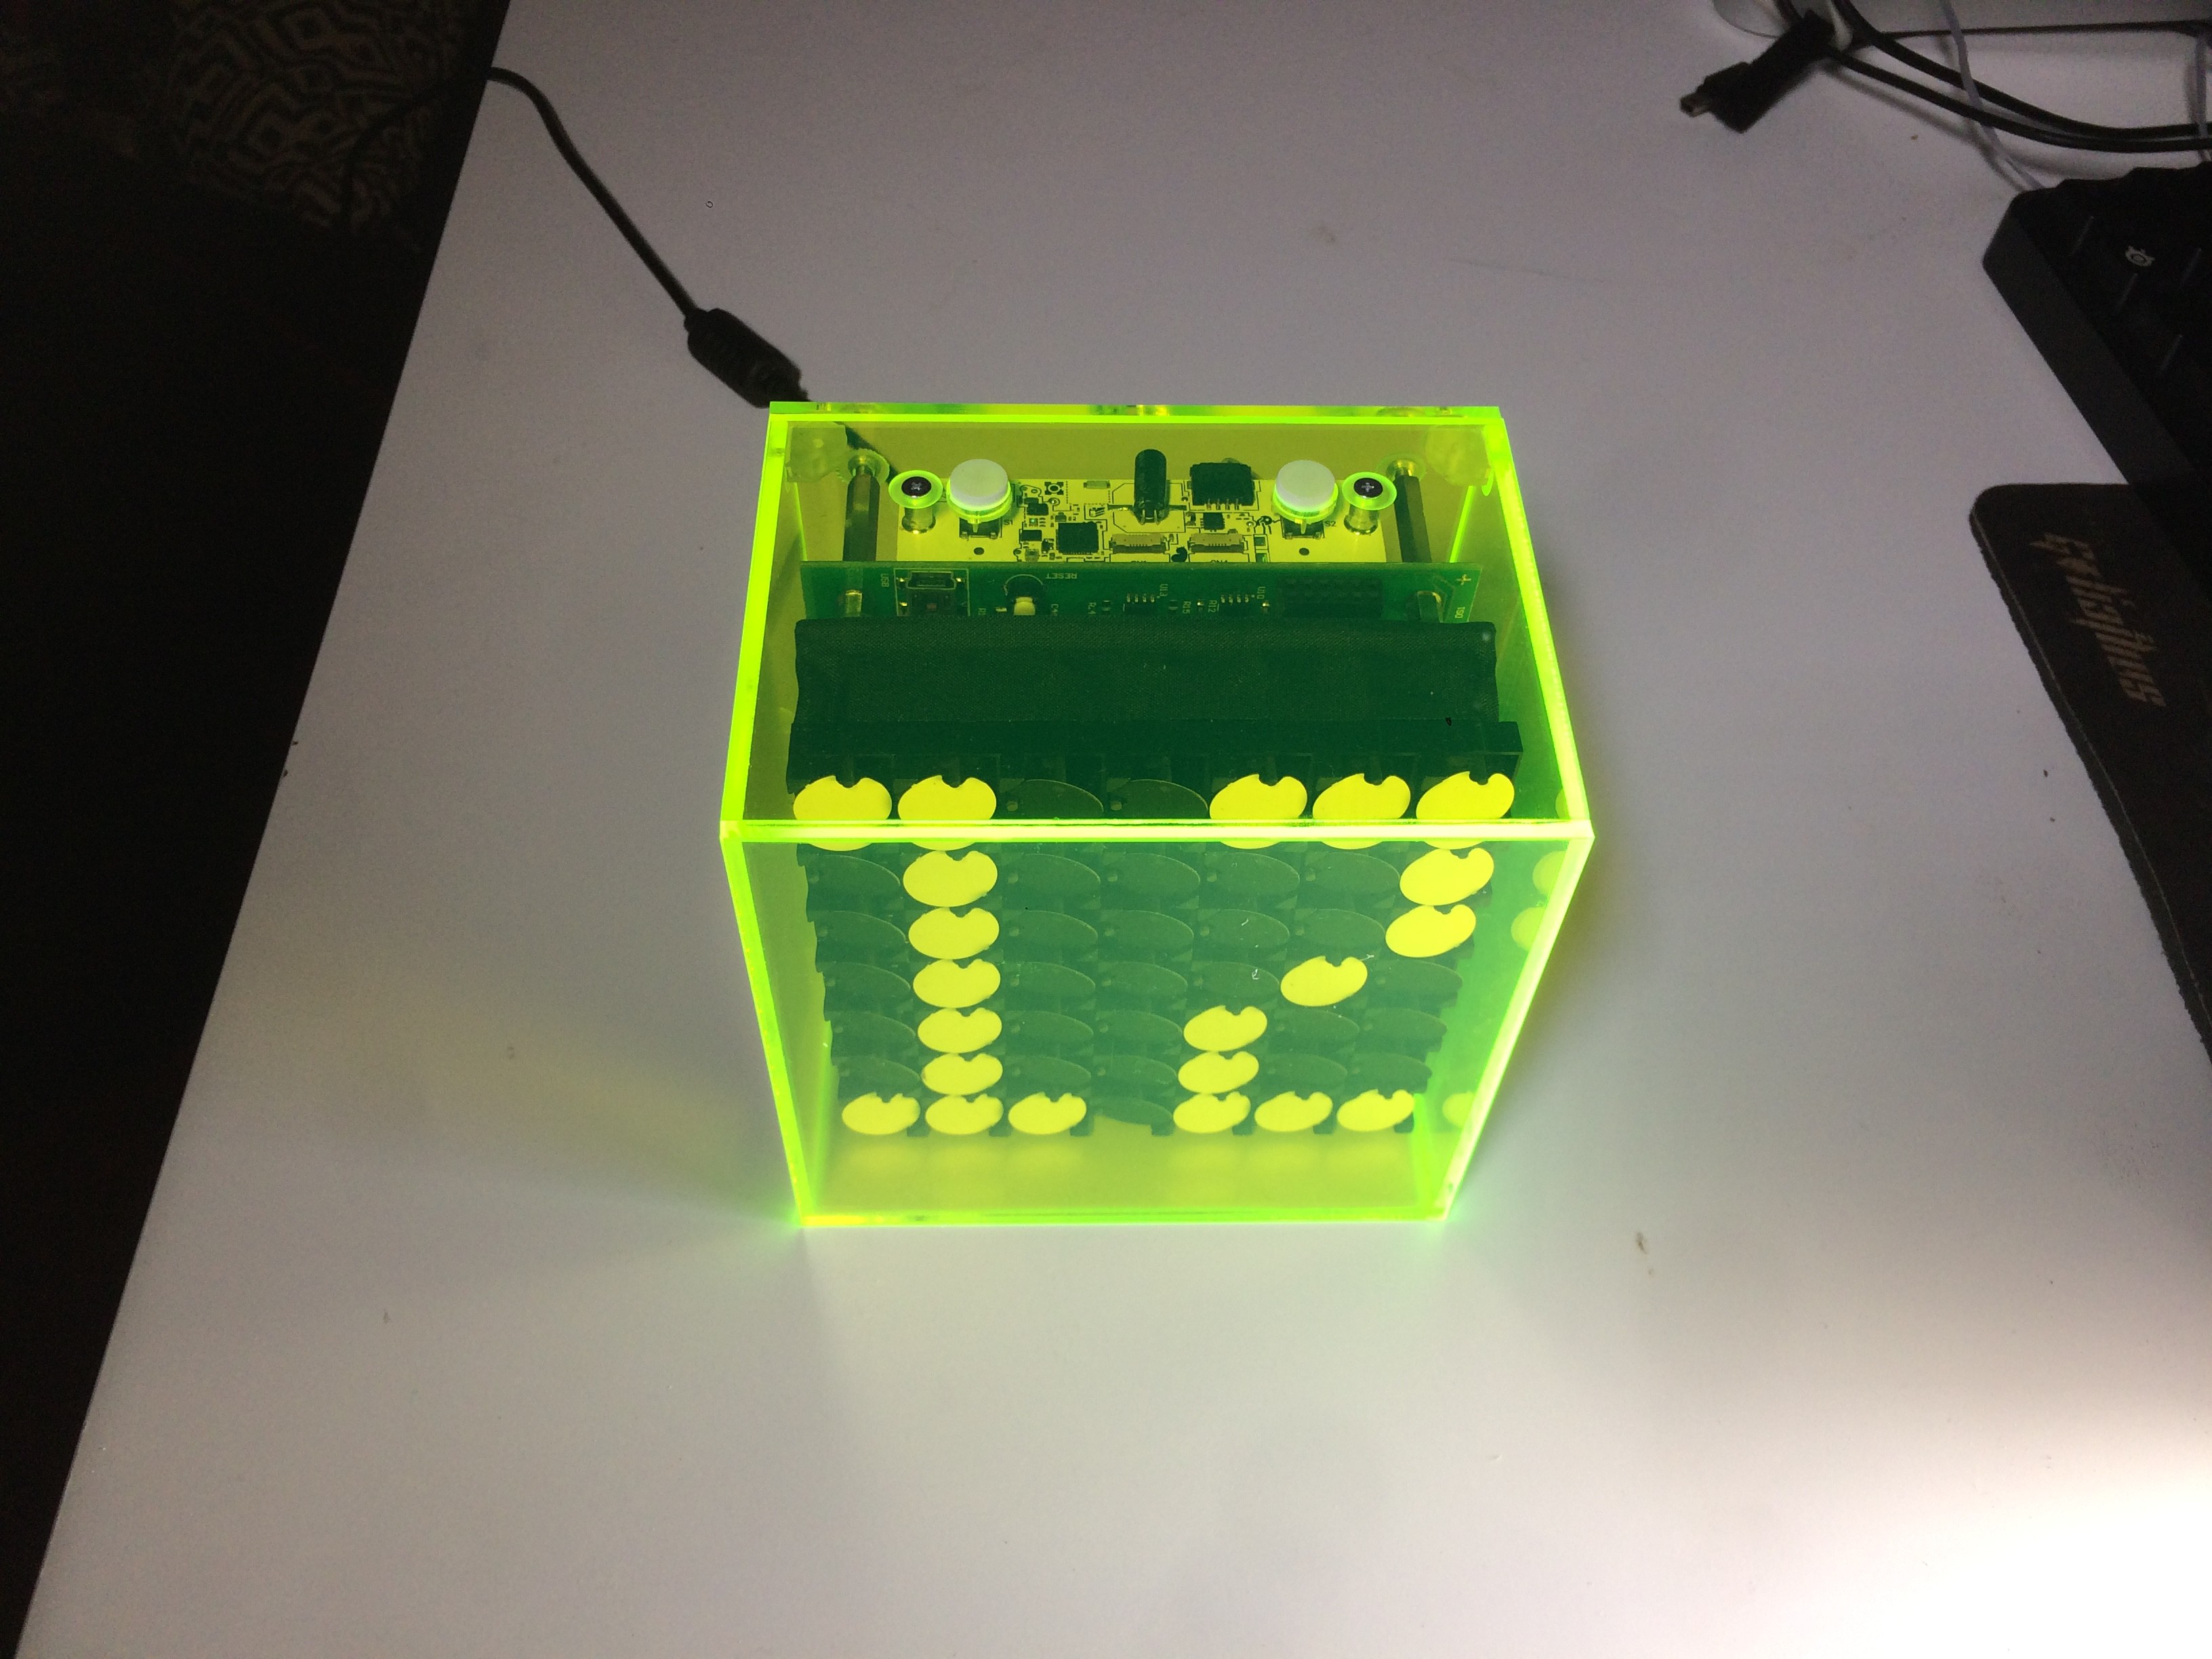
* Flip dot display 7x7 pixels.
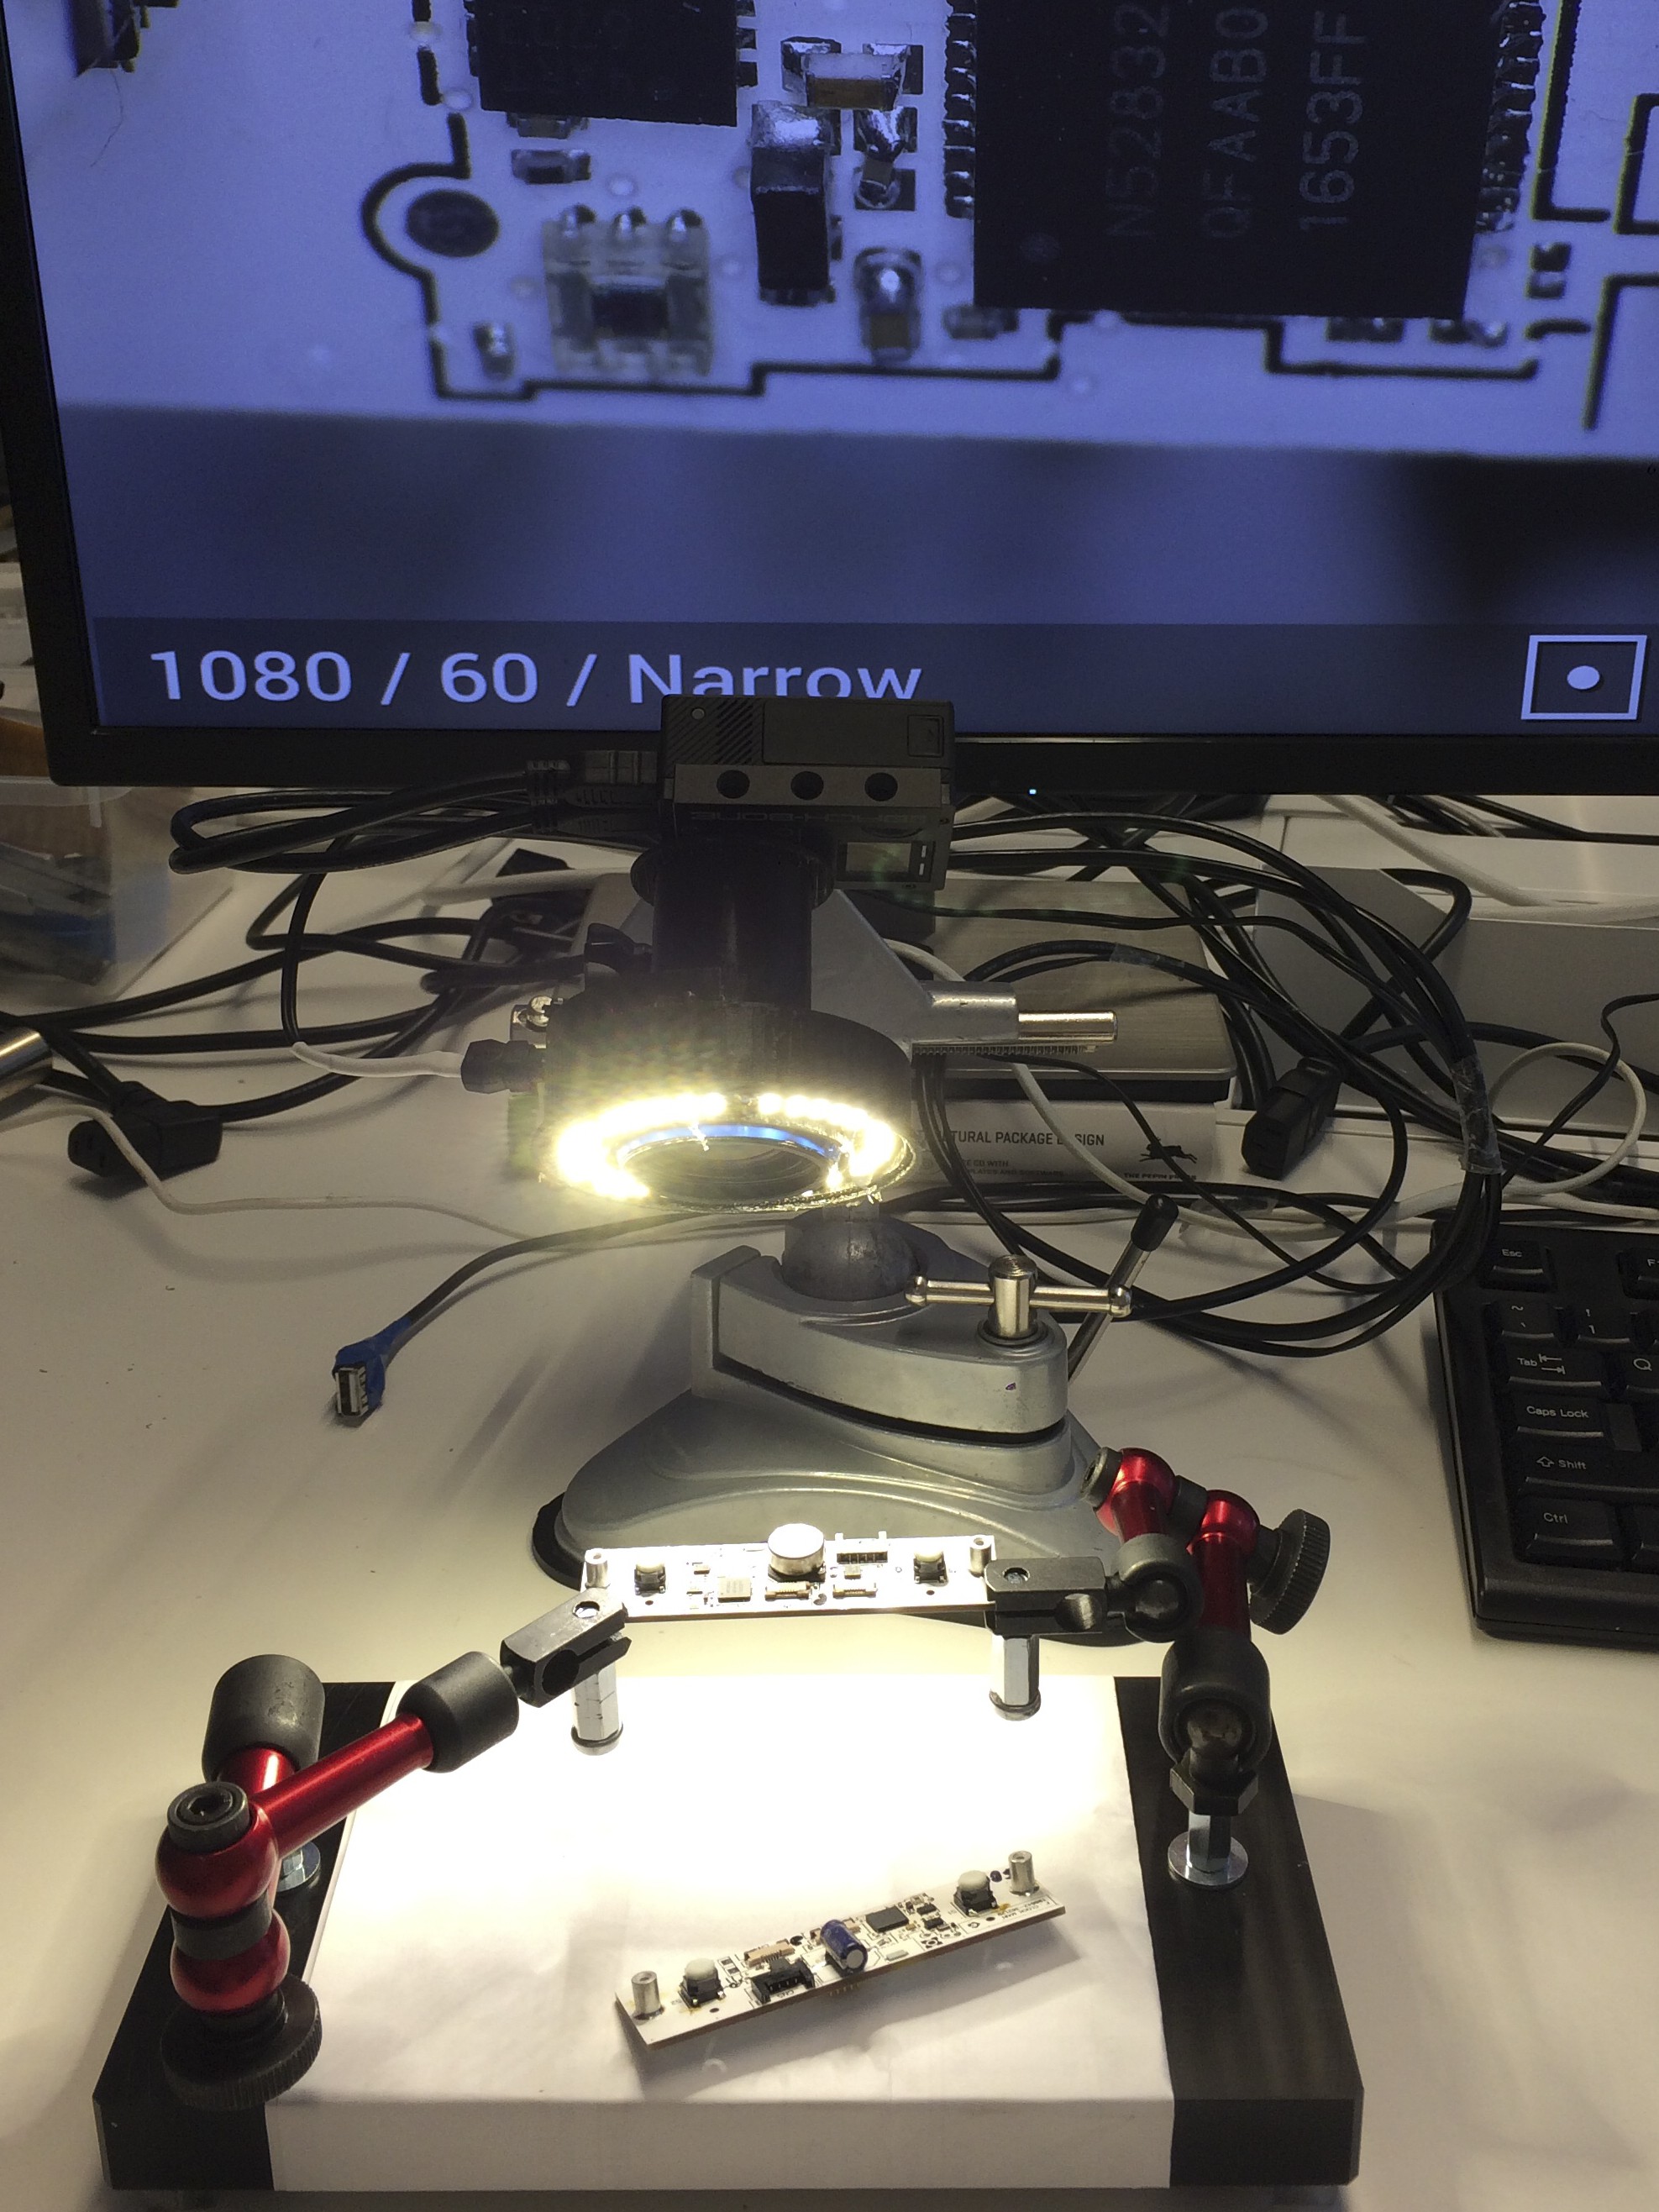
* Has Bluetooth 5 for connecting to phones (Nordic nRF52832) (Nordic Bluetooth UART).
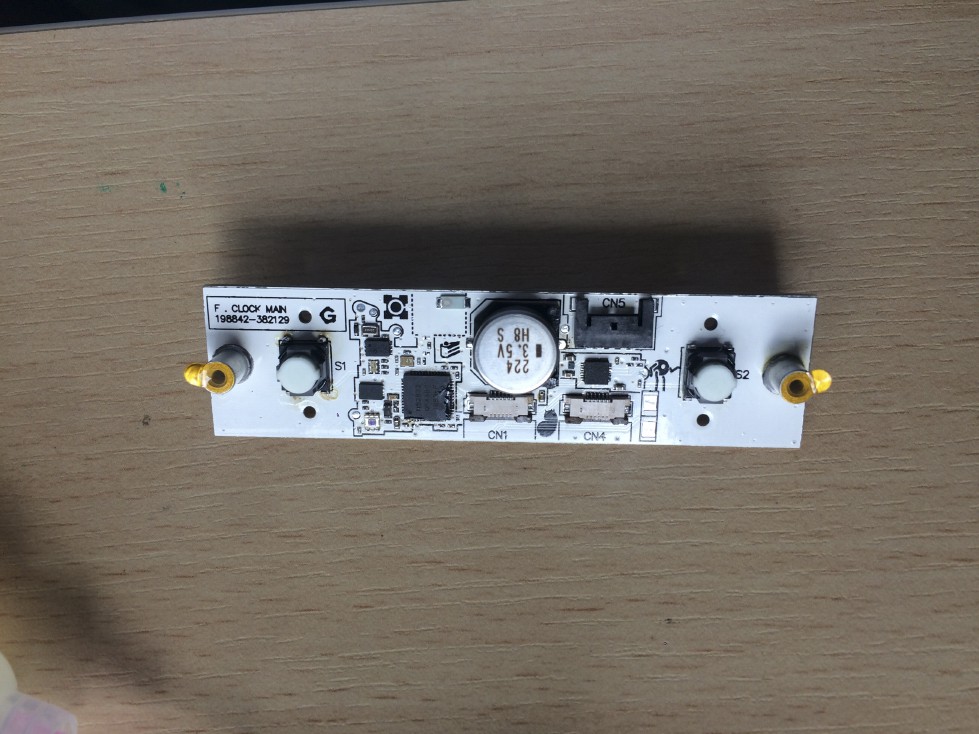
* Uses 24V power supply (because display module needs that much).
* Has 2 tact switches (haven't decided their functionality yet).
* An RGB LED shows pairing/connected status as well as potentially other things.
* The clock should work standalone (ie. not need a phone connected all the time) so it remembers all settings and has sufficiently accurate timekeeping with accuracy of about 2 seconds per week.
* You can remove power and the clock wont lose time. The next time you apply power it will still be able to display the correct time left. The time how long the RTC will keep its time is to be estimated.
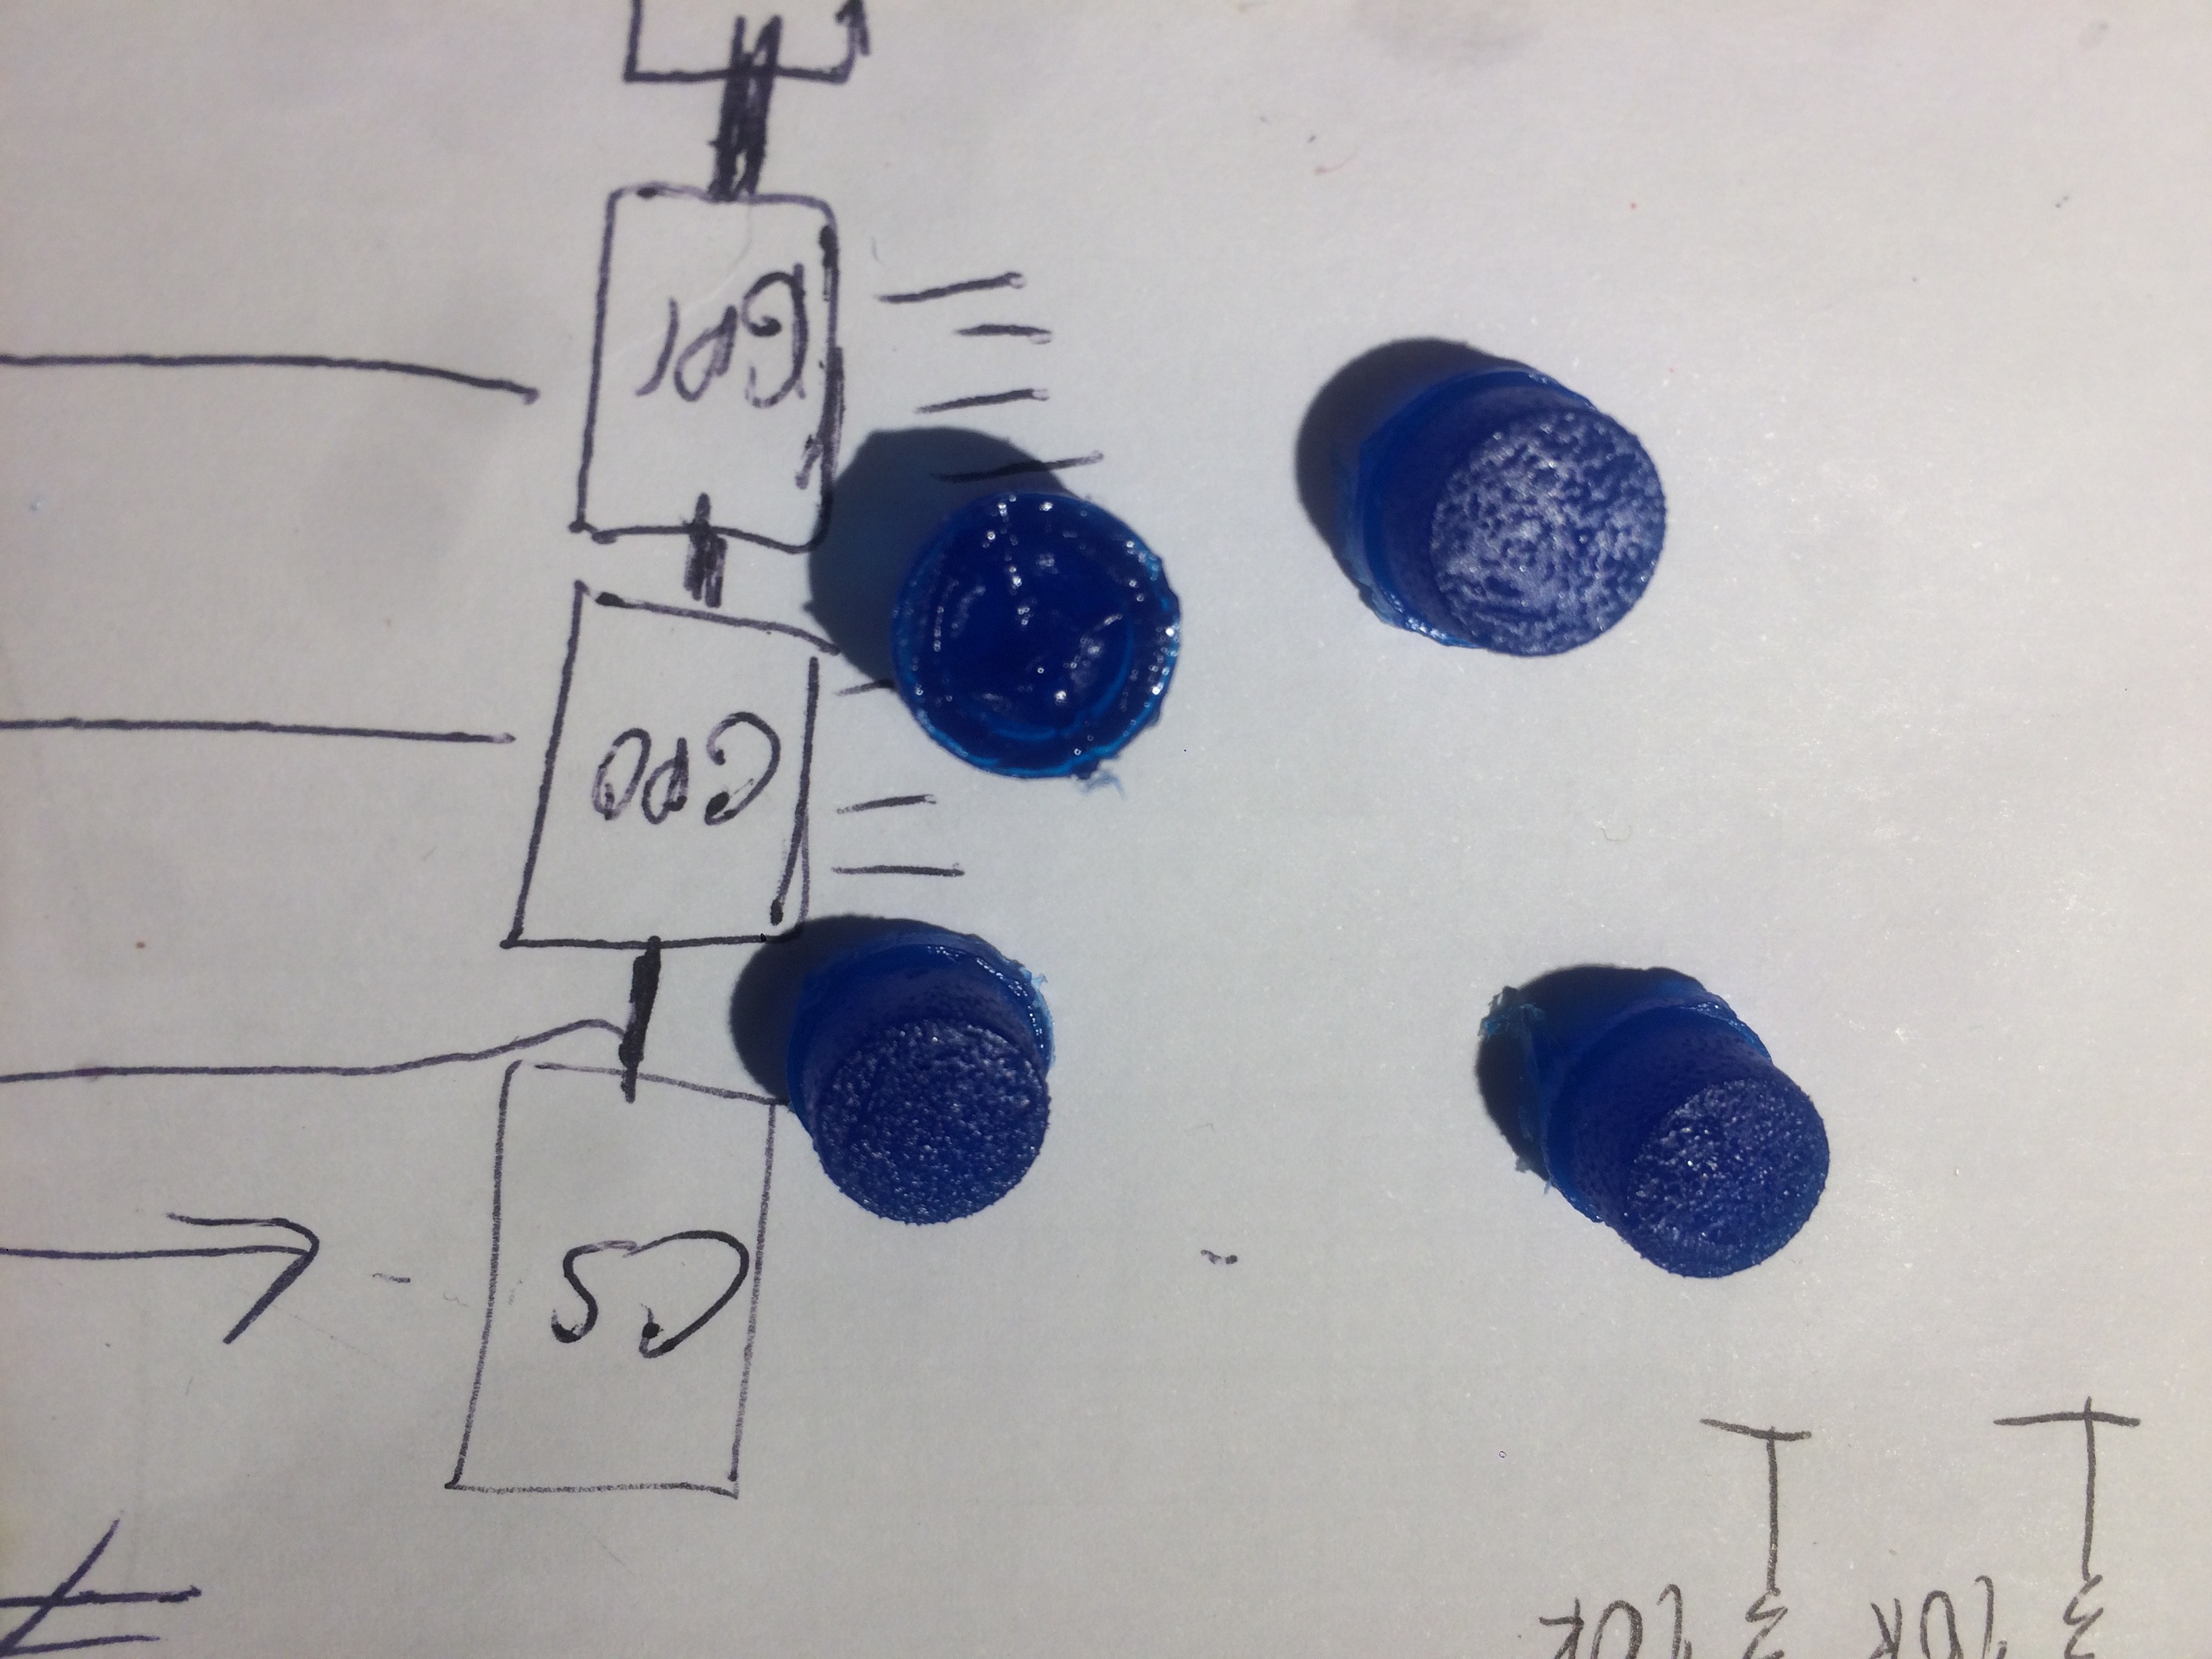
* Stacking up to 3 clocks side by side to combine their displayed image. Would use IRDA transceivers on both sides of the clock to send data.
0%
0%
Flip.Clock
A clock that uses flip display and show deadline time, clock time and other things..
Become a Hackaday.io member
Already have an account? Log in.
Just one more thing
To make the experience fit your profile, pick a username and tell us what interests you.
Pick an awesome username
hackaday.io/
Your profile's URL: hackaday.io/username. Max 25 alphanumeric characters.
Pick a few interests
Projects that share your interests
People that share your interests


 Will Fox
 mechatroNick
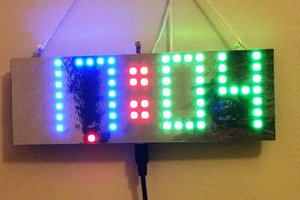
 David Hopkins
 jens.andree
So nice. I really love the low-res analog clock option. Kinda like the word clocks, which only show the time approximately (but good enough).