 Florian Festi
Finally we do have good pictures. I added the first hand full to the gallery. Here are some more:

May be I need to do something with his facial expression. He looks so happy with his mouth open. But that's not how he is supposed to walk around.
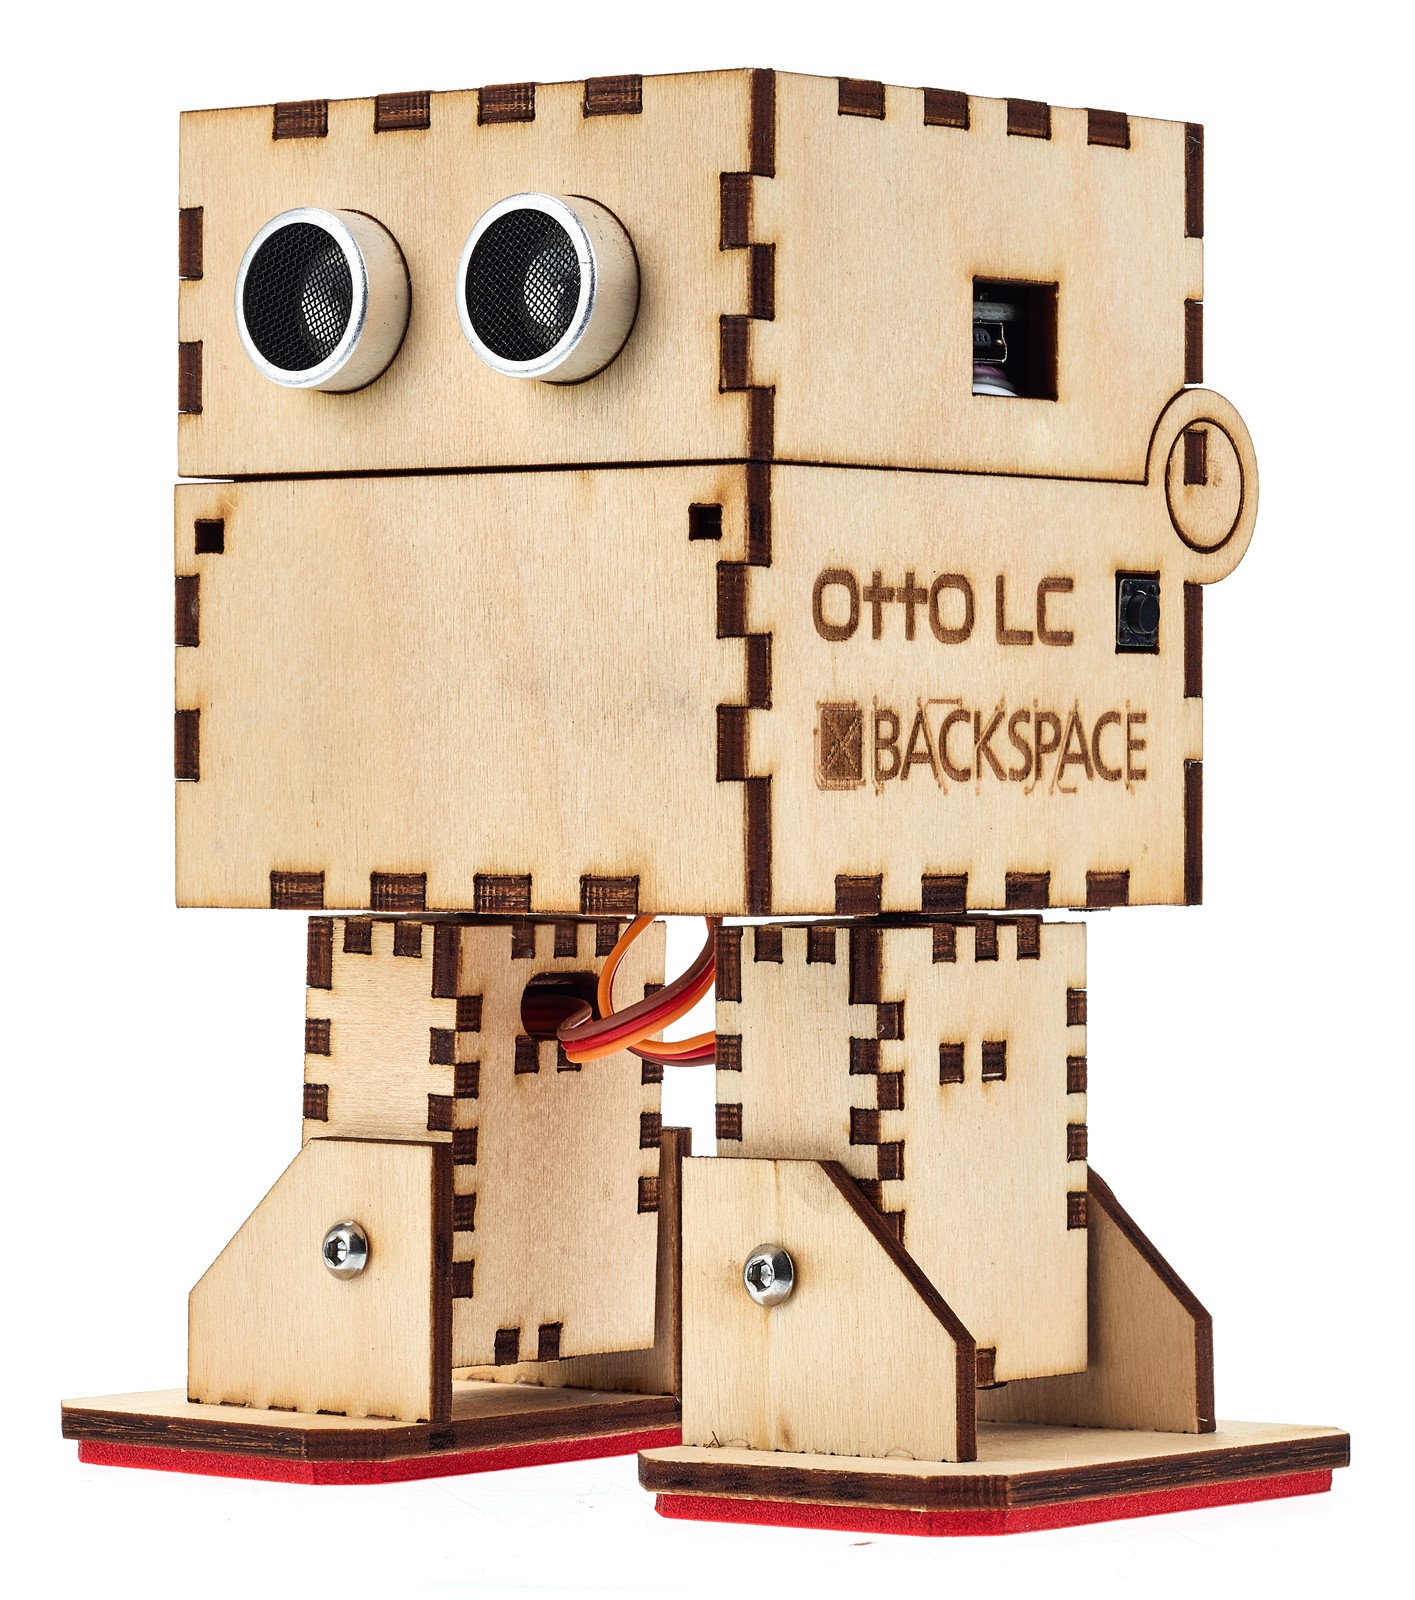
With his mouth closed he looks a bit worried. I promise: We will take care of you!
A lot of details on a single picture:

The programming port with the USB port of the Arduino Nano, the custom engraving on the side, the button to switch between modes and the hinge for opening the head/body. The hinge "axle" is pressed on a tab which is part of the back wall. This allows having a hinge without needing additional parts. It also opens the full 180°.
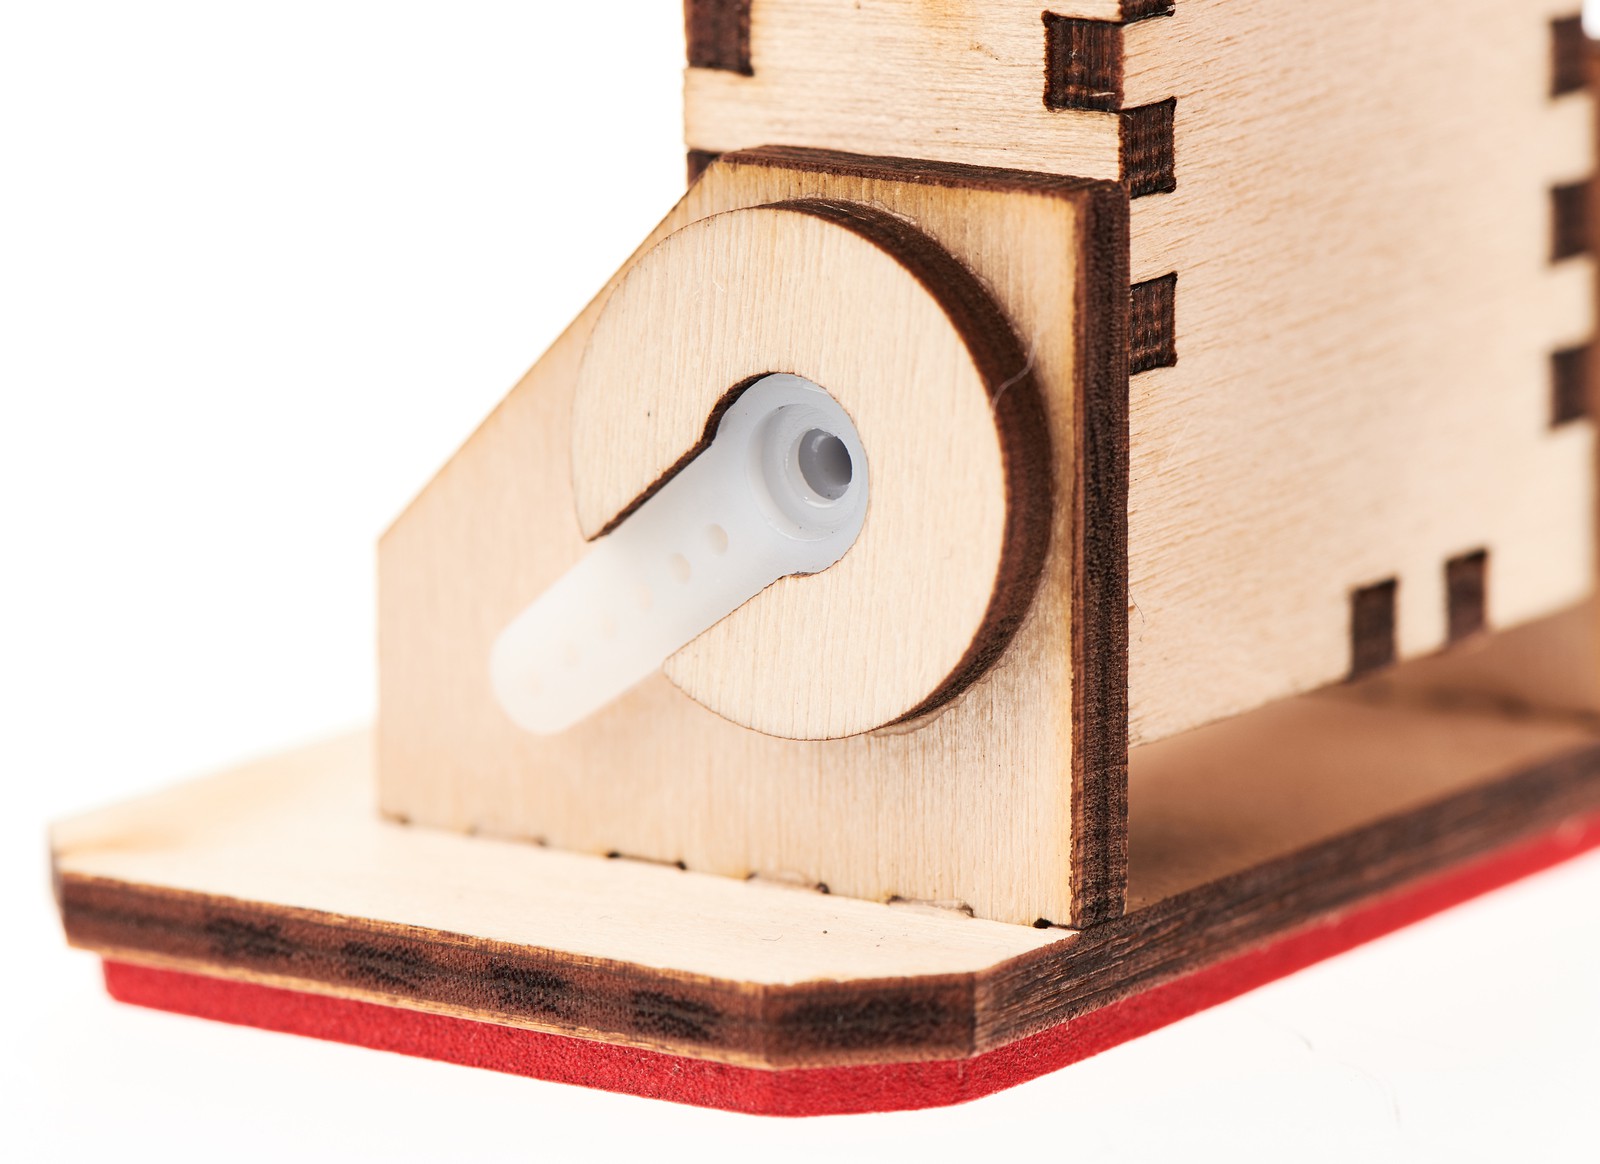
Here the details of the new ankle. The C-ring needs to be glued on. It allows adjusting the angle of the foot so we don't loose travel due to the large steps the servo horns can only be adjusted in.
And once more from below:
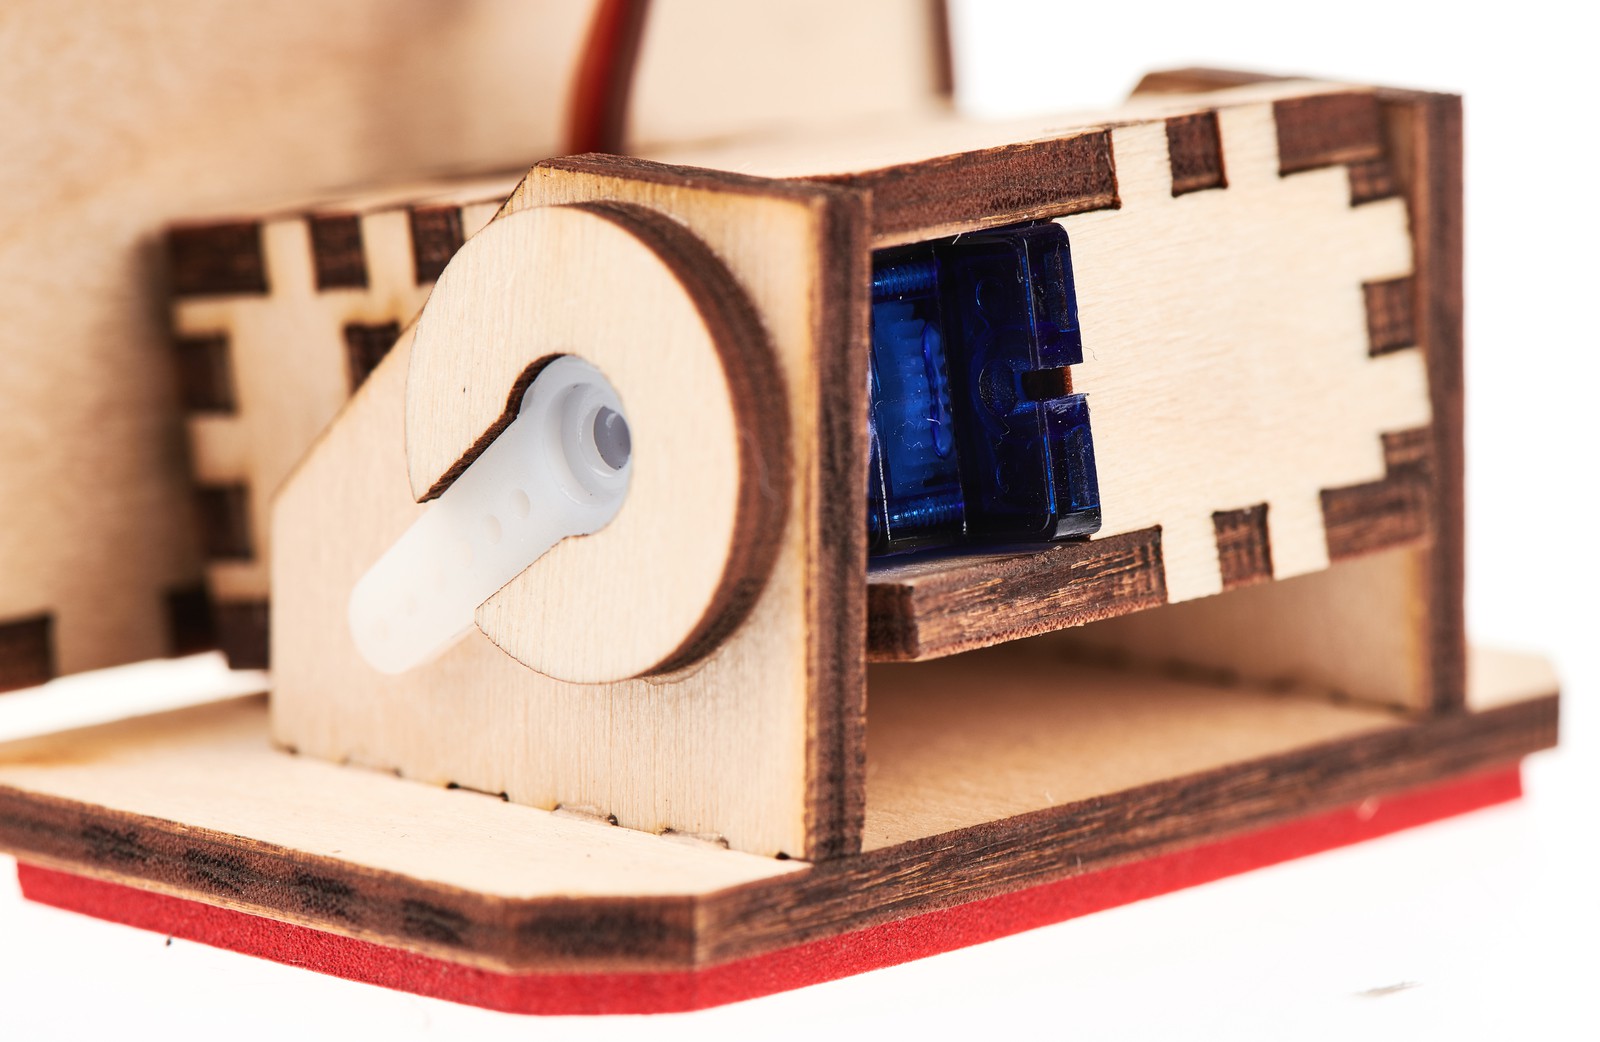
The servos actuating the feet are just built into the legs. There are no screws nor glue needed for holding them in place. This picture shows the bottom plate of the leg holding the servo up and bracing against the mounting tab.
Discussions
Become a Hackaday.io Member
Create an account to leave a comment. Already have an account? Log In.