 Enrico
After having a good idea on what heatsink to use, with a limited capacity on product aestethics and the will to get something done, I've end up to enclose anything in a box.
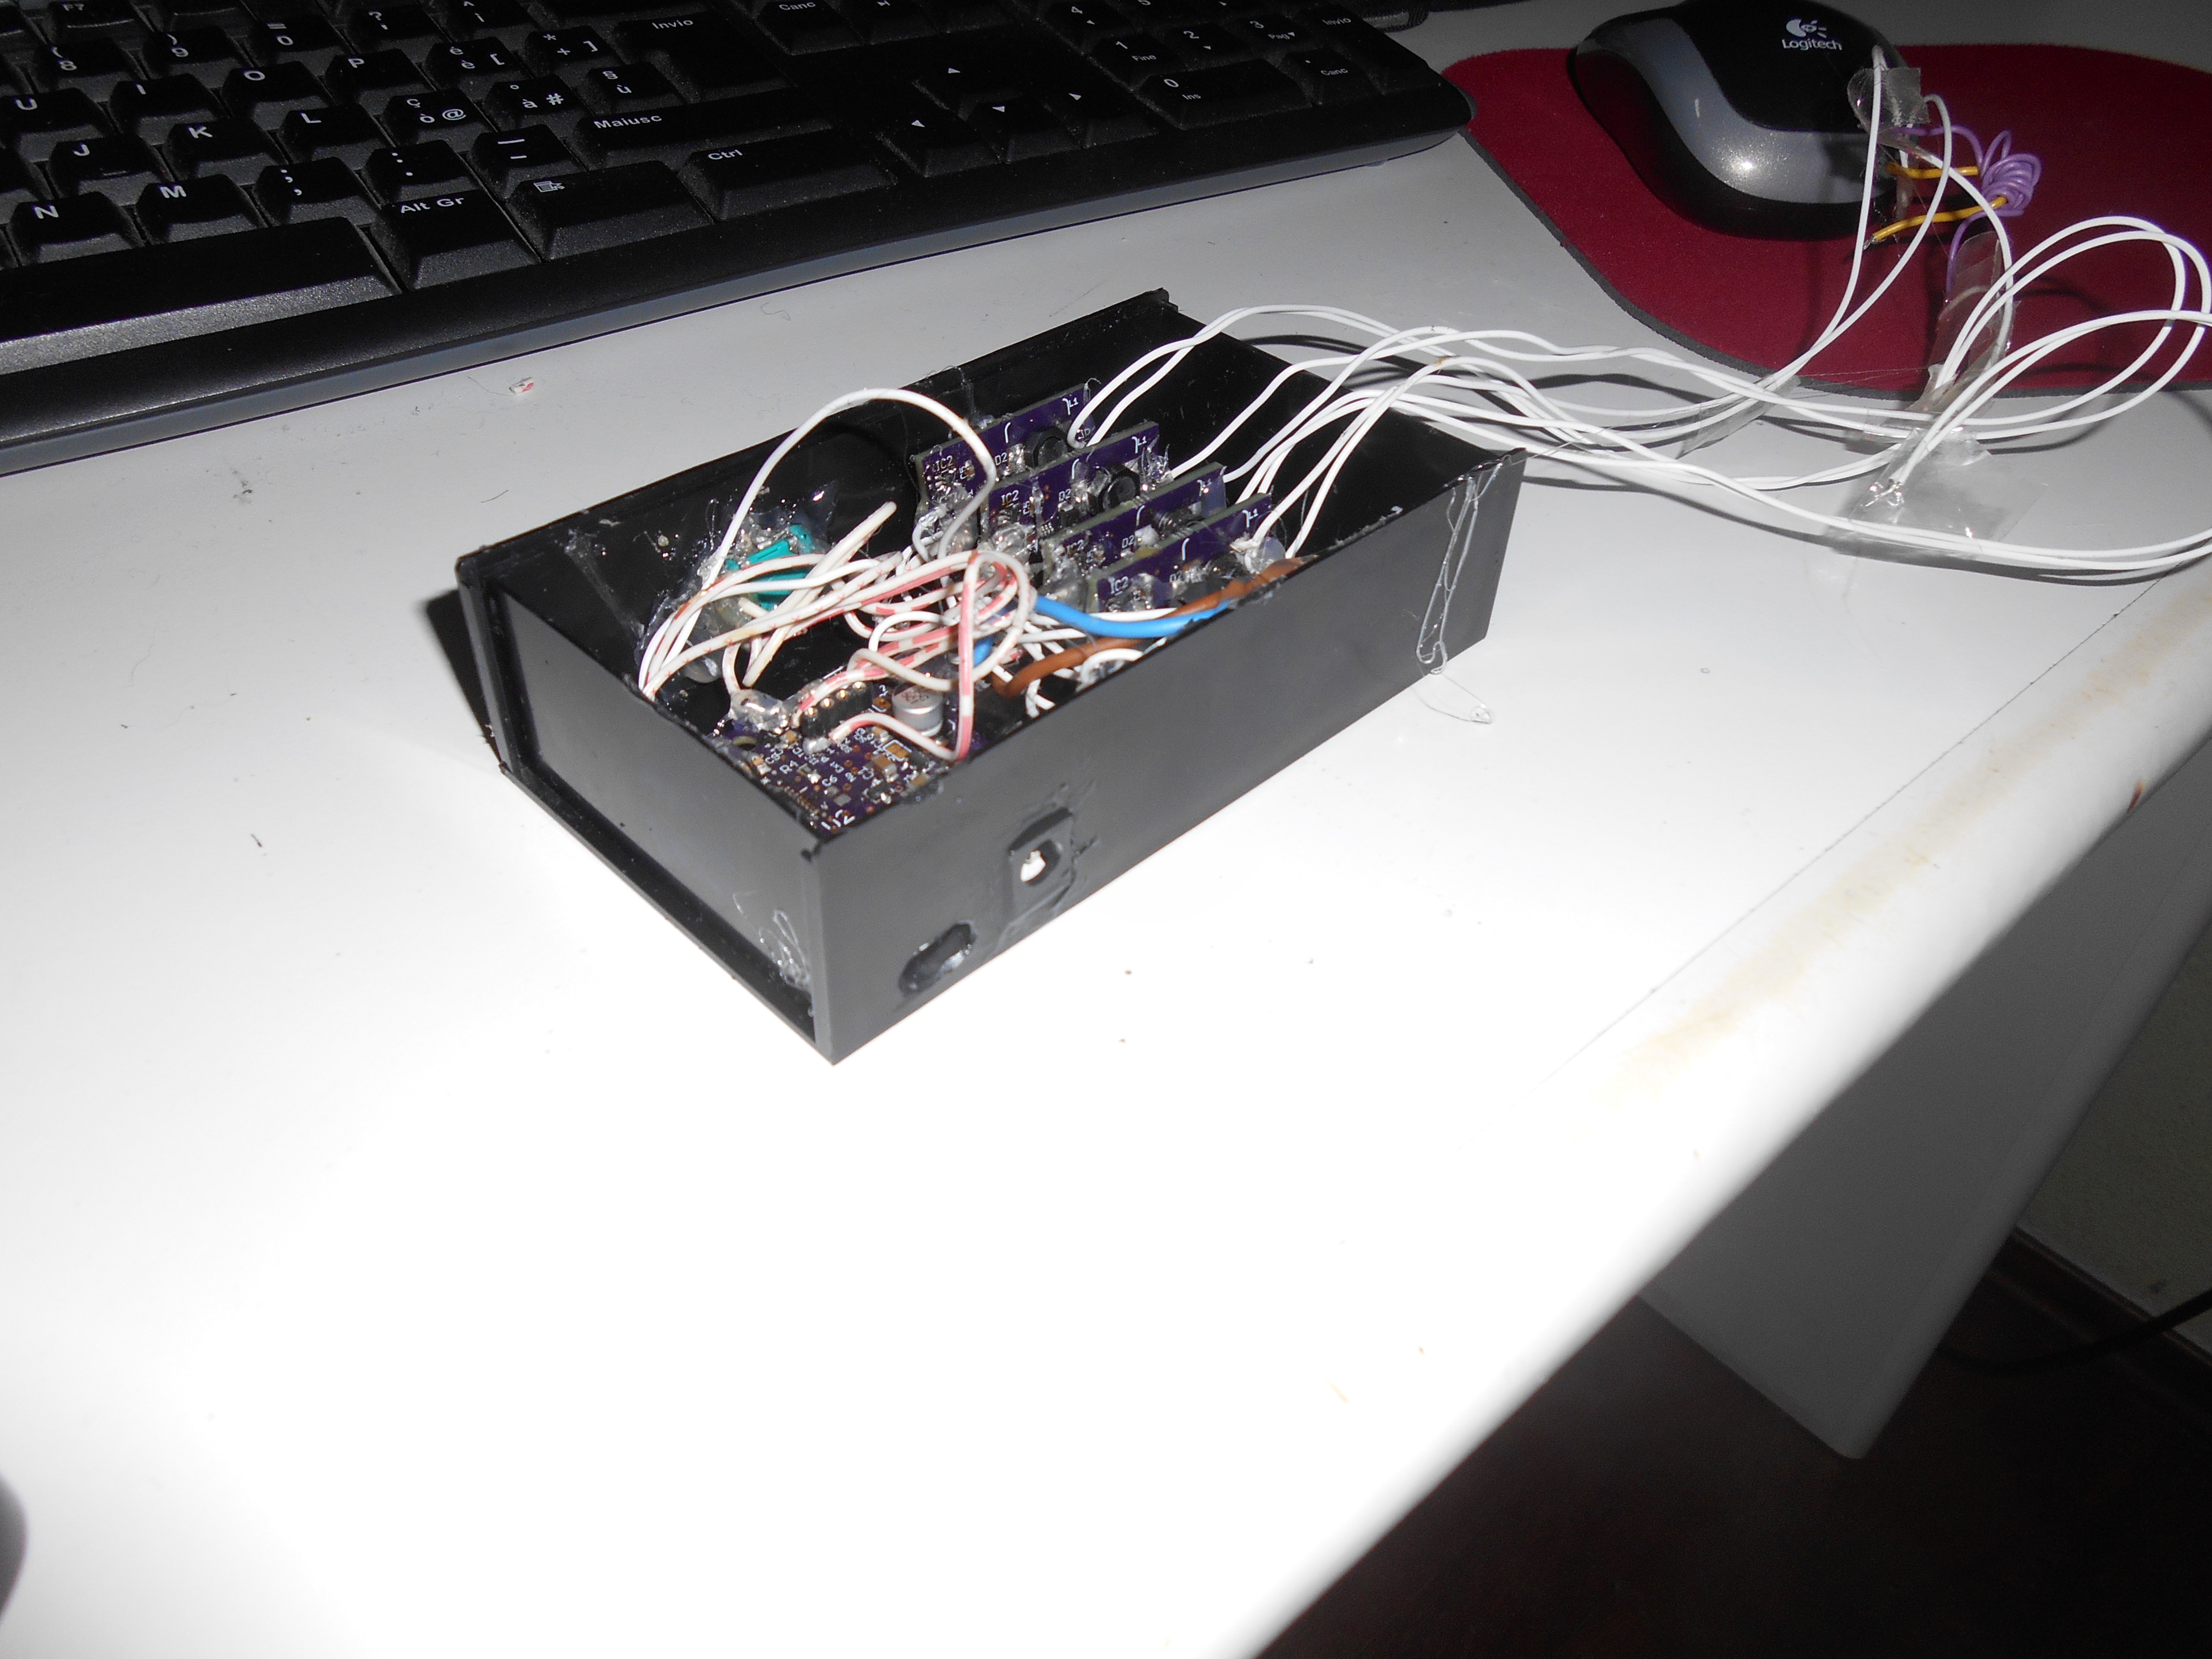
I setup the enclosure starting from an ABS box found at the local hardware supply. The plan is to fix everything inside, by means of hot glue. Then place the heatsink on the box and fixing it with some threaded rods, since it provides some holes for mounting. Fix everything on the box by means of screws and put an acrylic square on top of it. All is kept very minimal, like the acrylic is just a square because was simpler to cut with a Dremel. Any kind of mechanical spacer is made by using nuts. Anything goes for just a prototype. The key: have something to put on a desk.
Firstly, I placed the power LED drivers and the controller board in the box, connect them by means of wires and hot glue to strenghten the solder joints. Then I prepared the LED wires to be connected to the LED engine afterwards.
Below, the box filled with the electronics and airwires ready to be connected to the LEDs.
 A detail of the controller board once in the box. On one side there is the power jack and USB connector for the remote/automatic control, on the other the encoder for the manual control.
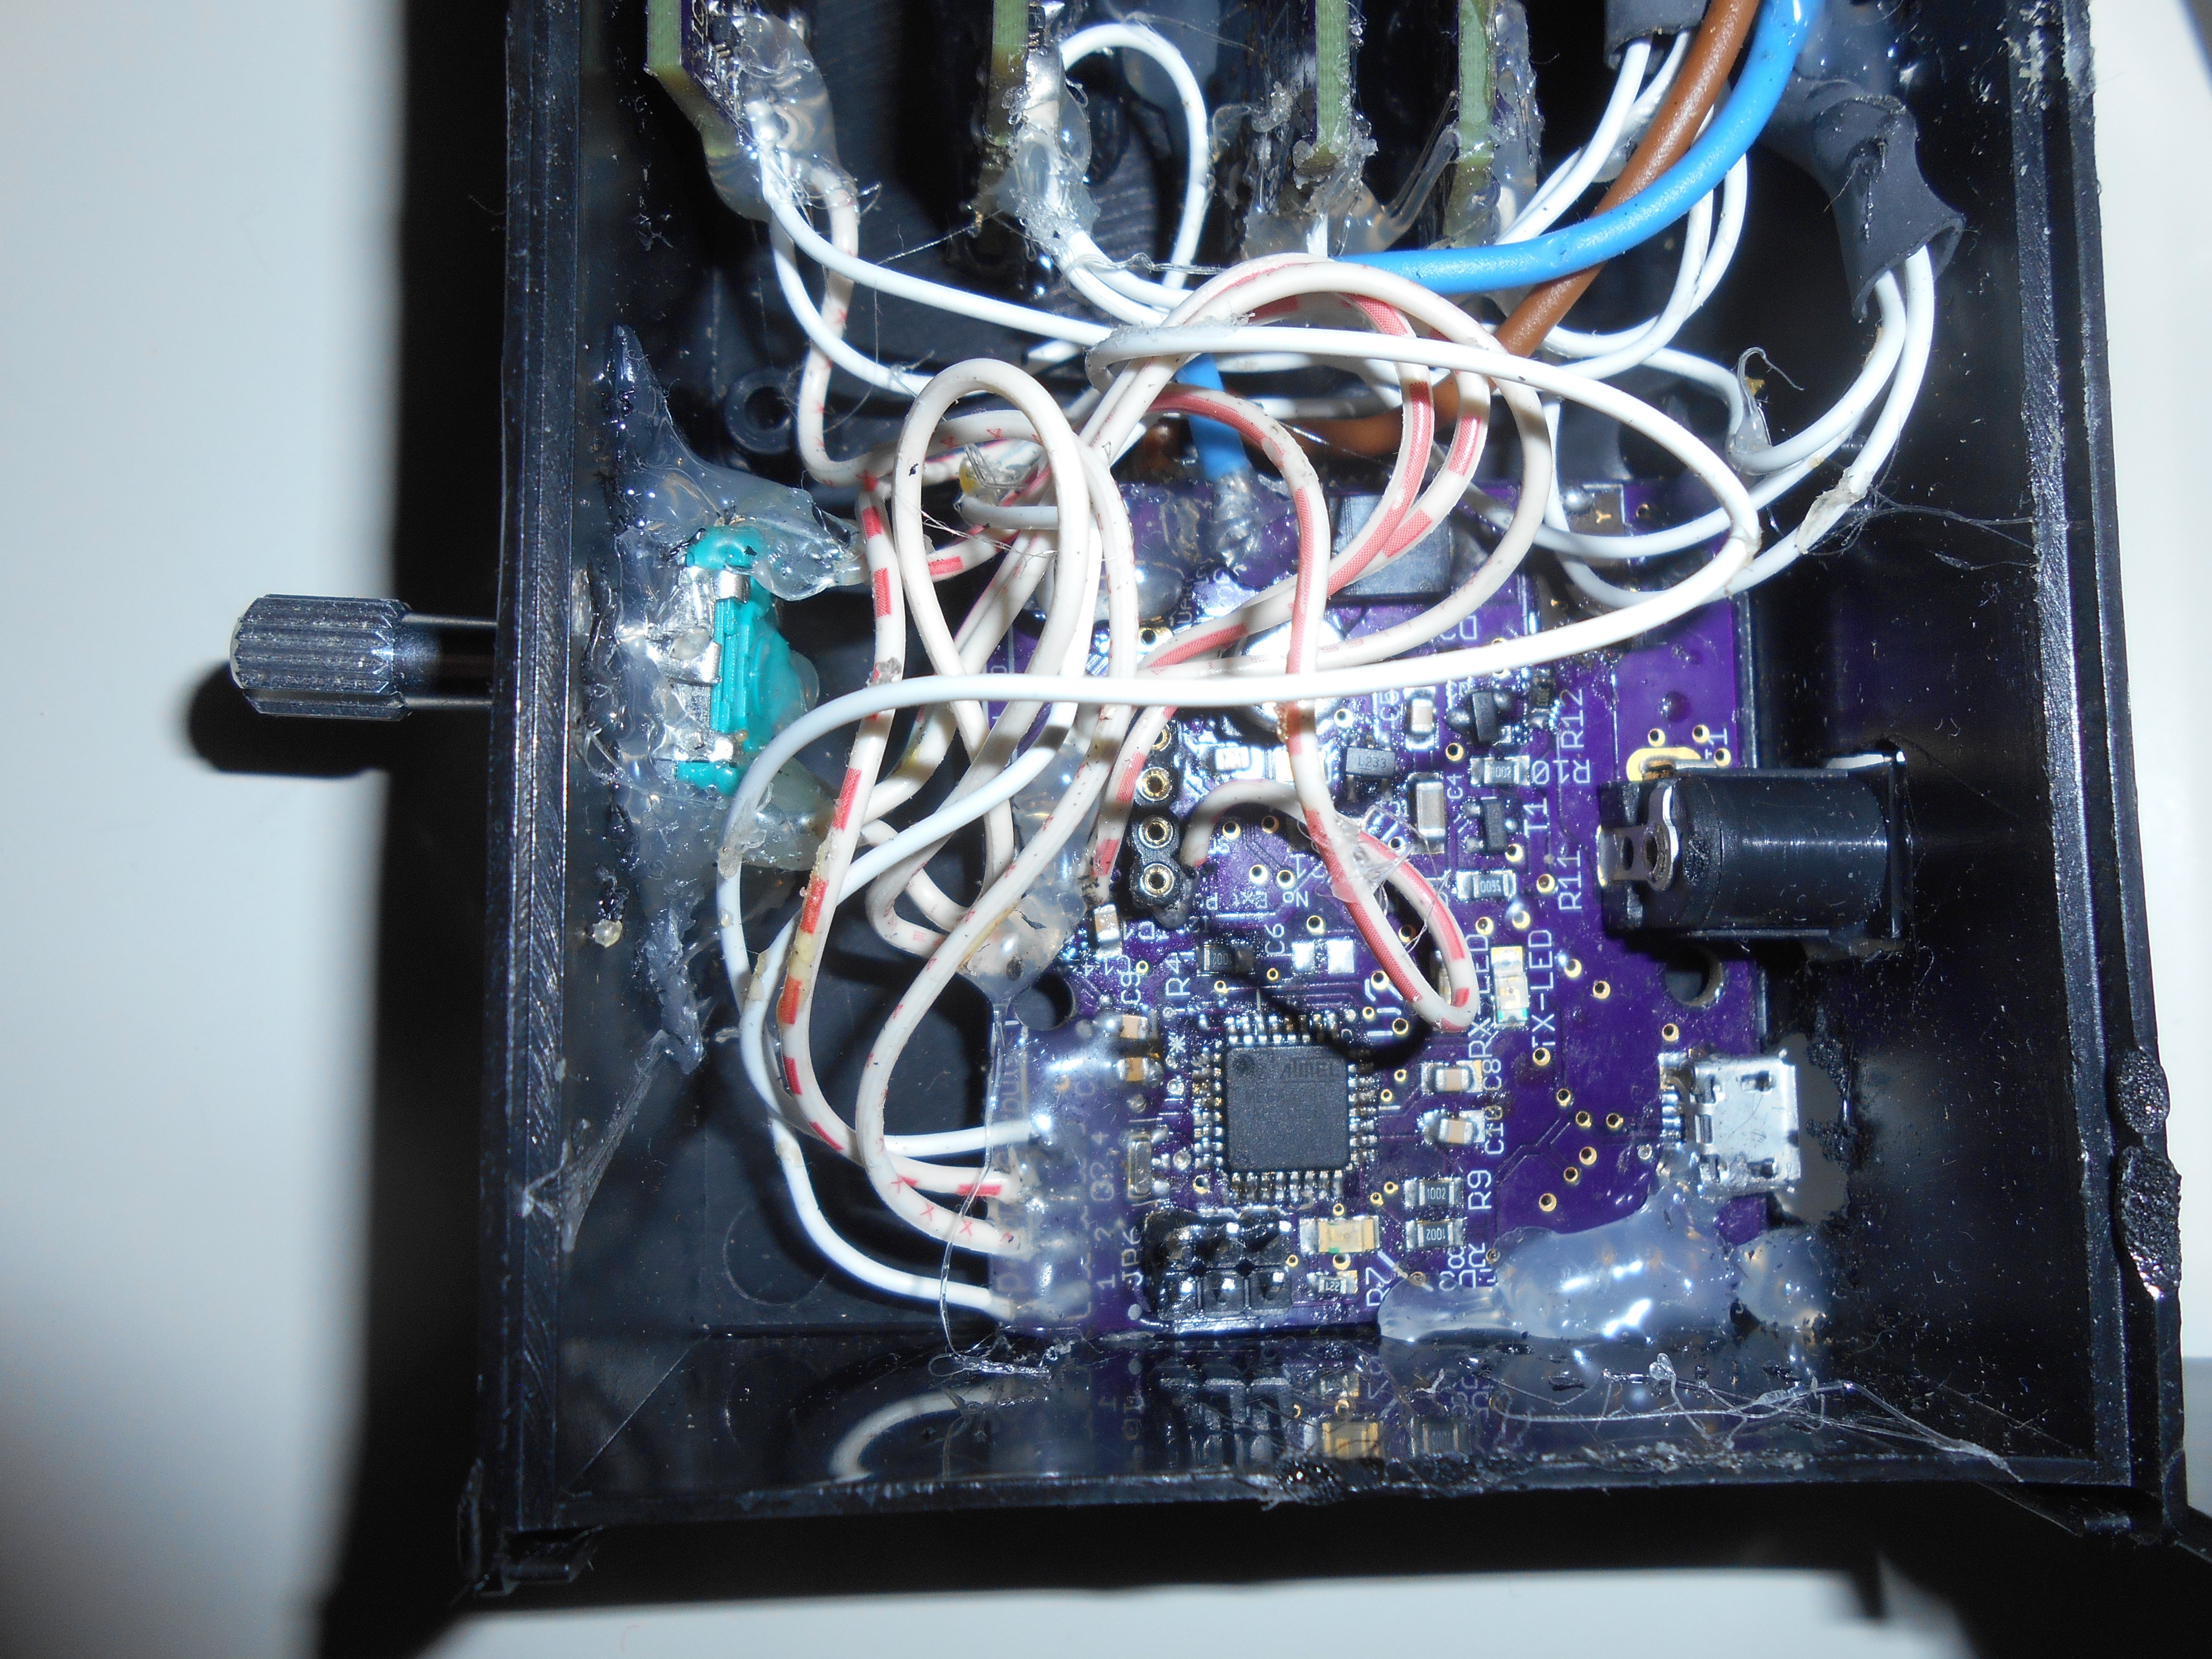 A detail of the power boards, just one hole made to let the wires pass through.
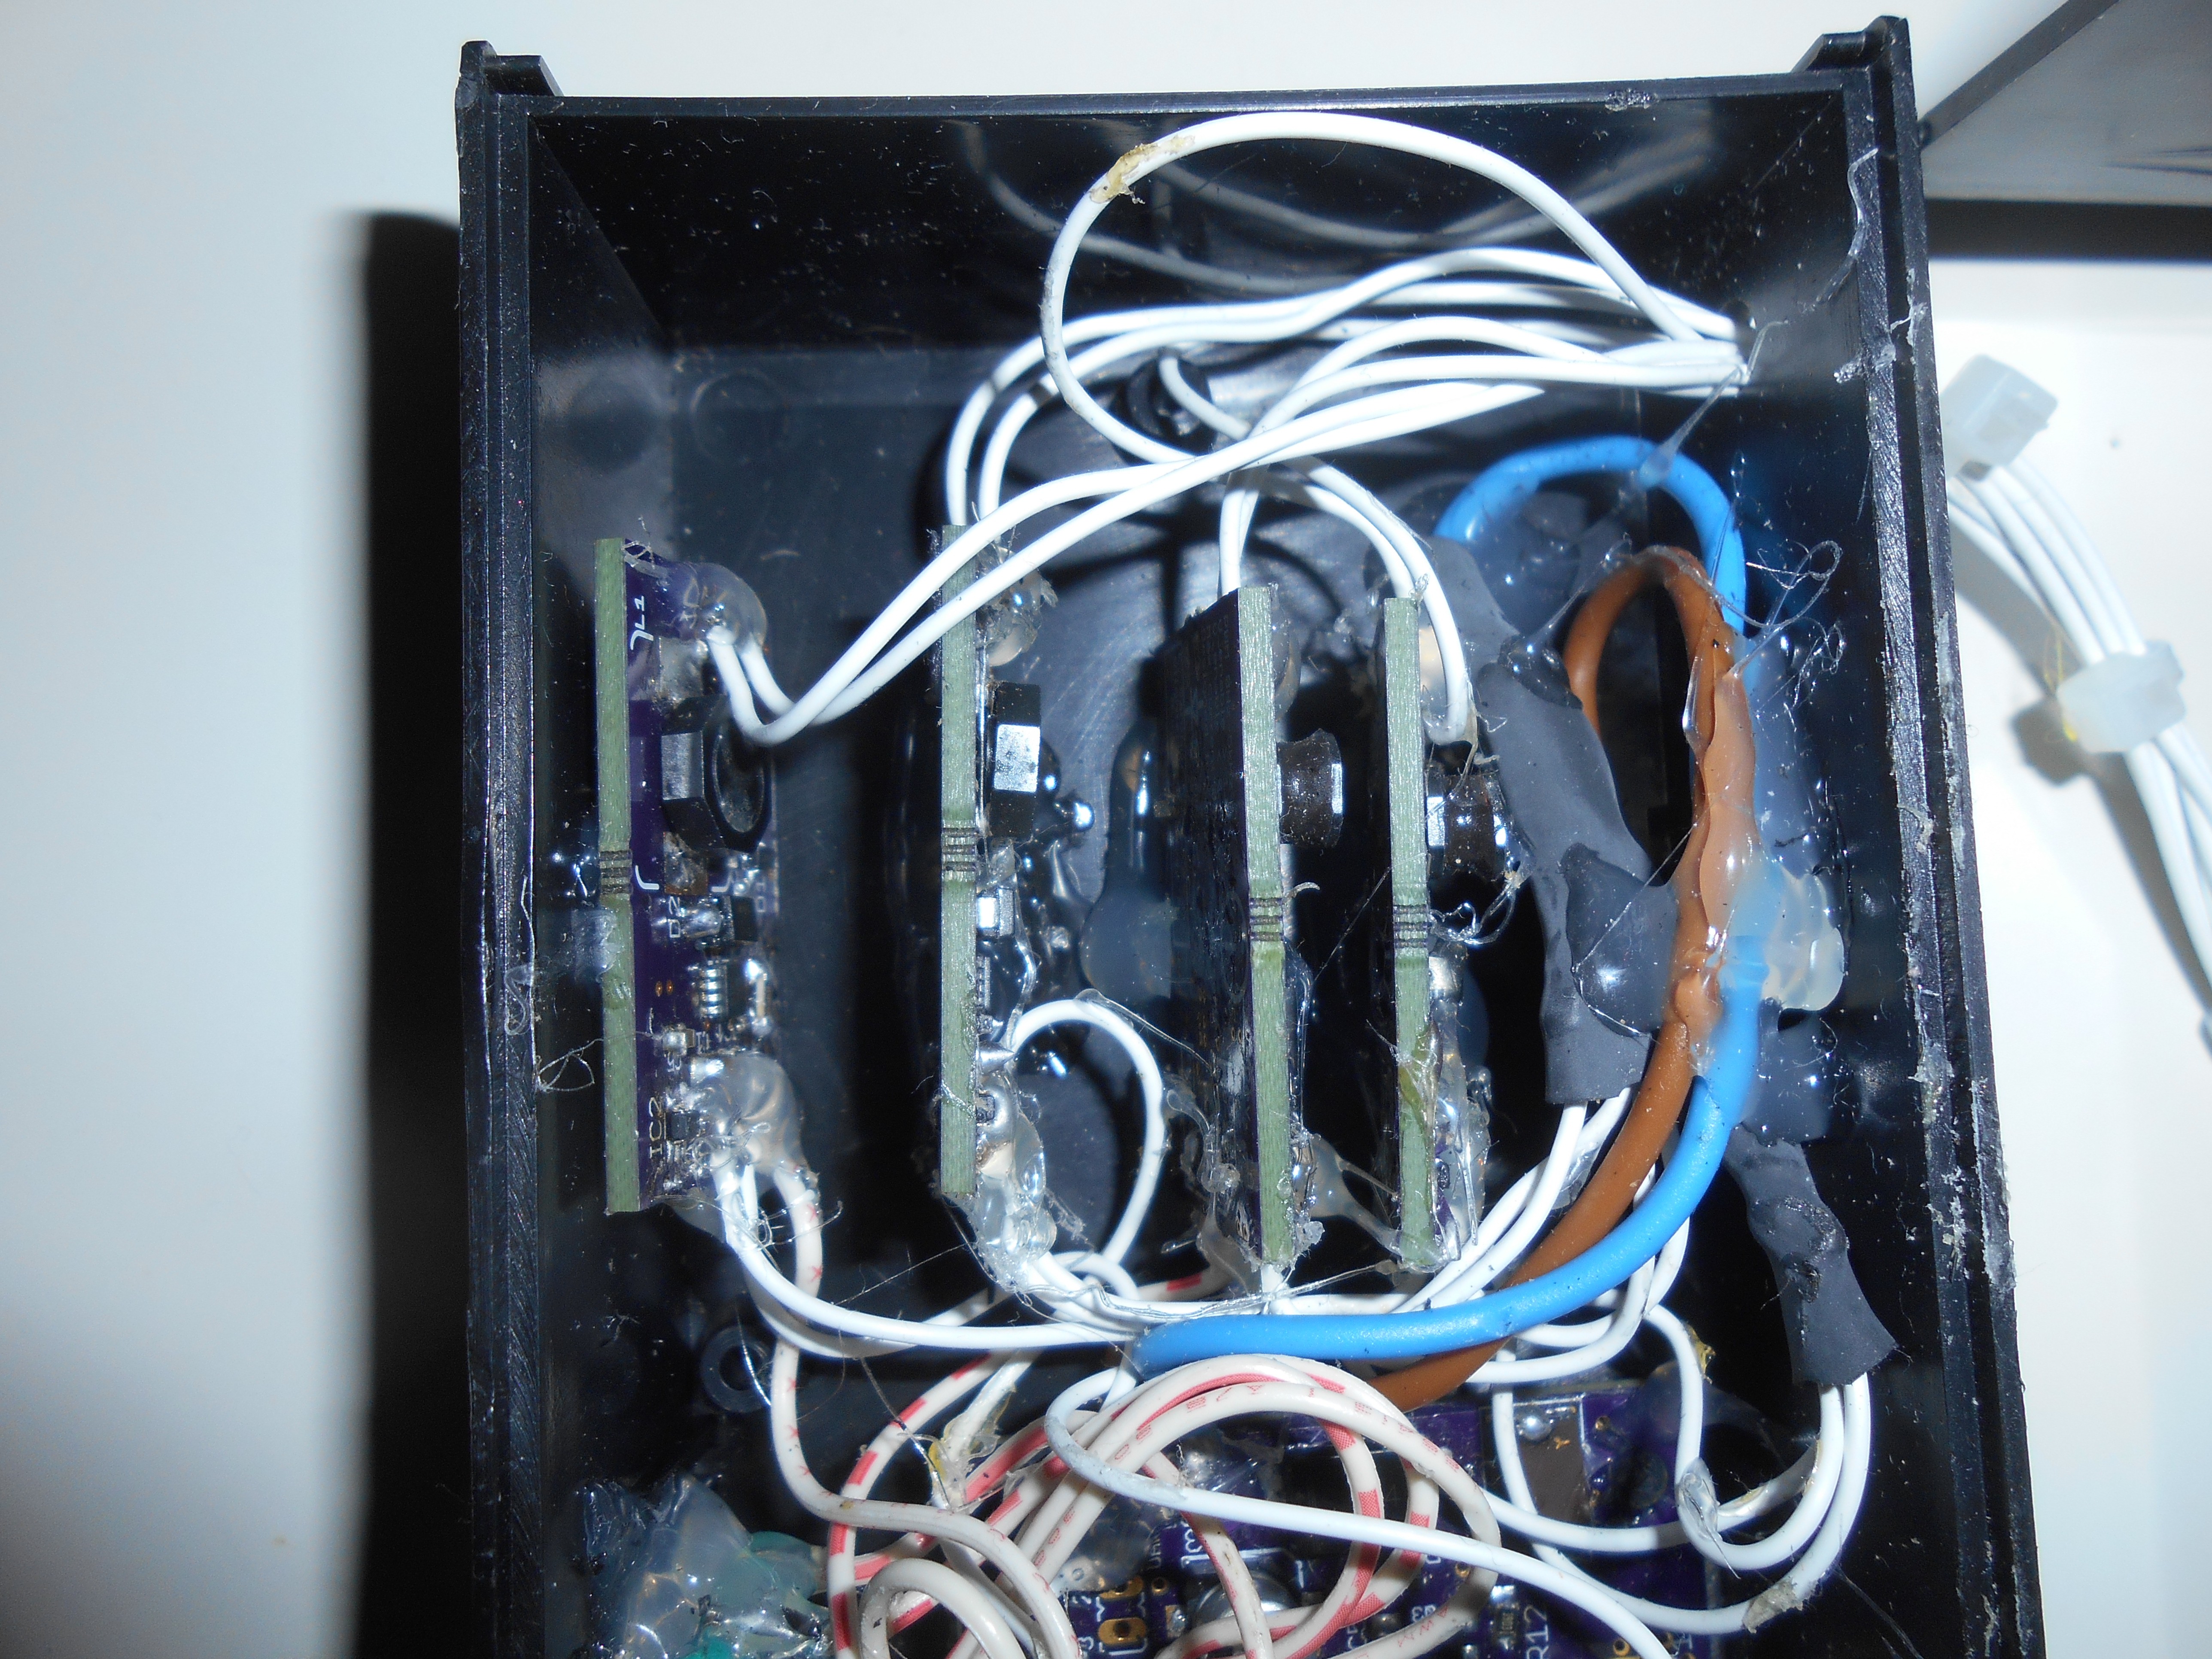
 The wires are then connected to the LED engine, which is connected to the heatsink by means of thermal tape. The heatsink provides space to use some threaded rods which I used as shown.
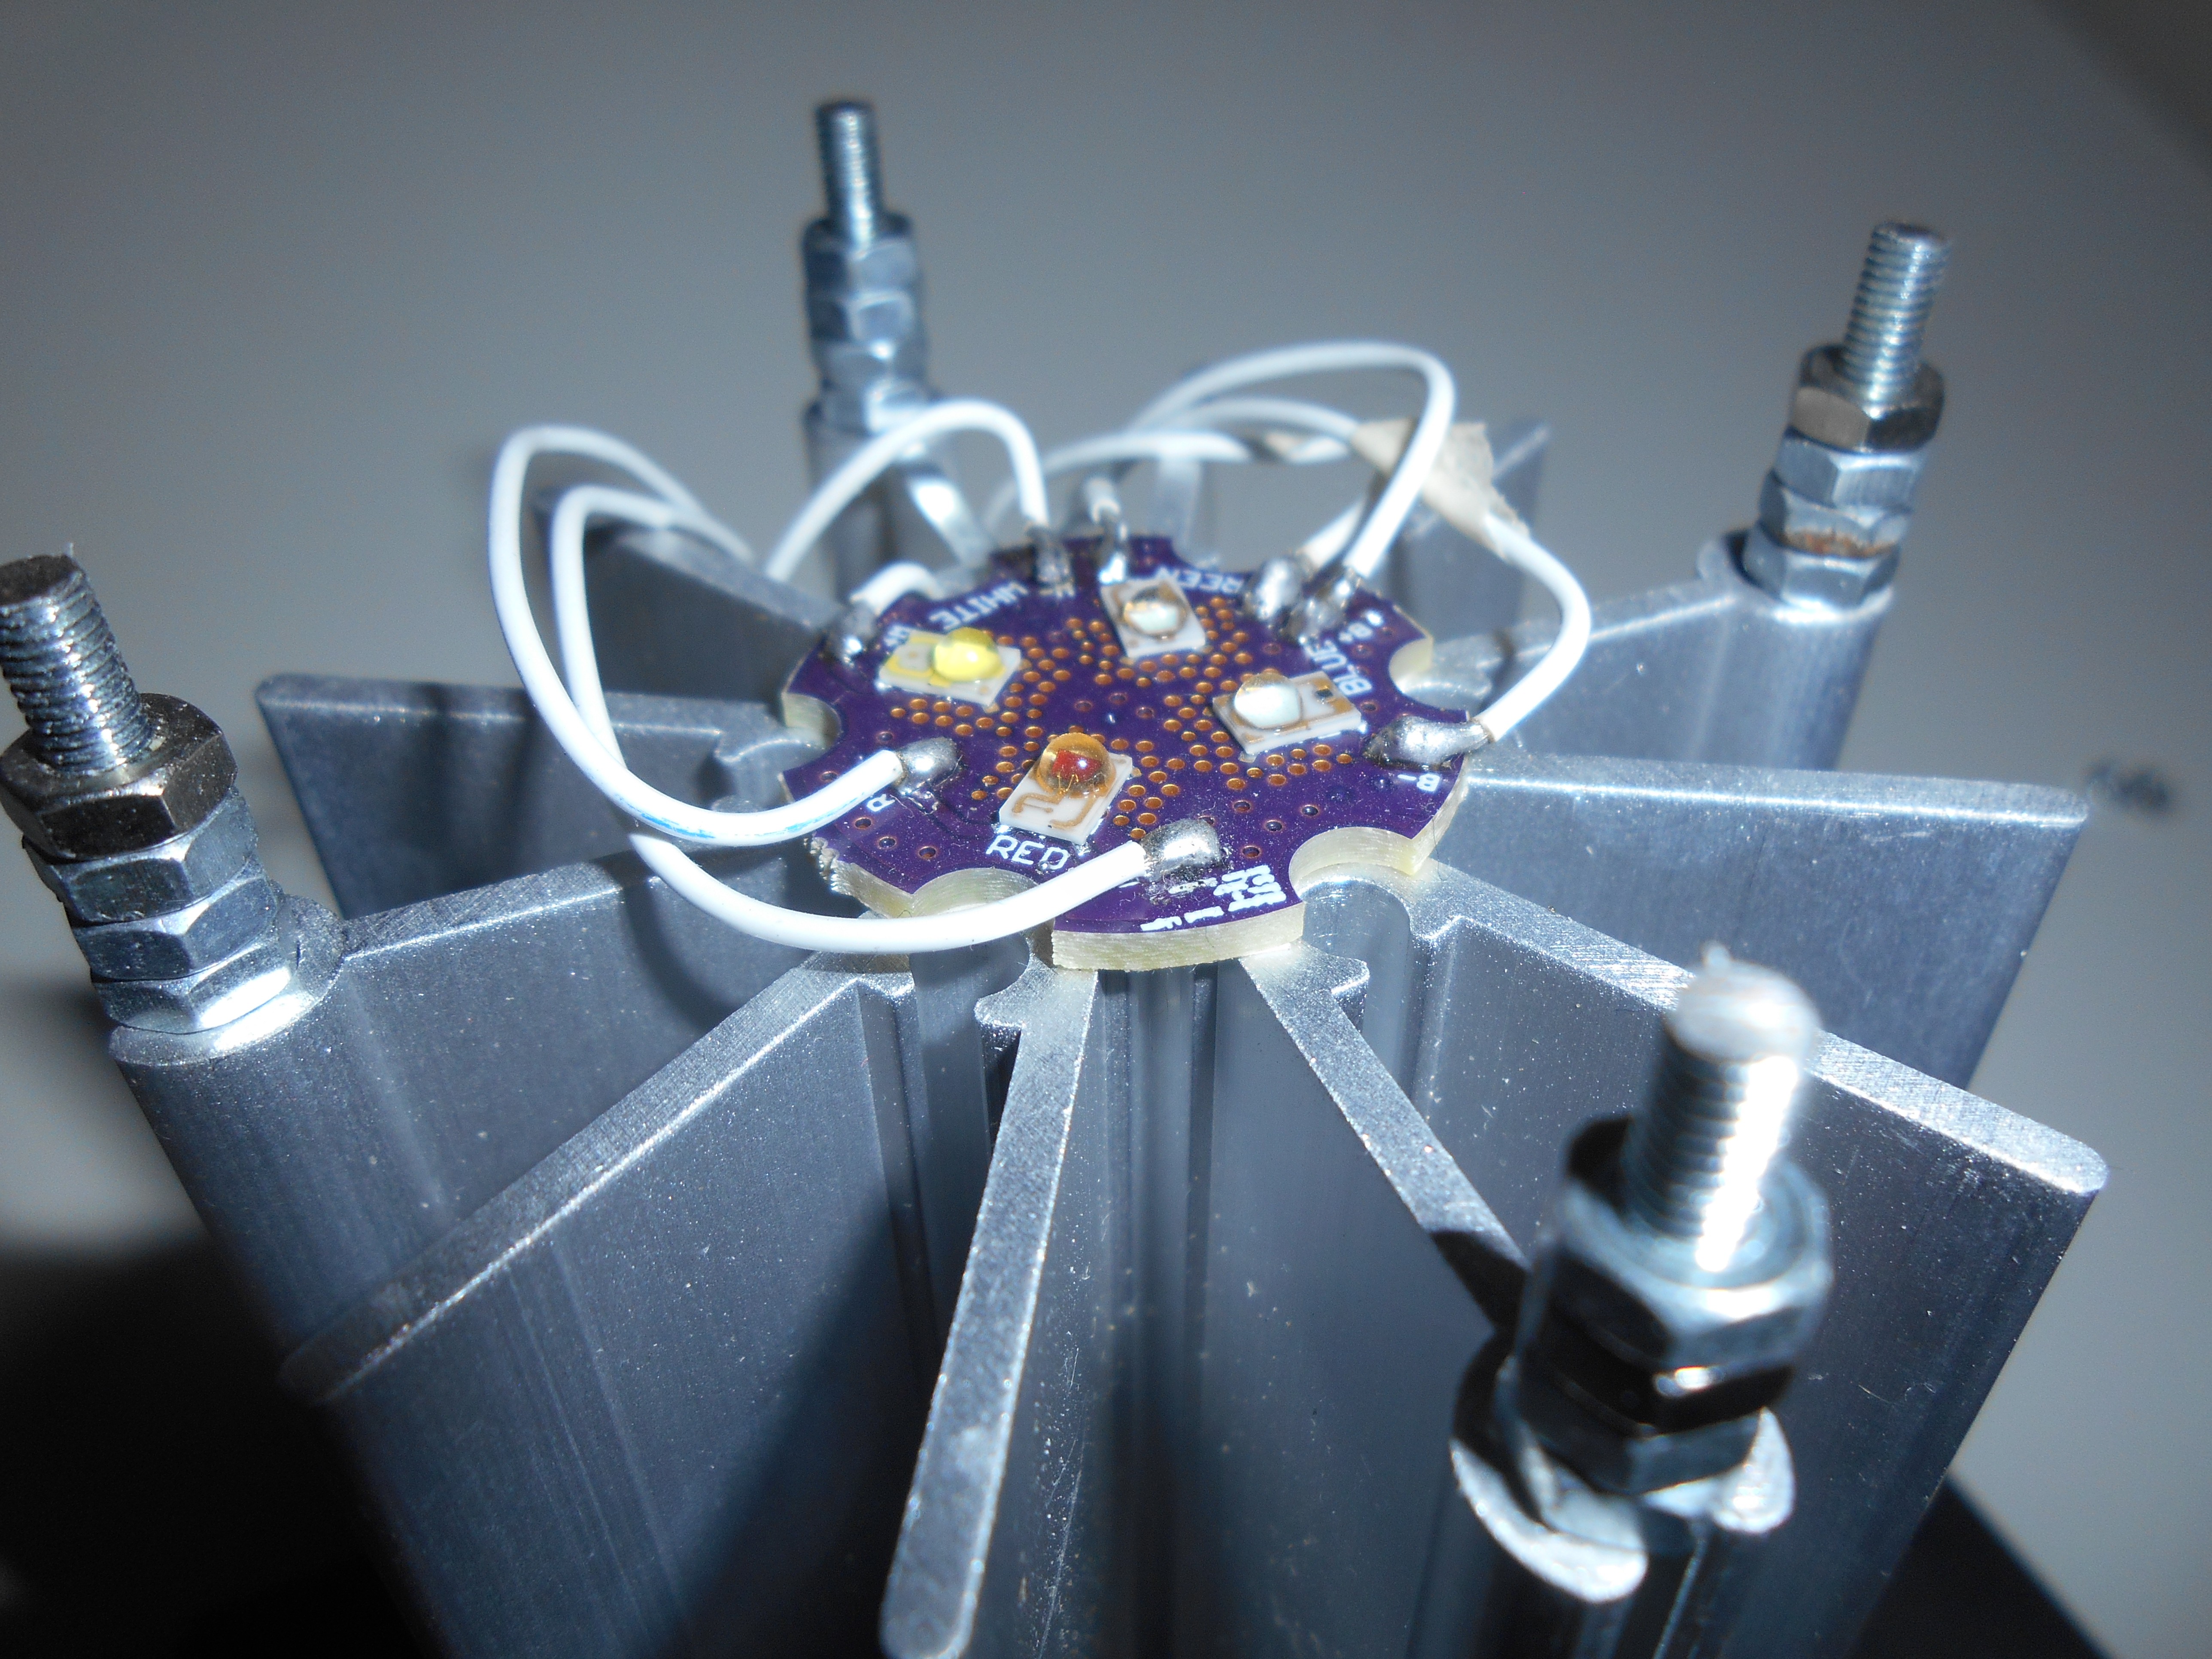
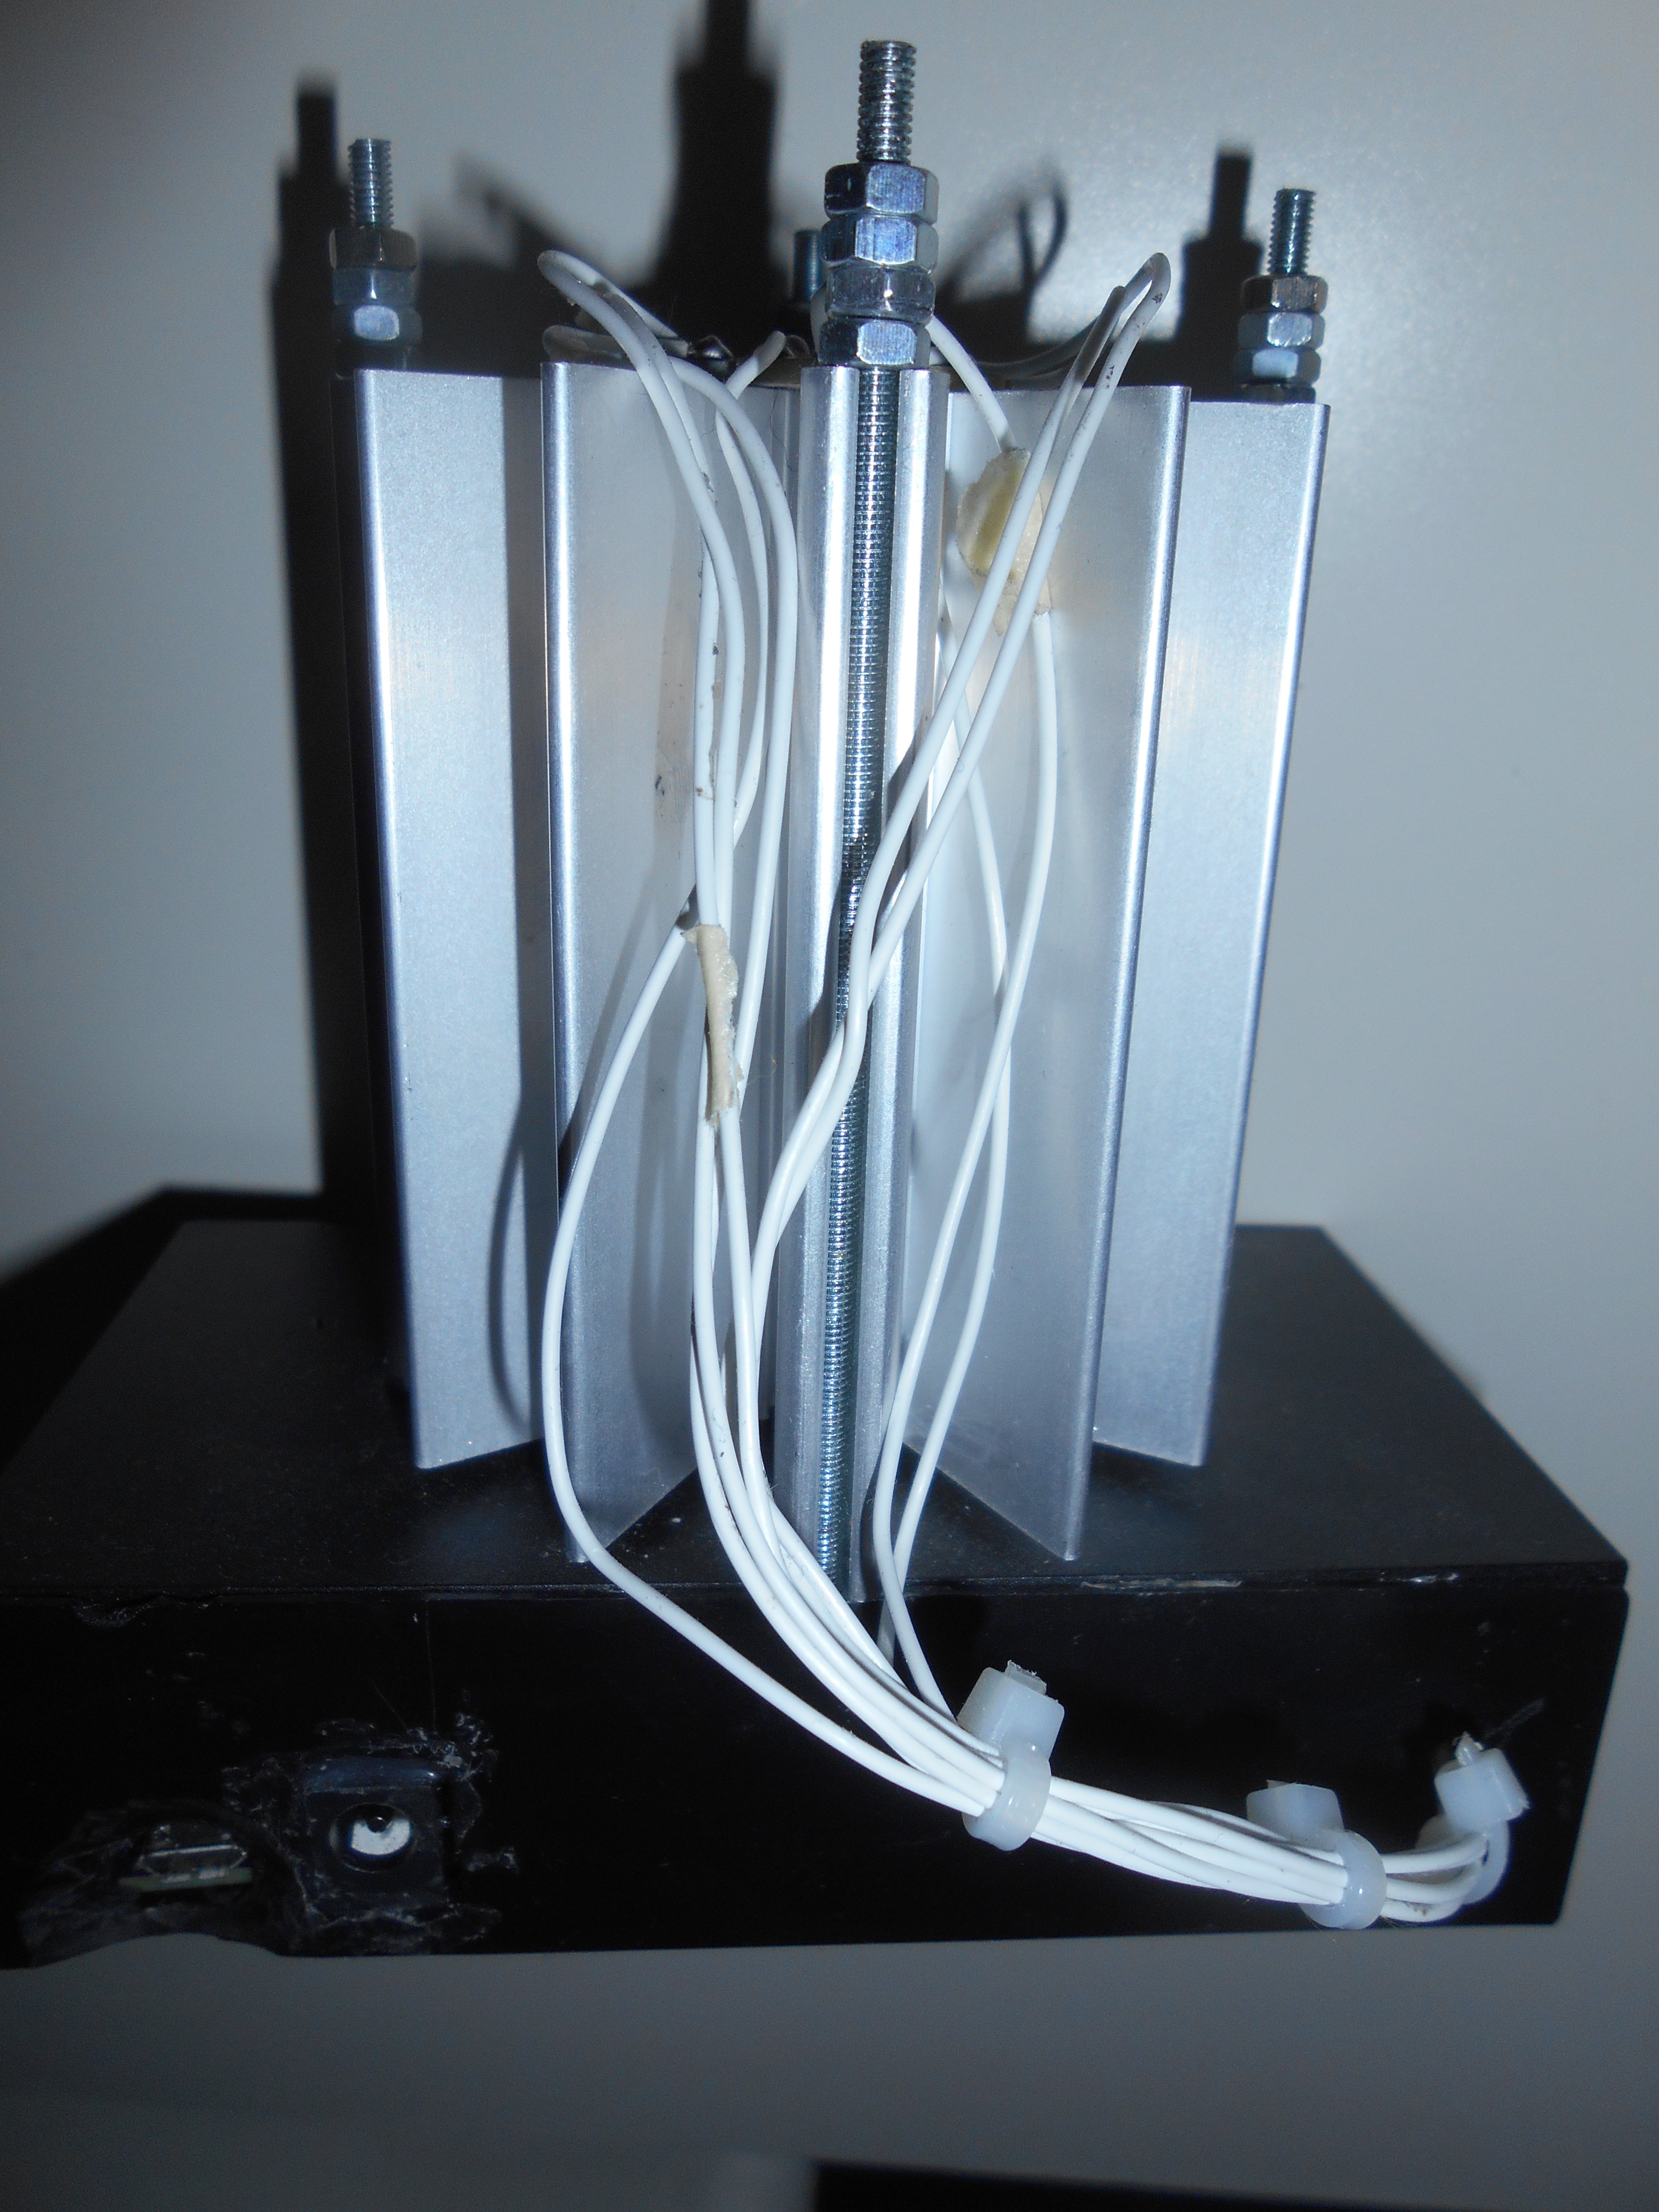
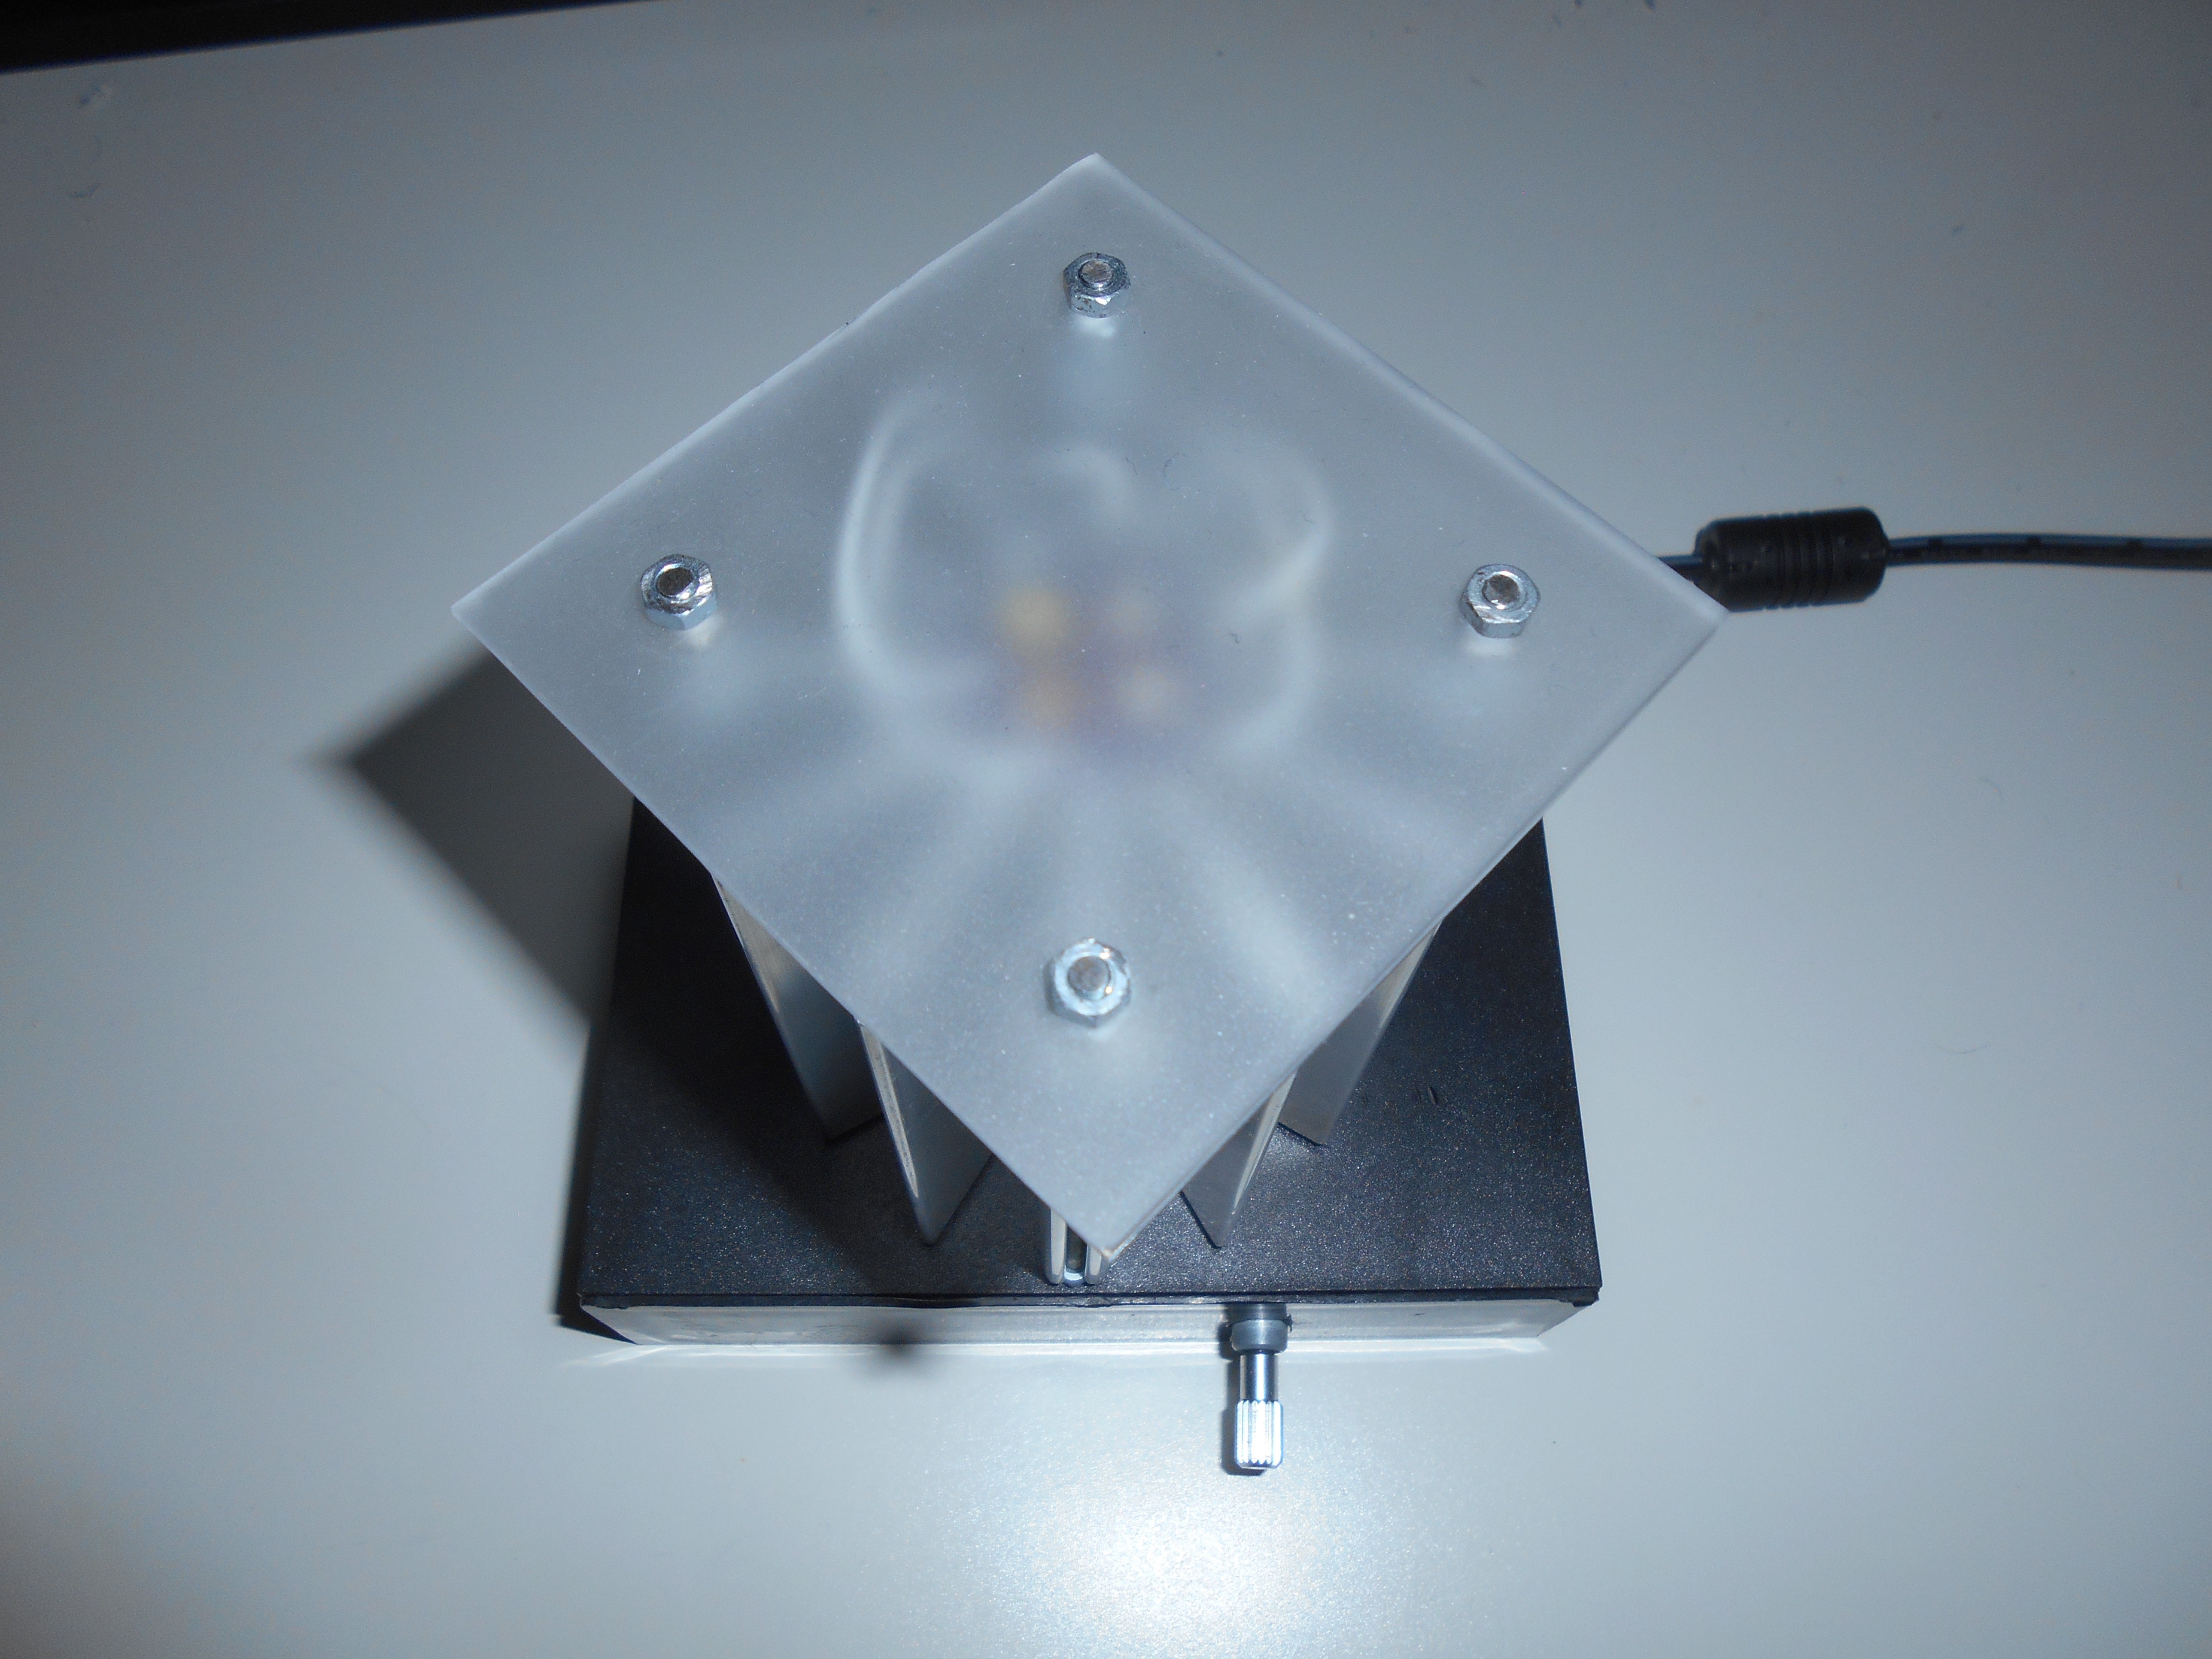
So that I can apply a precutted and milled cover on the LEDs and fixing it with nuts.
 And the final result look like this:
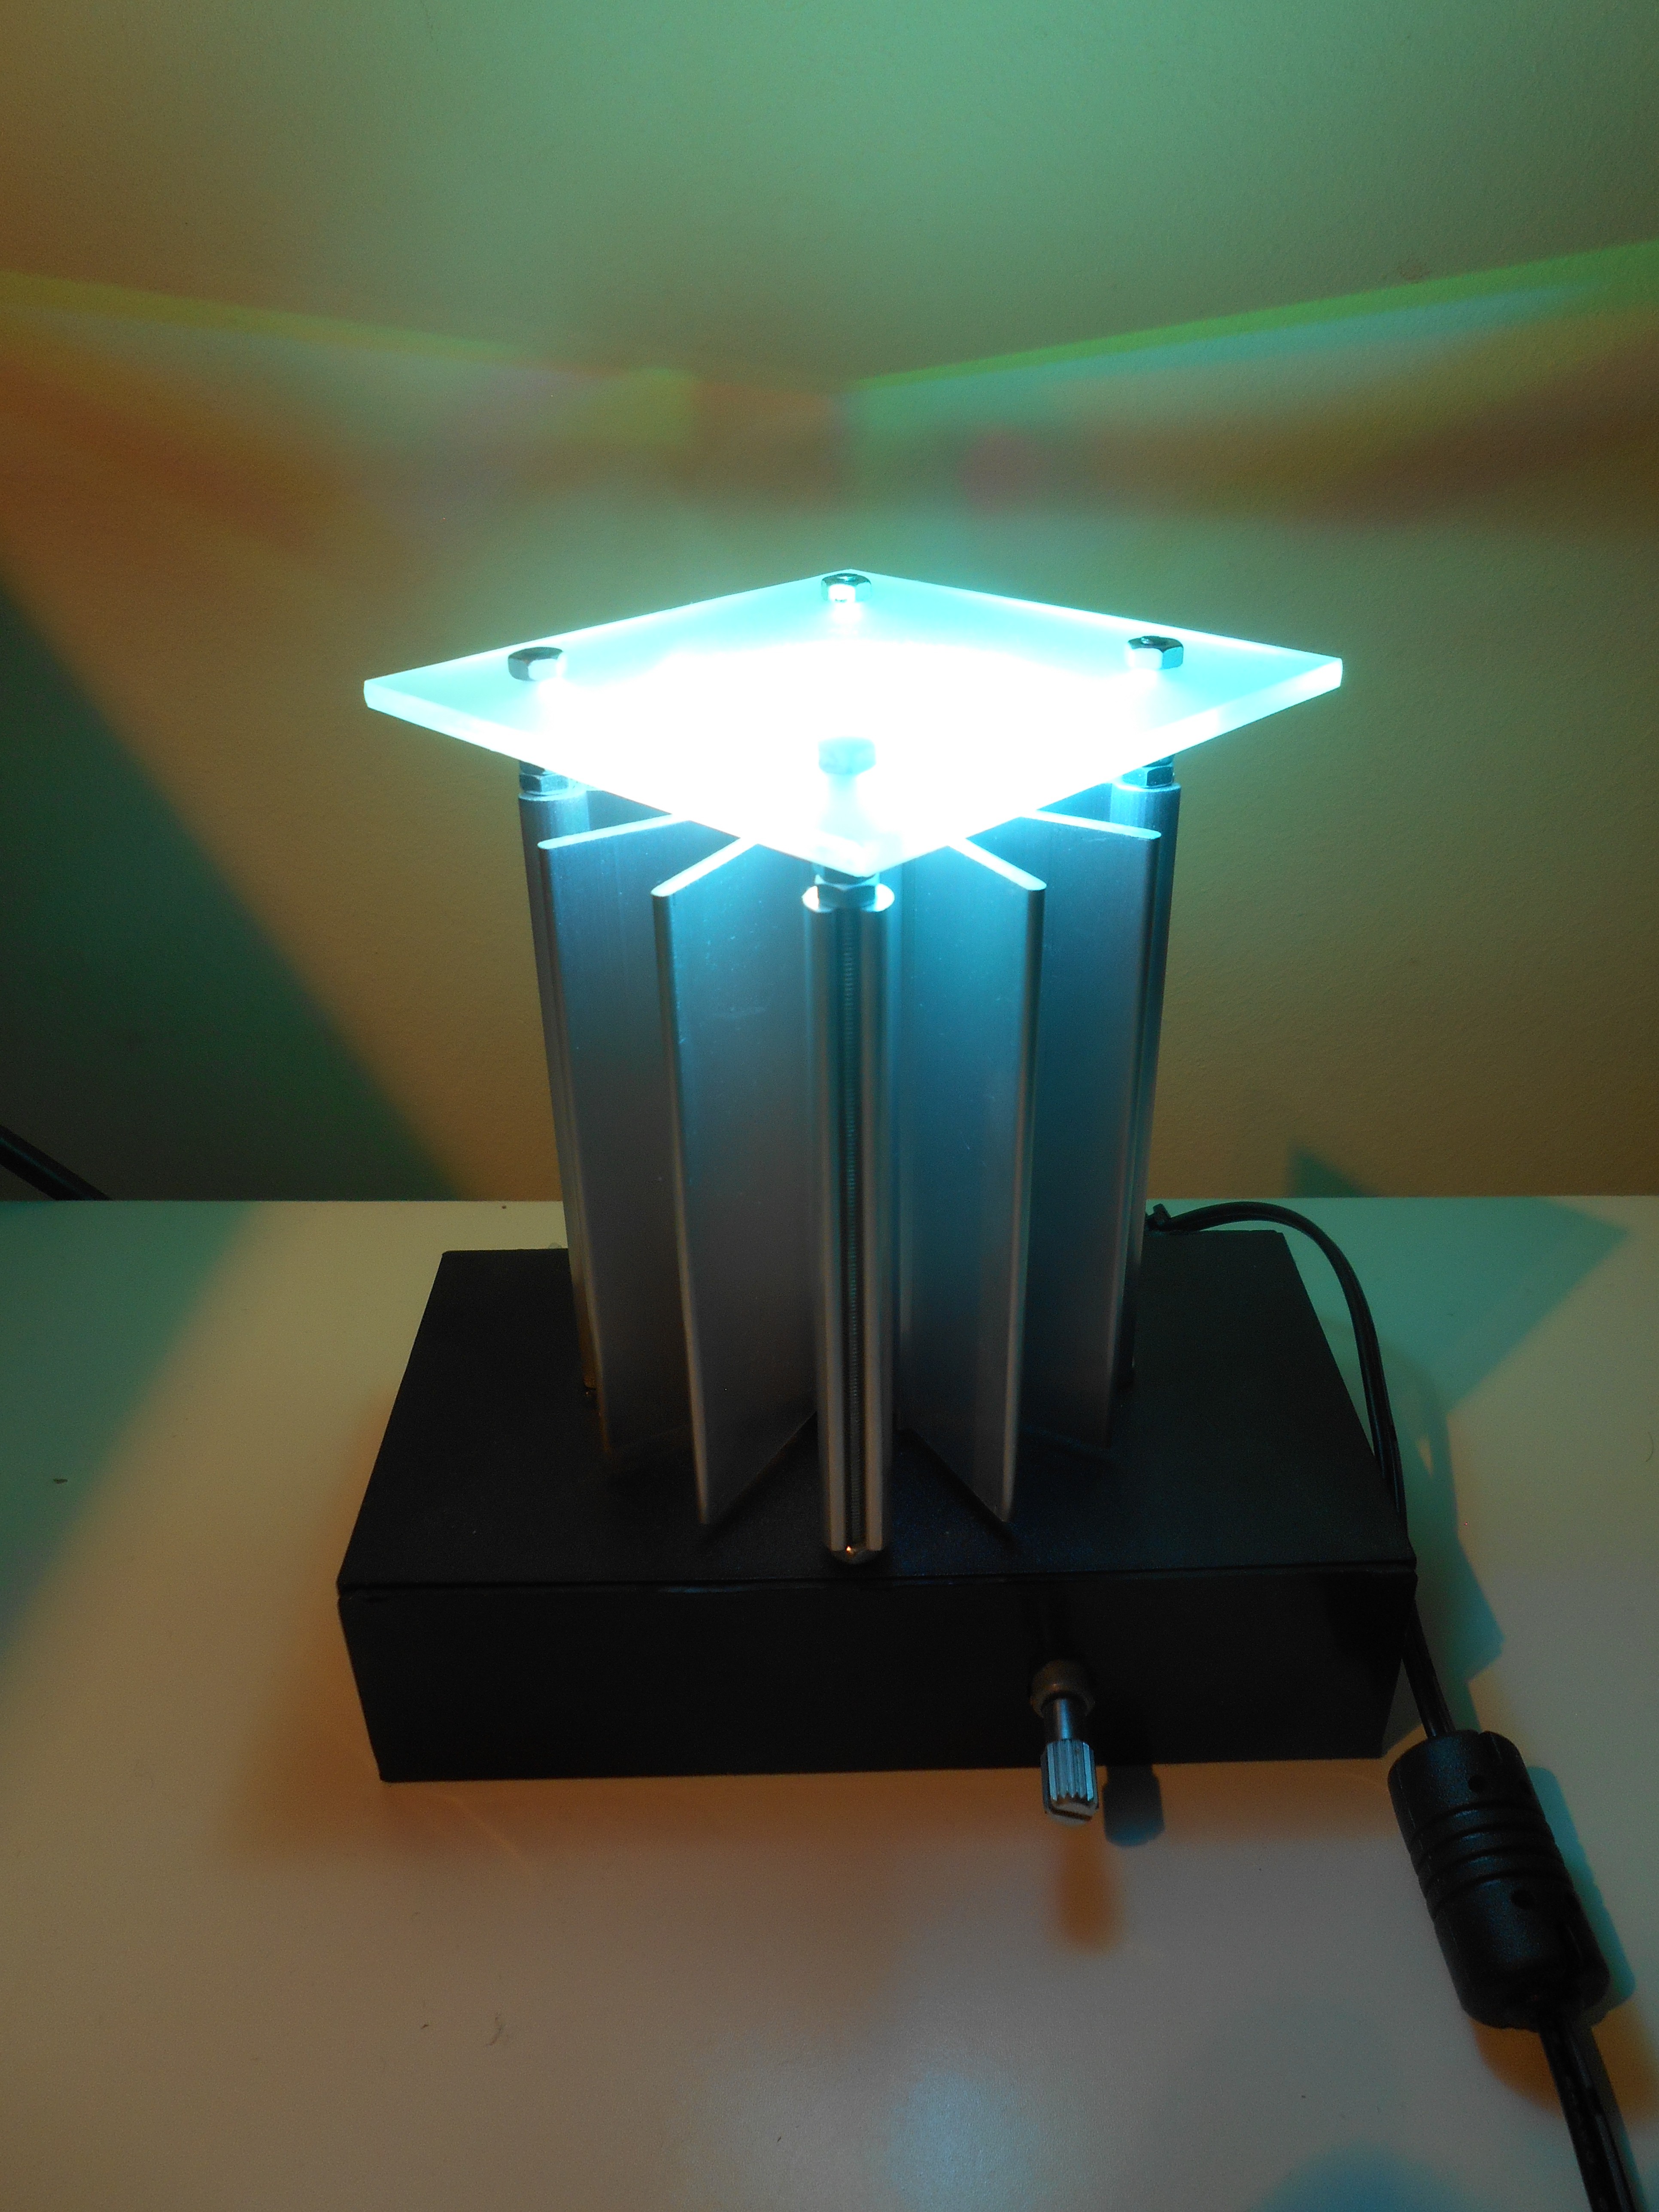 | 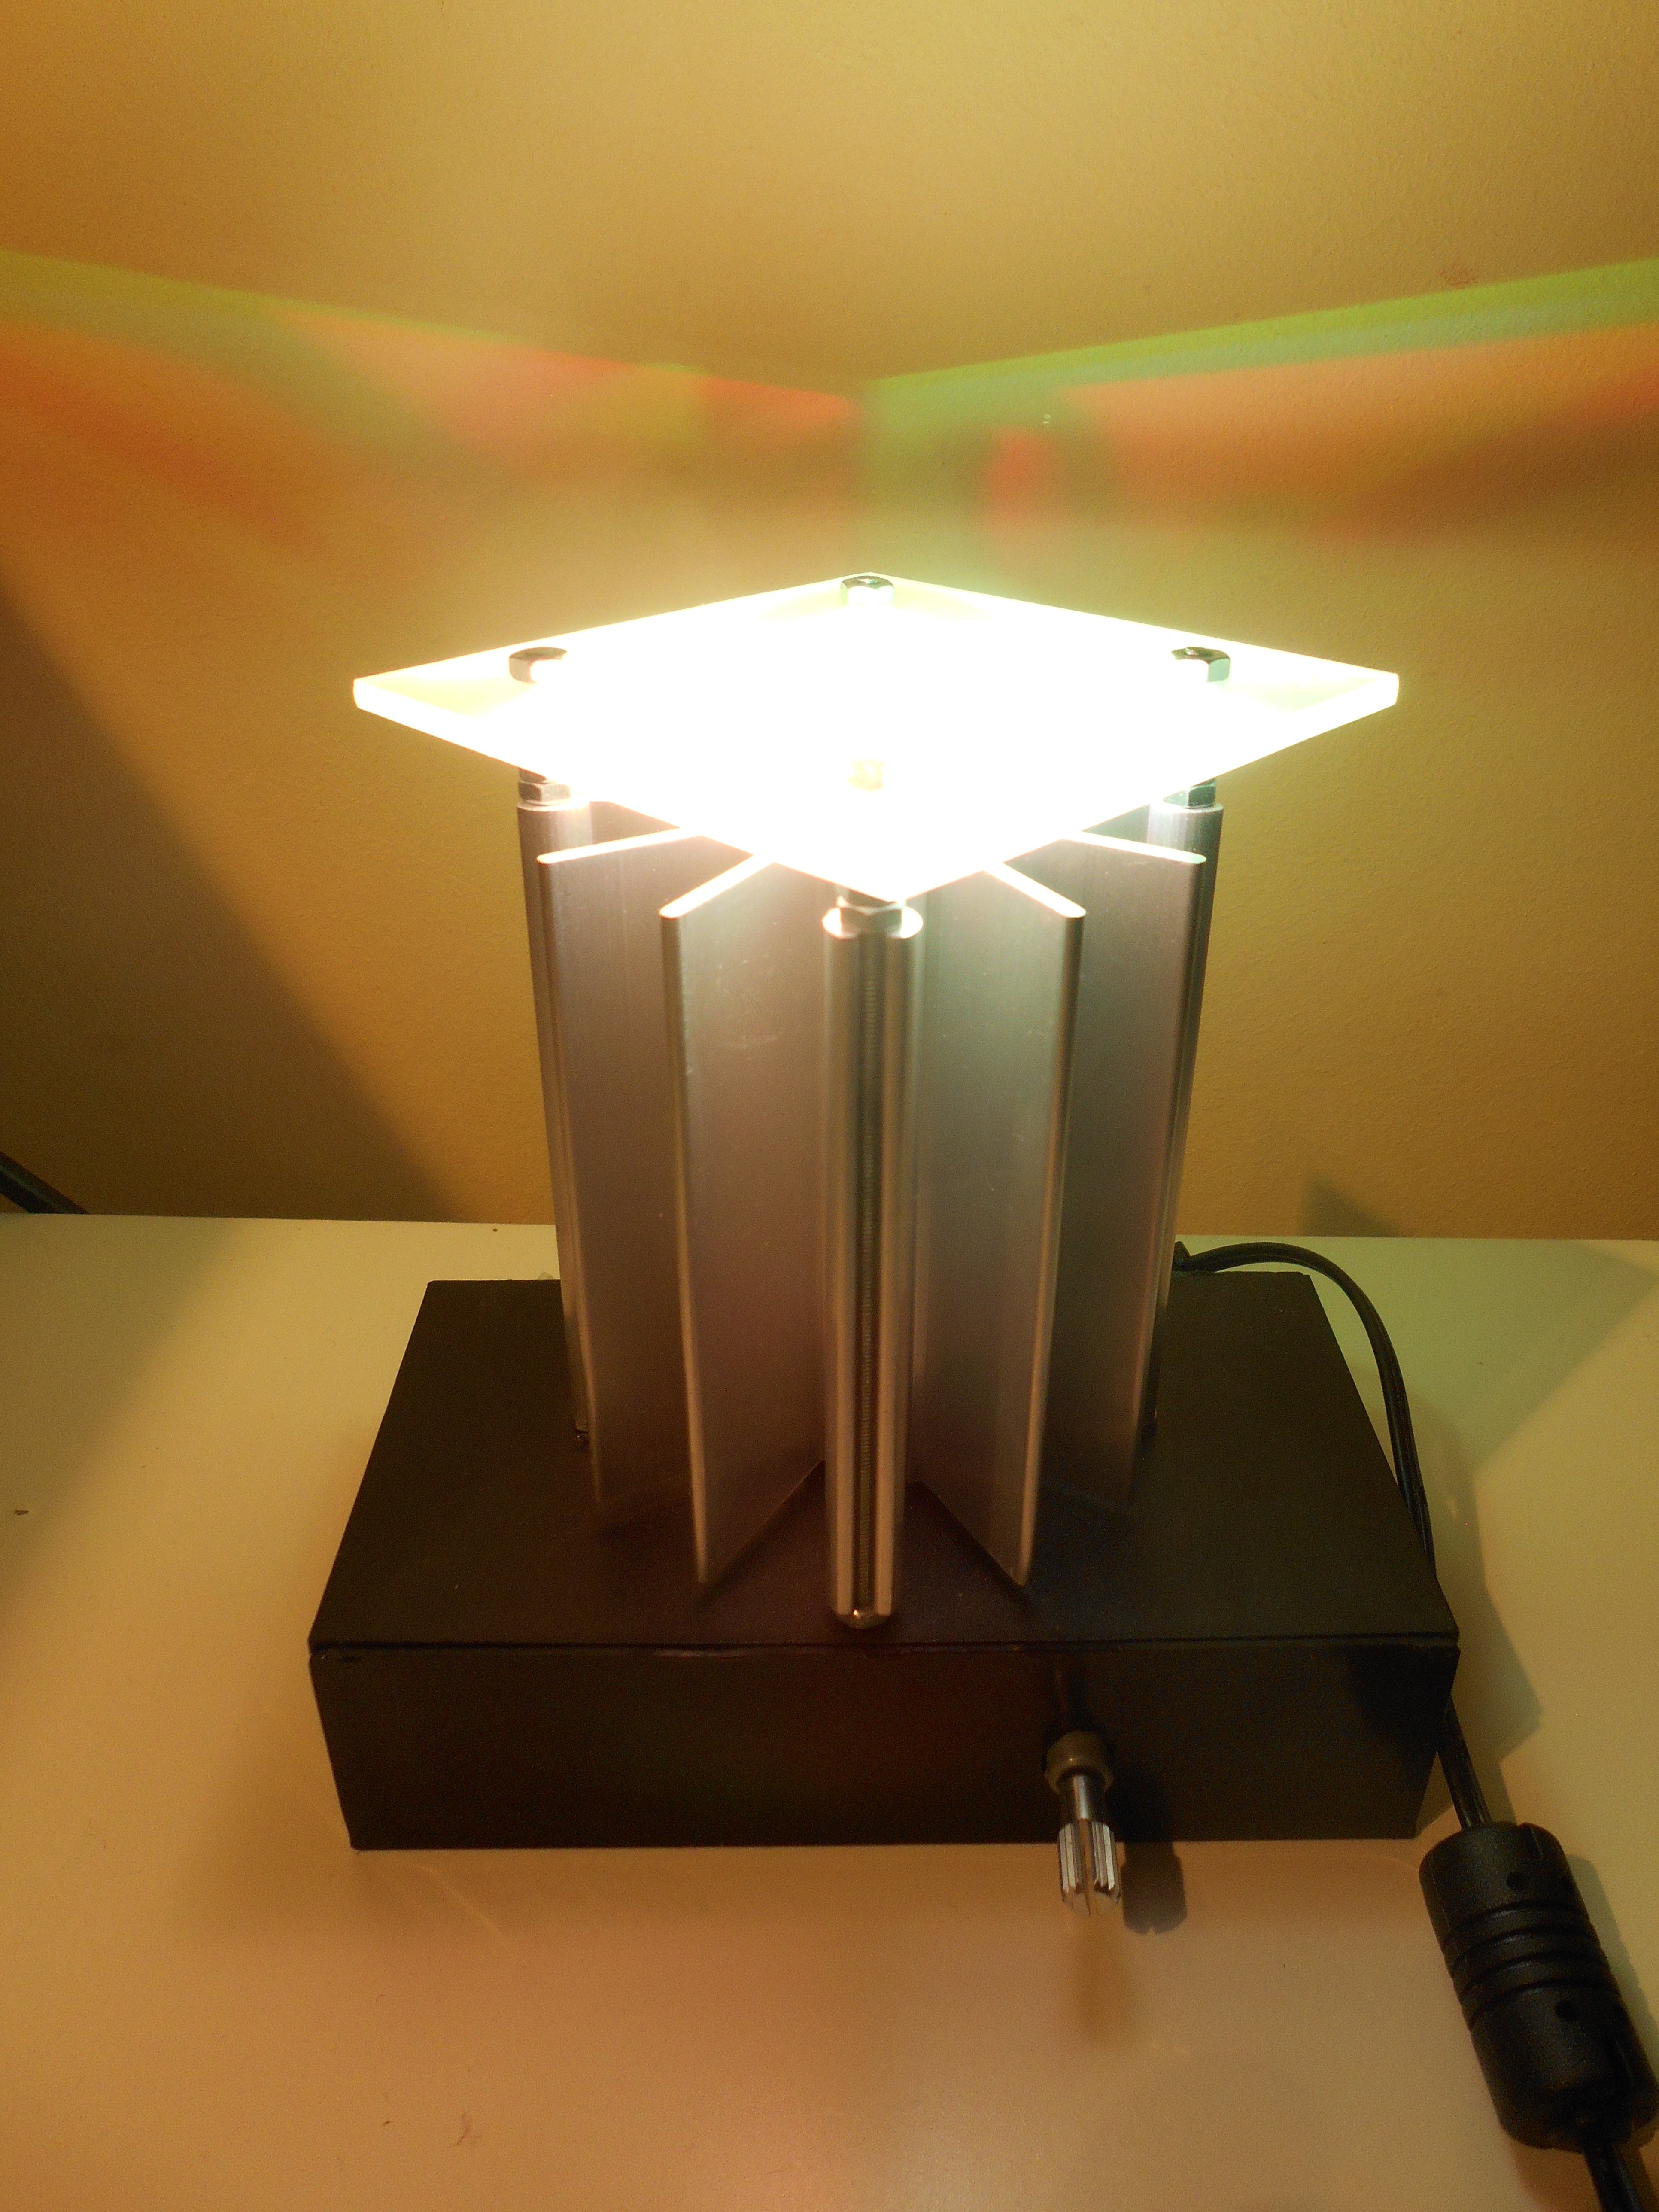 | 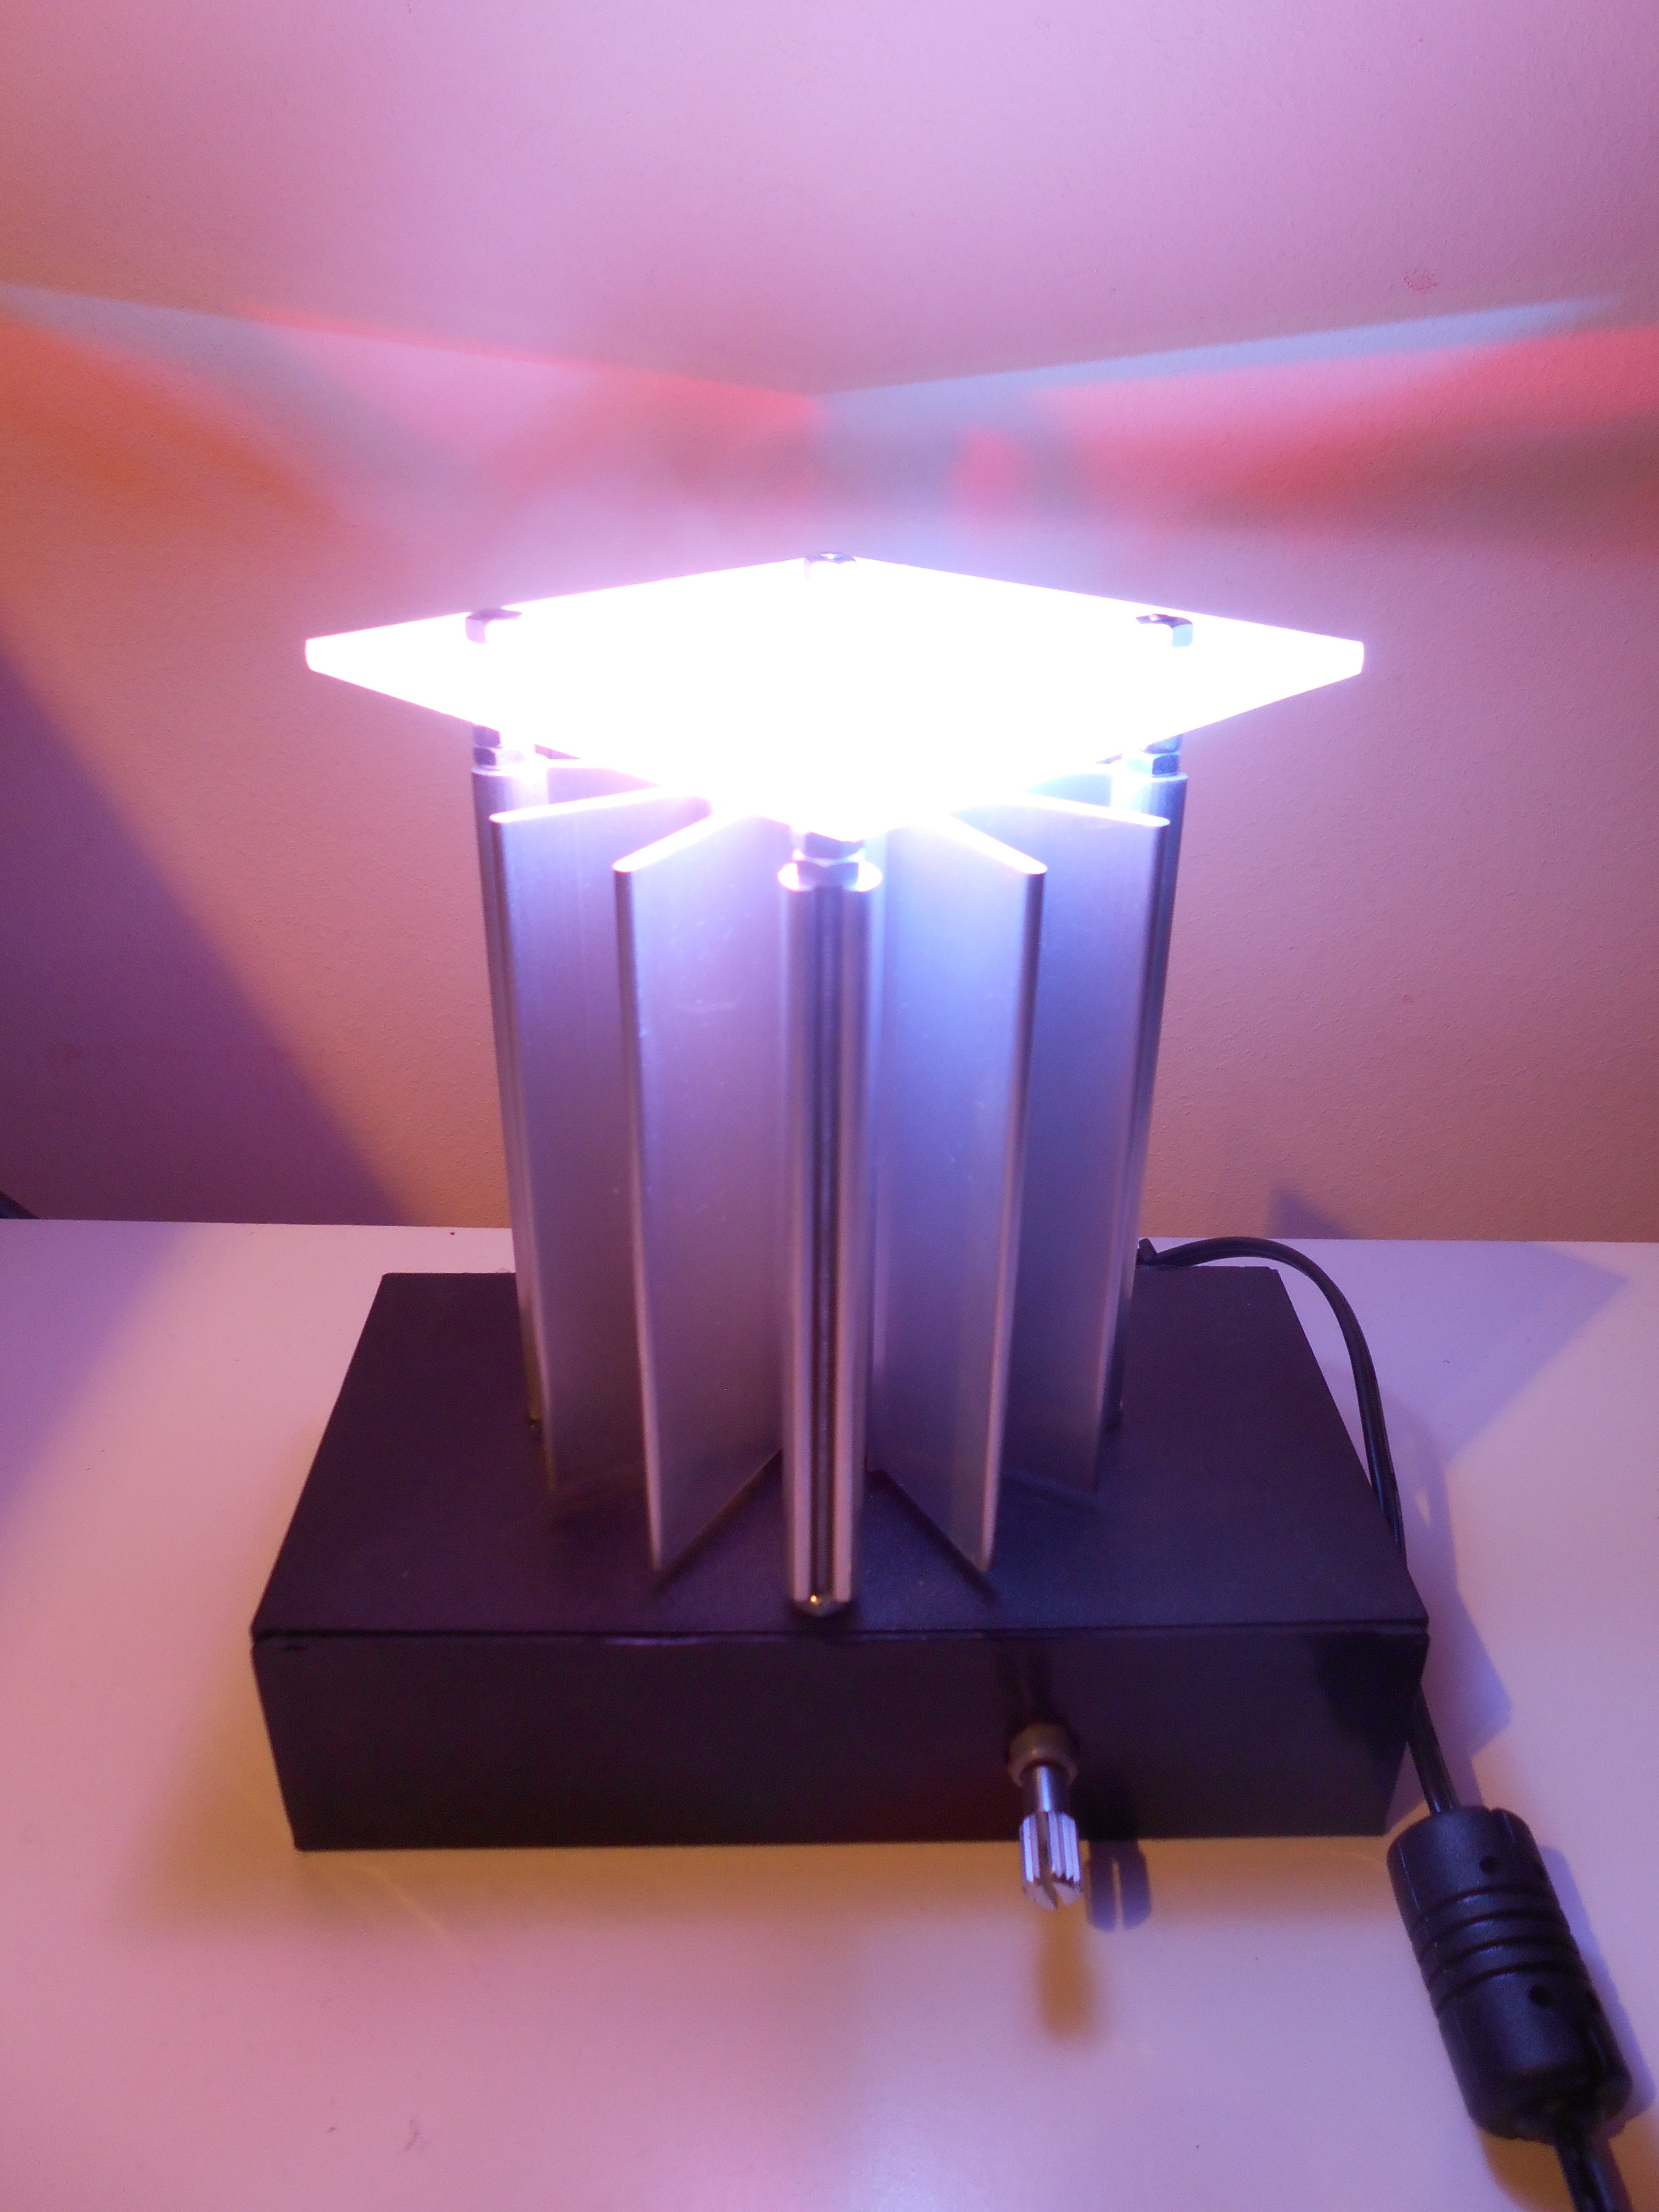 |
Discussions
Become a Hackaday.io Member
Create an account to leave a comment. Already have an account? Log In.