 Daniel Hankewycz
Since most interactions with a Home Automation System will be from a remote location, naturally, the best interface would be a smartphone App. But with the goal of making a system anyone is capable of installing, it was clear that all aspects from setup to management also had to be done from the App. Software development began from the beginning, setting up a network.
Working behind the scenes is an Apache Server and an MySQL database running on an inexpensive RaspberryPi computer. The server and database are simple to set up, and completely mange the Home Automation Network. Currently, our Home Automation Network can be set up by installing a few packages from the Linux repositories and moving a few files to the right directory.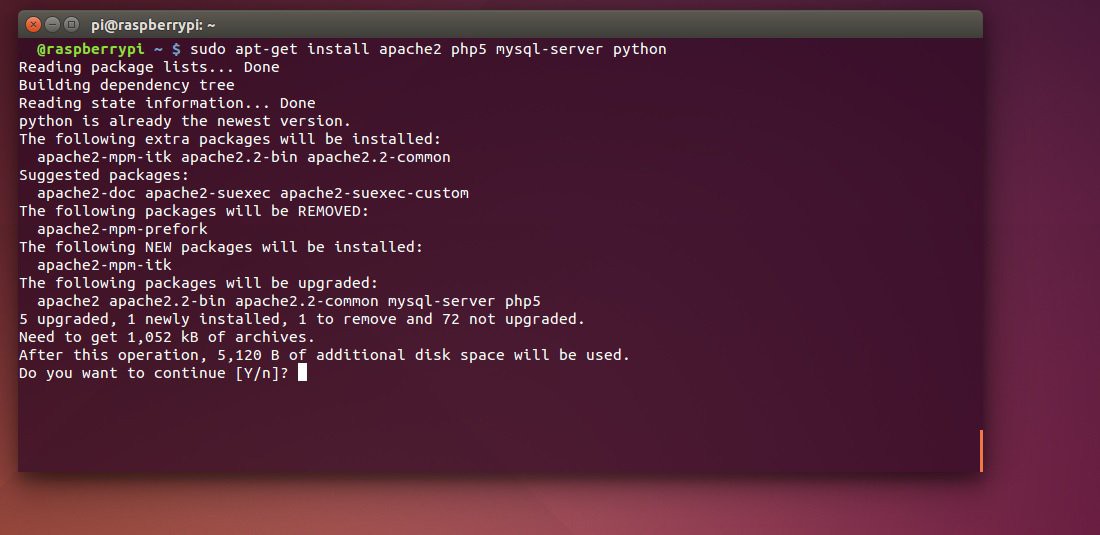
Now the fun part! To begin using a new wireless module, simply plug the module into a standard wall outlet and the module will begin to power up. The wireless modules are equipped with an AVR micro controller and a radio transceiver which after a quick boot up, enable them to communicate with the Hub (RaspberryPi Server). Running on the Hub are several scripts, which make the setup and management of the wireless slave modules a breeze. In order to add an uninitialized slave module to the hub, the home owner will initiate an inquiry via the Android app. A python script running on the server scans and identifies these uninitialized modules by reading their unique wireless IDs. Once the Hub has identified a wireless module and has established communication it places this module and its identification information into an "uninitialized" table on the server. At this point the module has an established connection with the hub and can begin receiving commands.
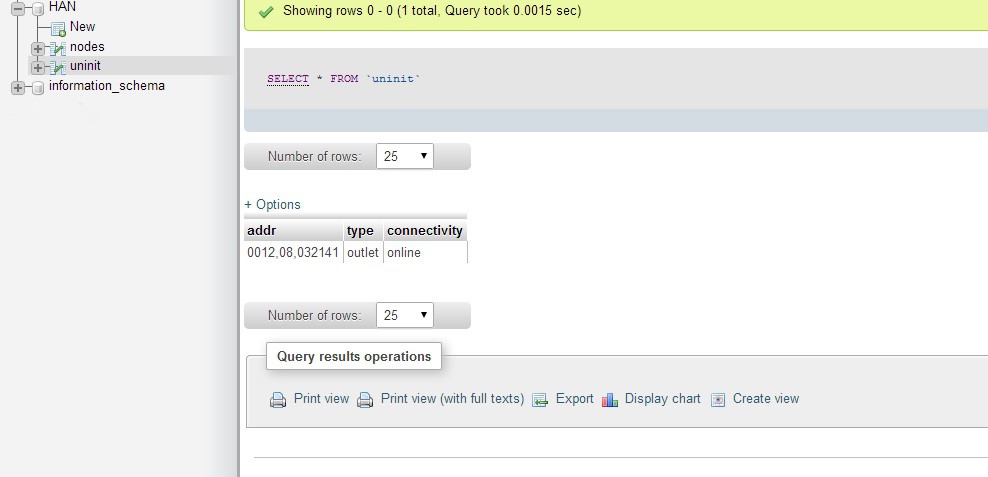
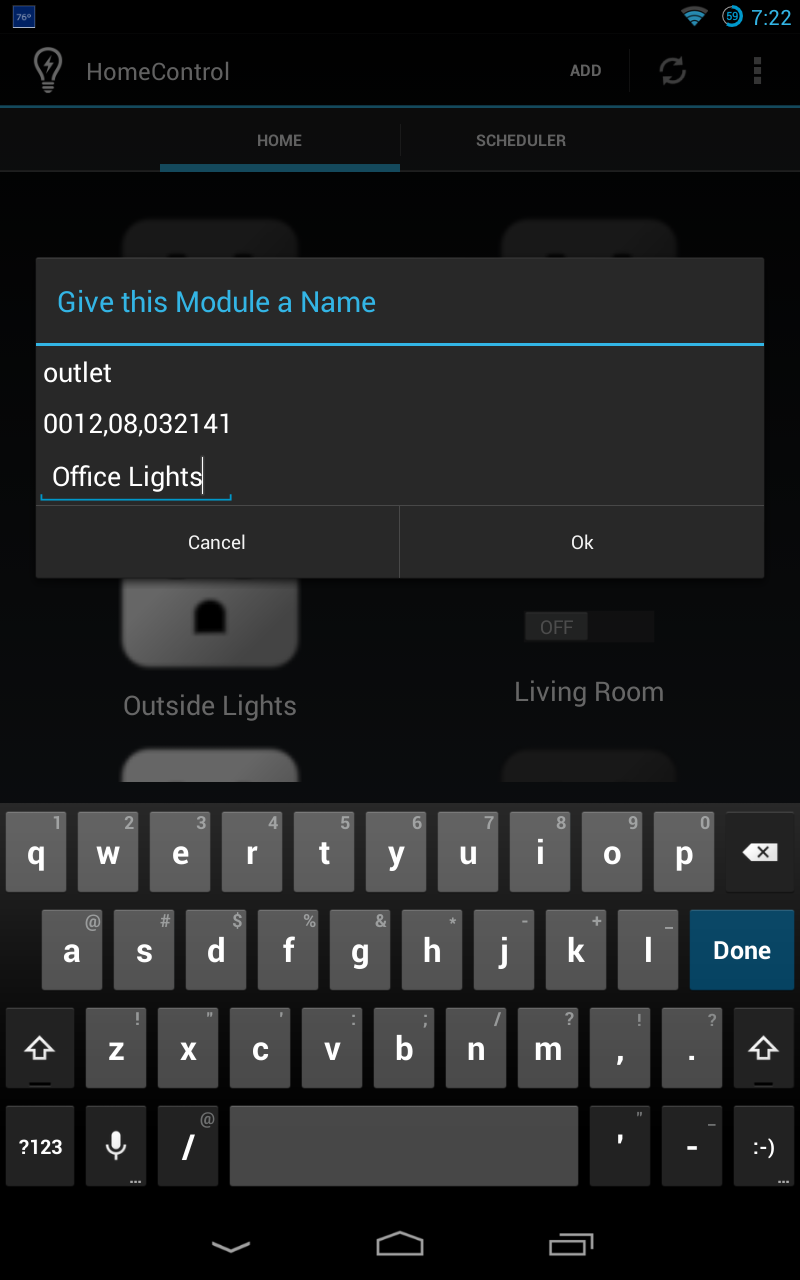
Now this is where the user can begin to "setup" this module. From the app, the user can select to view the list of uninitialized modules stored on the server. Pulling up the list, the user can select a module by its ID and type, and provide a new user-friendly name. Once the user has entered this information, the module has been "setup" by the user and moves from the "uninitialized" table to the "nodes" table, where the user can begin interacting with the module.
So how is data communicated between the Server, app and modules? As described above, an SQL database running on the server stores all available data associated with the modules. The database acts as a nice middle ground between the modules themselves and the user. The SQL database contains every piece of information necessary for the Hub to communicate with the modules as well as provide easy to understand information to the user. When the app requests data or send a message to the server, it is sent as a JSON Array through a PHP Post method. For those unaware, JSON is a very popular method of communicating data between networks, and is used widely across Android APIs in apps like Google Calendar. A PHP script on the server translates the message and completes the request. On the other end of the server are scripts running to monitor the modules and await commands from the user. When the user requests an action from one of the modules, a flag is set, which triggers a Python script to transmit the message, picked up from the database, to the specified module.

I'll use an example to illustrate how all these pieces come together. Let's say the user decides they would like to switch off their Outside lights. The user opens the app and is first prompted for a passcode to access their network. Once the user has logged in, the app requests a list of available modules from the server. This list of modules contains data from the "nodes" table we mentioned earlier, and always contains the current status of all associated modules. The available data is sent back to the app as a JSON Array and is displayed to the user as a grid of various buttons. Different types of modules will of course have different functionality but since were dealing with lights lets say they simply turn on or off for now. The "Outside Lights" button shows that the lights are currently on, so the user clicks the button to turn them off. The App then formats another JSON message and sends it off to the appropriate PHP script on the server. The server translates this message, makes the necessary changes to the database and flags an action to the appropriate Python script. Next, a Python script gathers the necessary information about this action and transmits a message to the appropriate module. At this point, the action has been completed and a similar chain of events can be completed to notify the user that their action was a success.
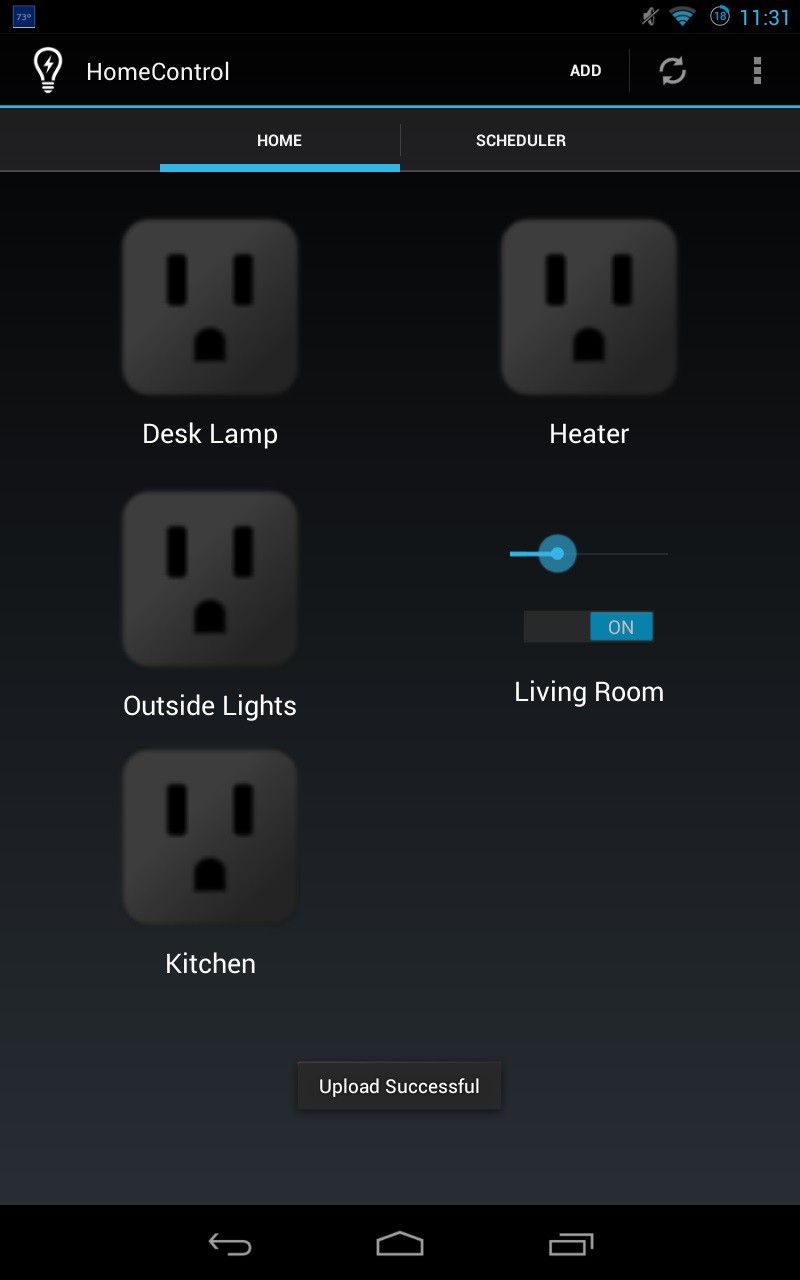
Different modules will provide different functionality, but so far we have a working prototype of an "Outlet" module that can be switched on or off like the example above.
In the future, we plan to encrypt the messages transmitted to and from the server as well as add a Network Password used for initial set up of the network similar to home WiFi.