Bill Anderson
This magic mirror project will be using the code and instructions provided on Michael Teeuw's GitHub Account. I will most likely install everything just as he has it documented, then modify things to my liking before building the frame and putting the mirror in. Watch the logs for updates on were I am.
0%
0%
Magic Mirror
I'm building a magic mirror using a Raspberry Pi 3 model B and an HP S2031 flat screen monitor.
Become a Hackaday.io member
Already have an account? Log in.
Just one more thing
To make the experience fit your profile, pick a username and tell us what interests you.
Pick an awesome username
hackaday.io/
Your profile's URL: hackaday.io/username. Max 25 alphanumeric characters.
Pick a few interests
Projects that share your interests
People that share your interests

 facelessloser
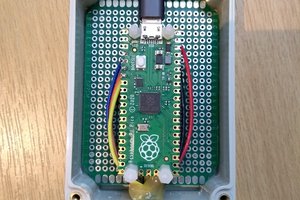
 Nick
Nick