 having11
BoM:
- Particle Photon
- DFRobot Soil Moisture Sensor
- DFRobot I2C LCD
- RGB LED Common Cathode
- Micro USB Breakout
- 4x6cm Perf Board
*Disclaimer* This project is sponsored by DFRobot.
Demonstration Video:
Design
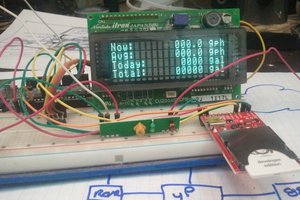
To begin building it, I started by connecting each component to the Particle Photon, along with the micro usb power connector. I loaded up some test code that simply displays the moisture level on the LCD. After the code ran successfully, I began to create a Fusion 360 design. The shape of the device is designed to be a rectangular prism, with the LCD facing out, the LED on top, and the micro USB port in the back.
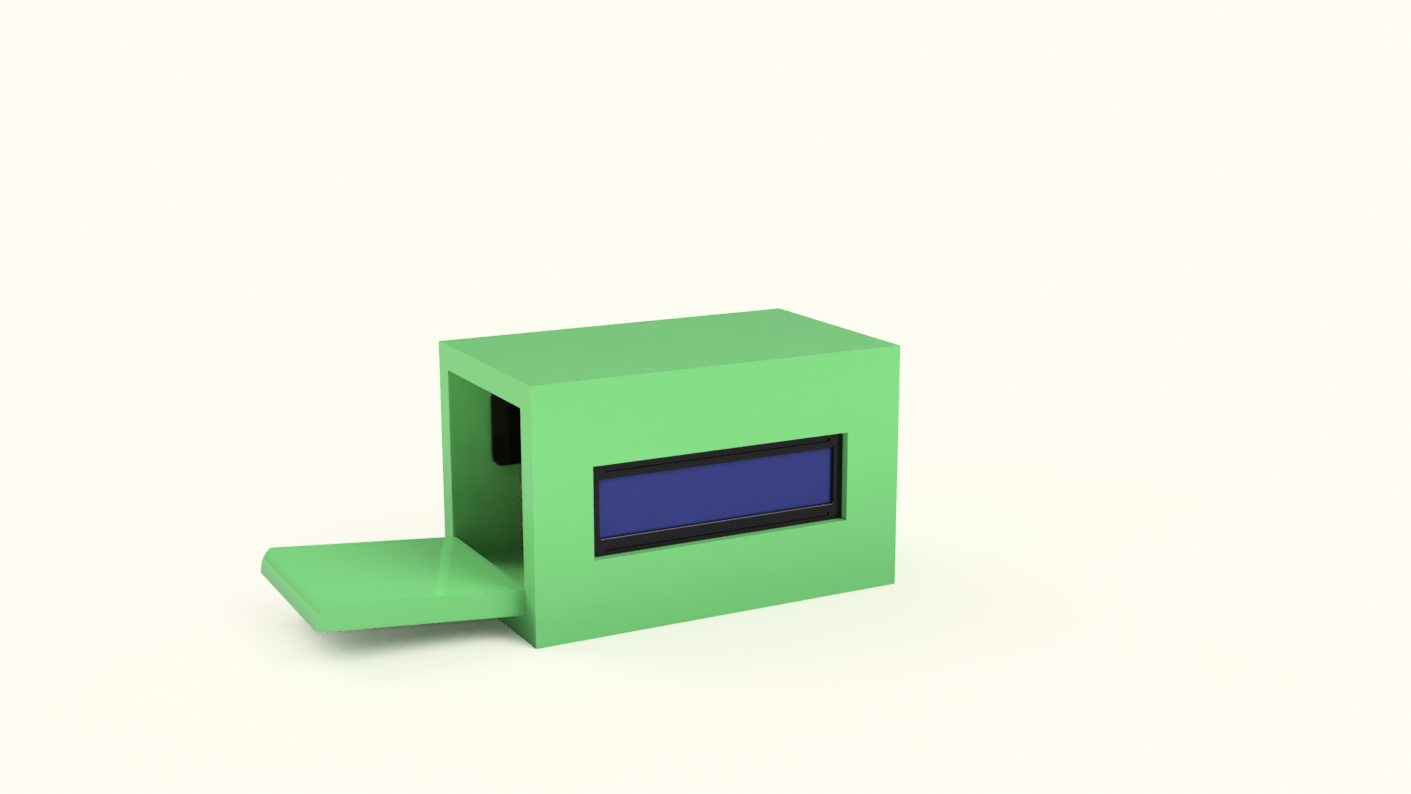
I also made a hole that allows for the soil moisture sensor's cabling to attach. For the painting portion, I wanted there to be a green base coat with some floral designs on it in yellow.
Creating the Parts
My Fusion 360 design was created to be CNC routed, so I laid out all of the parts evenly on a flat surface and generated gcode from the machining paths. Next, I put my material, a sheet of 10.5" x 10.5" x 1/4" plywood on my Millright CNC machine and began cutting out each part. I also sanded down each piece and gave the edges a good rounding to create a better aesthetic.
The part file is here: https://gallery.autodesk.com/projects/102915/iot-plant-soil-monitor
Making it Pretty
I first collected my materials: the CNC routed pieces of plywood, a can of green spray paint, a can of shellac, a little bottle of yellow acrylic paint, some 150- 400 grit sandpaper, a bottle of wood glue, and a sander.

I started by thoroughly sanding each part, gradually using increasingly finer grit sandpaper.

After I felt the sanding was sufficient, I glued the bottom, side, and back pieces together. Next, I sprayed each part with two coats of shellac, and then applied several even coats of green spray paint.
Assembly
Now that all of the parts were painted, I added the electronic components into the enclosure, fastening them down with hot glue. I also strung the wires for the soil sensor through the hole in the side and connected it to the Photon.

I added a little compartment in which to store the sensor and wires when not in use.
Programming
I went to the Particle Photon Cloud IDE and loaded up the attached sketch, flashing it to my Photon. The RGB LED on top blinked 5 times to notify me that it was powered and connected successfully. The code is set up such that when the moisture dips below 15% the Photon sends an event called "water", which then triggers an IFTTT applet.
Usage
To use it, I simply put the moisture sensor into the soil of my potted plant, and plugged a micro USB cable into the connector, giving the device 5v. Next, I setup an IFTTT applet to text me whenever it receives the event named "dry" from the Particle Photon service.
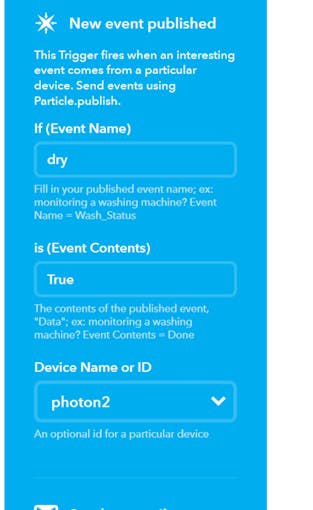
It sends an email with the message: "Your plant needs water!". In addition, the LCD on the device displays the percentage of soil moisture along with a message from the plant, from very happy to very sad. Now, you never have to worry about whether or not your plant needs water.

Thanks
I would like to say thank you to the people at DFRobot for sponsoring this project. Without them, this would not have been possible.
Build Log:
 John Schuch
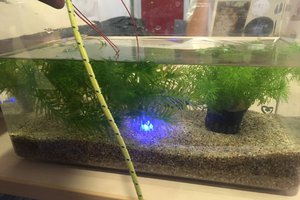
 ohamanda
 pj
pj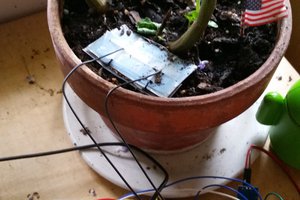
 Jordan Poles