Apparently it's been abut a year since my last log entry. Time flies... The project was standing completely still during September-December. But March-April saw a lot of progress.
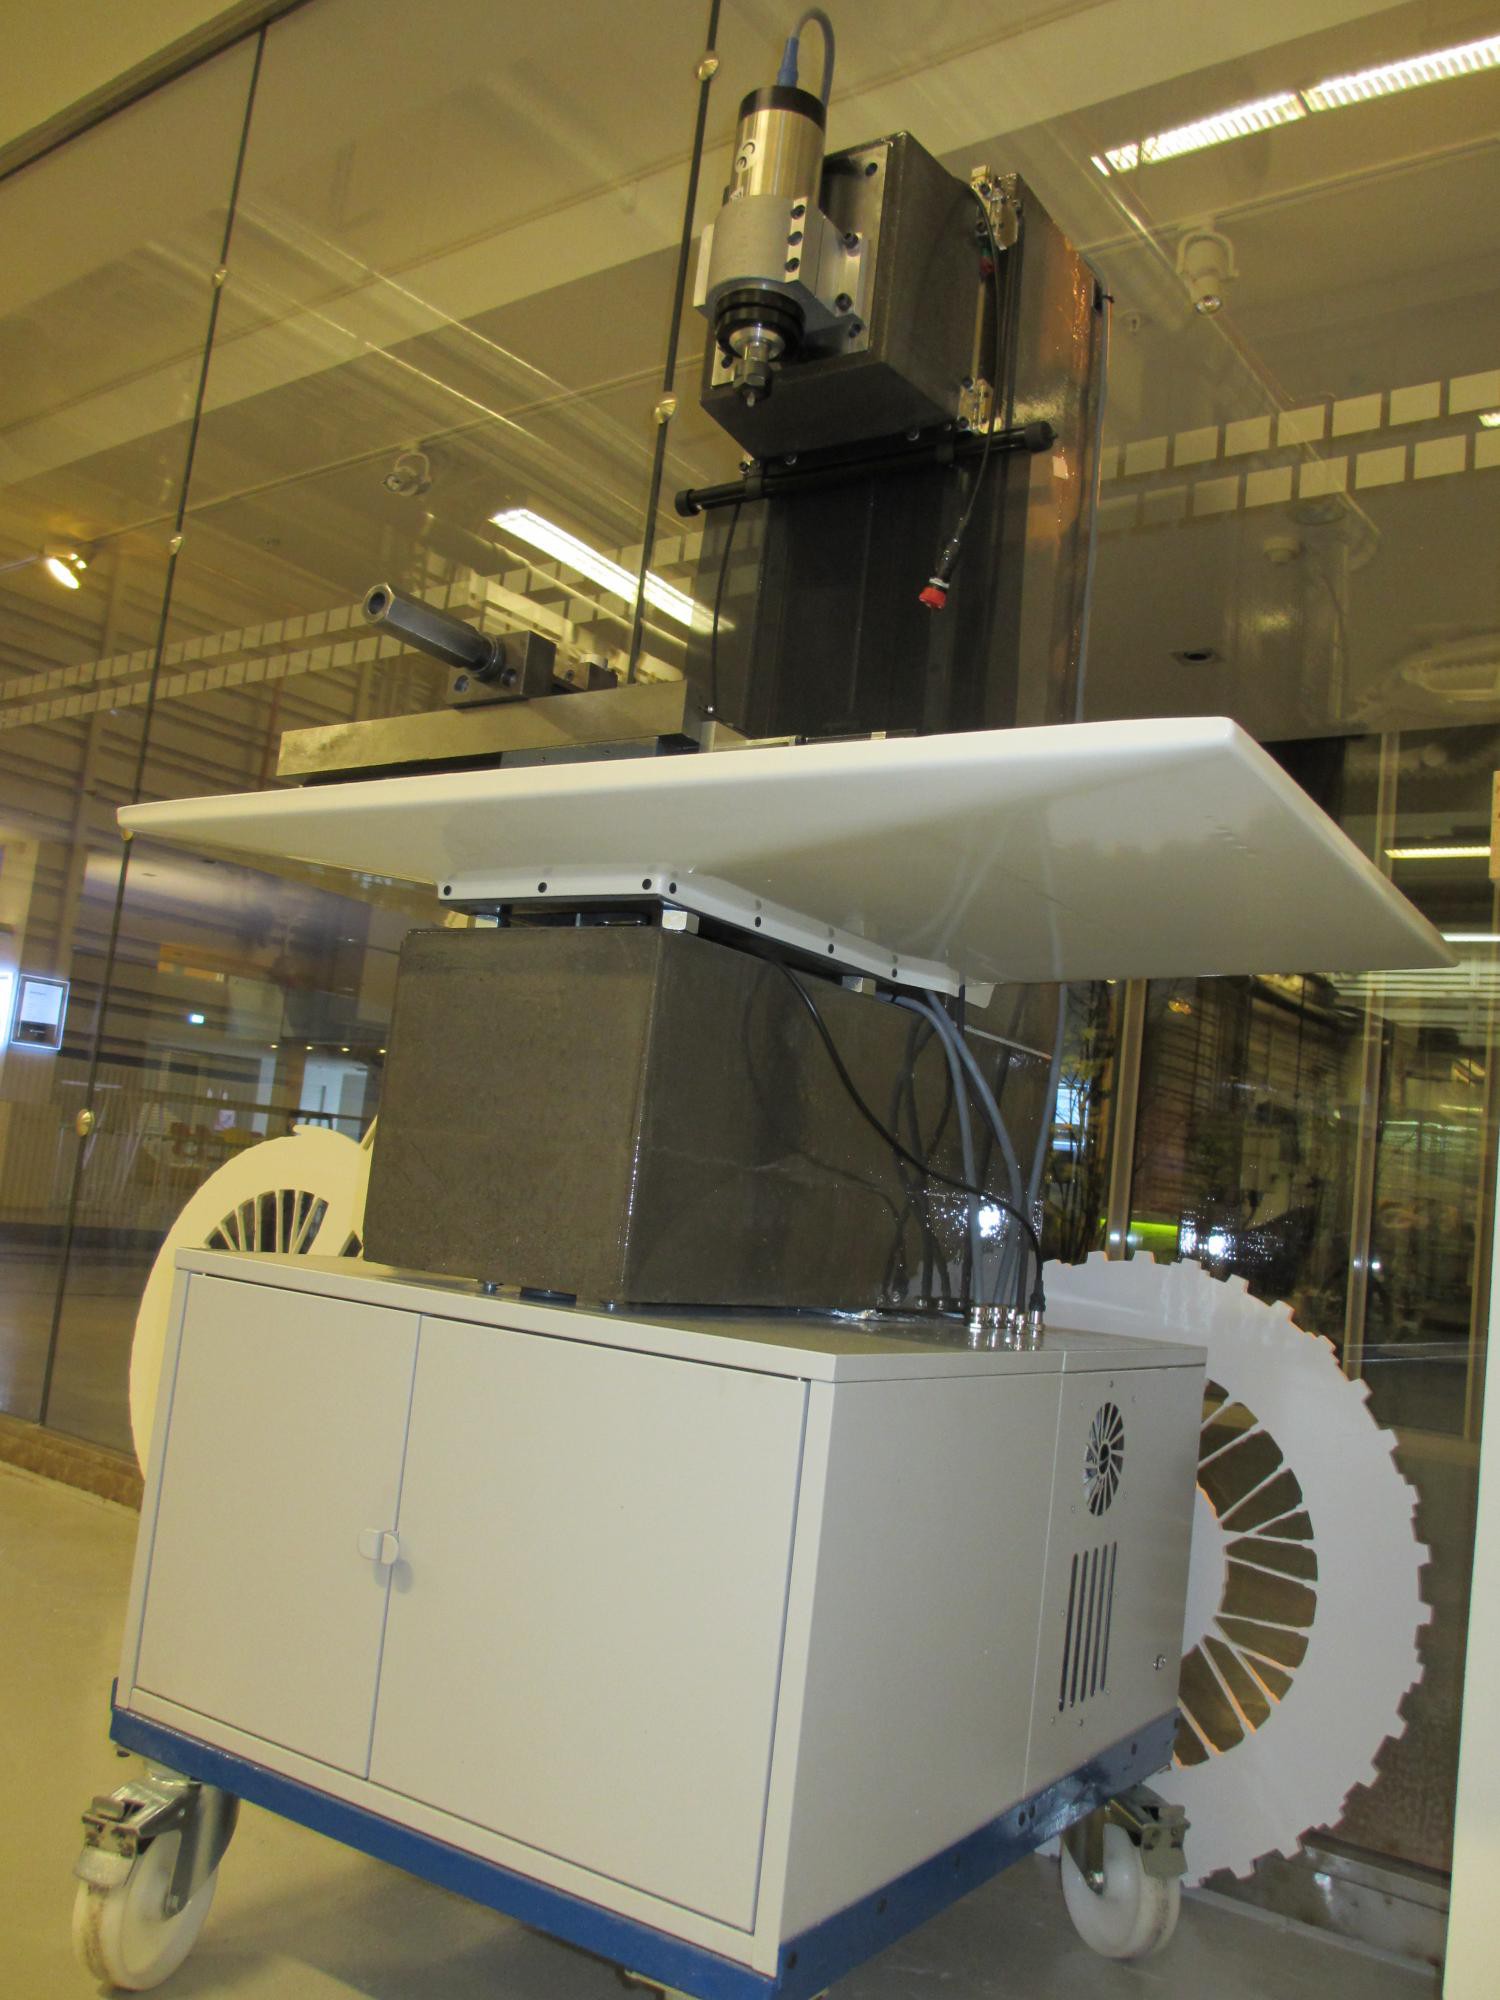
Anyway, at the end of the last log I had started making some way covers. The X-axis is already protected, and for the Y-axis I used simple rubber sheets. For the Z-axis I spent a lot of time figuring out how to make custom bellows, until I suddenly came across a ready-made product in a local store that was a perfect fit: A roller blind for cars. I took it apart and removed the cams to make it free-running (always trying to roll back up), and it was super easy to fit. I suspect the fabric may melt when exposed to hot metal chips, but I'll just replace the fabric when that happens.
Next up: an enclosure. I may bring this to my apartment when it's finished, so an enclosure is absolutely necessary. It should also look nice. I started by vacuum forming the bottom tray from 3mm ABS:
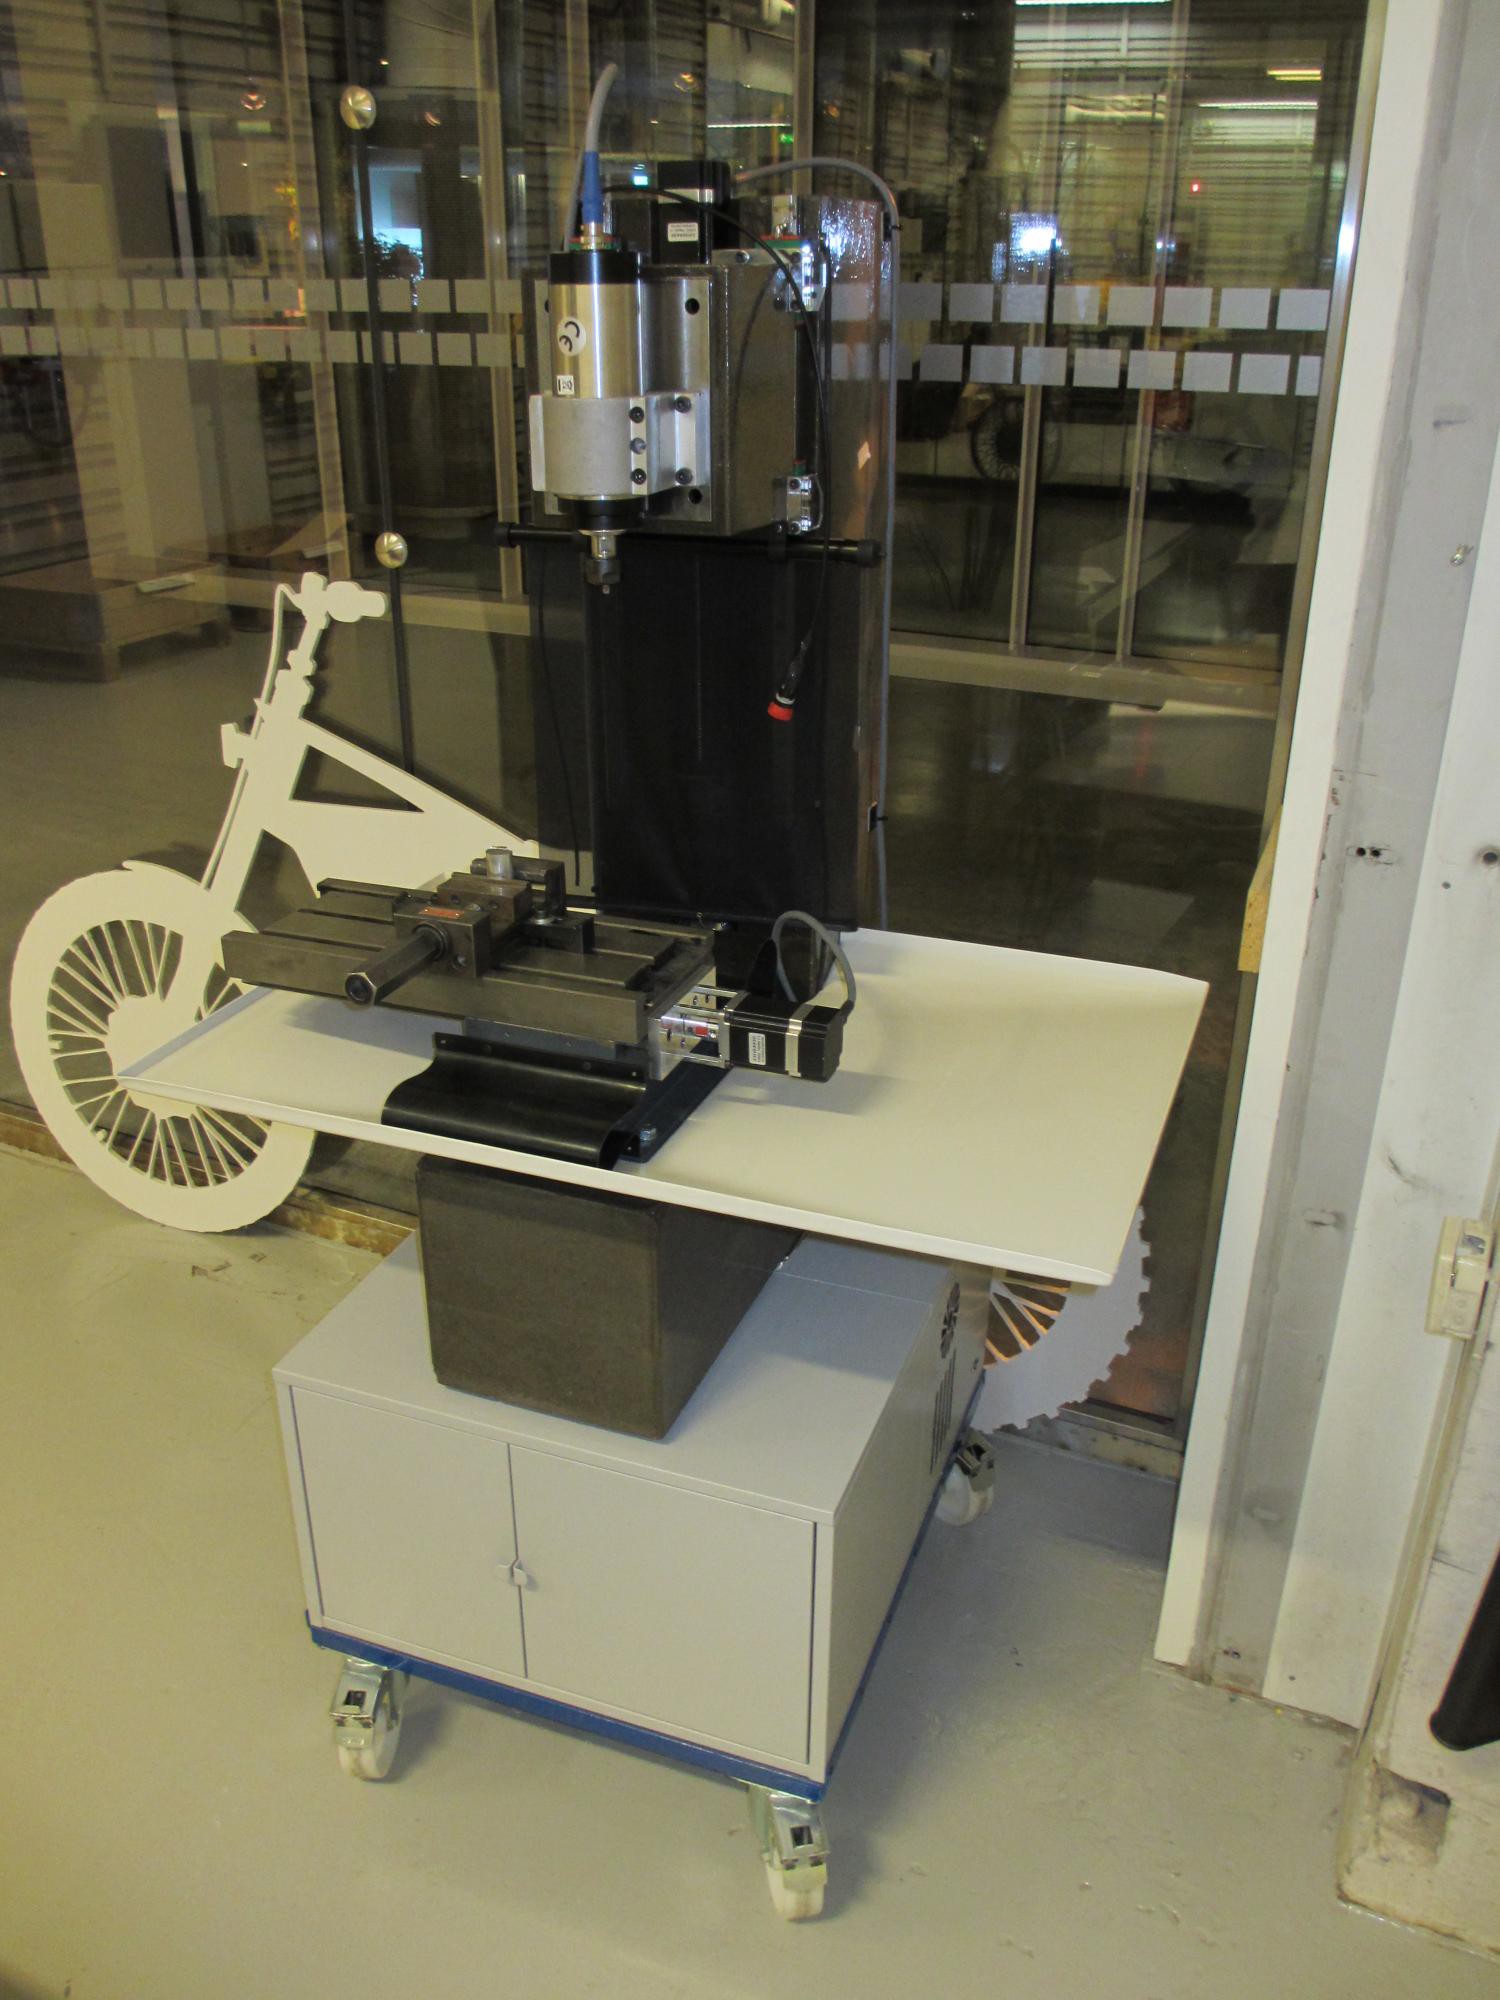
It is attached to the X-Y table by countersunk screws.
I decided to make the sides from 6mm MDF, which is cheap and easy to laser cut. Also environmentally friendly when compared to metal or plastic panels. I then coated the panels with 2K epoxy resin to make them stronger.

After that I sanded them down so I could get a good surface finish when spray painting them. I tried spraying the paint directly on to this surface, but I found that despite the epoxy resin it would still absorb to much paint. So I had to go through the trouble of priming all the panels before painting it. This entire process seemed endless, having to do everything on both sides of seven panels each time.
One full evening to laser cut and trim all the panels.
One full evening to coat them with epoxy.
One full evening to sand the epoxy.
One full evening to prime the panels.
One full evening to sand the primer.
One full evening for a second layer of primer.
One full evening for sanding this layer of primer
Two full evenings to spray the topcoat (Blue, RAL 5010)
Then assembly and some modifications to make it fit. I wish I had taken an easier route...
But here it is!
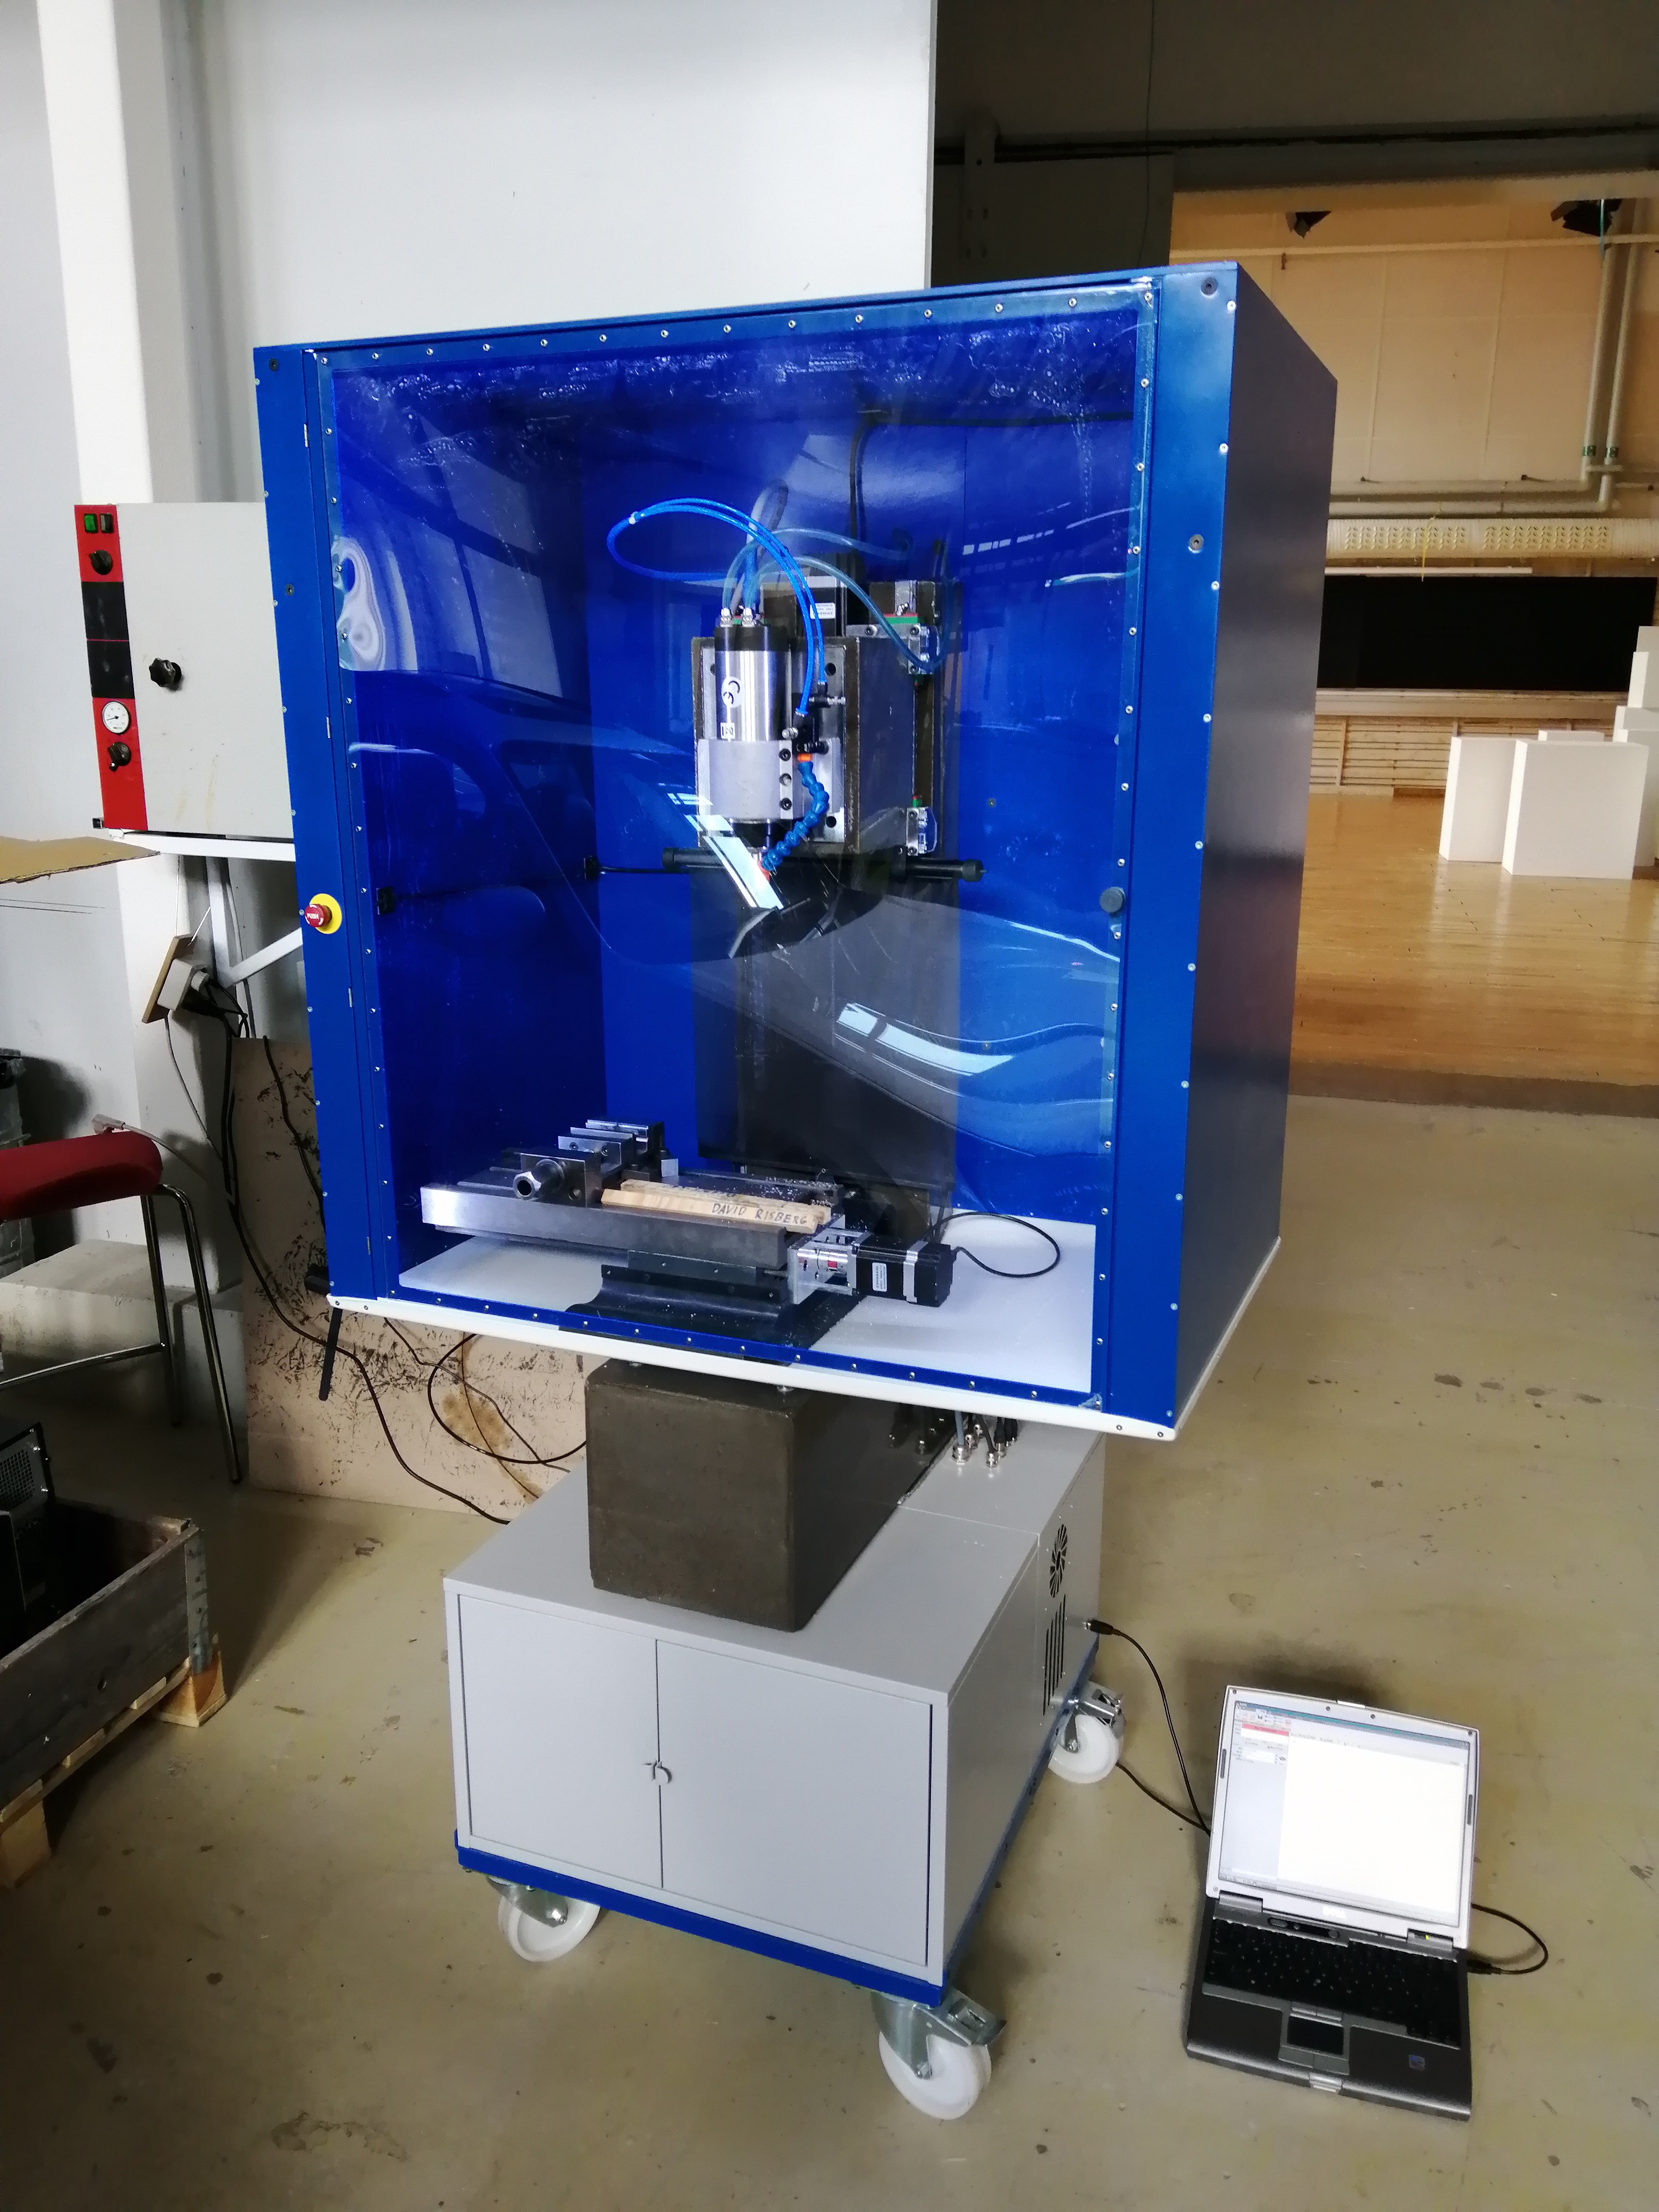
The window is 2mm PETG riveted to a thin welded steel frame. It is held closed by a couple of magnets. In the future I will add a safety switch.
As you can see I have also connected the water cooling system. It uses a 120mm CPU cooler with built-in pump and fan. Time will till if that's enough, but I'm hoping it is. There is also mist coolant installed.
And with this done the machine should be ready to go! Next update will be a video with some machining.
Discussions
Become a Hackaday.io Member
Create an account to leave a comment. Already have an account? Log In.