 Max2Play
Step 1: What You Need
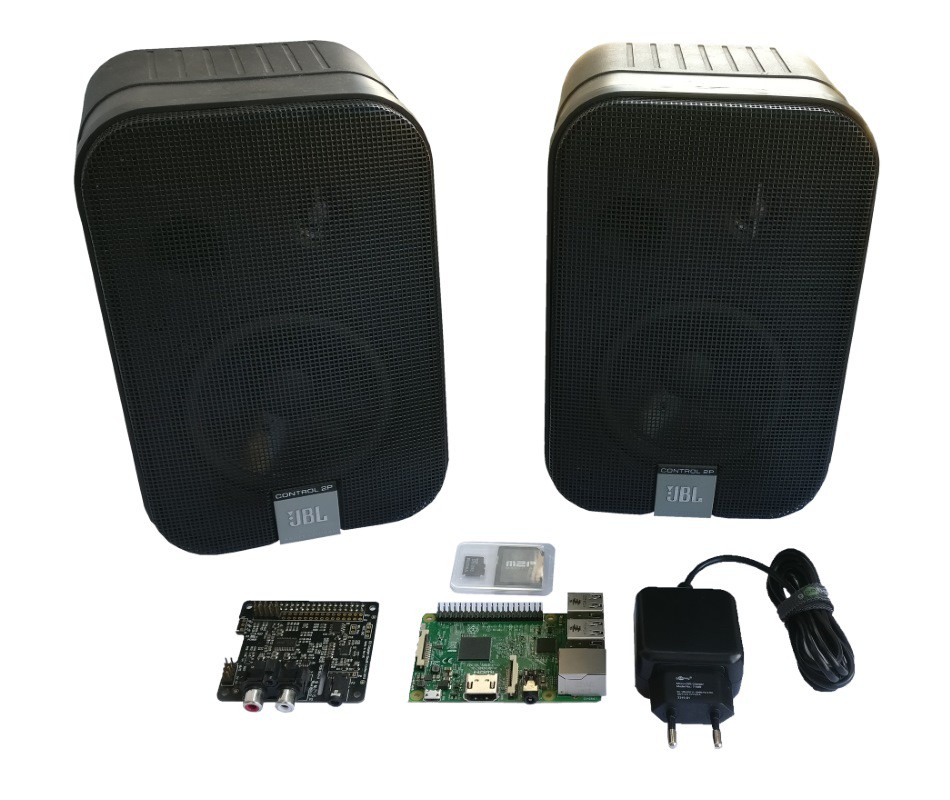
- Raspberry Pi 3 (or Raspberry Pi 2 with BT and WiFi dongle)
- Power Supply
- microSD Card (Class 10 or higher recommended)
- Max2Play Premium License
- Ethernet cable
- Speakers
- Optional: RPi Sound Card for specific Audio Outputs
- Optional: A Case to carry the Raspberry Pi safely around
Step 2: Get the Image
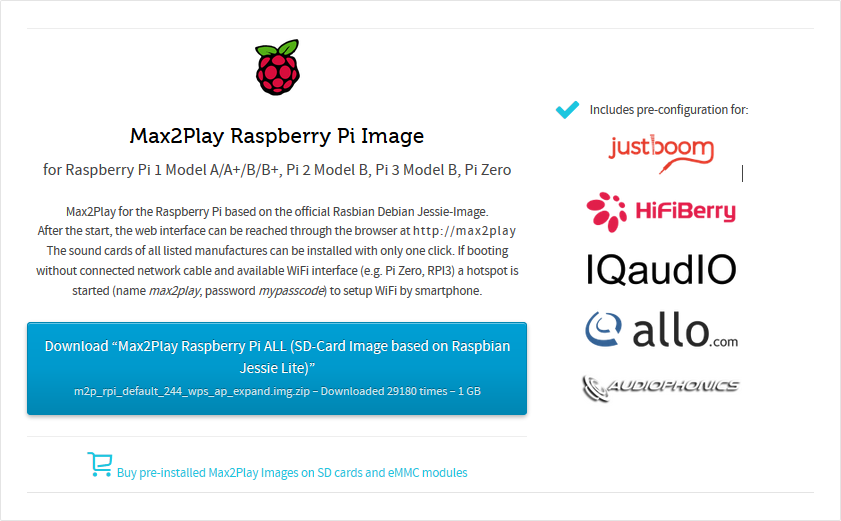
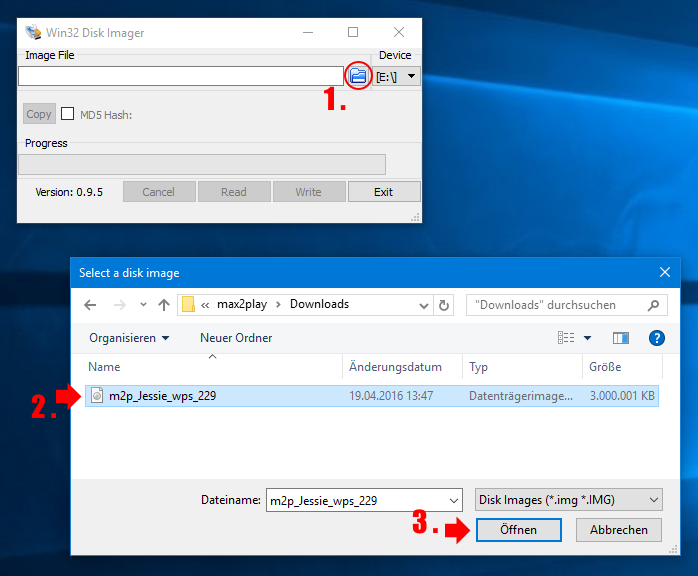
For this project, I used the newest Max2Play image, which can be downloaded on our Website for free. I burnt it onto a Class 10 microSD Card using WinDiskImager (you can also use Etcher or any other SD card burner) and put it into a Raspberry Pi 3.
Depending on which kind of speakers you want to connect, you may need an additional sound card. In my case, I chose a IQaudIO Pi-DAC+ to connect a pair of active speakers and simply mount it onto my Raspberry.
Step 3: Do the Basics
Simply plug in the Ethernet cable and the power supply. It might take a few seconds until the OS is ready, depending on the Raspberry Pi model.
You can gain access to the OS by typing "max2play/" in any browser on a device, connected to the same network. After this is done, we need to set up some basics.
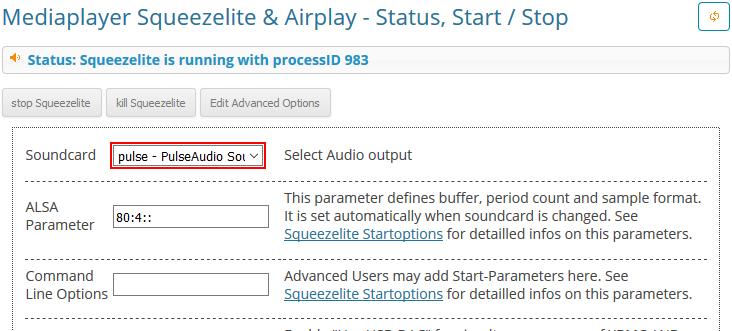
If you have a sound card, the first thing you need to do is to choose the one you use at the first web interface screen. After this, you need to enter the Max2Play Premium License in Settings/Reboot. Max2Play's image and its basic features are free, but the Bluetooth and the Accesspoint Plugin are both for premium users only.
Step 4: Set Up Bluetooth
First we need the Bluetooth Plugin. Under "Settings/Reboot" you can get to our homepage to browse through all of our Plugins and install them by inserting the download link.
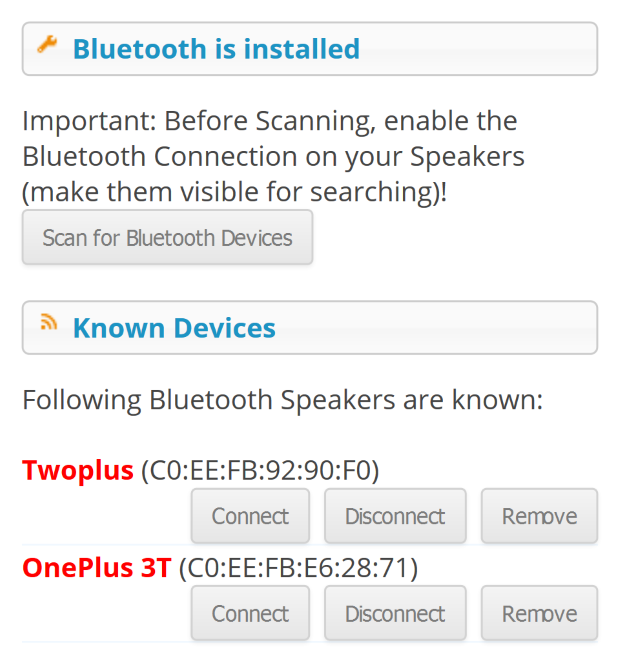
After we have installed the Bluetooth Plugin, head to the new Bluetooth menu tab and click the install button. The system needs a quick reboot and we can set it up. There are just two things to set up so you can stream audio from a Bluetooth device to Max2Play:
- You have to set all audio players' output to 'pulse' as the sound card - otherwise no audio will play! You must change this in the advanced settings of the audio players on the Audioplayer tab.
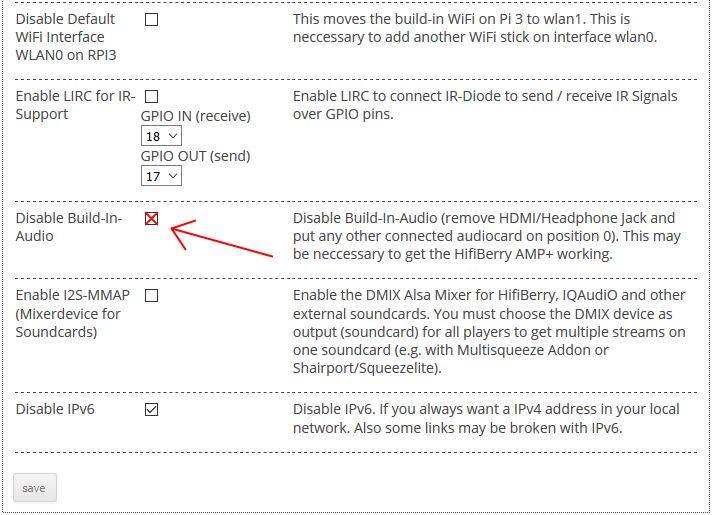
- Disable Build-In-Audio of your Raspberry in the Raspberry Settings tab.
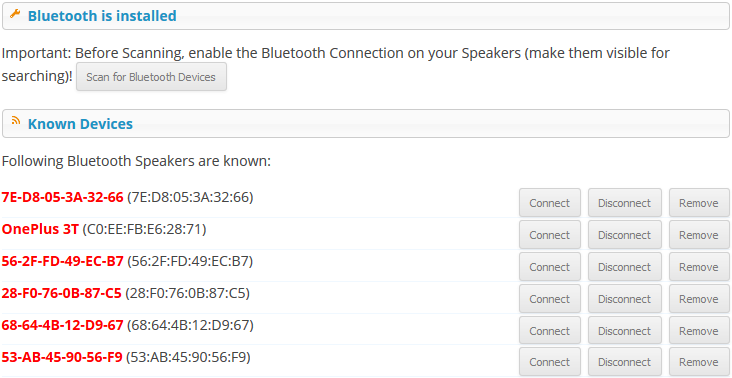
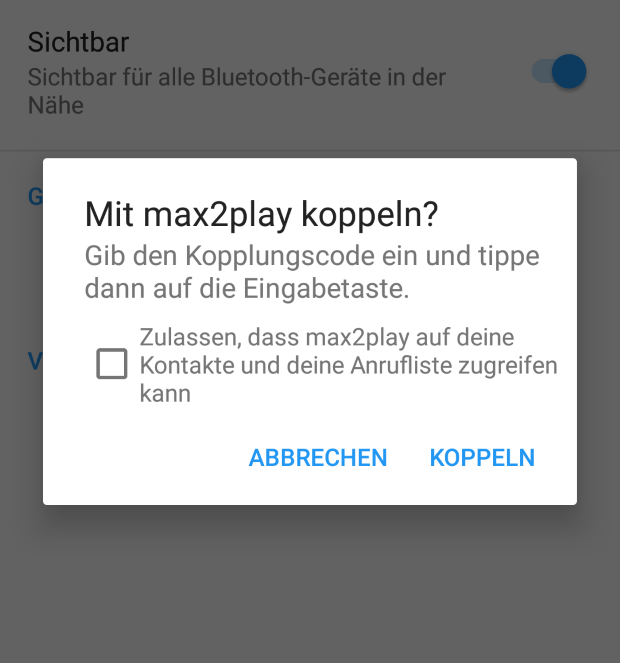
Now the system is ready for a first test. Just scan for available Bluetooth devices, click the connect button next to your device of choice, accept the pairing on your playback device and play some music.
Step 5: Set Up the Accesspoint
So to make the device portable you need to activate the Accesspoint Setup Plugin, which is preinstalled, so just add it to the active Plugins at the bottom of "Settings/Reboot" and click save.
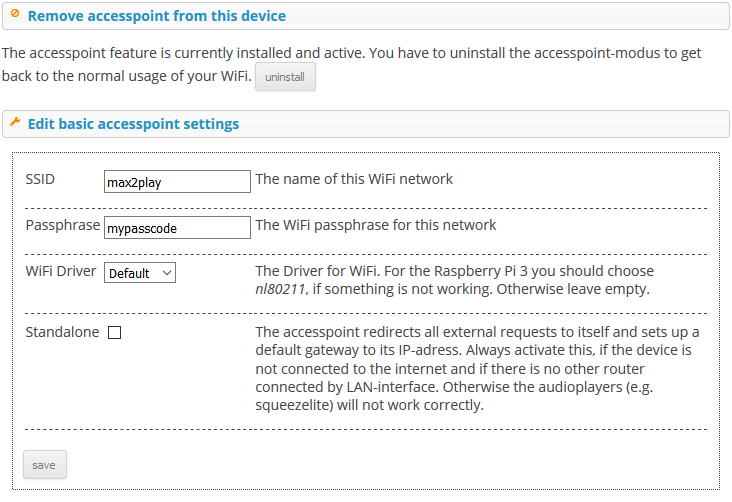
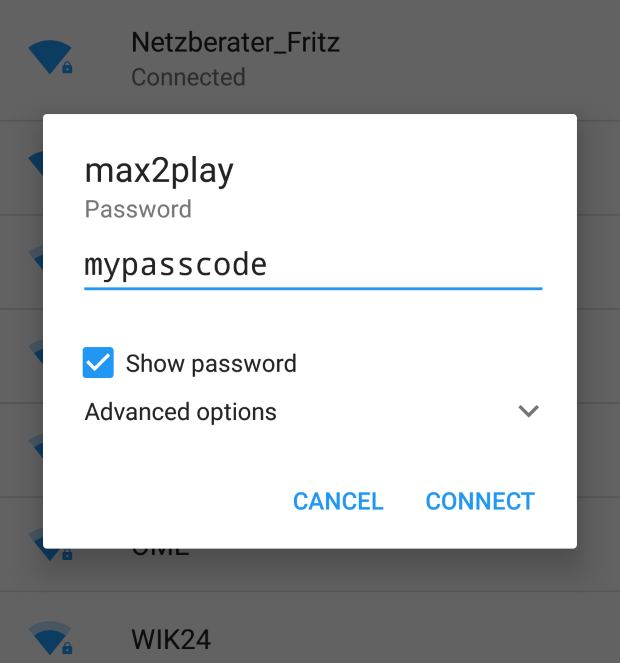
After you hit the install button in the Accesspoint Setup, the device will directly open an access point. From now on, you can gain access via WiFi to your Max2Play device. It shows up as the "max2play" network in all WiFi-compatible devices' settings. The password default is “mypasscode”. If you want, you can set an alternative name and password for the network.
We are now finished setting up the device. You can shut down the pi and disconnect the Ethernet cable, we don't need it anymore.
Step 6: Start Using Your Mobile Pi Boombox!

Now you can take the Pi with you and whenever you want to play some music to any speakers:
- connect the speakers to the sound card and power the Pi
- enable Bluetooth on a device which is paired to the system and connect it
The Raspberry Pi will redirect the audio signal of your smartphone to the connected speakers. Just play some nice tunes from Spotify or the music service of your choice.
If you want to pair more devices with Max2play:
- access the device with it using the Accesspoint
- open Max2Play in the browser as usual
- pair the devices via Bluetooth as you did in Step 4.
I hope you like it and don't forget to post your results in the comments. Thanks for reading!
If you are interested in more portable solutions without...
Read more »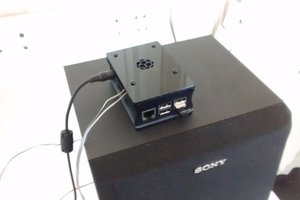

 Idrees Hassan
 Dmitry