 shamylmansoor
As discussed in one of the previous logs, it took a lot of discussions and revisions to get a design that could help us put many sensors on it. We ended up with an octagon as it gave us the closest shape to a circle but with eight sides to put eight different components or sensors on. The base is designed to be laser cut in acrylic with a LearnOBots logo at the top side.
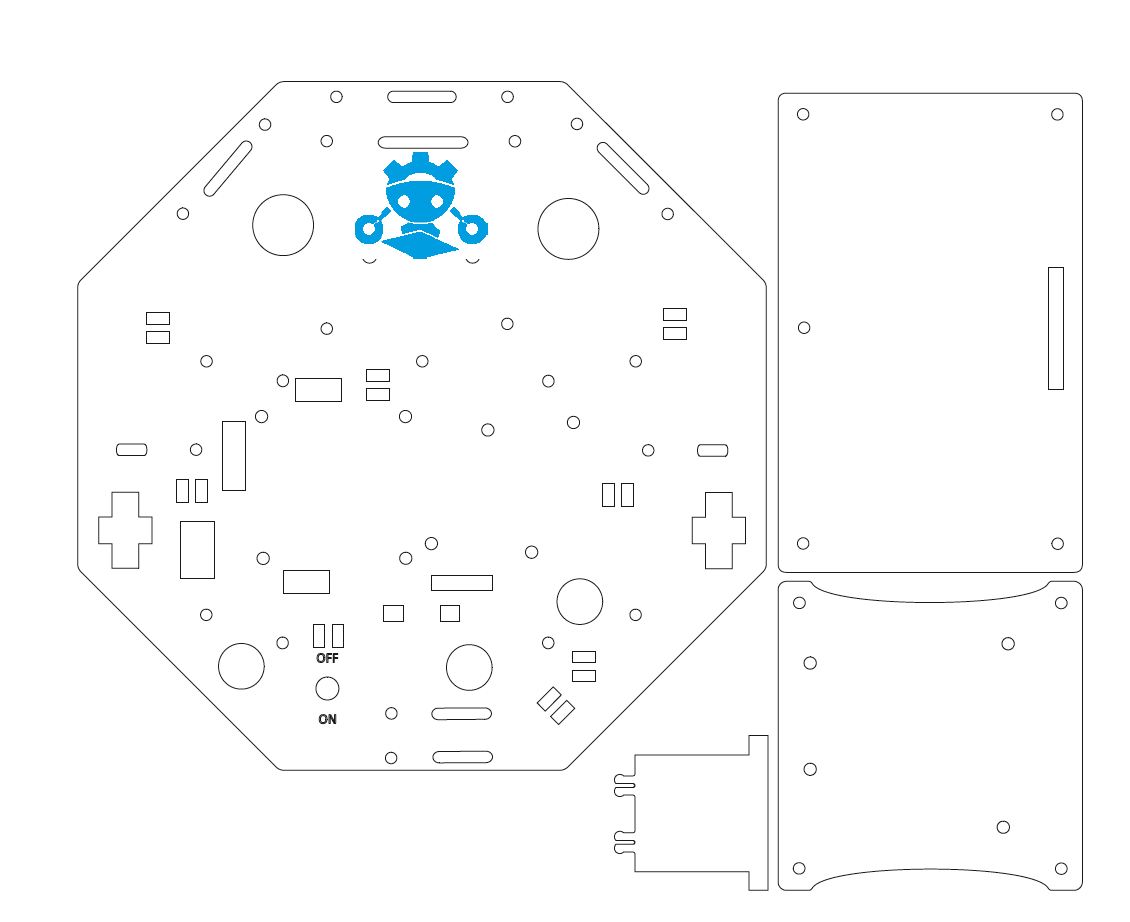
The other two plates are used for battery and arduino mount. The bigger rectangular plate is connected to the bottom of the plate using spacers which houses the re-chargeable battery. While the smaller squarish plate is mounted on top of the octagon base plate on which the Arduino is mounted. Beneath this plate, on the base, the H-bridge, the power rail PCB and the Fire fighting / Object retrieval PCBs are also mounted.
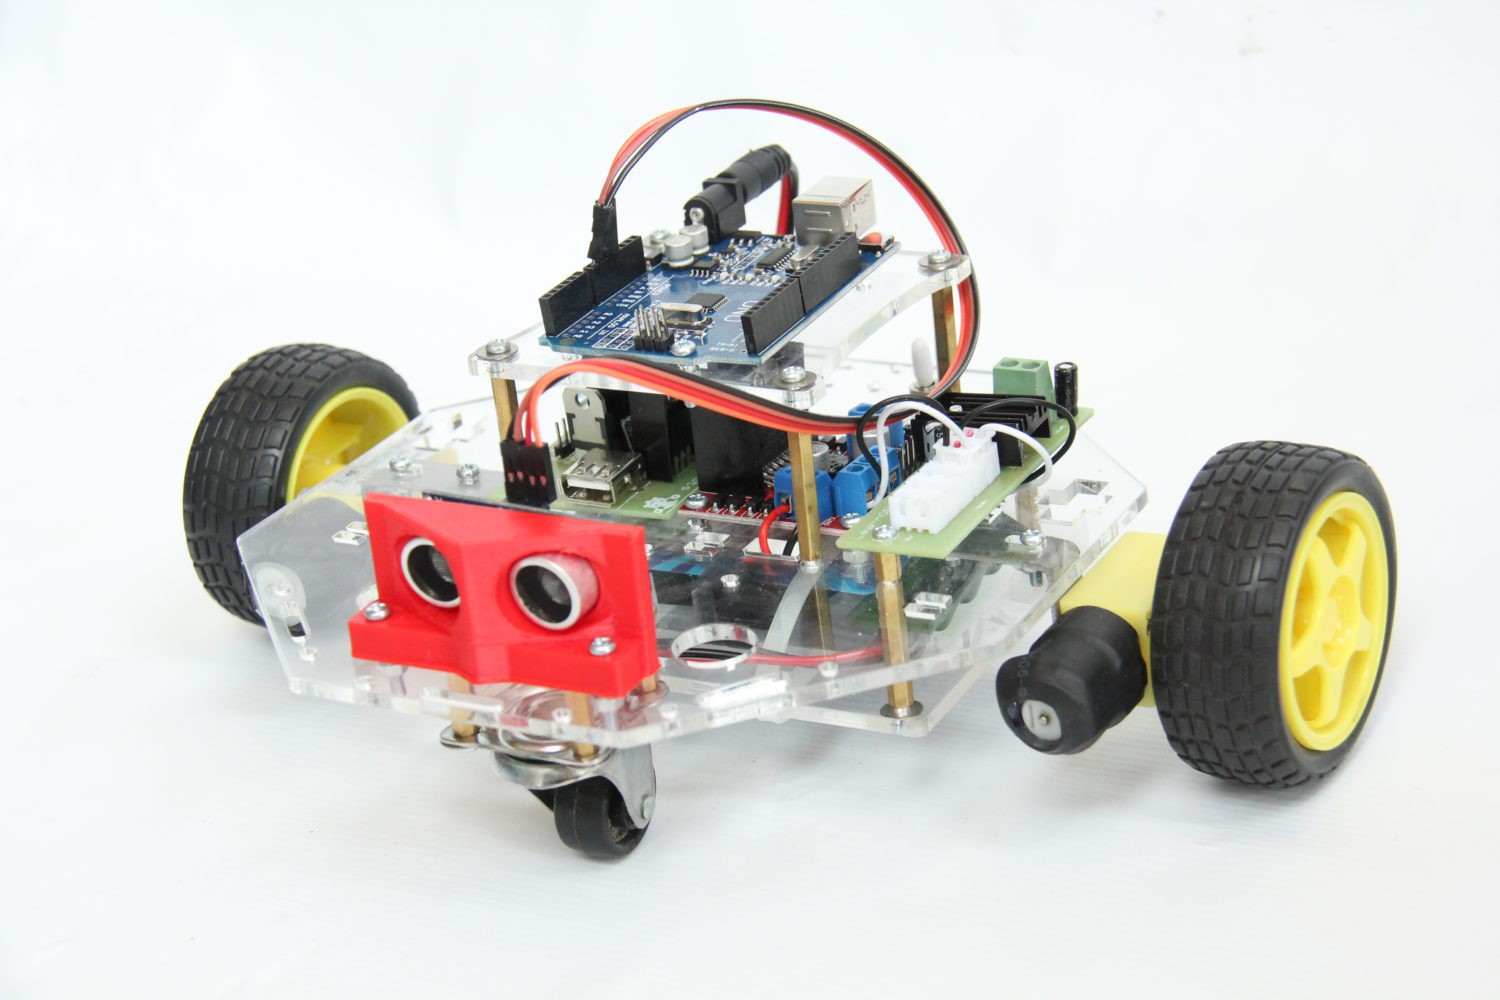
In the image above you can see two plates, one above the base and one below mounted using metal spacers and M3 screws. In the design file we can also see a number of different holes. Some big circular ones and some smaller ones. The smaller ones are for mounting different kinds of modules using spacers and screws. The larger ones are for routing wires from different modules towards the battery back.
The base has also been designed for mounting the MeArm for one of the activities. It allows Codi to have an Acrylic version of MeArm to be mounted at the front for different activities like object retrieval and manipulation. Since the MeArm uses around 4 servo motors, we already have a power distribution board and servo connection board to connect a MeArm to the Arduino Uno of Codi.
Discussions
Become a Hackaday.io Member
Create an account to leave a comment. Already have an account? Log In.