 Facundo Noya
After designing the template, it was printed. To do this, first determine the solidity, ie, what will be its density of filling. In this way, the piece will be more or less resistant depending on the filling pattern or if solid layers are included therein. If the re-filled density had a value of 100% it would mean that a solid part would be printed, whereas if this value were 0% it would be totally hollow.
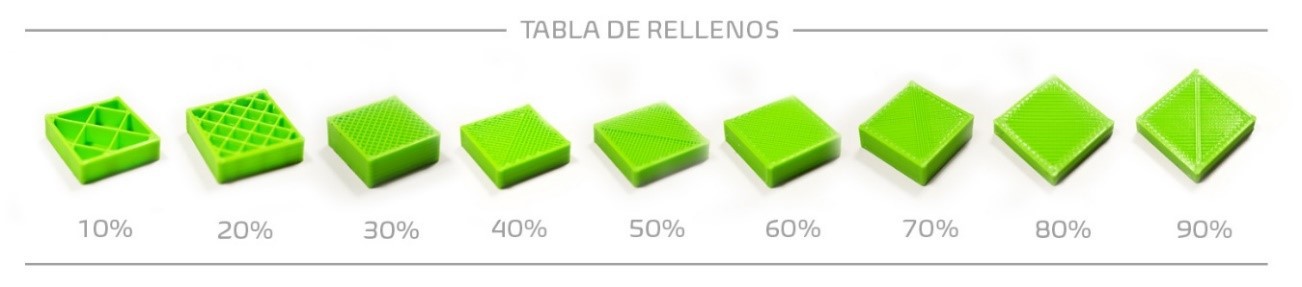
Fill Density Scale
For an increase in the stiffness of the pieces, solid layers are introduced between the filling, ie in addition to the lower and upper solid layers, there will also be more in the intermediate zone. This method will favor robustness, because it allows selecting as many layers of fill as desired. However, it should be noted that the more solid layers you have, the more material you will need and the longer it will take to print.
On the other hand, if the fill pattern is used, both the amount of row-ment and the print times would be decreased. For this case, it is recommended to print with fill density ranging between 20% and 60%. Among the different types of patterns we find:
• Rectangular or grid: this is usually the default in the software. It offers a great relation between hardness and speed of printing, although com-stopped with others it takes more time of impression. However, although it fulfills its function, it offers no advantage over the rest.
• Triangular: optimal for parts that need robustness in the walls, as it offers good resistance and high side loads. It is the most time-consuming printing.
• Wiggle or curvilinear: Ideal if you want parts with some flexibility but without losing the robustness.
• Fast HoneyComb or hexagonal: Considered the most optimum for most printed parts. It is the best relationship between used material and resistance making it the most efficient. It im-prime quickly allowing time savings and, as mentioned above, material, while offering a high robustness to the piece and fits most designs.
• Full HoneyComb: similar to the previous one, but its hexagons unlike the previous one have double walls (Experts, 2016).
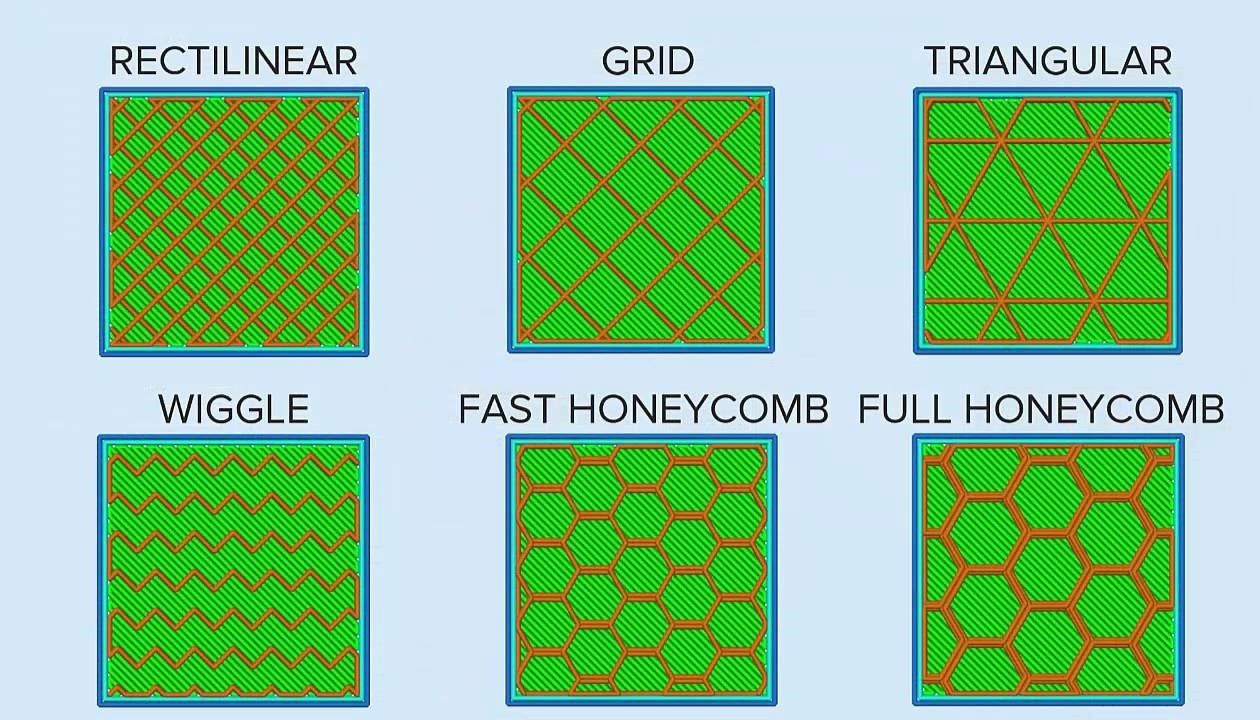
Filling patterns
These fill patterns were those used to make the test specimens of scaled templates and thus to be able to determine which has the most appropriate behavior for the project.
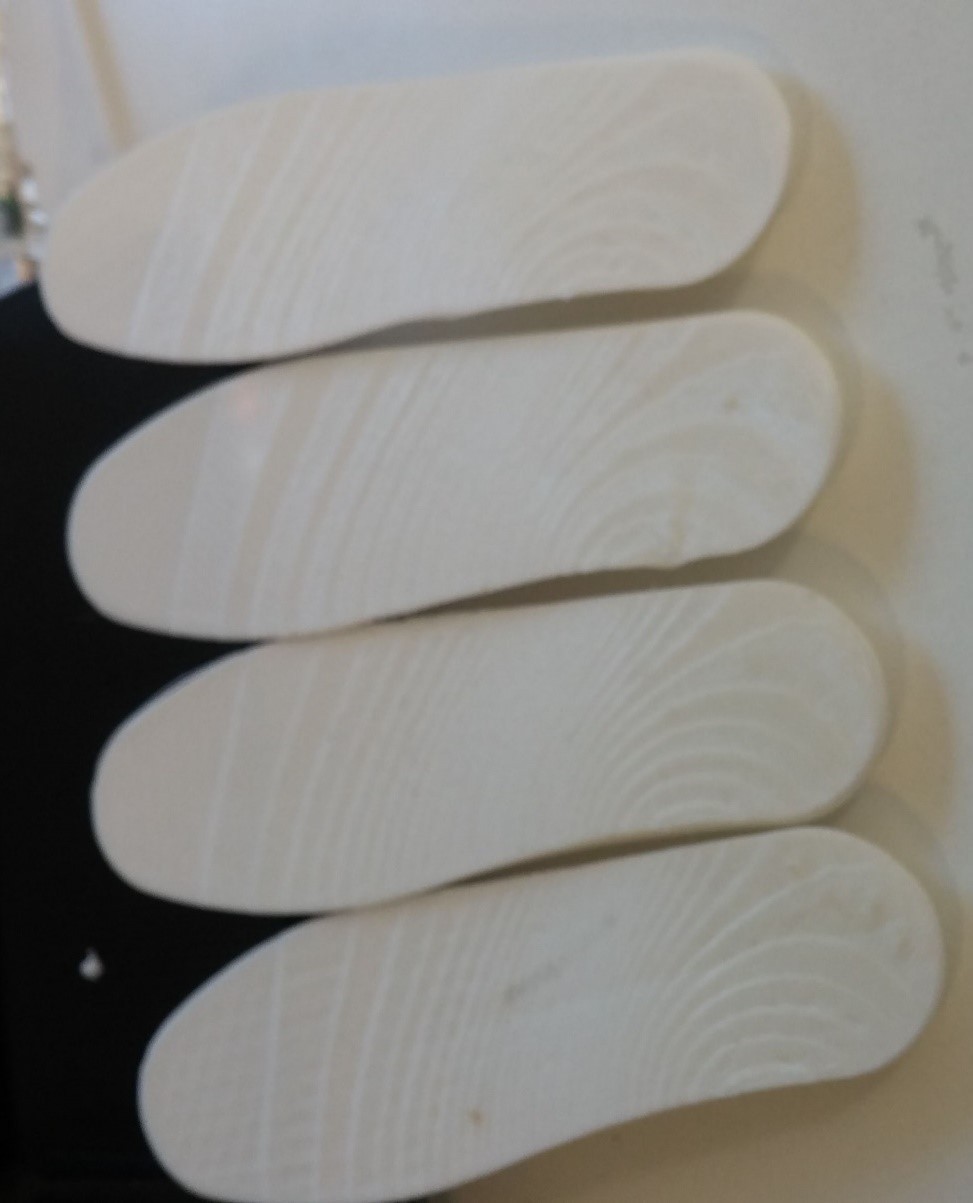
Probes with different filling patterns
After analyzing, it was decided to use the Wiggle pattern. This is characterized by being the least rigid of all patterns since the frame only has lines in the transverse direction of the piece thus obtaining superior flexibility in the longitudinal direction, which is the axis of greater movement that the template presents. The fill density selected for this template was 20%
Discussions
Become a Hackaday.io Member
Create an account to leave a comment. Already have an account? Log In.