To allow the device to track the user's location, I could have used a GPS shield, but I was concerned that the unit was getting too big to be wearable. An alternative is a GPS USB stick, which is physically much smaller than a shield. USB is generally not the most convenient method of connecting something to an Arduino, but luckily most GPS chipsets support serial comms - the challenge is to access these pins, and not use USB at all.
I bought a U-Blox VK-172 GPS USB stick like this one. Inside, it looks like this:
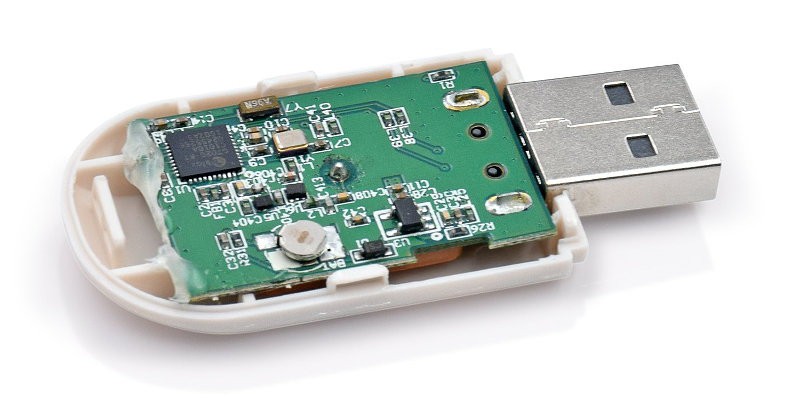
The chip at the top left of the picture is the UBX-G7020. The capabilities are amazing considering that the complete stick cost $7 - GPS and GLONASS support, 56 channels, 10Hz update rate and 1 second hot start acquisition. There is even a coin cell battery to retain the ephemeris data.
I found the hardware integration manual for the UBX-G7020 here. It is all very interesting but the main point is that the serial Rx and Tx lines are provided on pins 18 and 19, at 3.3V level, and the default baud rate is 9600.
To use the board I simply desoldered the USB connector and discarded the plastic housing. Then I soldered two wires on to pins 18 and 19 of the UBX chip, added 100 ohm series resistors, and connected them to pins 8 and 7 of the Arduino (in this way the voltage levels are compatible). To communicate I used the software serial library with pin 7 as Rx and 8 as Tx.
Here's the first wire soldered on - this is 34swg (0.236mm) enamelled wire (the chip is a QFN-40 package, which is 5mm along one side):
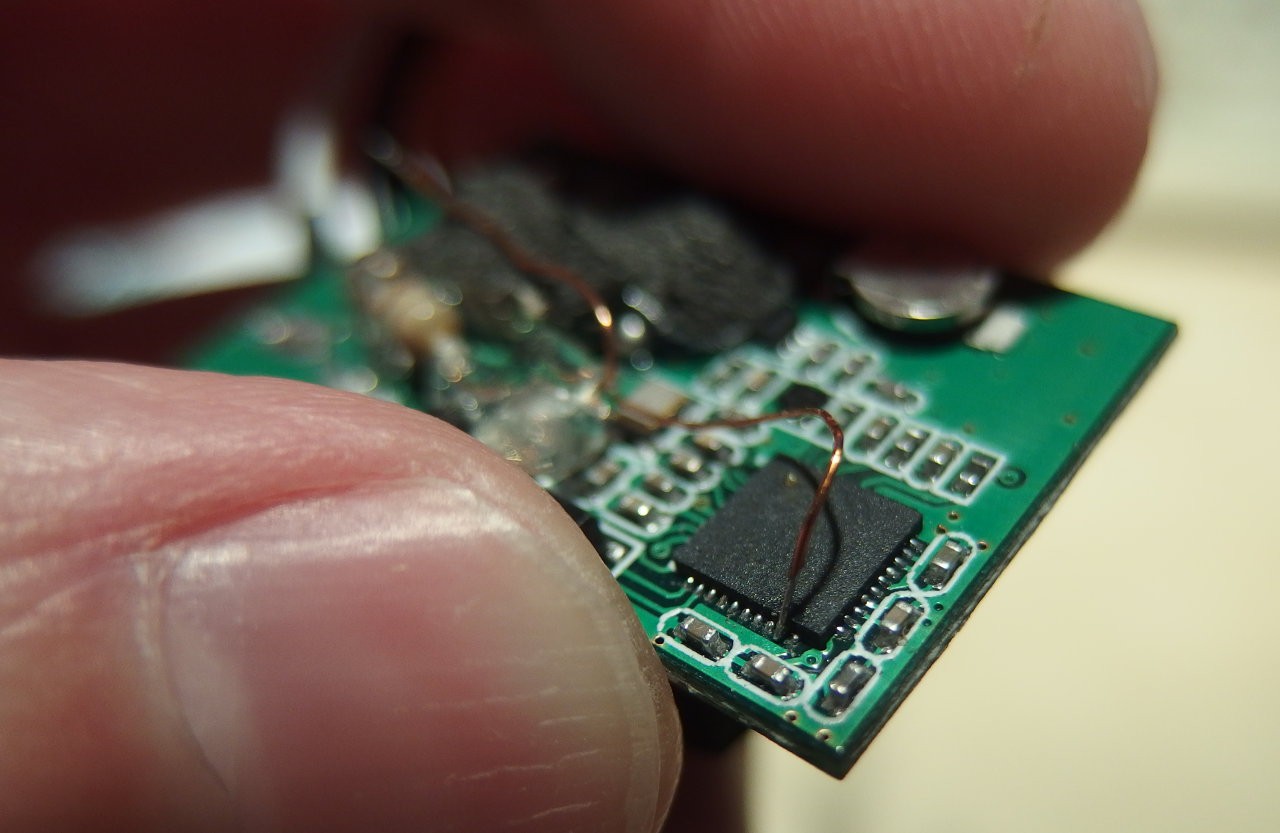
+5V and ground wires can be soldered to the board at the pads where the USB connector originally was. To add some mechanical protection I covered the soldered wires with hot melt glue. Then I added flying leads with pins attached, to allow the board to be plugged in to the Arduino headers:

The black stuff is some foam rubber I glued on to allow the board to fit nicely into the case (see later).
As it happens, in the software I never send any commands to the GPS board, I only listen to the data, and the default configuration provides everything needed. The location information is provided in the standard NMEA format (various other settings are possible as well).
To parse the NMEA data I'm using the really excellent TinyGPS++ library written by Mikal Hart. This library "just works" with almost no coding required at all, and makes it really easy to get position and speed information as well as find the distance from a fixed point, like this:
gnssDistance=(unsigned int)(gnss.distanceBetween(gnss.location.lat(),gnss.location.lng(),HOME_LAT,HOME_LNG));So there's a simple and cheap way to add GPS functionality to an Arduino device, and I will definitely use the same hardware/software combination in the future!
With all the functionality in place, the next step will be to fit the device into a suitable housing.
Discussions
Become a Hackaday.io Member
Create an account to leave a comment. Already have an account? Log In.