Close
0%
0%

Internet controllable LED message marquee

led marquee controlled with two arduino, and an ethernet shield

Similar projects worth following
It was just an info-display for my mining rig at first but now getting a web app for a more friendly usage, poor man's version of 'Starling'


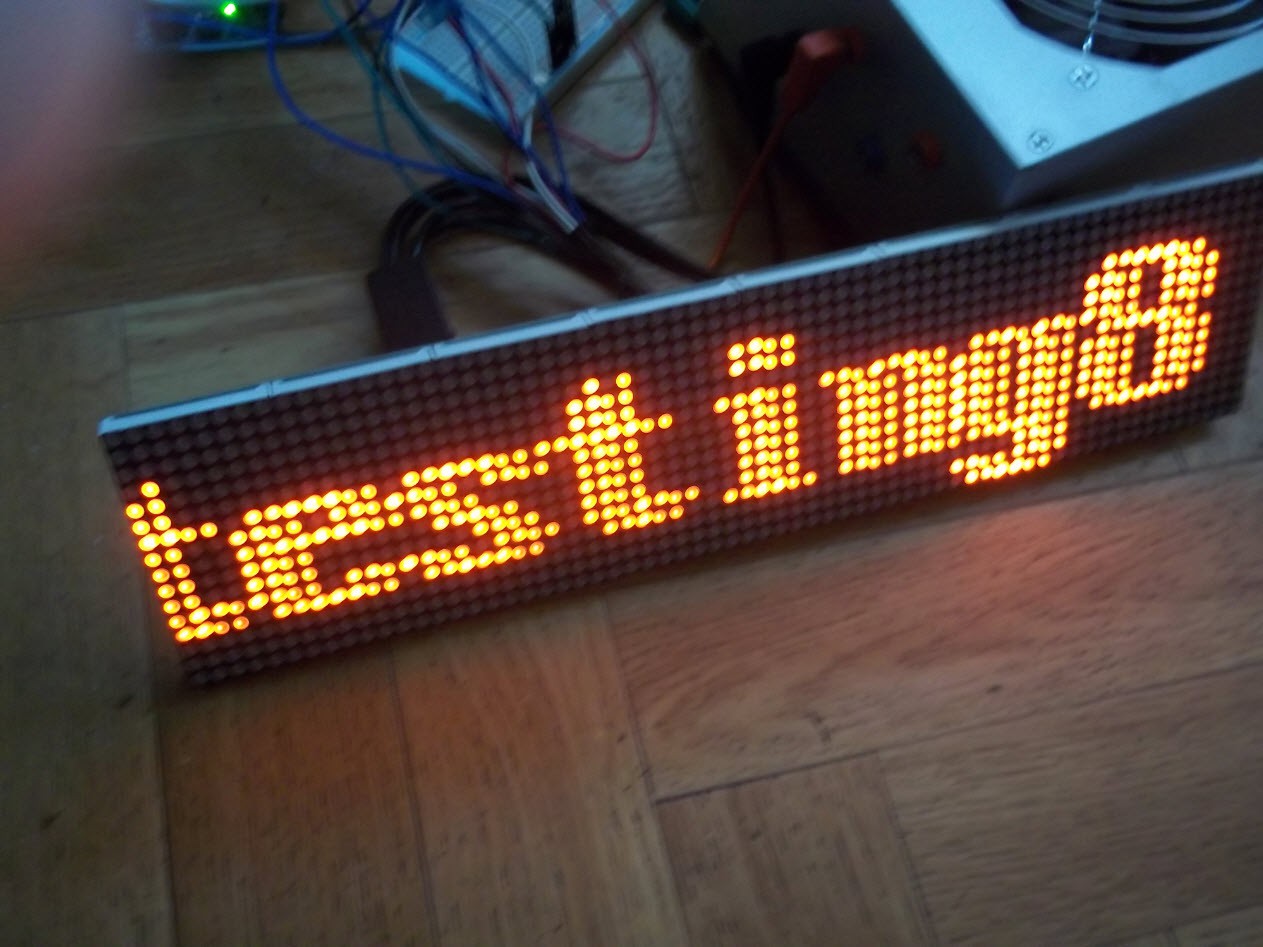
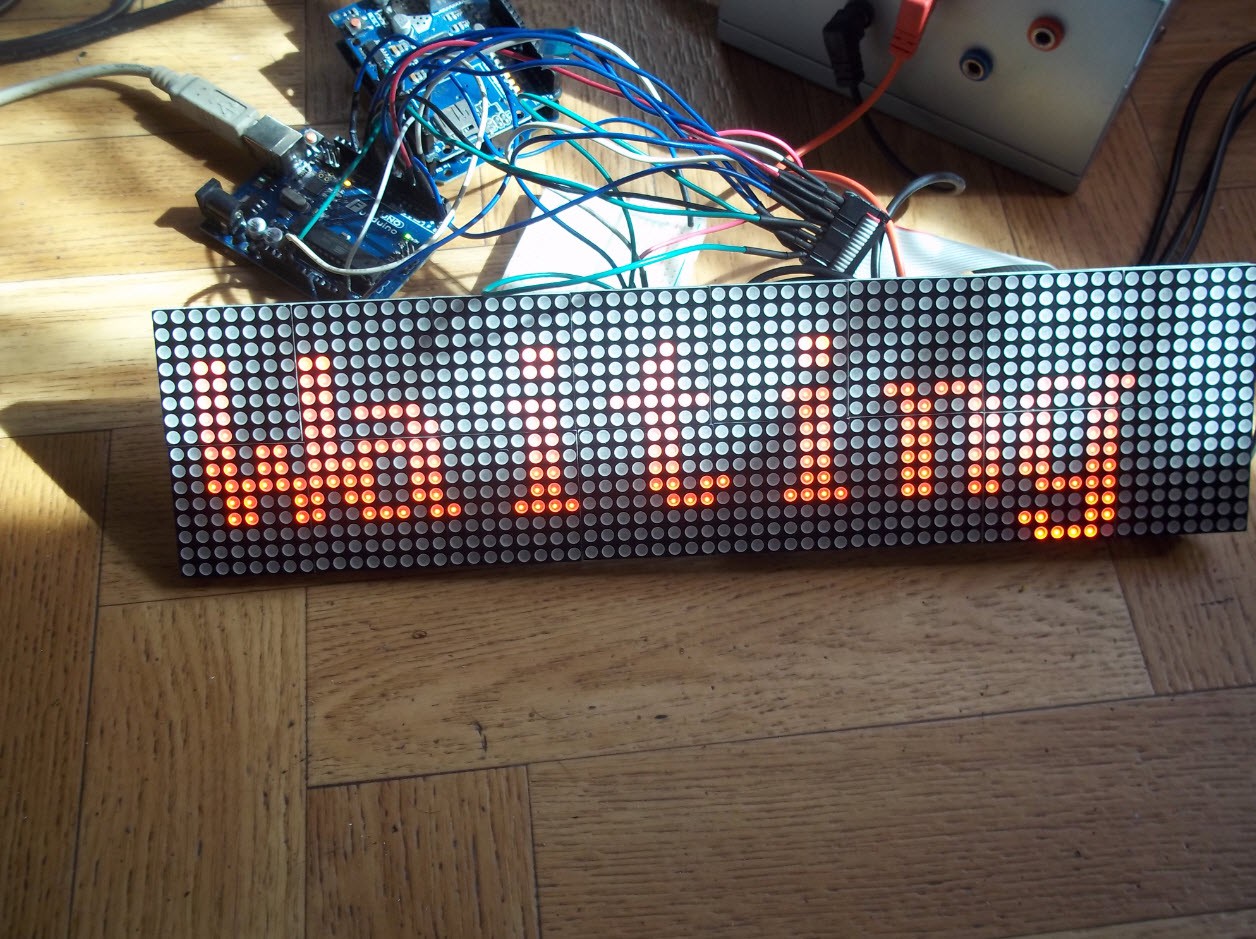
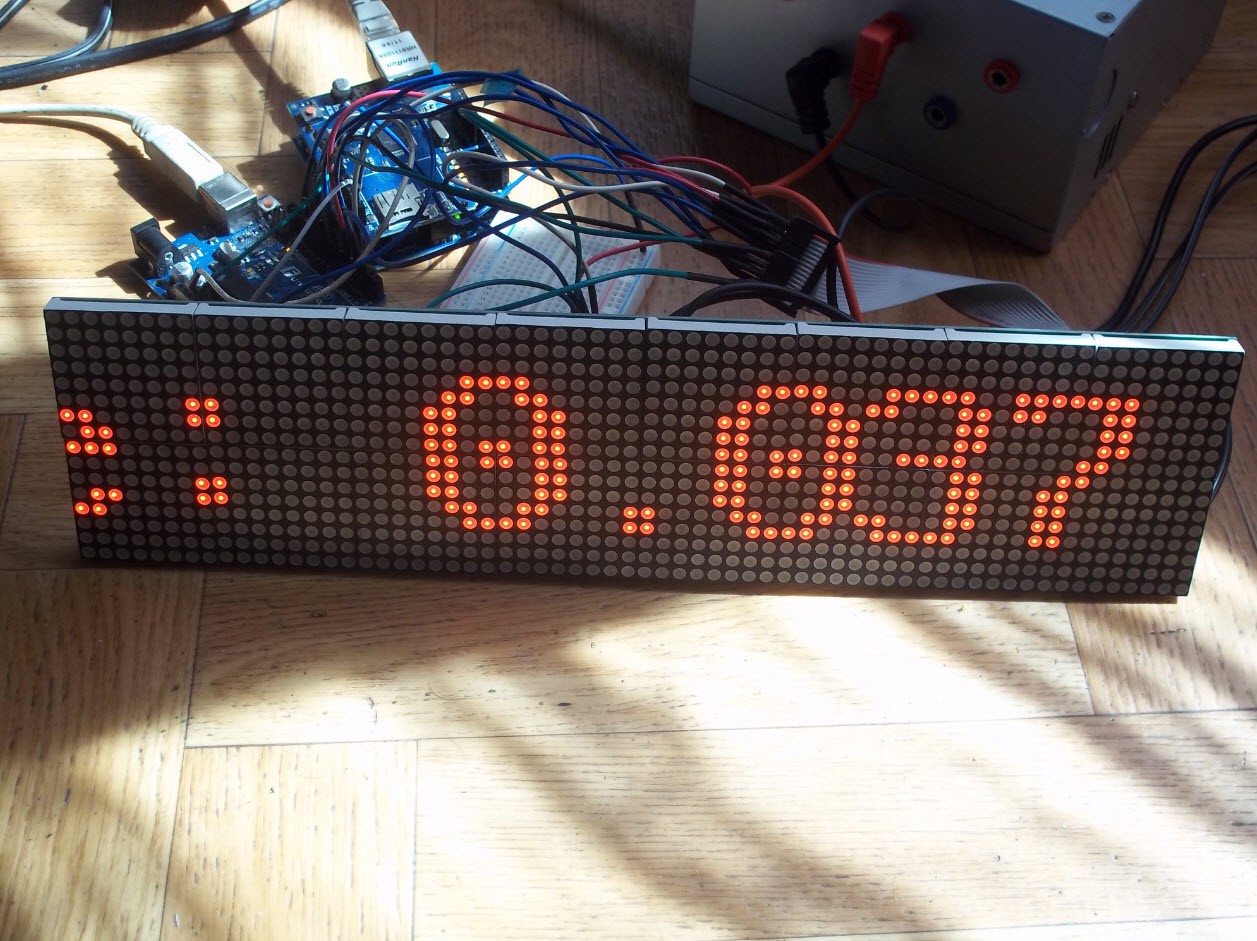
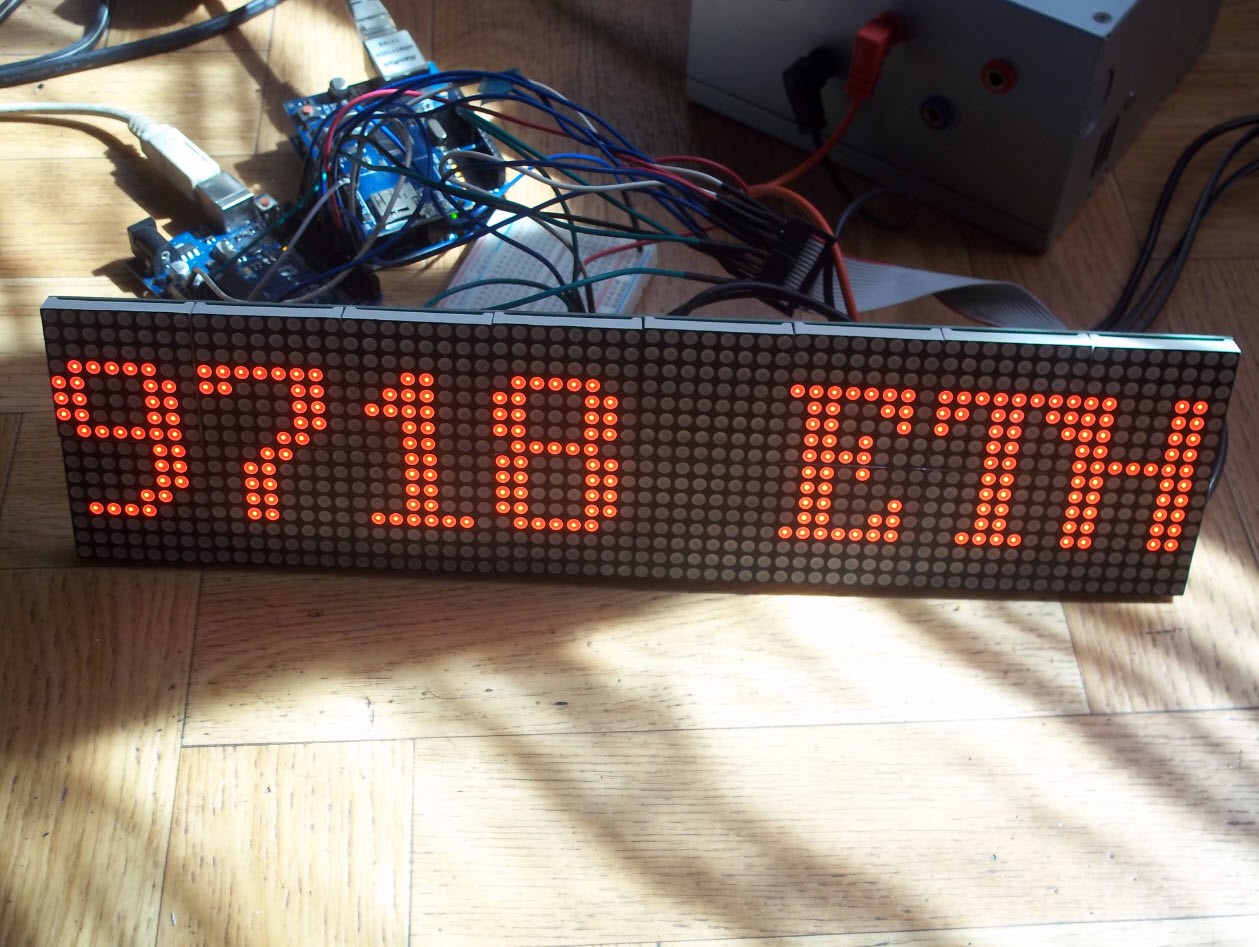
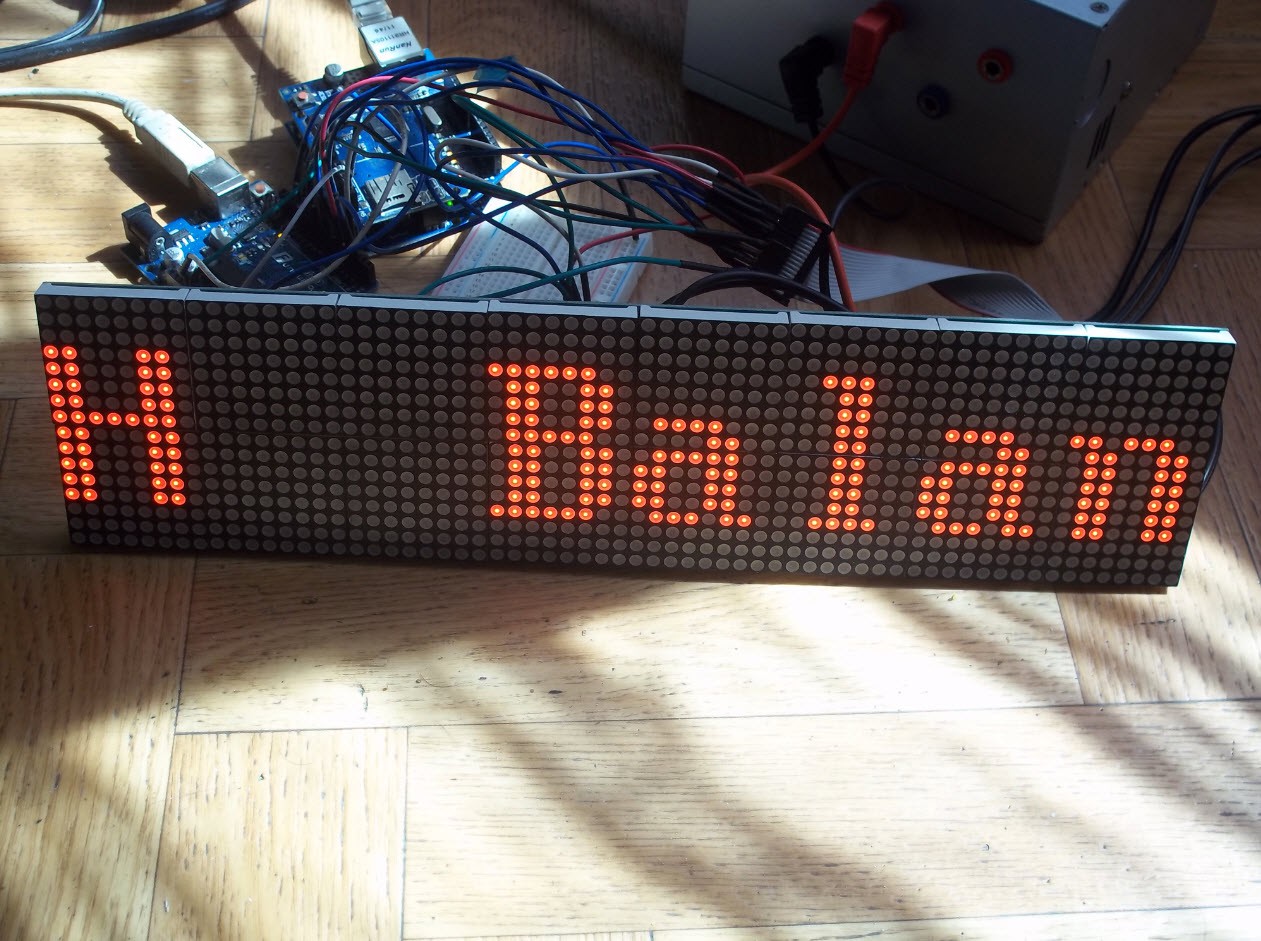
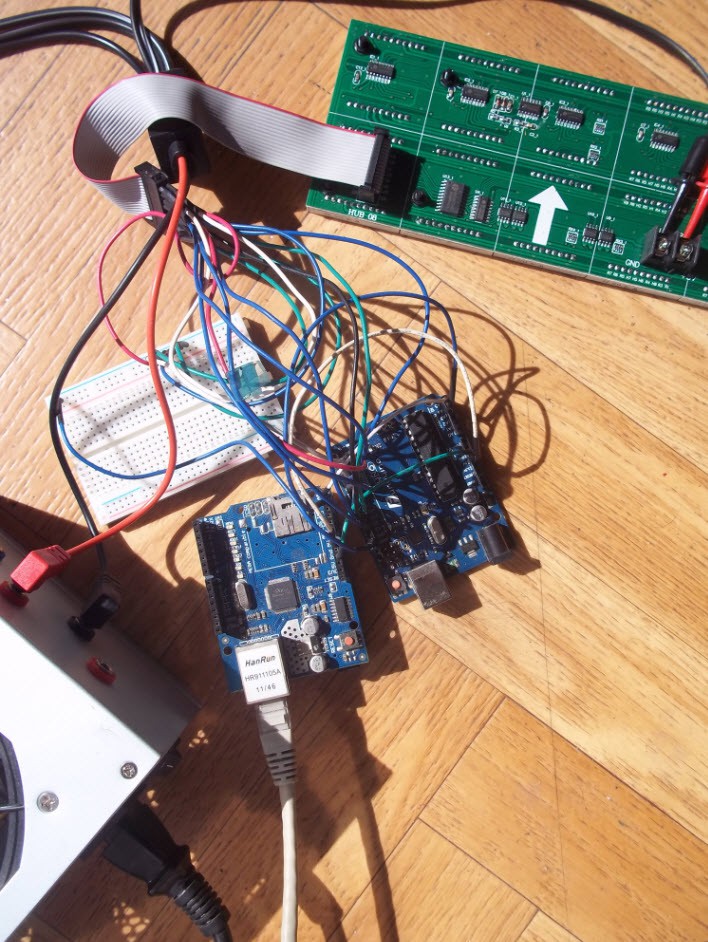
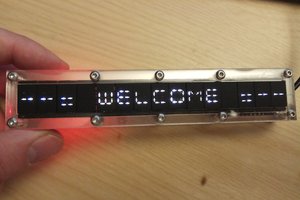
Just a 64x14 led marquee who display some text grabbed from internet.
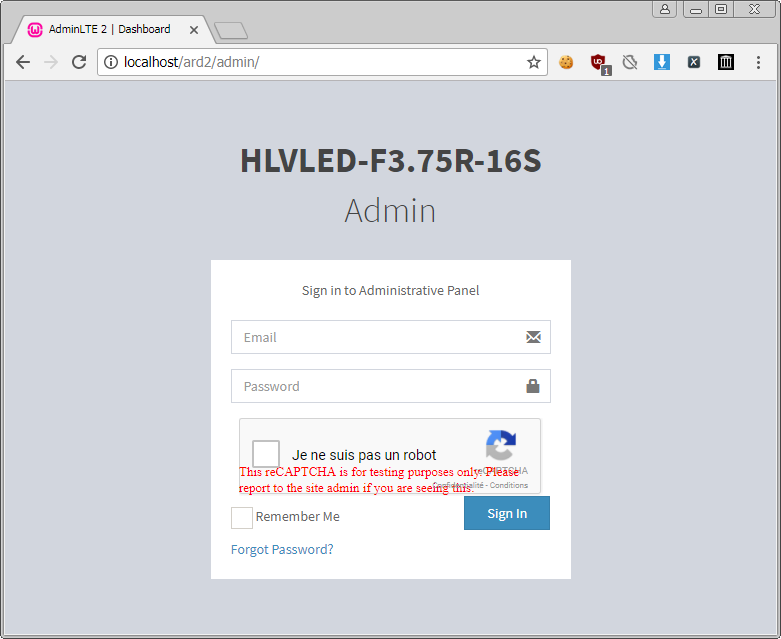
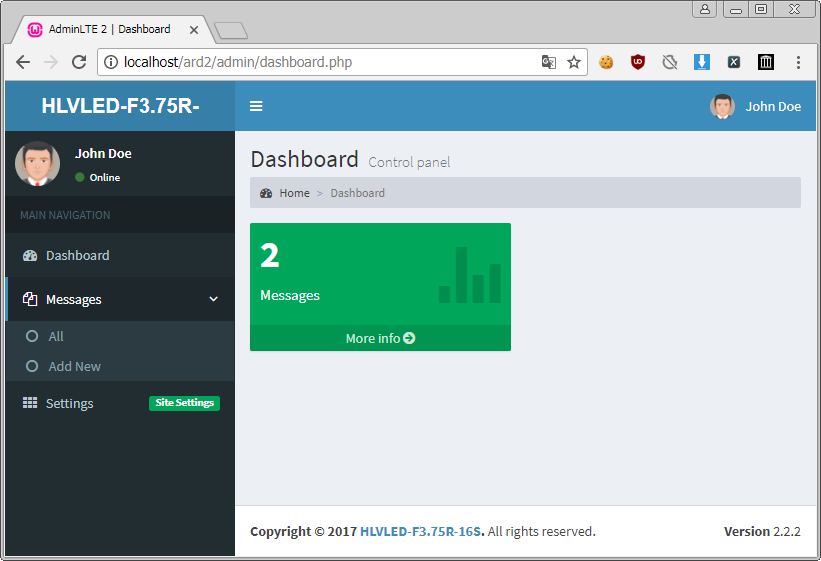
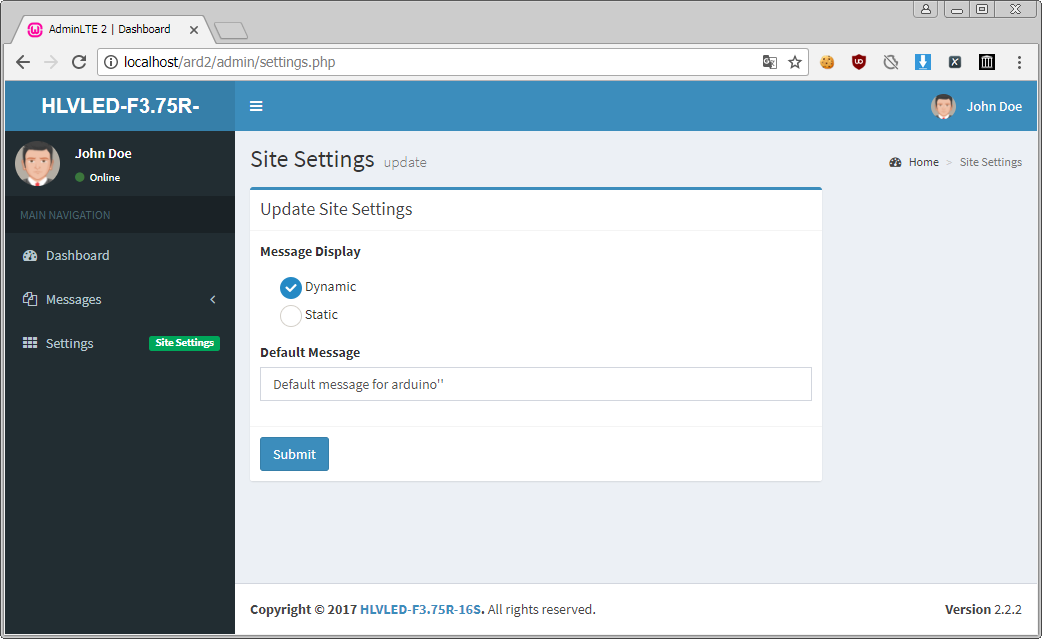
Was just for my personal usage at first but friends asked me to modify it to be more convenient because they wanted one, and so now it's a remote controllable led marquee with a friendly web panel to configure your messages.

The led marquee can display the following chars:

 !"#$%&()*+,-./0123456789:;<=>?@{|}~AZaz

Fonts sourced from various locations on the internet, check ReceiverMarquee.ino for the full ASCII character set.
The scrolling message can be up to a lenght of 59 chars, but it's only up to you to fork it.

web_panel.zip

Upload to your server (and import the sql dump to your db)

x-zip-compressed - 576.92 kB - 12/29/2017 at 21:38

Download

ethernetWireMaster.ino

Upload to arduino master (the one with ethernet shield)

ino - 3.25 kB - 10/03/2017 at 09:14

Download

balance.php

nanopool version (Upload to your server if you want to display your progression on your mining balance)

php - 220.00 bytes - 09/10/2017 at 17:07

Download

ReceiverMarquee.ino

Upload to arduino slave (the one with the led marquee)

ino - 18.42 kB - 09/10/2017 at 17:05

Download

  • Web controller release and how to use it

    Xylitol09/23/2017 at 16:58 0 comments

    Hello,
    Finally here is the release of the web controller, you can find it in the file manager.
    And so now you can build your own functional controlable led screen over internet.
    I've deviated a bit from my previous ideas about my web app dev logs, so what's changed?, and what does that look now? here the answers:

    • Full MySQL (abandoned the SQLite idea)
    • sha384 for password hashing (instead of md5, not a game changer but still beter)
    • reCAPTCHA on authentication (against brute force)

    That all, now some screenshots.

    Authentication:

    To change the reCAPTCHA API key pair, open the file adminAccount.php and change line 14.

    $secret = '6LeIxAcTAAAAAGG-vFI1TnRWxMZNFuojJ4WifJWe';

    And index.php, line 50:

    <center><div class="g-recaptcha" data-sitekey="6LeIxAcTAAAAAJcZVRqyHh71UMIEGNQ_MXjiZKhI"></div></center>

    A guide to get your key pair can be found here: https://developers.google.com/recaptcha/intro on google website.

    For the SQL settings, open the "DB.class.php" file on a text editor. Now specify the database host ($dbHost), username ($dbUsername), password ($dbPassword), and name ($dbName) as per your database server credentials.:

    private $dbHost     = "localhost";
    private $dbUsername = "root";
    private $dbPassword = "";
    private $dbName     = "arduino";

    For the forgot password email feature, open the "email_functions.php" file in a text editor and do the following changes:

    Specify your domain (example.com) in $resetPassLink variable and specify also the sender name ($serderName), sender email ($serderEmail), and body content ($mailContent).

    $resetPassLink = 'http://example.com/admin/resetPassword.php?fp_code='.$userData['forgot_pass_identity'];
    $serderName = 'HLVLED-F3.75R-16S';
    $serderEmail = 'sender@example.com';
    		
    $to = $userData['email'];
    $subject = "Password Update Request | HLVLED-F3.75R-16S";
    $mailContent = '<p>Dear <strong>'.htmlentities($userData['first_name']).'</strong>,</p>
            <p>Recently a request was submitted to reset a password for your account. If this was a mistake, just ignore this email and nothing will happen.</p>
            <p>To reset your password, visit the following link: <a href="'.$resetPassLink.'">'.$resetPassLink.'</a></p>
            <p>Let us know at contact@example.com in case of any query or feedback.</p>
            <p>Regards,<br/><strong>HLVLED-F3.75R-16S Staff</strong></p>';

    That's enough, now create a database (for example arduino) on phpMyAdmin and import the "SQL/arduino_web.sql" file on this database.

    The default credential are:
    user: admin@admin.net
    pass: admin

    Open the admin URL (http://example.com/led/admin/) on the browser and log in to the admin panel and change the login credentials.

    Dashboard after authentication:

    Add a new message:

    List of message:

    Site settings:

    User profile:

    Now for the arduino sketch, edit ethernetWireMaster.ino, line 9:

    char server[] = "your-server.fr"; // change to your host
    String dataLocation = "/led/index.php HTTP/1.1"; // change to your PHP page

     To where you have set up your web controller.
    On the same file, line 73, you can adjust in milisecond the refresh interval for retrieving message:

    delay(60000); // Delay before next loop (one minute).

     Voila, that all.

    I've been running my display like that since 2 weeks now, with no interuption and an arduino sketch who call the gate each minute and everything seem fine and stable.

  • Dealing with long i2c transaction and Web controller

    Xylitol09/10/2017 at 17:02 0 comments

    I came across several problems with the original plan of developement for the web controller and also found a bug in my arduino sketch.
    I got the surprise that arduino can't sent over 32 bytes via i2c, in fact you can do way more by upping the buffer size values in the following files.

    twi.h:

    #define TWI_BUFFER_LENGTH 64

     Wire.h:

    #define BUFFER_LENGTH 64

    This is a terrible idea and you shouldn't do it, as for those chips there is a limit of 64 in the i2c buffer, sram would be a lot impacted causing arduino to freeze. So, how to do it.. I had a lot of trouble in the logic but the idea is to split the message and construct it on the slave.


    I did an example on 2 dummy arduino to debug it more easily, then implemented the final code in my project. My approach isn't ideal but now i did something up to 59 chars. I take the string then split it in two and send the two part separatly over i2c. During that time the receiver continue to assemble till it reach the end. I've added a delimiter '^' at the end that will tell receiver that this is the end of command.
    This solved the issue and small strings now also display fine without having to change the array property each time, i just put an array of 60 and auto-pad it with space to reach that length (and to avoid also the hideous auto-zero padding)

    Now regarding the web controller part: i was wrong about thinking this project would fit entirely with SQLite. I can use SQLite to store and fetch messages. but for admin authentication and other admin functionality, SQLite will be not a good option, so i'm back with MySQL.. be scared :o)

    There still some work to do on the web controler but i will reach the end soon, i do not have time during the week and that i2c thing took me the whole weekend to resolve. So right now i'm gonna update the files on the file manager and continue to work on the web controller for 2,3 hours.

    Hopefully next weekend devlog will be about the web controller release.

  • Making a proper web controller

    Xylitol09/05/2017 at 19:48 0 comments

    So, my friends suggested that i should make a proper web app to control the display, instead of just a single gateway page.
    Basically i've nothing to change on my arduino code, i just have to develop a panel, and it would make the project more valuable, with added functionality such as sending custom message.
    If some people remember my IoT weather station project, i've used a mySQL db, here i'll be using SQLite, i want to try to avoid MySQL. After reviewing my options for using a single file for data storage, SQLite seem a good choice.

    Here is the scope of work for the web application (this log might be updated to add features)

    Control Panel:

    • Admin login with email and password. 
    • Forgot password feature to reset login password.

    After login, the admin can do the following functionality:

    • Update profile and login information.
    • Insert message into the database (message will be inserted in SQLite3 DB).
    • View inserted messages list (all the messages will be retrieved from the SQLite3 DB).
    • Add fixed message (ETH Balance).
    • Message display settings page to choose whether a custom message or fixed message will display.

    Arduino gateway:

    • The gate will retrieve the last message from the SQLite3 database. If admin select fixed message option, the default message will be fetched from the SQLite3 database.
    • The message will be rendered in the web page (<MESSAGE>blabla</MESSAGE>, nothing new here).

    Security: htaccess to deny direct access to the database.

    Technology: PHP & SQLite3, Bootstrap as theme.

  • Some pictures

    Xylitol09/03/2017 at 13:49 0 comments

    Some picture of the display, first release. Here it wait to receive the message from the master arduino:


    When he recevied the data, message is displayed:

    This display is marked as HLVLED-F3.75R-16S on the silk screen, believed to be manufactured by HLVLED in China, i've not so munch info about it and their site looks like hosted on a 56k server, unreachable.

    There is some seller on eBay named canton-electronic who sell them for 30$USD he also provide some arduino code he made himself to control the display, although i've not tested exactly his codes.

View all 4 project logs

  • 1
    Pin configuration

    For this project i've choosed to use the ethernet shield with a led marquee but i couldn't interface everything on the same board due to pins conflict, instead i've choose to use 2 board, one will be the master who retrieve data from internet, and the second will be the slave who gather the data from master and display it on the led marquee.

    First arduino (Master):
    - Put the ethernet shield on it
    - Connect A4 of the master to A4 of the arduino slave
    - Connect A5 of the master to A5 of the arduino slave
    - Connect GND of the master to GND of the arduino slave
    - Connect 5V of the master to VIN of the arduino slave

    Second arduino (slave):
    we wired previously the i2c communication between master and slave, so now we gonna wire the slave to the marquee

    - D8 to LT
    - D12 to SK
    - D10 to R1
    - D11 to R2
    - D2 to EN
    - D3 to LA
    - D4 to LB
    - D5 to LC
    - D6 to LD
    - GND to GND

    Close view of the marquee pins:

    Don't forget to also power up your marquee:

    You should end up with a jungle like this:

  • 2
    Make your web page for retrieving datas

    I've used PHP and the API provided from my mining pool (nanopool)

    <?php
    $json_url = "https://api.nanopool.org/v1/eth/balance/0xYOUR-WALLET-ADRESS-HERE";
    $json = file_get_contents($json_url);
    $data = json_decode($json, TRUE);
    echo '<MESSAGE>Balance: '.$data['data'] . ' ETH^</MESSAGE>';
    ?>

    Make that file and host it somewhere on your server, verify that the page is working correctly.
    a tipical message if you view-source can be: <MESSAGE>a scrolling message^</MESSAGE>
    <MESSAGE></MESSAGE> is used for the initial parsing.
    ^ at the end of the message is the indication of end of string.
    File can be downloaded from Files manager on this project.

  • 3
    Upload the codes to the arduino

    Upload the codes from the Files manager of this project to your arduinos, and the php file to your web server.
    You have a bit of modifications to do if you don't mine on nanopool.

    For ethernetWireMaster.ino (master code) here are the things to change to your settings:

    char server[] = "example.fr"; // change to your host
    String dataLocation = "/balance.php HTTP/1.1"; // change to your PHP page
    [...]
    delay(60000); // Delay before next loop into void_loop() (one minute).

    Voila, for the moment it's a bit dirty but i've did that for myself initially, not for releasing it.
    Some part of the code come from this instructable, as i was having the same display as the guy, it was a lot easier reuse his work.

View all 3 instructions

Enjoy this project?

Share

Discussions

Similar Projects

Does this project spark your interest?

Become a member to follow this project and never miss any updates