 jason.gullickson
Last weekend dad and I started working on the cabinet. I wanted to take more pictures, but it’s tricky to document and get this kind of work done at the same time.
The design is based on a combination of the original Pacman cabinet crossed with a Space Invaders cabinet. I liked the Pacman designs simplicity of mounting the controls and screen in a single panel but I also liked the more angular outline of the Space Invaders cabinet (felt more 80’s to me than Pacman’s curves). I sketched this up a few times and once I had something with a few measurements in it I passed the drawing along to dad who ran with it and turned it into something with enough information to actually build something from.
 Dad with the full-size mock-up (the perspective makes it look a bit smaller than in person)
The cabinet design has a few other considerations that might not matter if you’re building one for personal use, but were important for the Charity Arcade machine. First is the transparent “coin case” that displays the donations and second is that it needs to be portable enough that Jamie & I can get it around. In our case this means light enough for two to carry it and small enough to fit into the back of our Honda Element. After a few phone calls and emails dad tweaked the design to meet these requirements and made a few improvements as well.
A lot of the time was spent confirming the design and measuring the “fixed” components of the machine (the screen, controls, other electronics, etc.) as well as validating the basic measurements for usability and portability. Once that was done, we could start making some cuts.
 Partial cardboard mock-up of the control panel
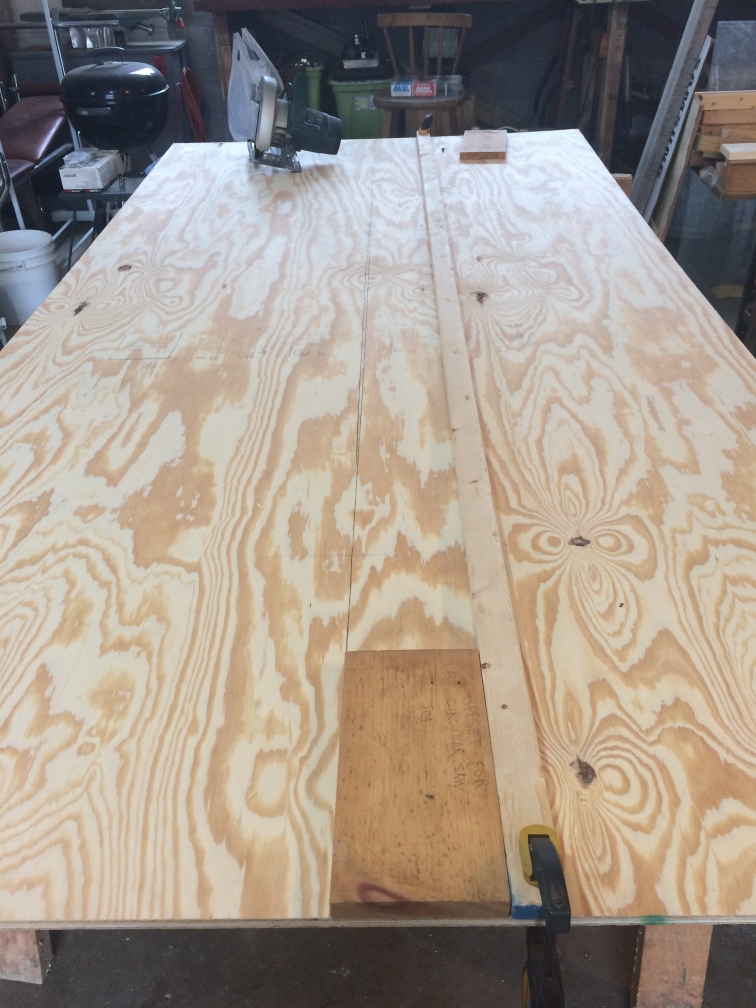
The design is intended to make use of two 4×8′ sheets of 1/2″ plywood, so the first cuts were to get the sheets down to a more manageable size.
The other priority was to get the “control panel” cut so I could take it back to the lab and install the electronics. Getting the angles just right was a bit of work due to the size (it wouldn’t fit on the radial arm saw, etc.) so we ended up freehanding it with a circular saw, but it turned out just right.
 The “uncarved block”…
It was really cool to start seeing the parts take shape. It’s easy to get focused on the goal at this point but there’s still a lot of work to do and I don’t want to miss out on the joy of building the machine by focusing on having it done. Next step for me is to layout all the electronics on the control panel, cut some holes and see how it all fits together. In the meantime dad’s going to keep working on the cabinet and we’ll get together and compare progress again soon.
Discussions
Become a Hackaday.io Member
Create an account to leave a comment. Already have an account? Log In.