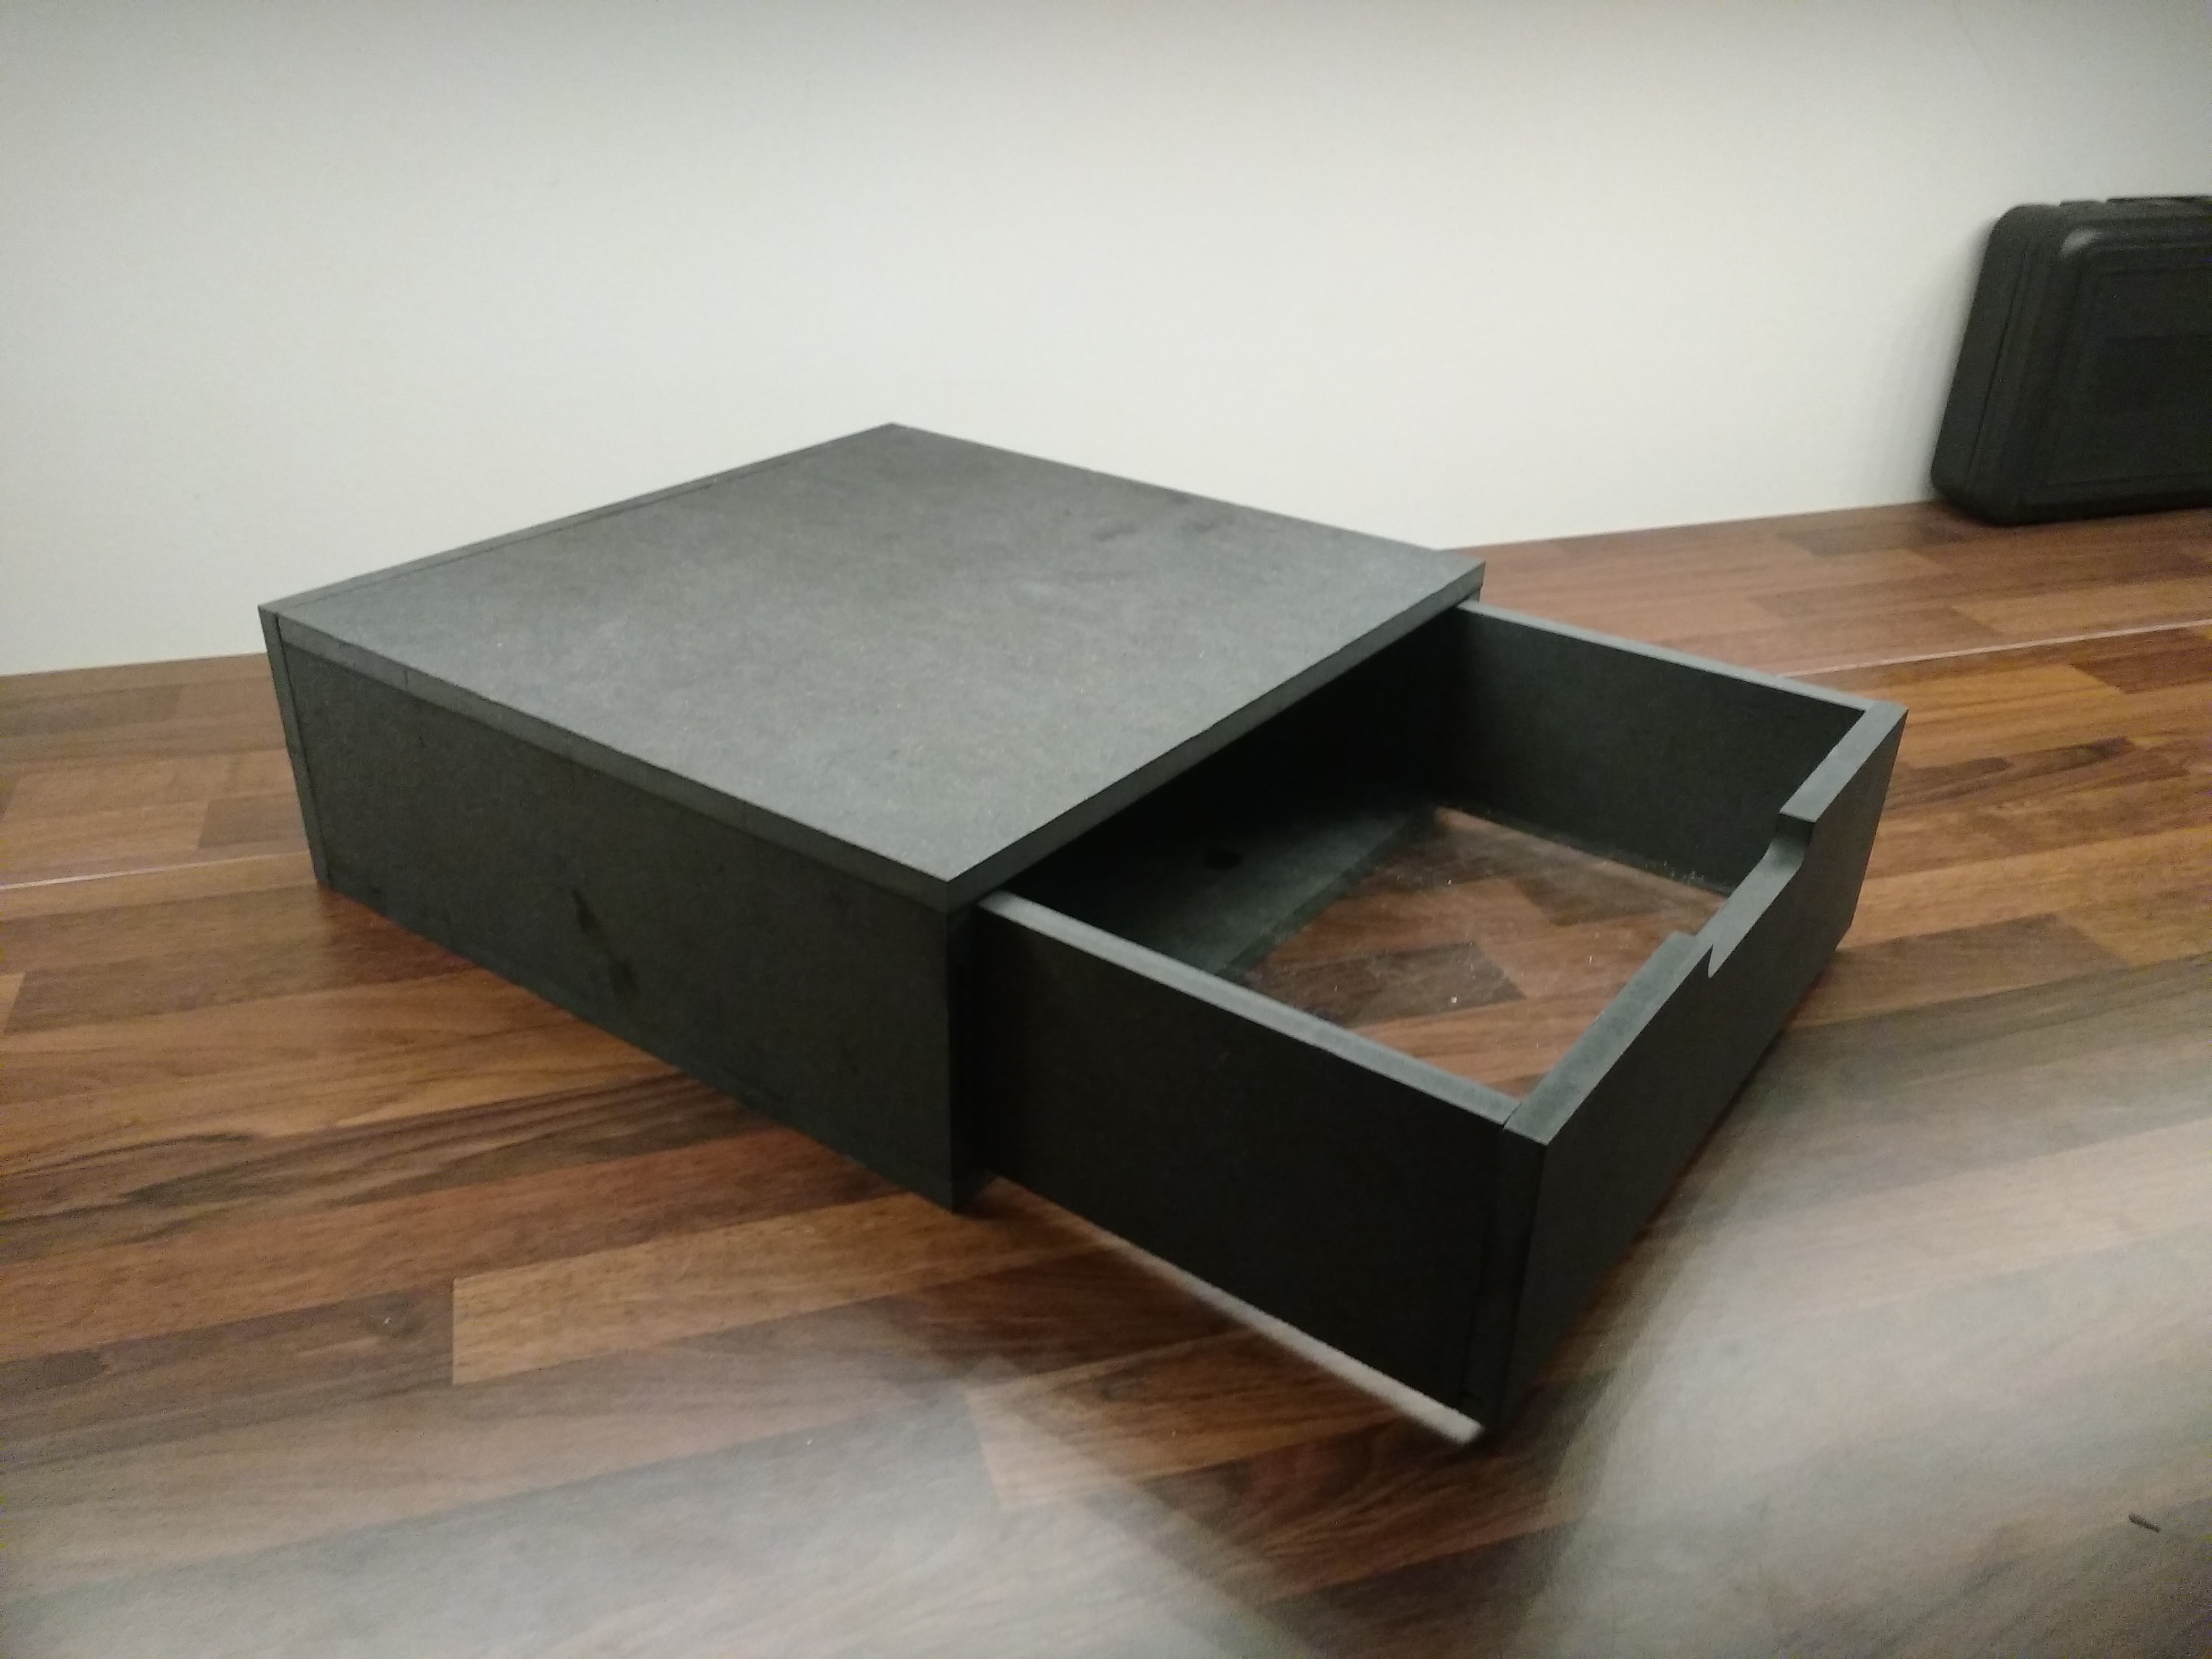
• Quick post: new prototype and more refinements

    Øystein10/18/2017 at 22:06 0 comments

    I have now made my second prototype on the cnc. Here are some pictures:

    Tested 3d scallop function in fusion 360, turned out quite good with a 6mm ballnose. I forgot to cut the groove for the bottom plate in the drawer. I have corrected i few mistakes I did and hope to cut it soon.

  • Parametric modeling and animation

    Øystein10/14/2017 at 12:15 0 comments

    So as I said I have modeled the whole magbox again in fusion 360 so that it is parametric. This means that I can change all the important variables like height and width and my model will automatically update all dimensions so that everything is correctly sized.

    I also made a small animation of the magbox:

    Next tuesday I will try to cnc this new model.

  • First protoype assembled!

    Øystein10/12/2017 at 22:17 0 comments

    Yay! First prototype assembled! I got to use the biscuit jointer and Glue applicator from lamello. Here are some pictures of the process.

    First drawer assembled with a clear plexi glass baseplate. There is one biscuit in each joint. It is quite strong. I have quite a few plans on how I am going to make this drawer better.

    Lamello make a strap system for gluing boxes. It worked very well!

    Ta-da! First prototype assembled! I am going to remodel the hole thing in fusion 360 and make design improvements and make it parametric.

  • Some assembly required

    Øystein10/11/2017 at 21:26 0 comments

    So I finally got to use the biscuit jointer! I started making some tests with what lamello calls a 0 size biscuit.


    I made a little test using the size 0 biscuits and decided that size 10 will be used. Size 10 is actually not referring to millimeters or centimeters. Its just called size 10. for some reason..

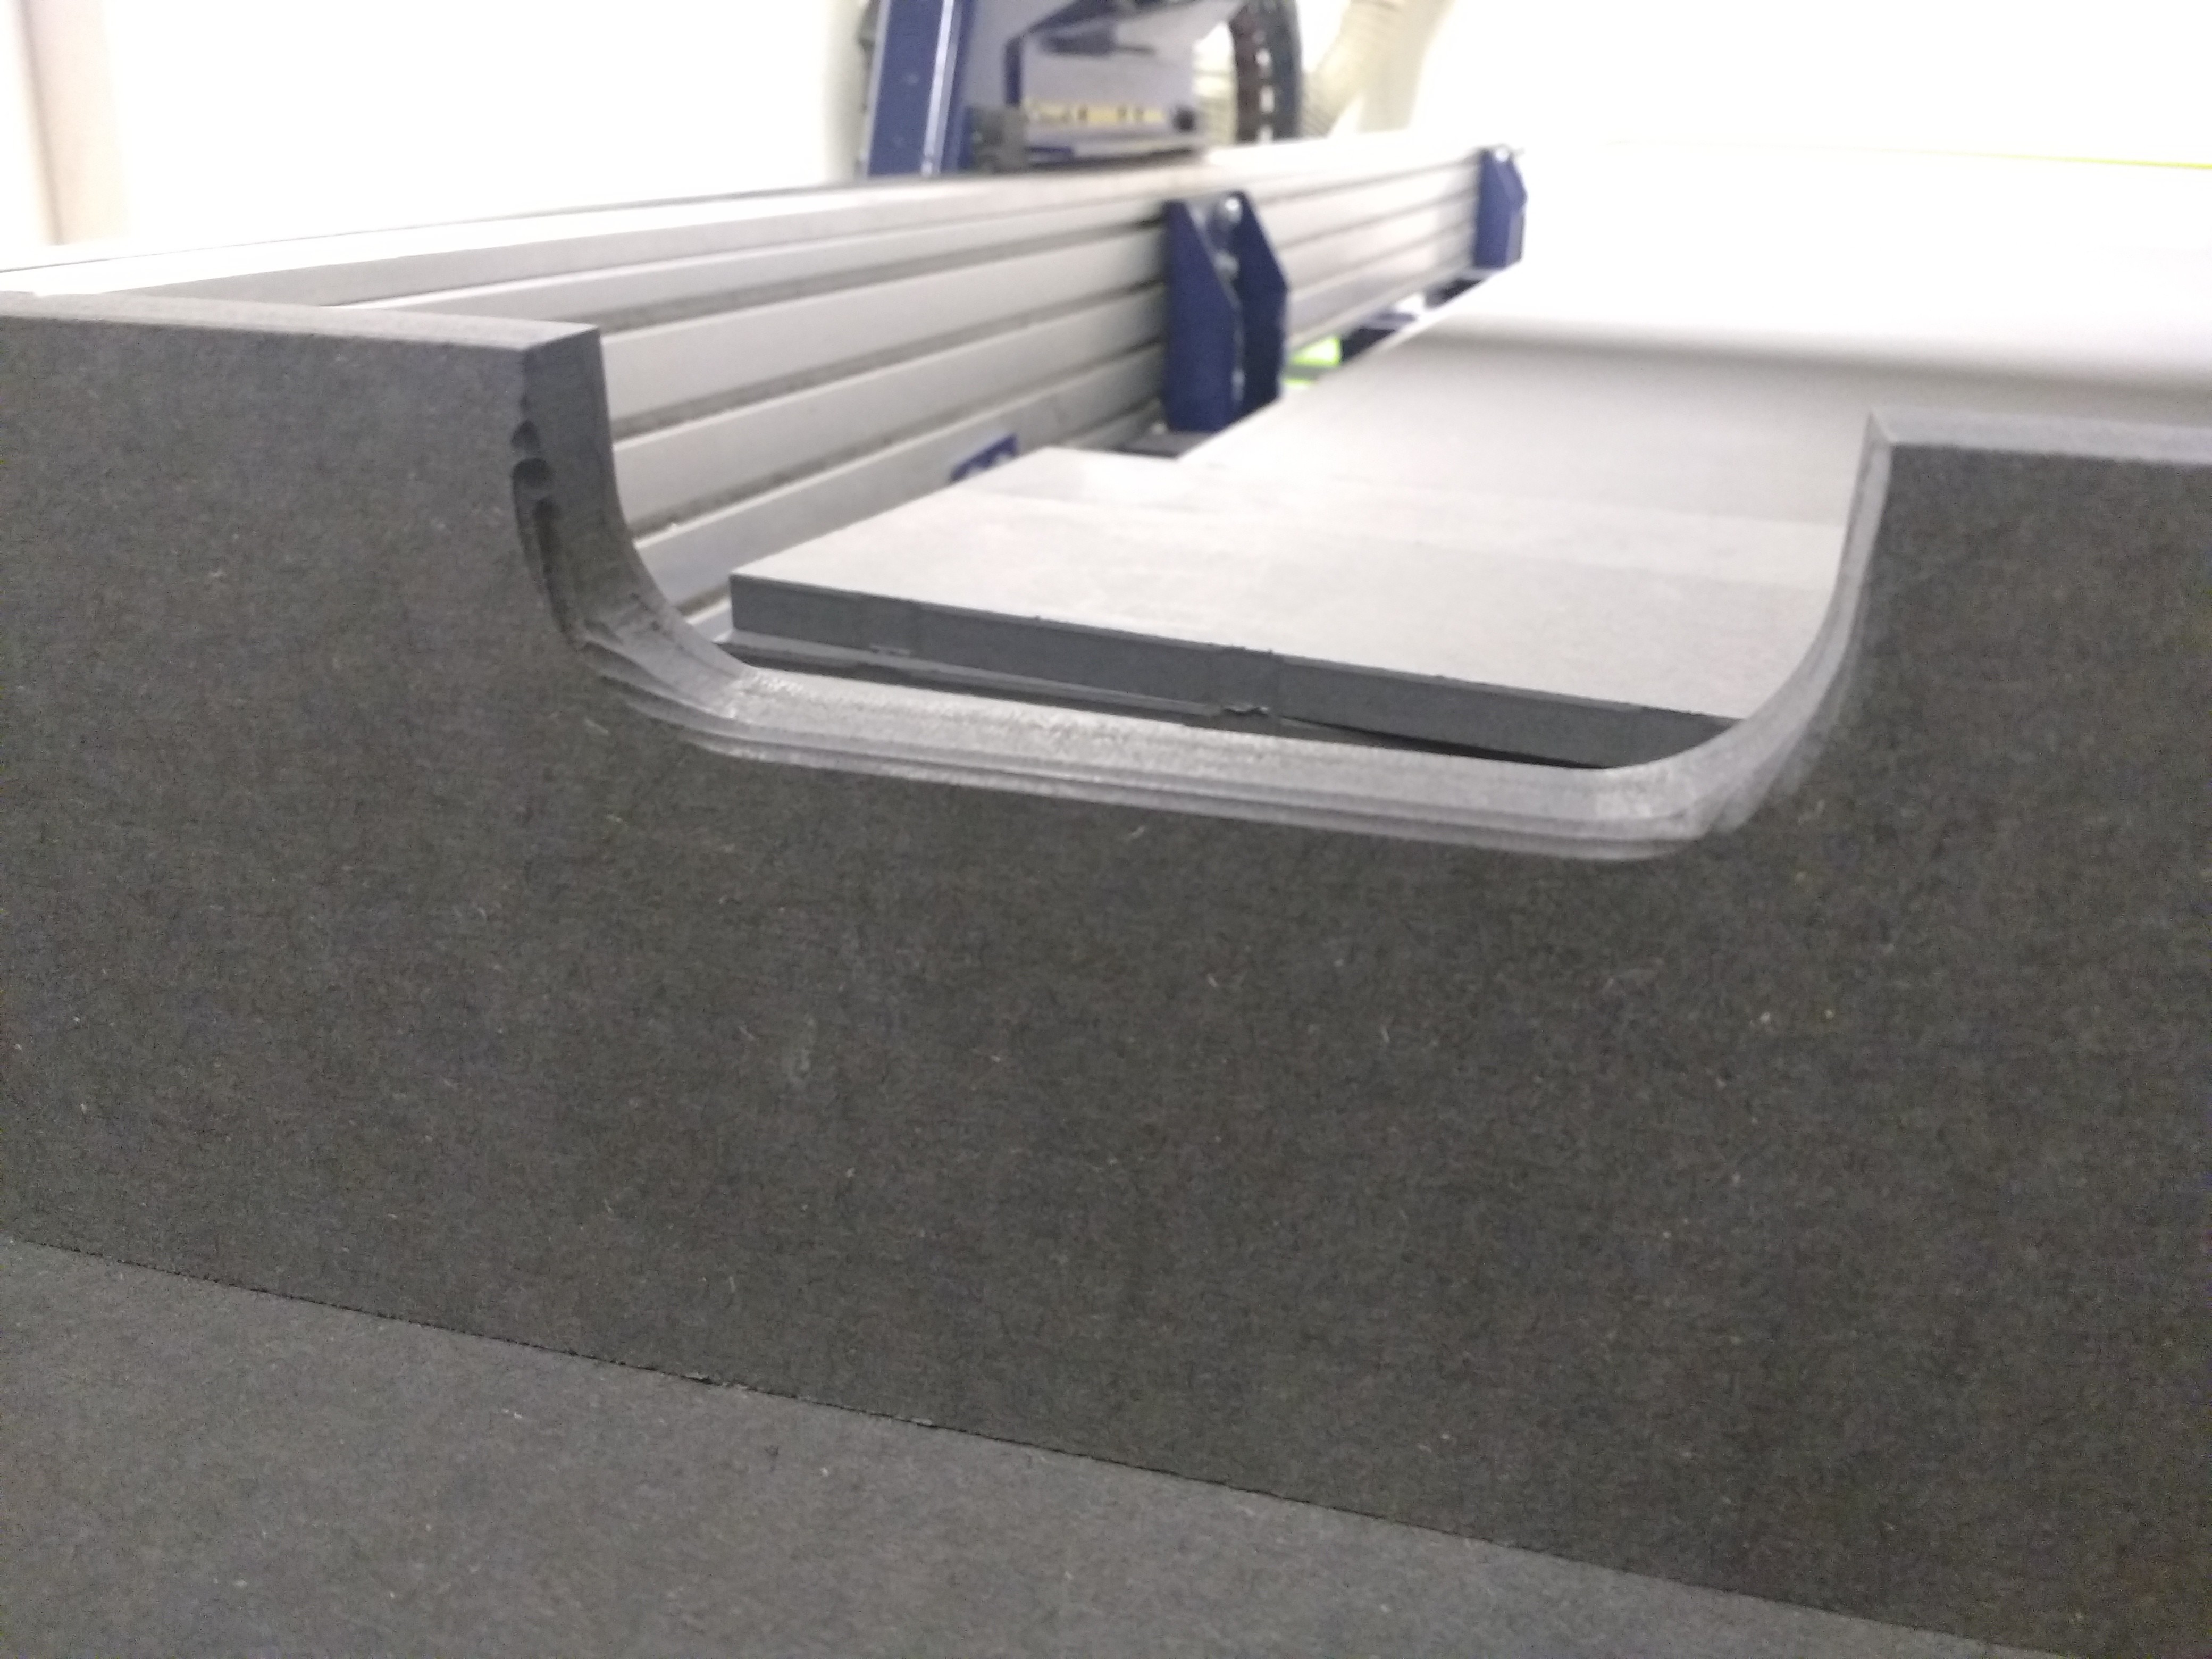
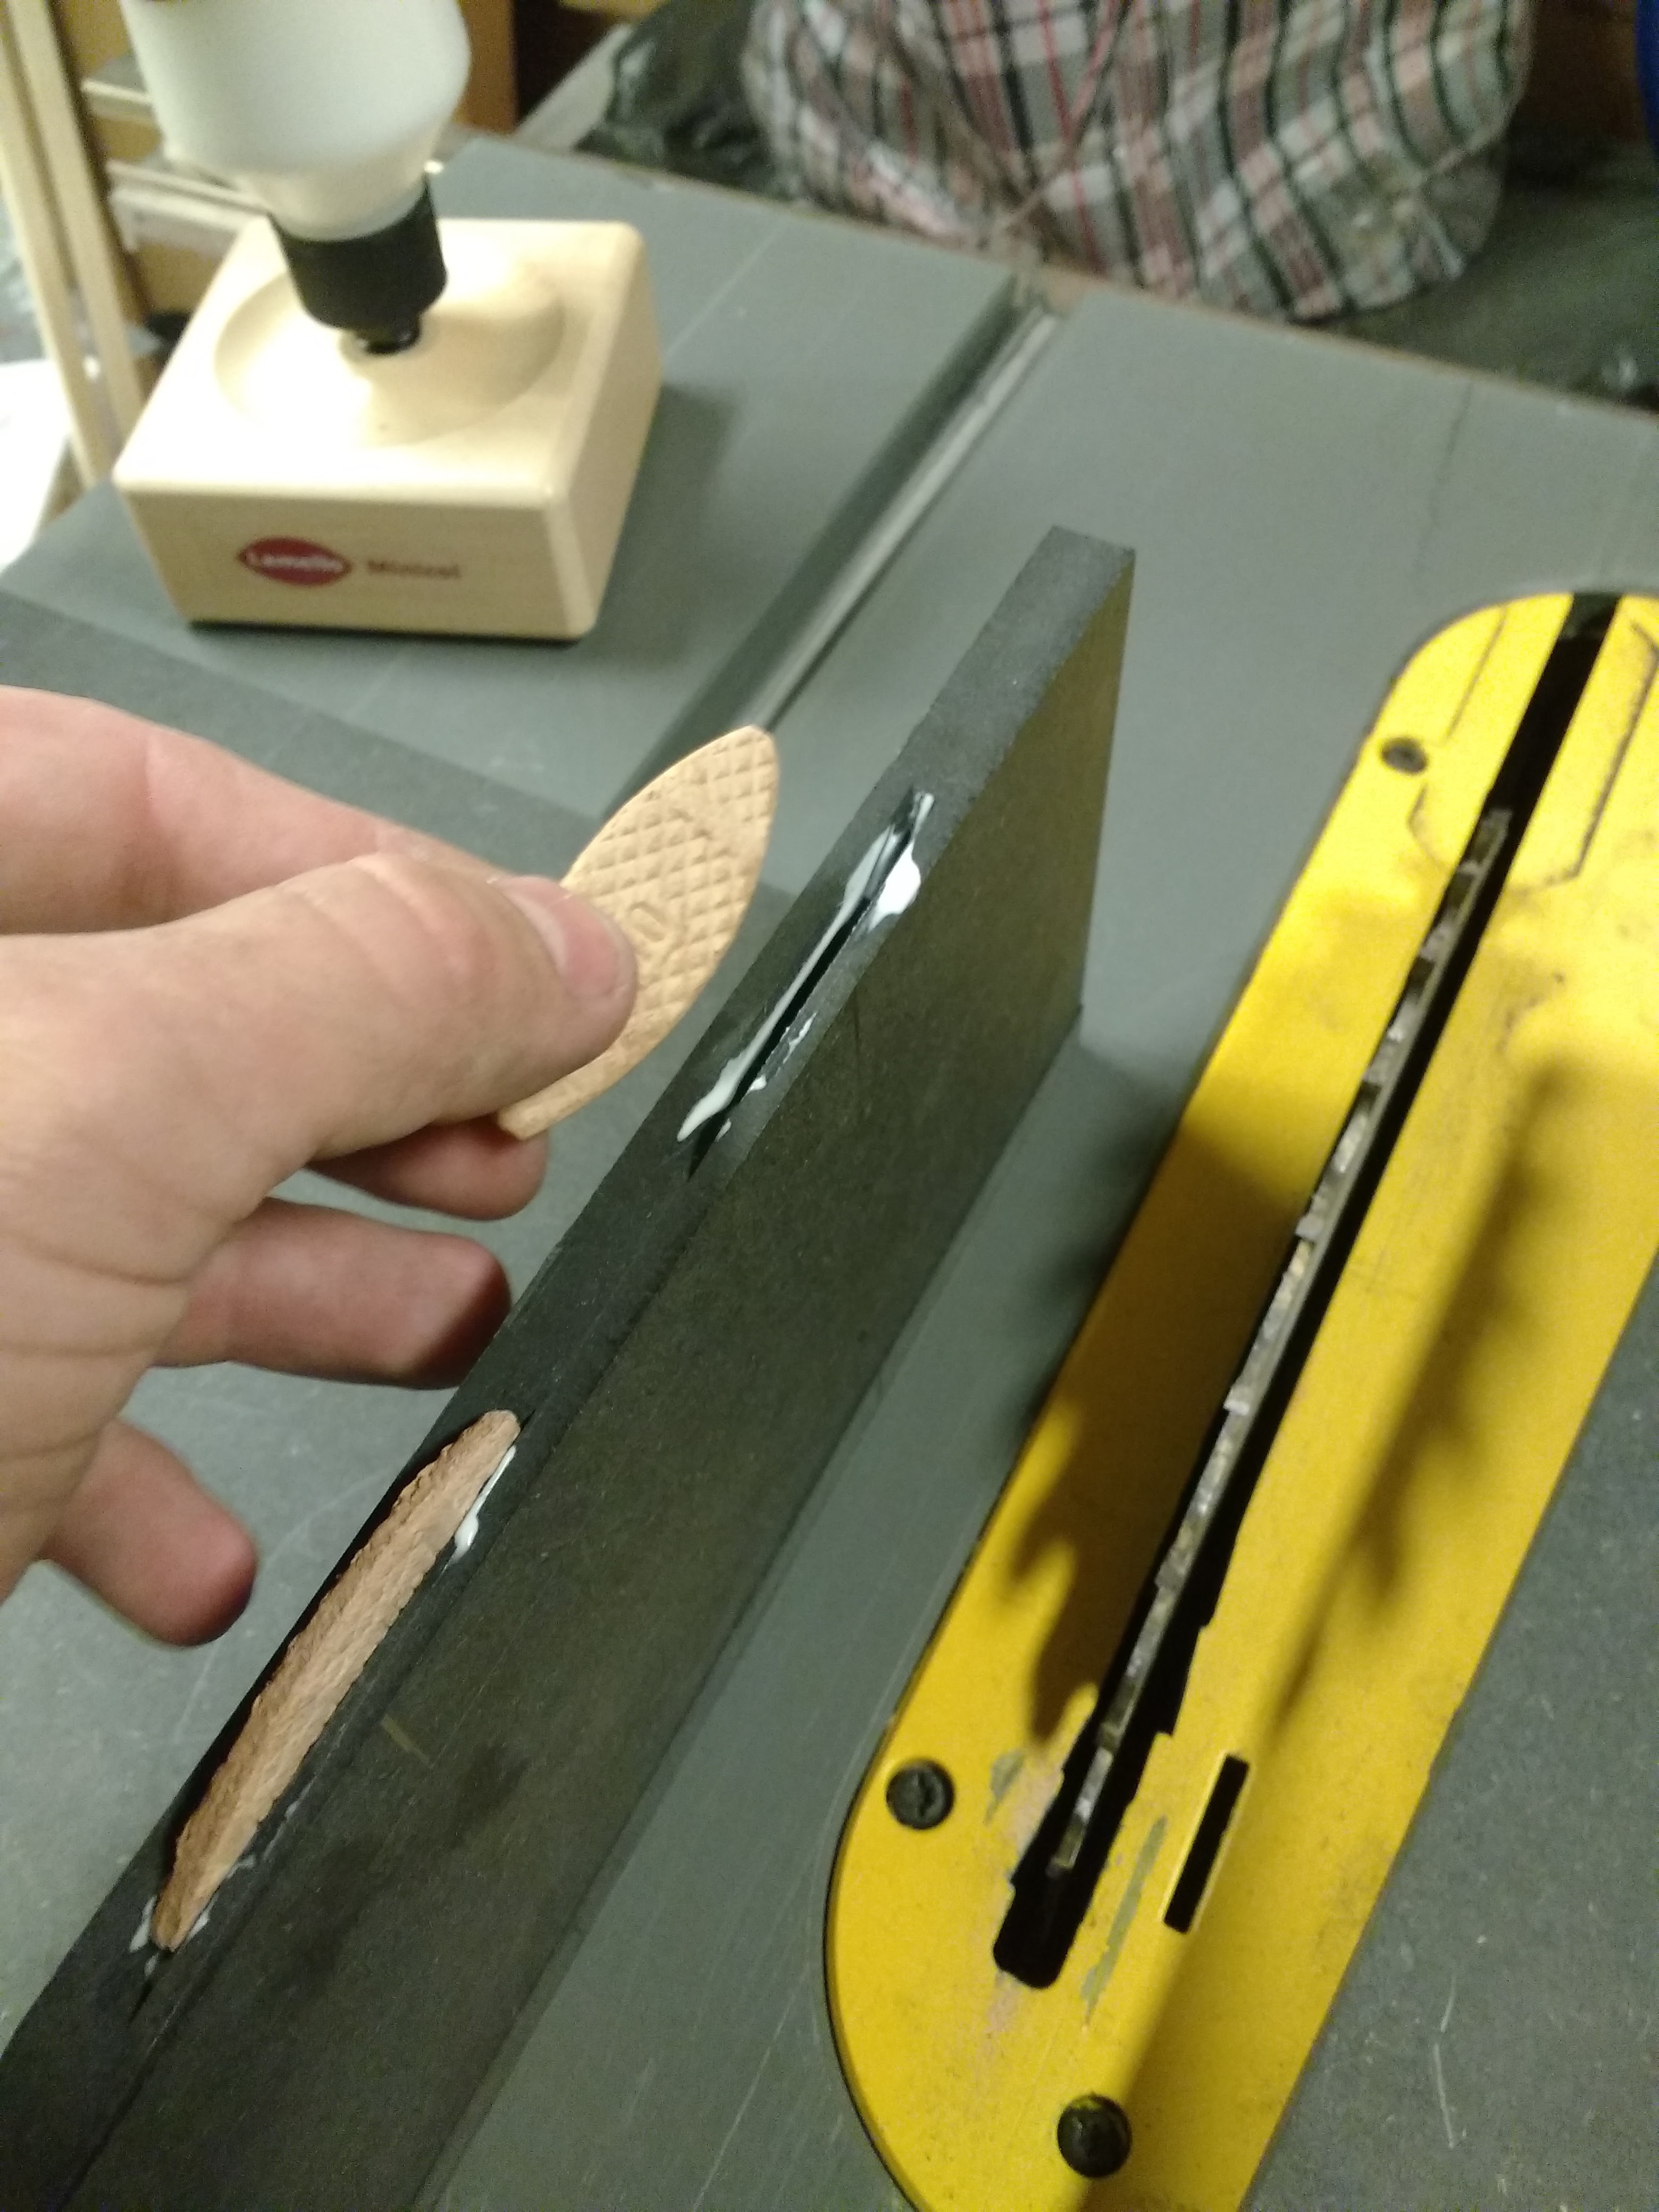
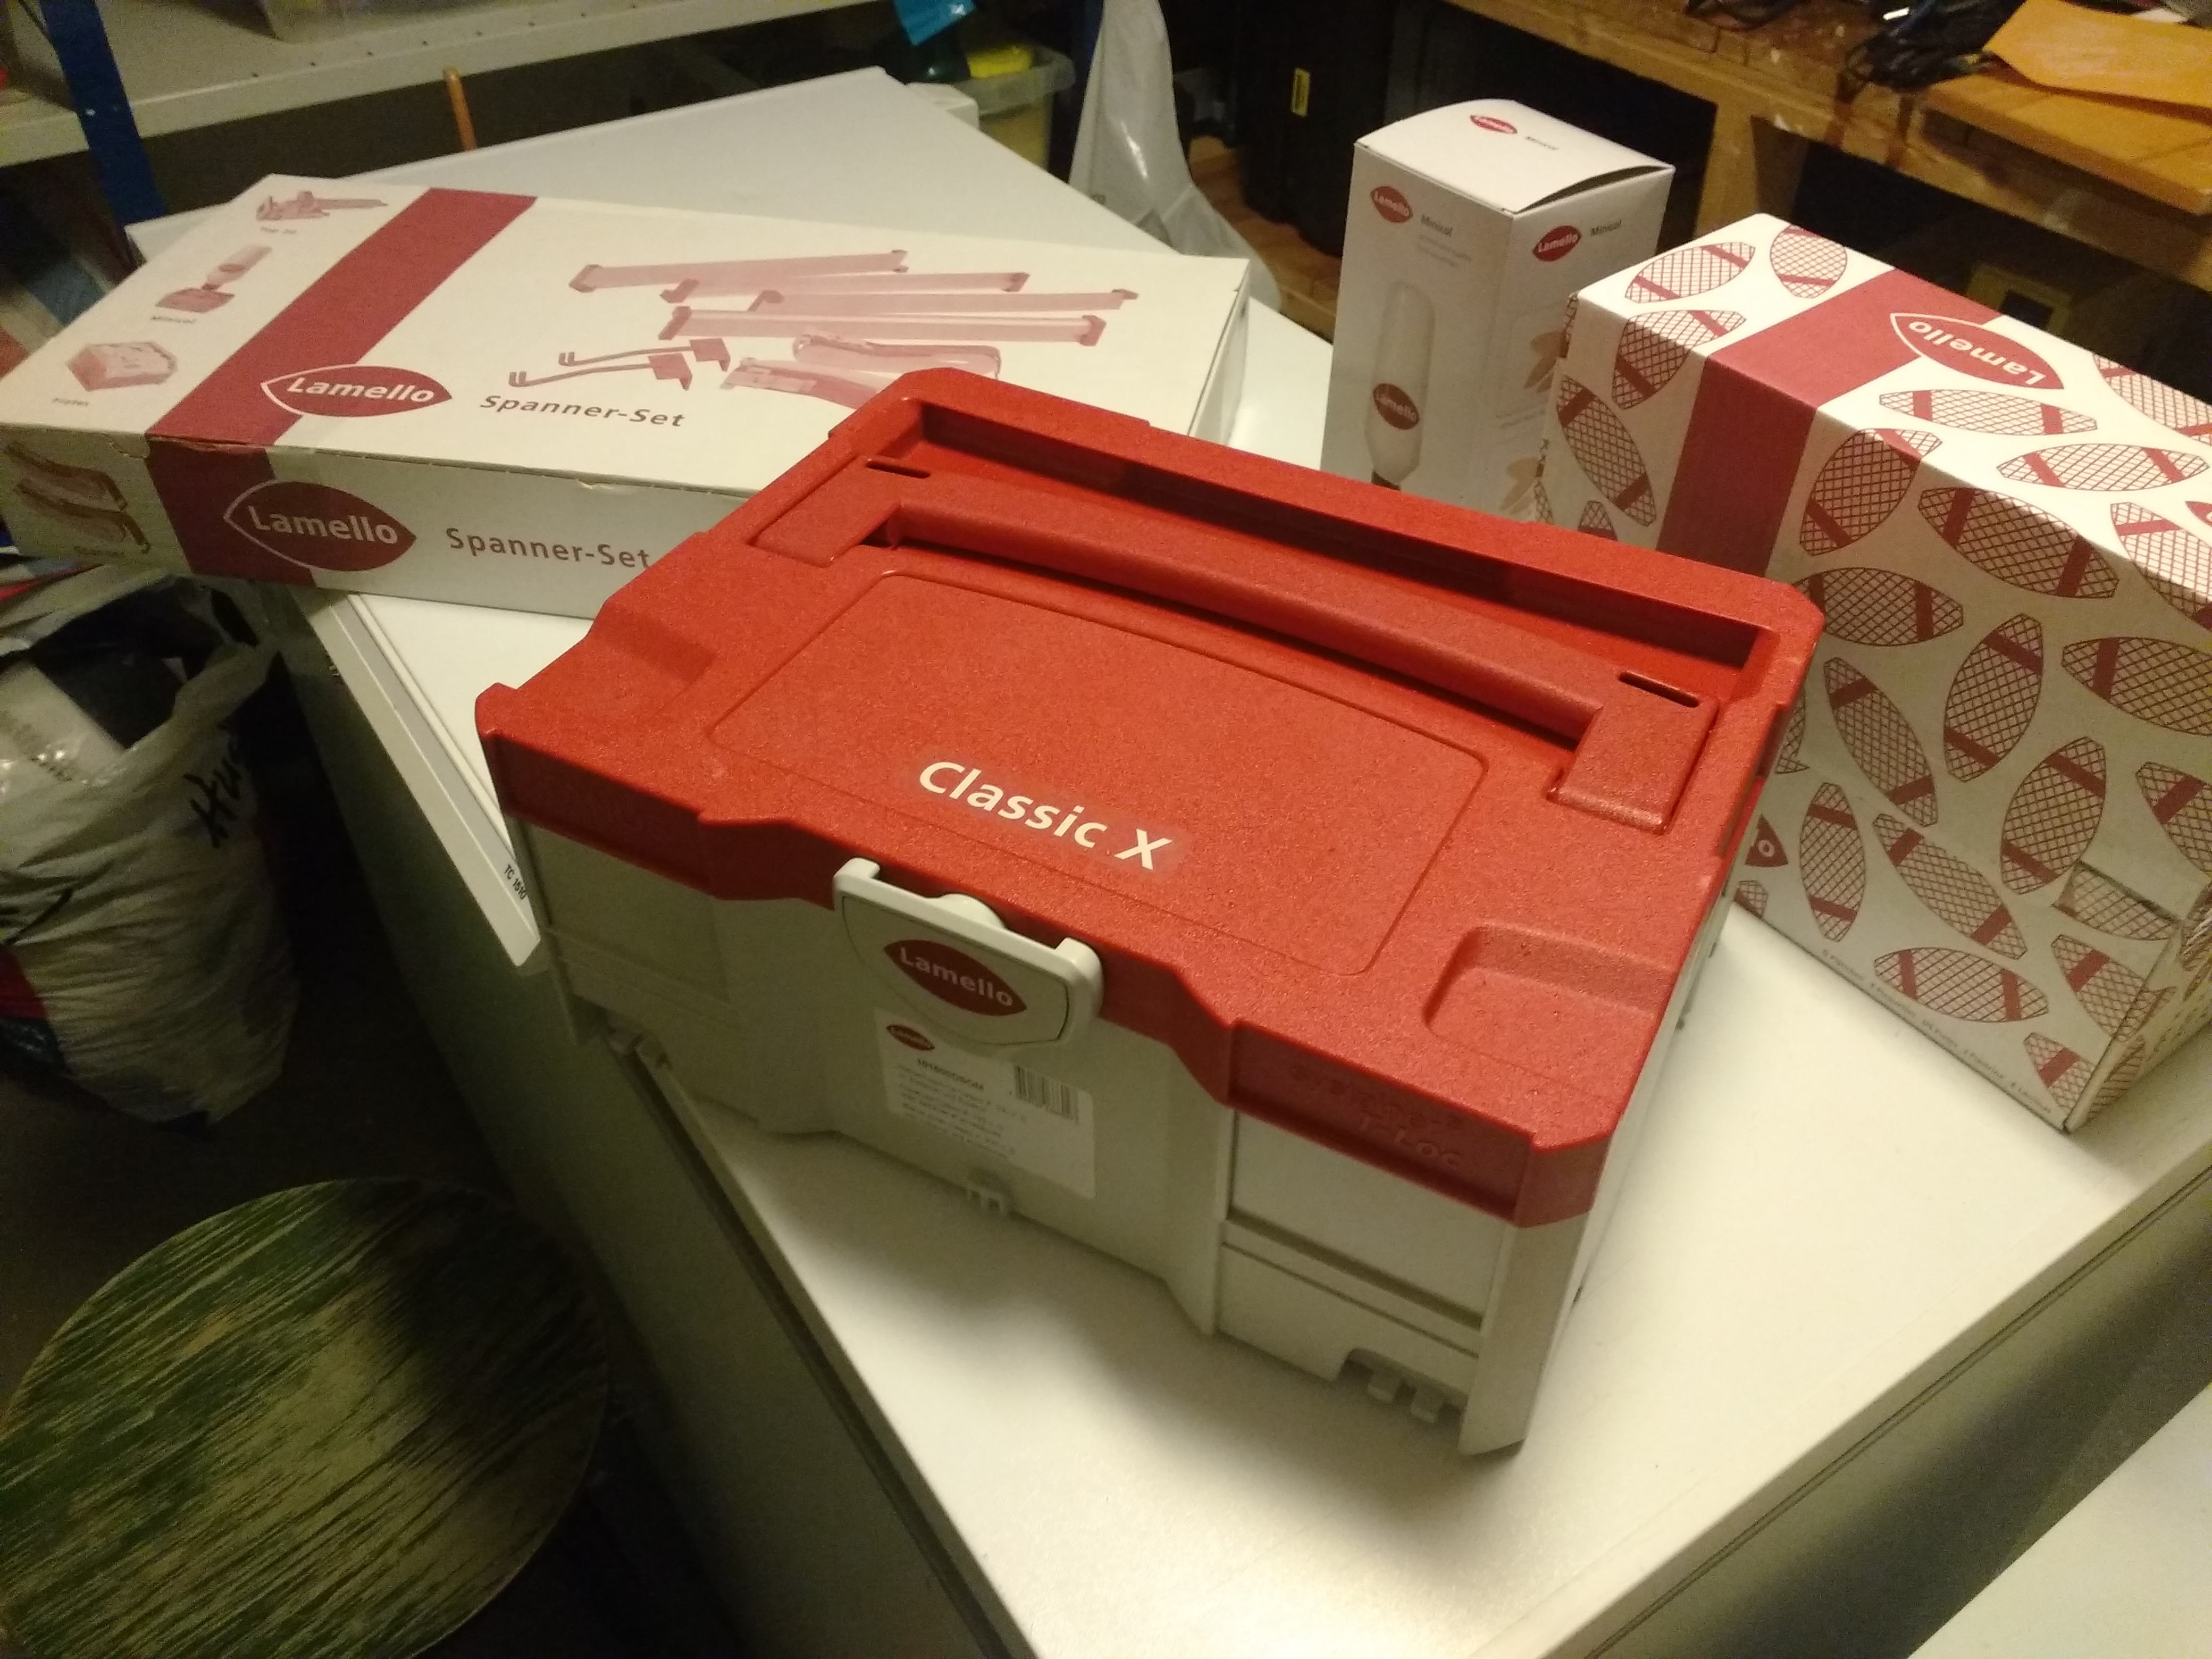
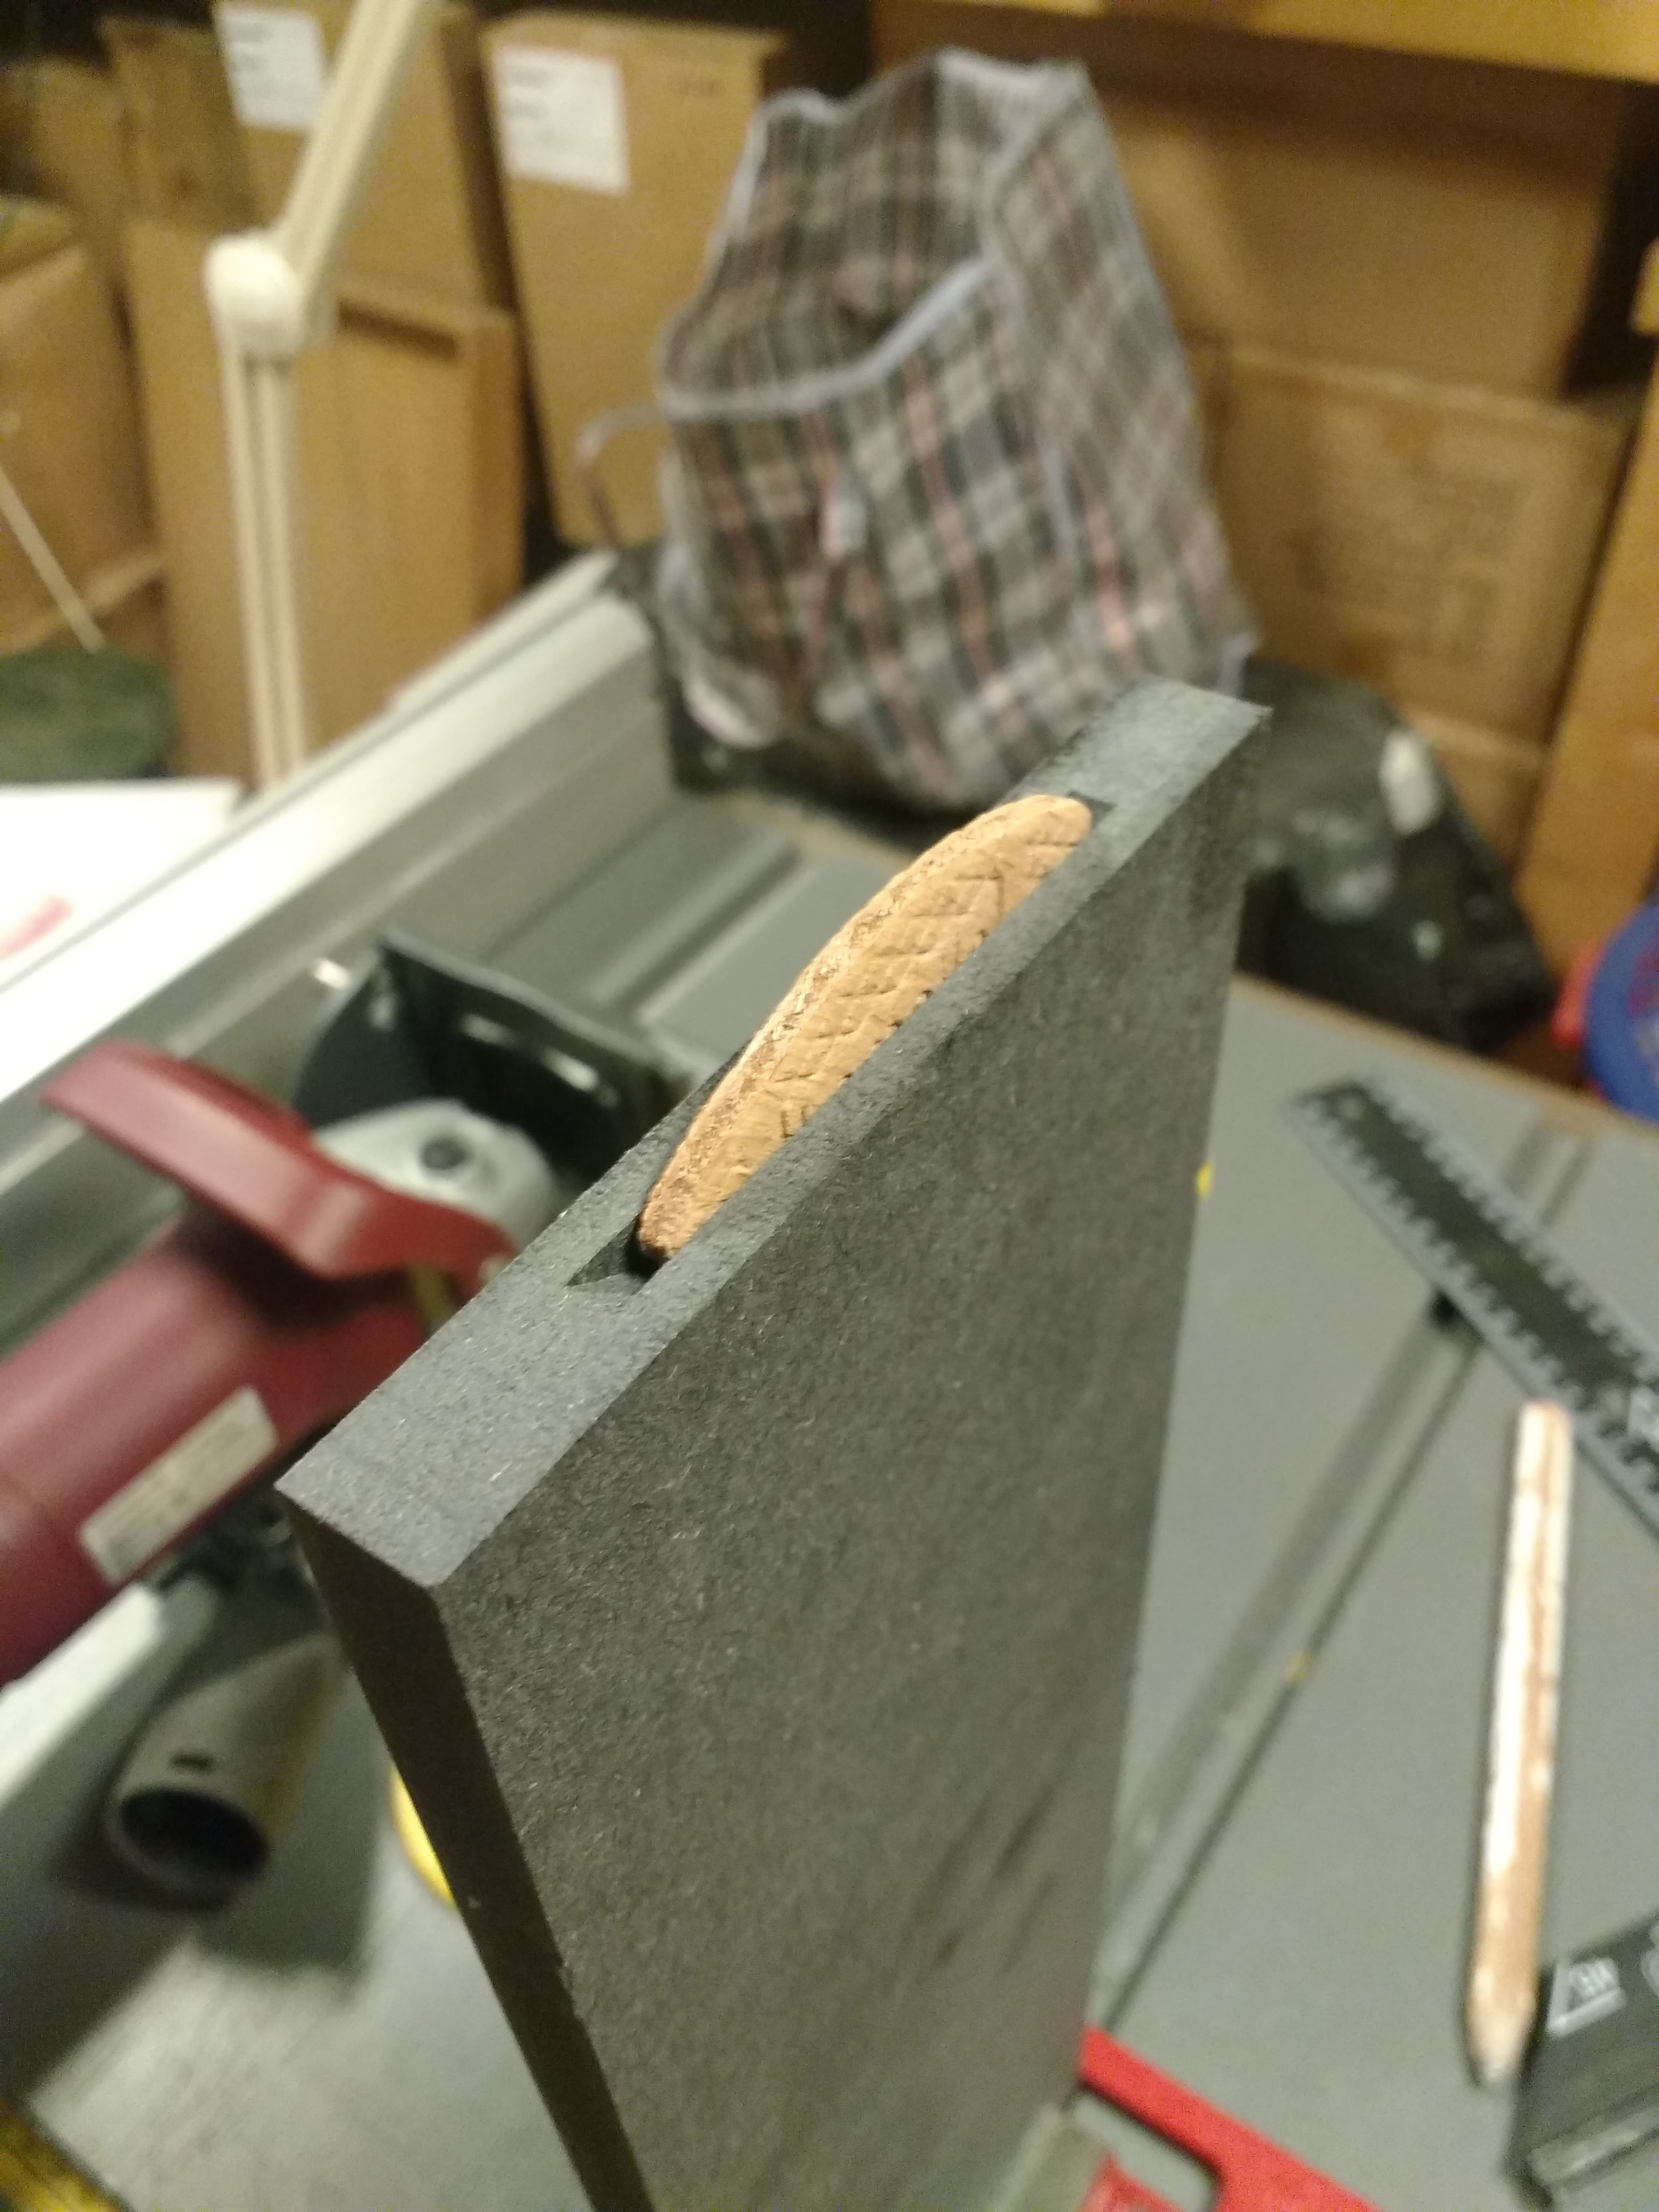
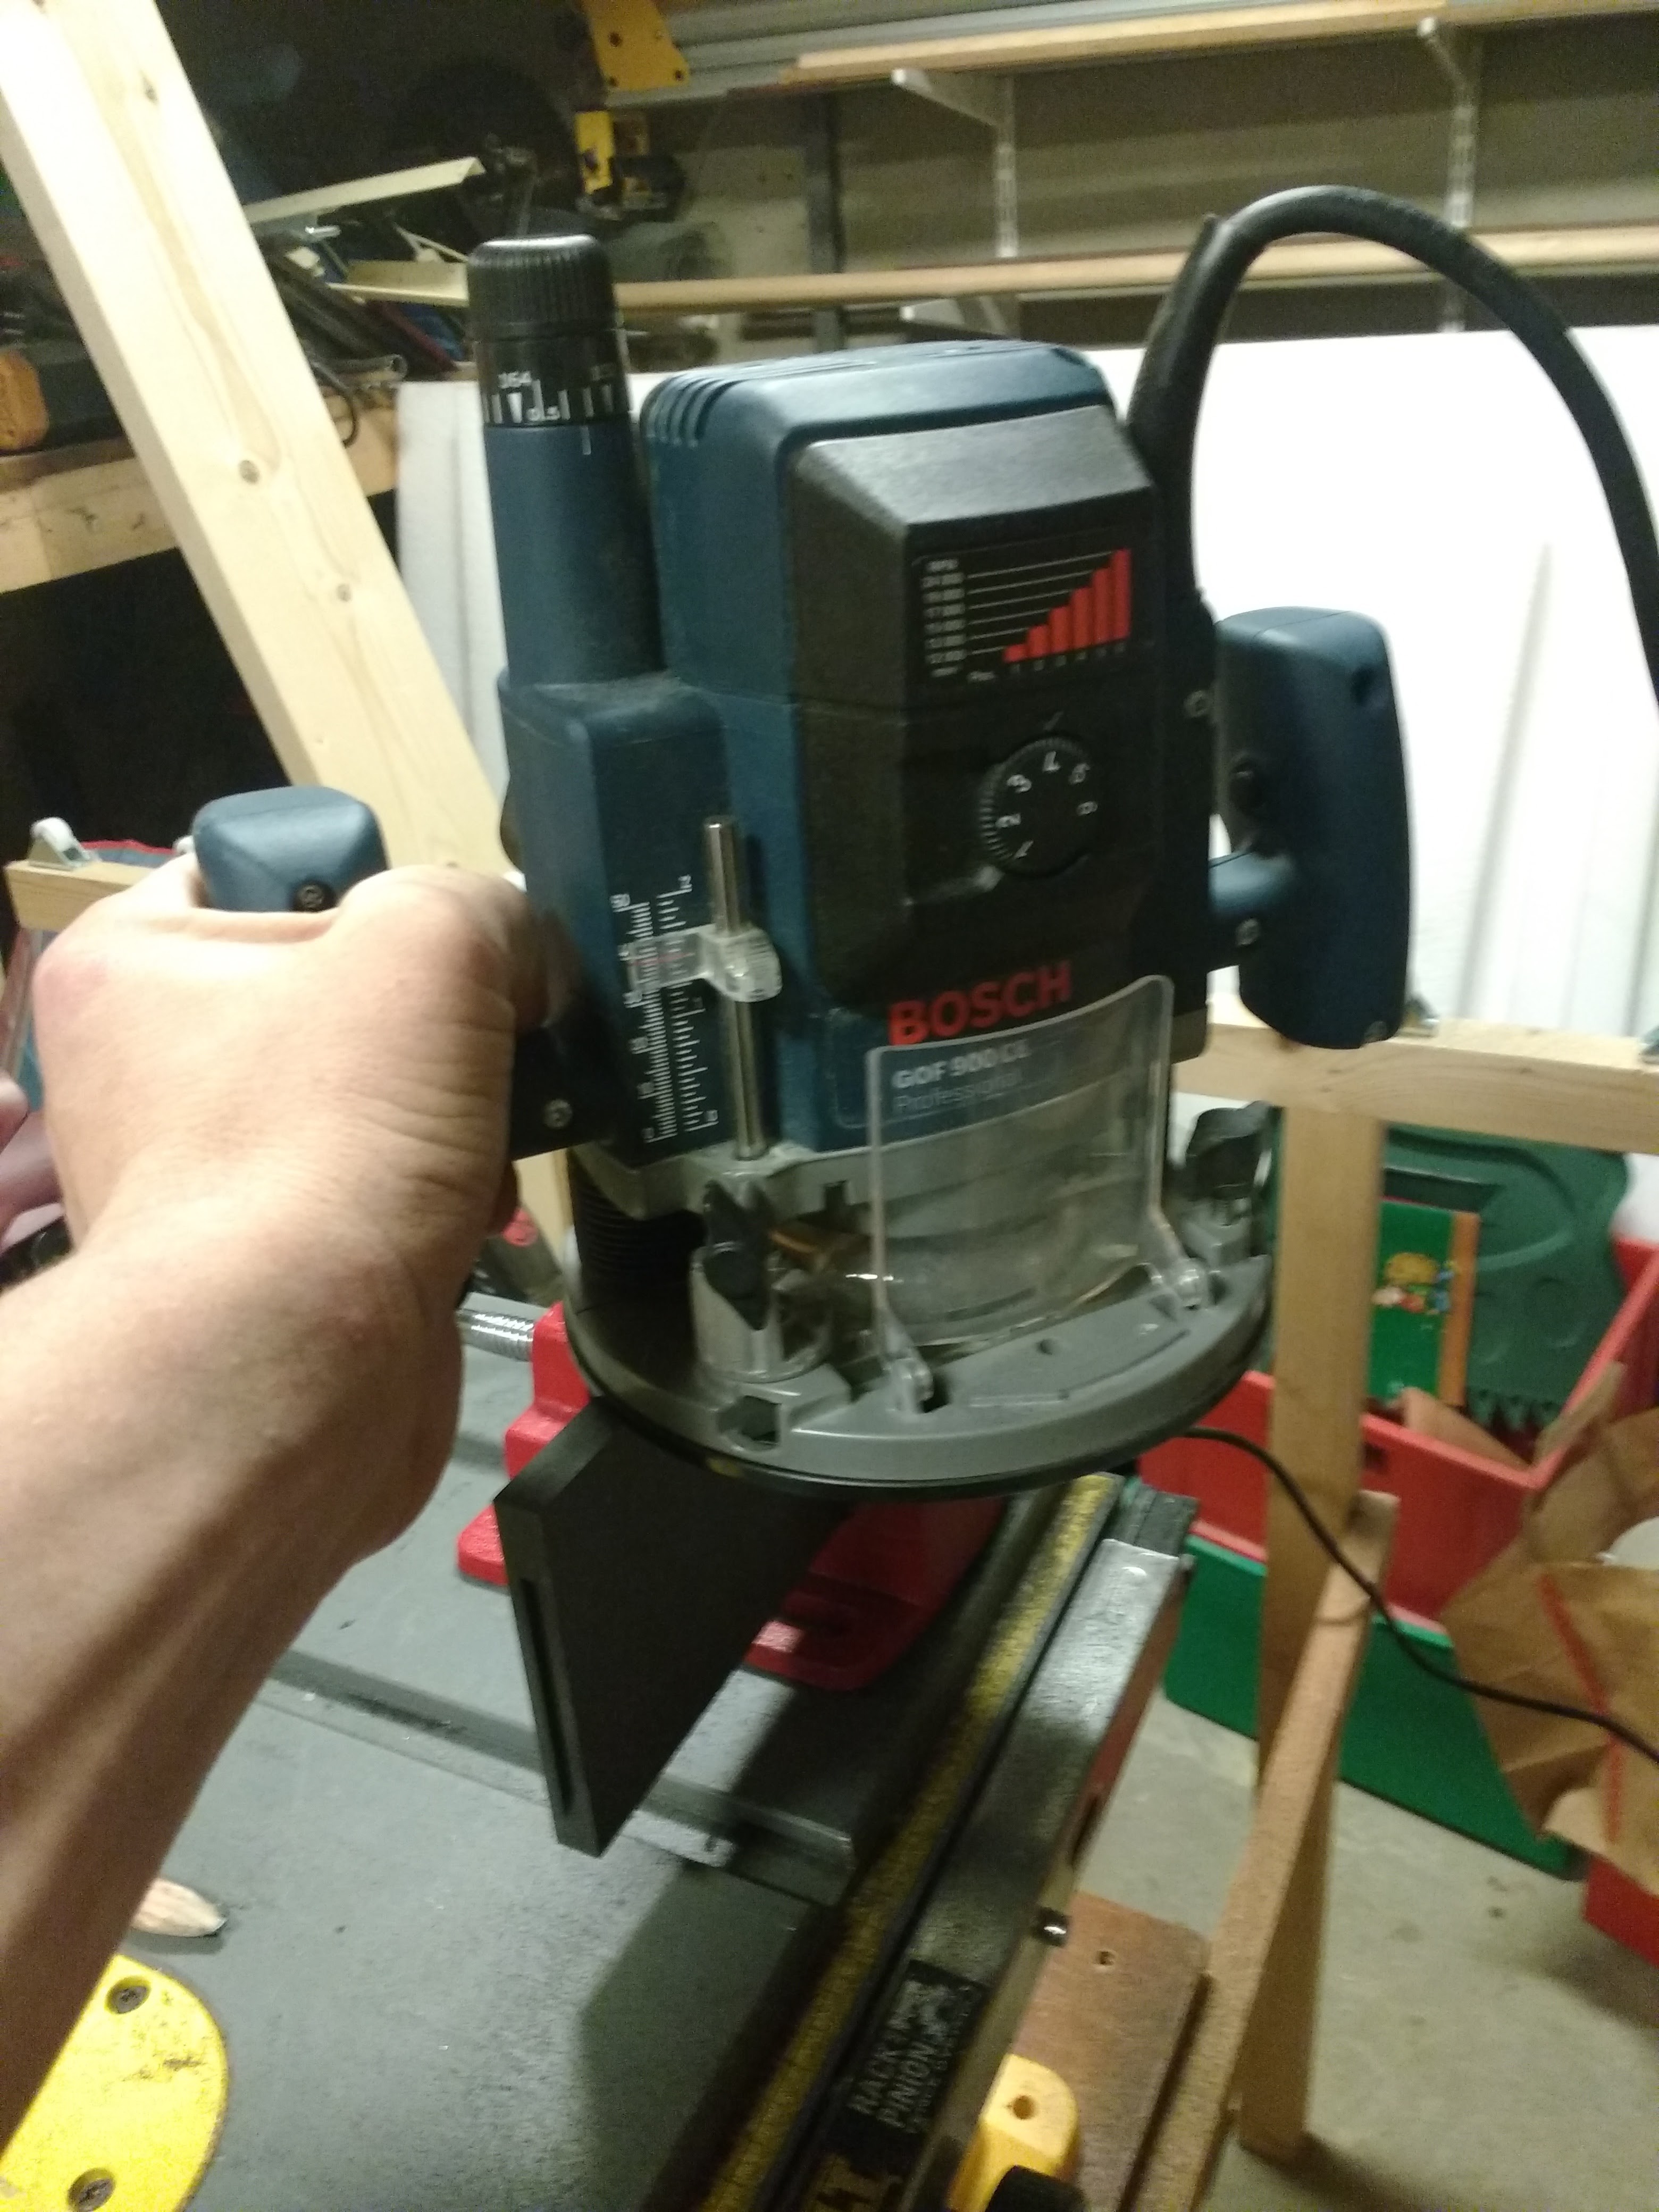
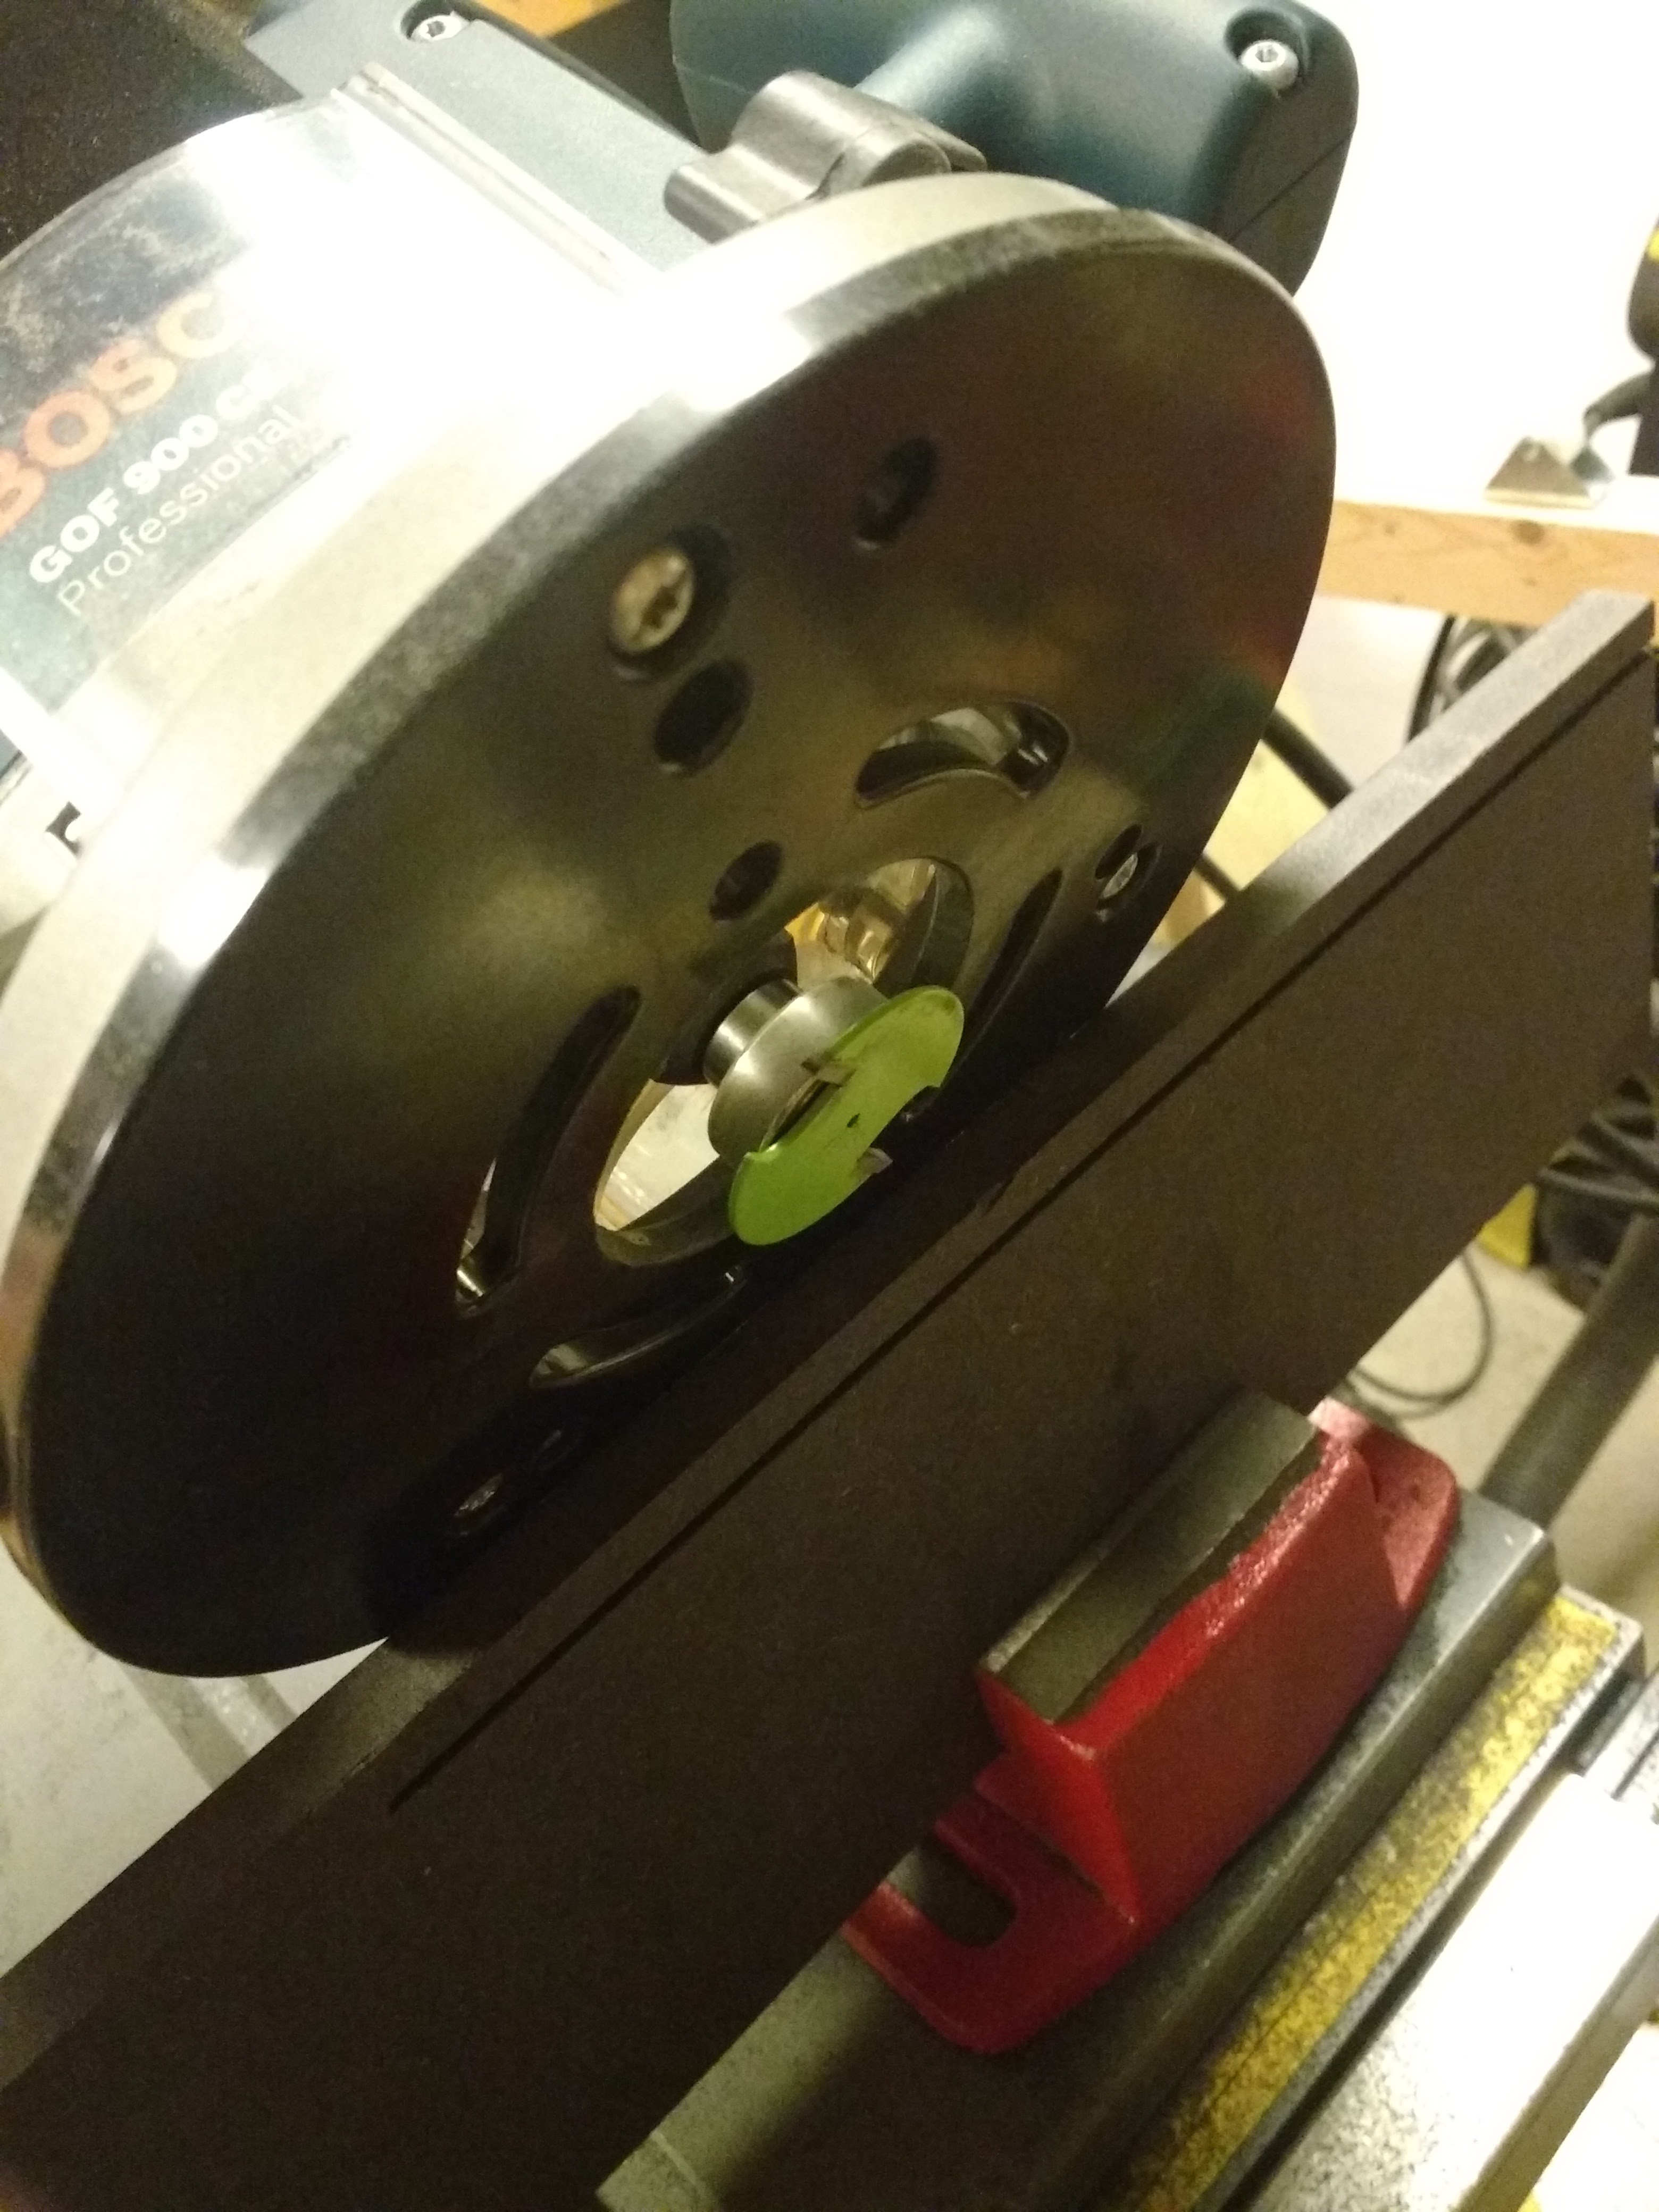
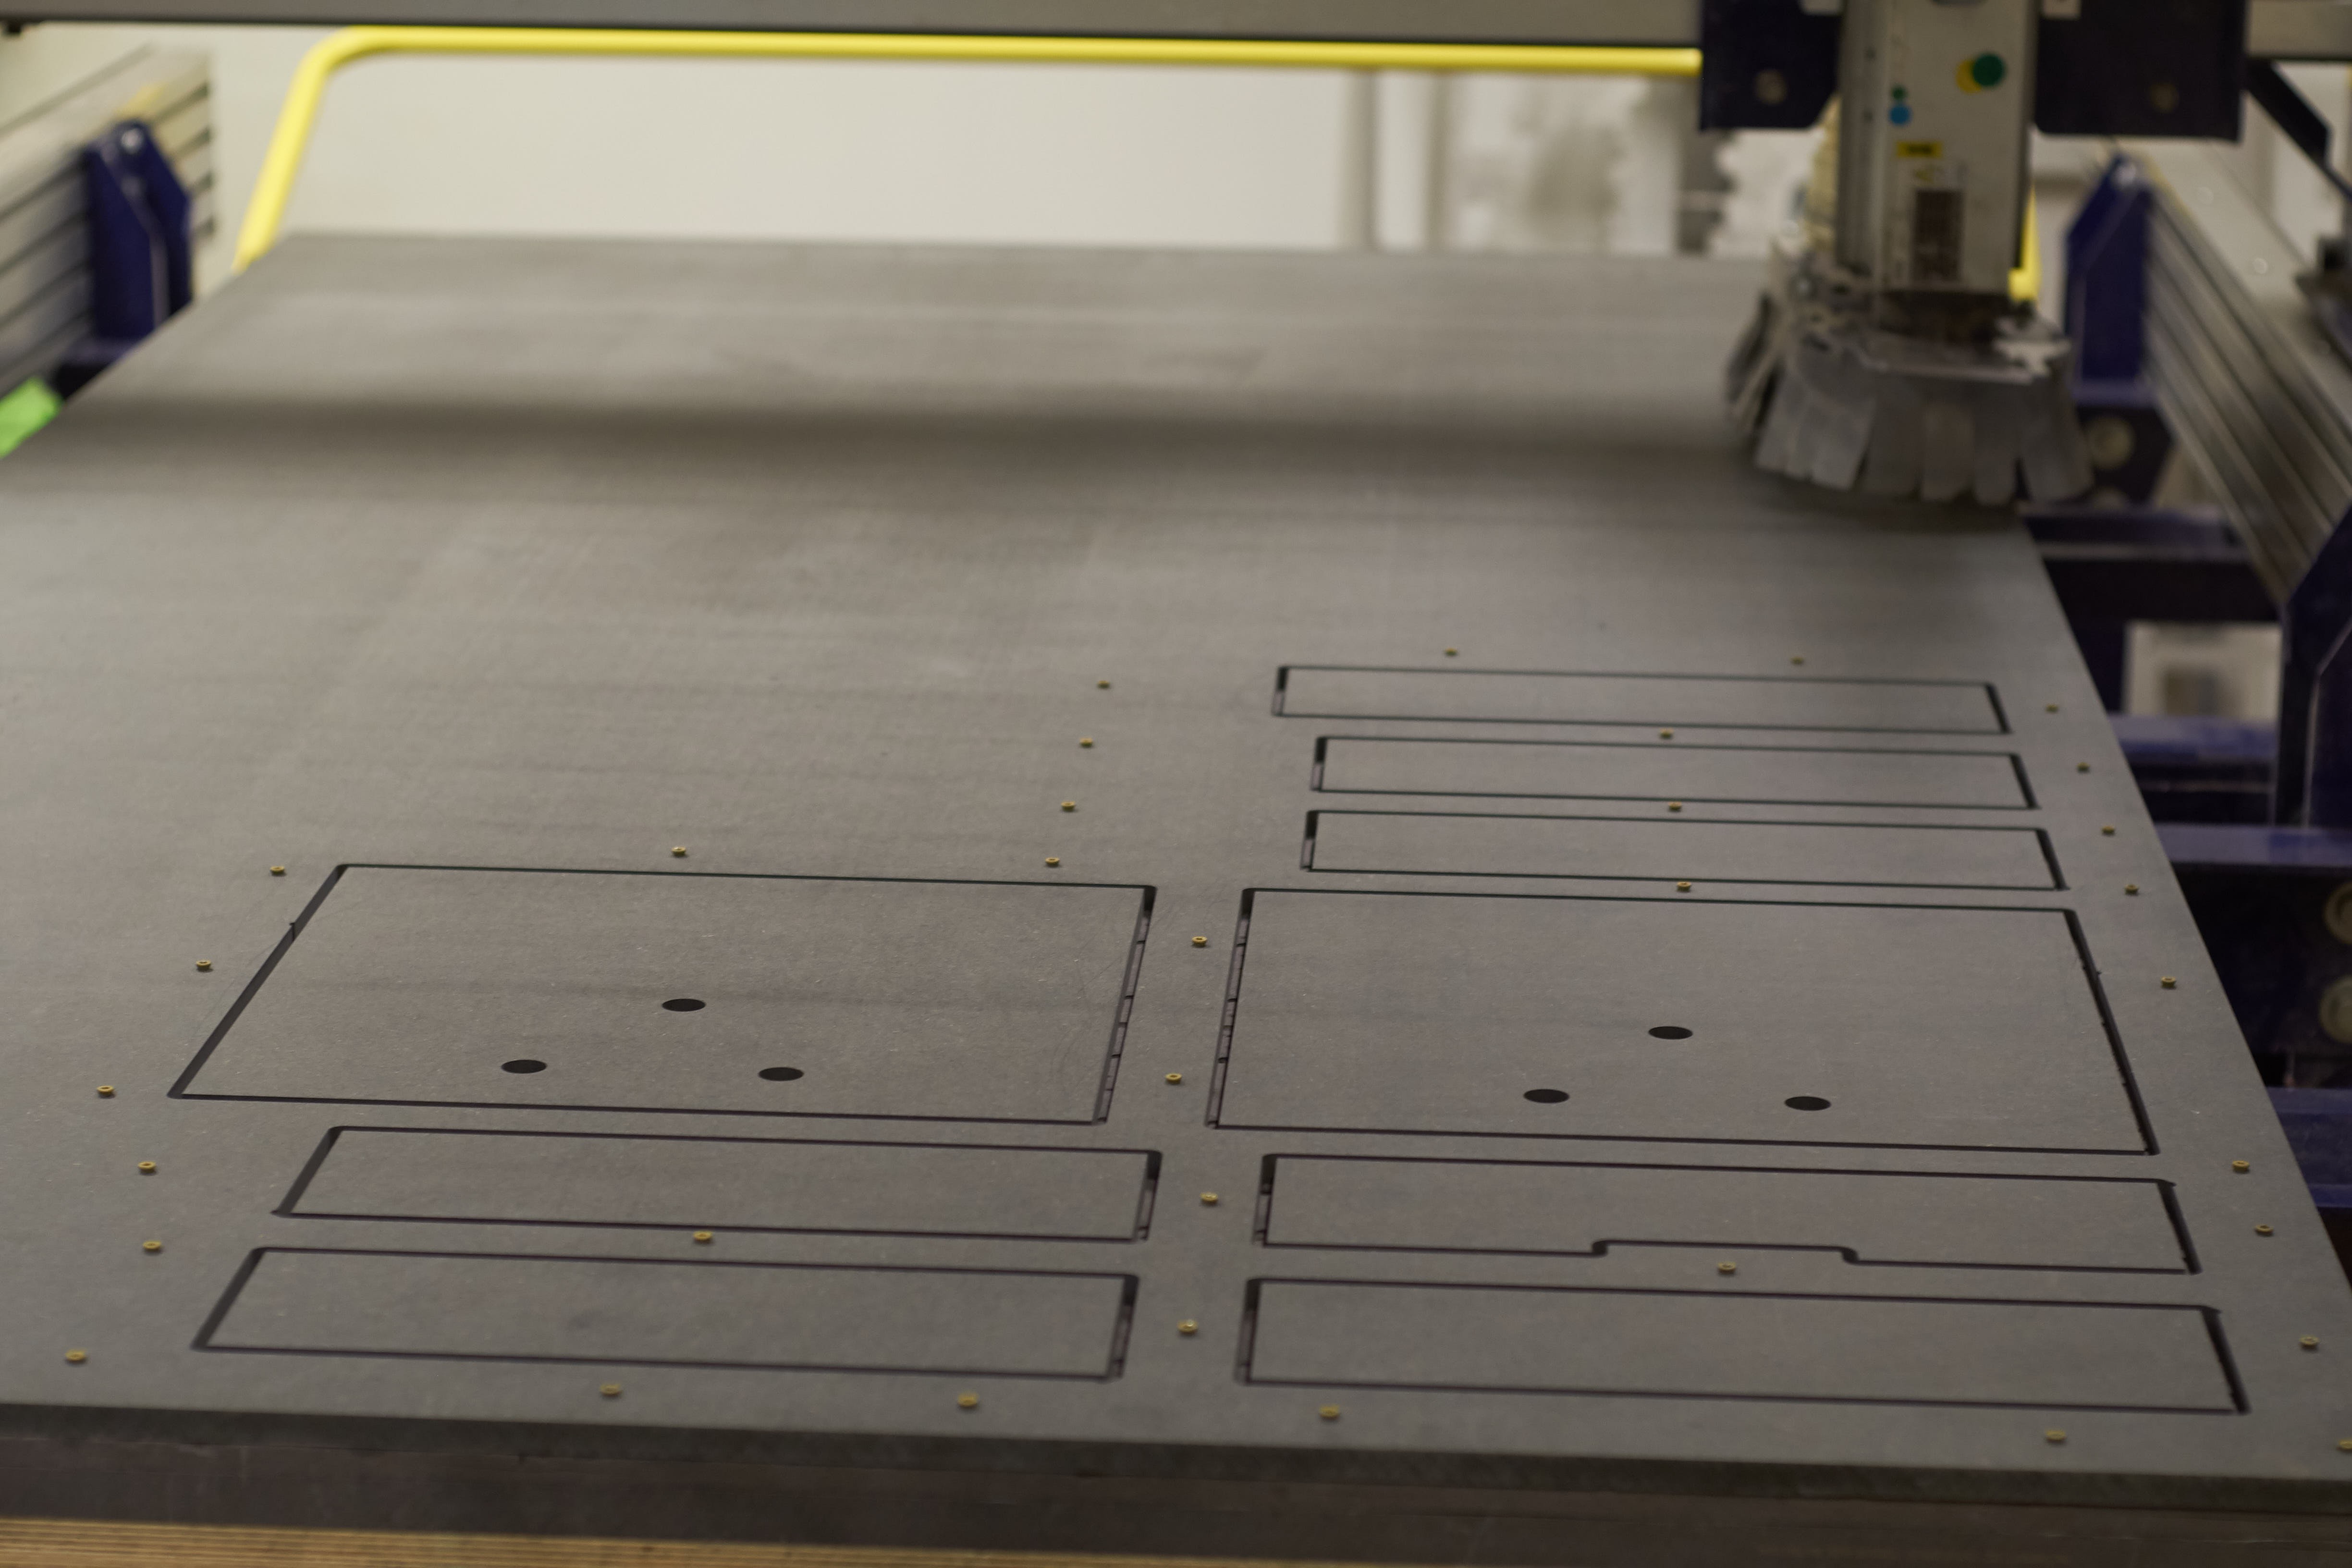
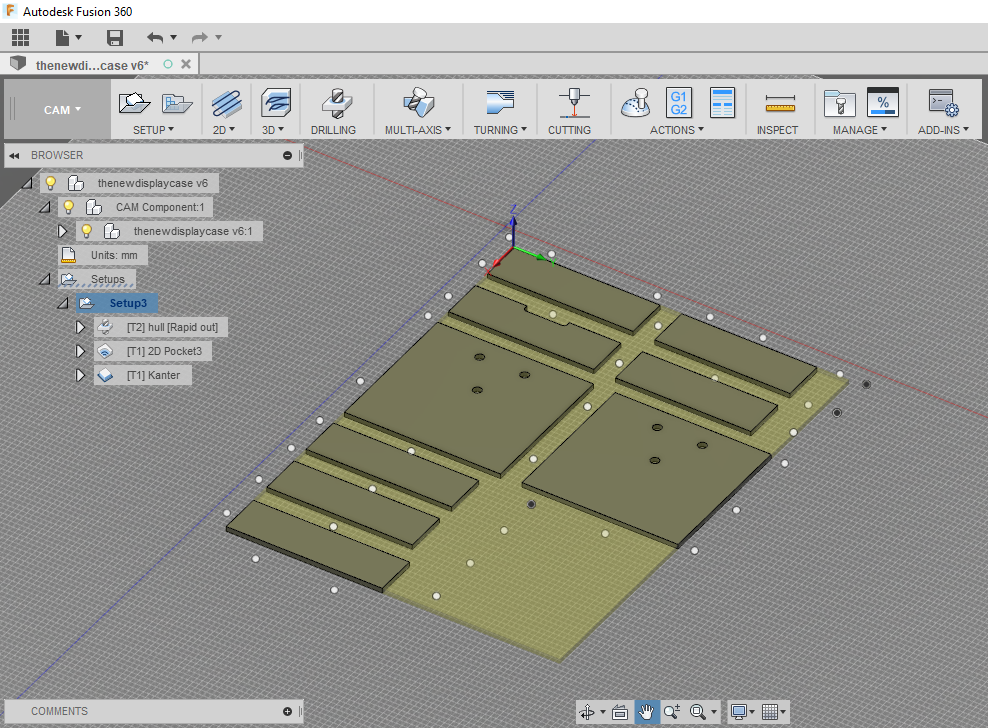
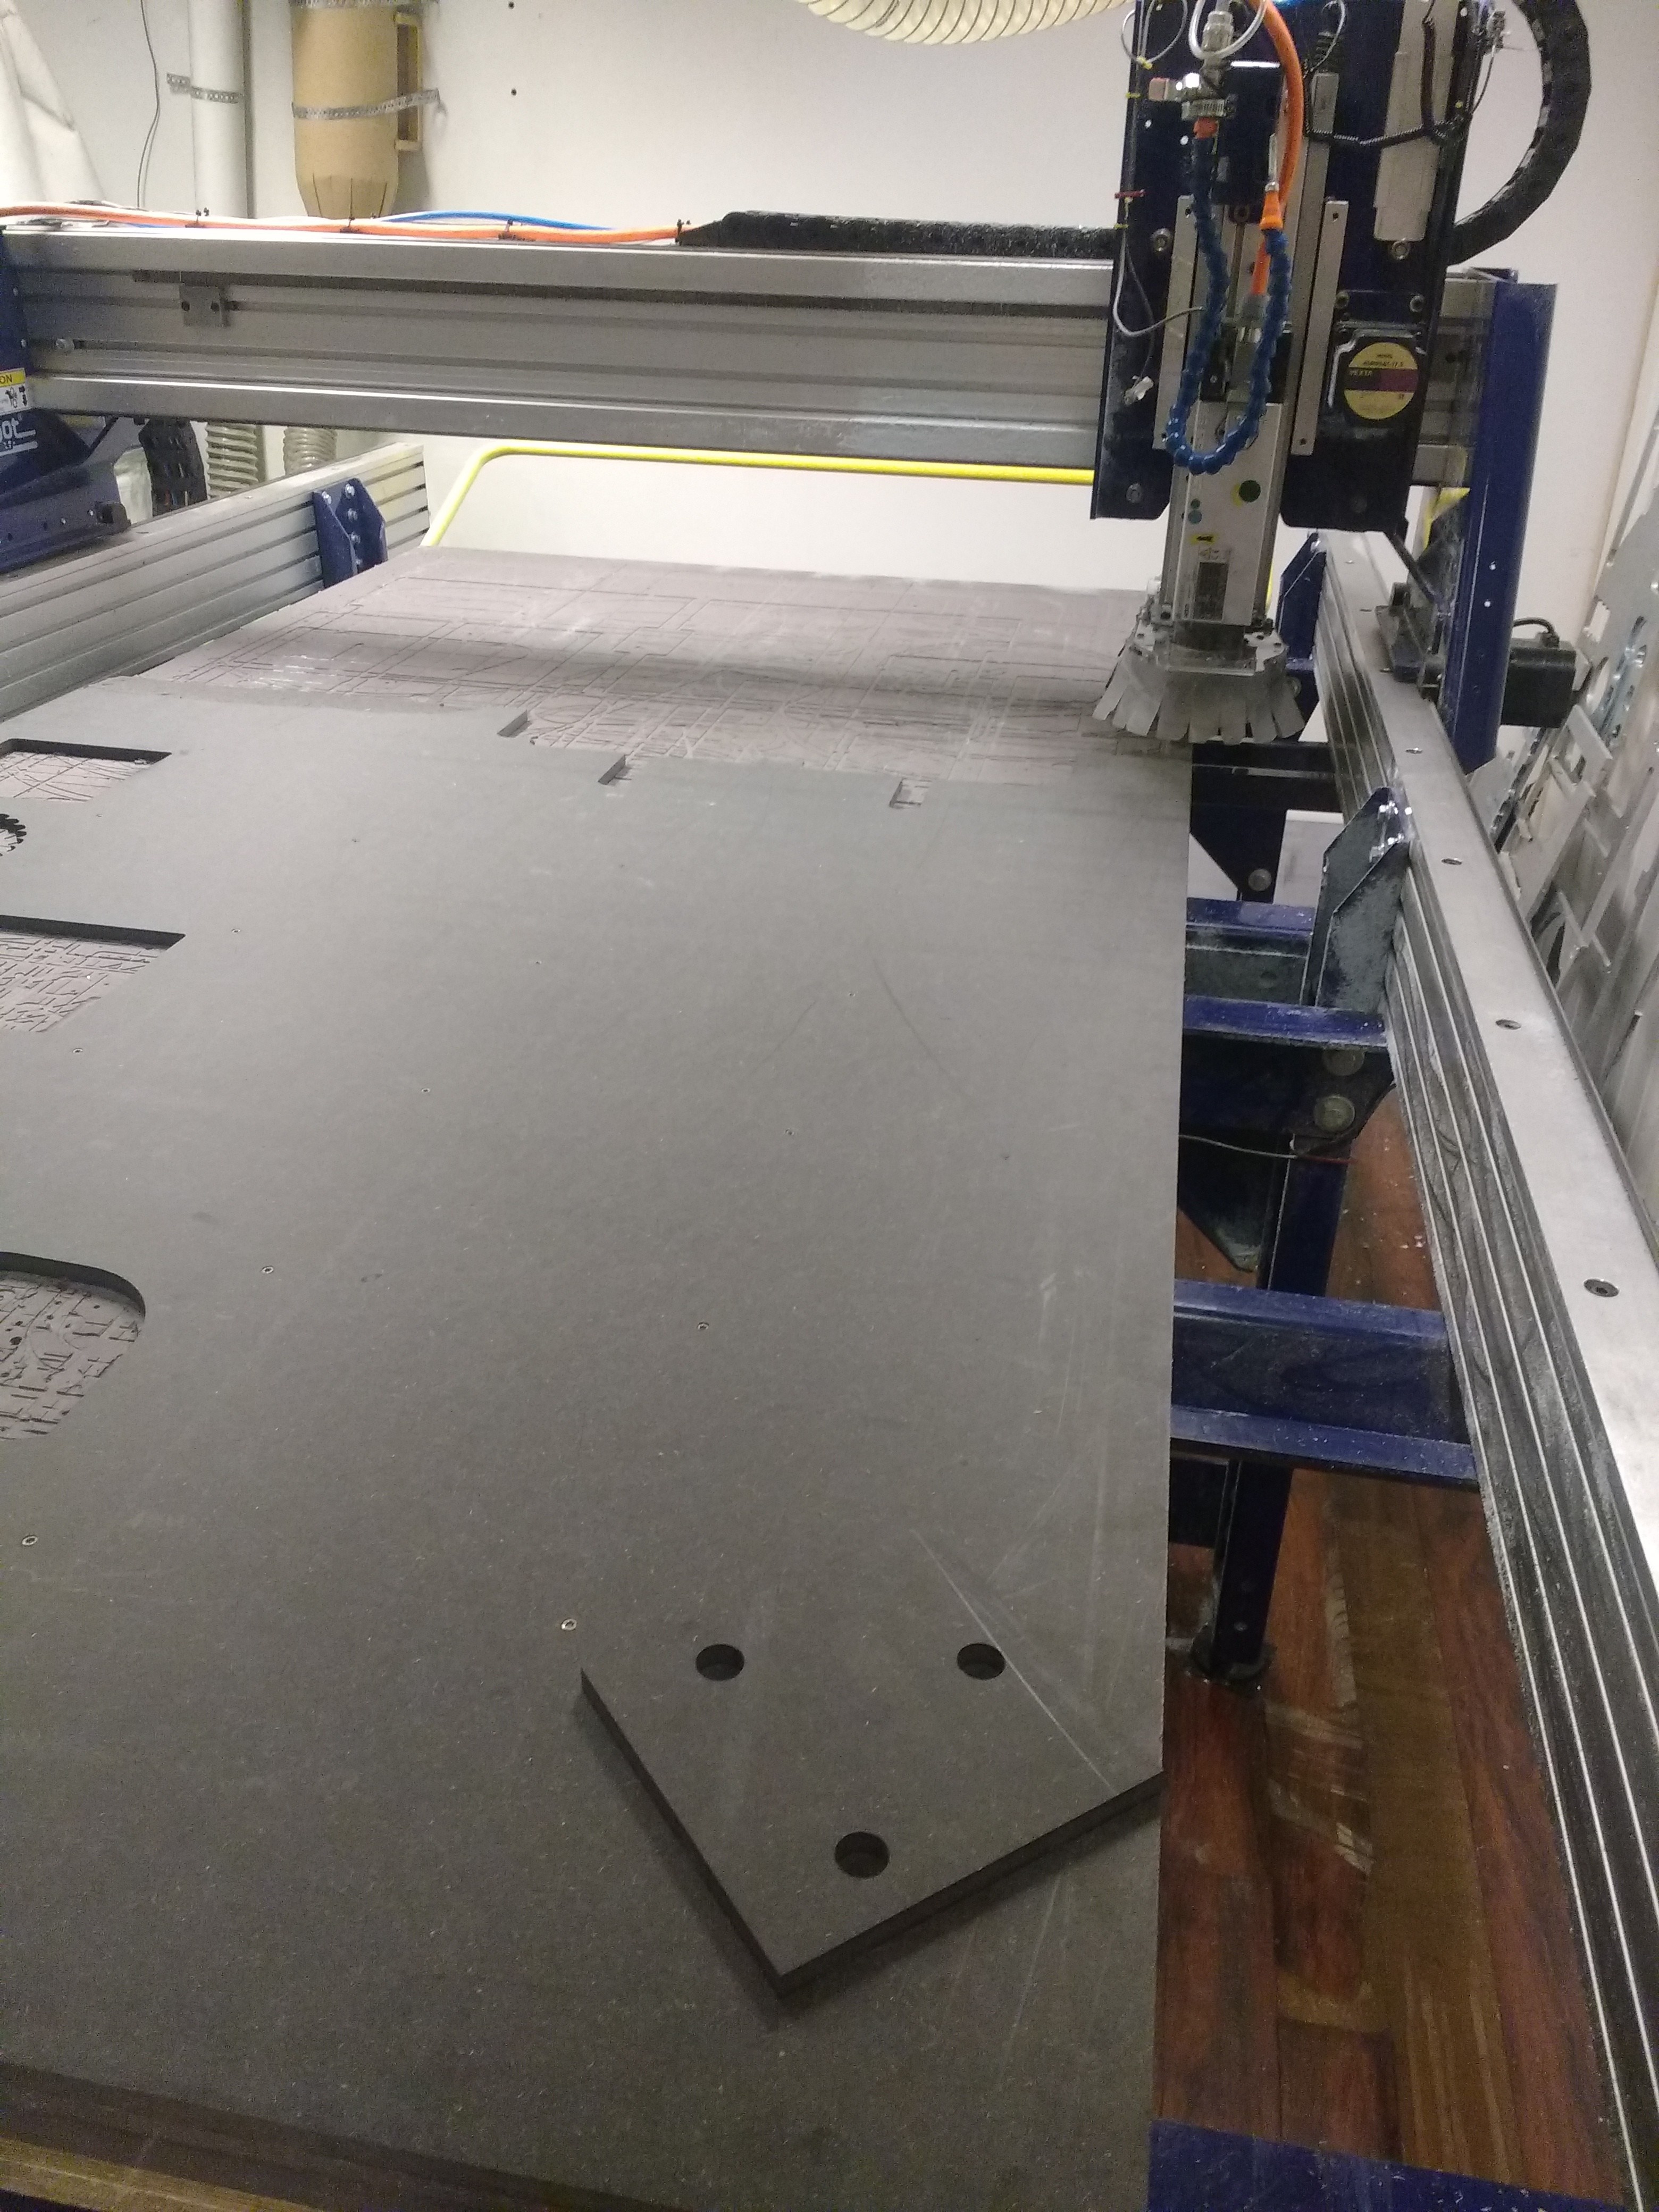
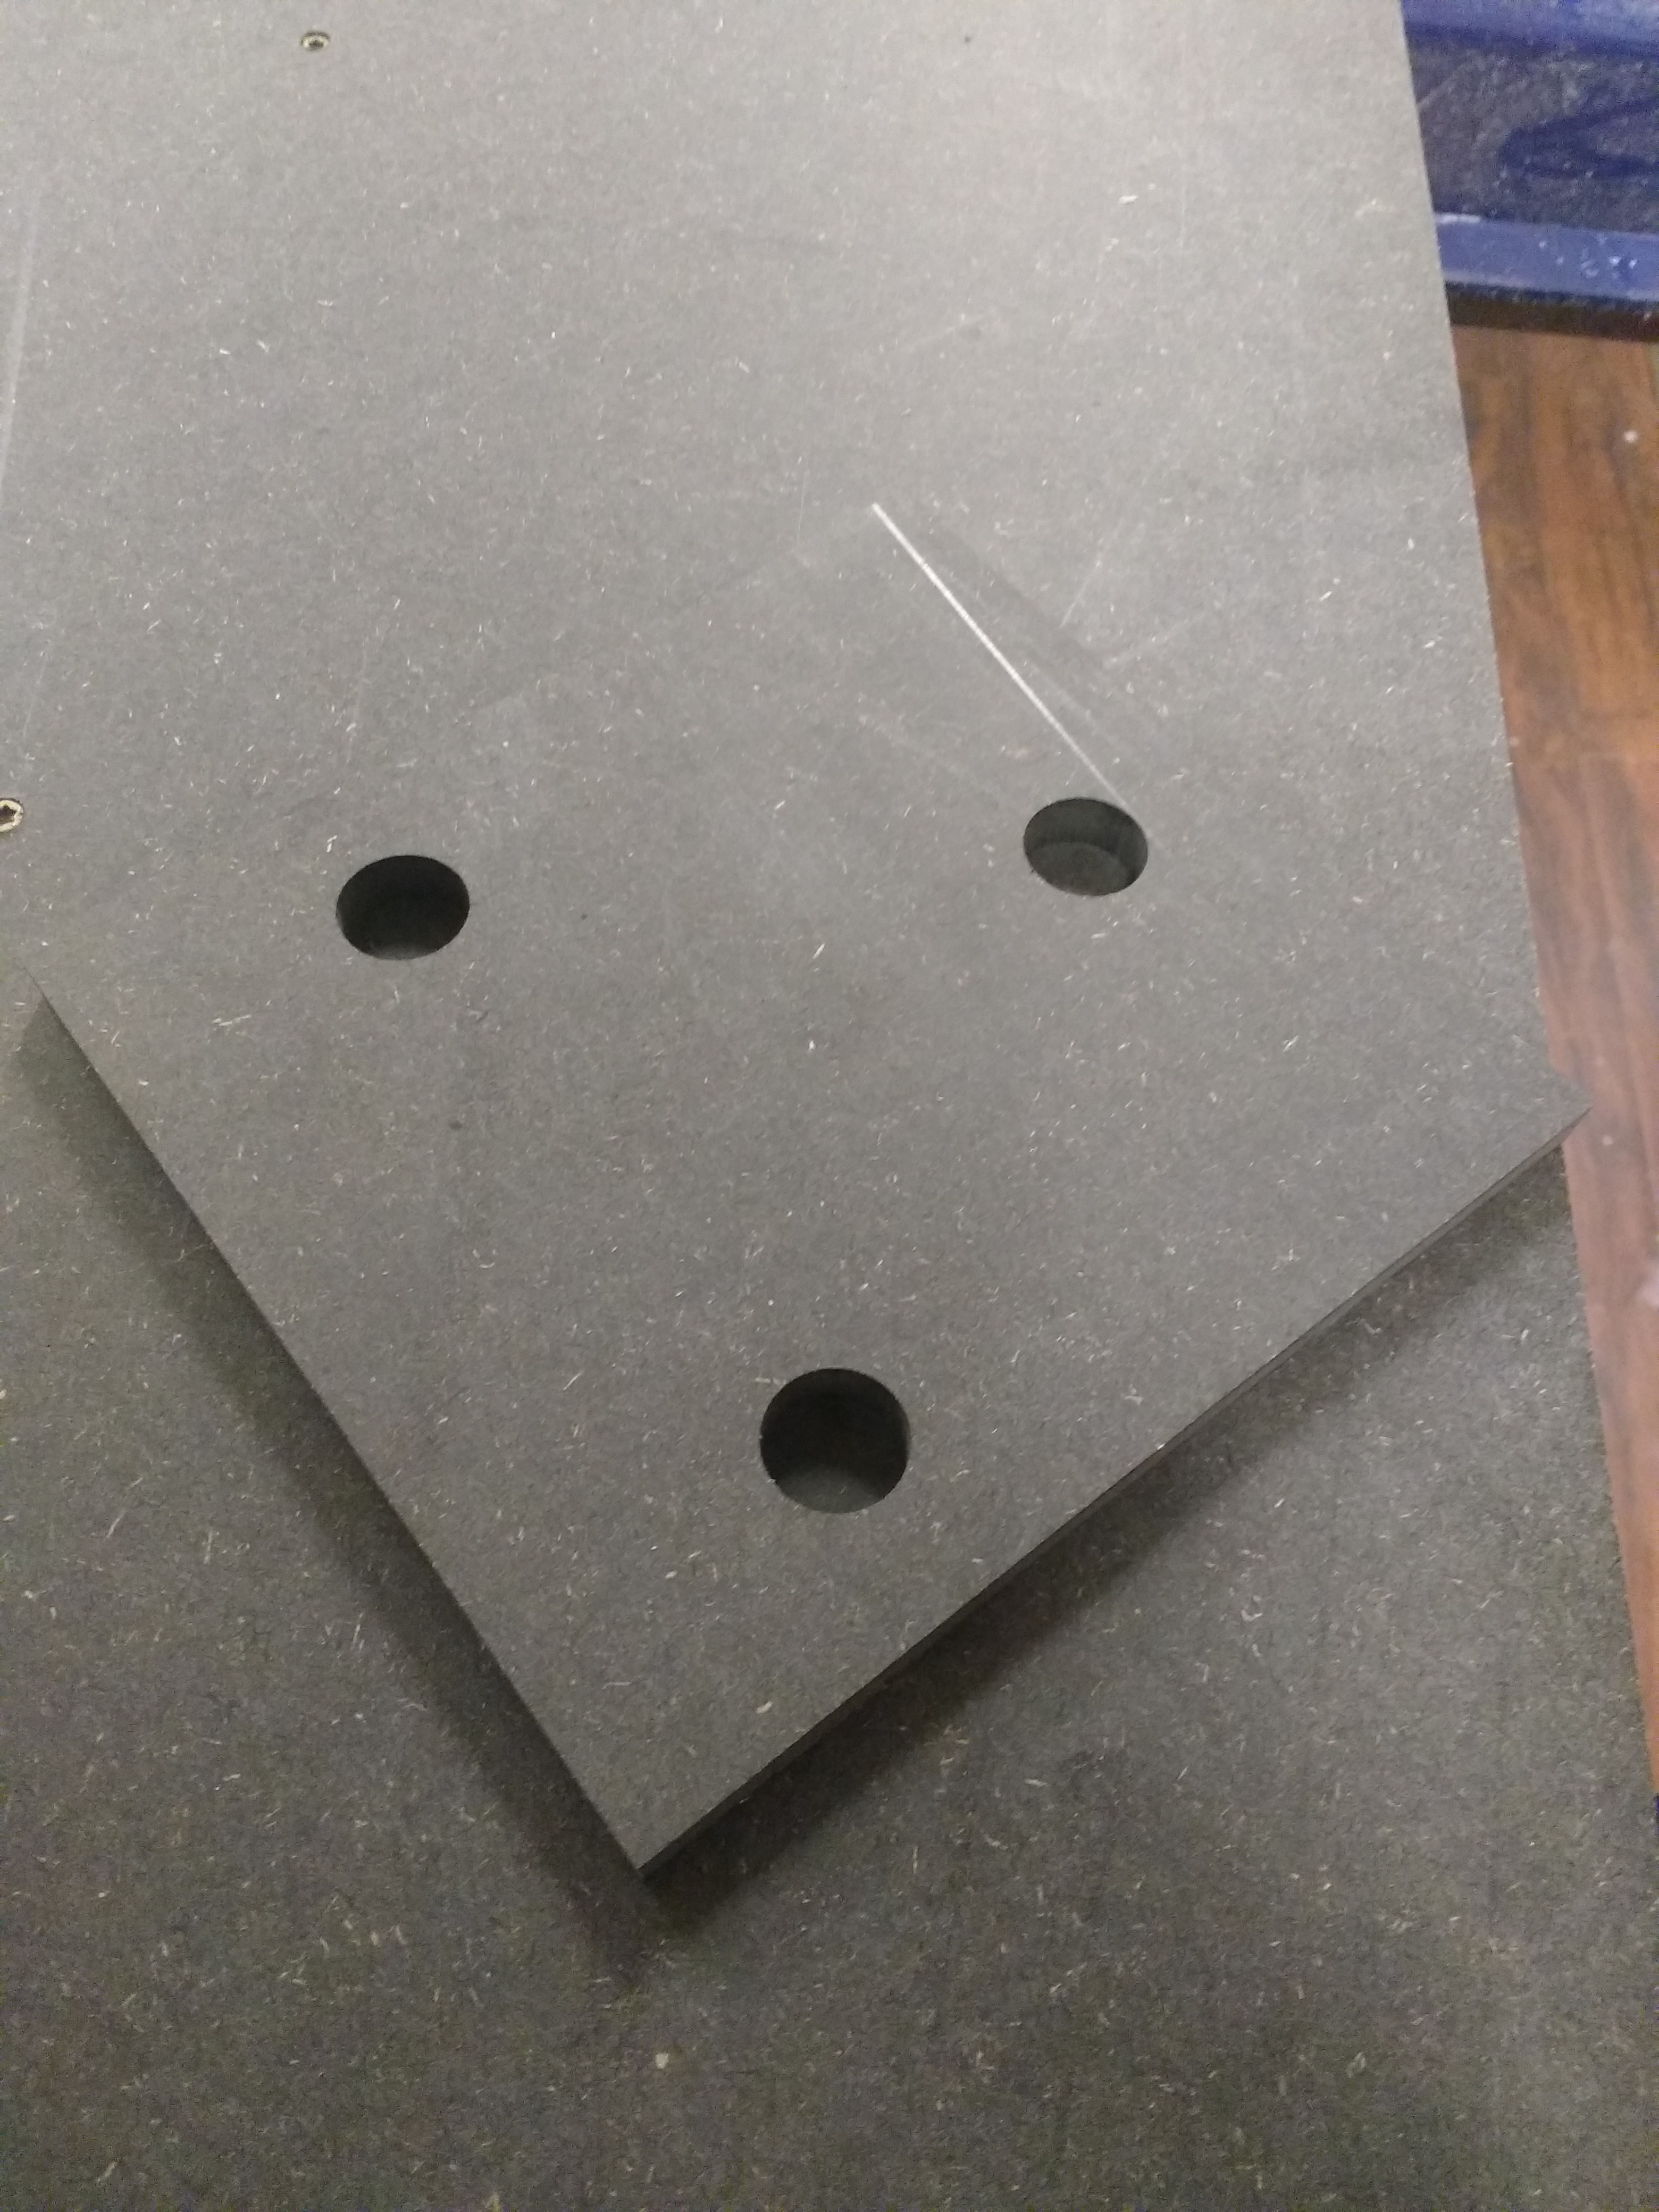
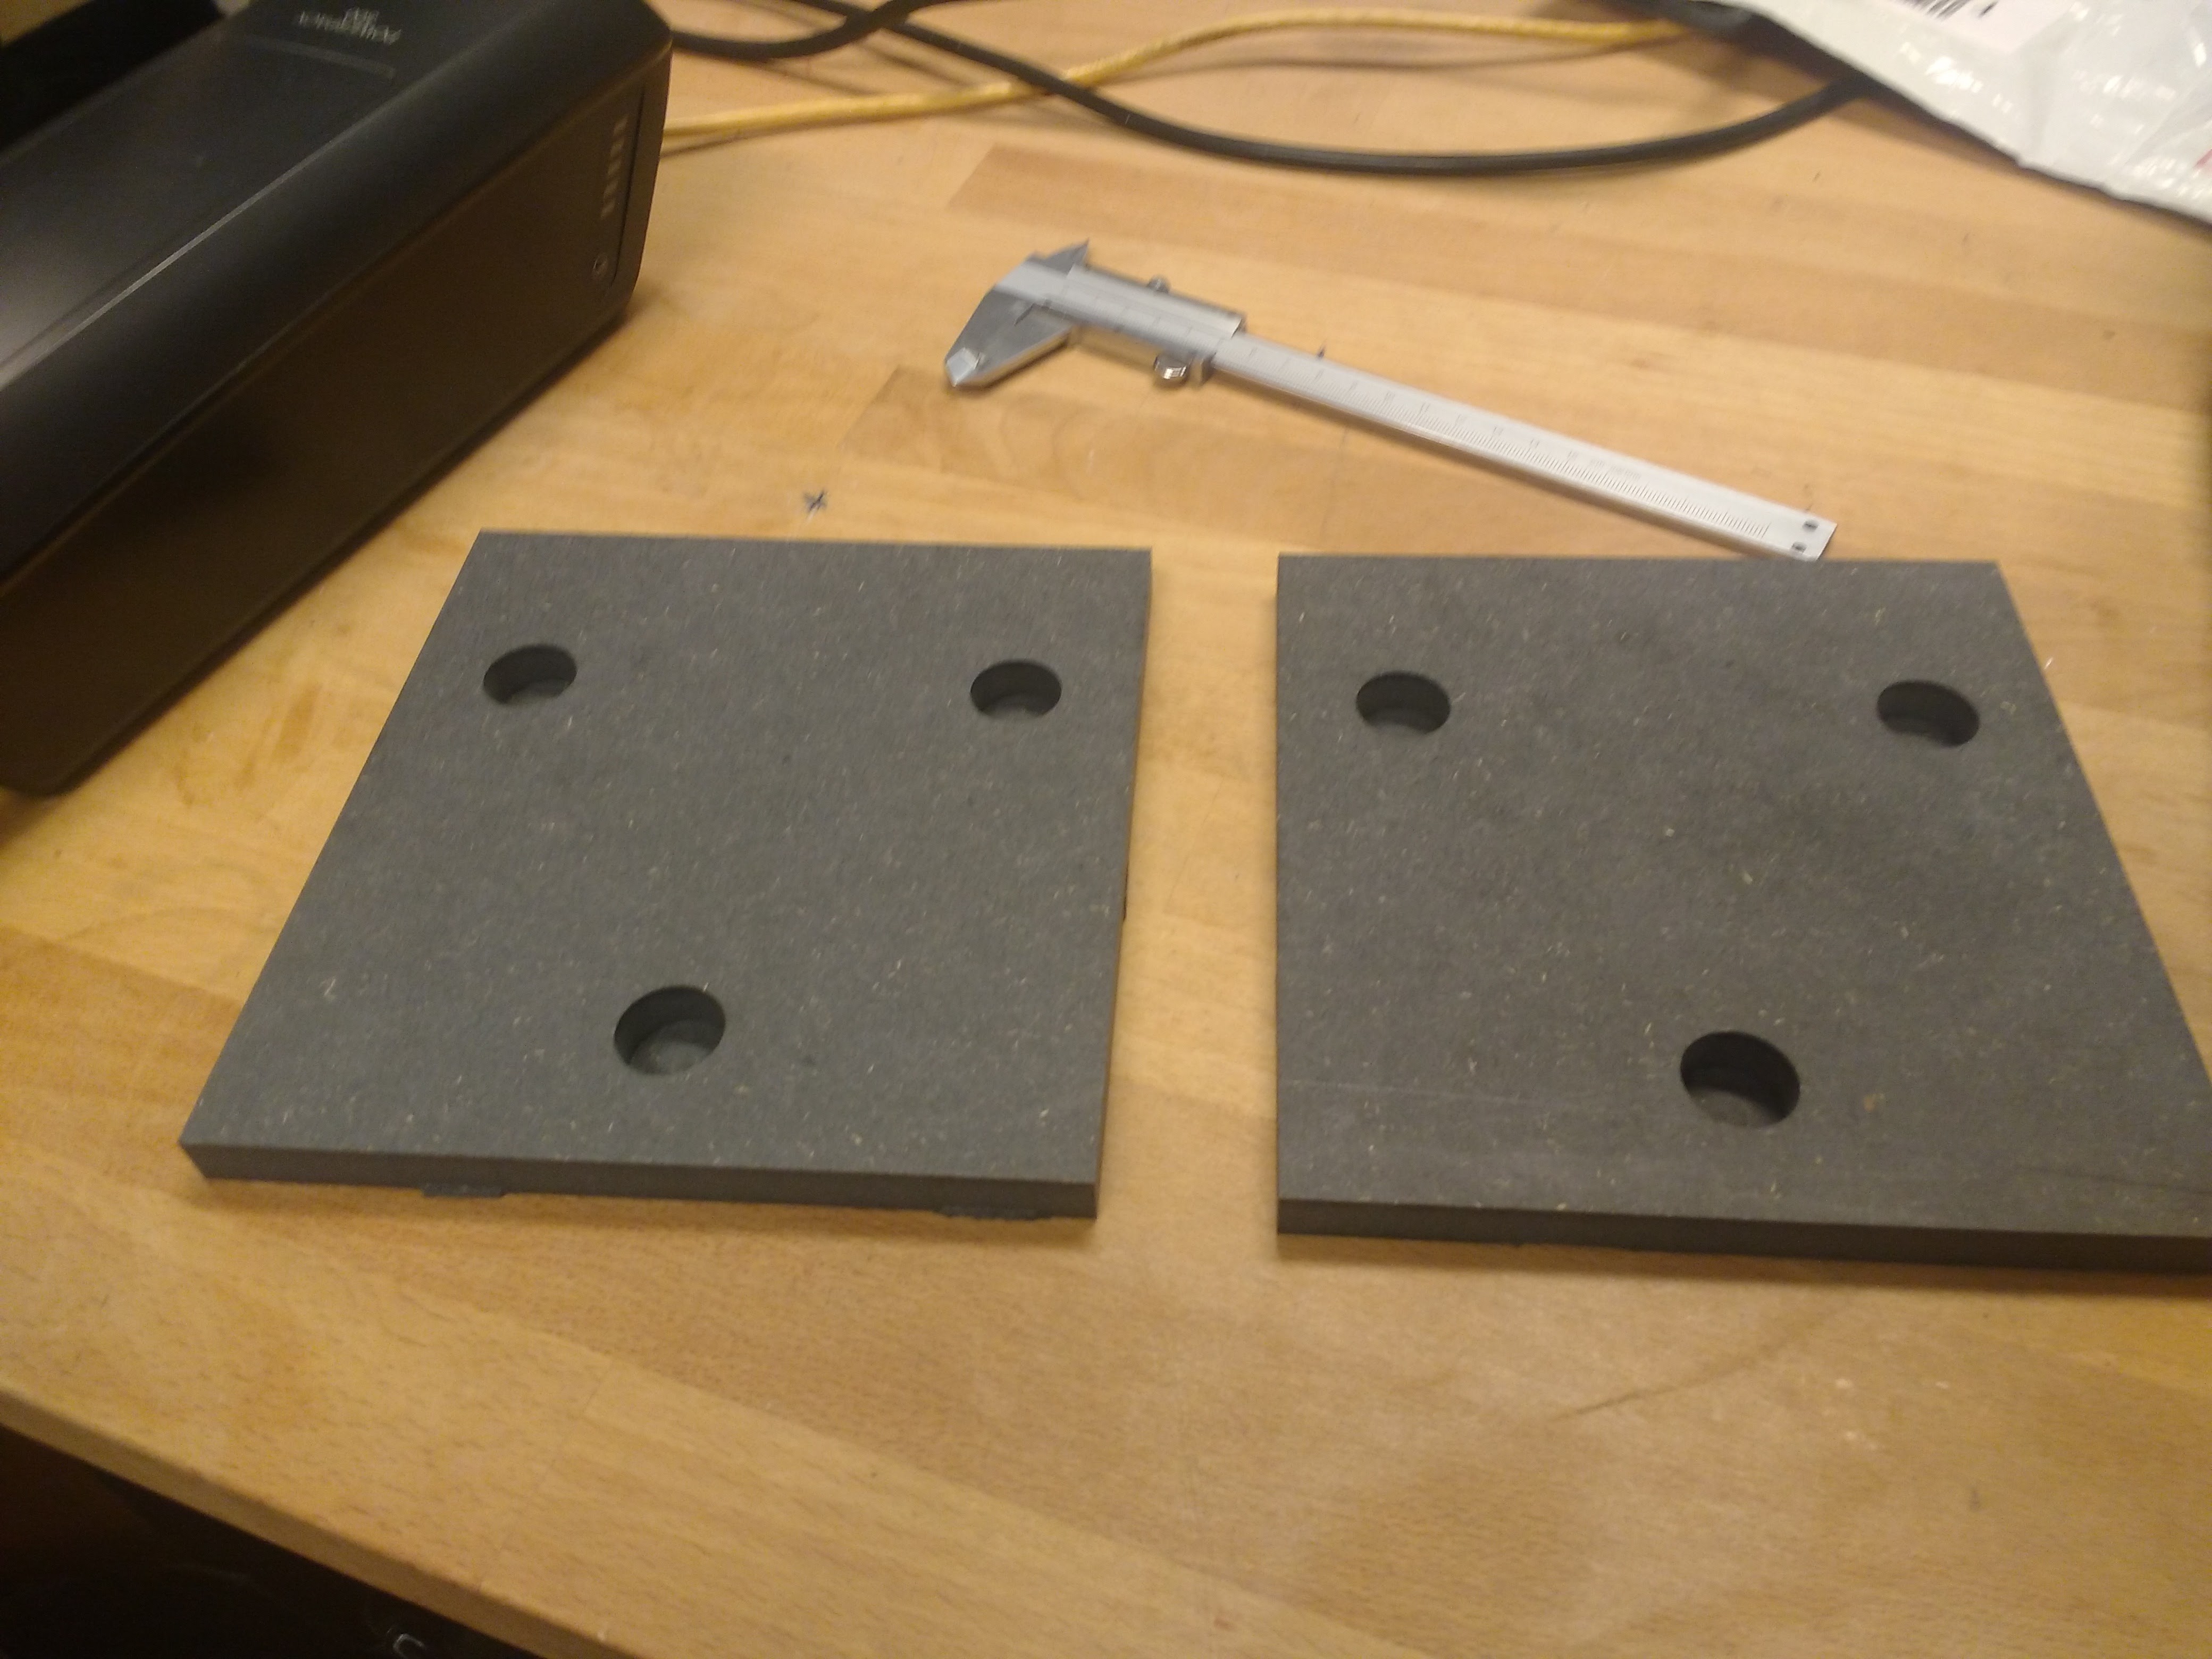
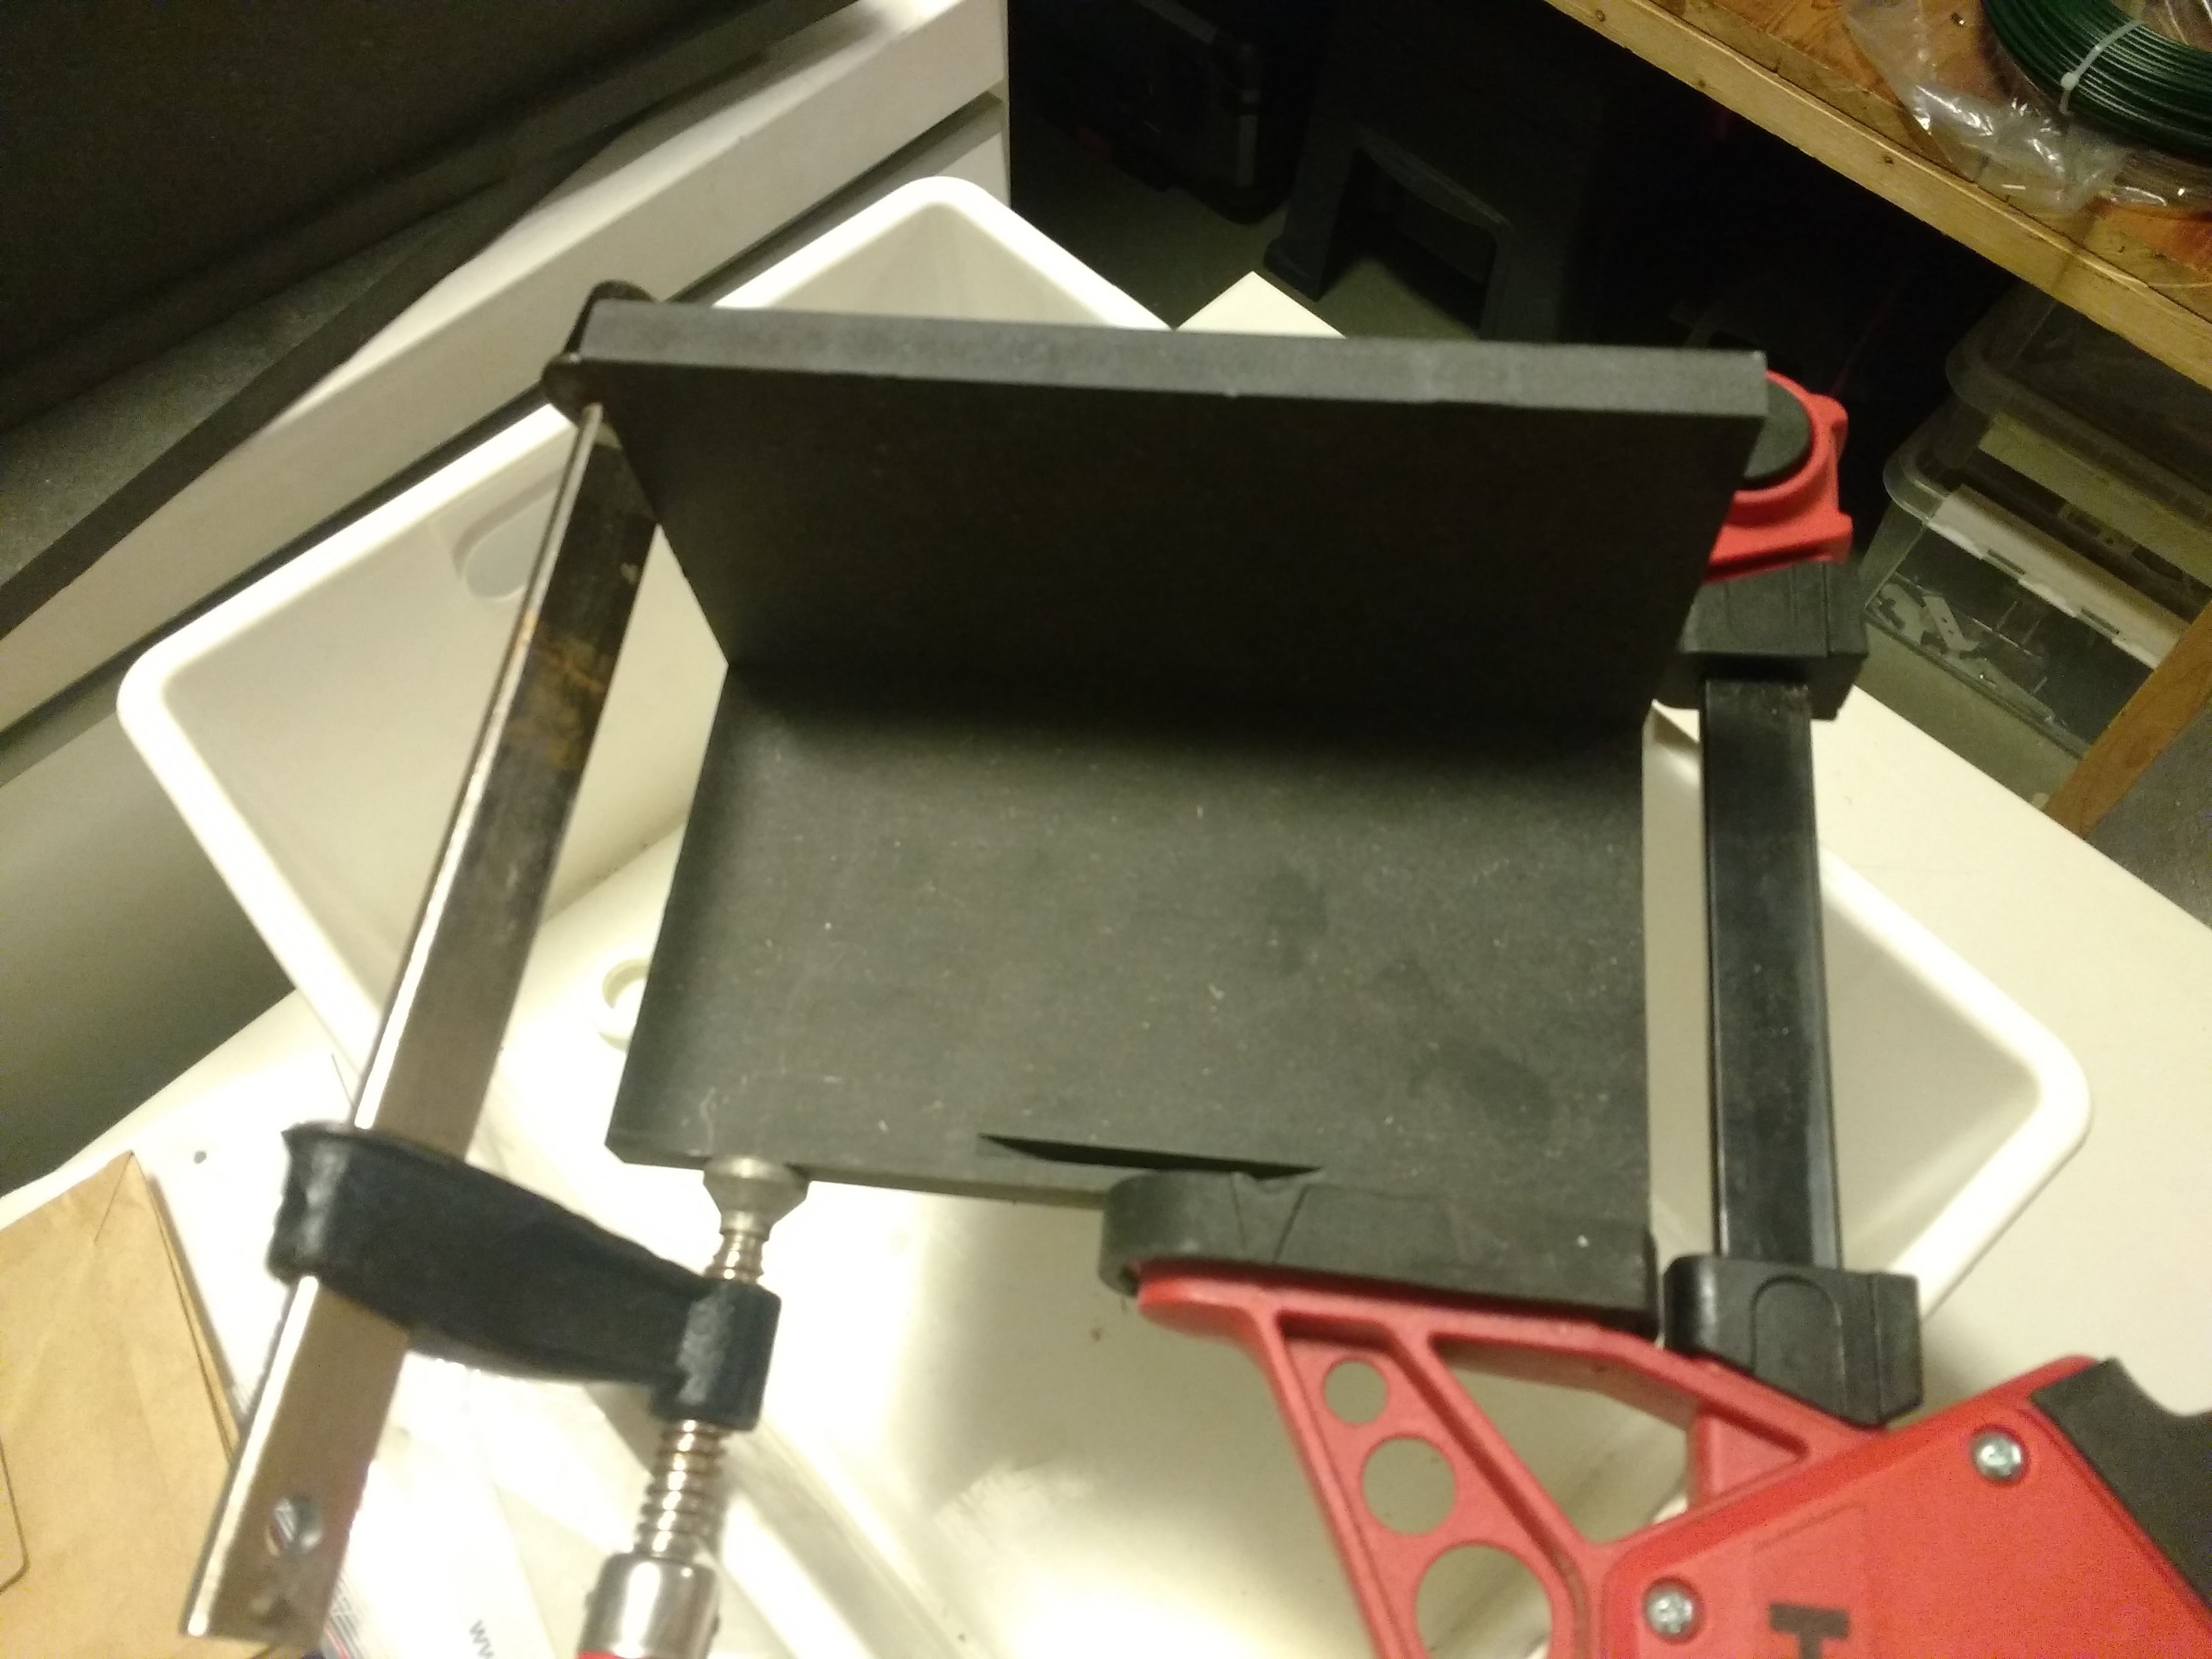
    I started marking where I wanted to place my biscuits and then, well I cut them.
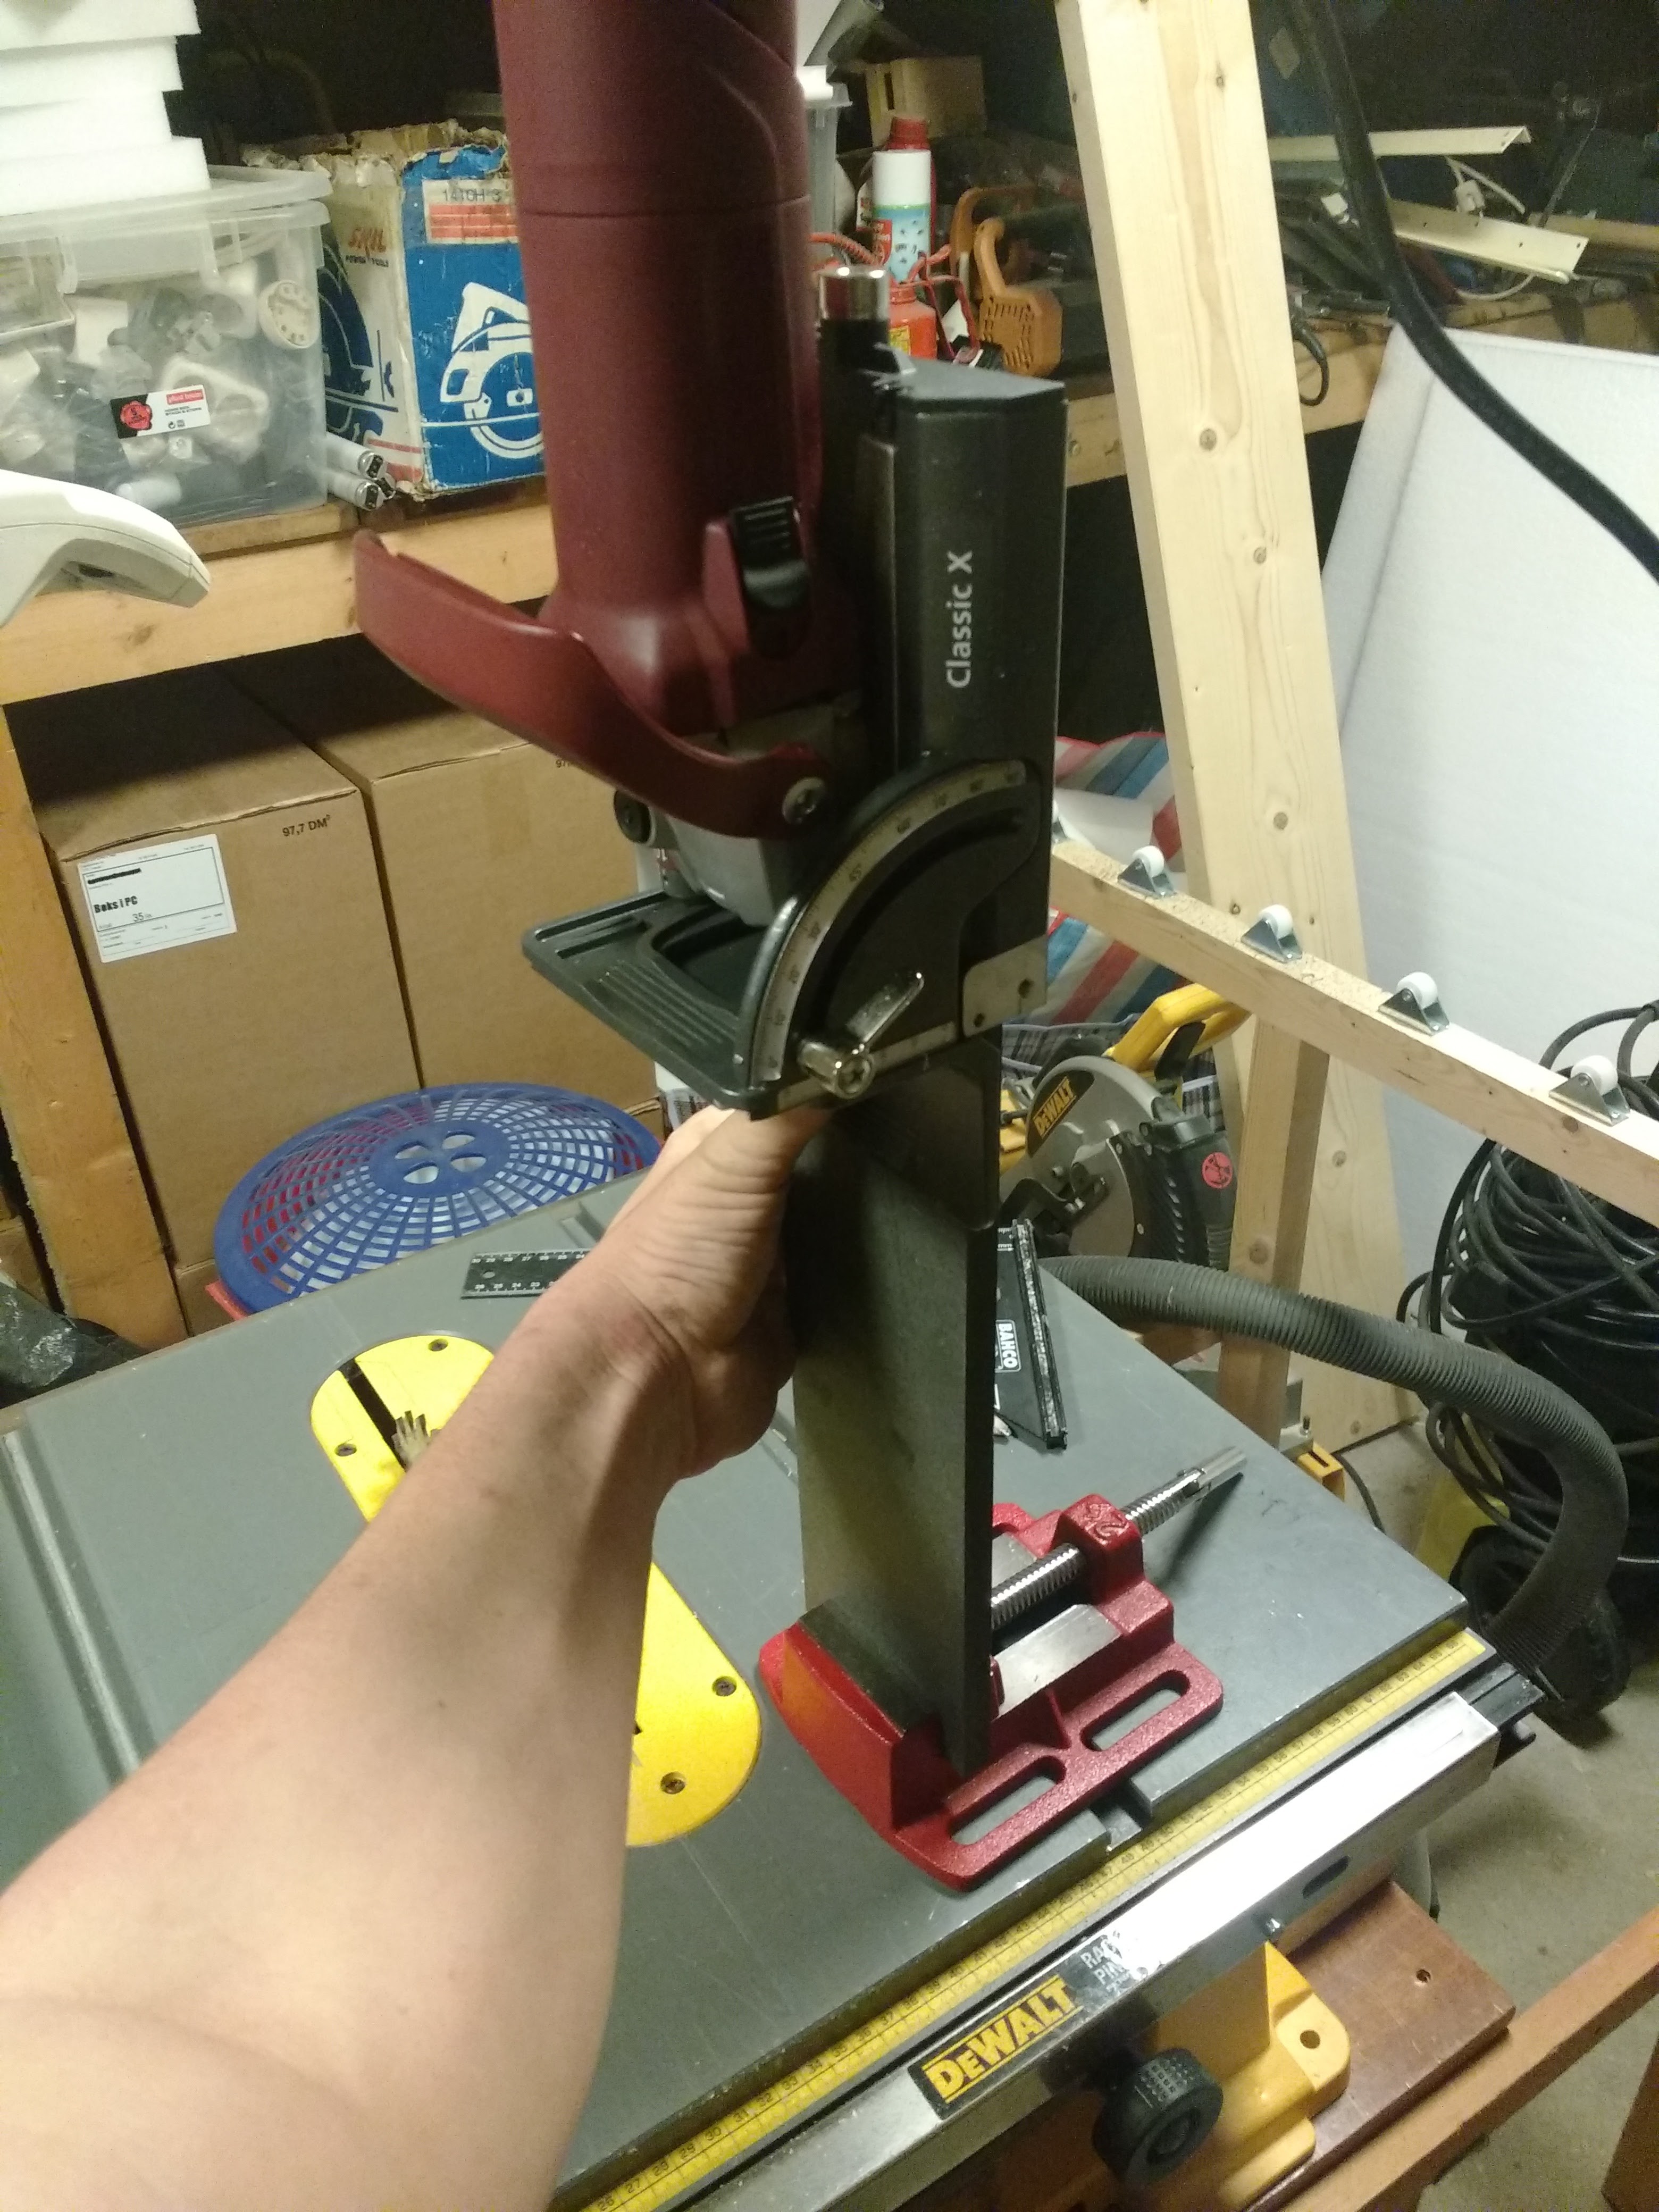
    In the drawer the bottom is attached via a slot in all the side plate. I did this with a handheld router and a slot bit


    I did not manage to finnish the prototype today but I will have a look at it tomorrow. I have already now multiple improvements that I am going to implement. I will remodel the whole thing so that everything is parametric. Fun awaits ahead!

  • The rise of the first prototype!

    Øystein09/20/2017 at 18:30 0 comments

    The rise of the first prototype (of the planet of the apes) or something dramatic like that. That's my dramatic title for this project log. A good dose of drama is healthy they say. So a dramatic title it is. I have prepared my 3d model for routing on the CNC machine. With help from a fusion 360 expert at Bitraf I successfully made my first cut out of the magbox prototype.

    The CNC job consists of three parts: drill job (making holes for screws so the material is properly fastened to the machine), Pocket job (making holes for the magnets, and edge job (cutting the contours of the plates). There is also a spindle warmup routine that must be done before these three jobs. This is to warm up the spindle so the balls in the ball bearing expand making the spindle precise.

    All parts cut out! They are attached with small tabs evenly spaced along the edges. I use a chisel to separate them from the material. 

  • quick post: optimizing cam

    Øystein09/09/2017 at 19:54 0 comments

    Quick snapshot of optimizing the cam layout i fusion 360. It mainly consists of putting the pieces further apart and adding extra screw holes for holddowns:

  • Quick post: video of magnetic alignment prototype

    Øystein09/07/2017 at 20:44 0 comments

    See more info about the prototype in the previous project log:

  • The start: prototyping magnetic alignment function

    Øystein09/06/2017 at 20:52 0 comments

    Finally, I got started on my modular storage solution. It is intended to be a flexible system that I can store many of my belongings in. It will be stackable, auto aligning and have accessories like wheels. But that is just my wild imagination spinning out of control. i gotta start somewhere. so I started testing the magnetic alignment idea. The idea is that each box will have a magnets placed in a triangle shape embedded in to the top and bottom plate of the box. The magnets in the top and bottom plate will attract each other automatically aligning the edges of the boxes.

    So the first step is to make a small scale test of this idea to see if it works at all. I attended a shopbot rookie jam at my local makerspace (bitraf in Oslo) to make a prototype.

    Here are to prototype parts! I will test with magnets when i get home!