Dmitry
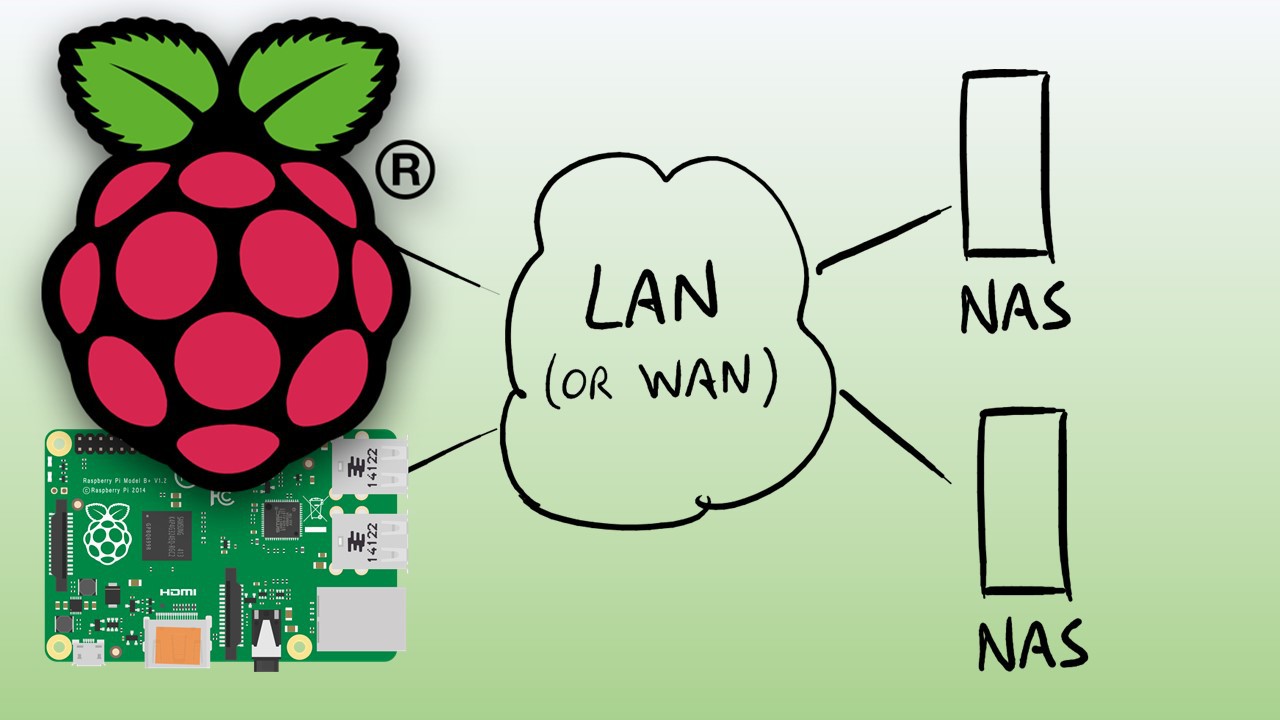
Building NAS on Raspberry Pi is a very smart way to create DIY NAS for safe and efficient file management. NAS (or Network Attached Storage) Server is a network storage system to serve and share files to other client computers in a local network area. This enables multiple users to access and share the same file storage. The NAS server can use different file sharing protocols to share the data via the network. The mainly used protocol is SMB (Server Message Block). |
Additional protocols are NFS (Network File System), FTP (File Transfer Protocol), SFTP (Secure File Transfer Protocol), SCP (Secure Copy) and more. The main hardware components of the NAS storage system are the media storage devices, mainly hard drives. If you have more than one storage device mounted on your NAS server, the storage devices can be arranged via a RAID controller (Redundant Array of Independent Disks) into logical and redundant storage containers for redundancy and safety reason. There are various RAID levels to protect the data in case of a disk failure. The most common are RAID-0, RAID-1 and RAID-5. |
Advantages of building NAS on Raspberry Pi
Raspberry Pi is a mini computer build on a single PCB board, slightly larger than a credit card. It has a wired local area network (LAN) and 4 USB-Ports for different external devices like keyboard and mouse or external storage devices.
The optimized operating system for the Raspberry Pi 2 and the Raspberry PI 3 is Raspbian, a free and open source software based on Debian. Also, there are a couple of alternative operating systems available for the Raspberry Pi. In this article, we will use the newest “Raspbian Stretch” operation system, released at 2017-08-16 with the Kernel version 4.9.
Well, concerning the advantages of making up Raspberry Pi NAS hosting device, RPI is a mini-computer with the full performance of a Linux-based operating system and contains almost all functions of a large server system.
On the other hand, the Raspi saves a lot of money because it’s really cheap and consumes a very small amount of energy. Due to its small size, the RPi can be placed almost everywhere as it occupies a very small space. RPi board can be used for an almost unlimited number of projects, like running Plex media server, playing retro games with a game emulator built on the Pi and much more.
All of that features make the Raspberry Pi an ideal candidate for your own small NAS storage system.
Setup a NAS Server on Raspberry Pi
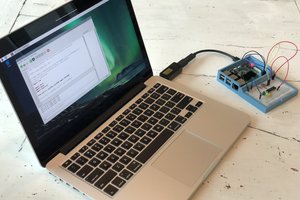
In this article, we will set up a simple NAS server from scratch, based on the SMB protocol. The goal is to save files on the NAS server and share them between different computer clients. For this project, we’ll need a Raspberry Pi 2 or Pi3 with a running Rasbian and connected to some Network. Make sure you have access to the terminal or you’re logged in to the Raspberry Pi via SSH connection.
For the file storage, we need an external USB Hard-drive with a storage capacity of your choice.
Prepare your RPi
Let’s assume that the Raspbian operating system is already installed and running on RPi. Connect your device to the Network via a wired connection or via WLAN and open a terminal.

On the first step, we need to make sure that all packages are of the latest version.
$ sudo apt-get update $ sudo apt-get upgrade |
If the Raspbian is up to date, we are ready to setup our NAS server.
Install and Setup Samba Server
1. To share files from our NAS server we need to install the Samba package. This includes all required apps and configuration files to setup the SMB protocol.
$ sudo apt-get install samba samba-common-bin |
2. After the installation, we need to configure the smb services. For that, we need to configure a sharing of an internal directory. For this case, we will create the directory and name it “INTERNAL” in the home path of our Pi user:

3. Now open the /etc/samba/smb.conf file in an editor of your choice and enter the...
Read more »
 Anton
Anton