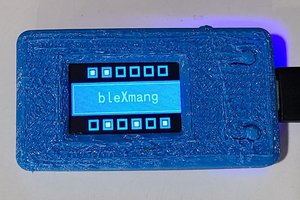
The console is made using an LPC2148 Blueboard and an 84x48 LCD5110 screen. The console has three games to choose from. First one is the title game, Captain Lark. Other two games are bonus games.
Captain Lark:
The backstory is that the Mystic Owl(!!) stole Captain Lark's eggs and have kept it inside the Magic Castle. Captain has to pass through a number of obstacles to reach the castle.
Game play is similar to the popular game flappy bird. The player has to keep on jumping rhythmically, and obstacles can be of two types, either with a hole, or with a breakable gate. Holes can be at three different places. Similarly Gates. When the lark is facing a breakable gate, it has to shoot the gate in order to pass through. There is one button to shoot, one button to jump. Whenever you hit a wall, the game is over.
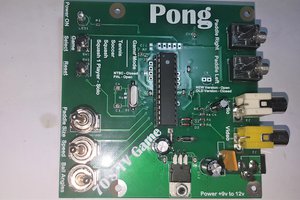
Pong:
Pong is the classic pong game, where you play pong with the computer. When you miss 5 times, you lose.
Freaky falcon:
A watered-down version of the game space invaders. Instead of instant shooting, you have to plant a timed rocket and move away. You lose if at least one enemy ship reaches your base.
 WJCarpenter
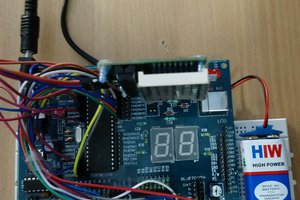
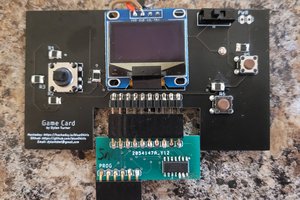
 Dylan Turner