 Giovanni
There are a few things to consider with 3D printed parts that are intended for regular use. One is that usual plastic thicknesses might now work that well, so it could be necessary to add more material. I have found that a wall thickness of 0.1" is usually a good starting point.
Another thing is infill. If your product will be subject to stress and breakage could be an issue, then I would recommend going for a 50, 90, or even a full 100% infill. It does not necessarily take that long to print, specially if the product is planned with well thought out walls. The "Shell" command in Fusion 360 and Rhino helps A LOT with that.
Finally, orientation. Can't stress this enough. Keep in mind that conventional 3D printers print layers, one at a time, and plastic filament is deposited on top of cold filament. This makes walls extremely weak to transversal forces.
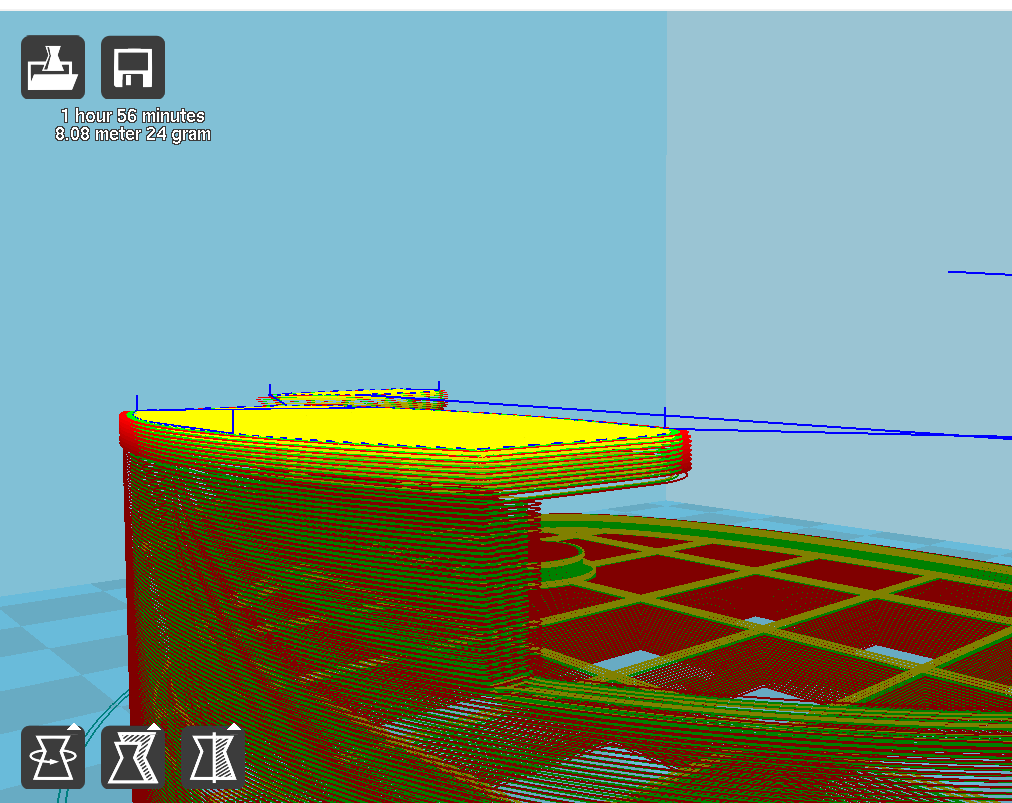
Here's a screenshot of the pattern the printer would take if this was printed flat.
What you want the plastic pattern to do is to fill across the surface that will have the most work:
It won't print the prettiest, but it will be sturdy :)
Finally, ribs: I only added them because as mentioned, I printed with a 100% infill and the space I left for the magnets would have meant a 0.27" thick wall printed with no real purpose of function (and I was having fun testing the "Web" command in F360). But you will not see them there in the flat version made for Command Strips.
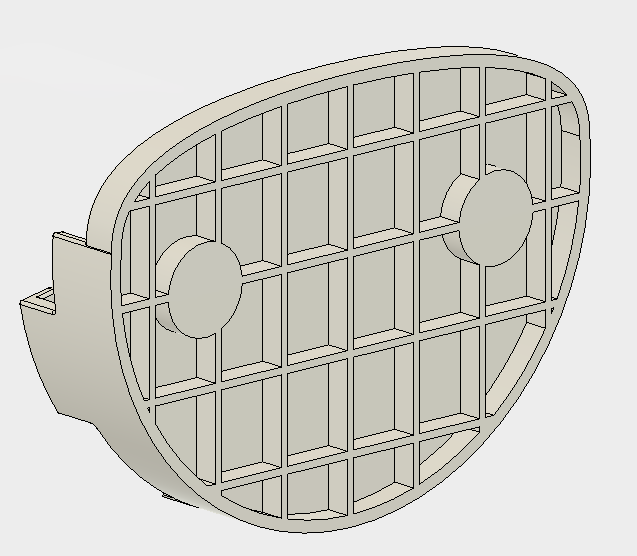
Not the back ribs you had in mind

 Liam_Thompson
 Andrew McAteer
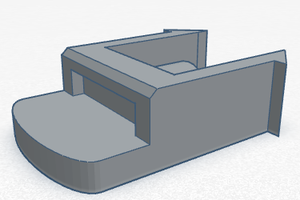
 Federico Virdia
dodaj przekładkę albo zewnętrzne drzwiczki na magnesy.
jesli bedziesz mial mało tych papierów ściernych to ci wypadną a jak dodasz przednią ściankę na magnes to będzie się trzymać.