 Kirschner Christoph
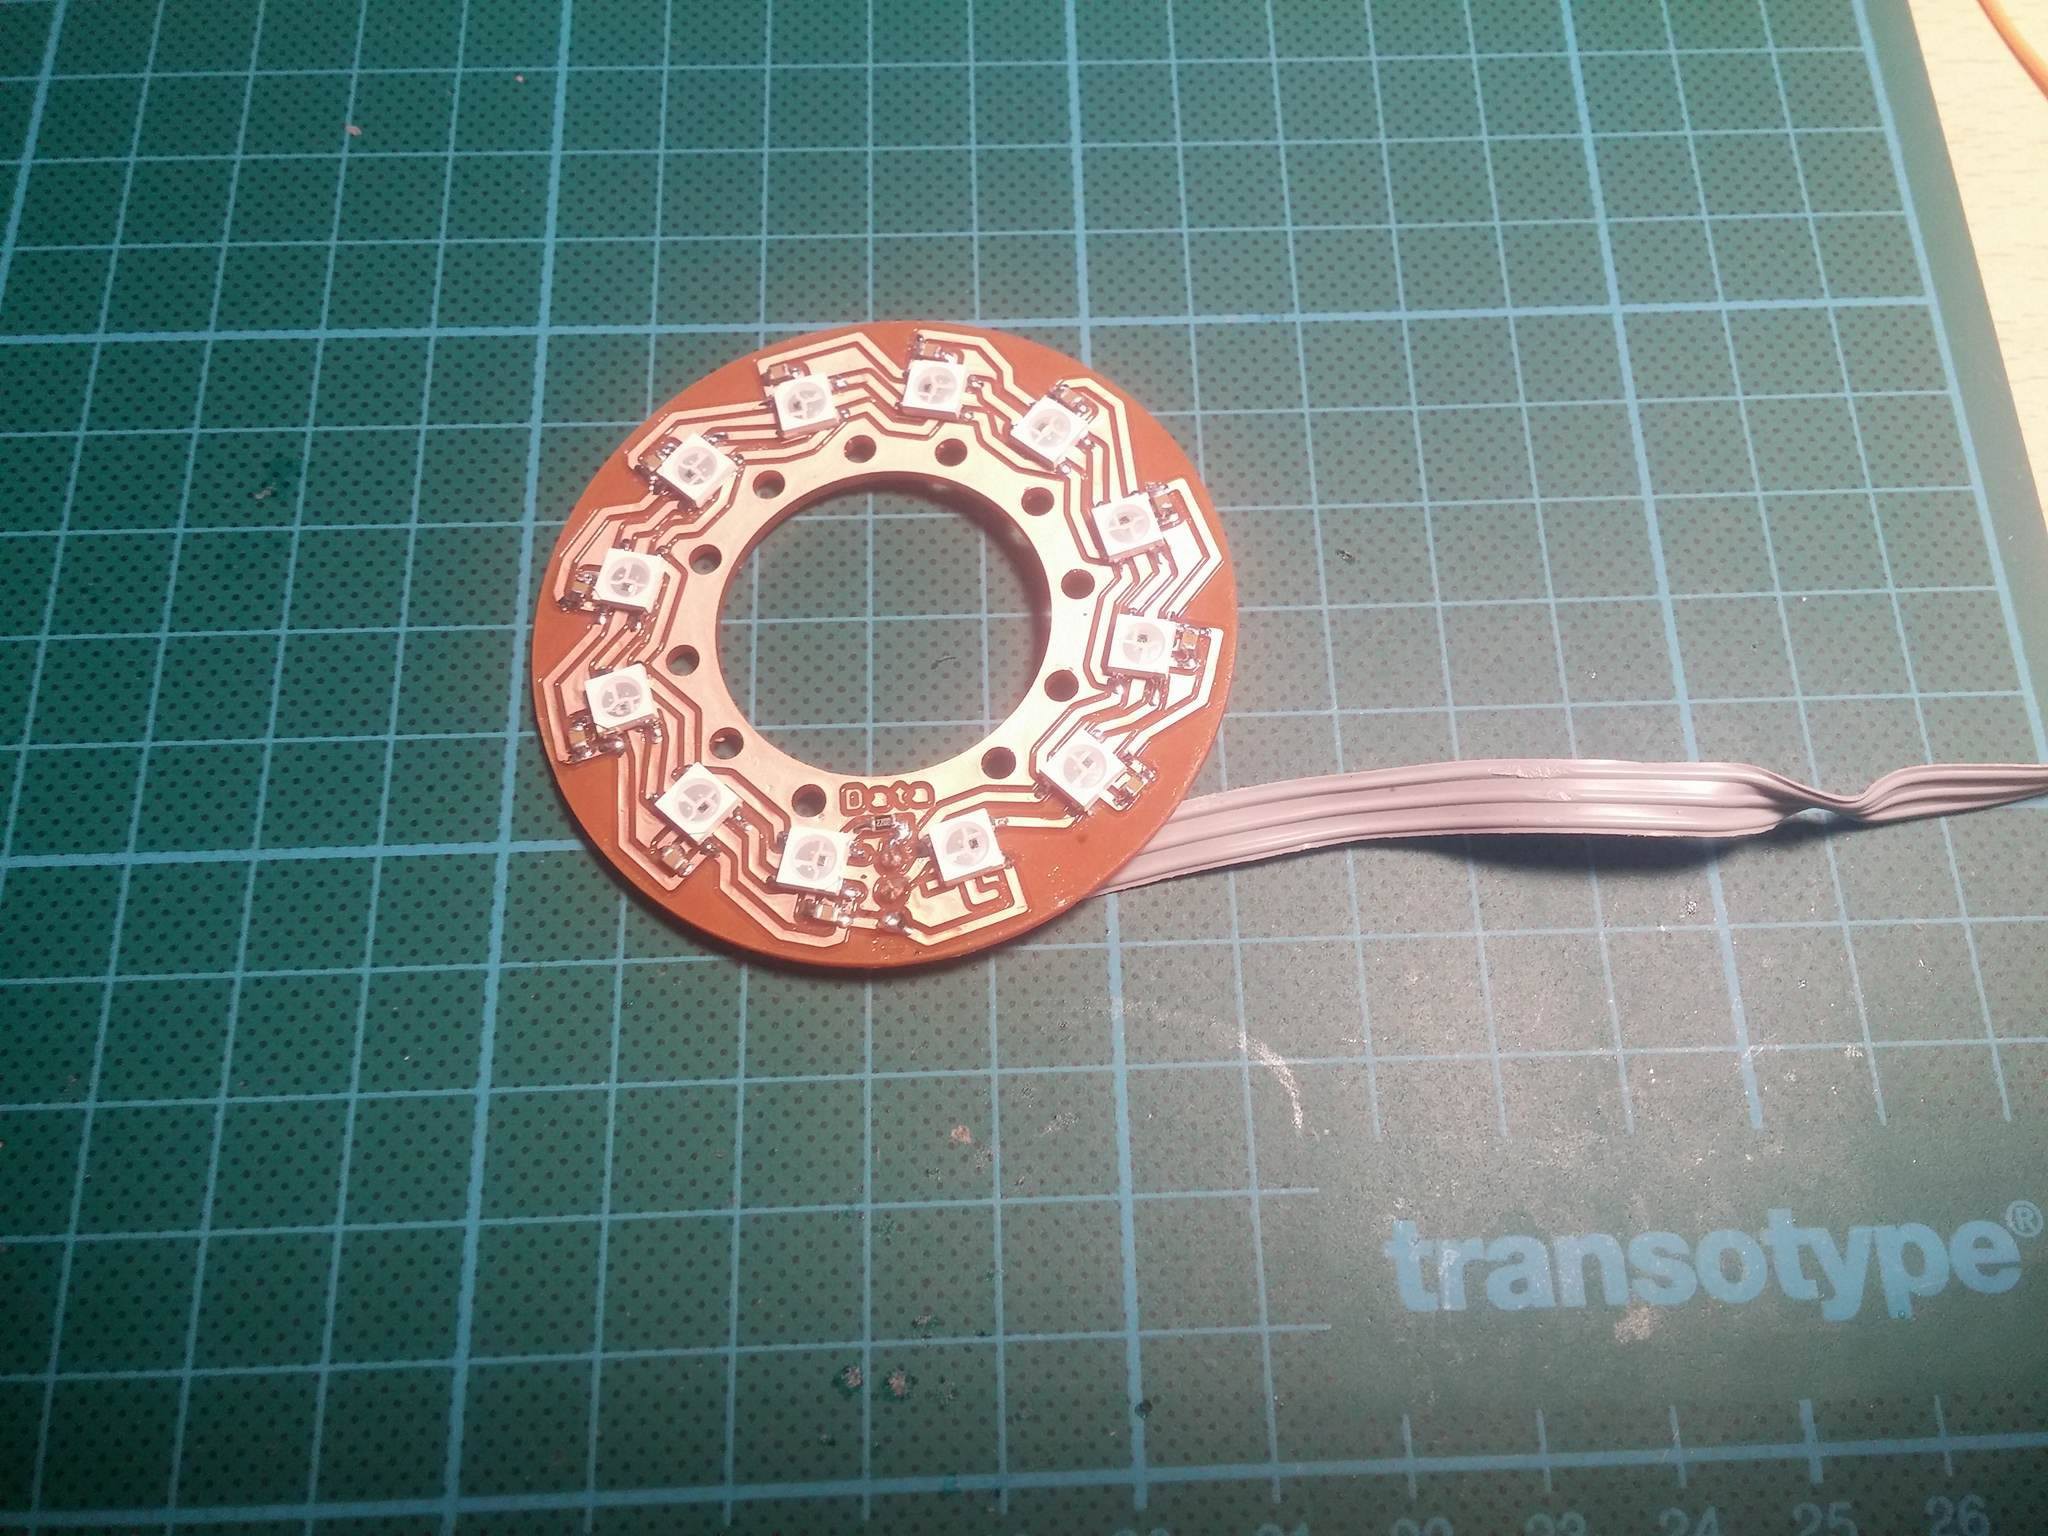
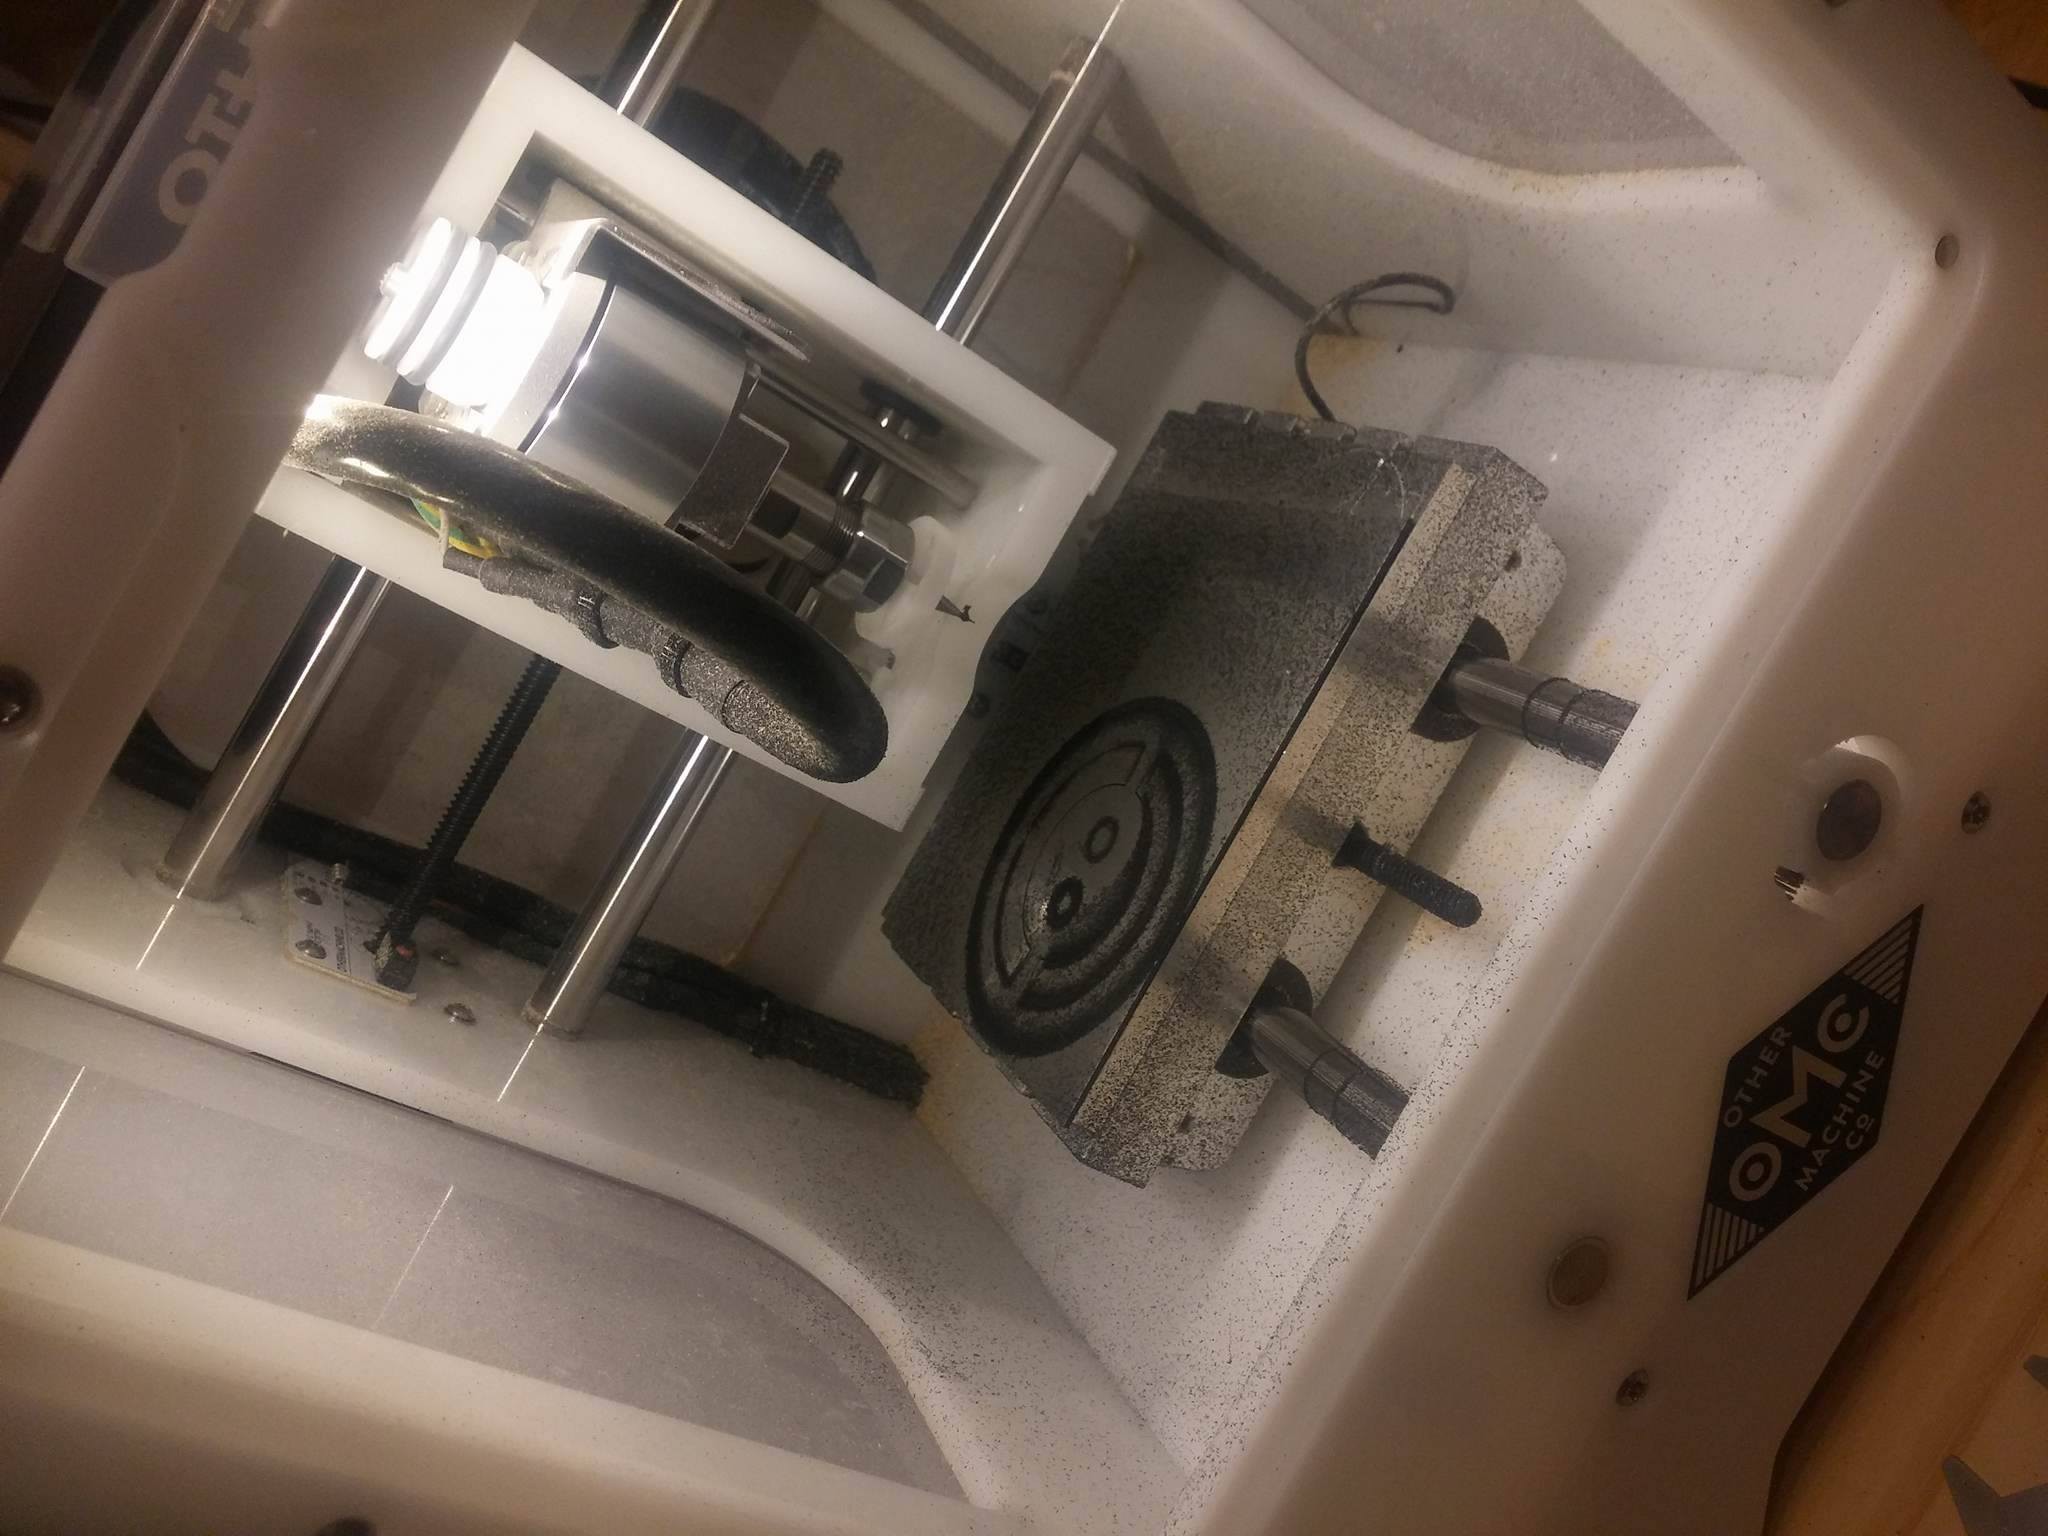
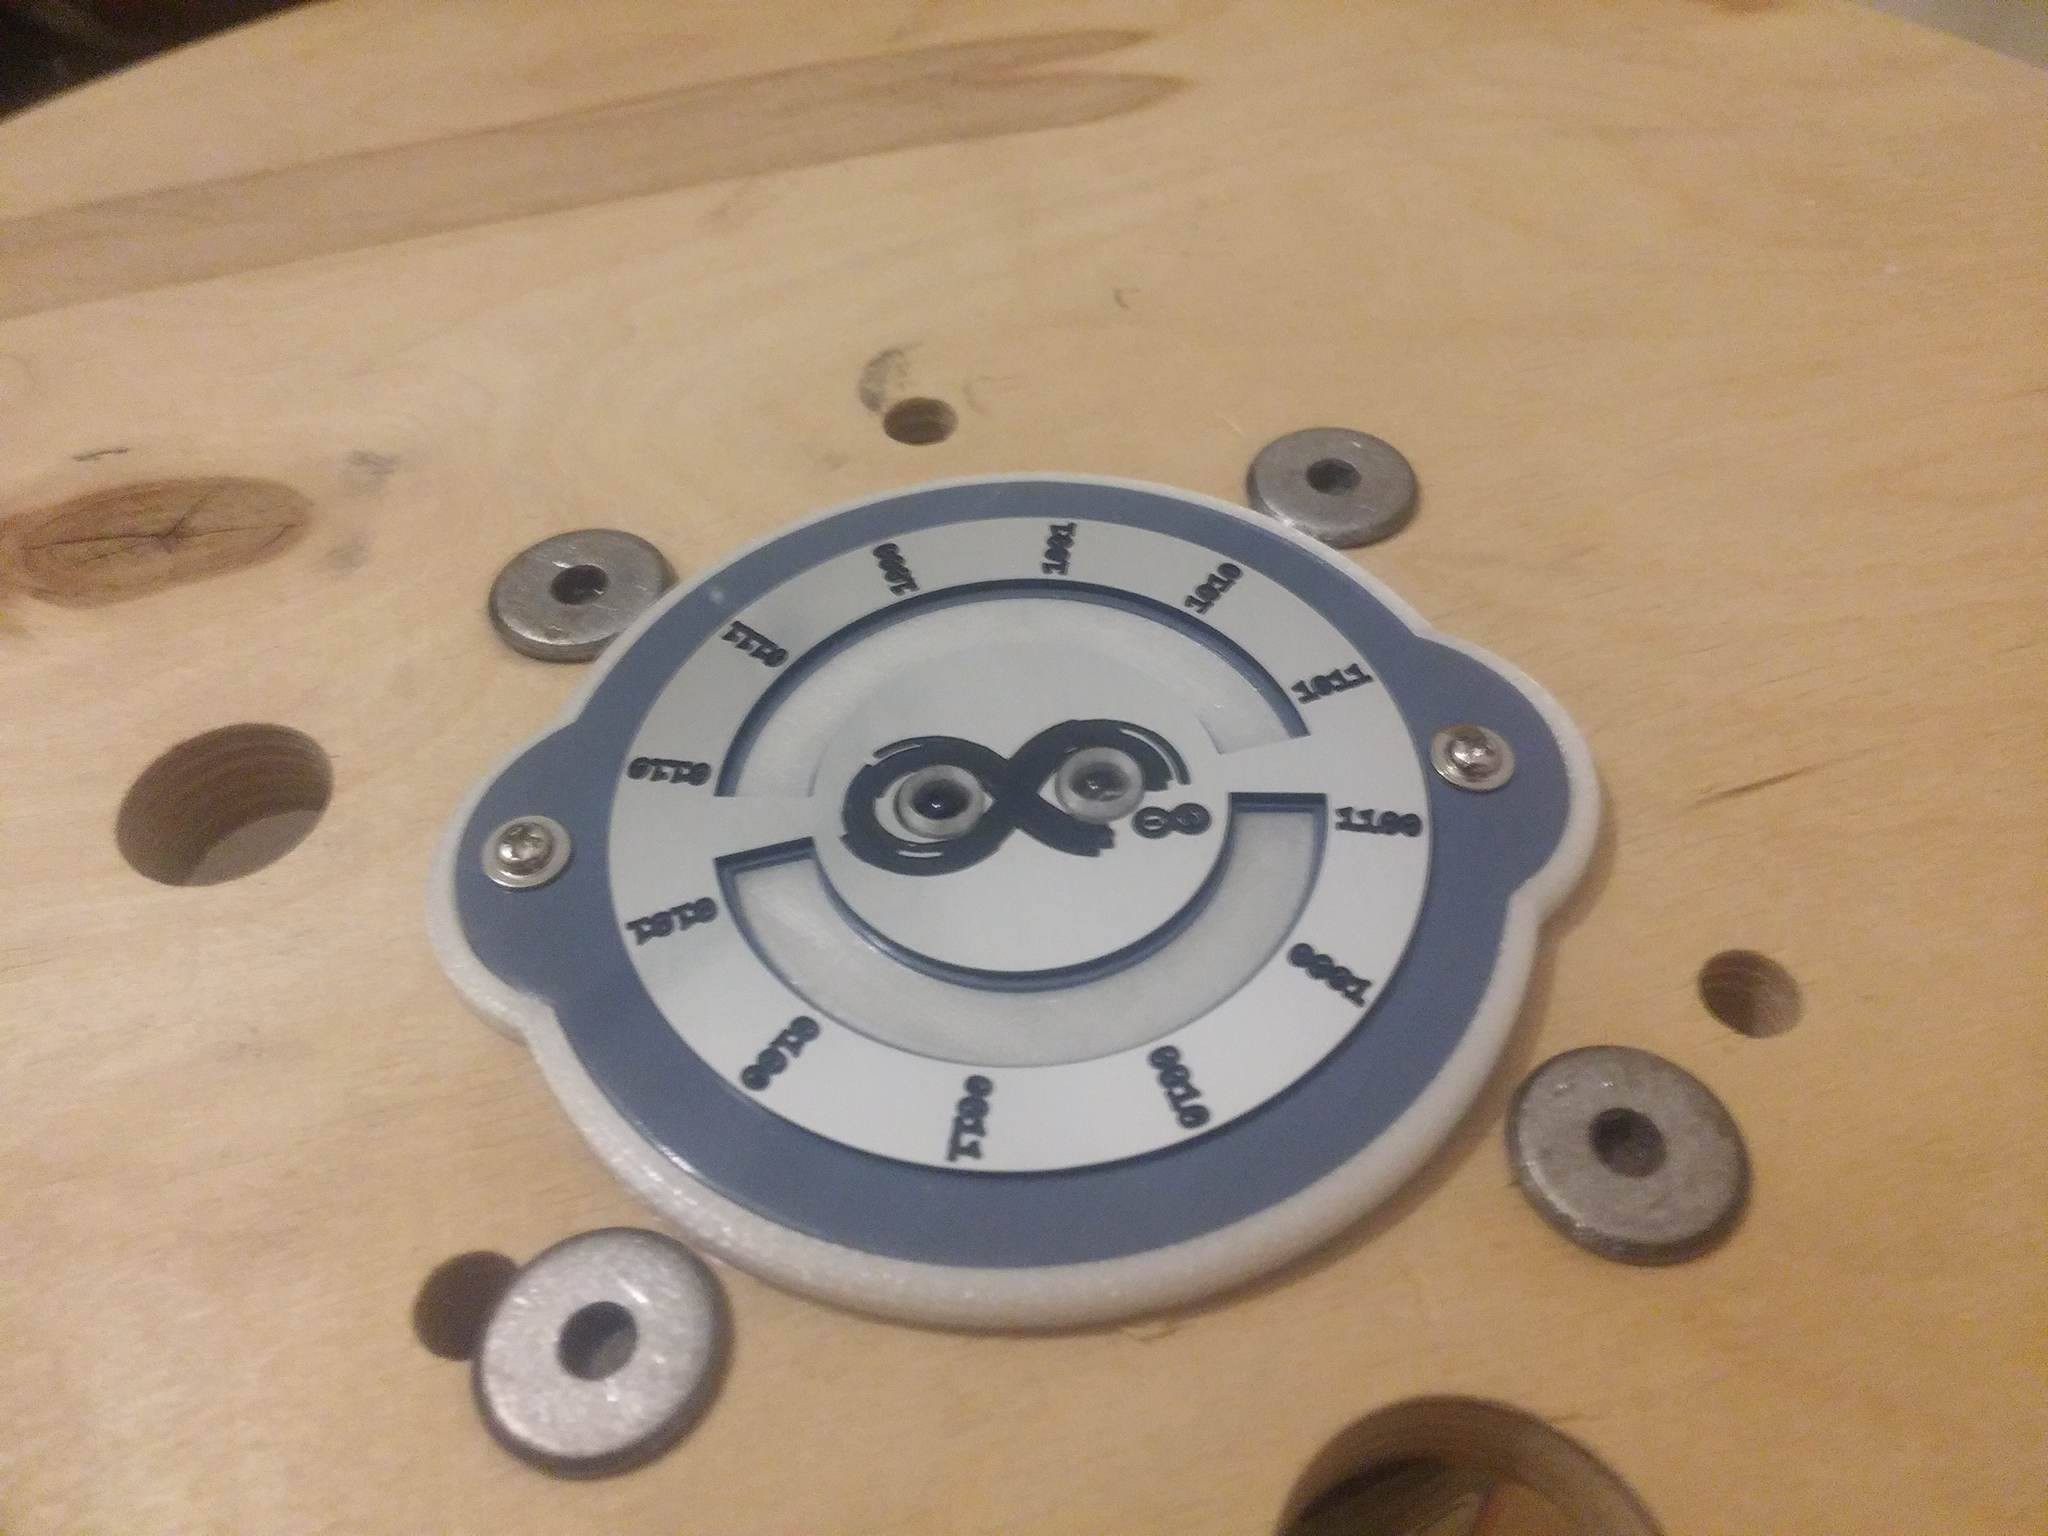
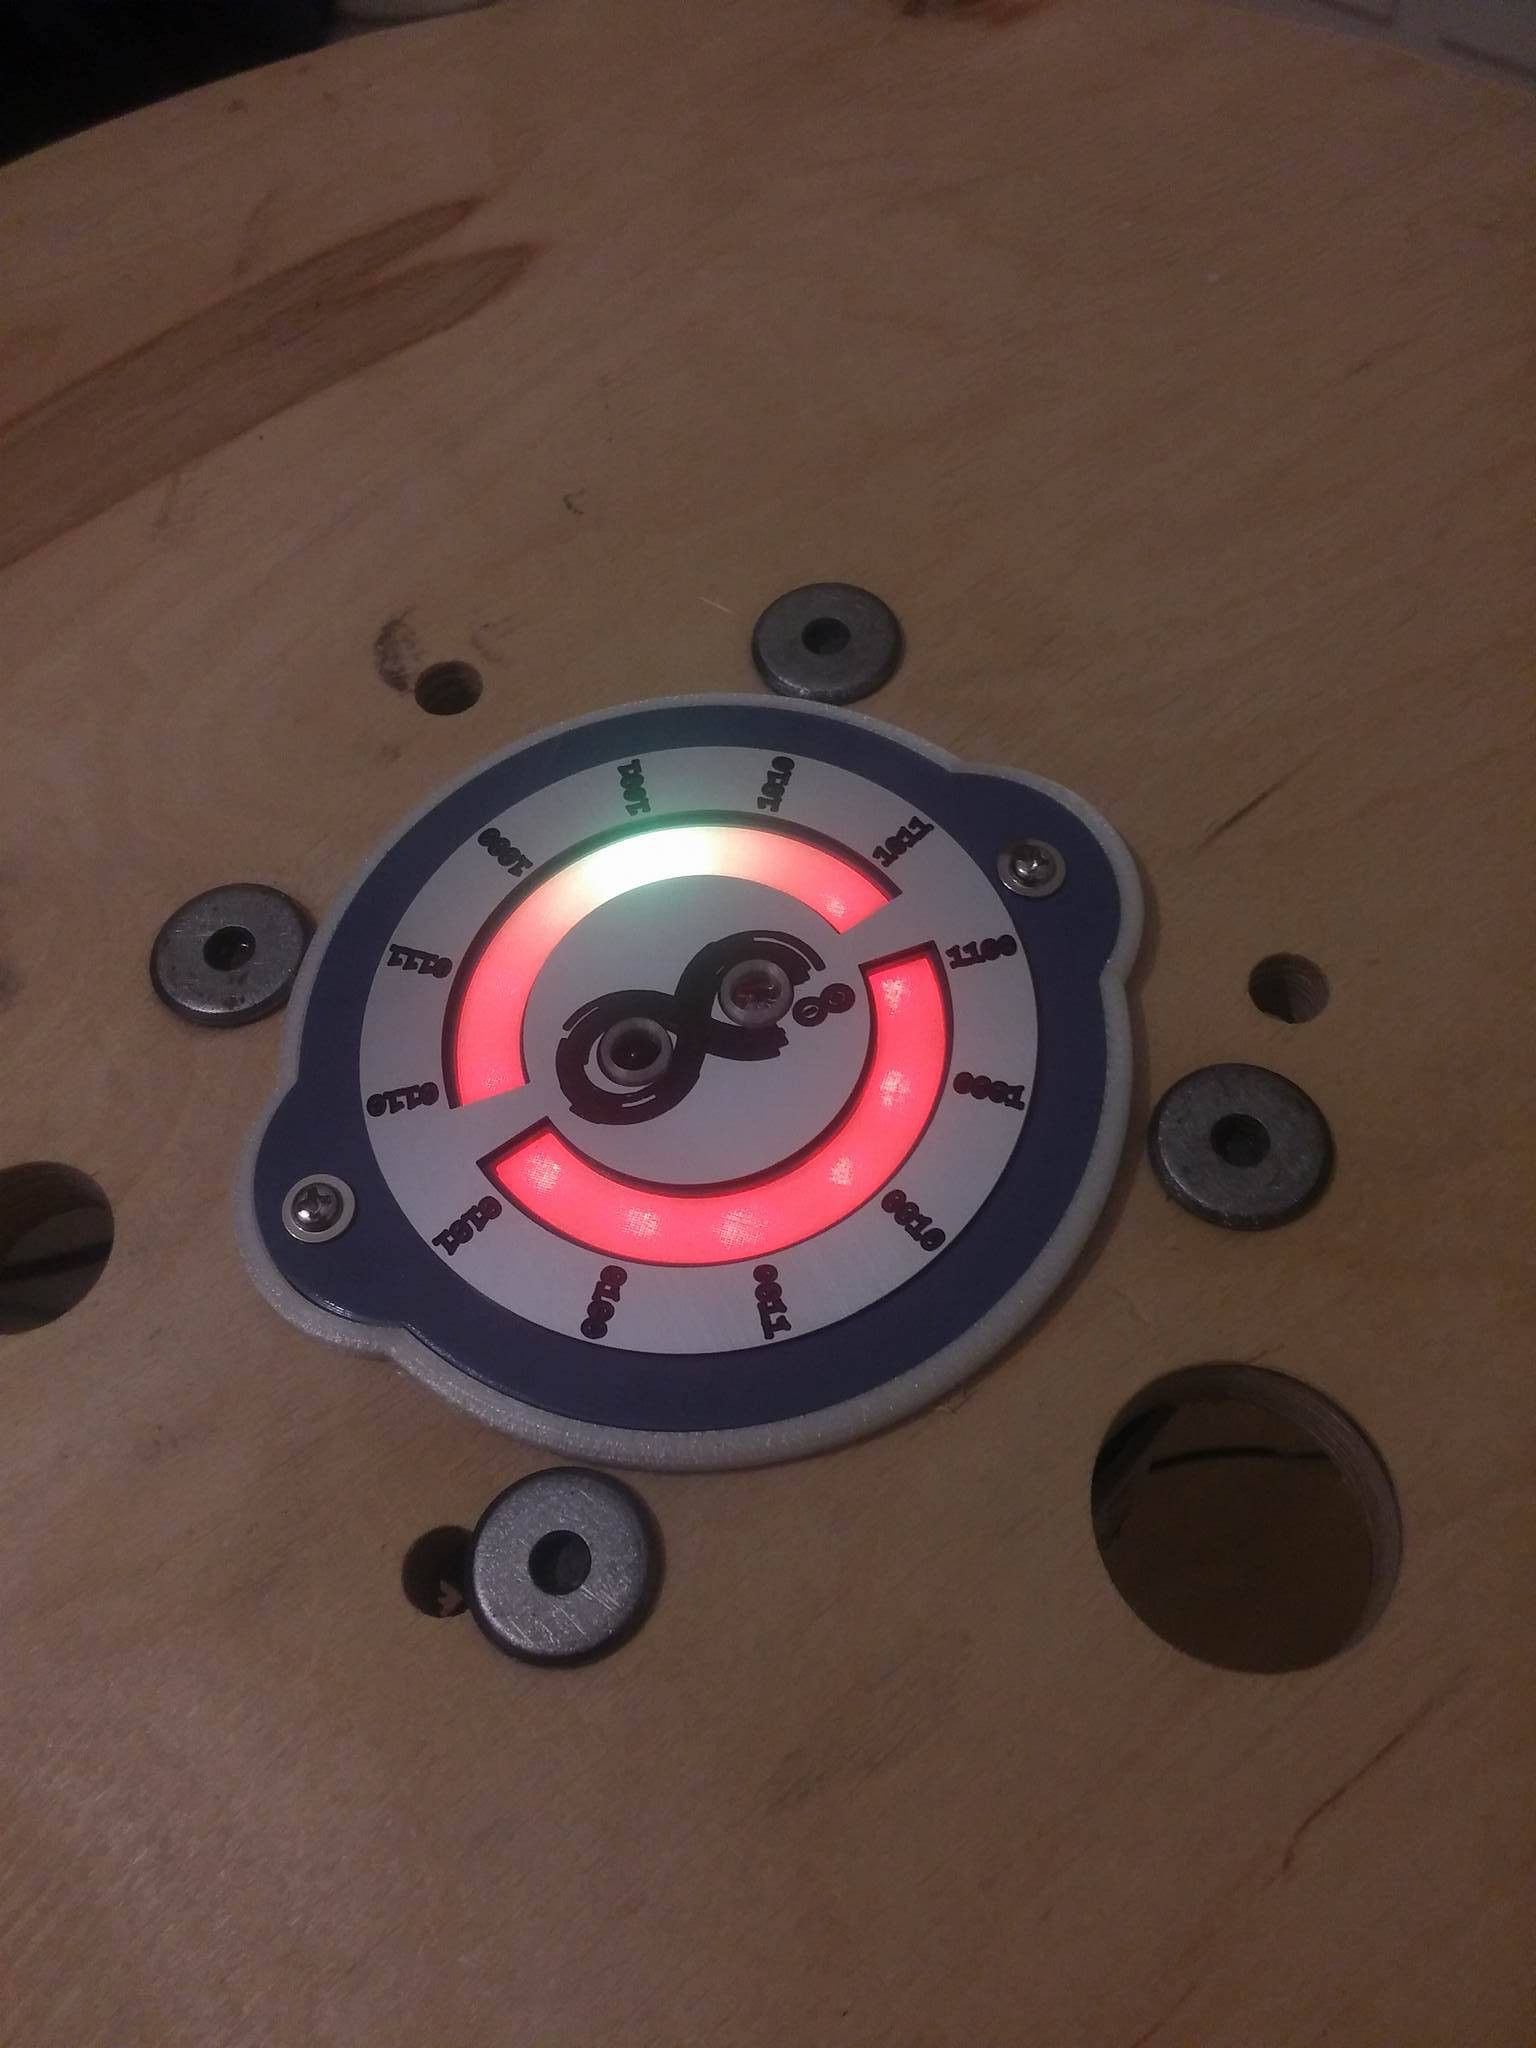
In the beginning I had no idea how to upgrade the cable drum but I had some WS2812B-LEDs laying around. So it was clear that it has to blink or at least do some colour fades. And why not build a small pixel-circle to show information like the time or something else. So i began to designe a round pcb for the adressable LEDs that would fit in the hole of the drum. The result was a pretty easy to solder pcb, which was milled on my OthermillPro.
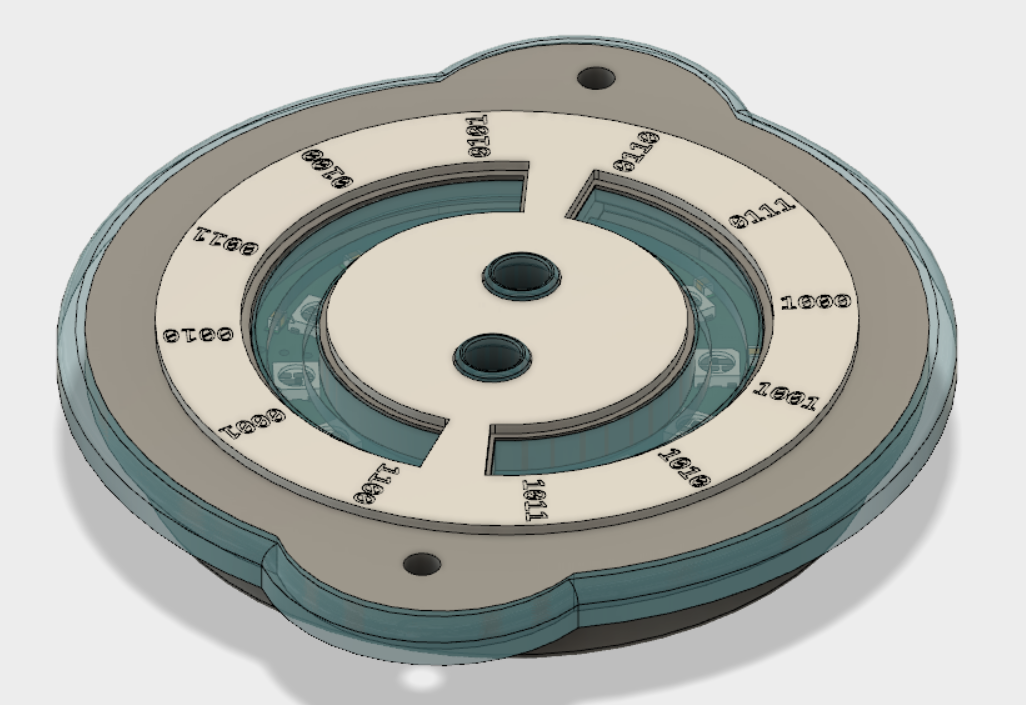
On this basis I started to designe a case for the whole "machine" in Fusion 360 and realized that the center of the case ( or the drum) would be the perfect place for a triggering system. Because I had a lot of IR-Leds and IR-recievers laying around, i decided to use them instead of a button for my project. And so the project began to grow and develop.
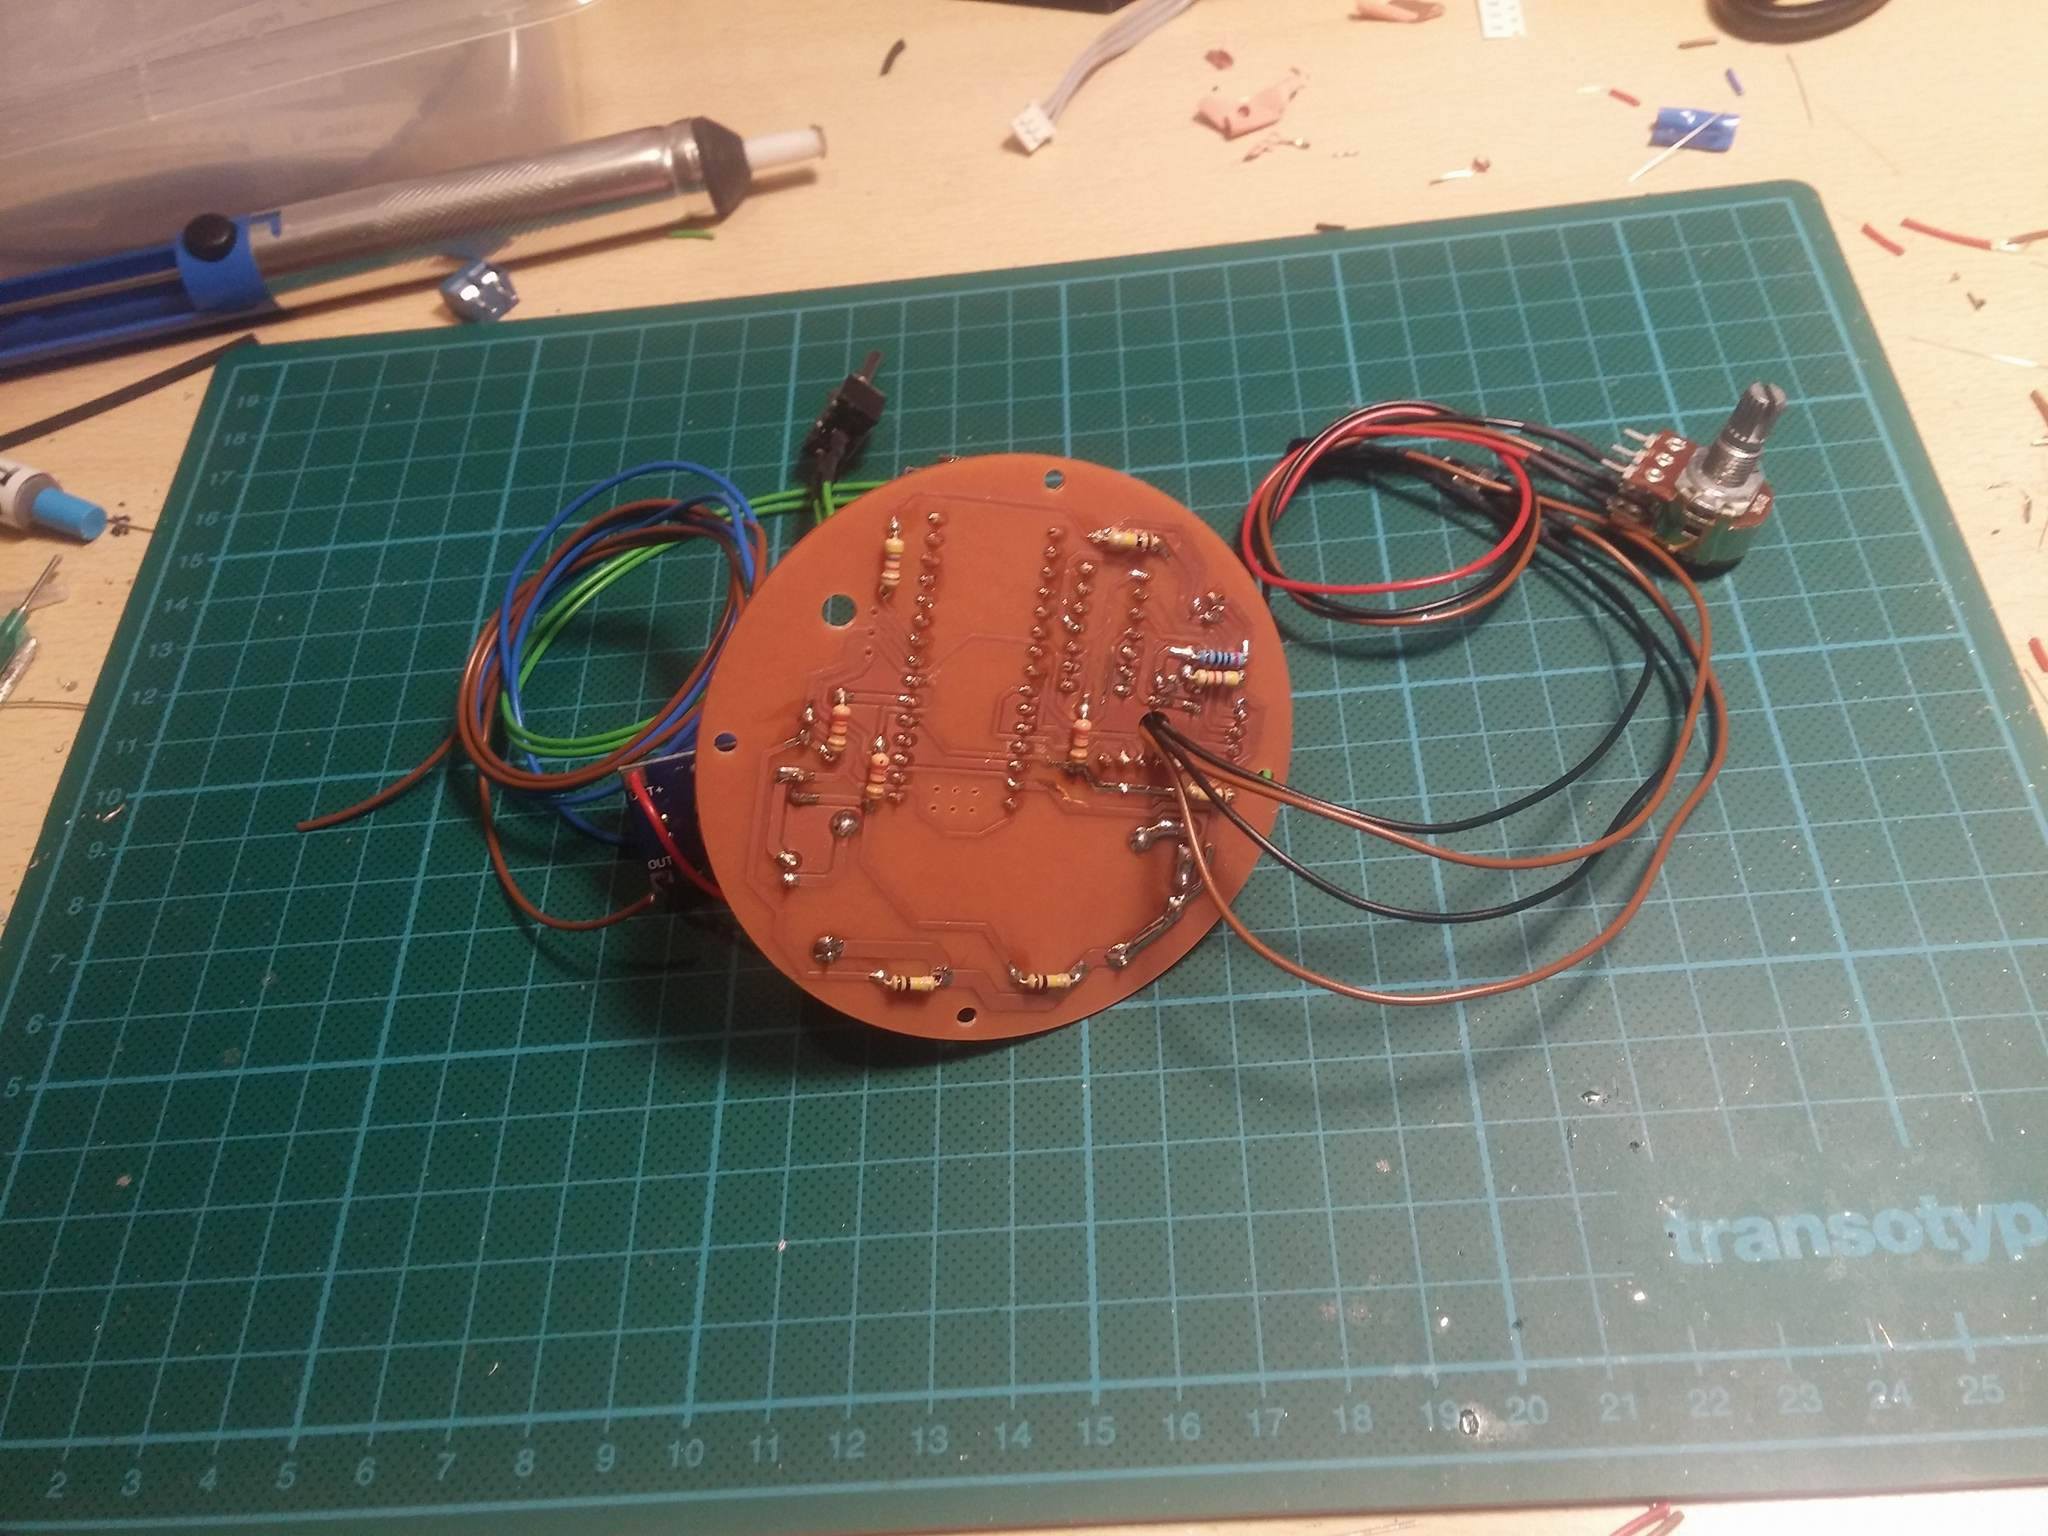
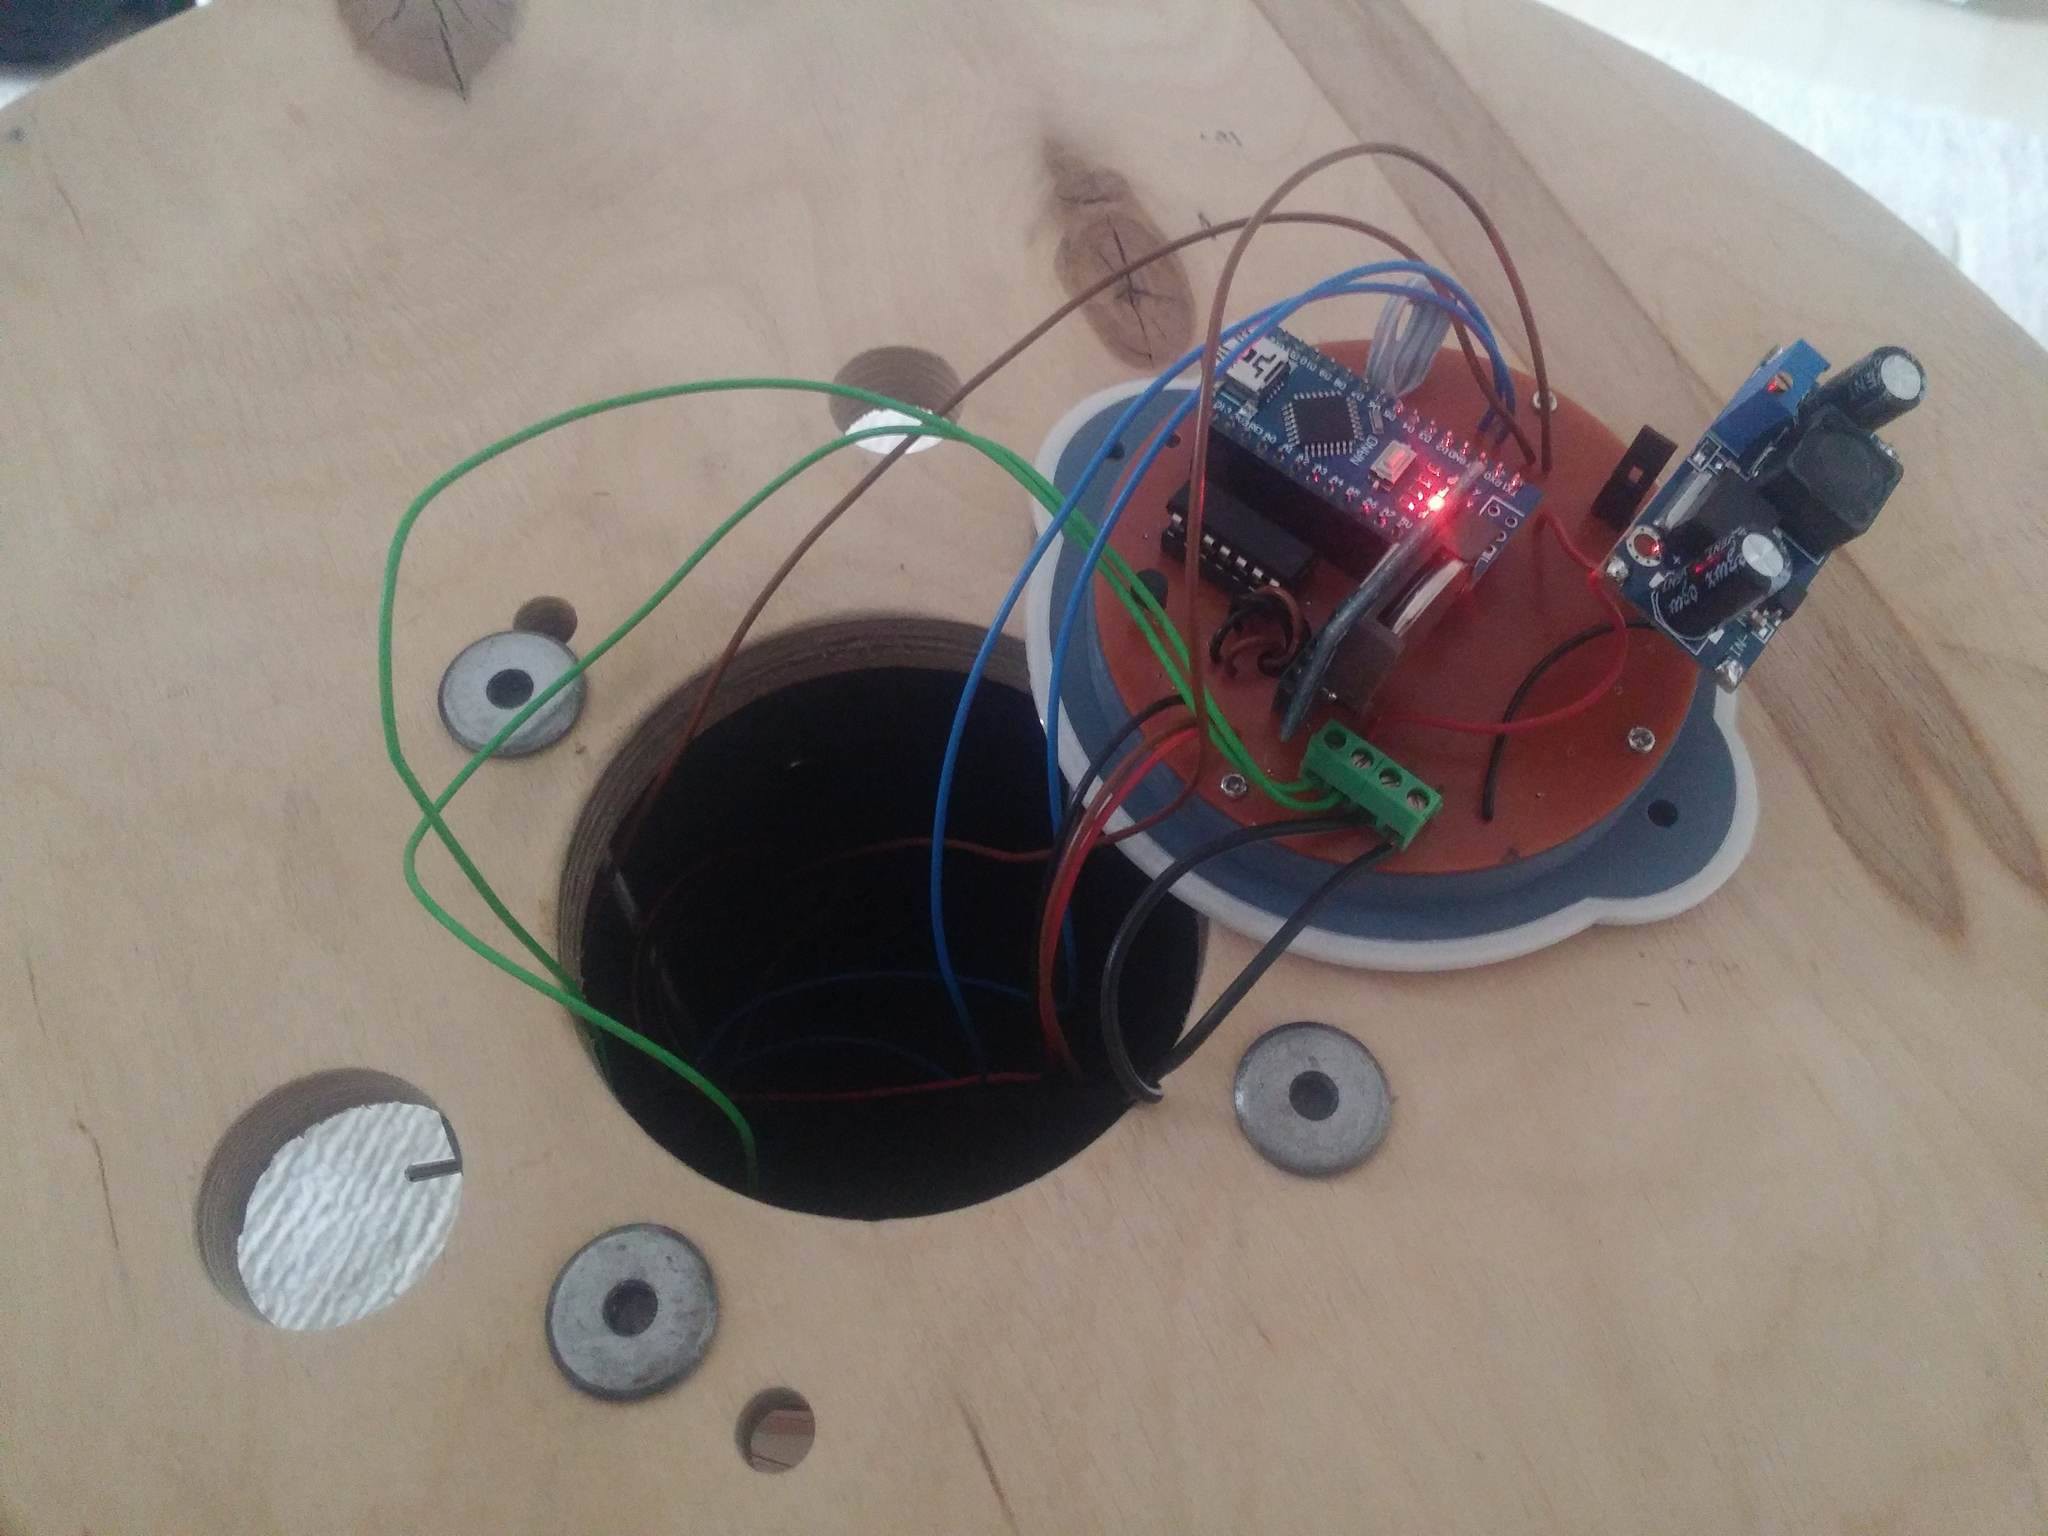
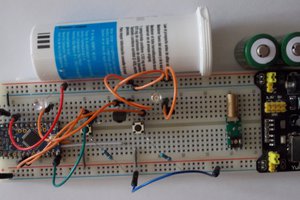
After having finished the bare designe of the case, I was able to start with the controller-pcb. The brain of my drum is an Arduino Nano (because I also had it laying around and doing nothing) and one of those RTC-breakoutboards with a batteryslot. Together with an opamp a few resistors, connectors, a transistor and a buck-converter it`s a all combined on a second pcb. Which in the end looked like this:
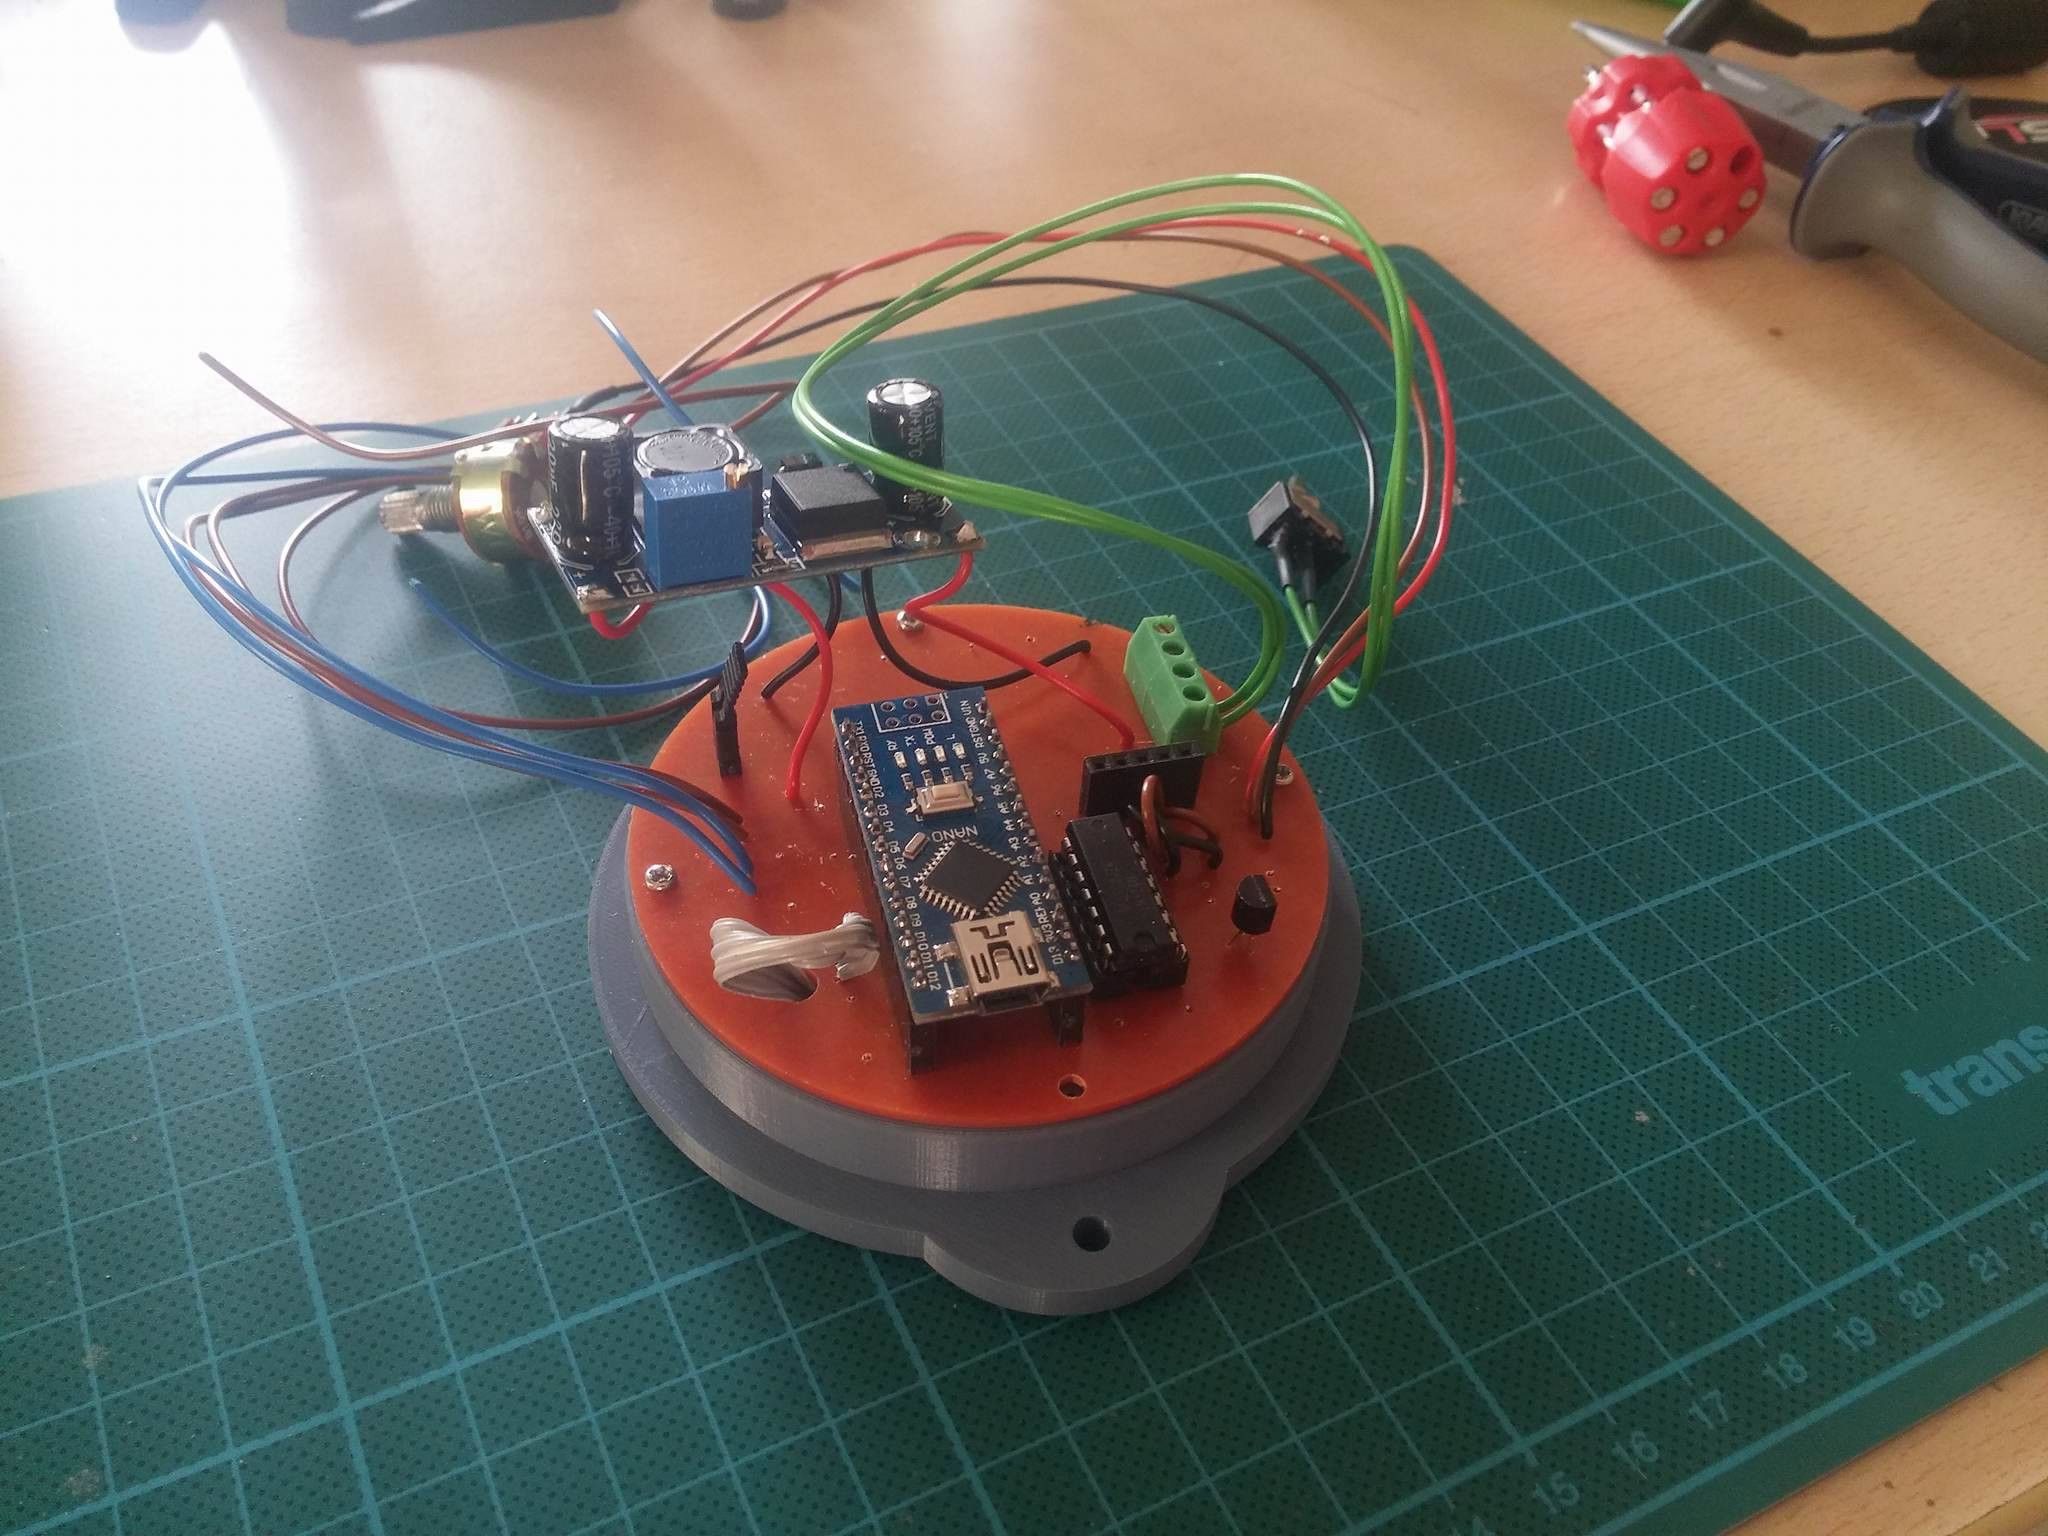
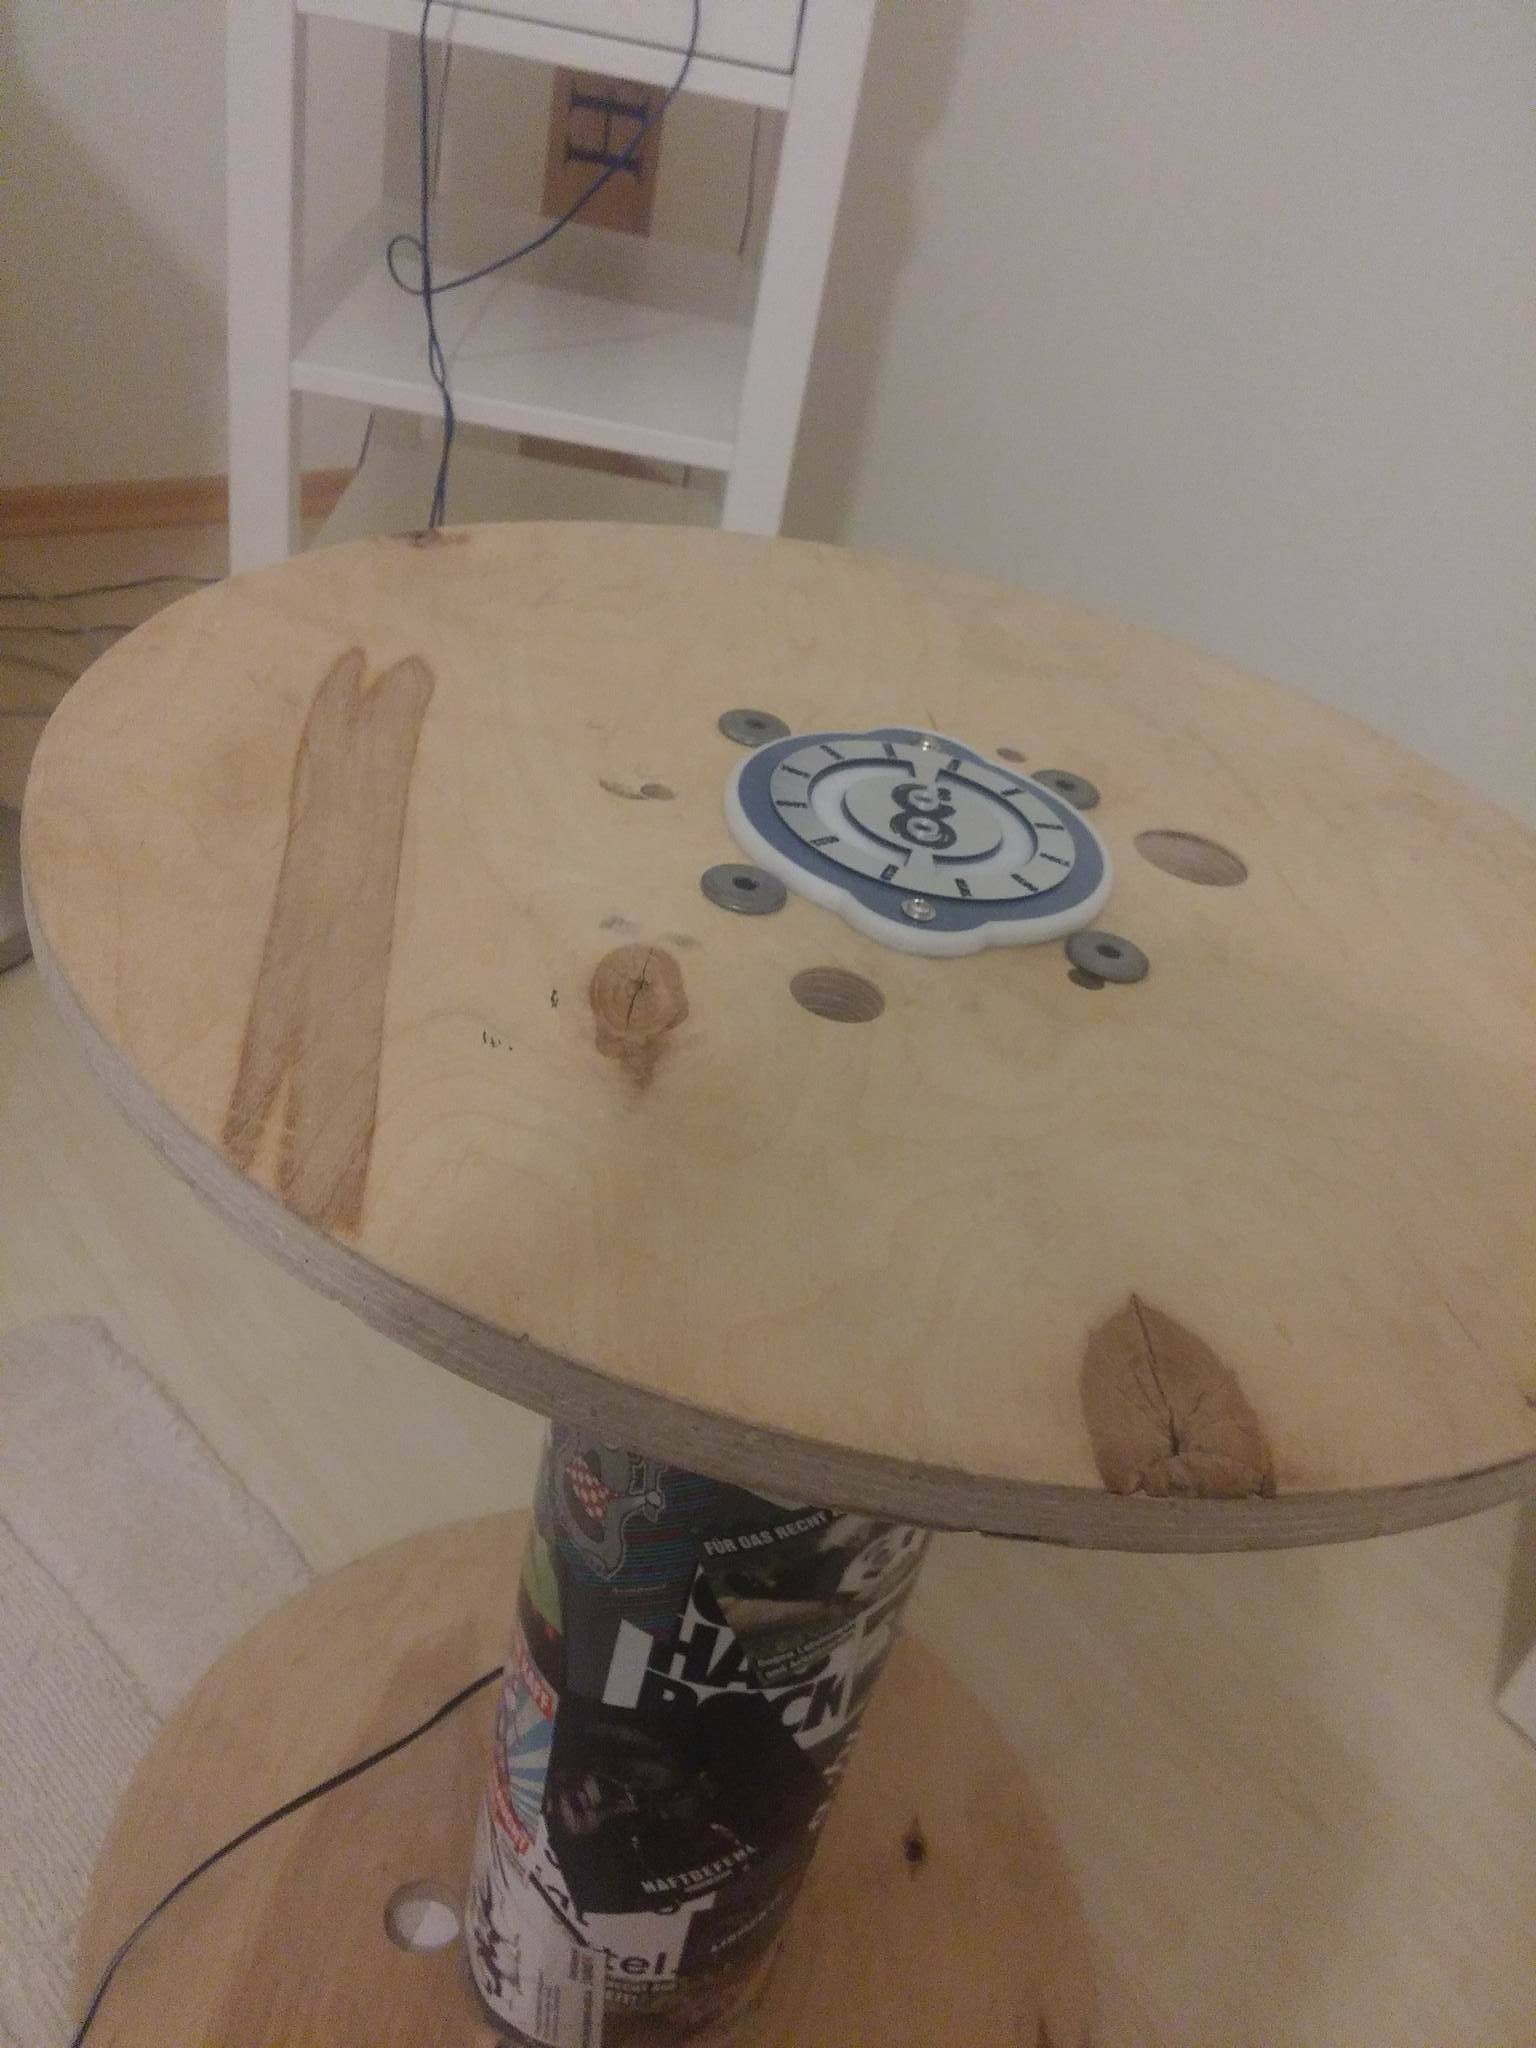
I printed every needed part, also some transparent components and put it together. Now some or some more lines of code had to be written. And above the clock-feature I also added a sunrise simulation feature, which, I think, can be really nice, especially in the cold months. The drum now has also a small menu where you can set the time of the brightness clock.
I drilled some holes into the side face of the cable drum, where later my power-switch, the switch for the brightness alarm, the adjustment-potentiometer and a menu button get positioned and assembled everything in a nice way.
To get the look a perfect finish I milled a cover for it and sticked it on top of the case.
I hope you like this small project!!! I definitely had fun building it!! :)
Tell me, in case you need some files or the code of my project!!:)
Have a nice day!! :D

 Astu
Astu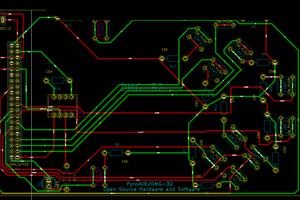
 Andy
Andy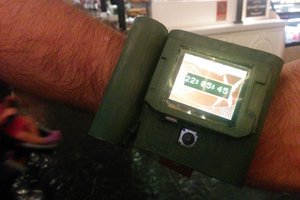
 Christian
 Mattia Dal Ben
Great looking project! Blinkies are always worthwhile!