 vivek gupta
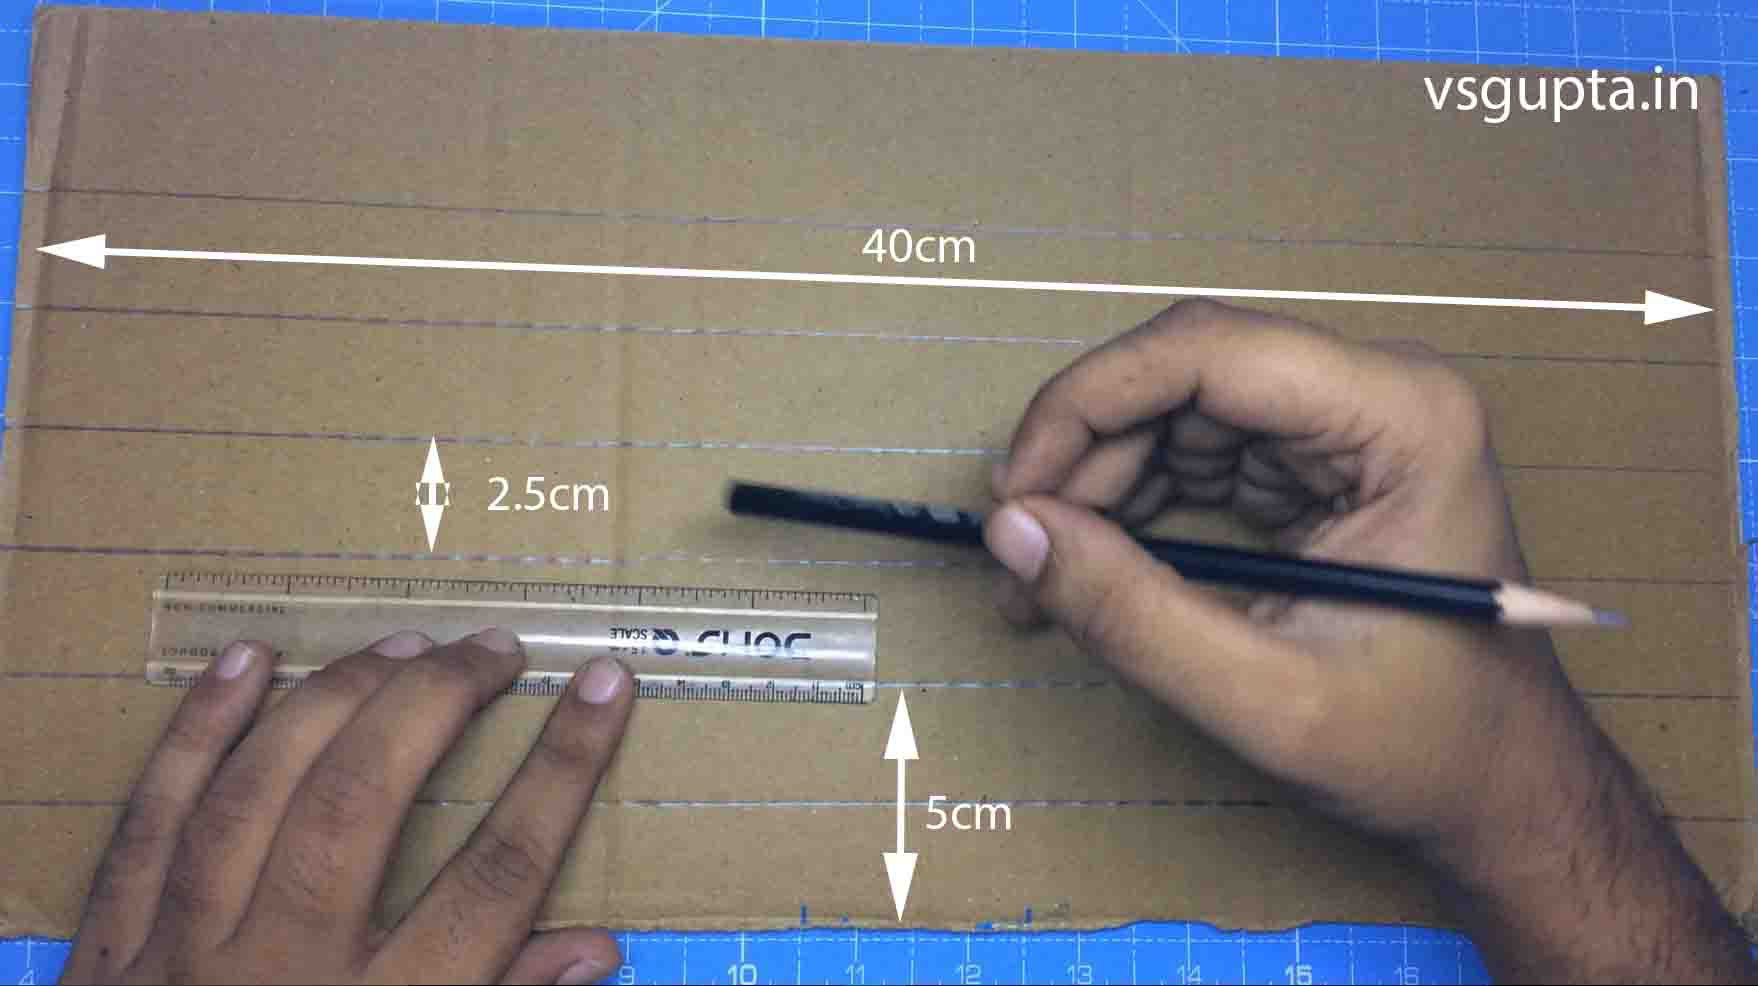
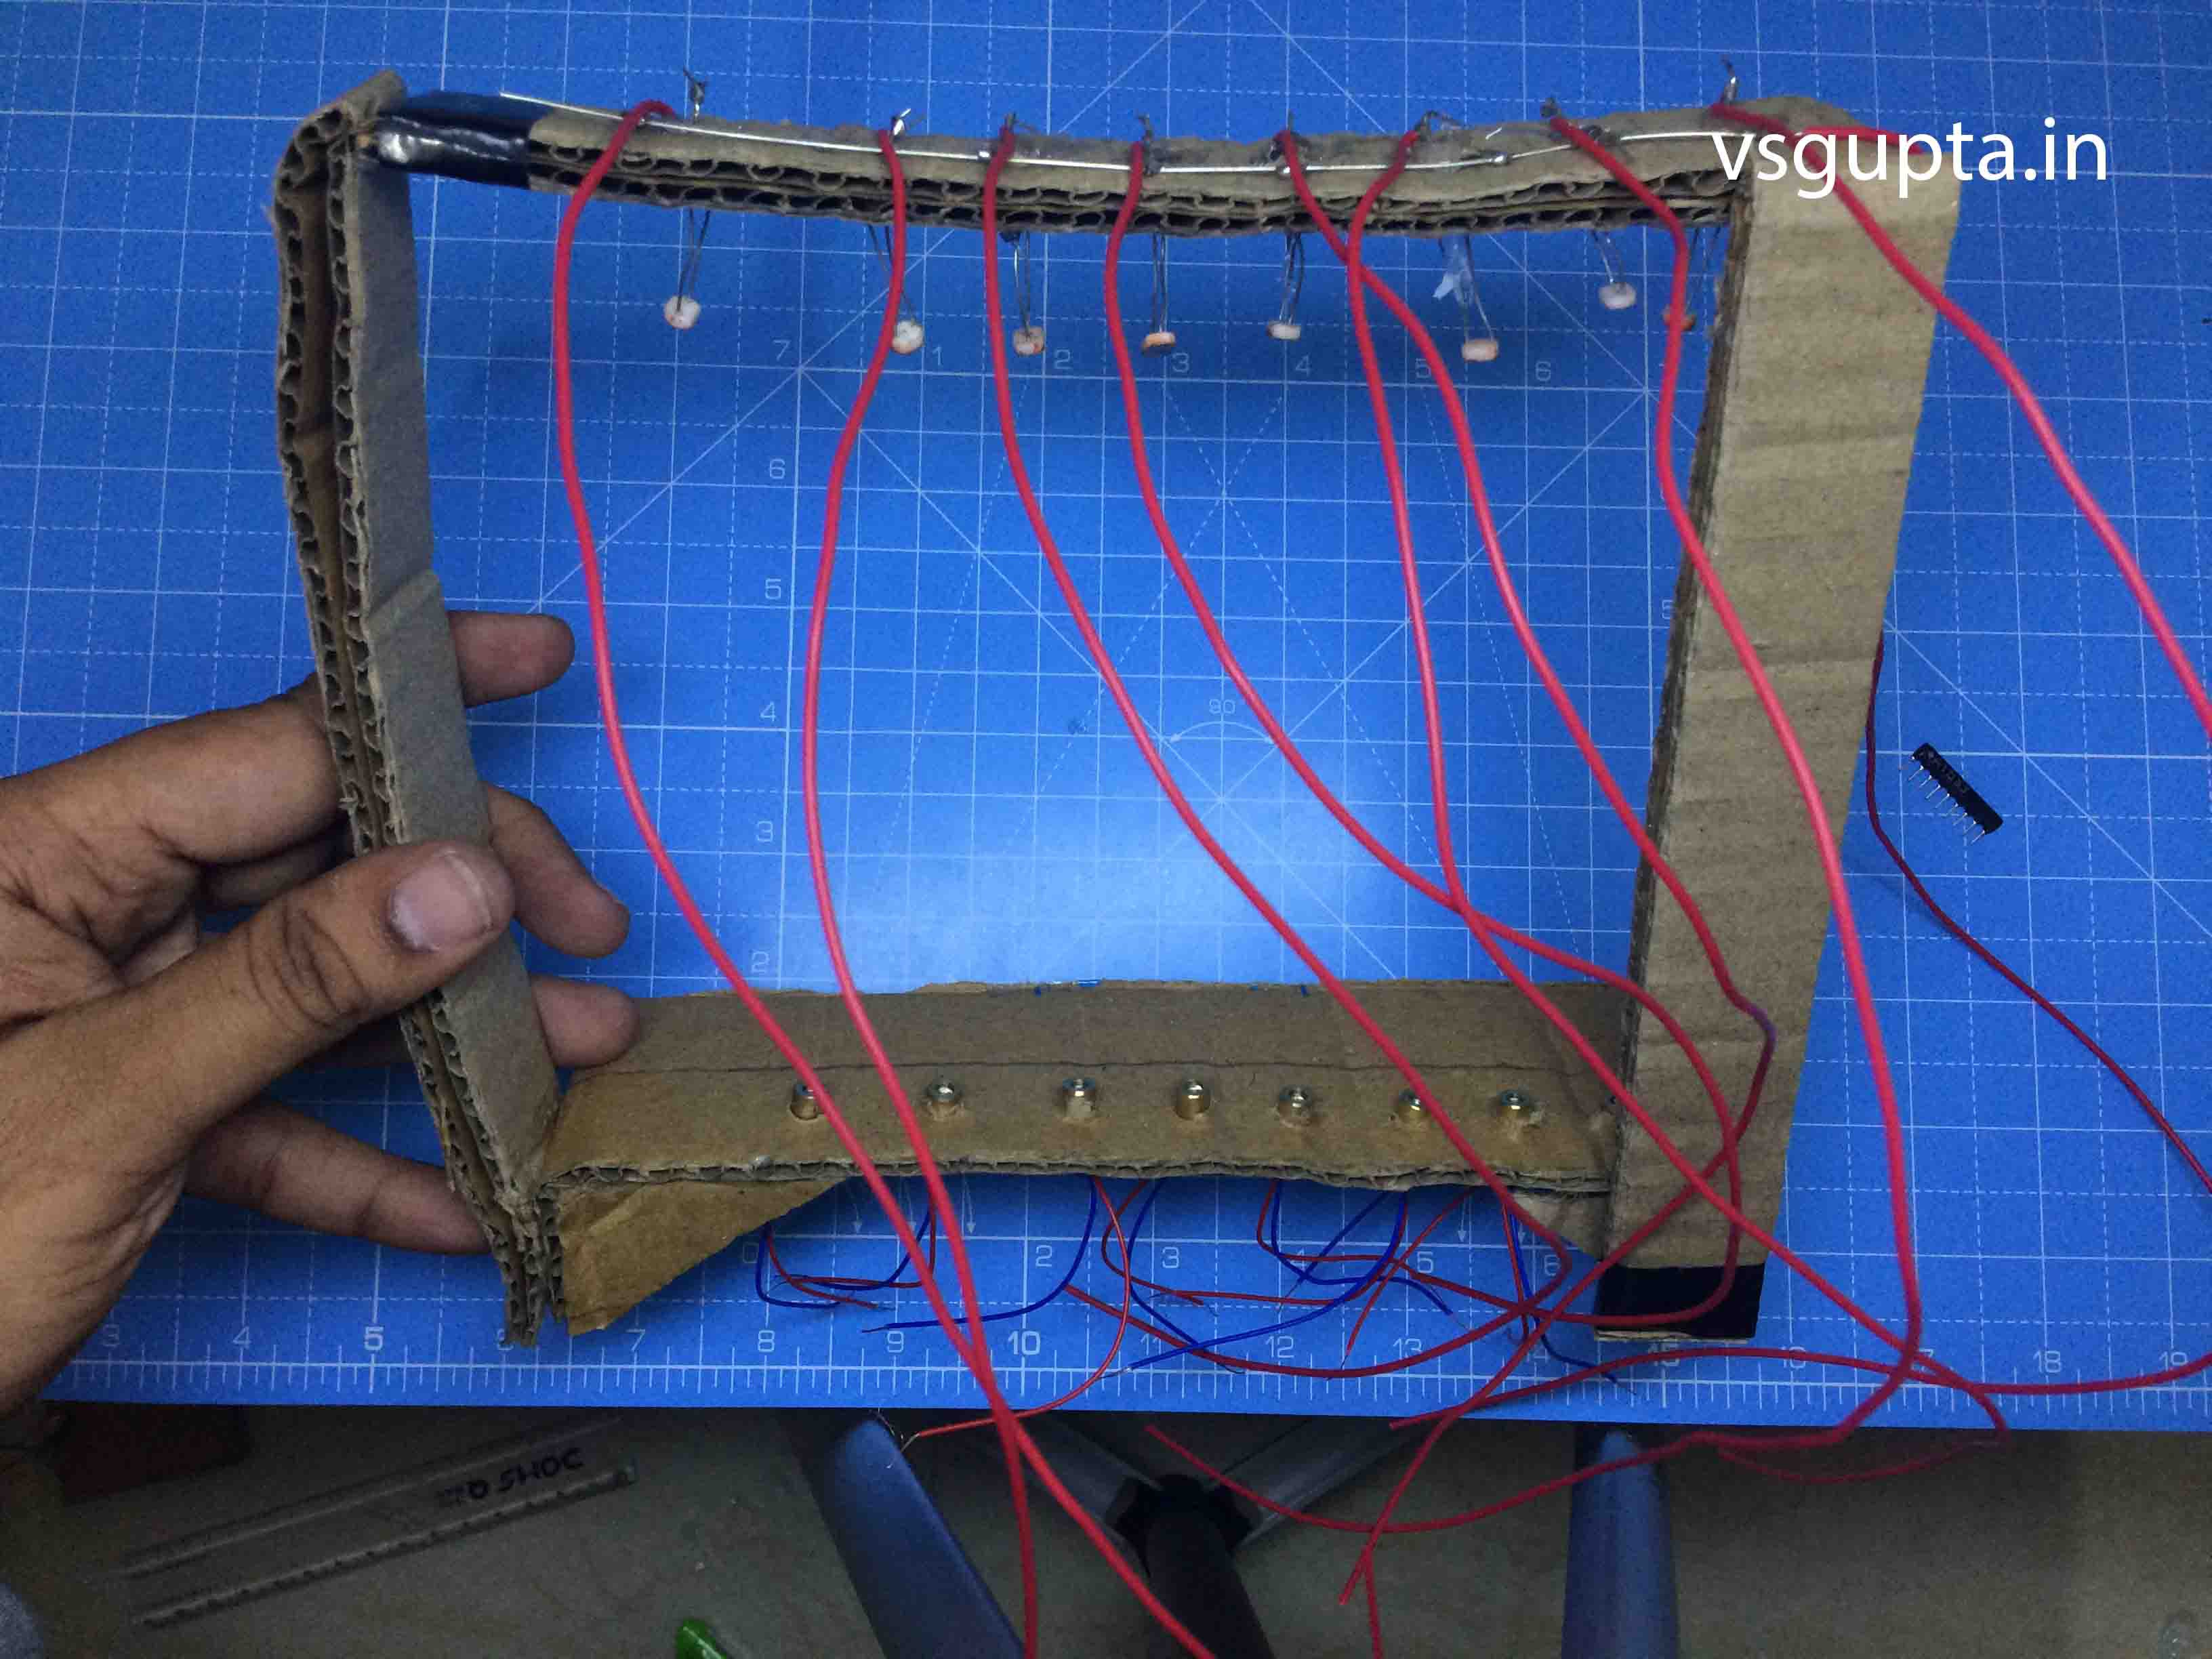
I built a laser piano using LDRs and laser light diodes. I used an Arduino Leonardo Pro Micro connected to a speaker to generate sound. You can modify the tune of the piano by tweaking in the code and changing the frequency. I wanted to create something cool which can produce music and I ended up making this.
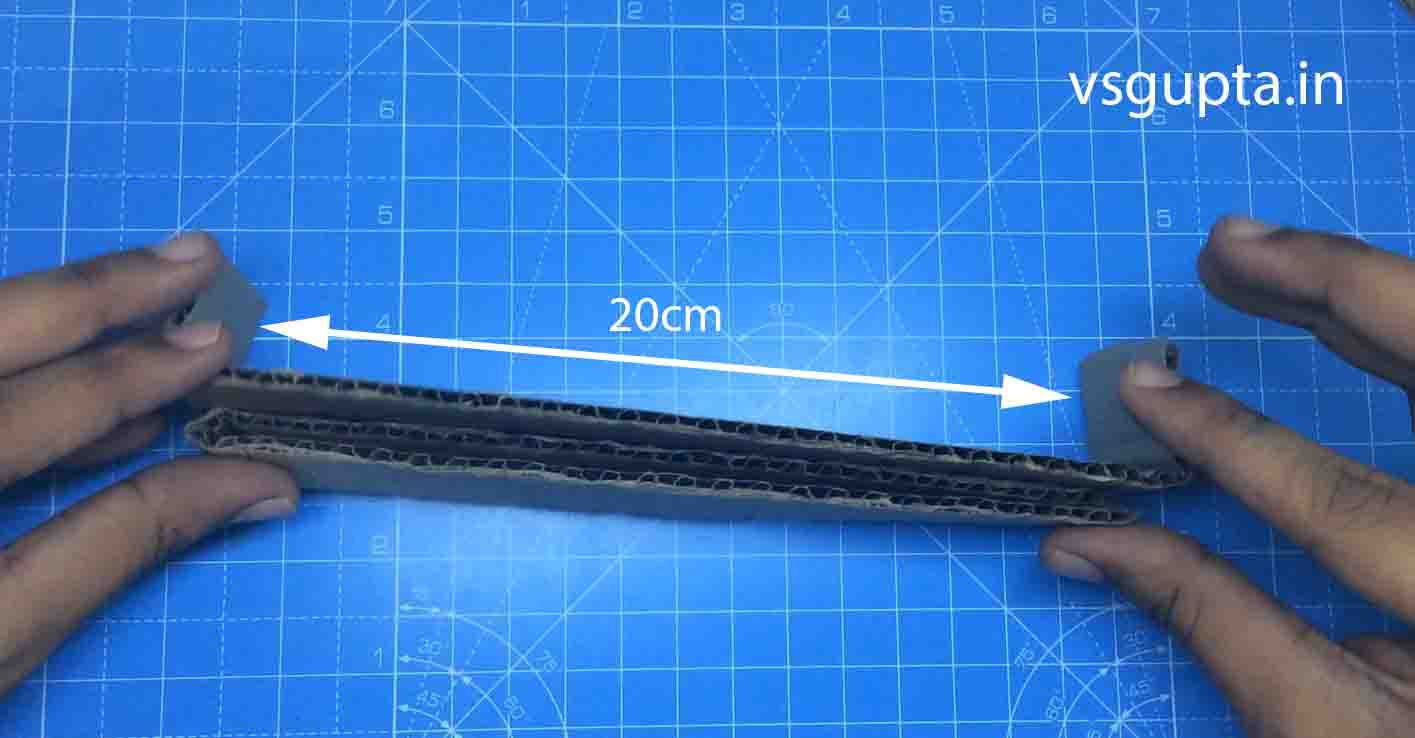
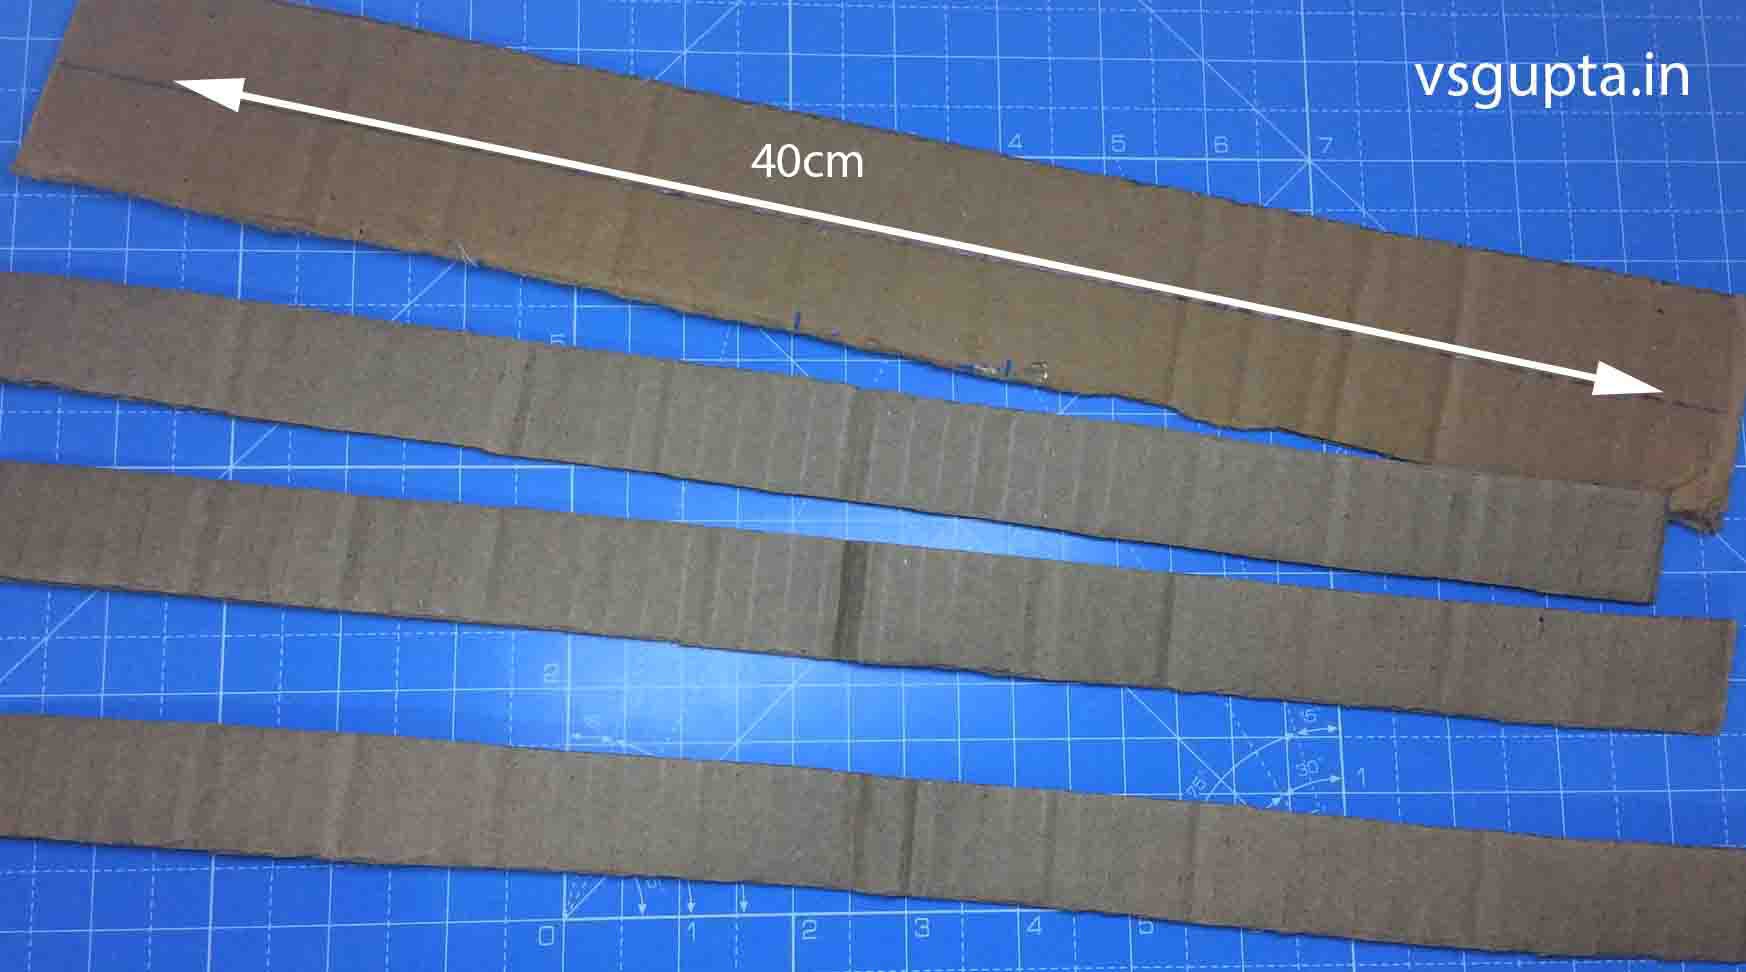
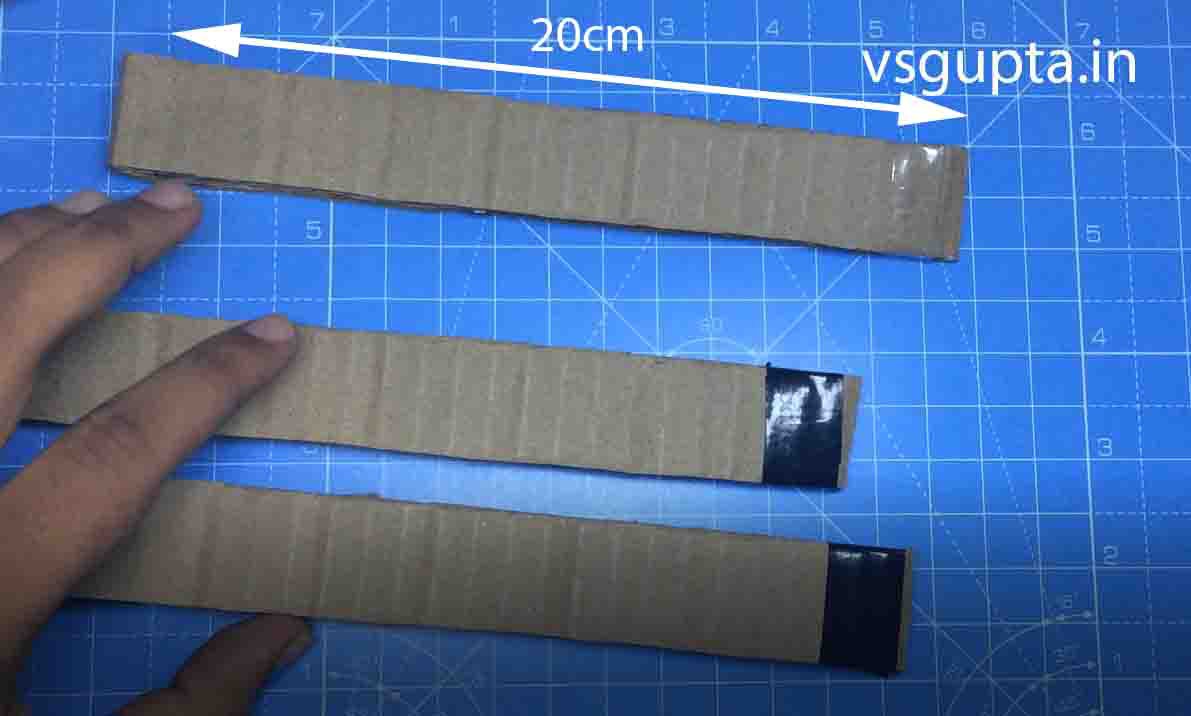
Instructions and code are given in the step. Enjoy.
I hope you like my tutorial on this laser piano. Subscribe to my YouTube channel for more tutorials like this.
My Social Profile Links:


 Nicholas Stedman
 Tricia McLaughlin
 Ben Wiener
 robives