 Christian Walther
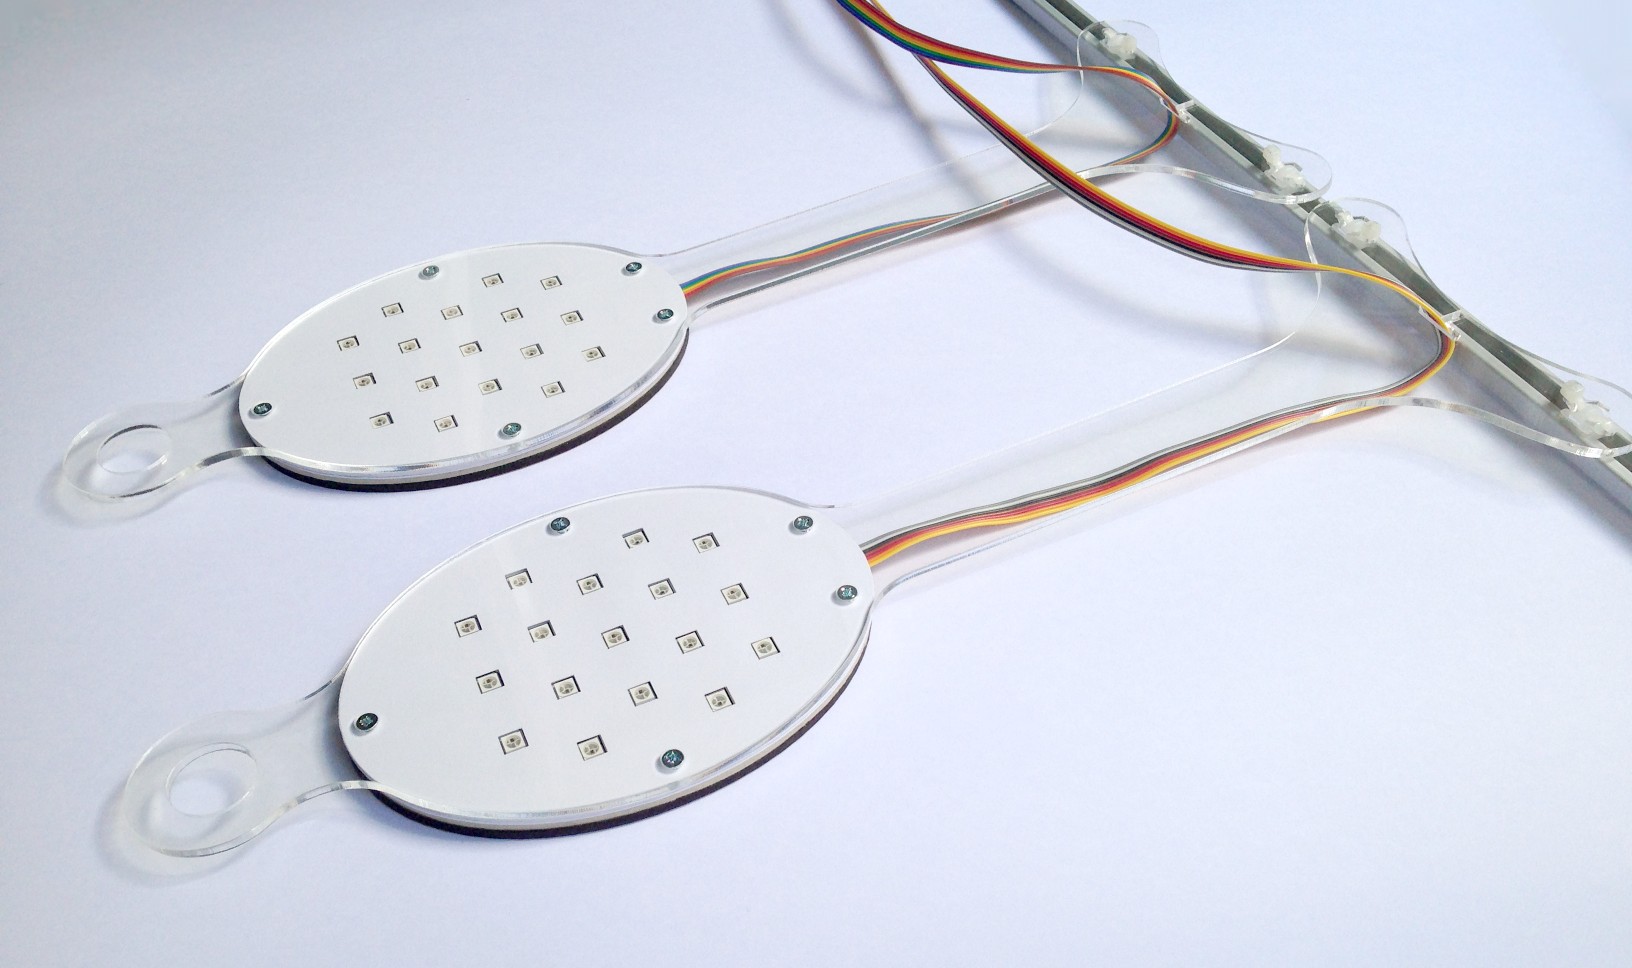
This is one of the two LED lights as it was made in December: NeoPixel strips (left over from my LED panel project) mounted on gray cardboard. Power and signal is delivered over a ribbon cable where 3 wires each are connected in parallel for the power lines, empirically determined for an acceptable voltage drop at maximum current. Some of the red and blue power wires between the strips are redundant in order to get a more even voltage distribution under load, however I did not measure whether that was actually needed.
- It reads two potentiometers on the control panel and drives the LED lights, smoothly fading from black to red to green to black to white as the knob is turned. Because the NeoPixels are individually addressable, I could also display patterns, but I don’t do that at the moment.
- It reads the trigger button (a 60 mm white illuminated arcade button) and tells the image processing software when it is pressed.
- It controls the illumination of the trigger button, switching between three different patterns as told by the image processing software: Steady light while the camera is continuously capturing, pulsing when the trigger was pushed, the image is frozen and the line drawing is being generated, and blinking when generation is finished.
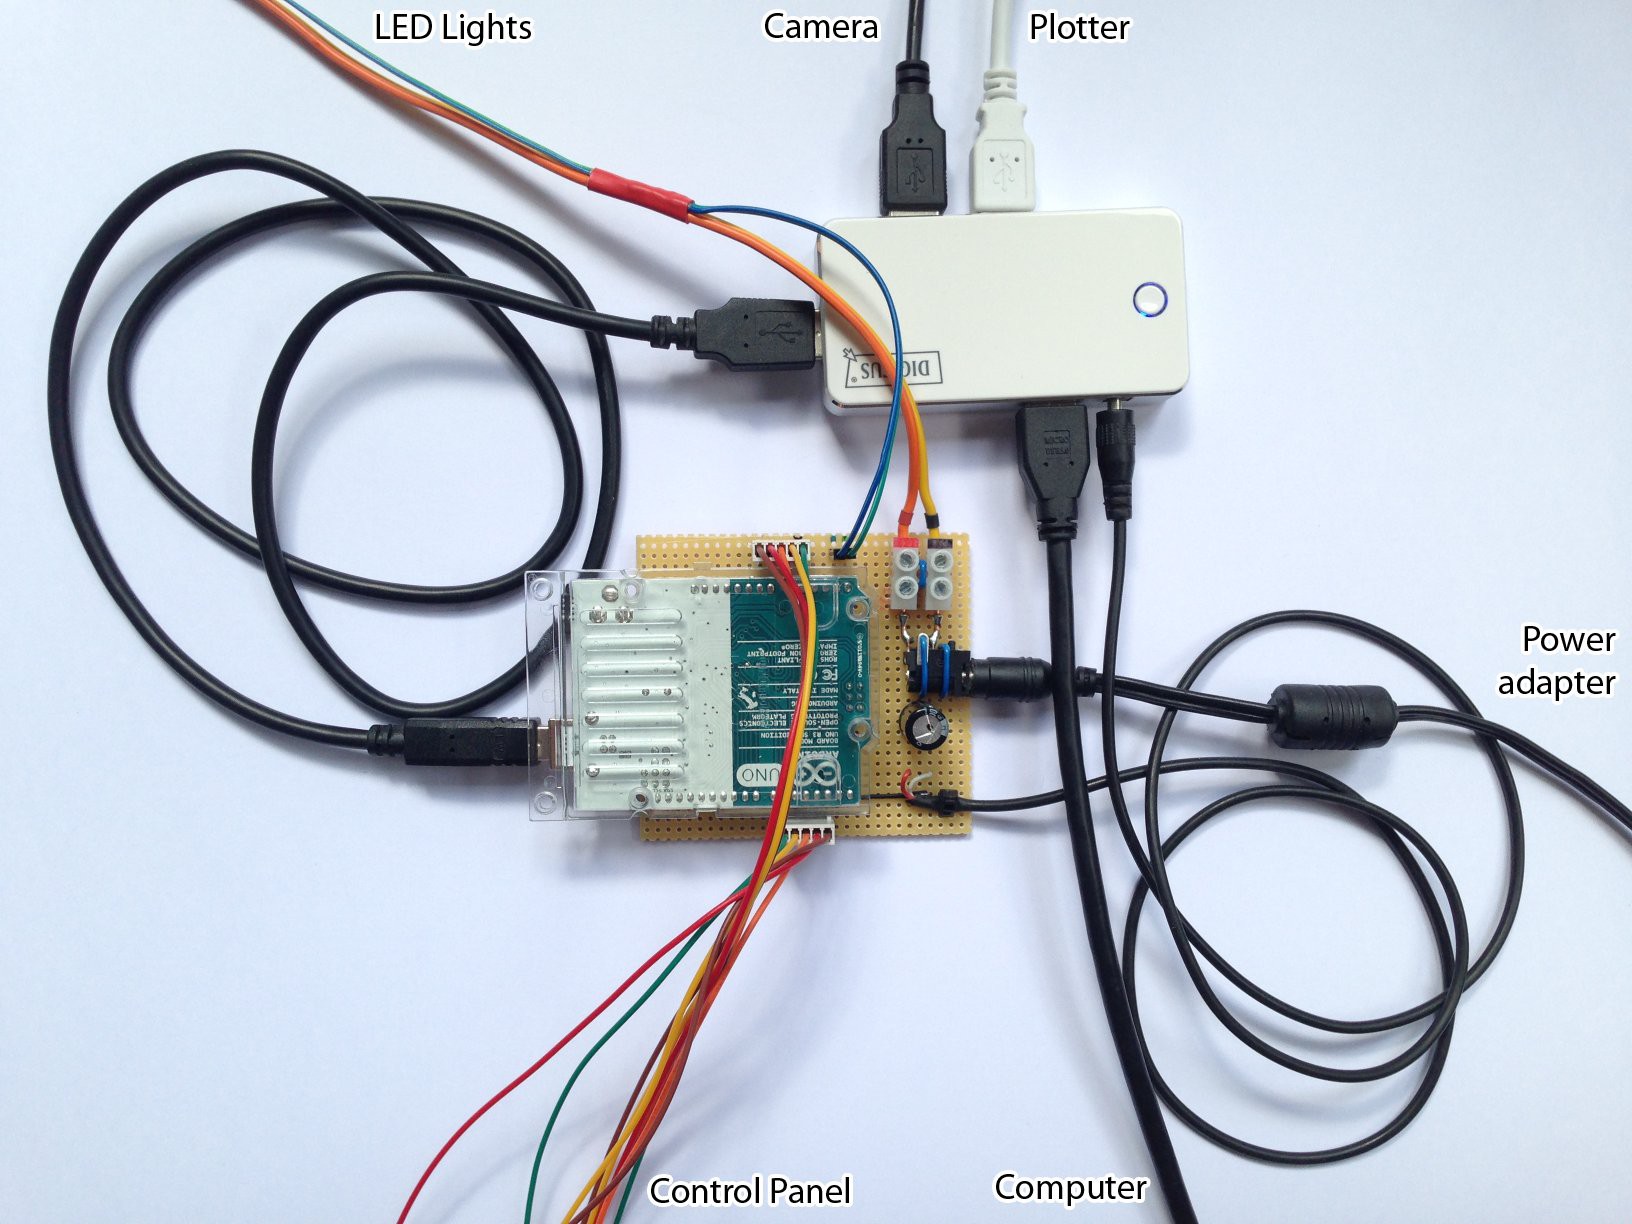
There are conflicting opinions on whether it is safe to power an Arduino Uno through its 5V pin while it is also connected to a computer by USB, so what I did was instead power it by USB from a powered USB hub, which in turn is powered from the 5V power adapter that also powers the LED lights. This way, the hub takes care of not feeding power back into the computer.
Now, for the final setup, I enclosed the LED lights in a sandwich of more cardboard and paper parts with cutouts for the internal components (cut on the Curio), an MDF back plate, and an acrylic front plate (lasercut). With the neck of the acrylic part, the lights are hung from a circular curtain rail that allows them to be moved 360° around the subject.
Discussions
Become a Hackaday.io Member
Create an account to leave a comment. Already have an account? Log In.