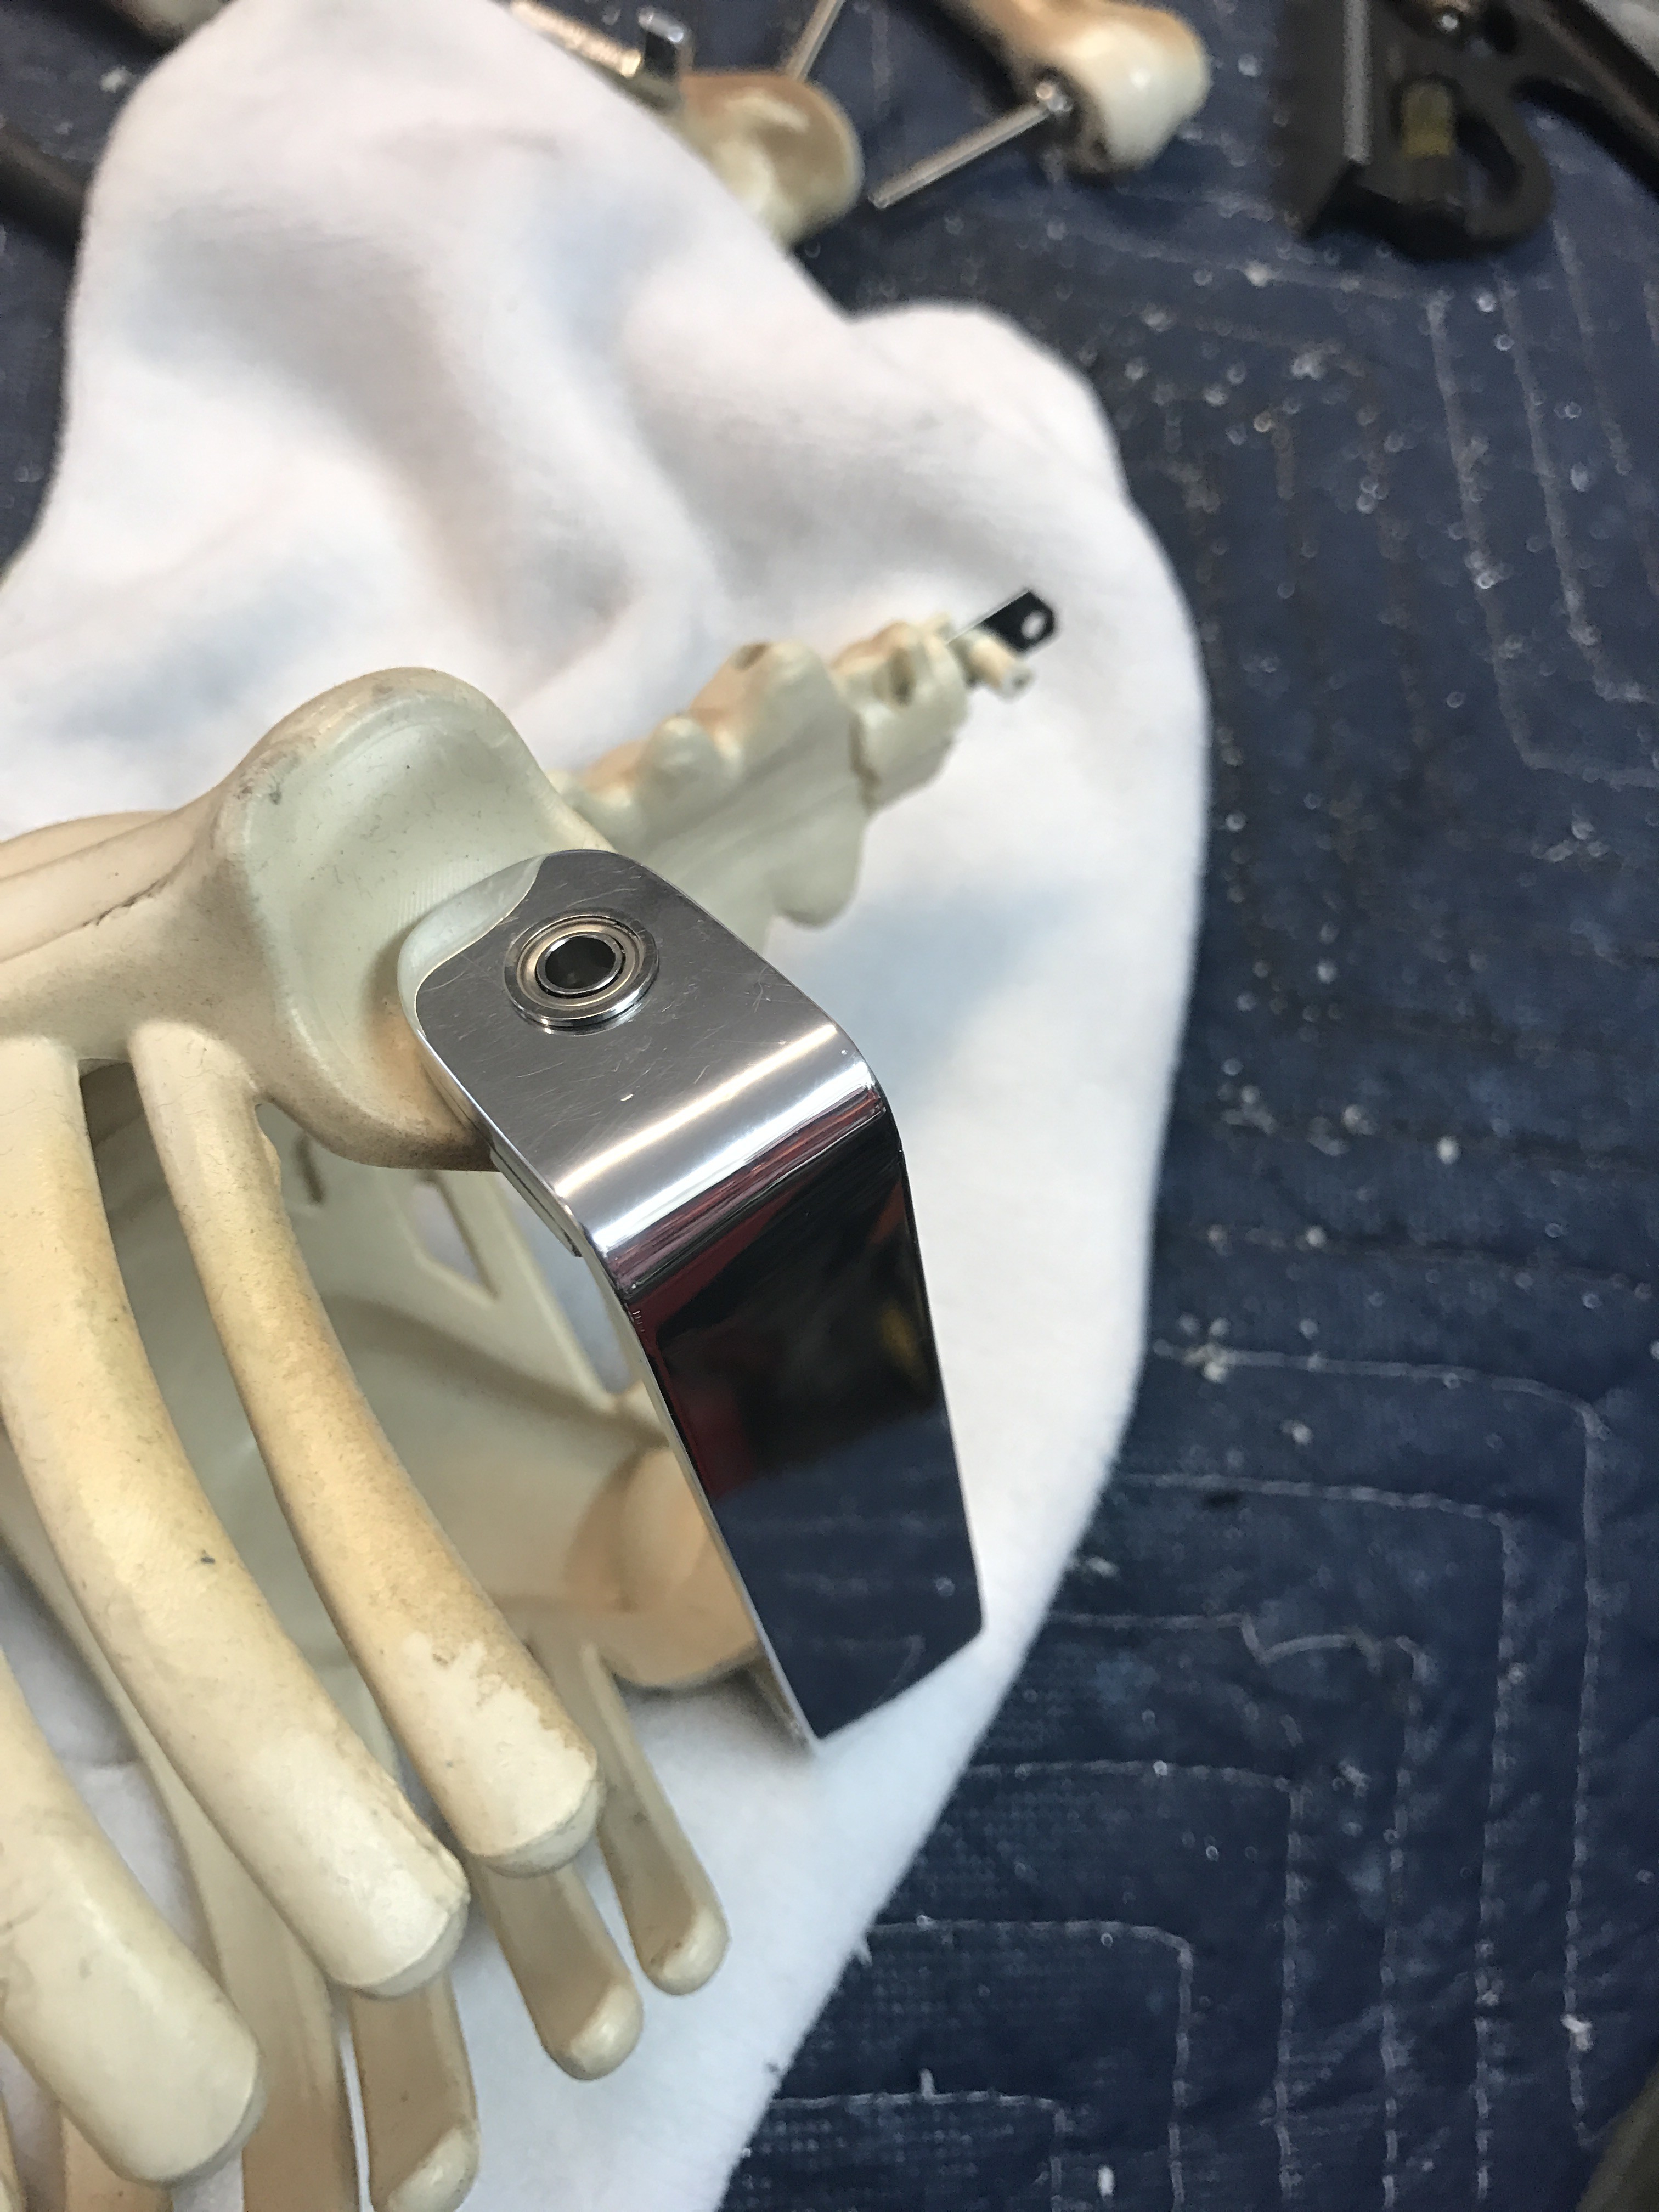
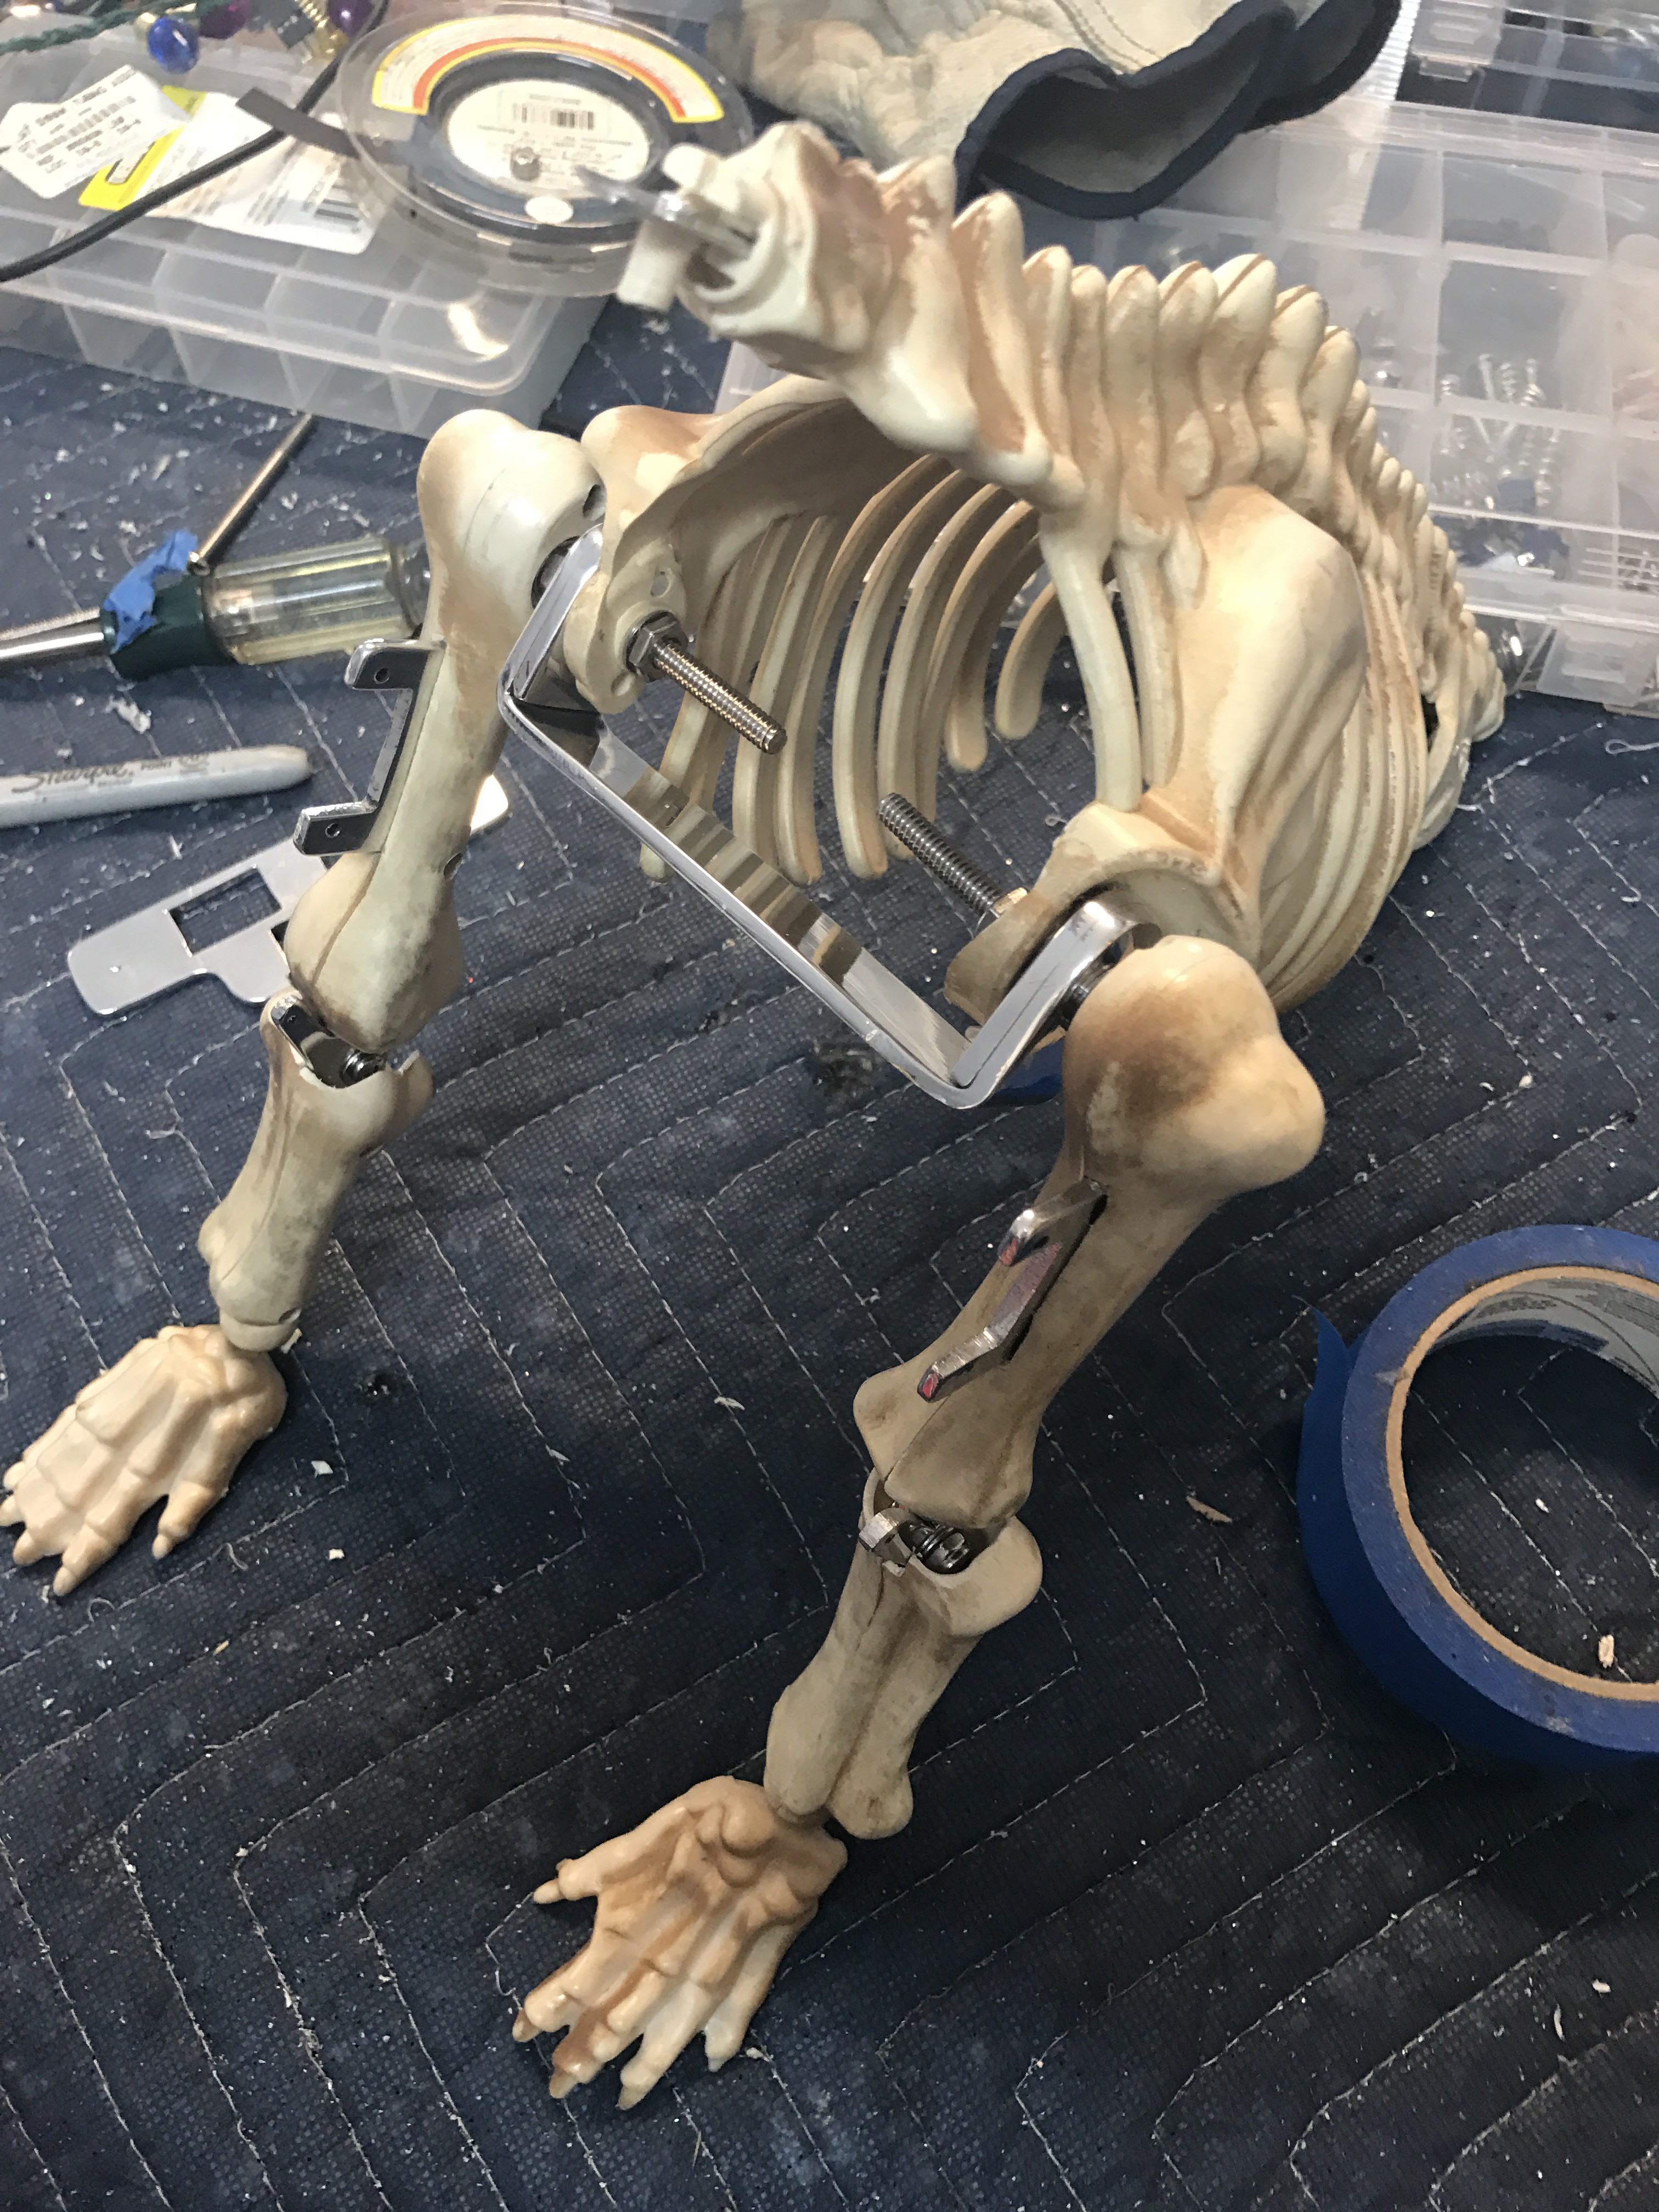
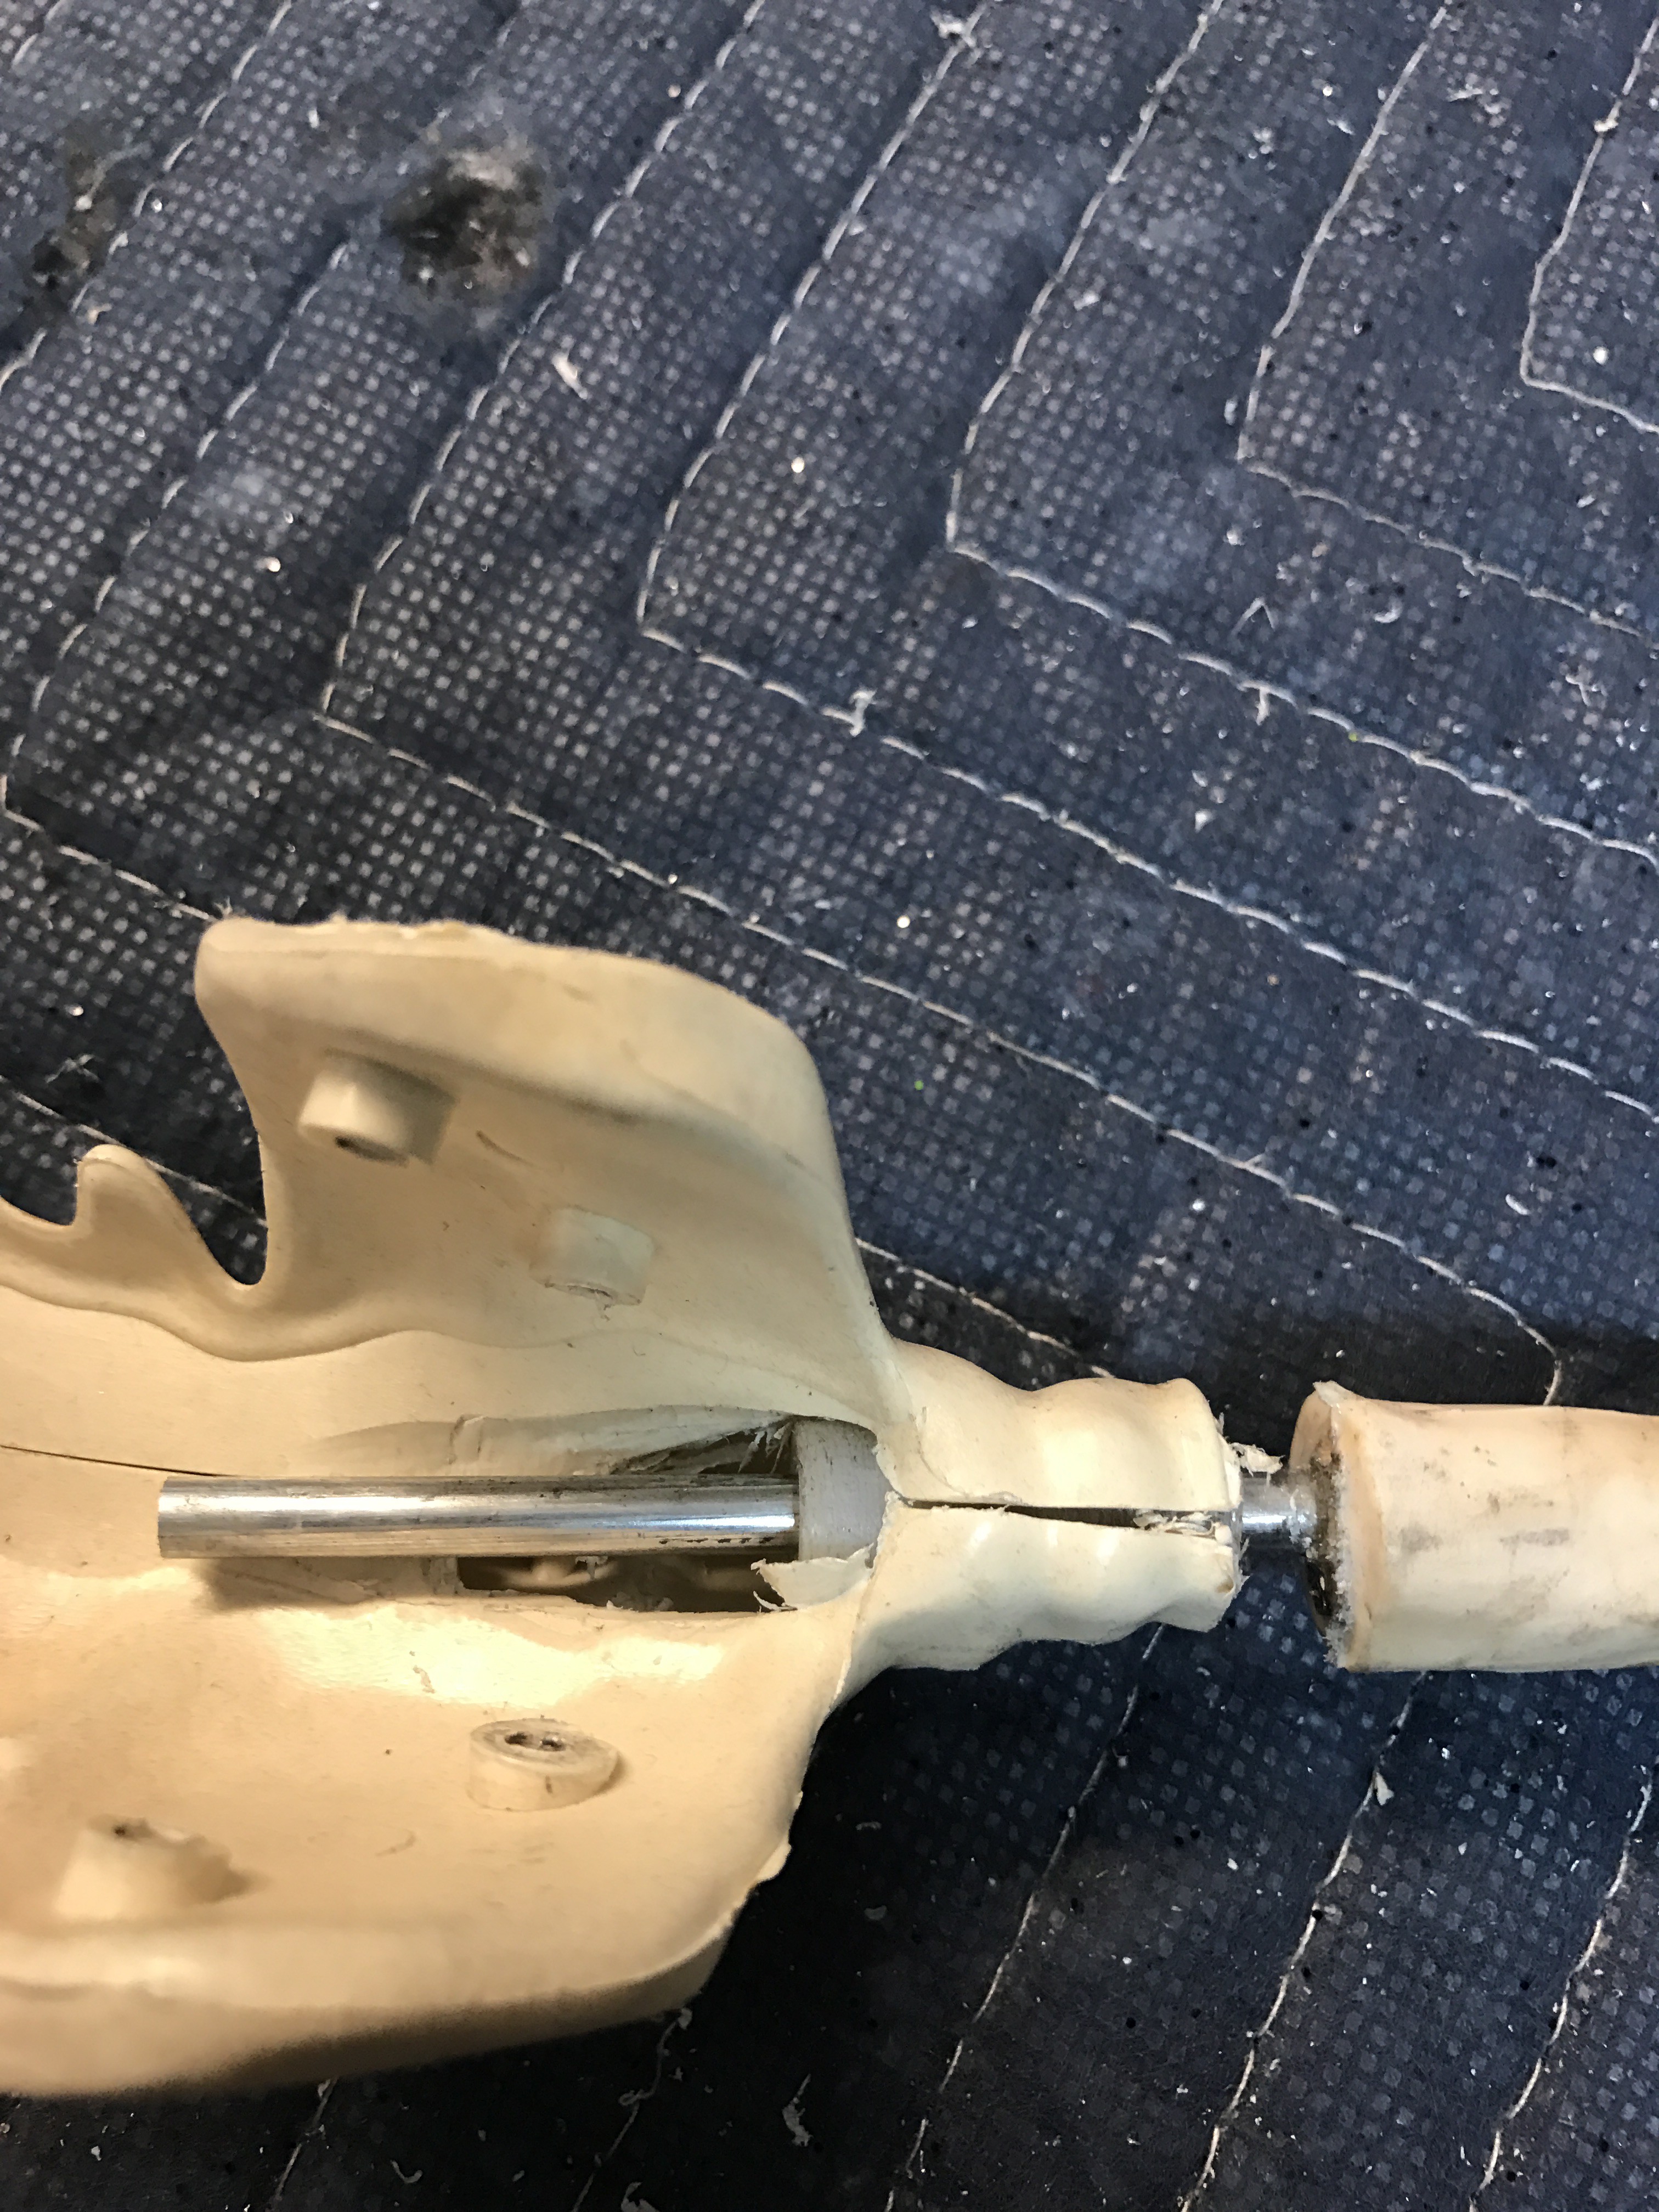
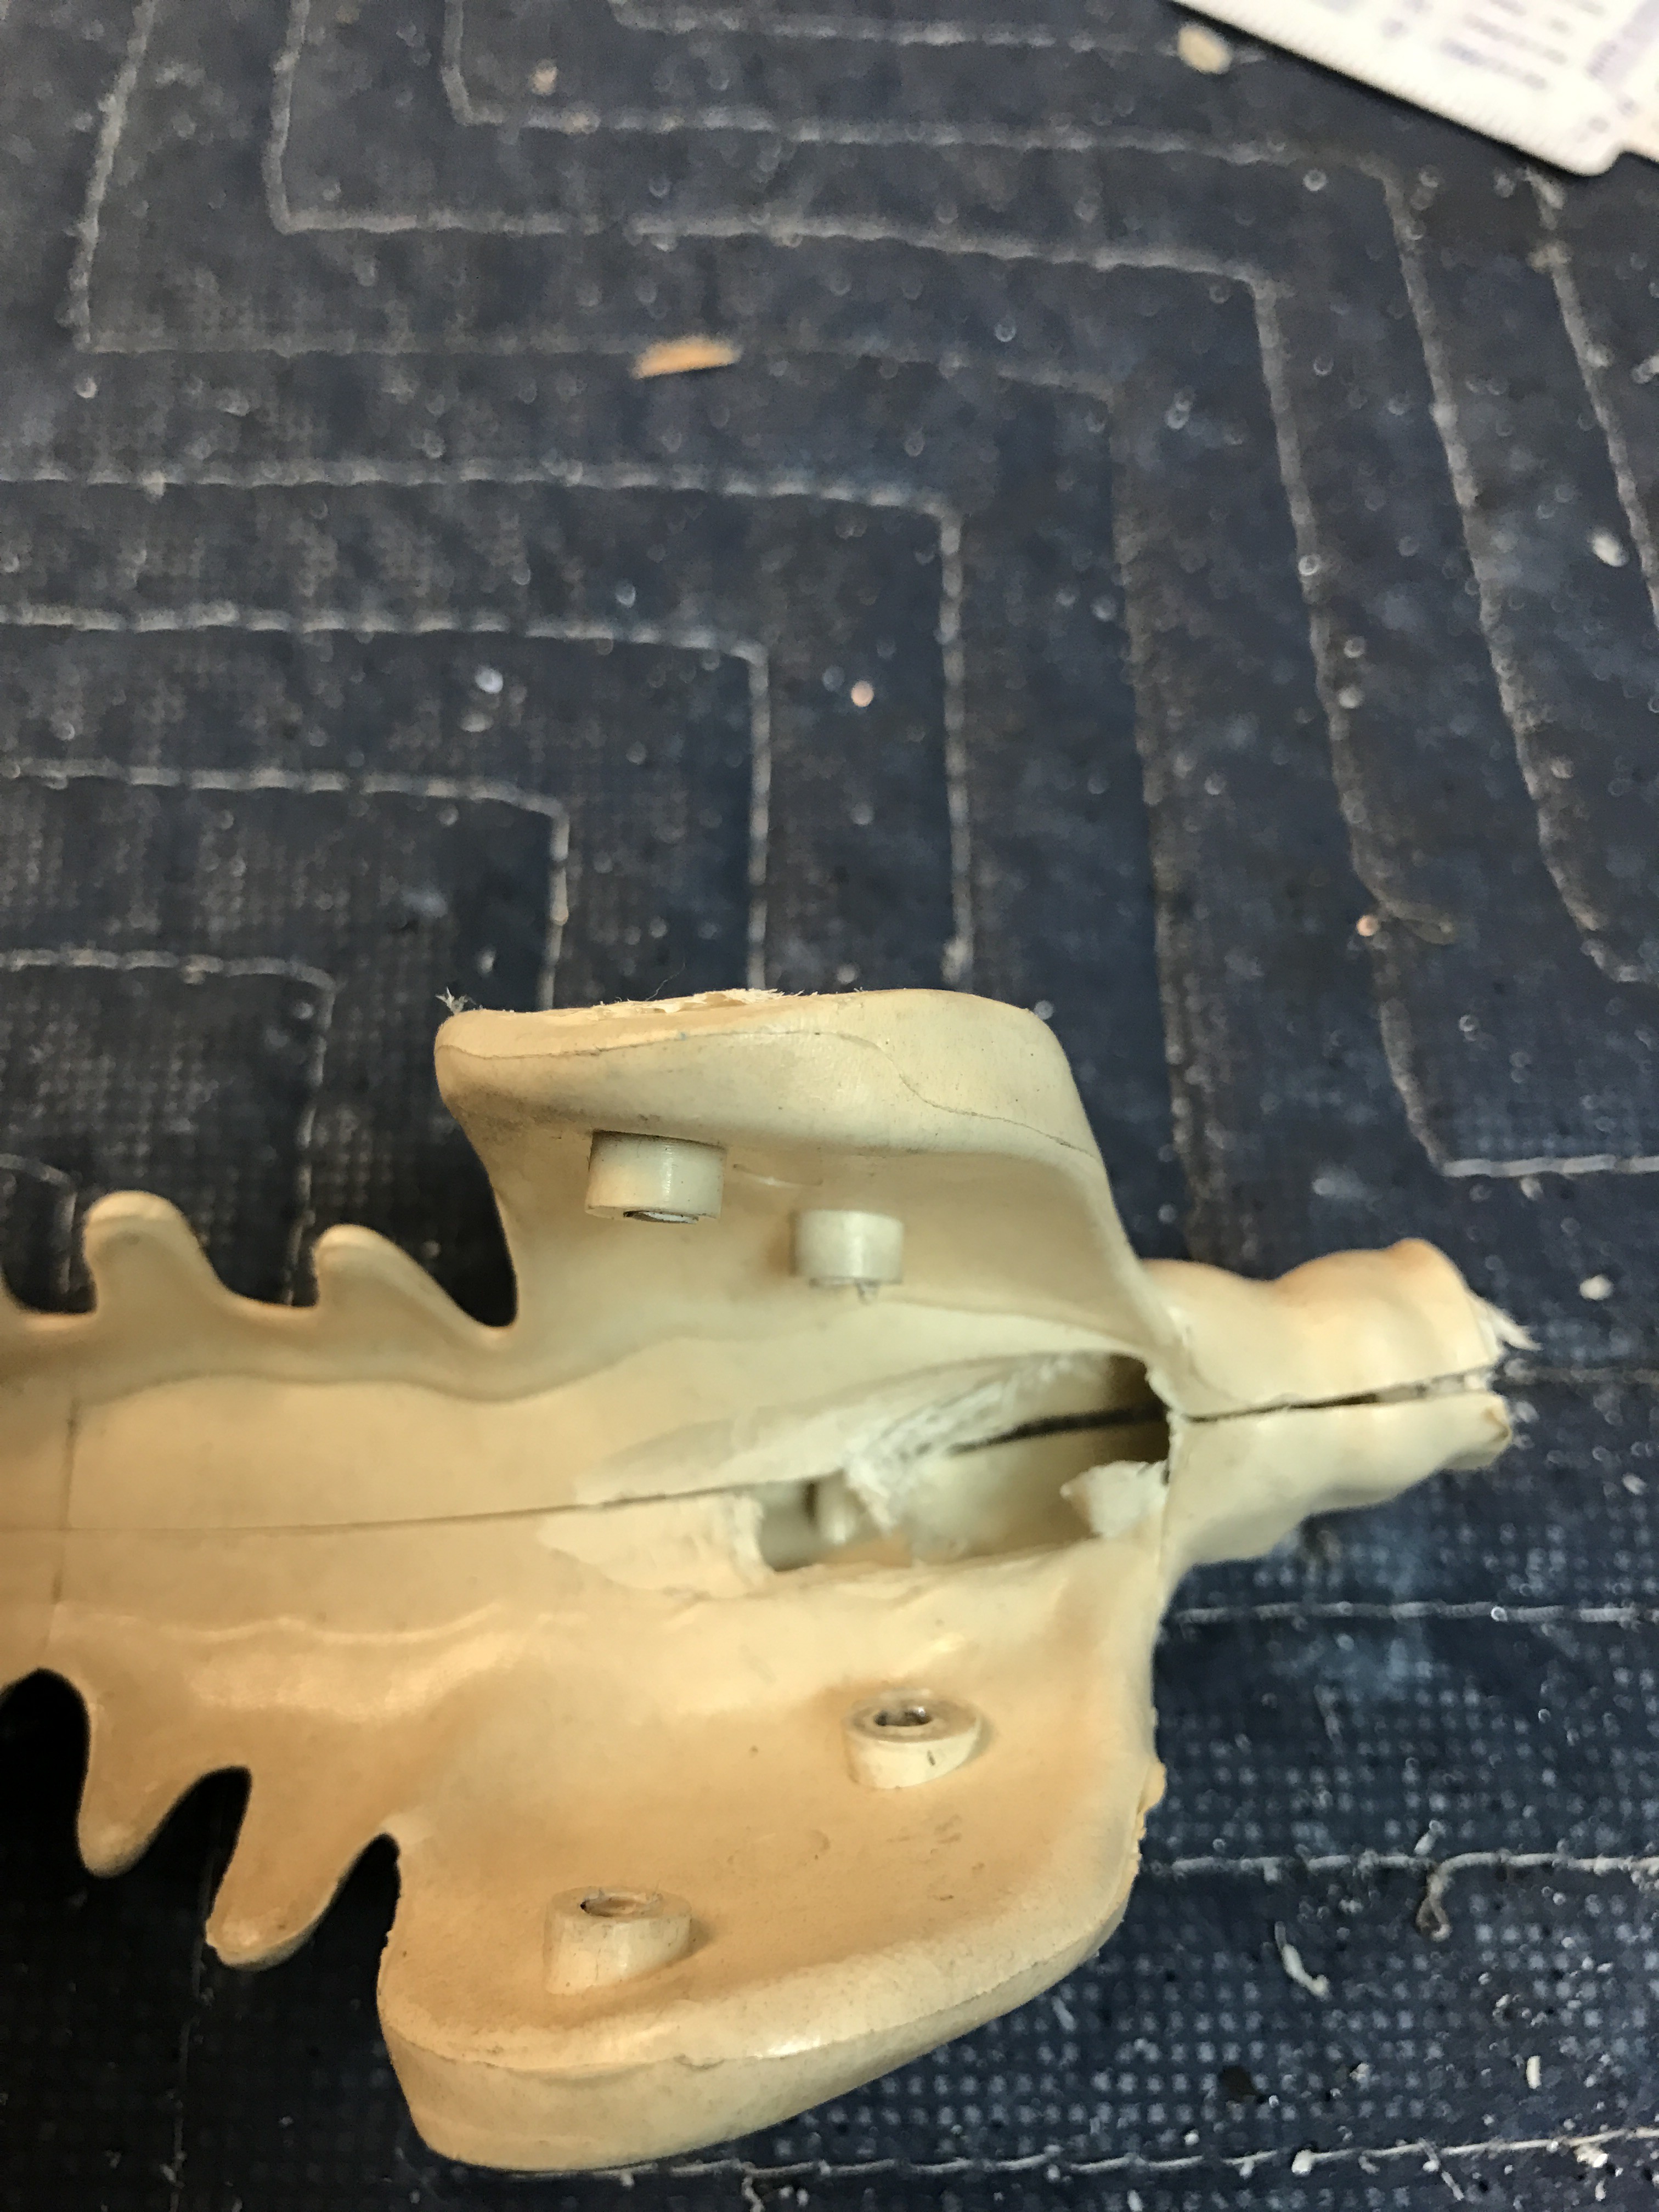
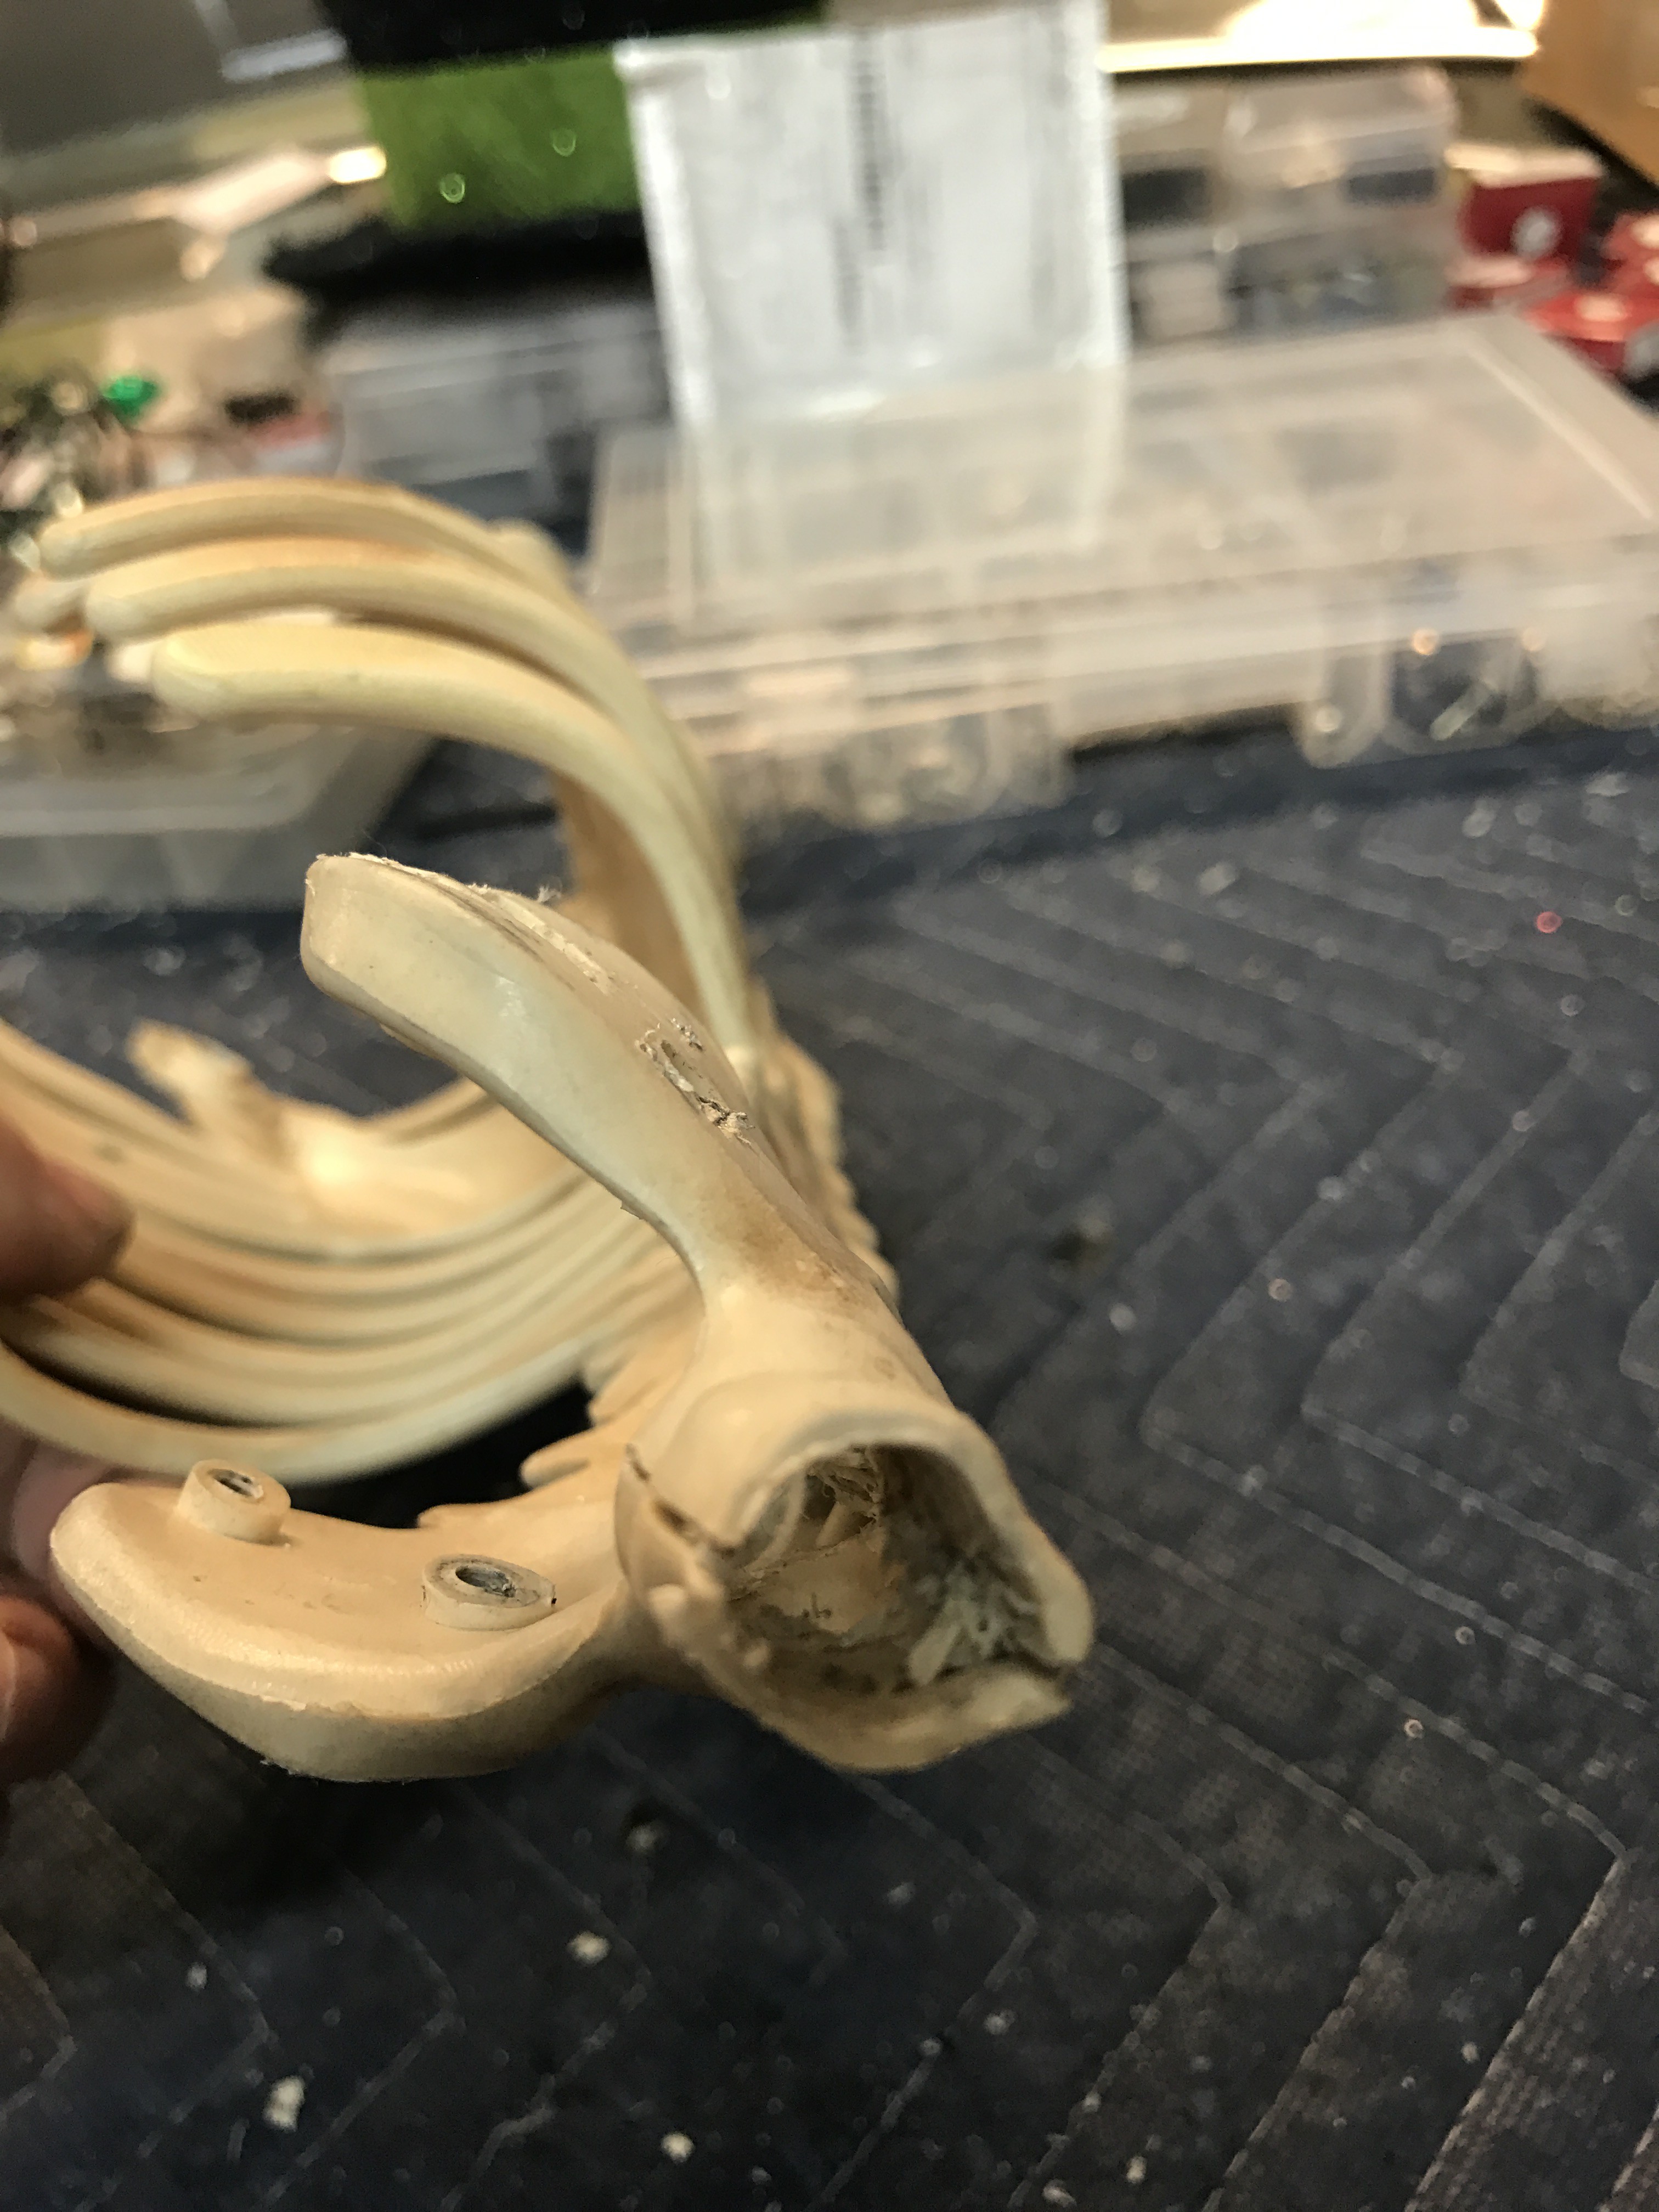
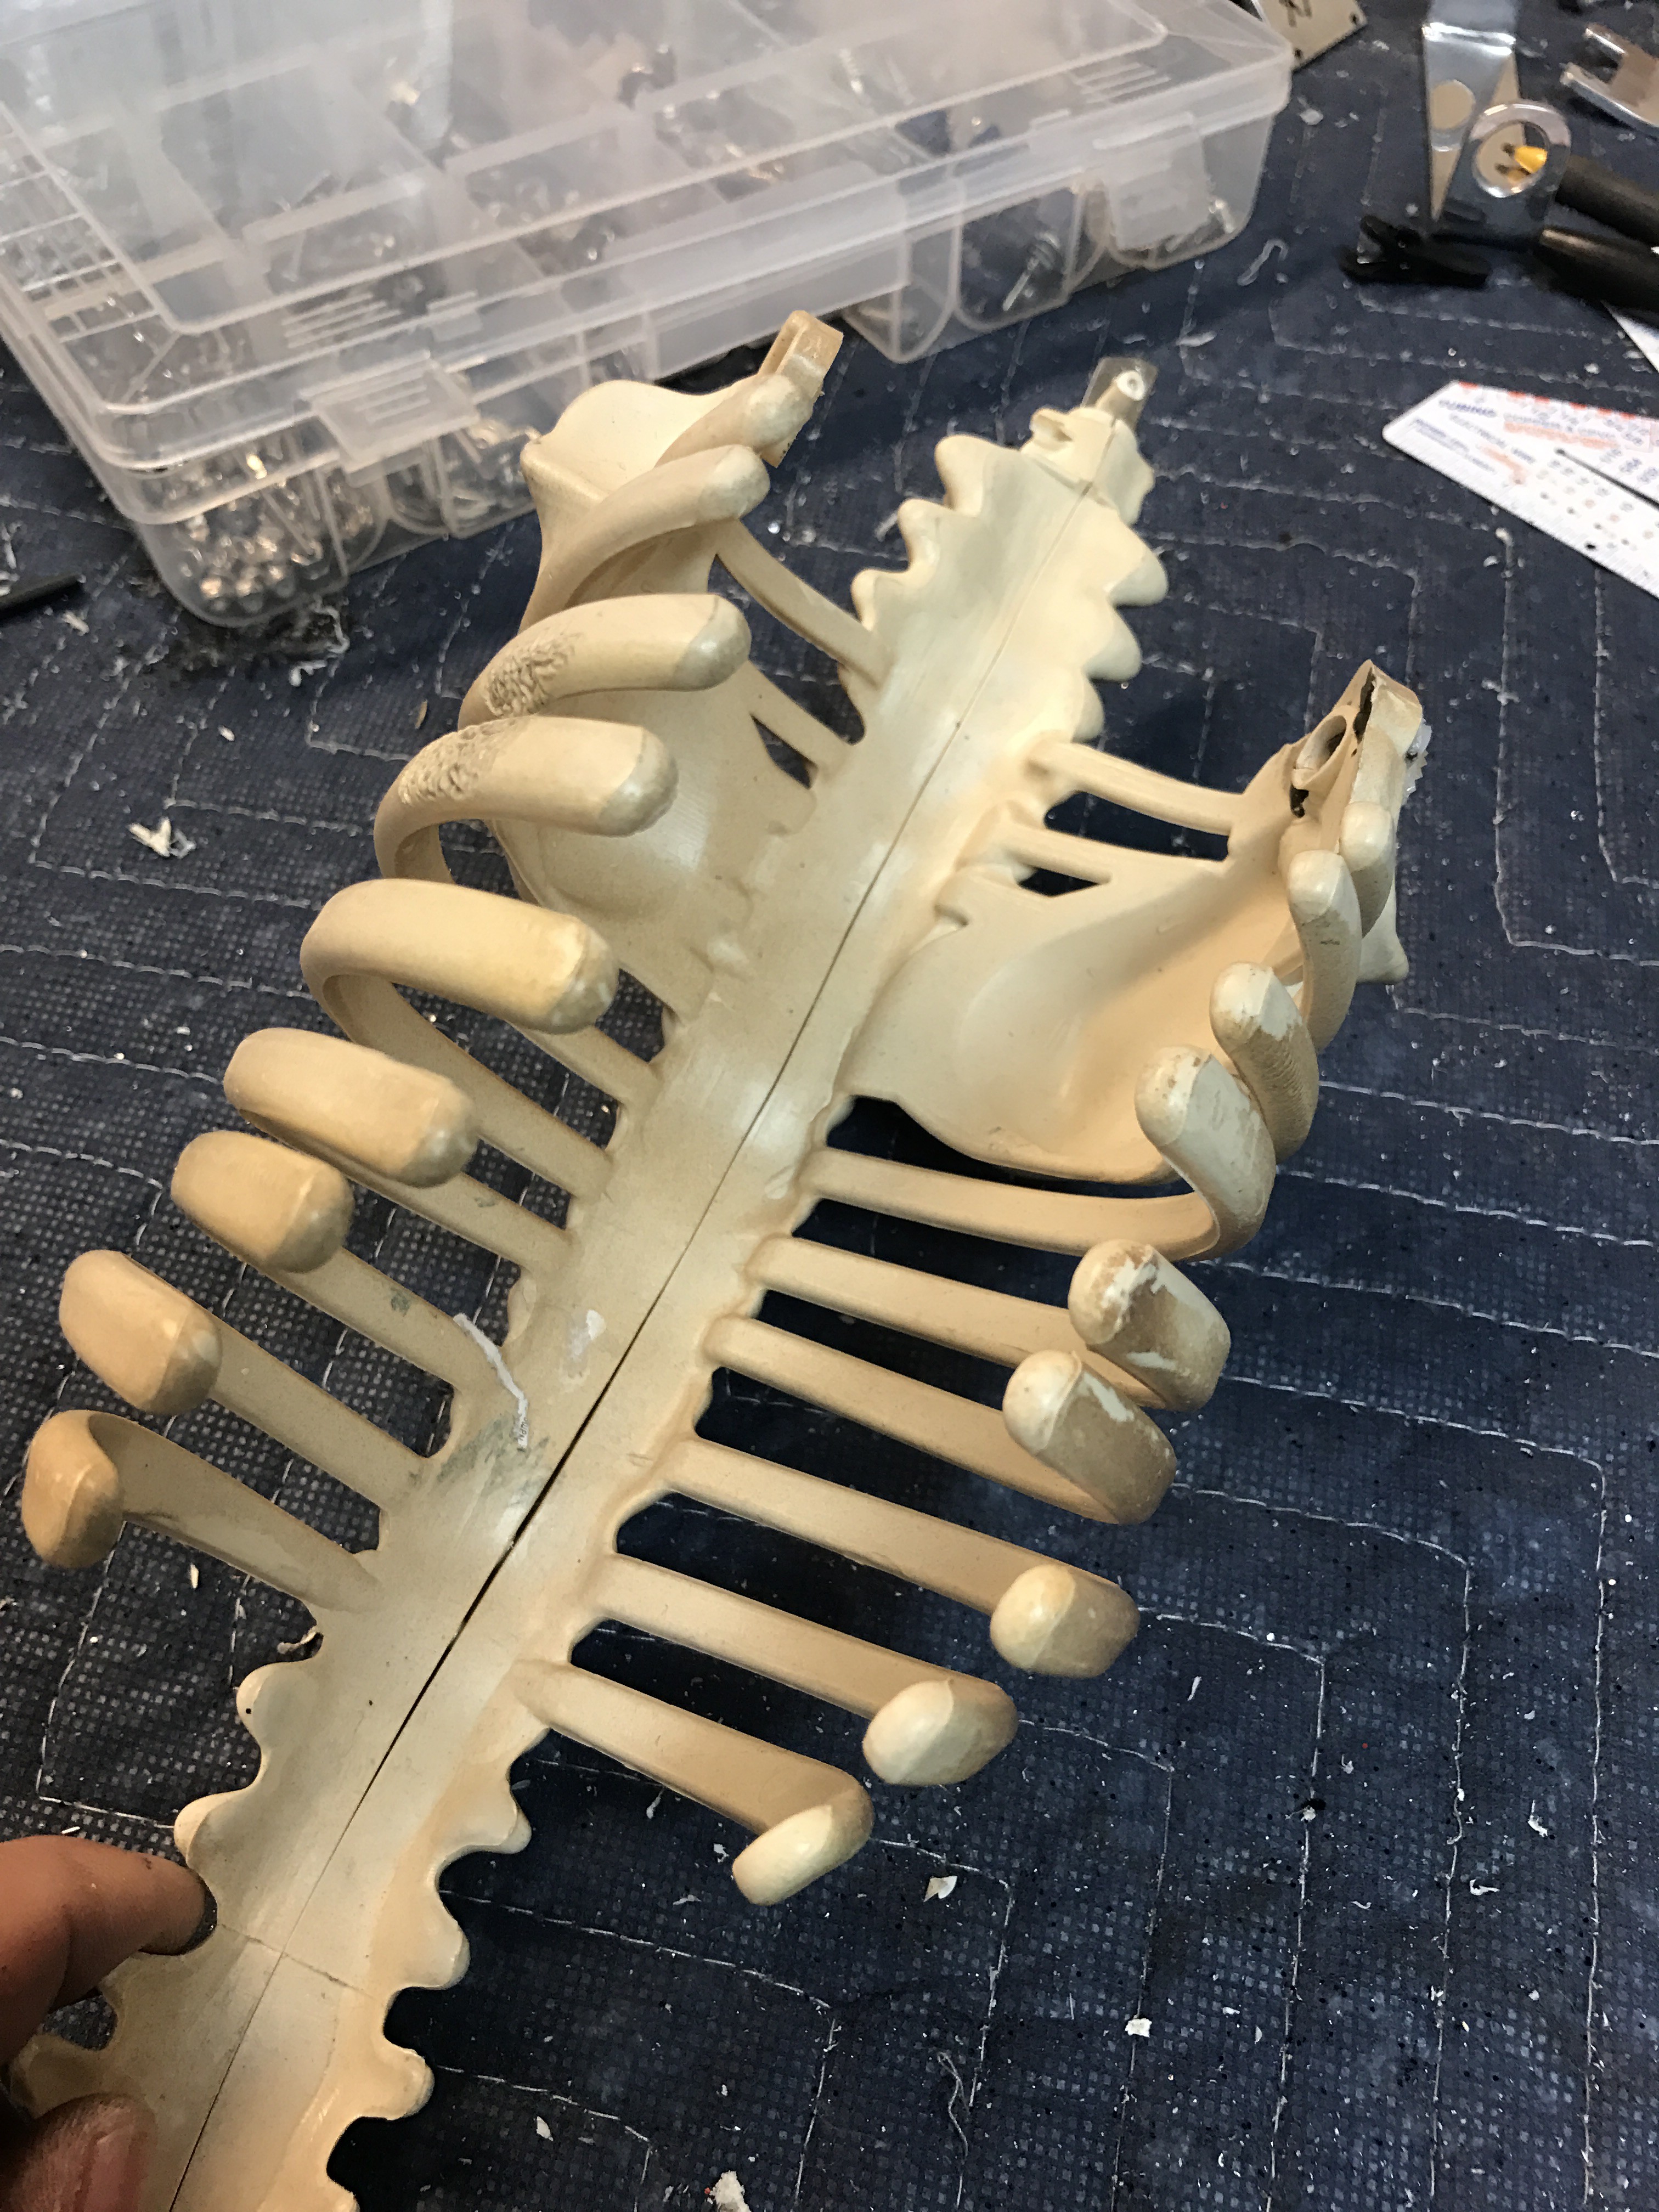
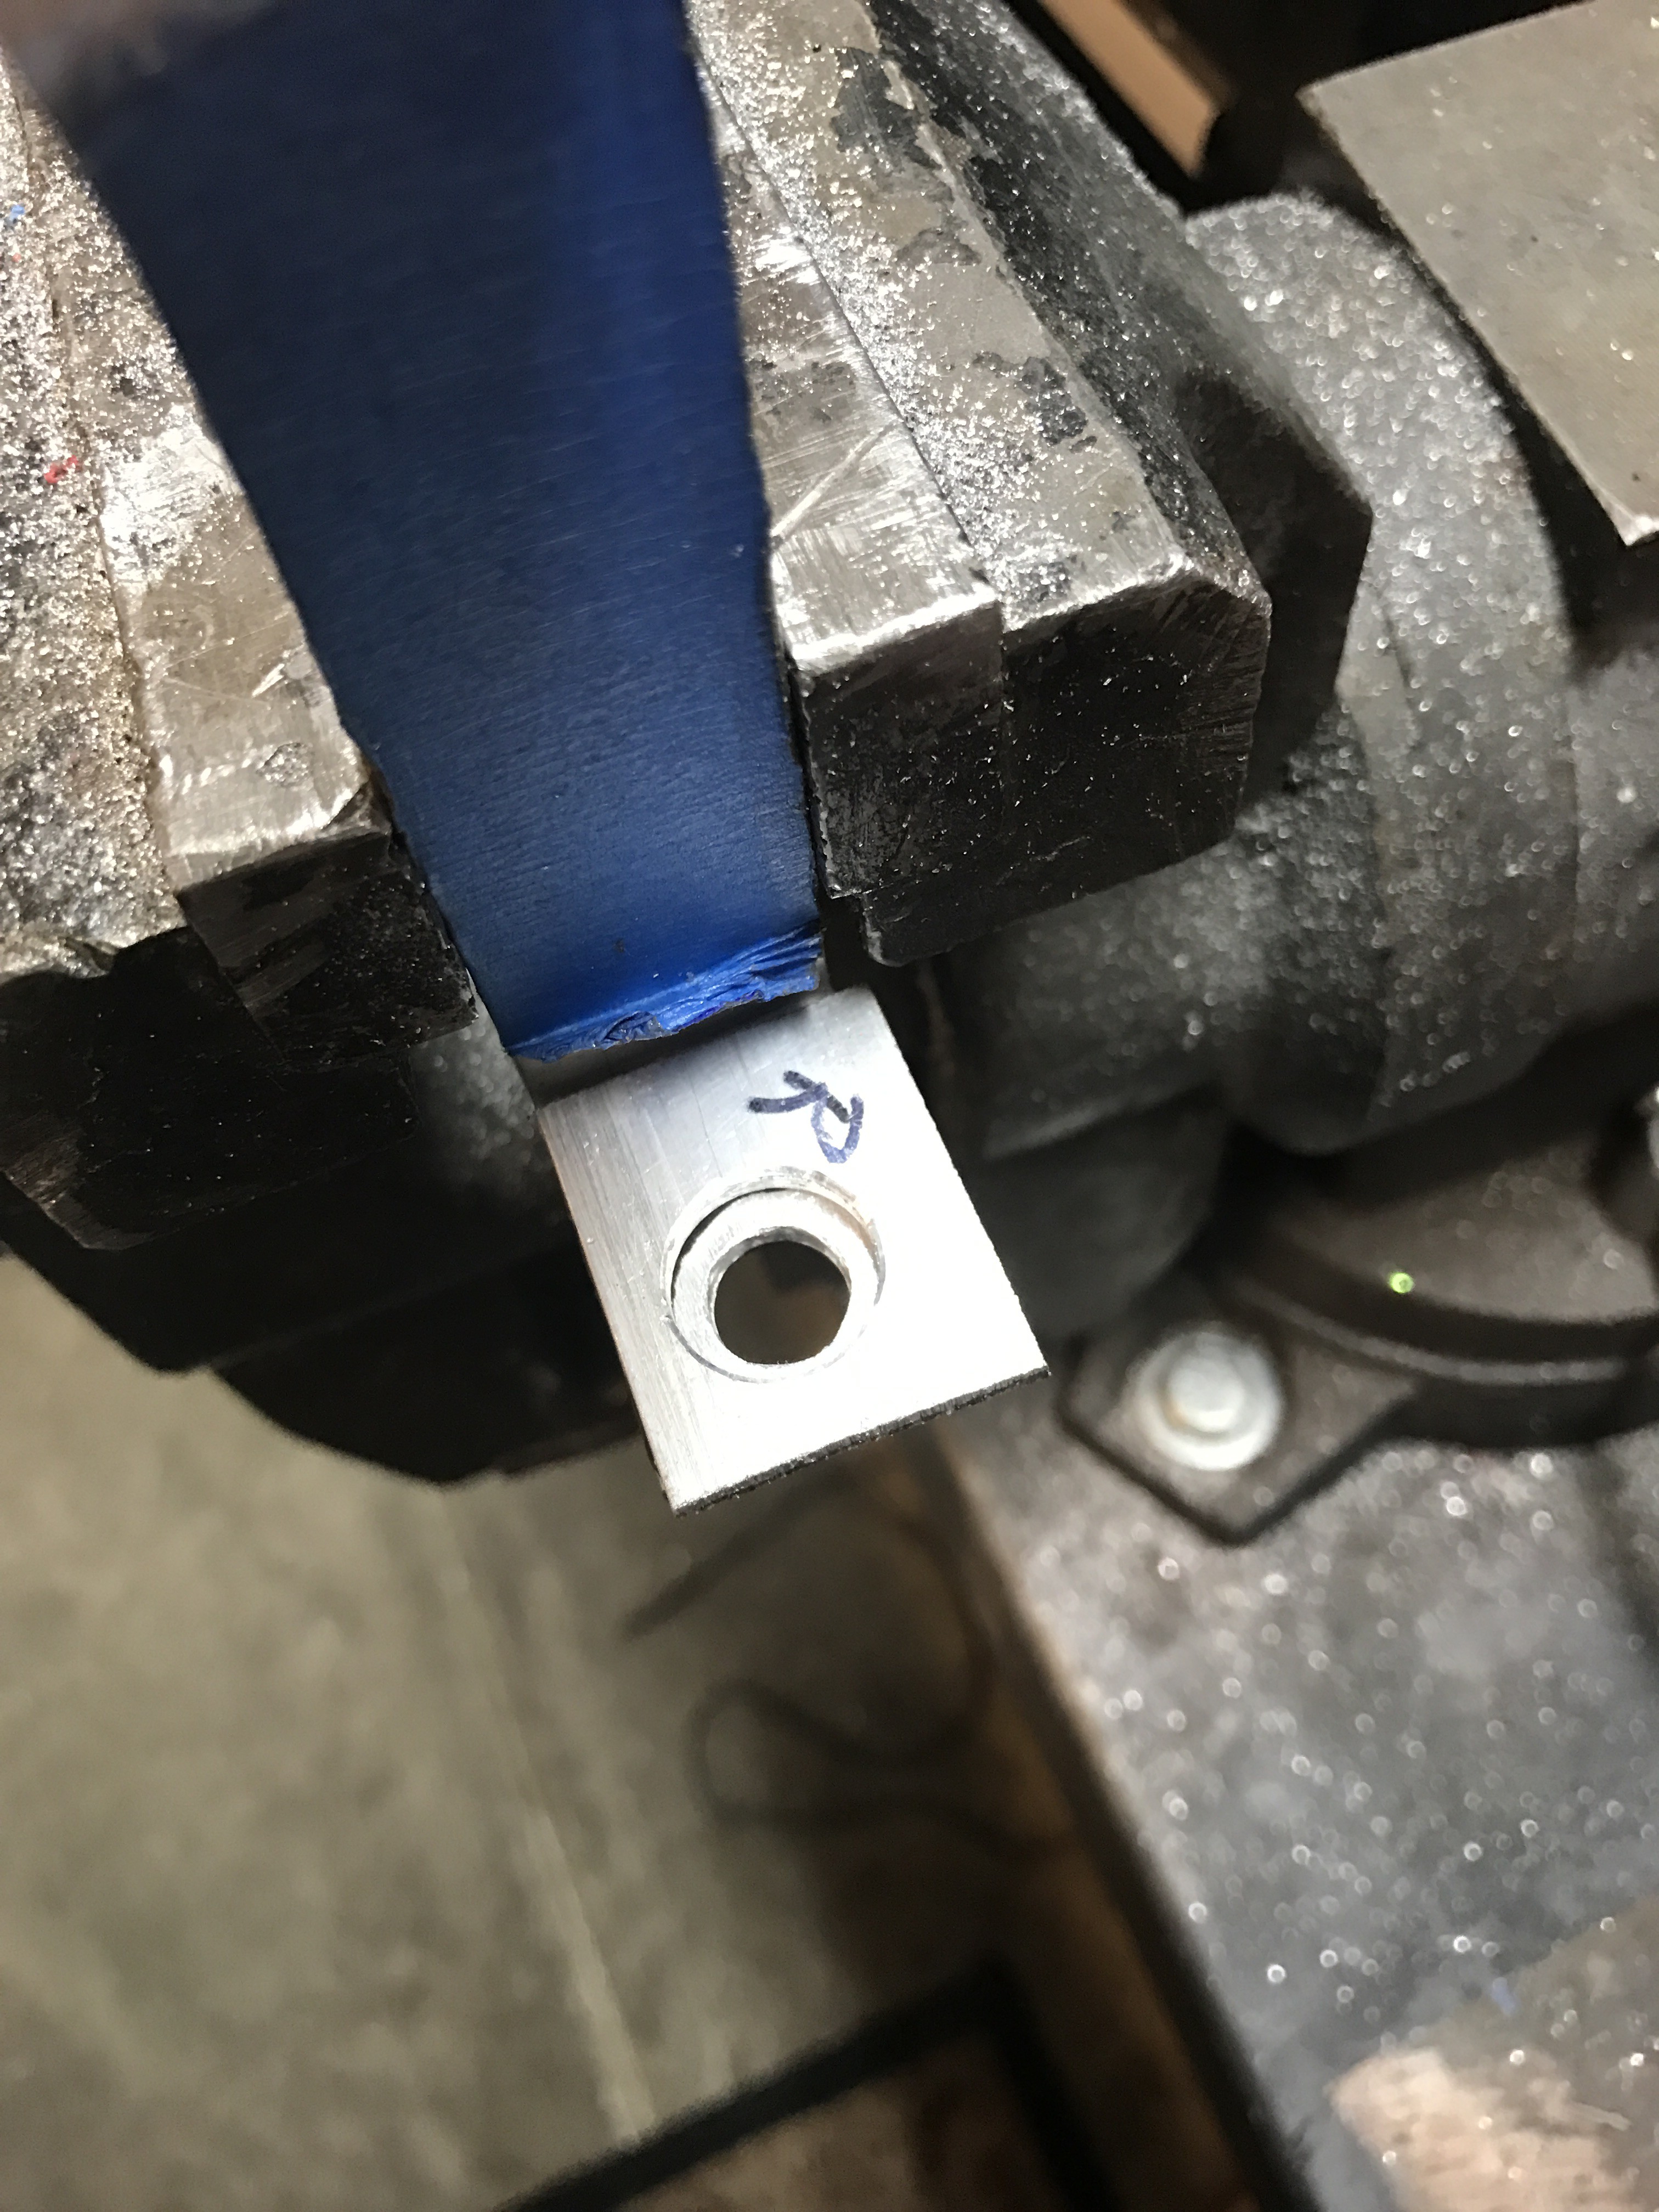
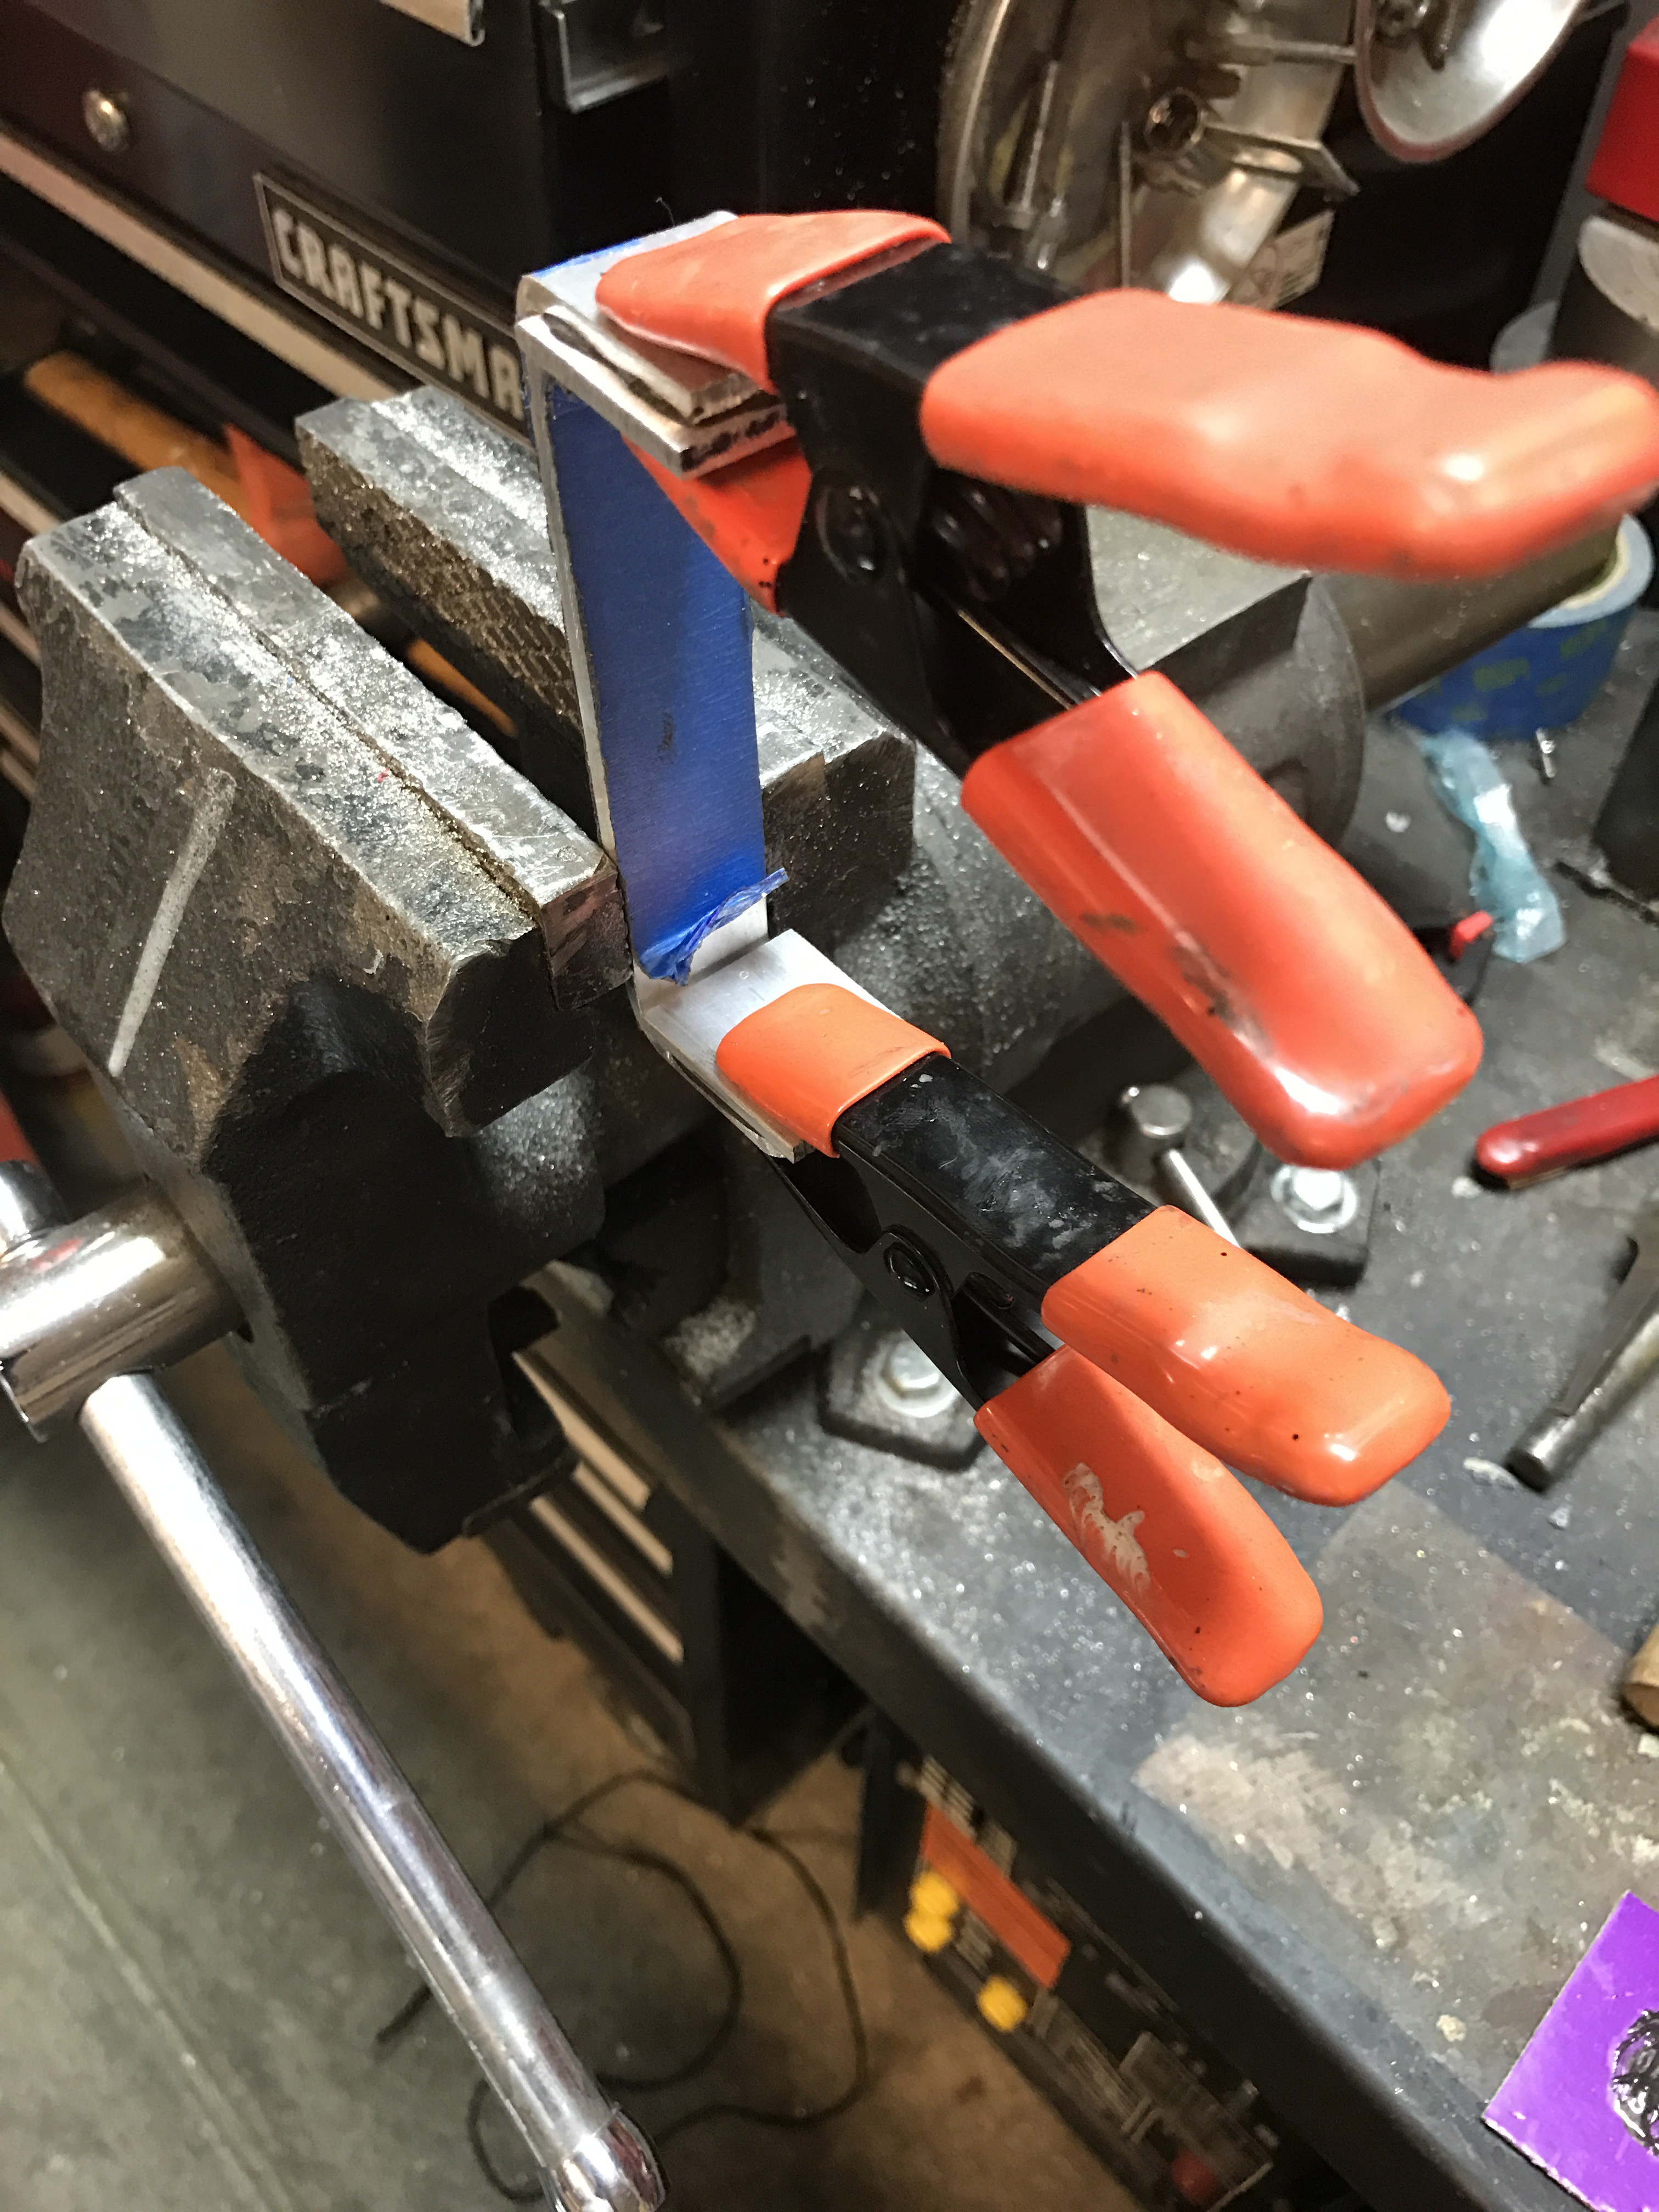
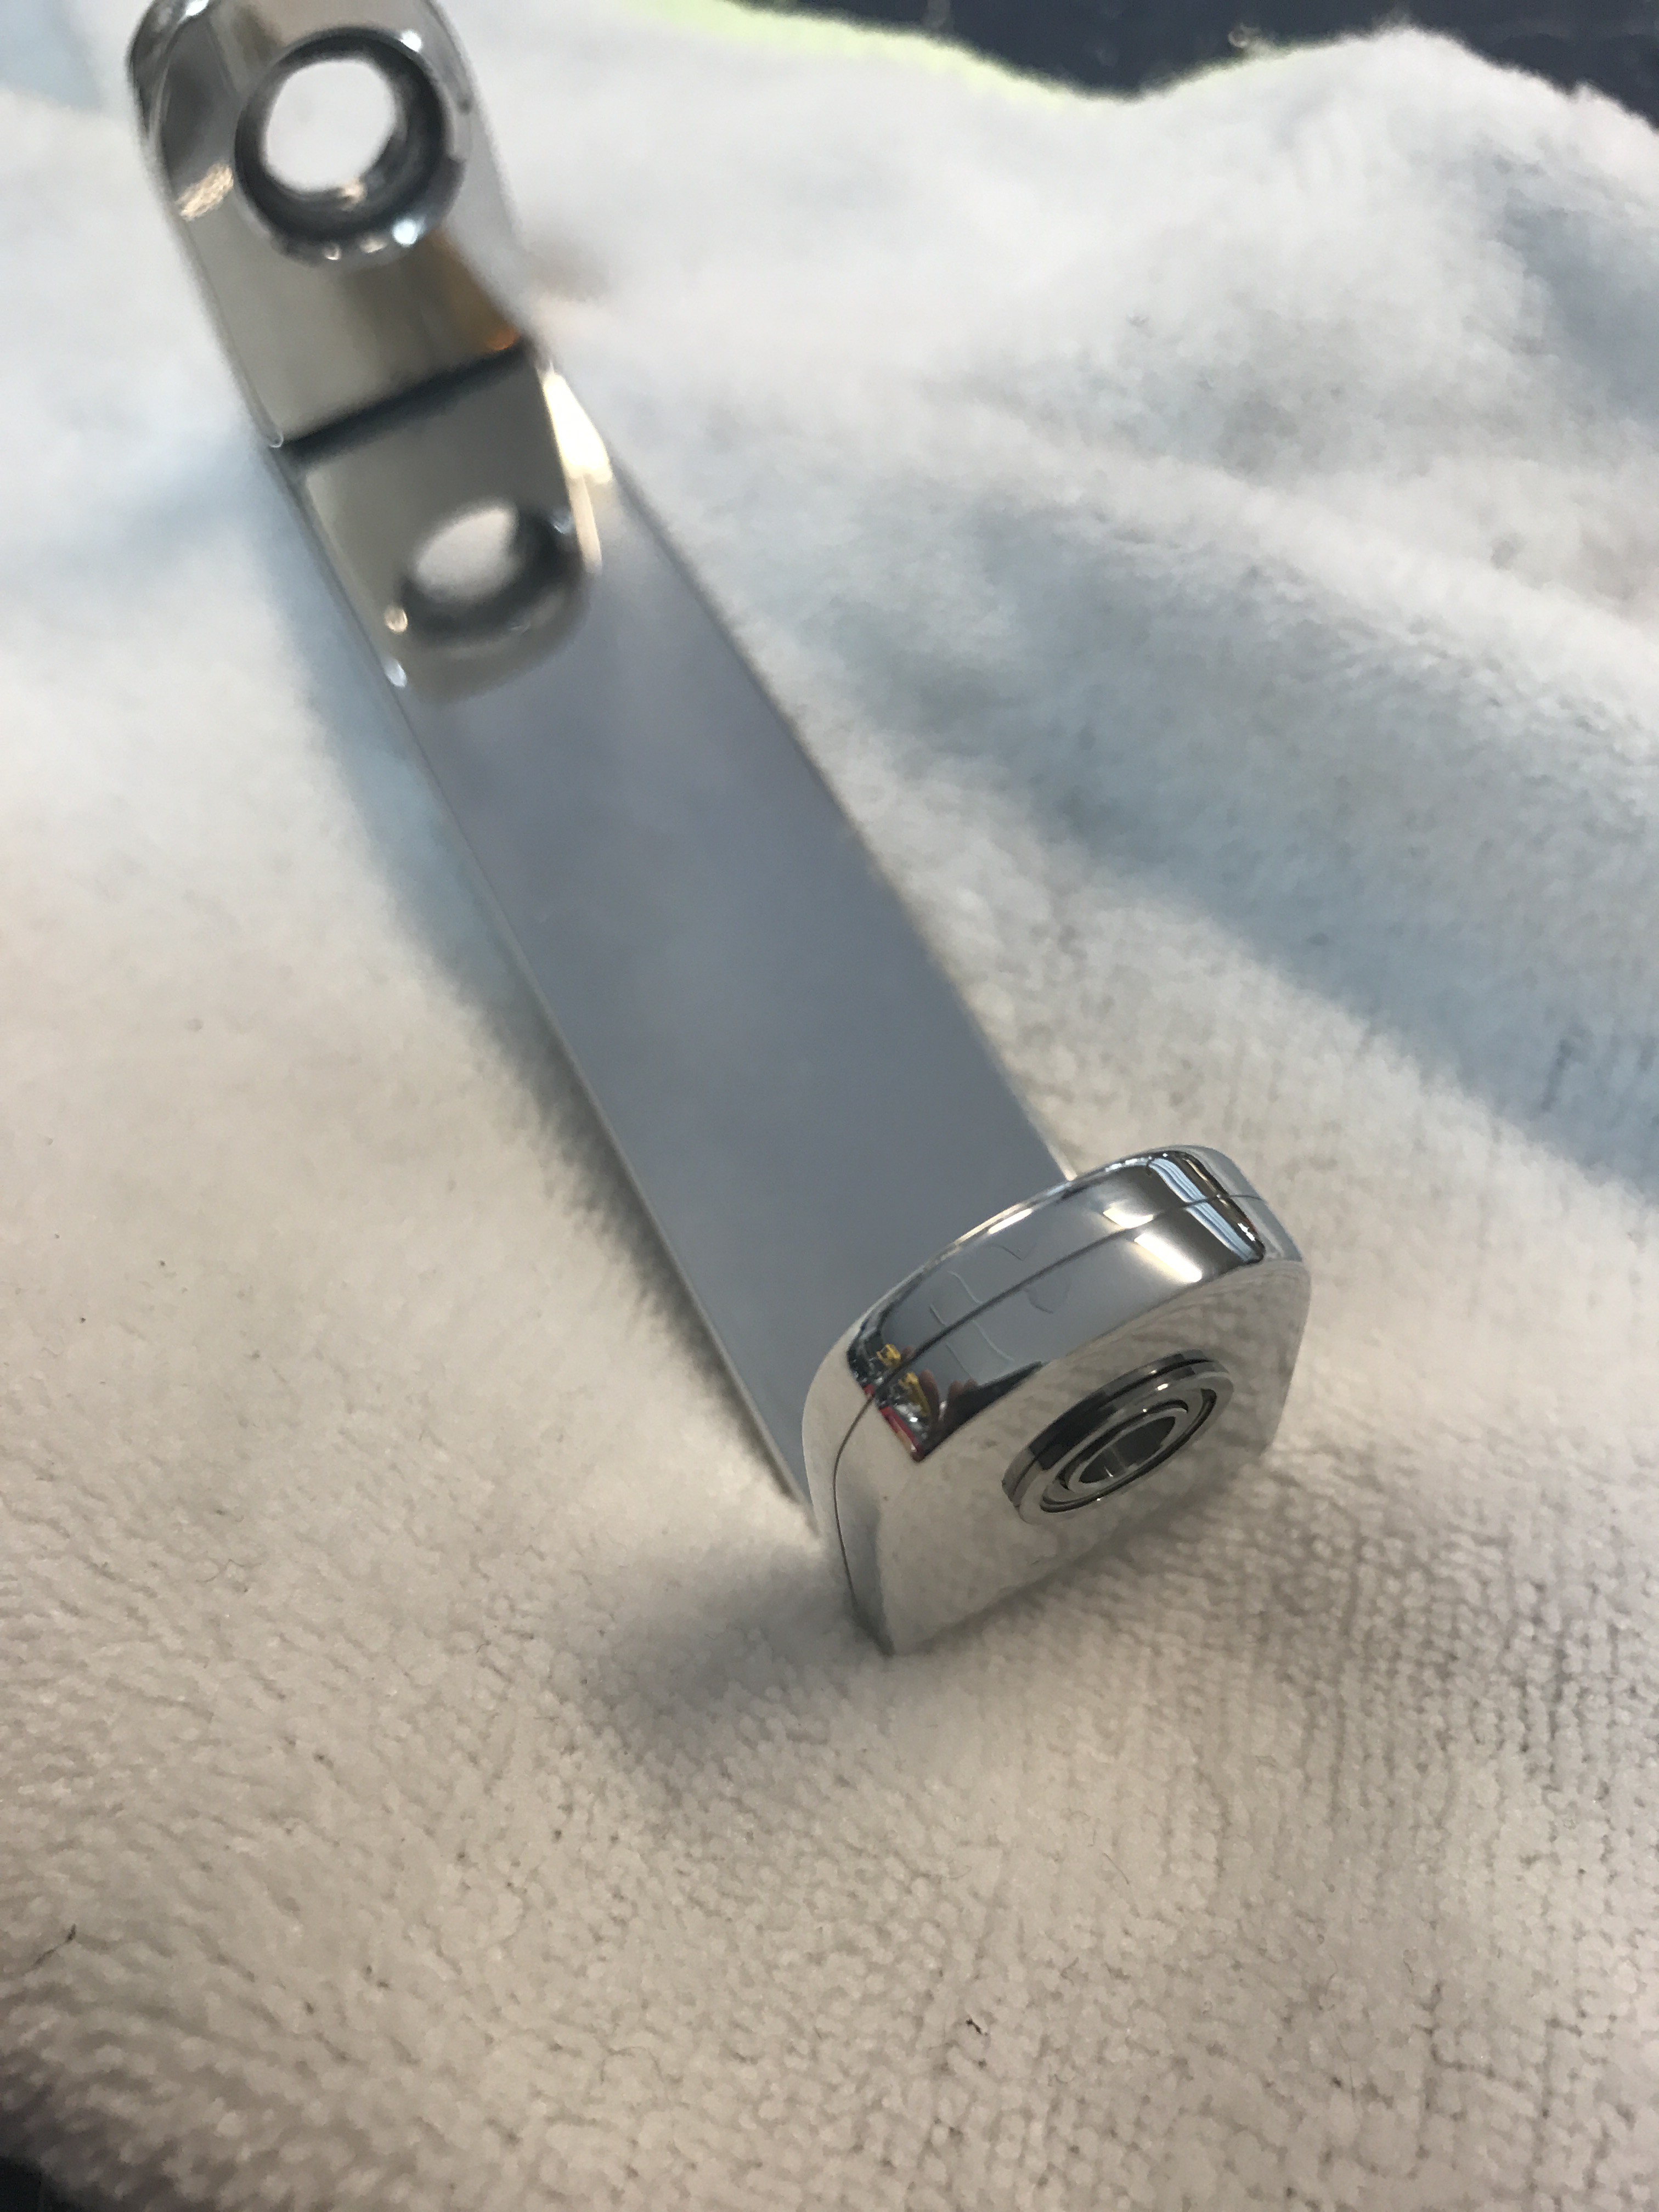
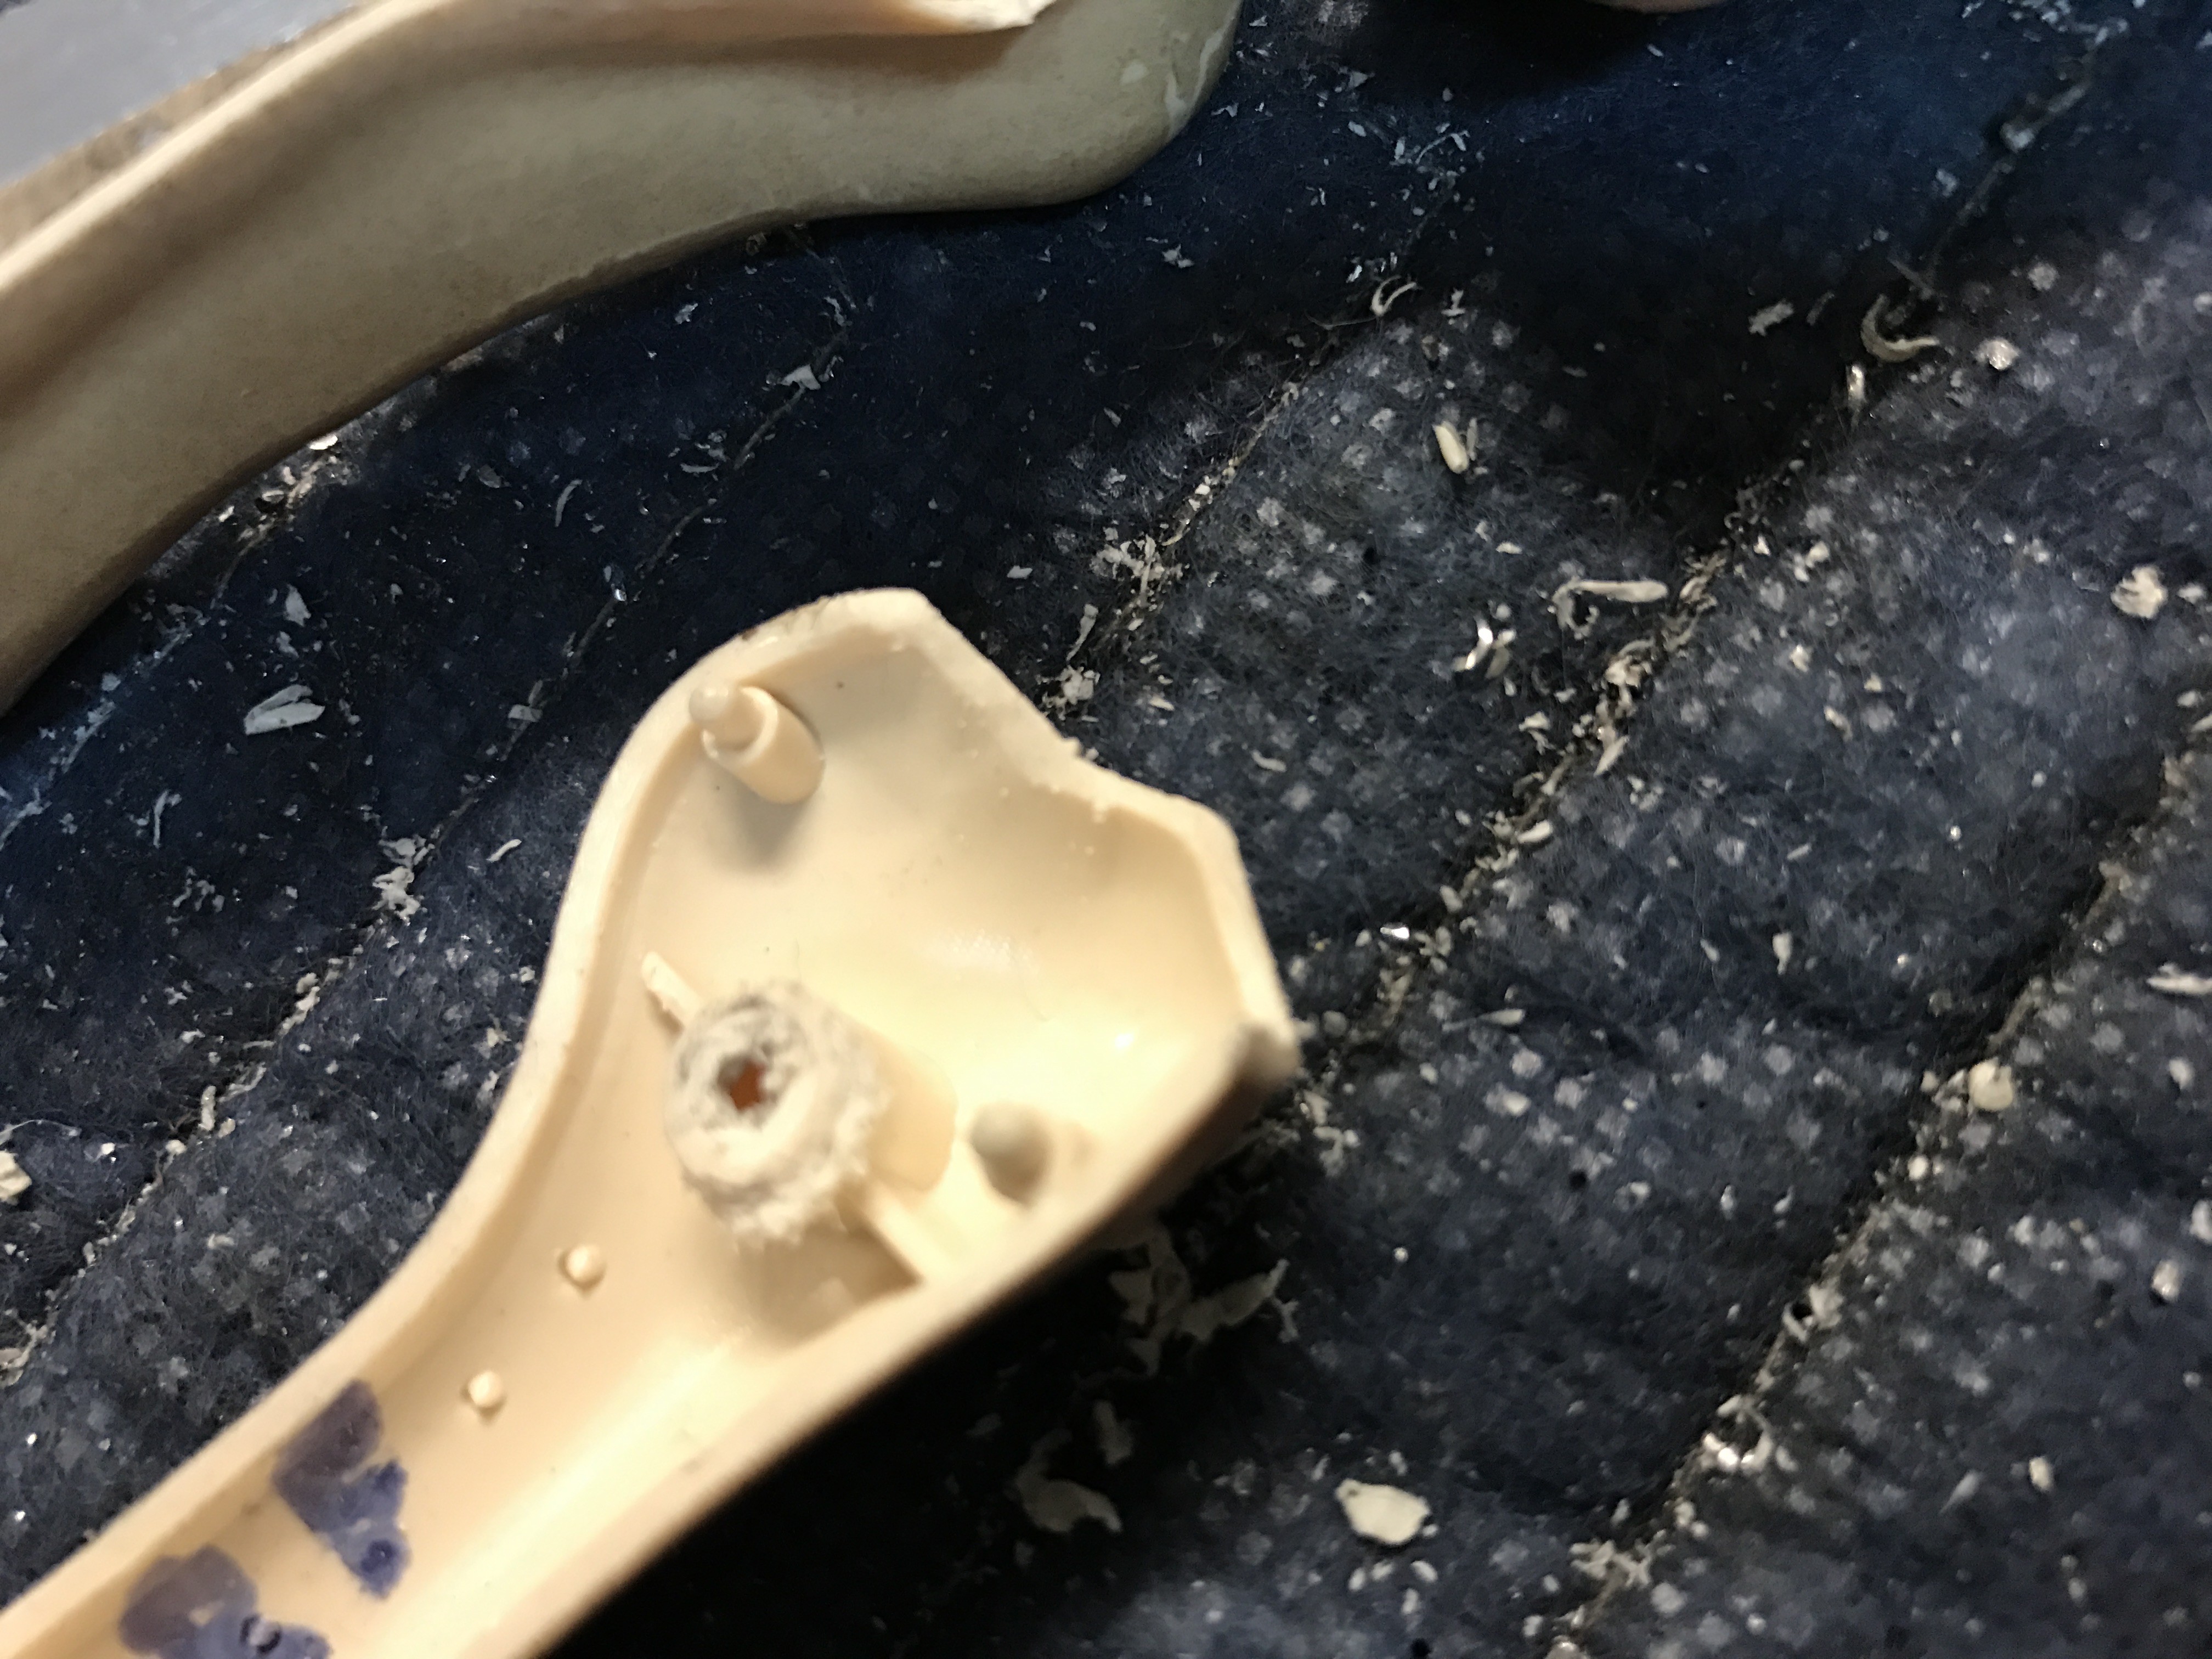
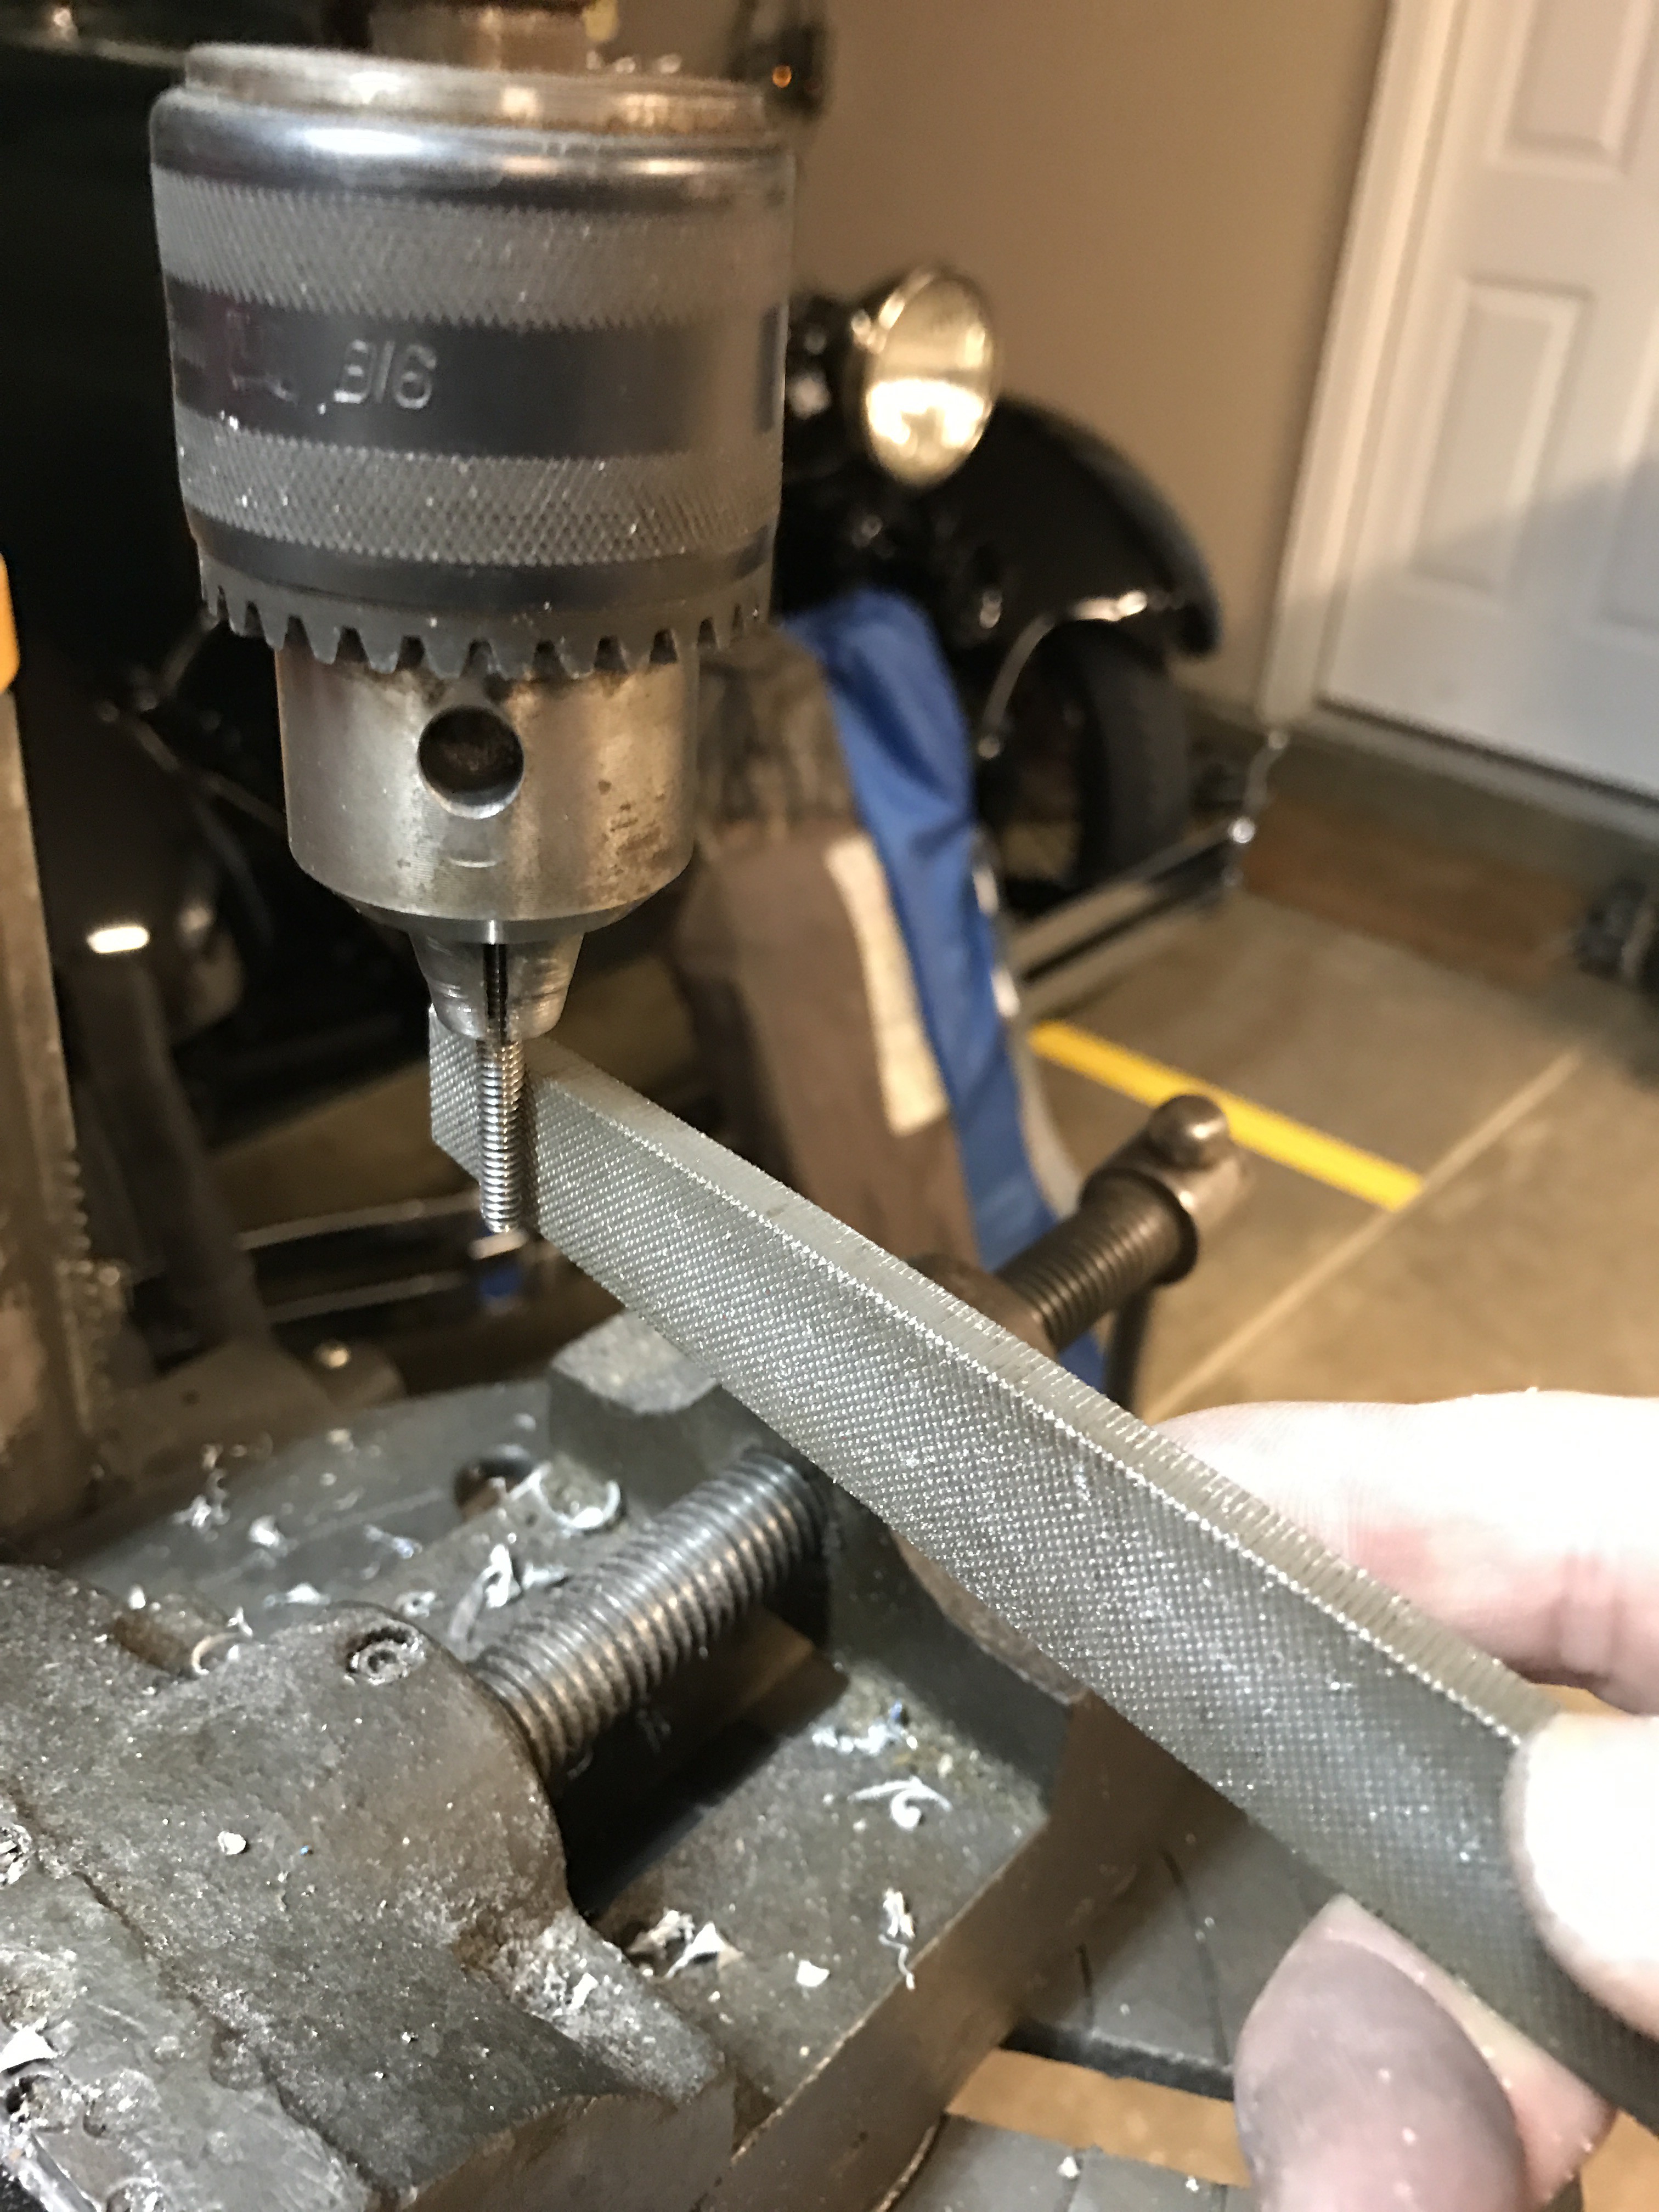
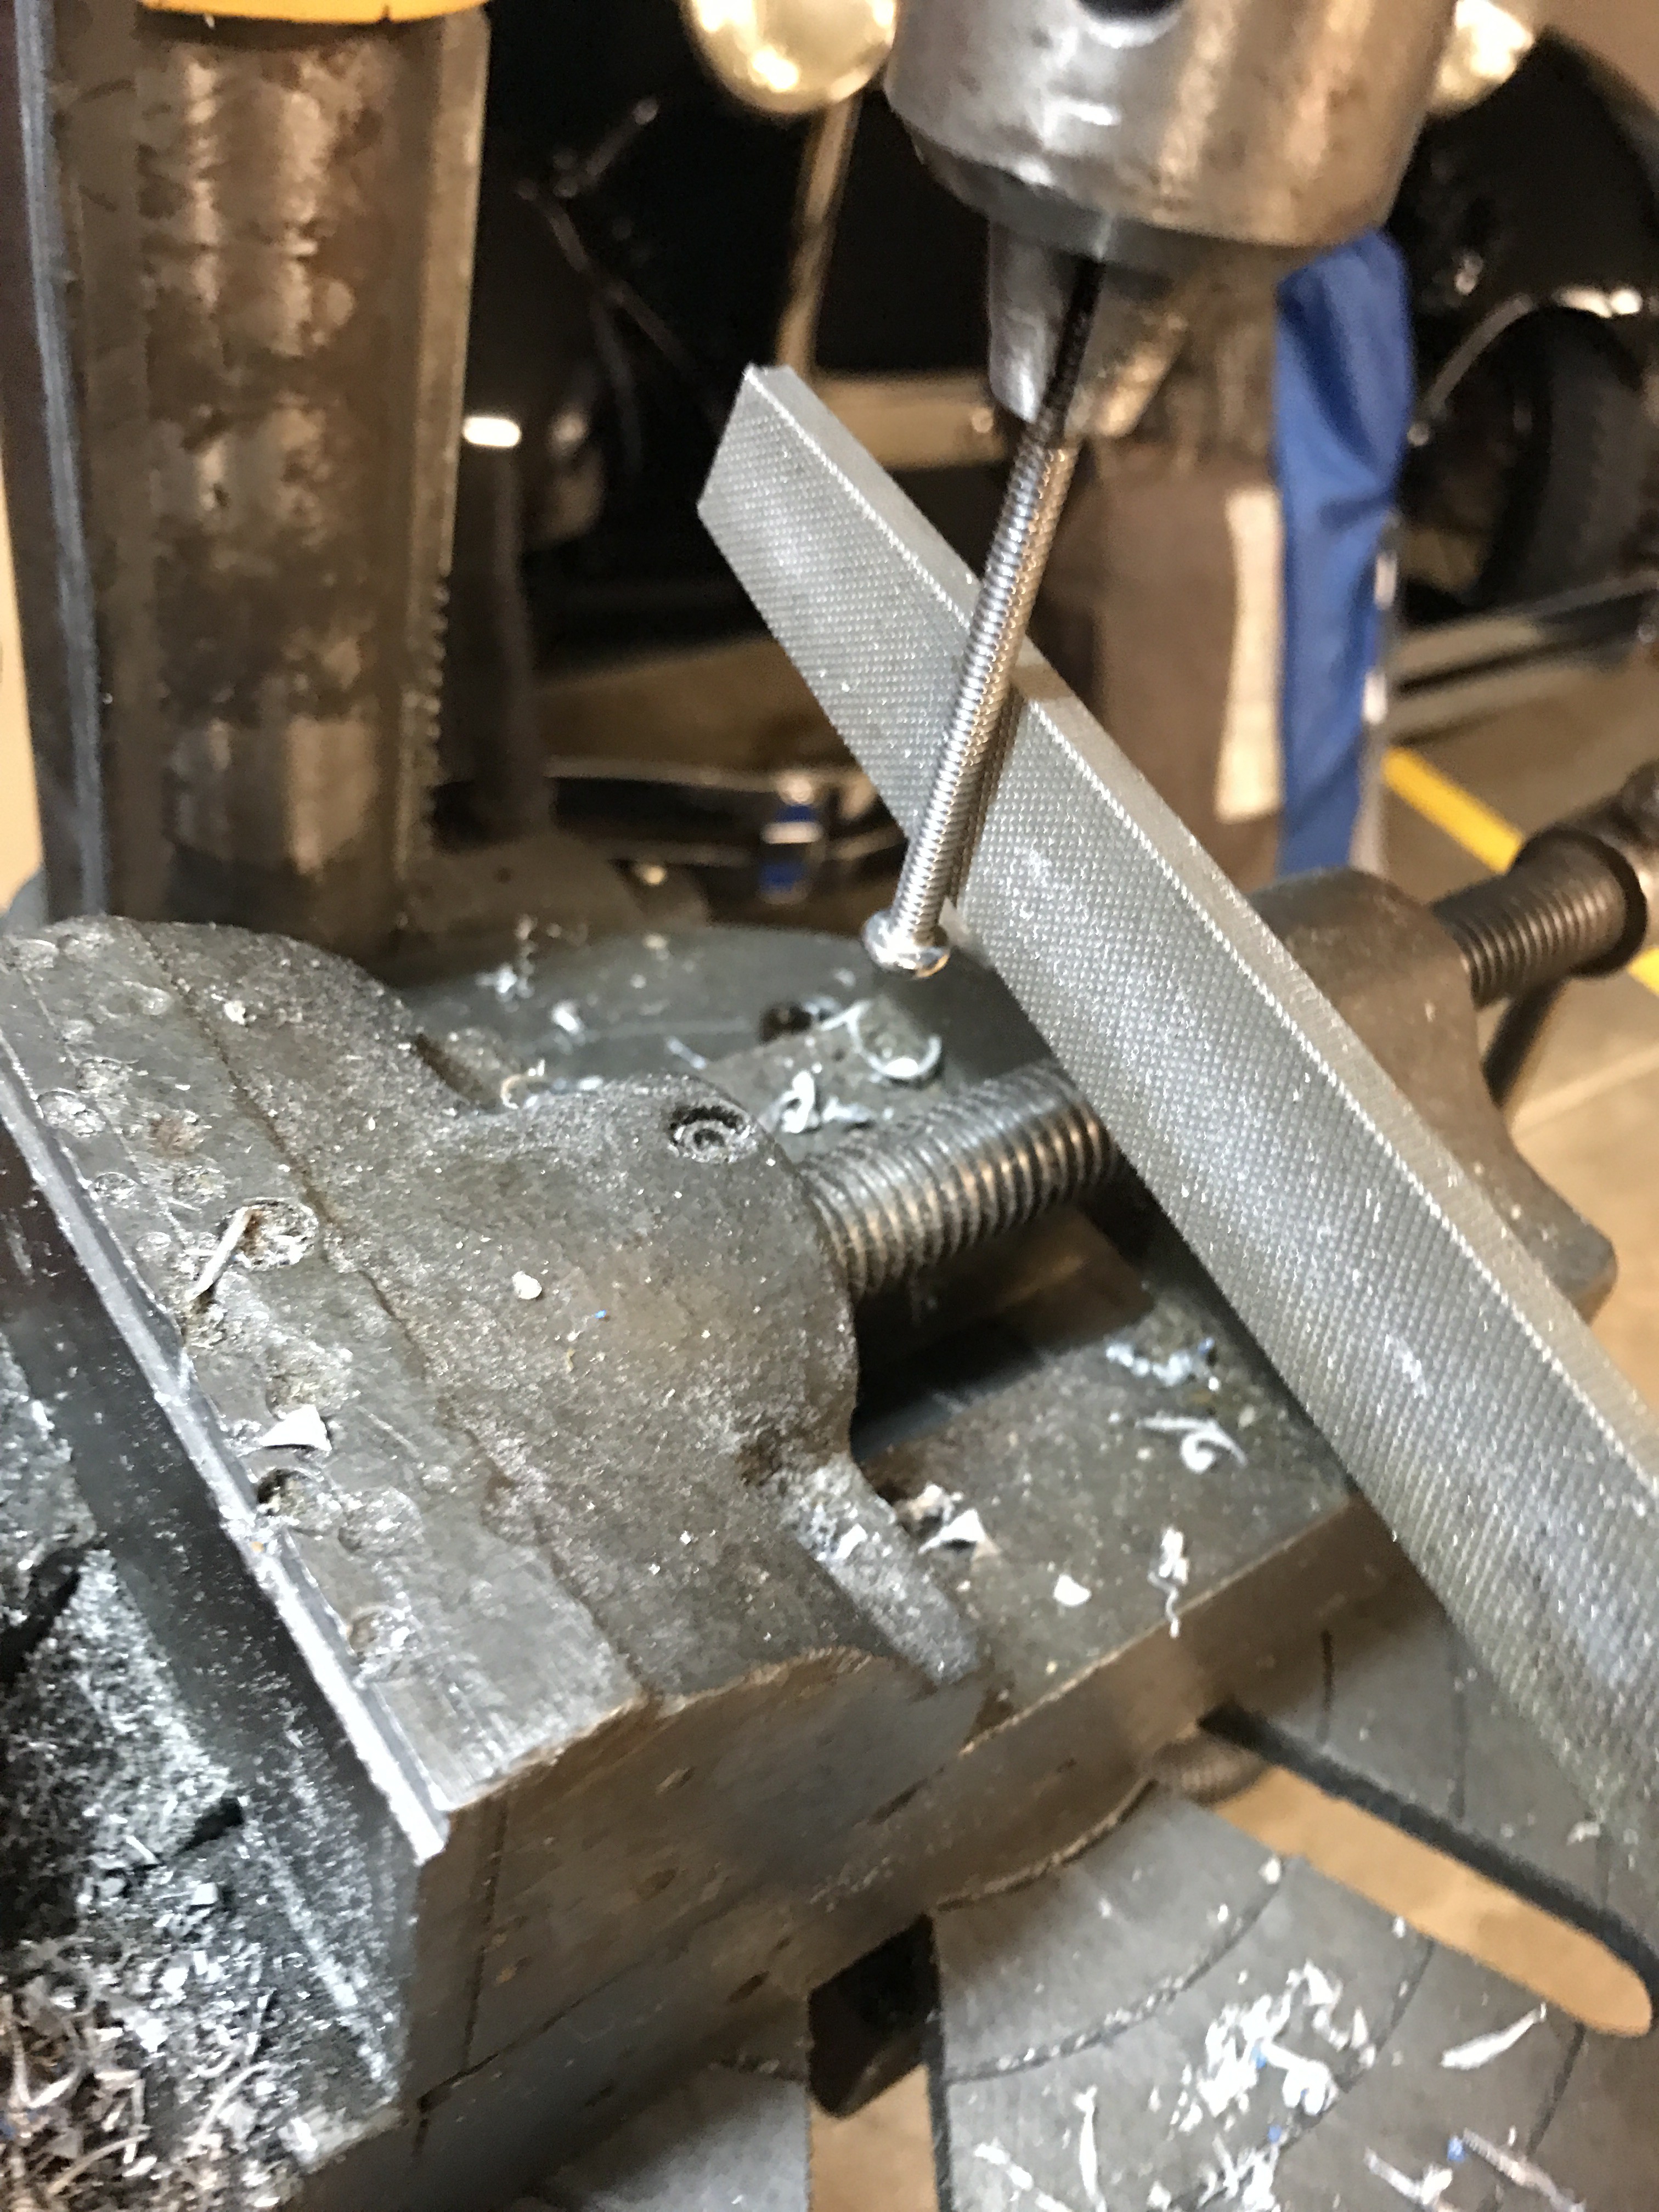
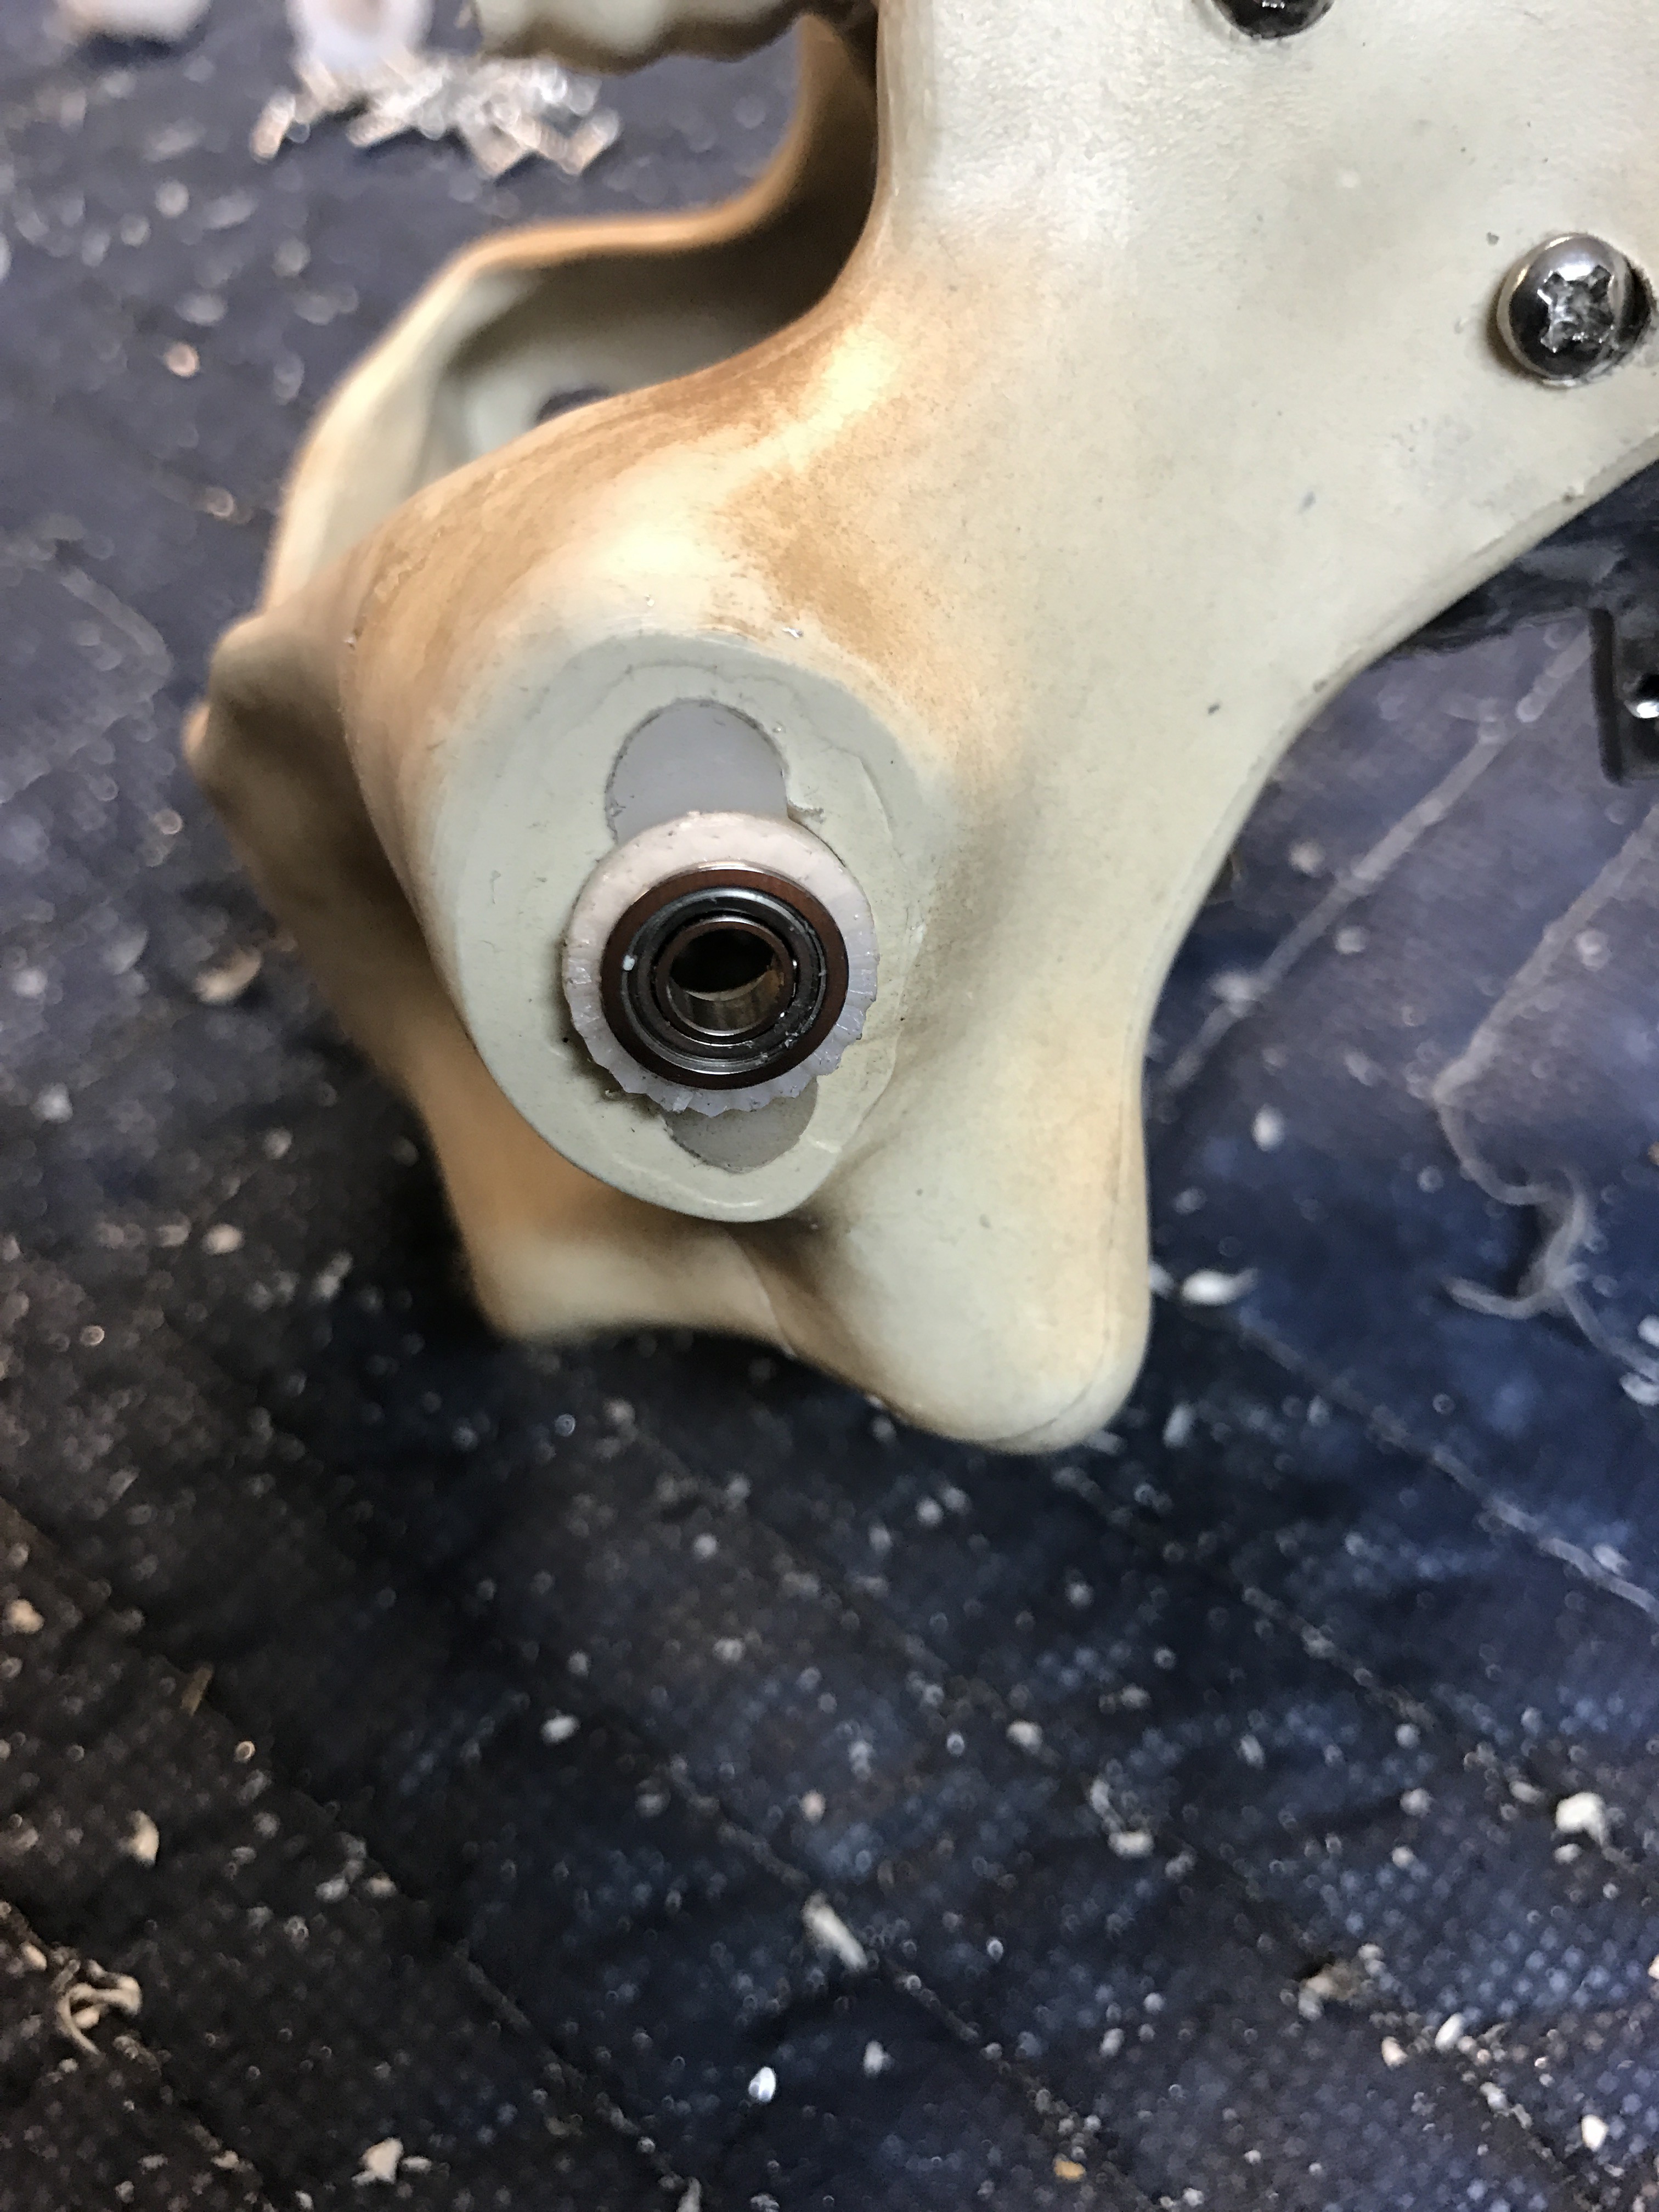
Place barings in front brace and inside shoulders. Install front legs and hold in place with 10/24 nuts.Using clear epoxy for plastic, glue bushing in place and clamp till dry.Cut mounting tab off of tail and drill a 3/16 hole into tail about 2'' deep. Install 3/16 x 6'' rod stock with a little clear epoxy. When dry, place in bushing and check alignment to stepper motor. Rod is long, it will be cut at final assembly.Take the nylon bushing on your material list and a 10/24 machine screw for one of the back legs and place it on the bolt with a nut and tighten. Place it in your drill press and start filing it down till it fits in the back side of Boney. See picture aboveRemove the two screws in the side of spinal cord at the tail mount, don't try to drill through them. Start with a 1/4'' drill bit and drill on slight angle to penetrate through the spinal cord on inside. Keep stepping up your bit size till you finish with a 31/64. See picture above and below.Time to make a little room in boney's rib cage. Put on a pair of clean work gloves, take your heat gun and start heating a rib on the outside of cage. Push gently on end of rib, move out about 1 1/2'' from center, remove heat and hold till cool. Do this to all the ribs. You will need approximately 3'' between ribs, tip to tip. This will give you room for your Mega board and Shields.Take the 1'' wide pieces with the 9/16'' holes, cut to 1 1/4'' to fit inside your bracket. File the inside edge to fit the inside corner. Using JB Weld epoxy or equal, epoxy the two pieces to the bracket. Keep epoxy away from hole. Leave set for 24hrs, file ends to a radius and buff.
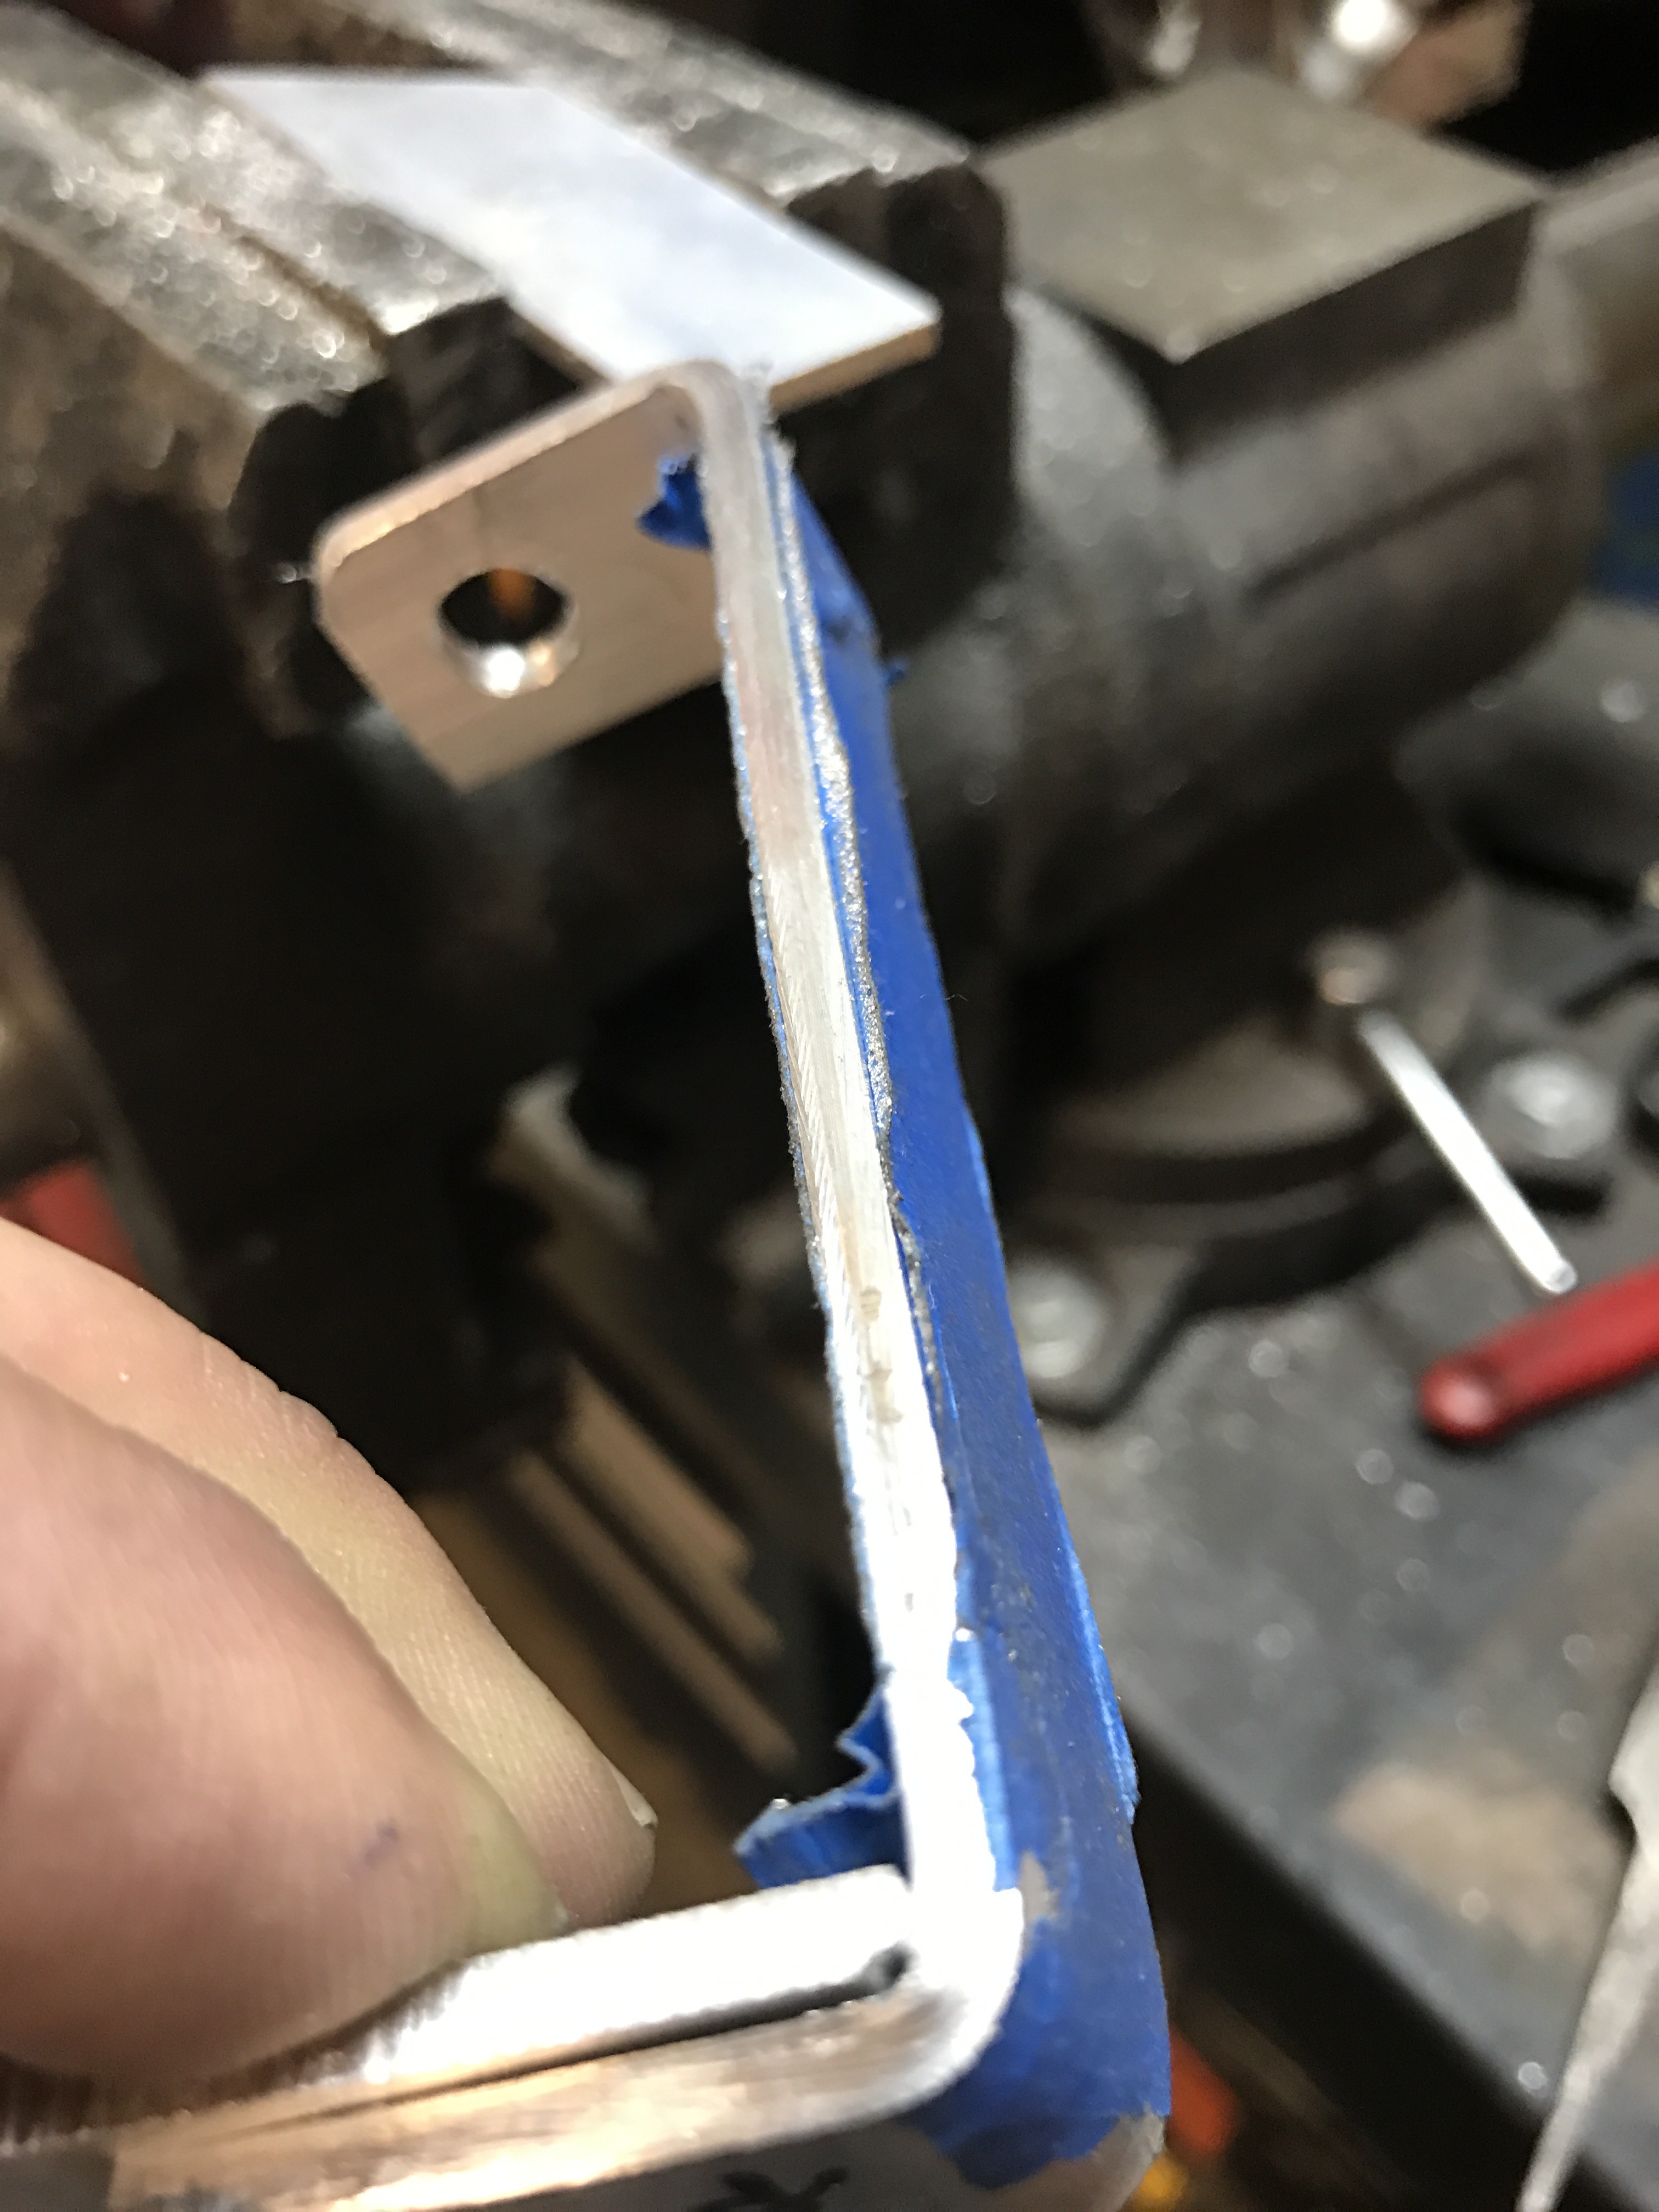
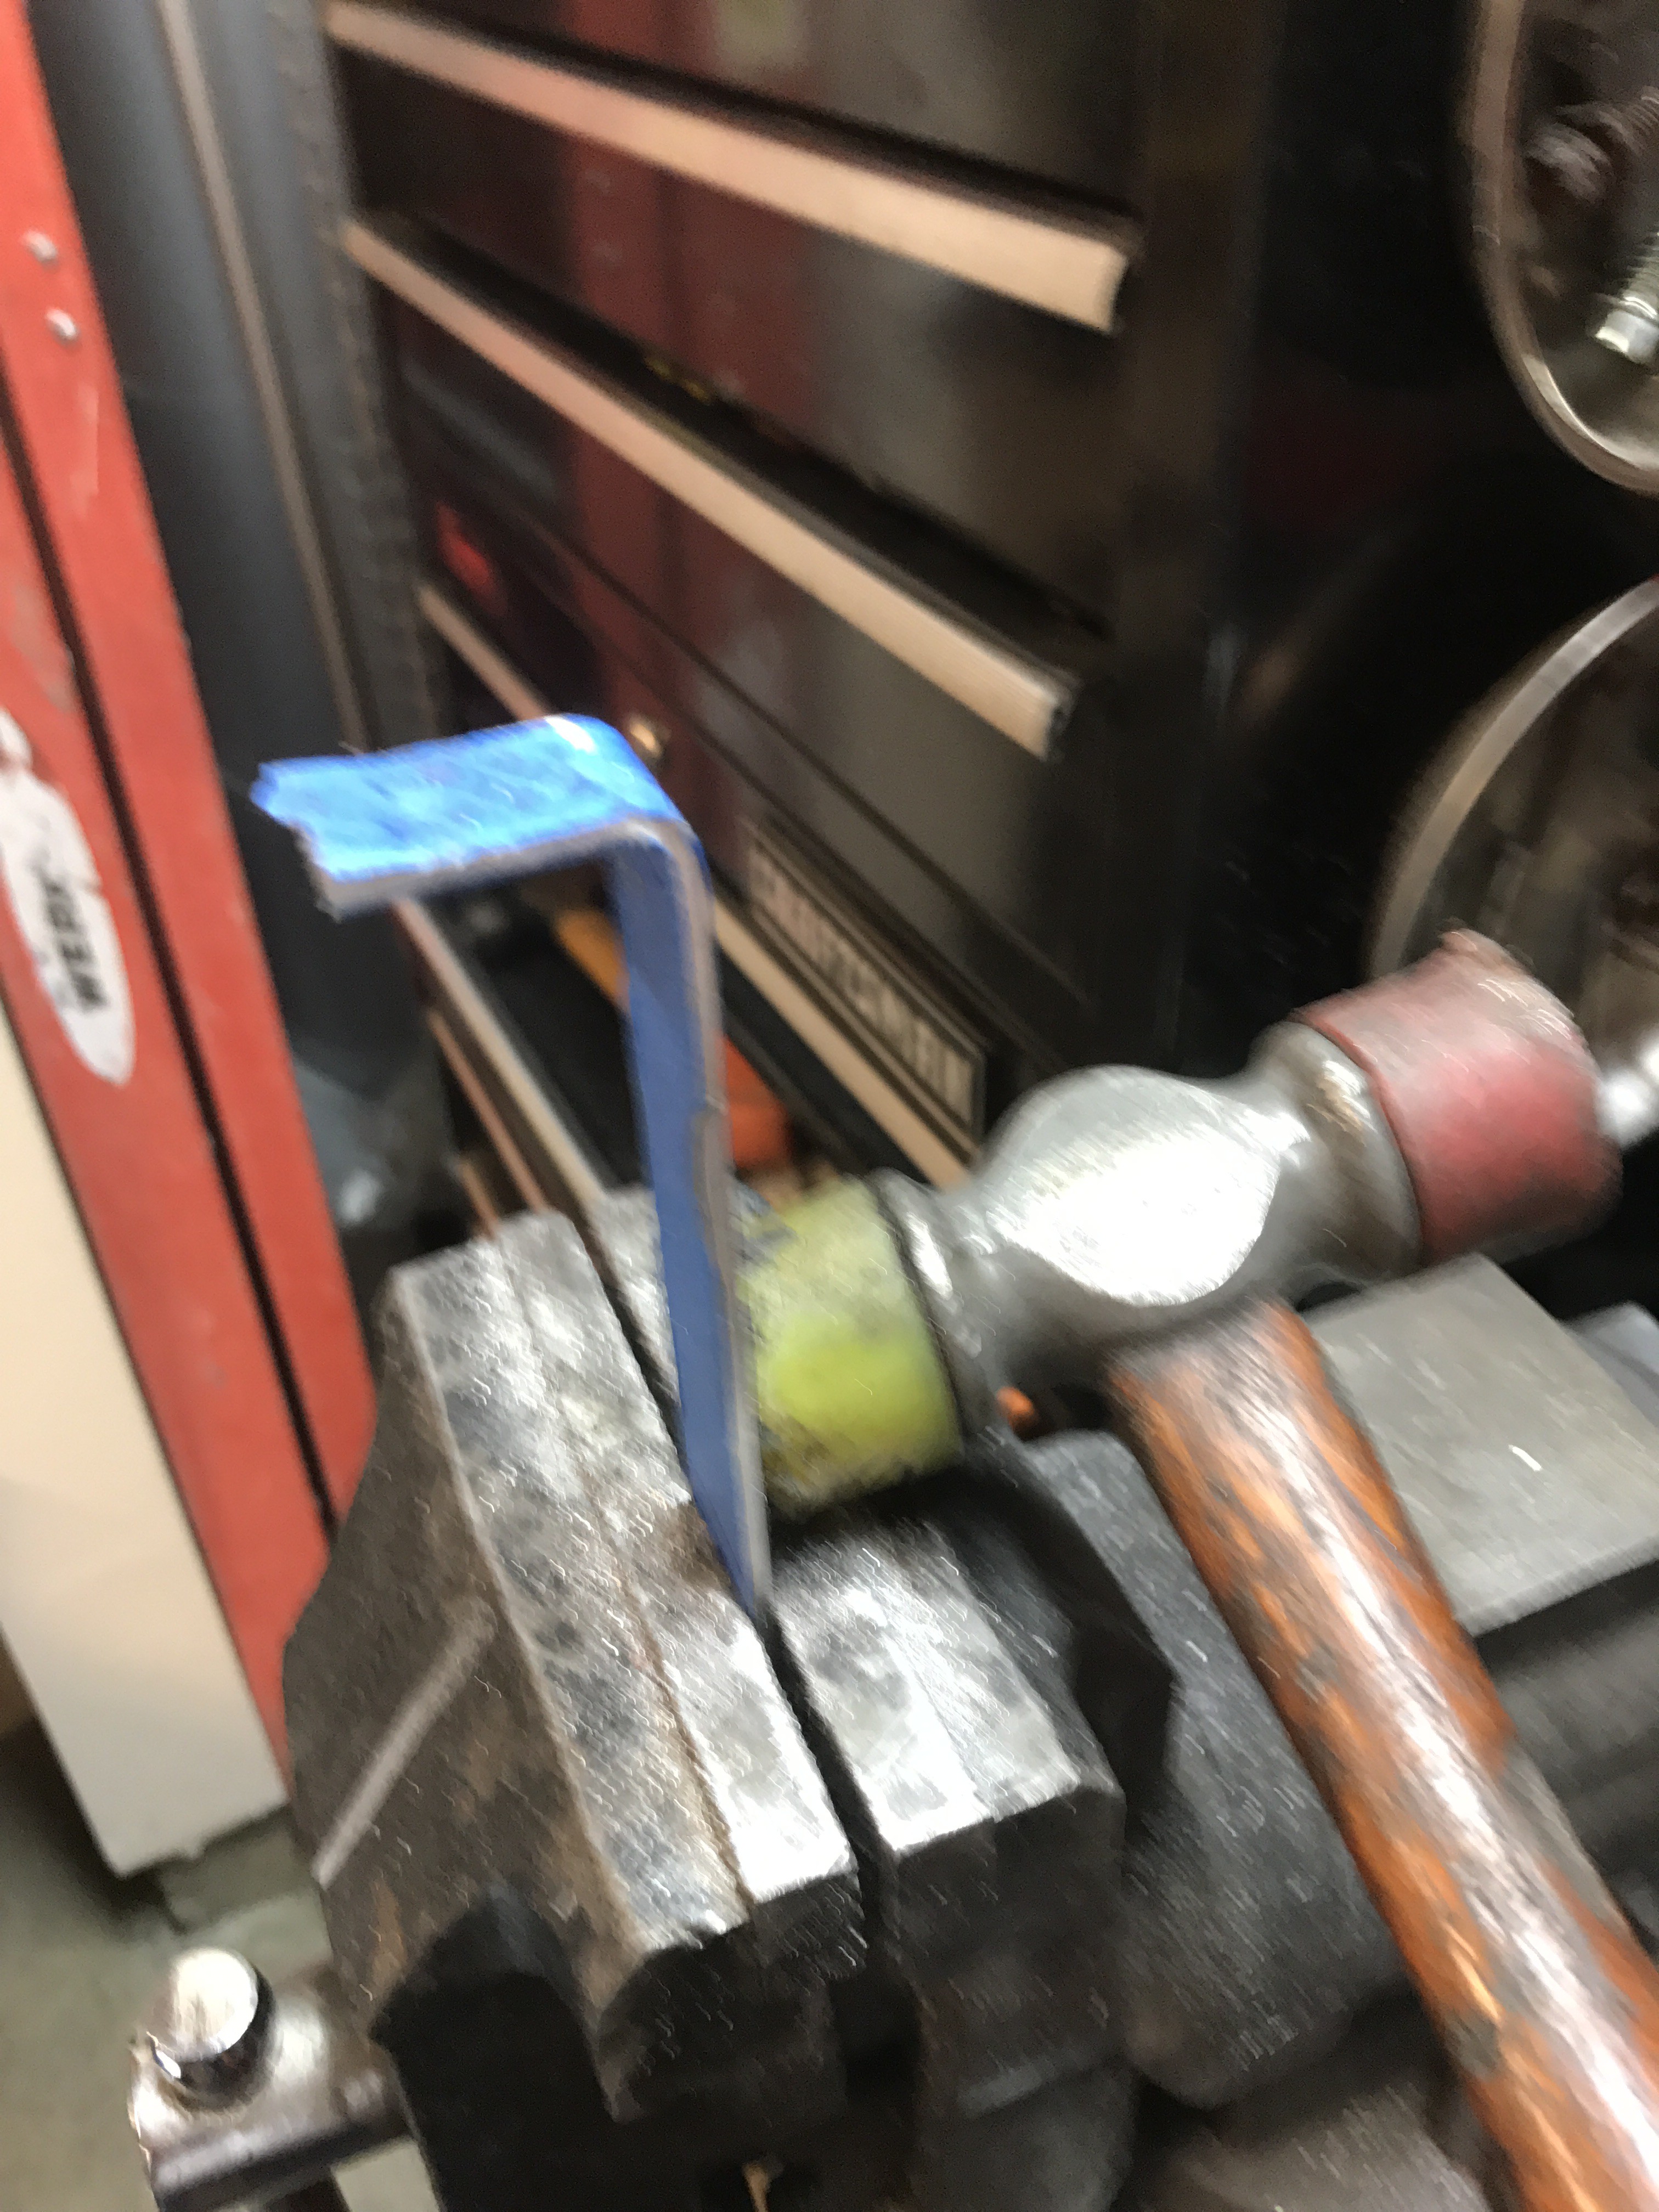
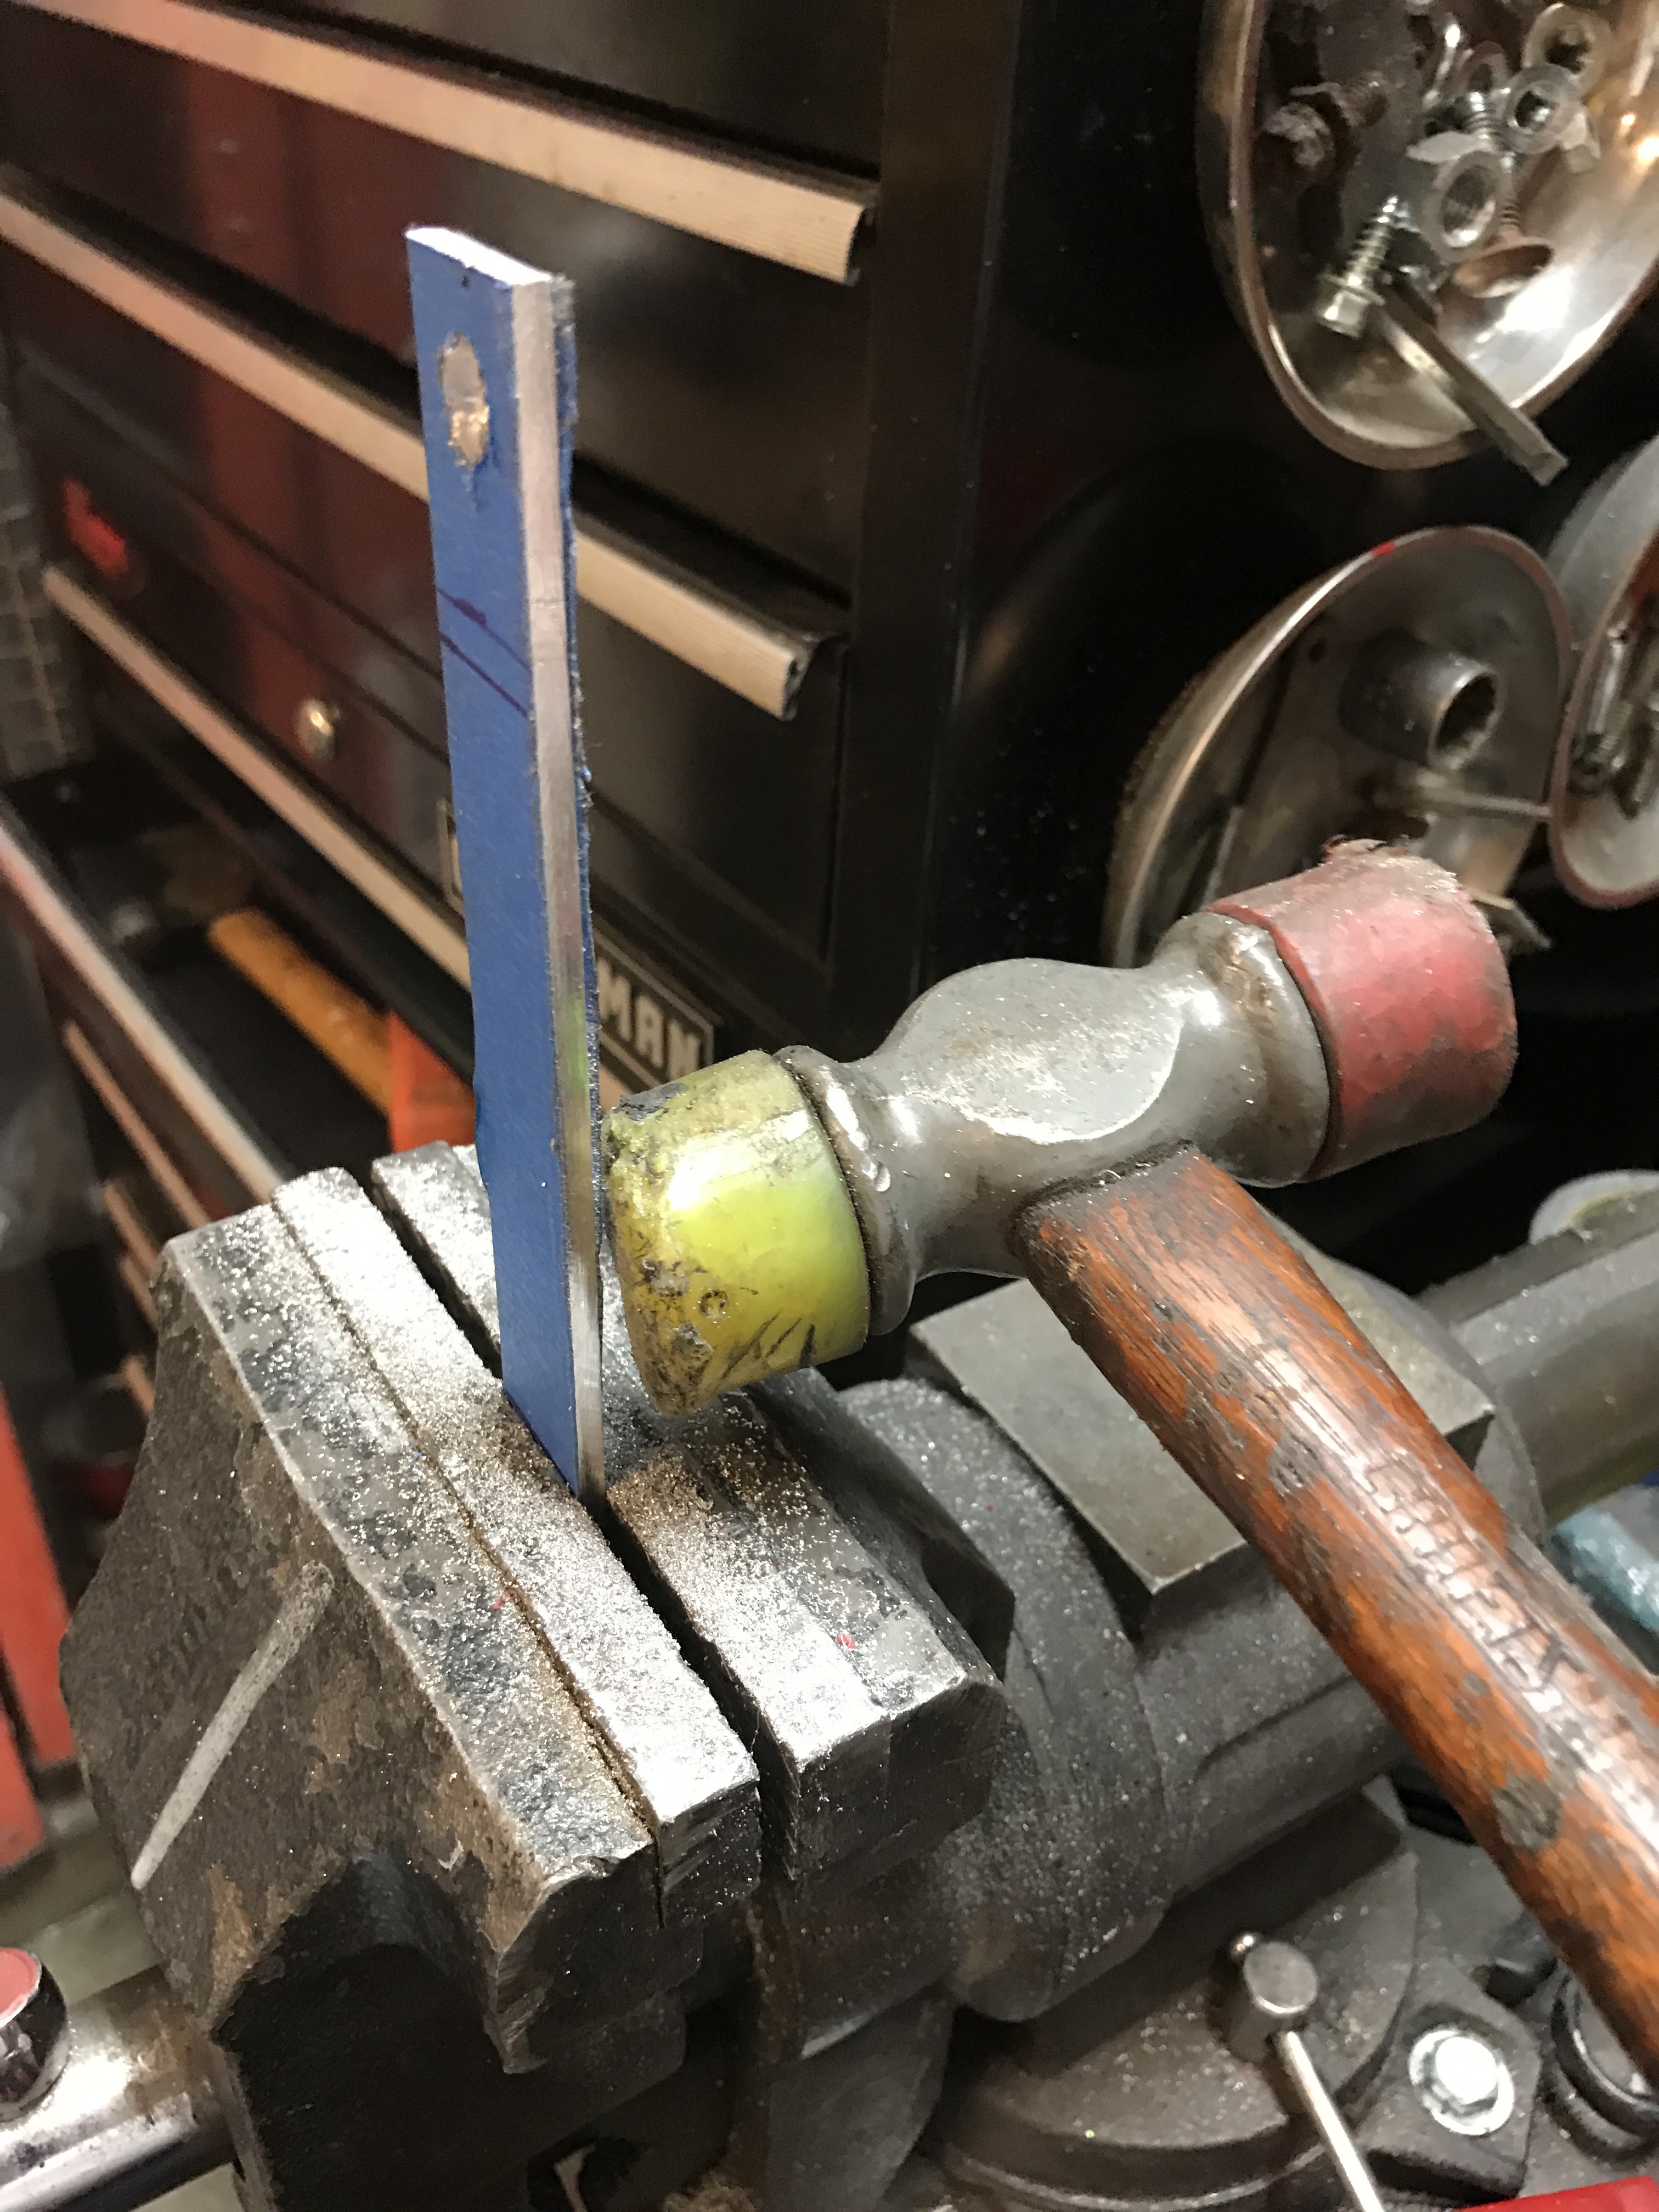
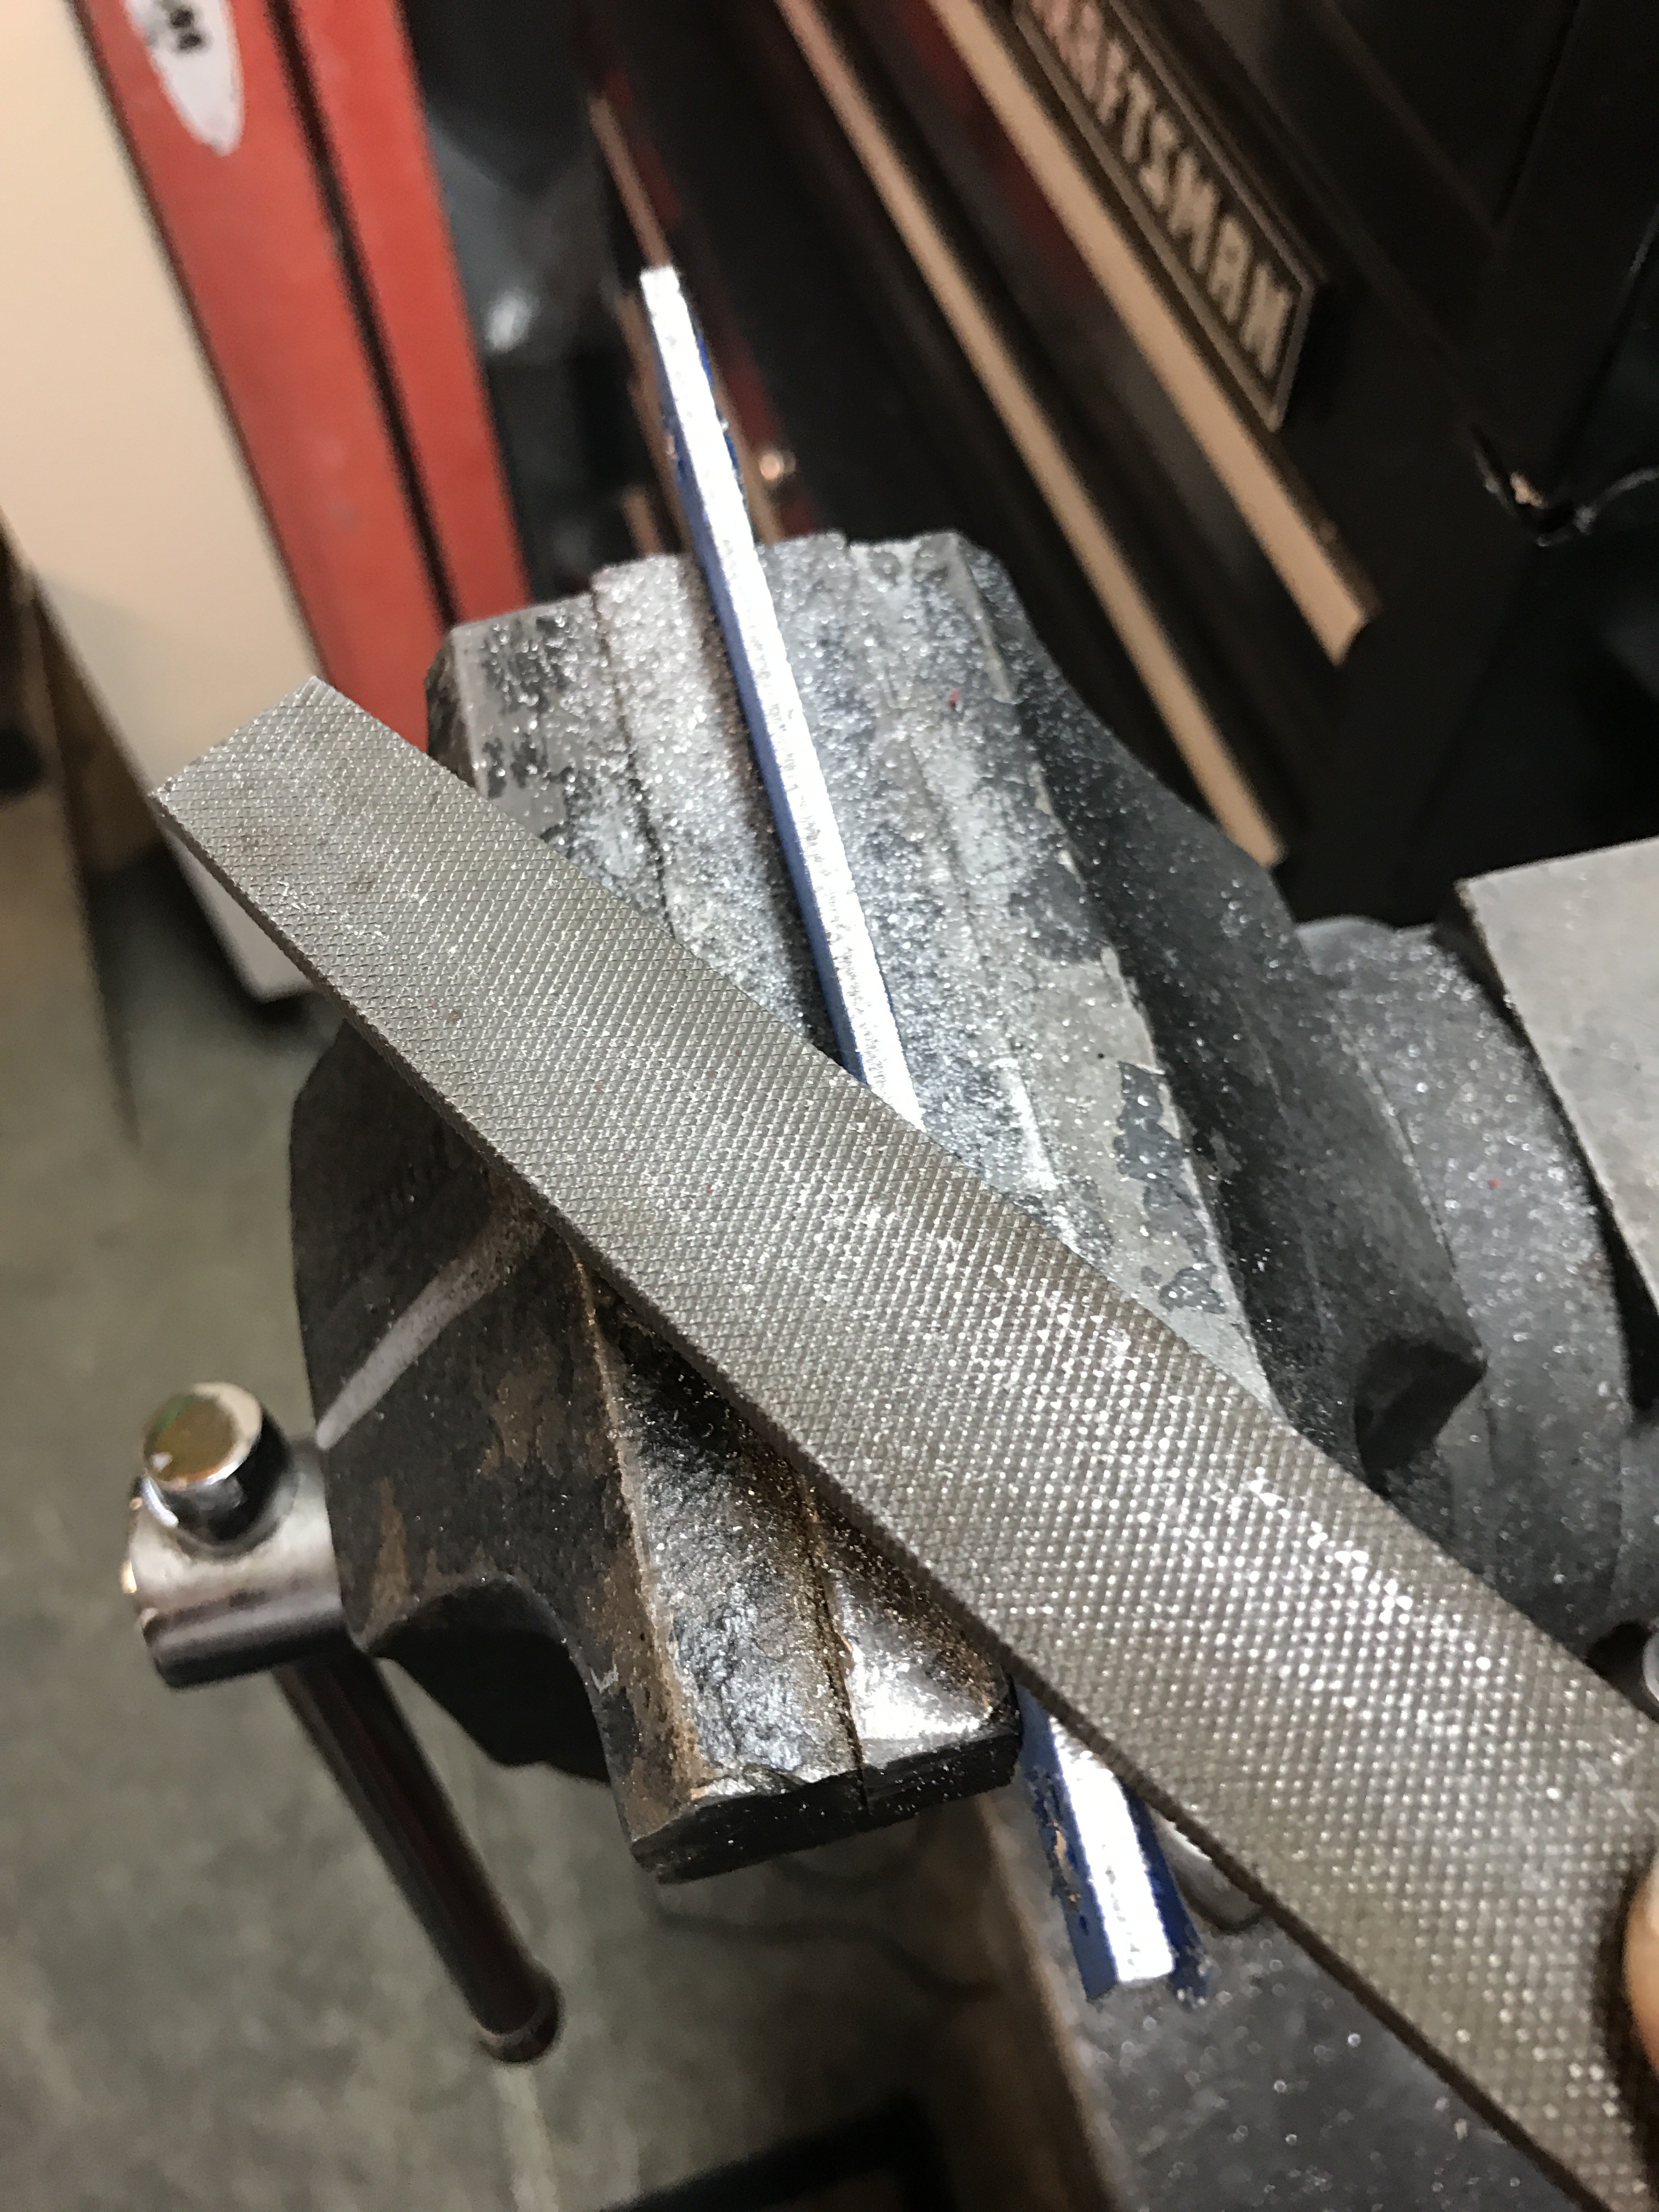
Take your 6 1/2'' piece and place it in the vise with the 1 1/4'' line at the top of the jaw, this is your bend line. Take soft hammer and hit the aluminum close to the vice to bend it. Don't hit high, this will screw the piece up. Keep hitting till you have a 90 degree. Repeat for both ends.
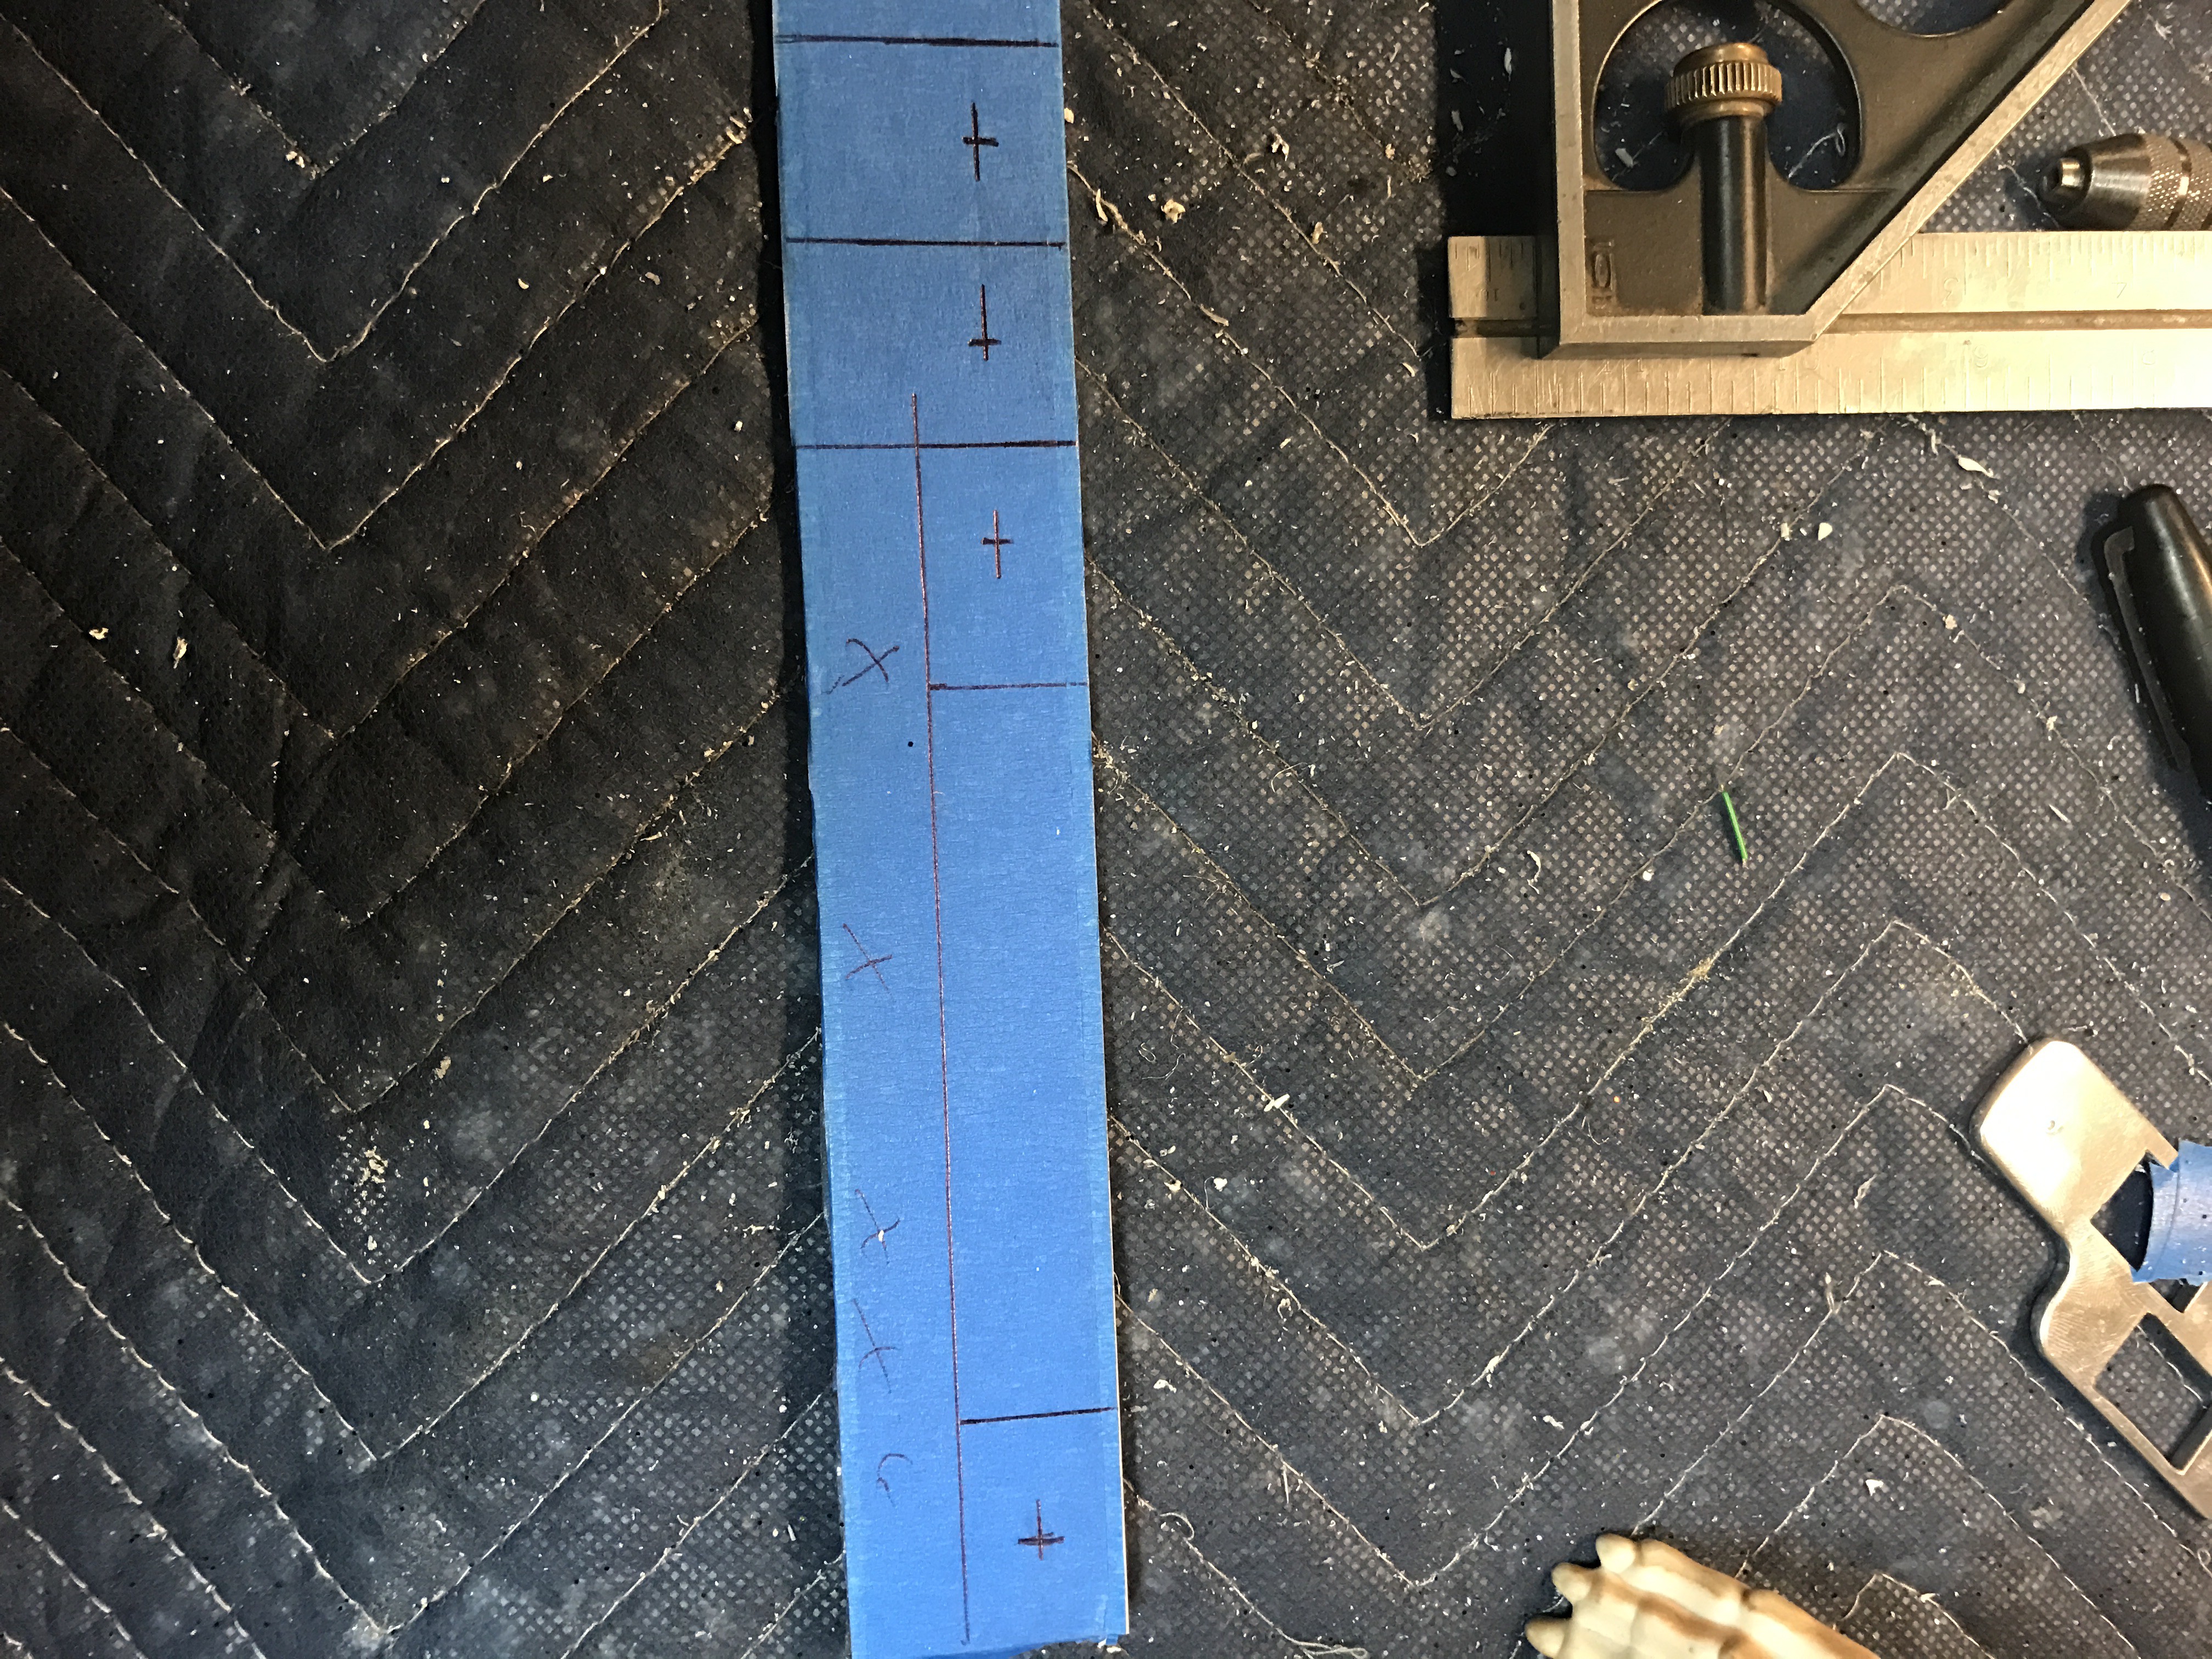
Use a file and clean up cut marks.Layout and fabricate front brace. I cover the top and bottom of the aluminum flat stock with painters tape to protect it and see my layout and tracings. I have three pieces shown laid out. Measure and cut one 6 1/2'' piece of flat stock and two 1'' flat stock. The 6 1/2'' piece will be cut to a 1'' width. Then come in on both ends 1 1/4'' and draw a square line across and a short line at a 1/2'' and a center line. Center punch the two crosses and drill a 3/8'' Hole. The two 1'' pieces are laid out 1/2'' from one end and a center line. Center punch and drill a 9/16'' hole in both pieces. When using large bits it is good practice to use a pilot bit. I have patterns in files below to make aluminum parts shown below. You can print them out on 8 1/2'' x 11'' card stock, cut out and trace. The front brace is not on the pattern, I am going to make a change.
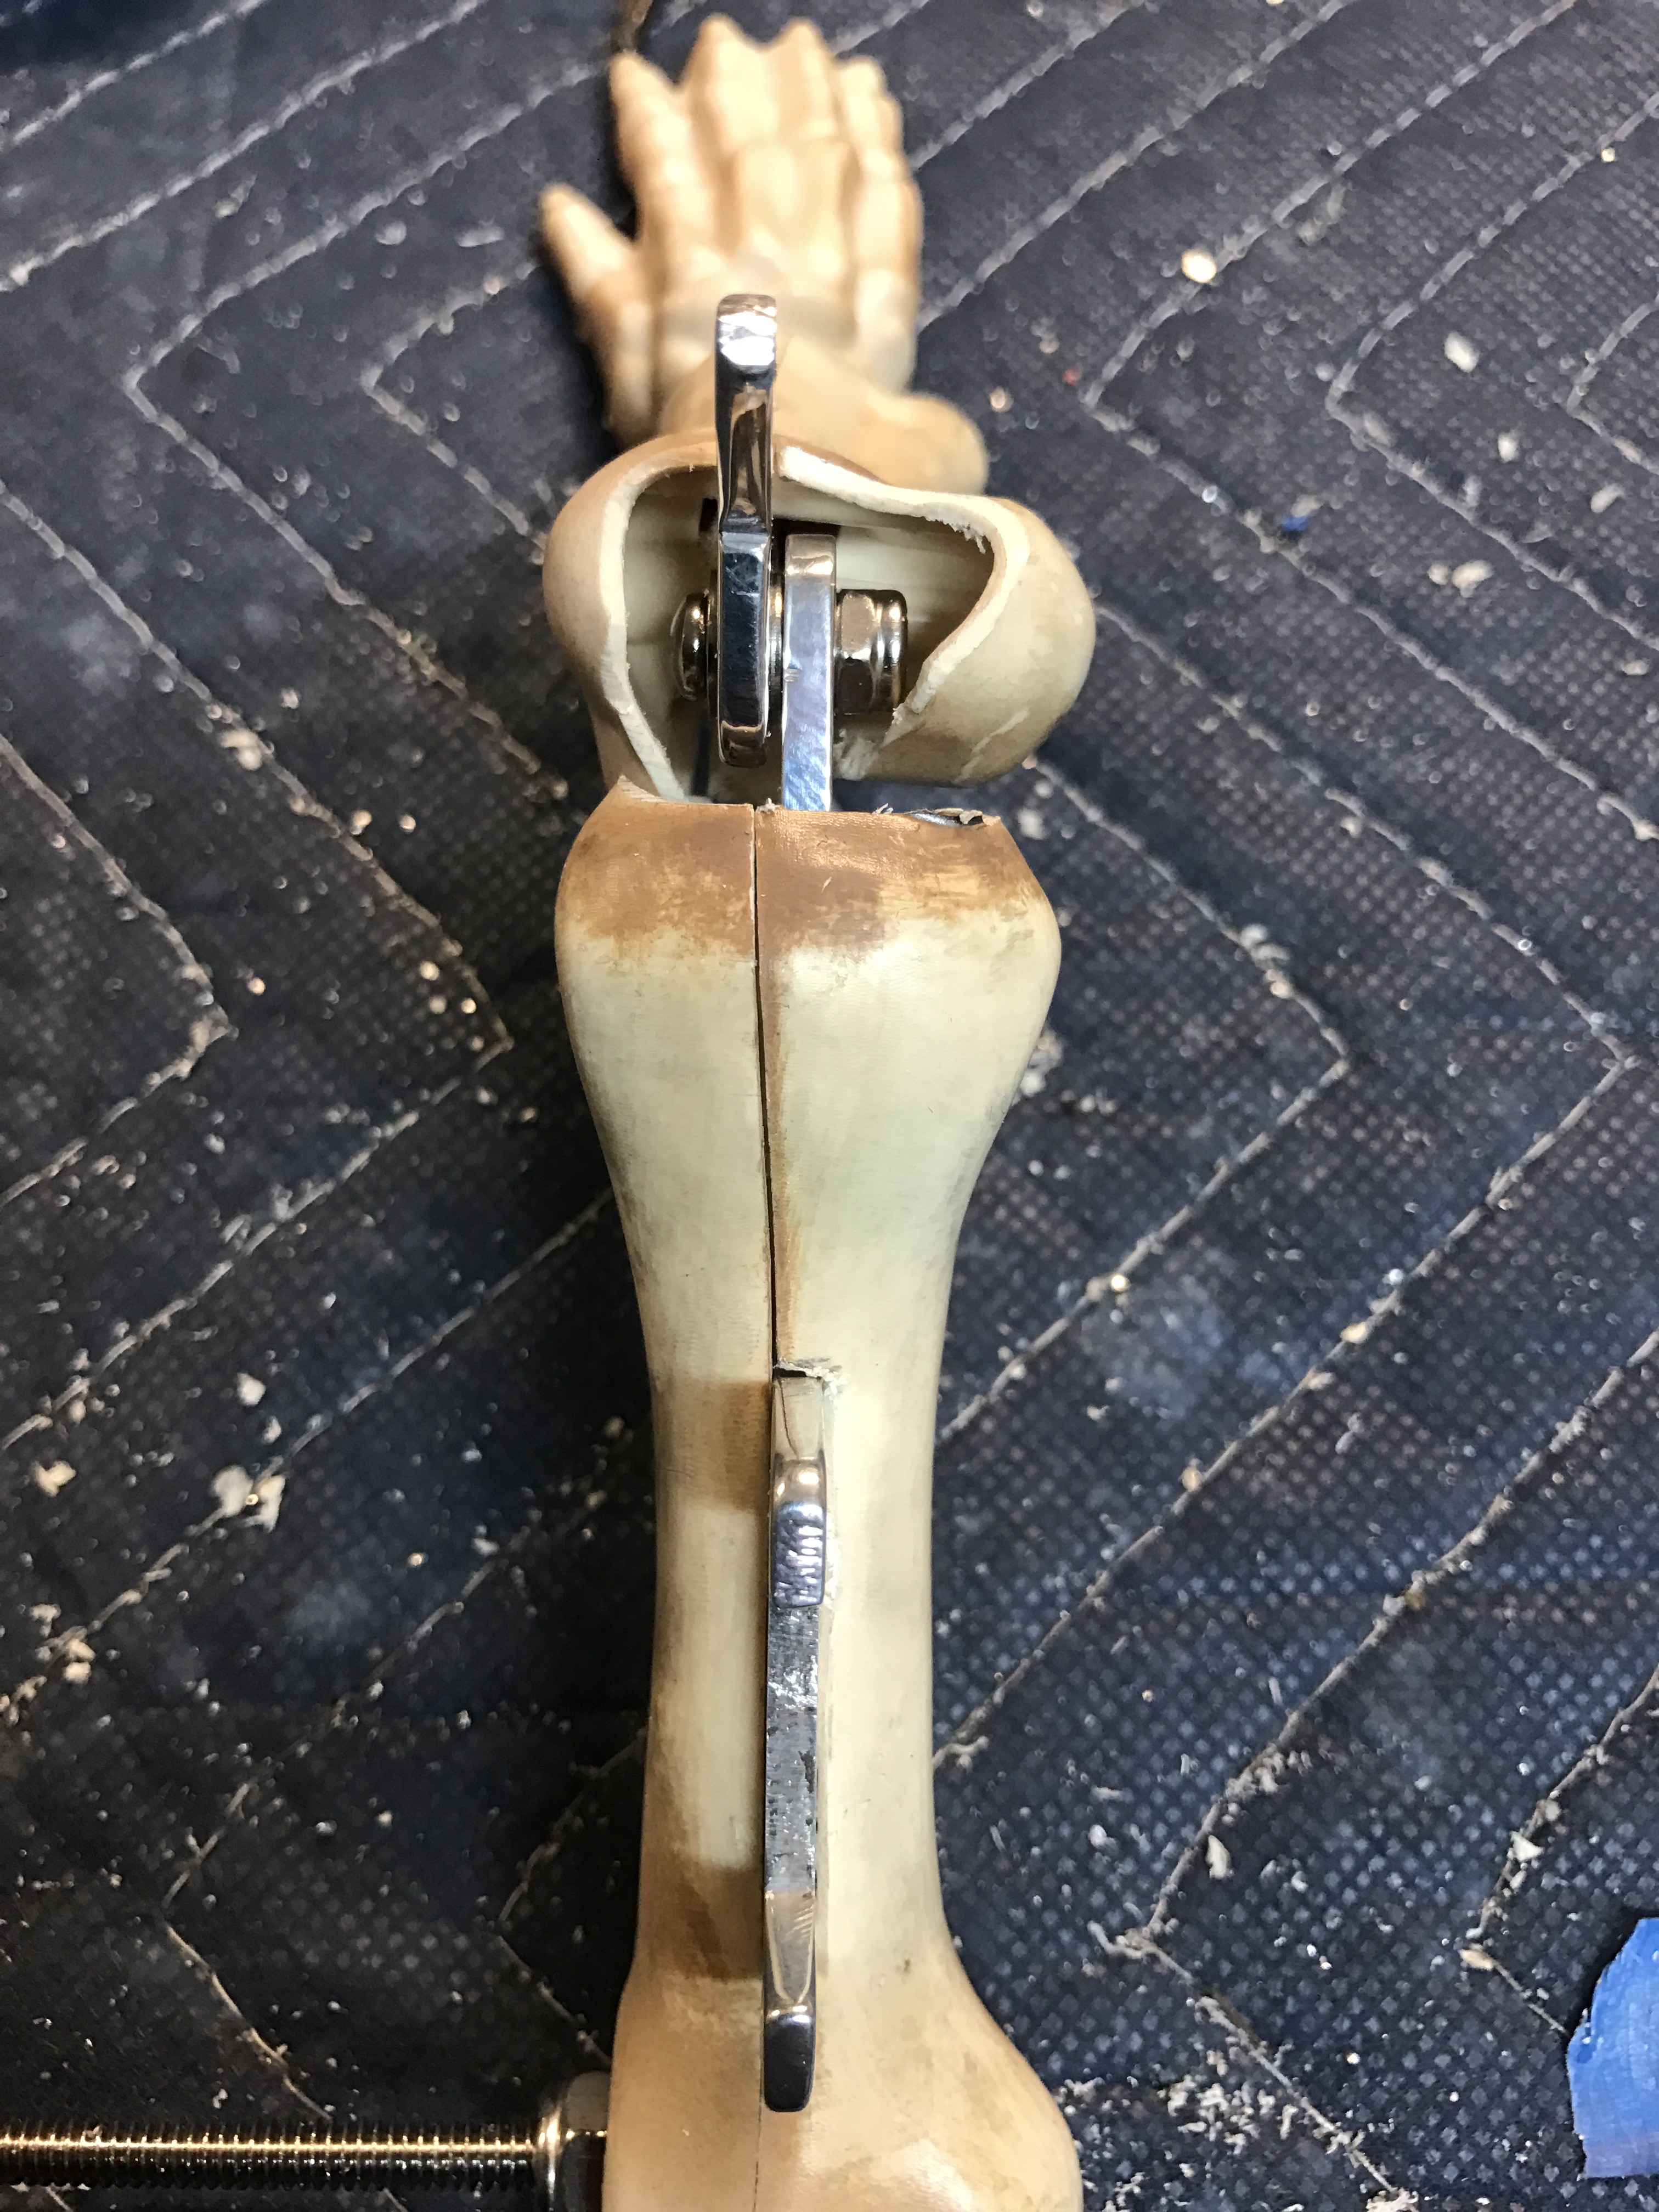
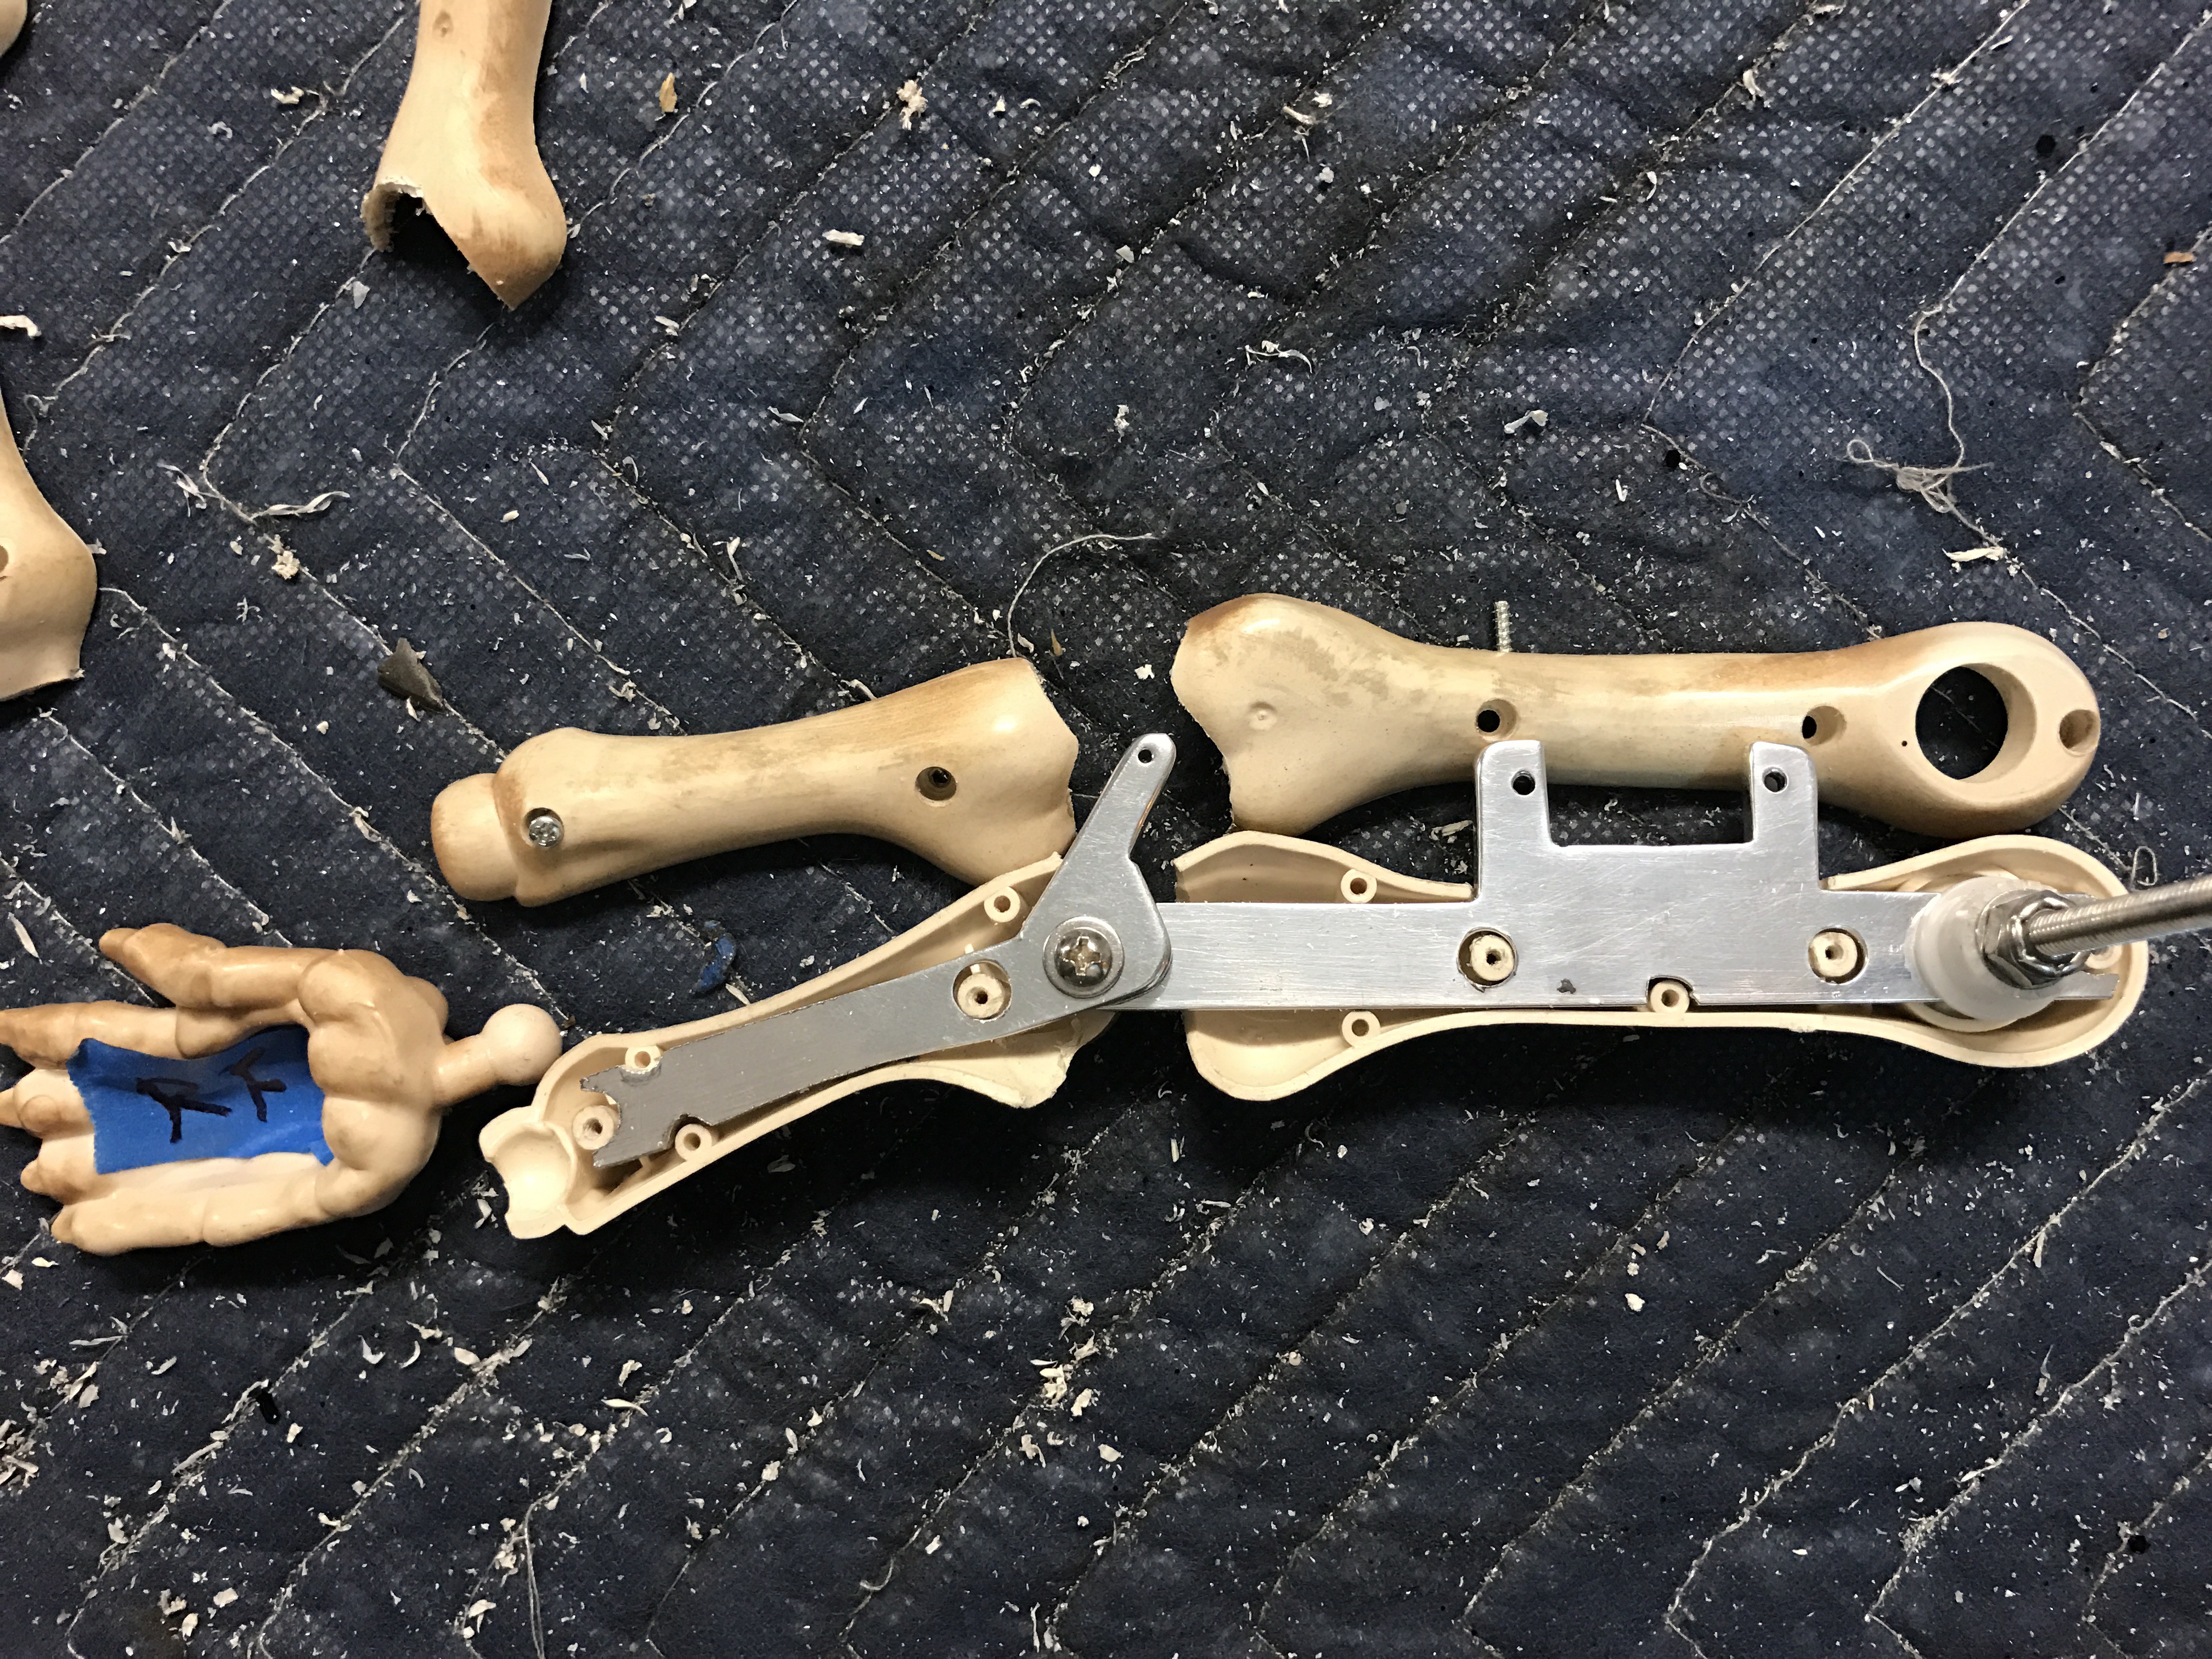
Below is picture of Left front leg for boney ready to be assembled. Remember to position the leg on body and servo mount faces forward and notch for mount goes in leg half with no holes.
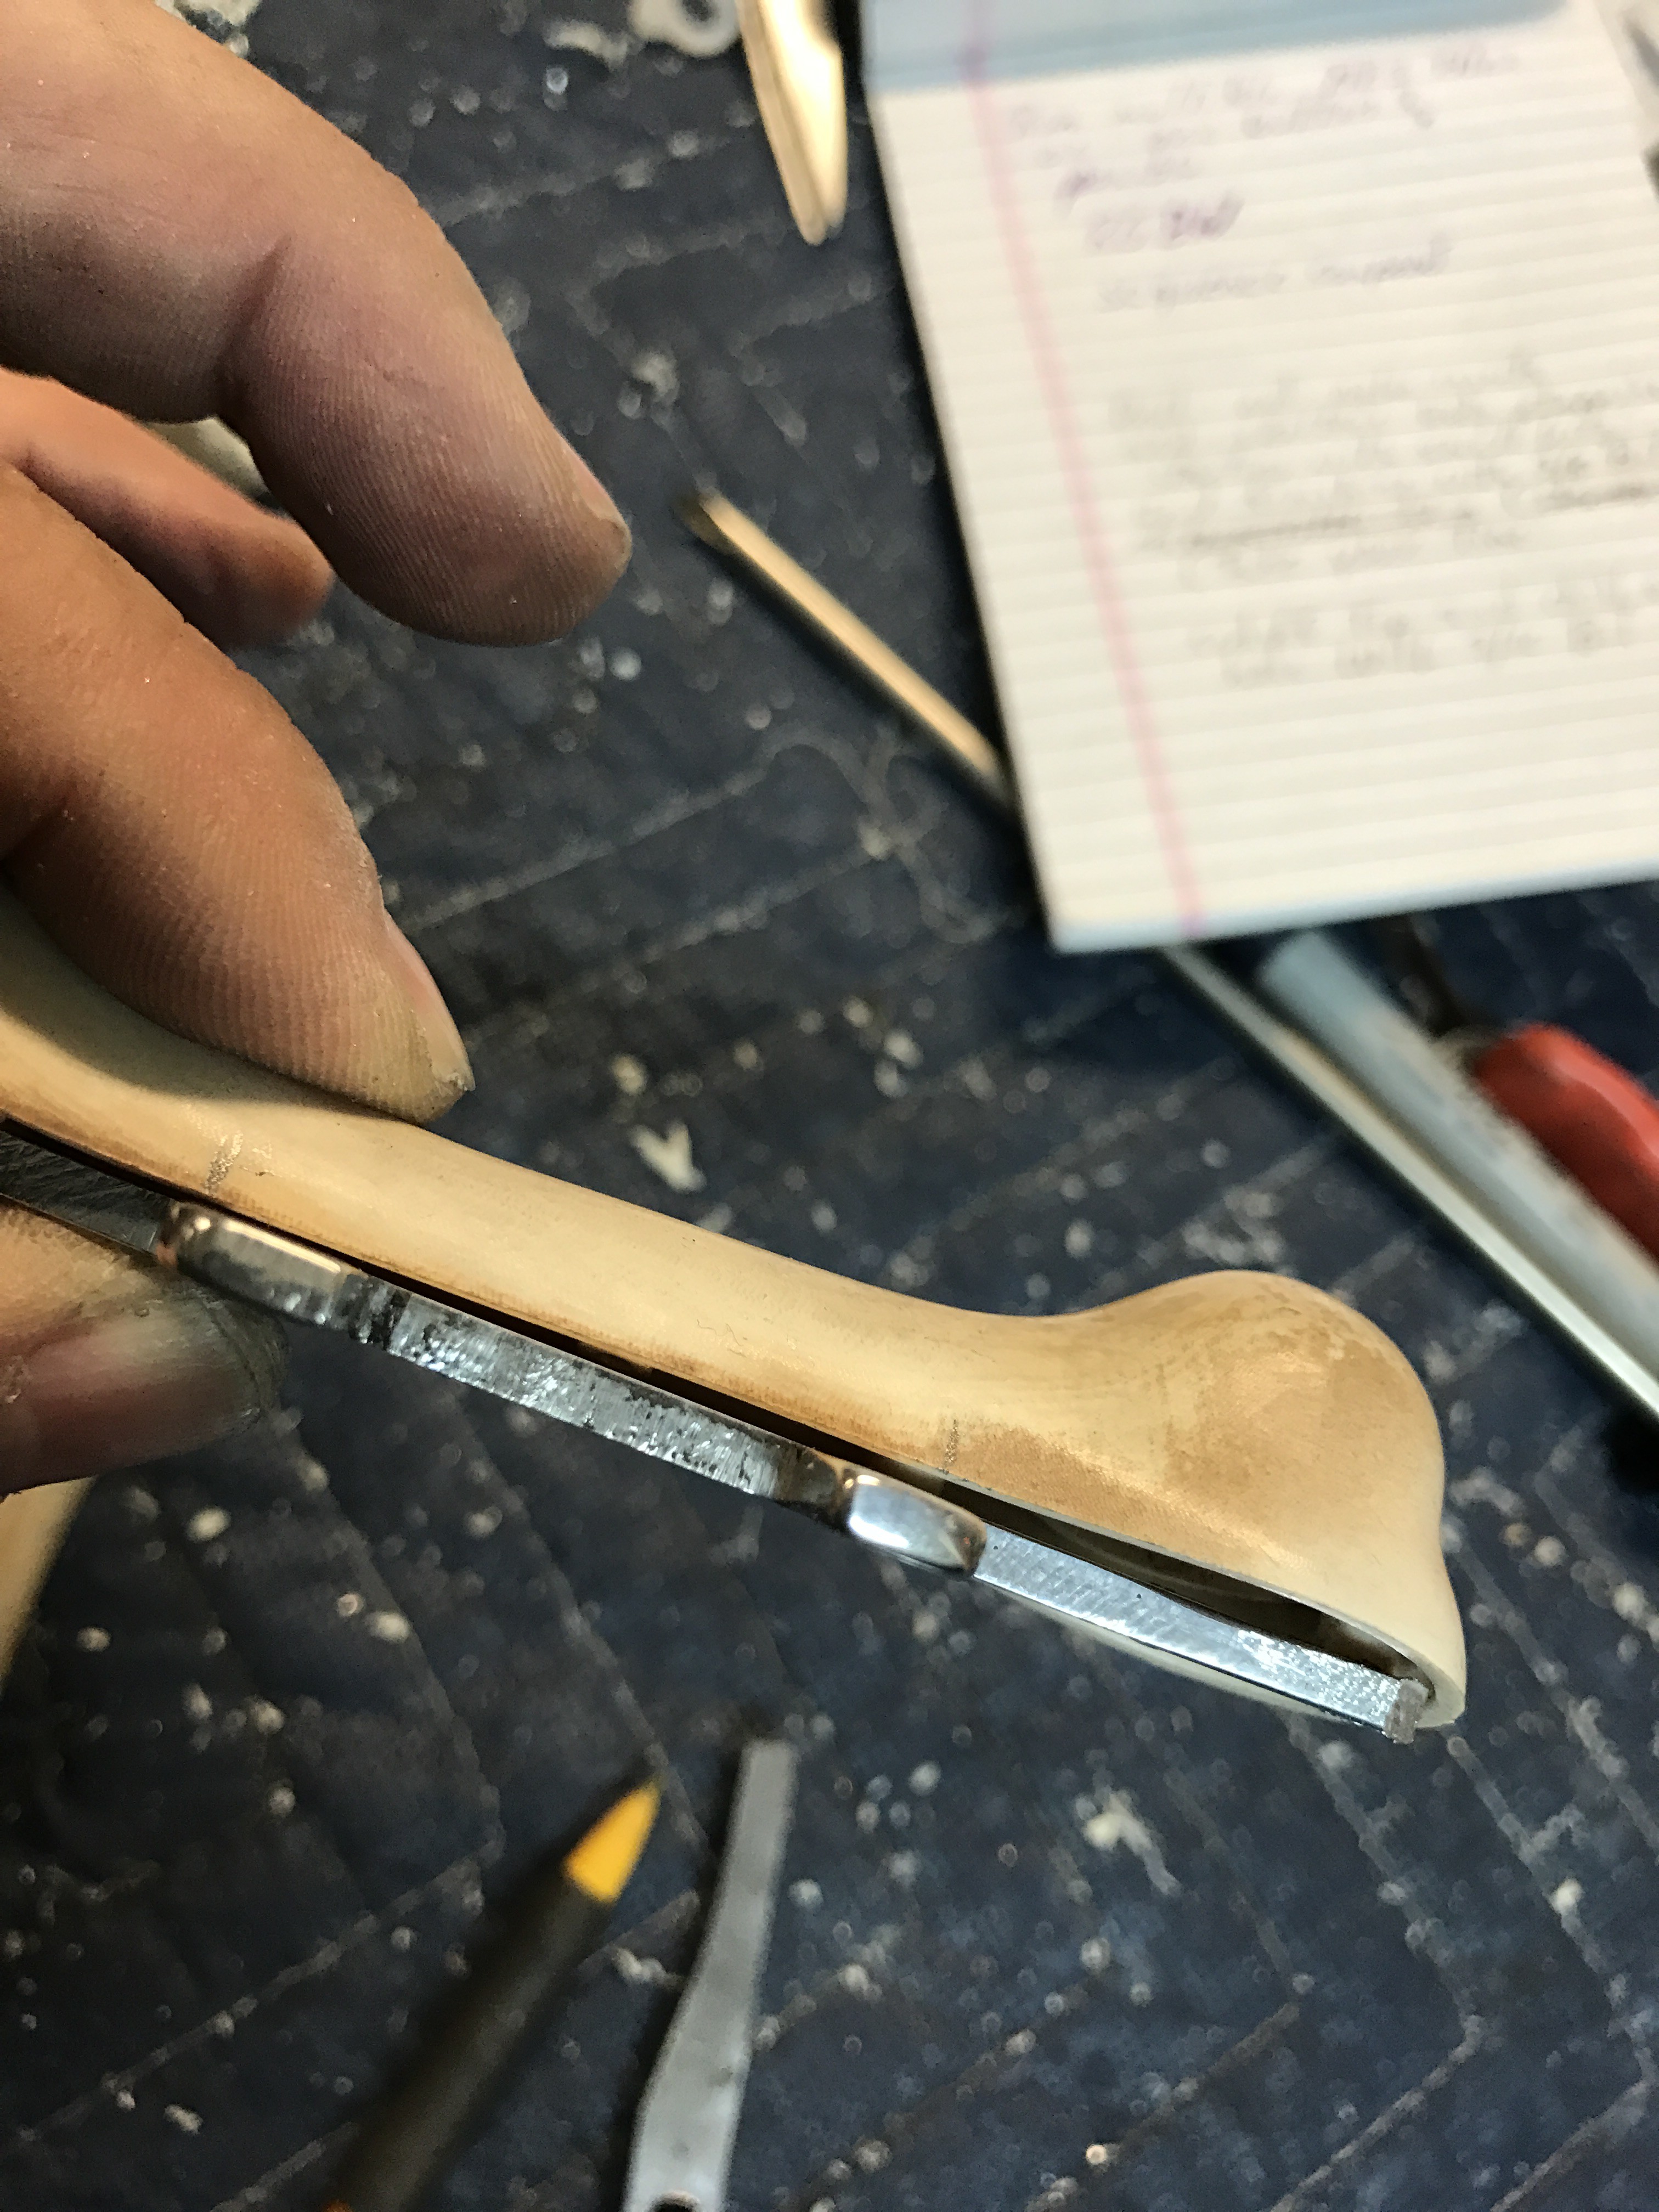
Dress up the edges on the cuts at knee and assemble leg with 6-32 x 1/2'' stainless machine screw, 2qty- #6 washers and nylon lock nut. The servo mount bracket is threaded 6-32 and the nylon lock jambs against bracket, this removes play in joint. Put leg piece on and necessary screws to hold them temporarily, you will be removing them as you clearance the knee area so the leg will bend. The below pictures show clearance work done and 10-24x2 1/2'' Machine screw, nylon spacer, #10 flat washer and 10-24 nylon lock installed, you can leave off till final fit up of leg. You will have to use the burr bit to remove objects that are in your way from getting bracket inside the leg. This may also include filing on the aluminum brackets. Try not to compromise the screw mounts that hold leg pieces together. Some of these are cut away when you cut the legs in half. I have a fix for them and will show you when I assemble those legs.Starting leg assembly and starting with the right front. This is the most difficult part of the project and takes patience. Take the two halves of the right upper part of the leg and place them together. Place the leg on the right front of the body as if he was standing, the servo mount will face forward. Mark the outer leg piece at the seam, this is where the servo mount will be cut in. Lay aluminum mount and mark with pencil for notching. Make straight line between marks about an 1/8'' in and file out the area. I use a 1/2''x1/2'' x 10'' metal file clamped in a vise. This is easier than trying to clamp the plastic. Keep checking your fit ,its hard to put material back once its gone.
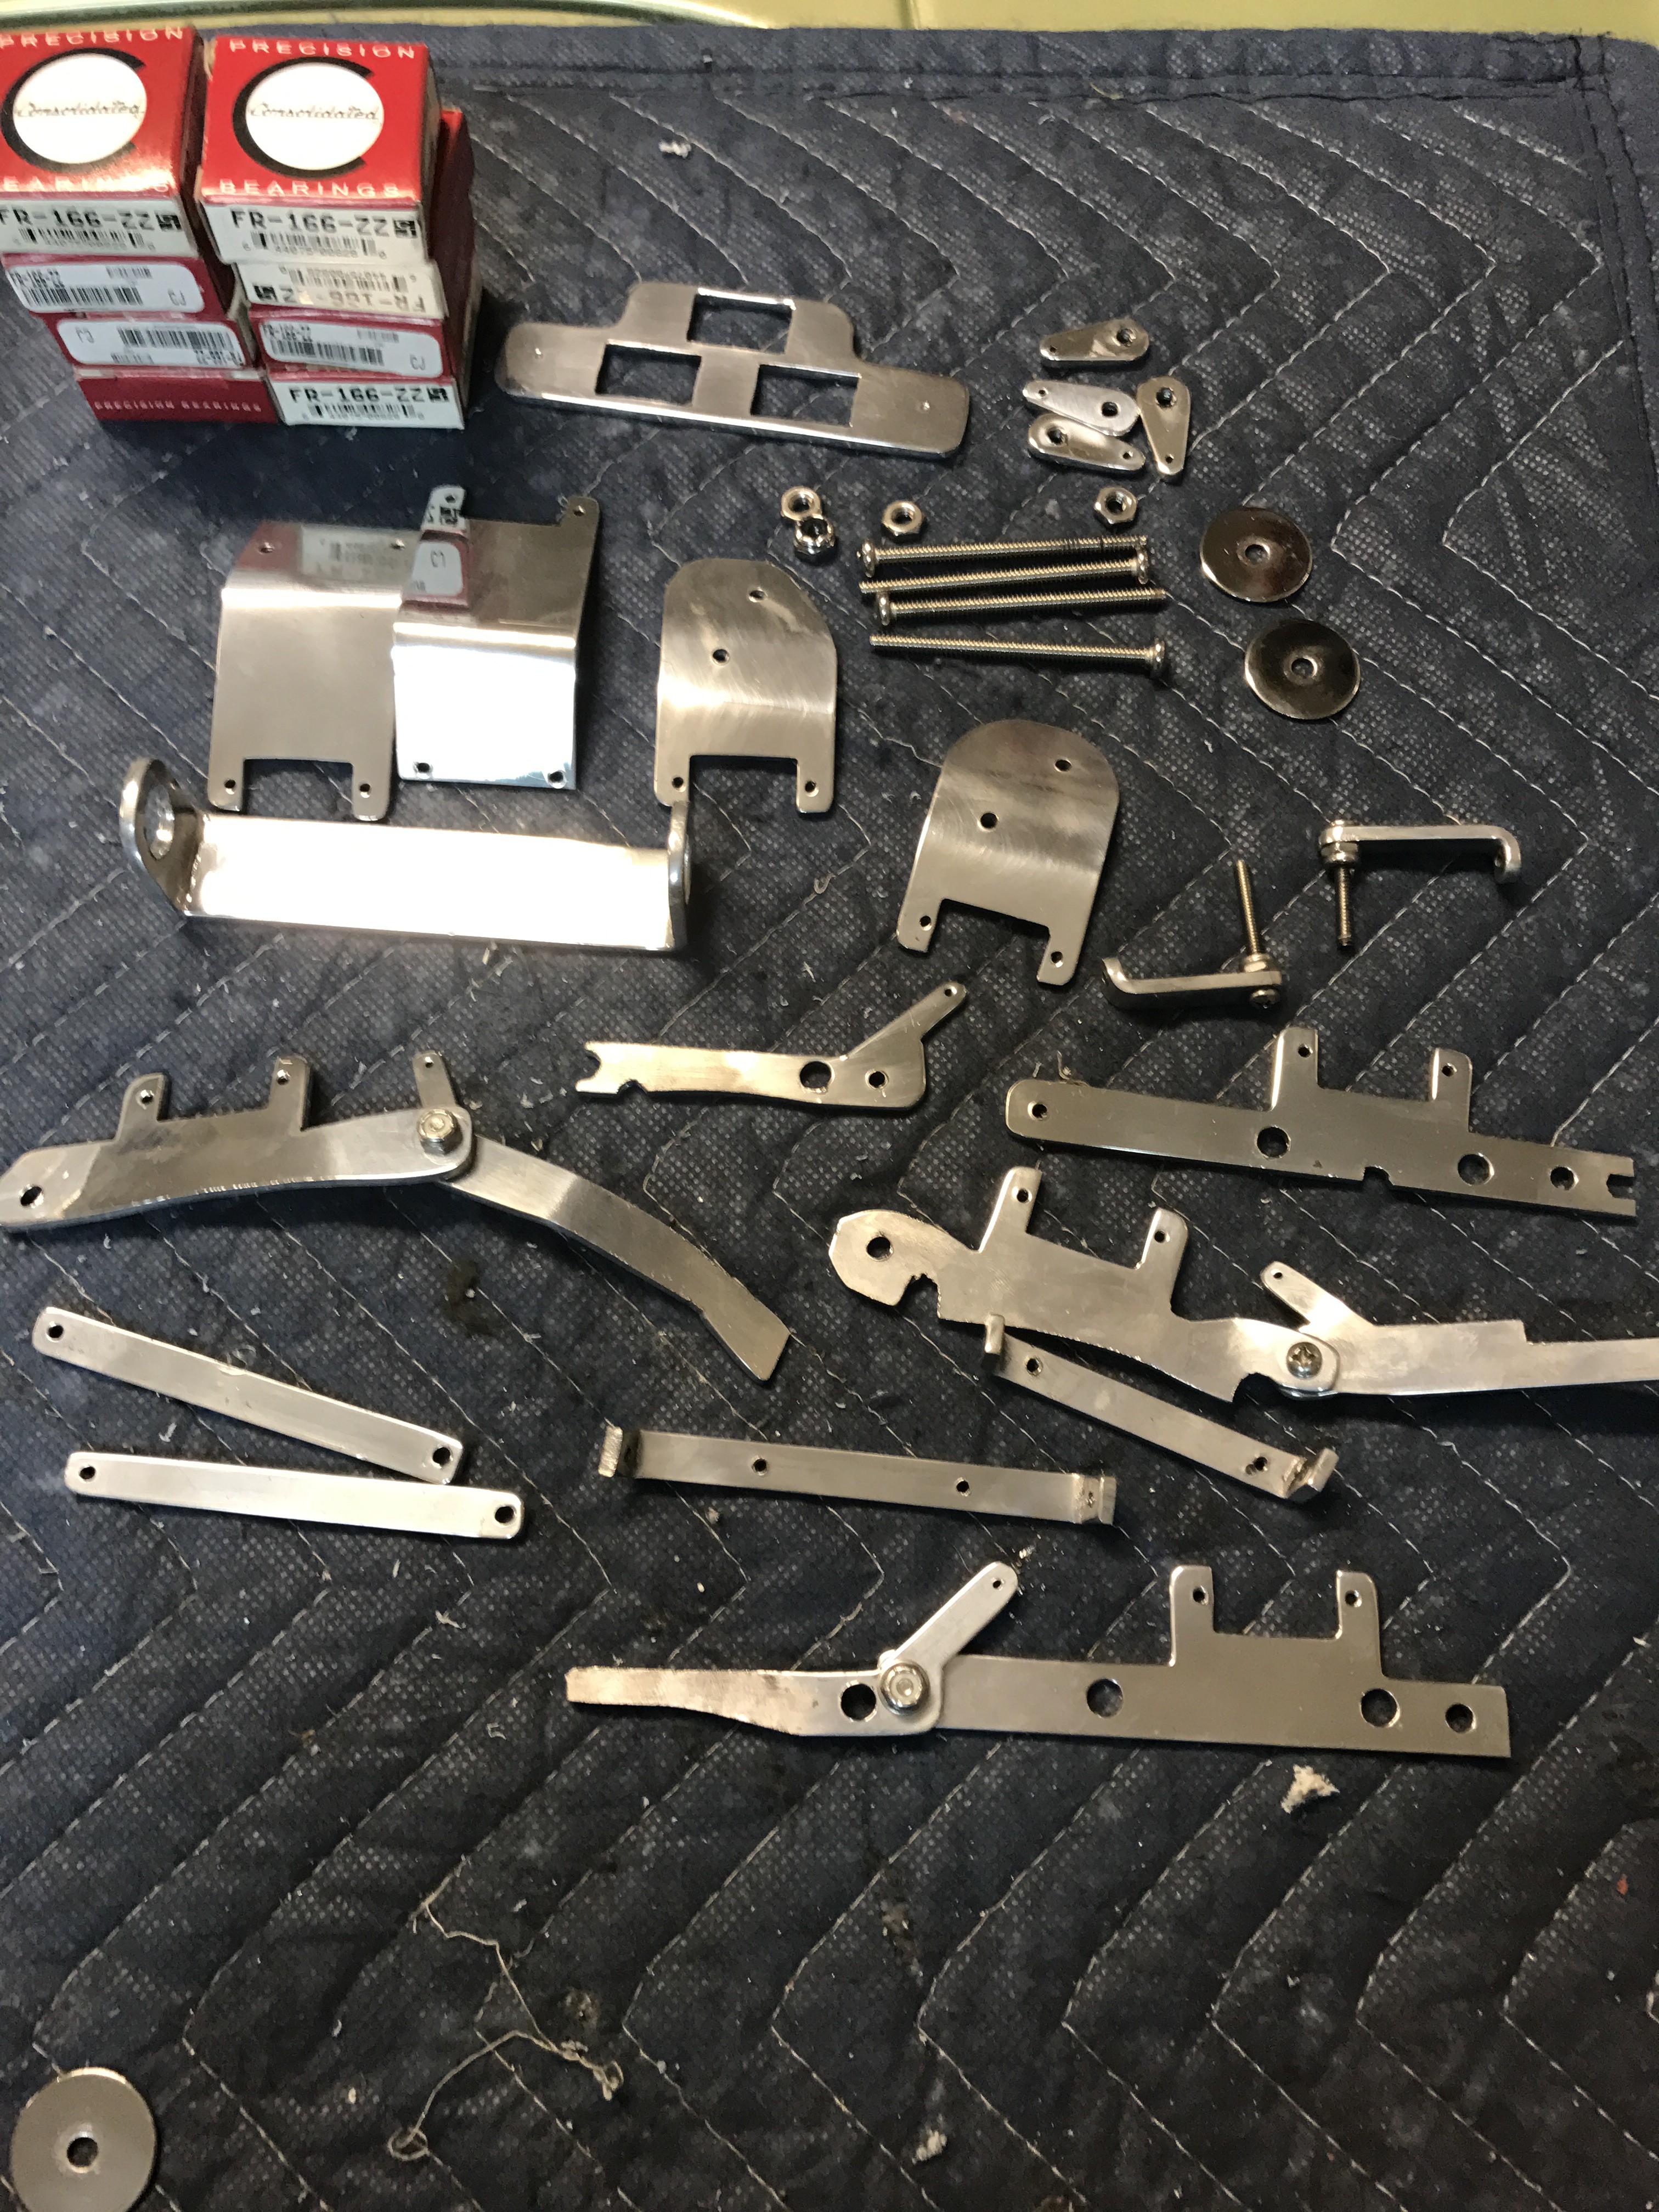
I added a material list to save a lot of trips to the hardware store. You will need to get the 4qty 10-24x 2 1/2'' Stainless Machine screws and file the threads a little to slide the FR-166-ZZ Bearings over the screw. I was able to slip the head of the bolt up inside the drill press chuck. I turned drill on and made sure it was running straight and lightly filed the threads. Stop the drill and check the bearing fit. Then flip the screw and file the remaining threads. Check bearing fit, do not force bearing on.
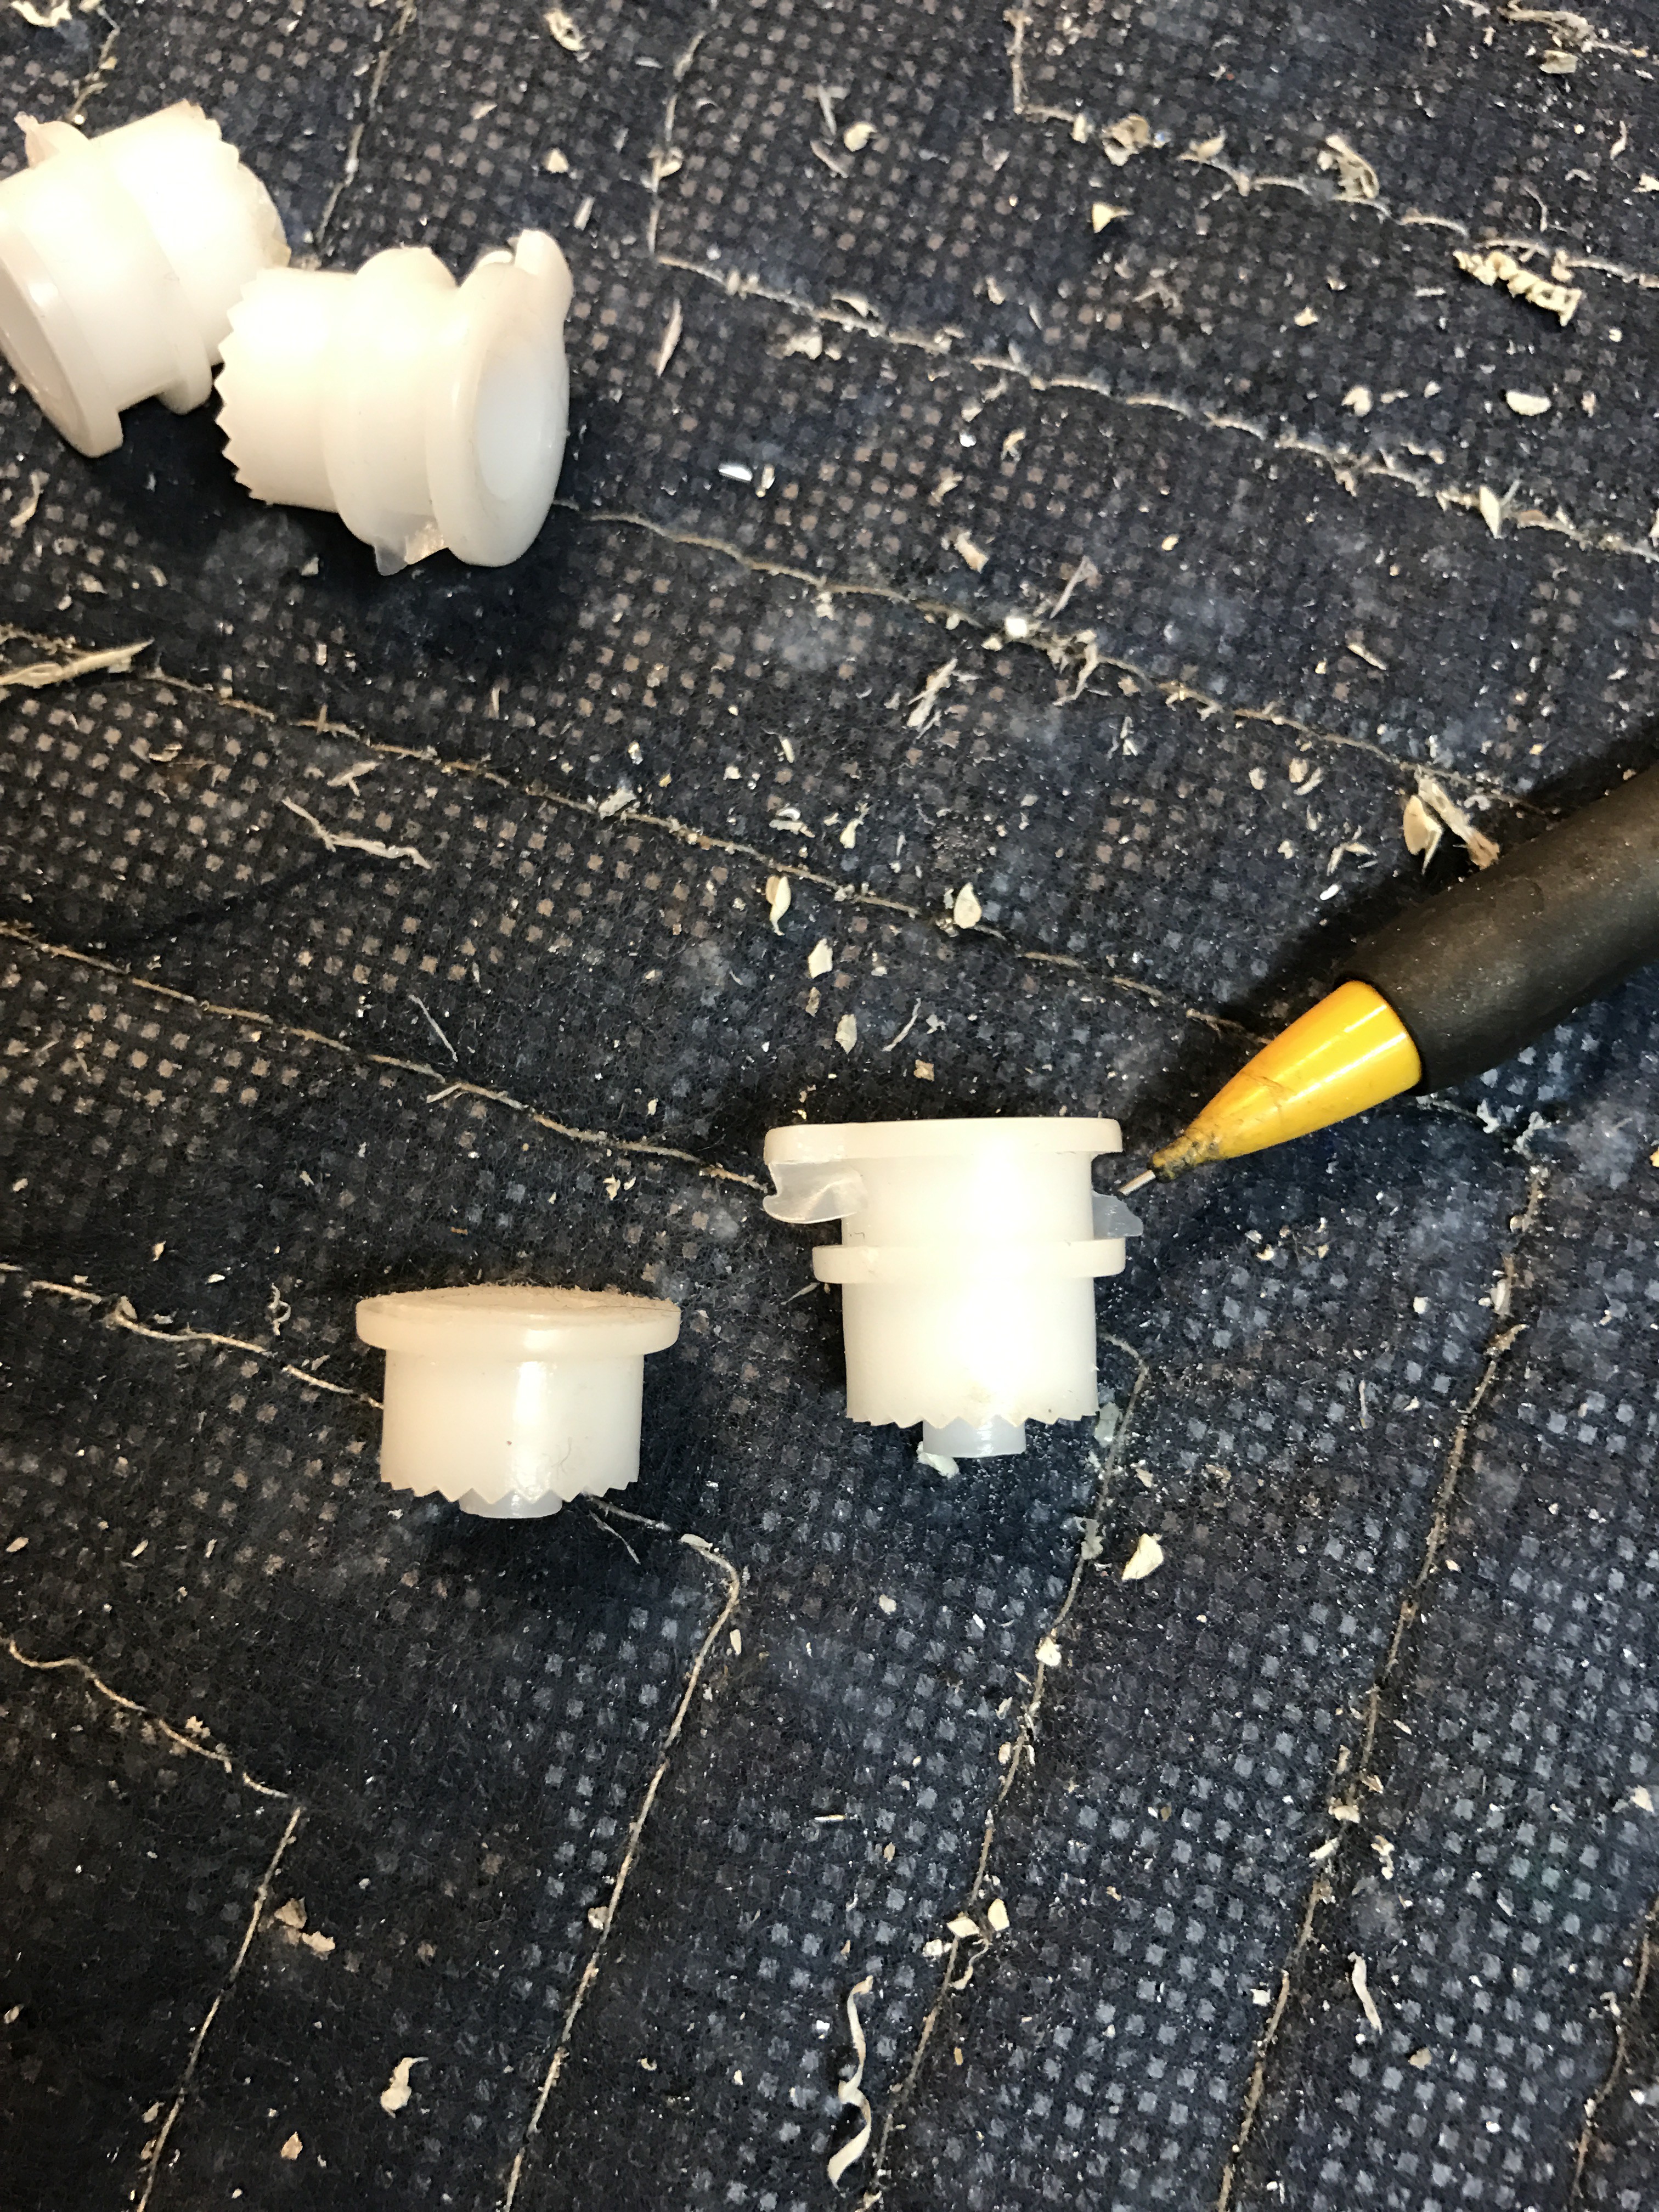
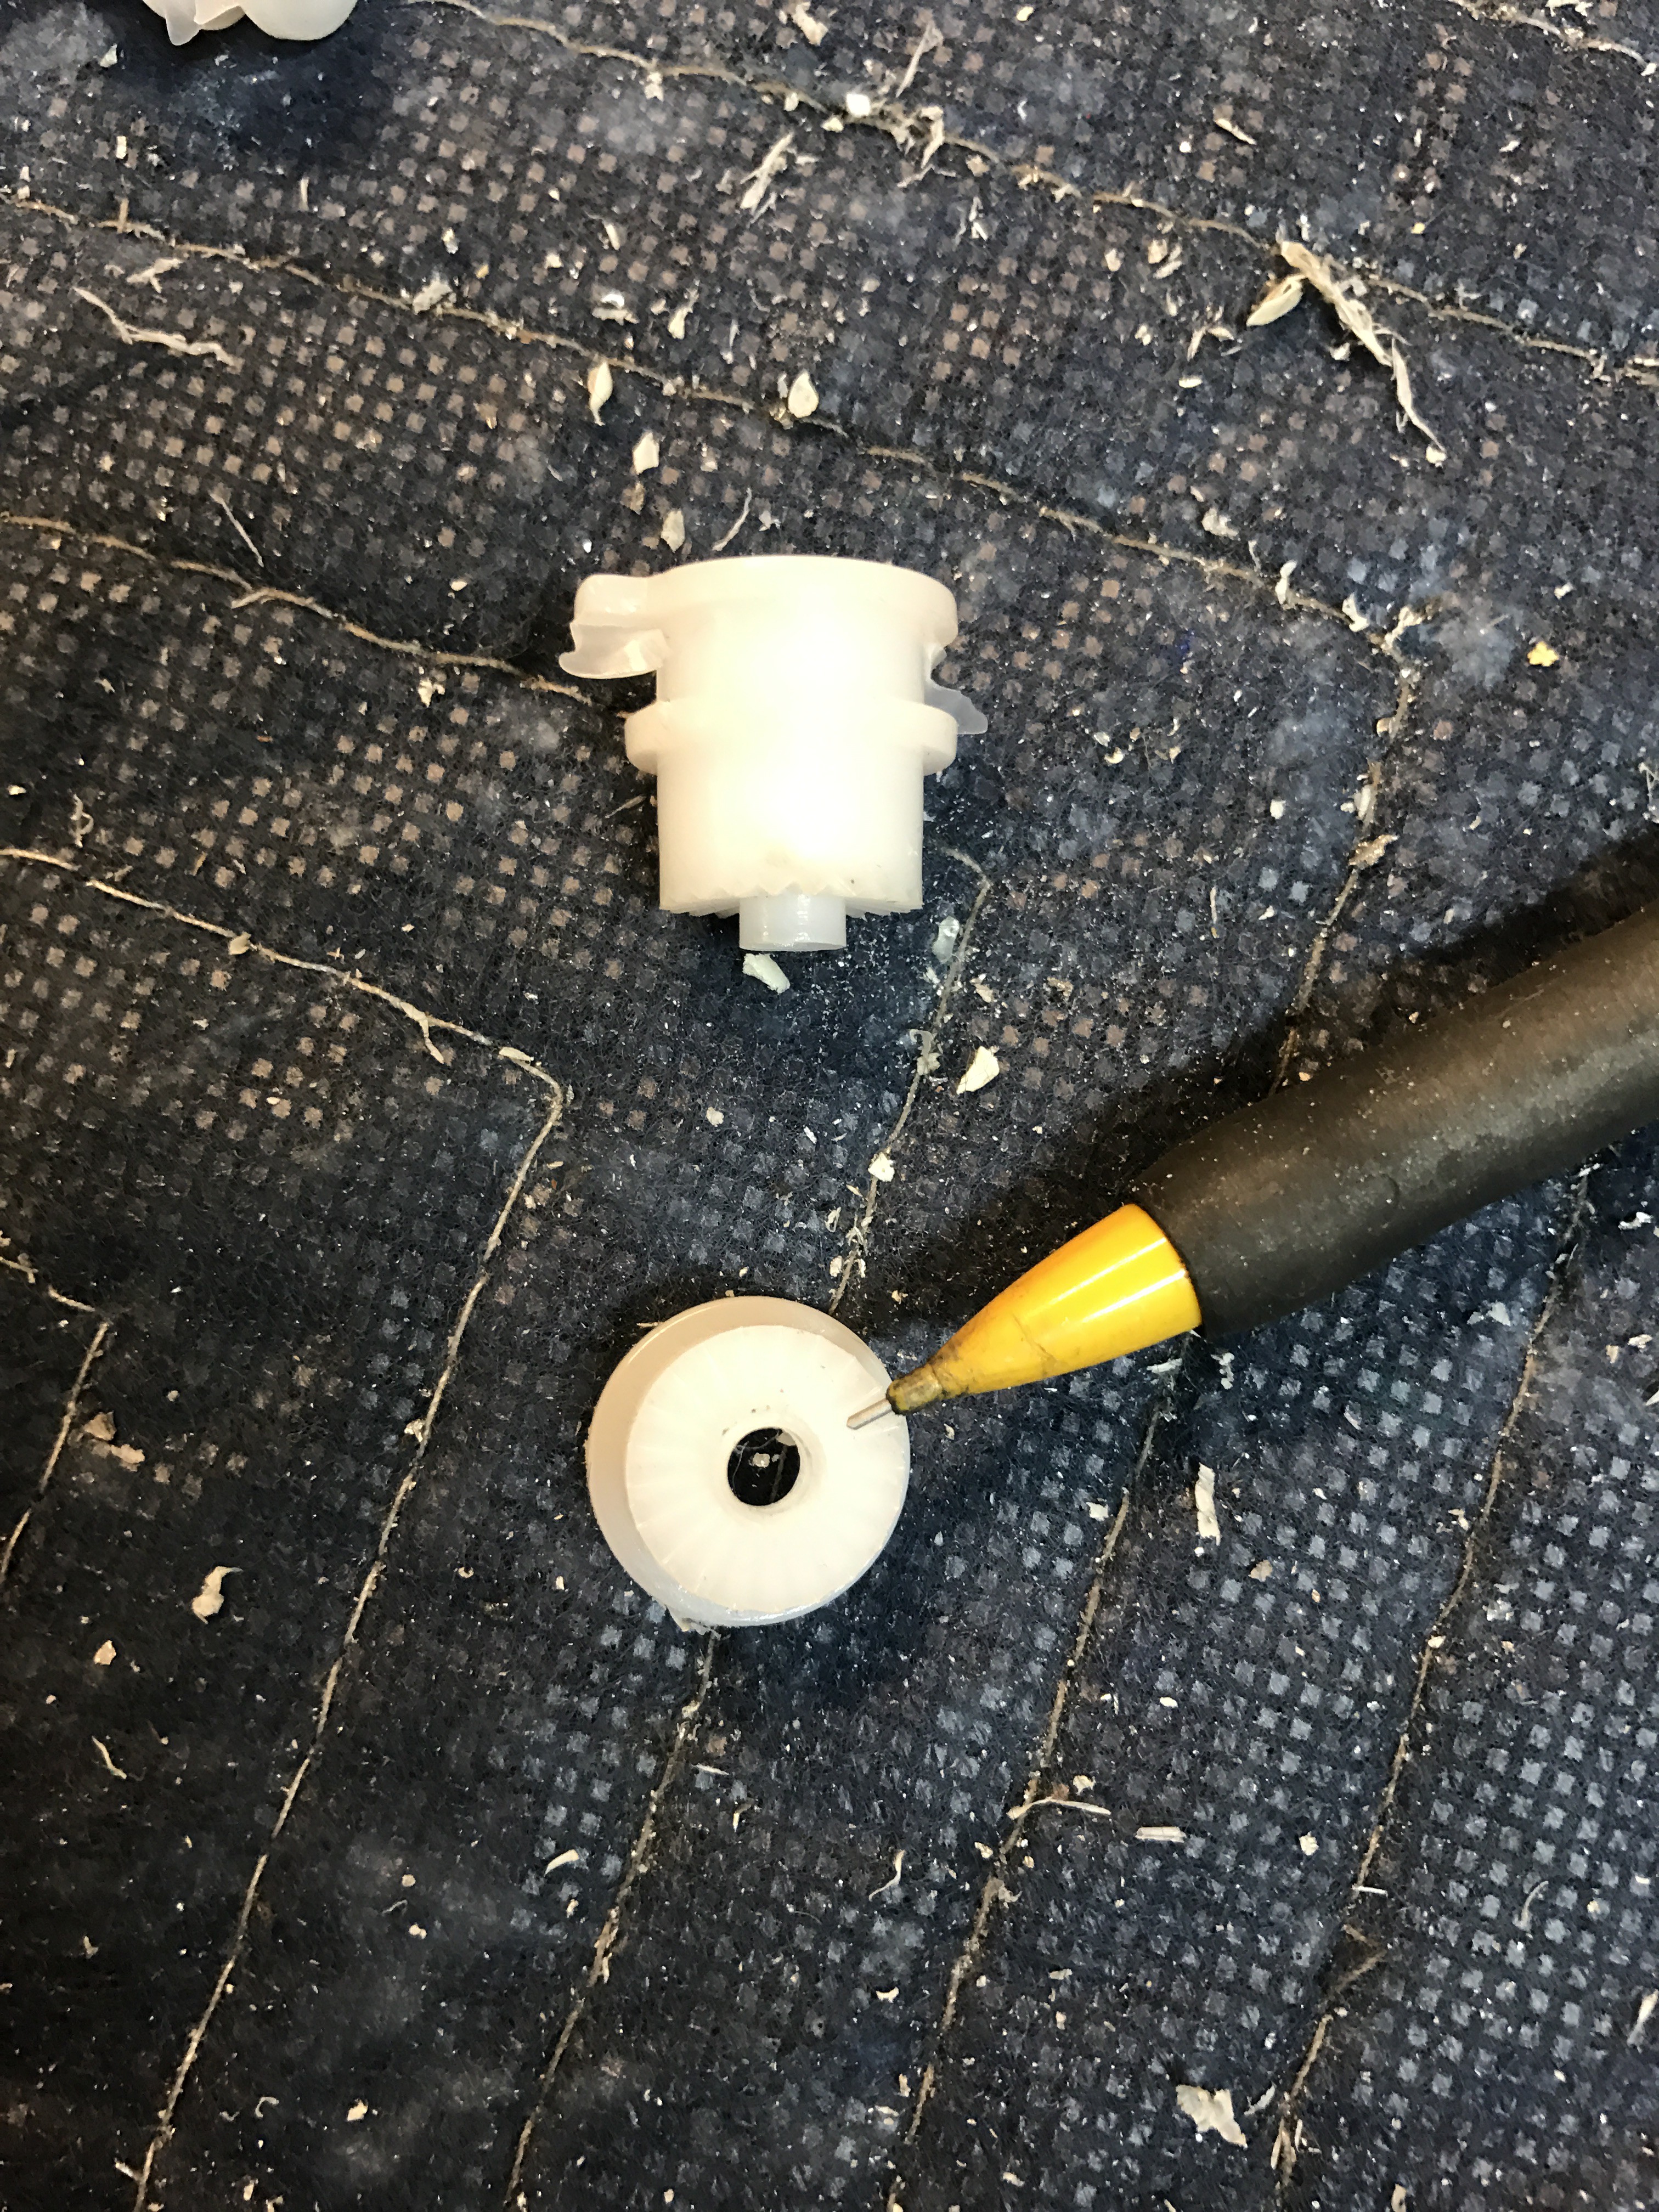
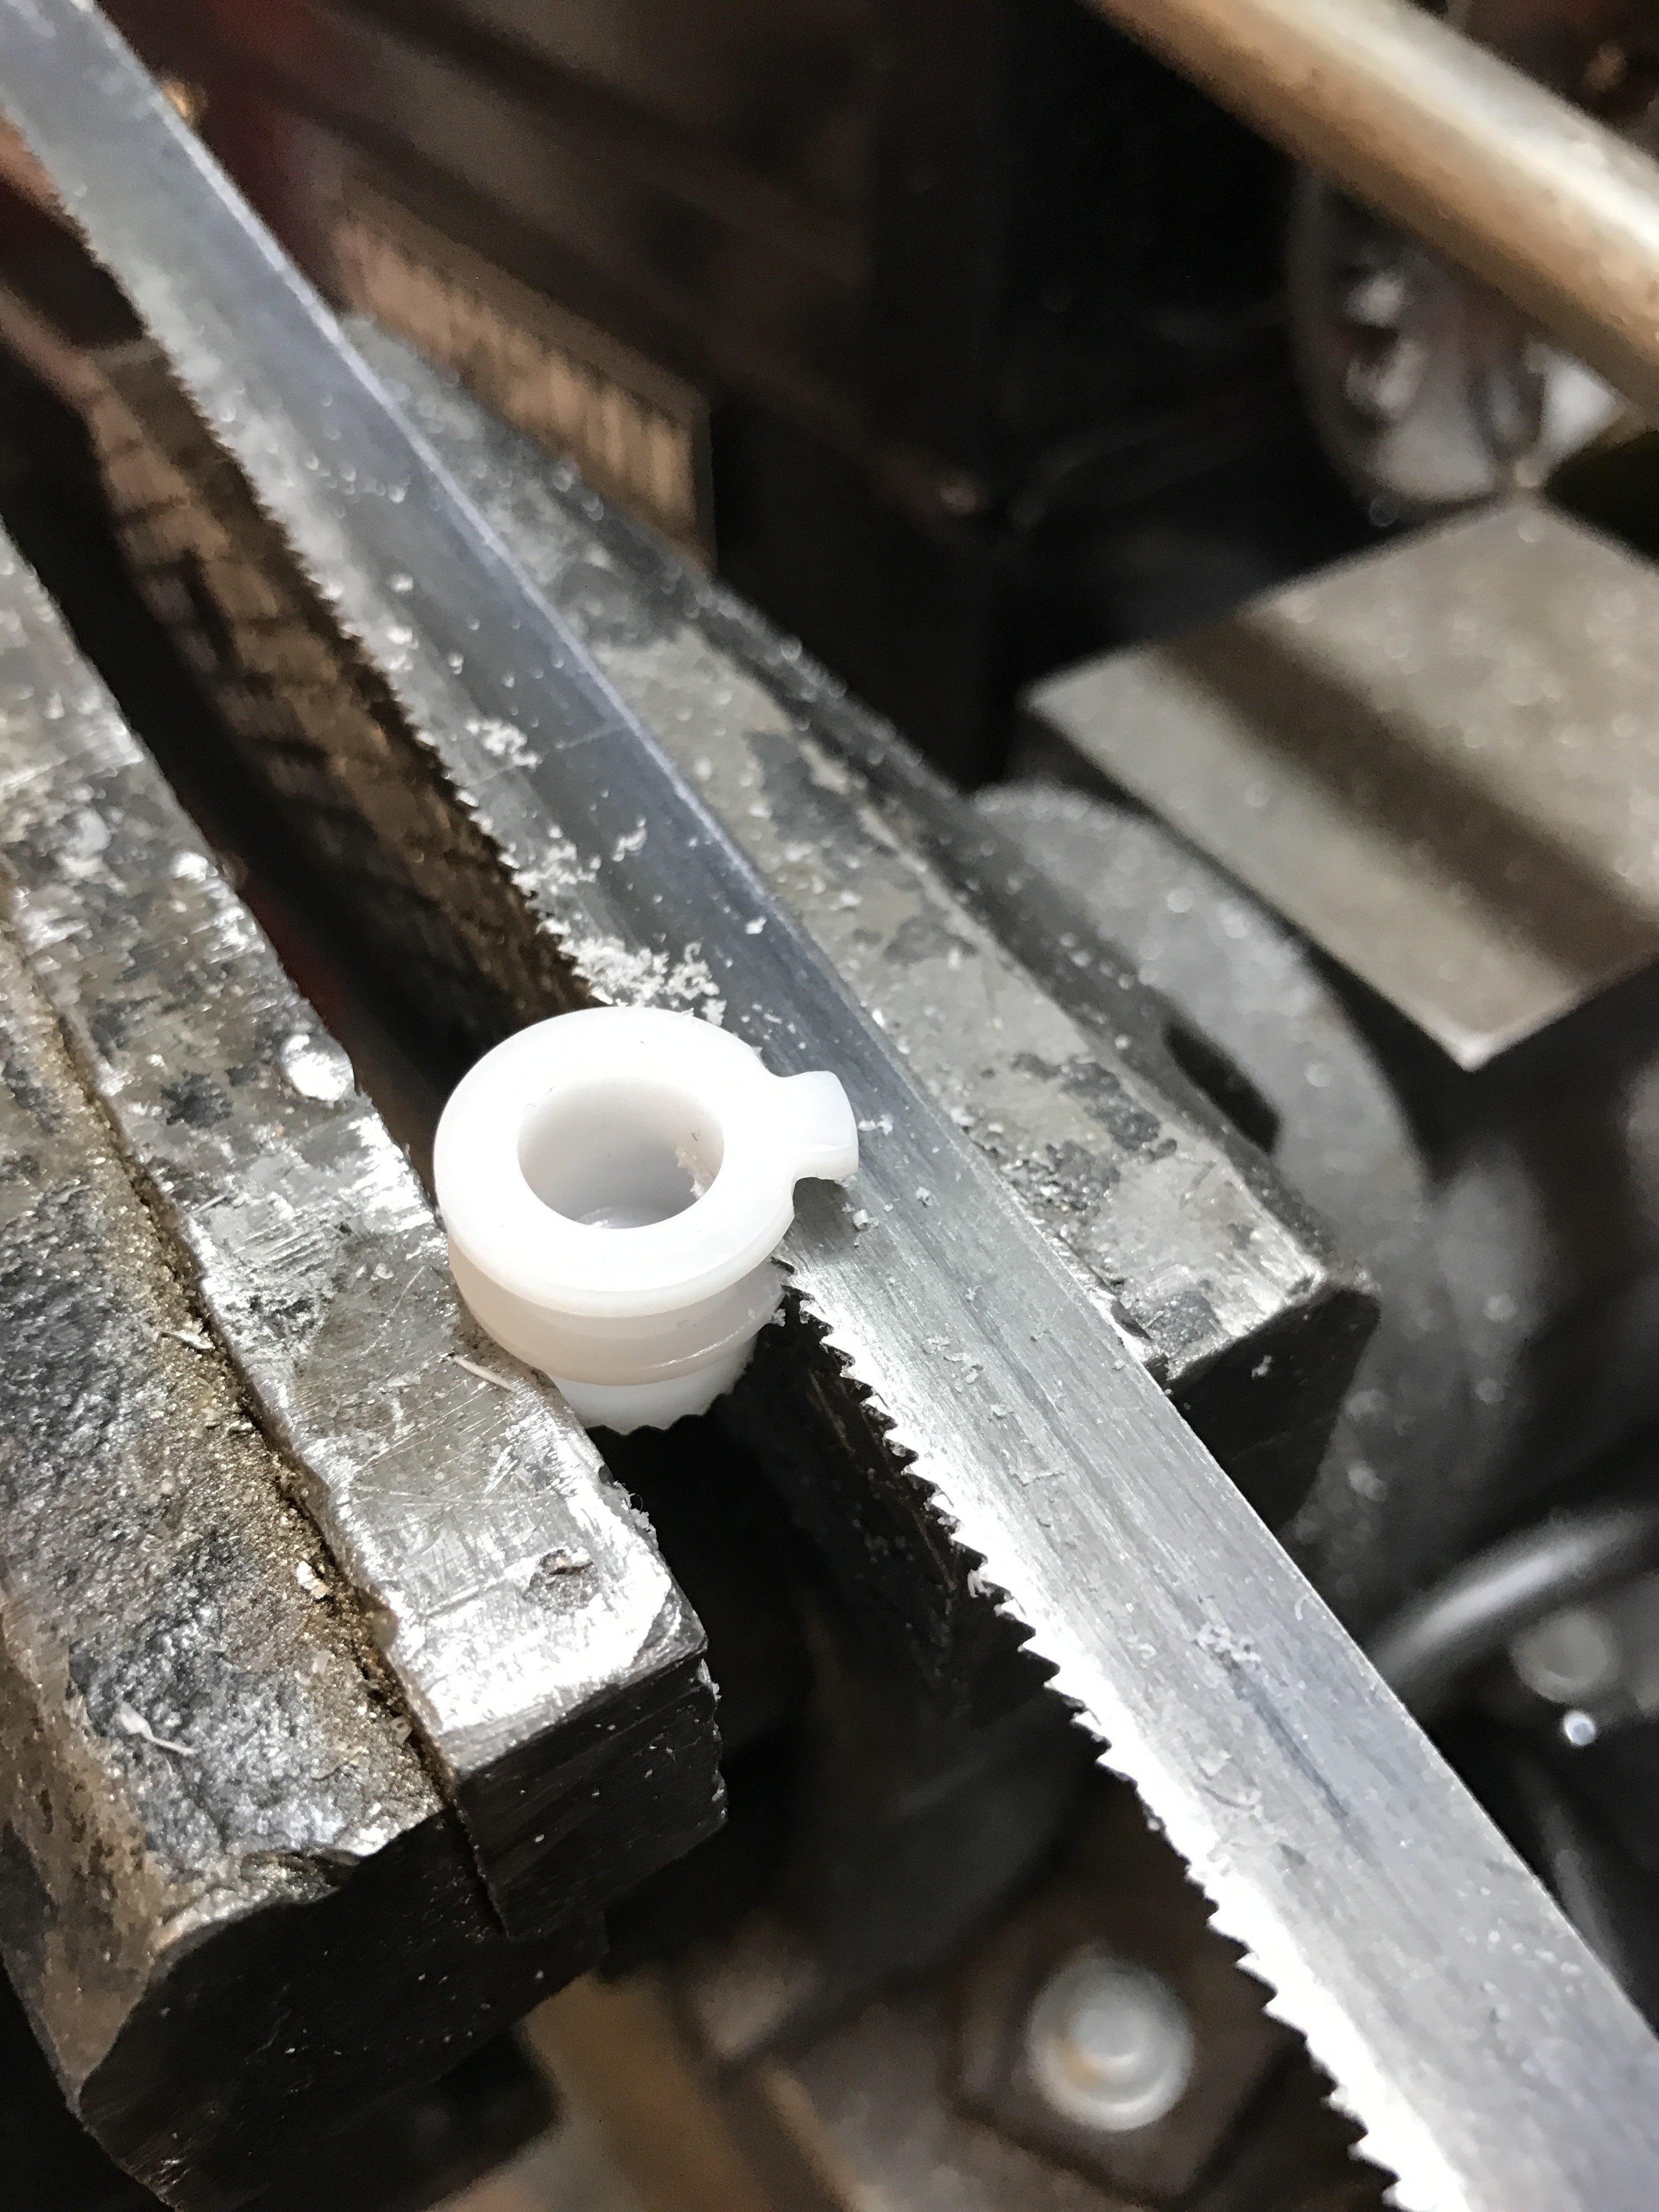
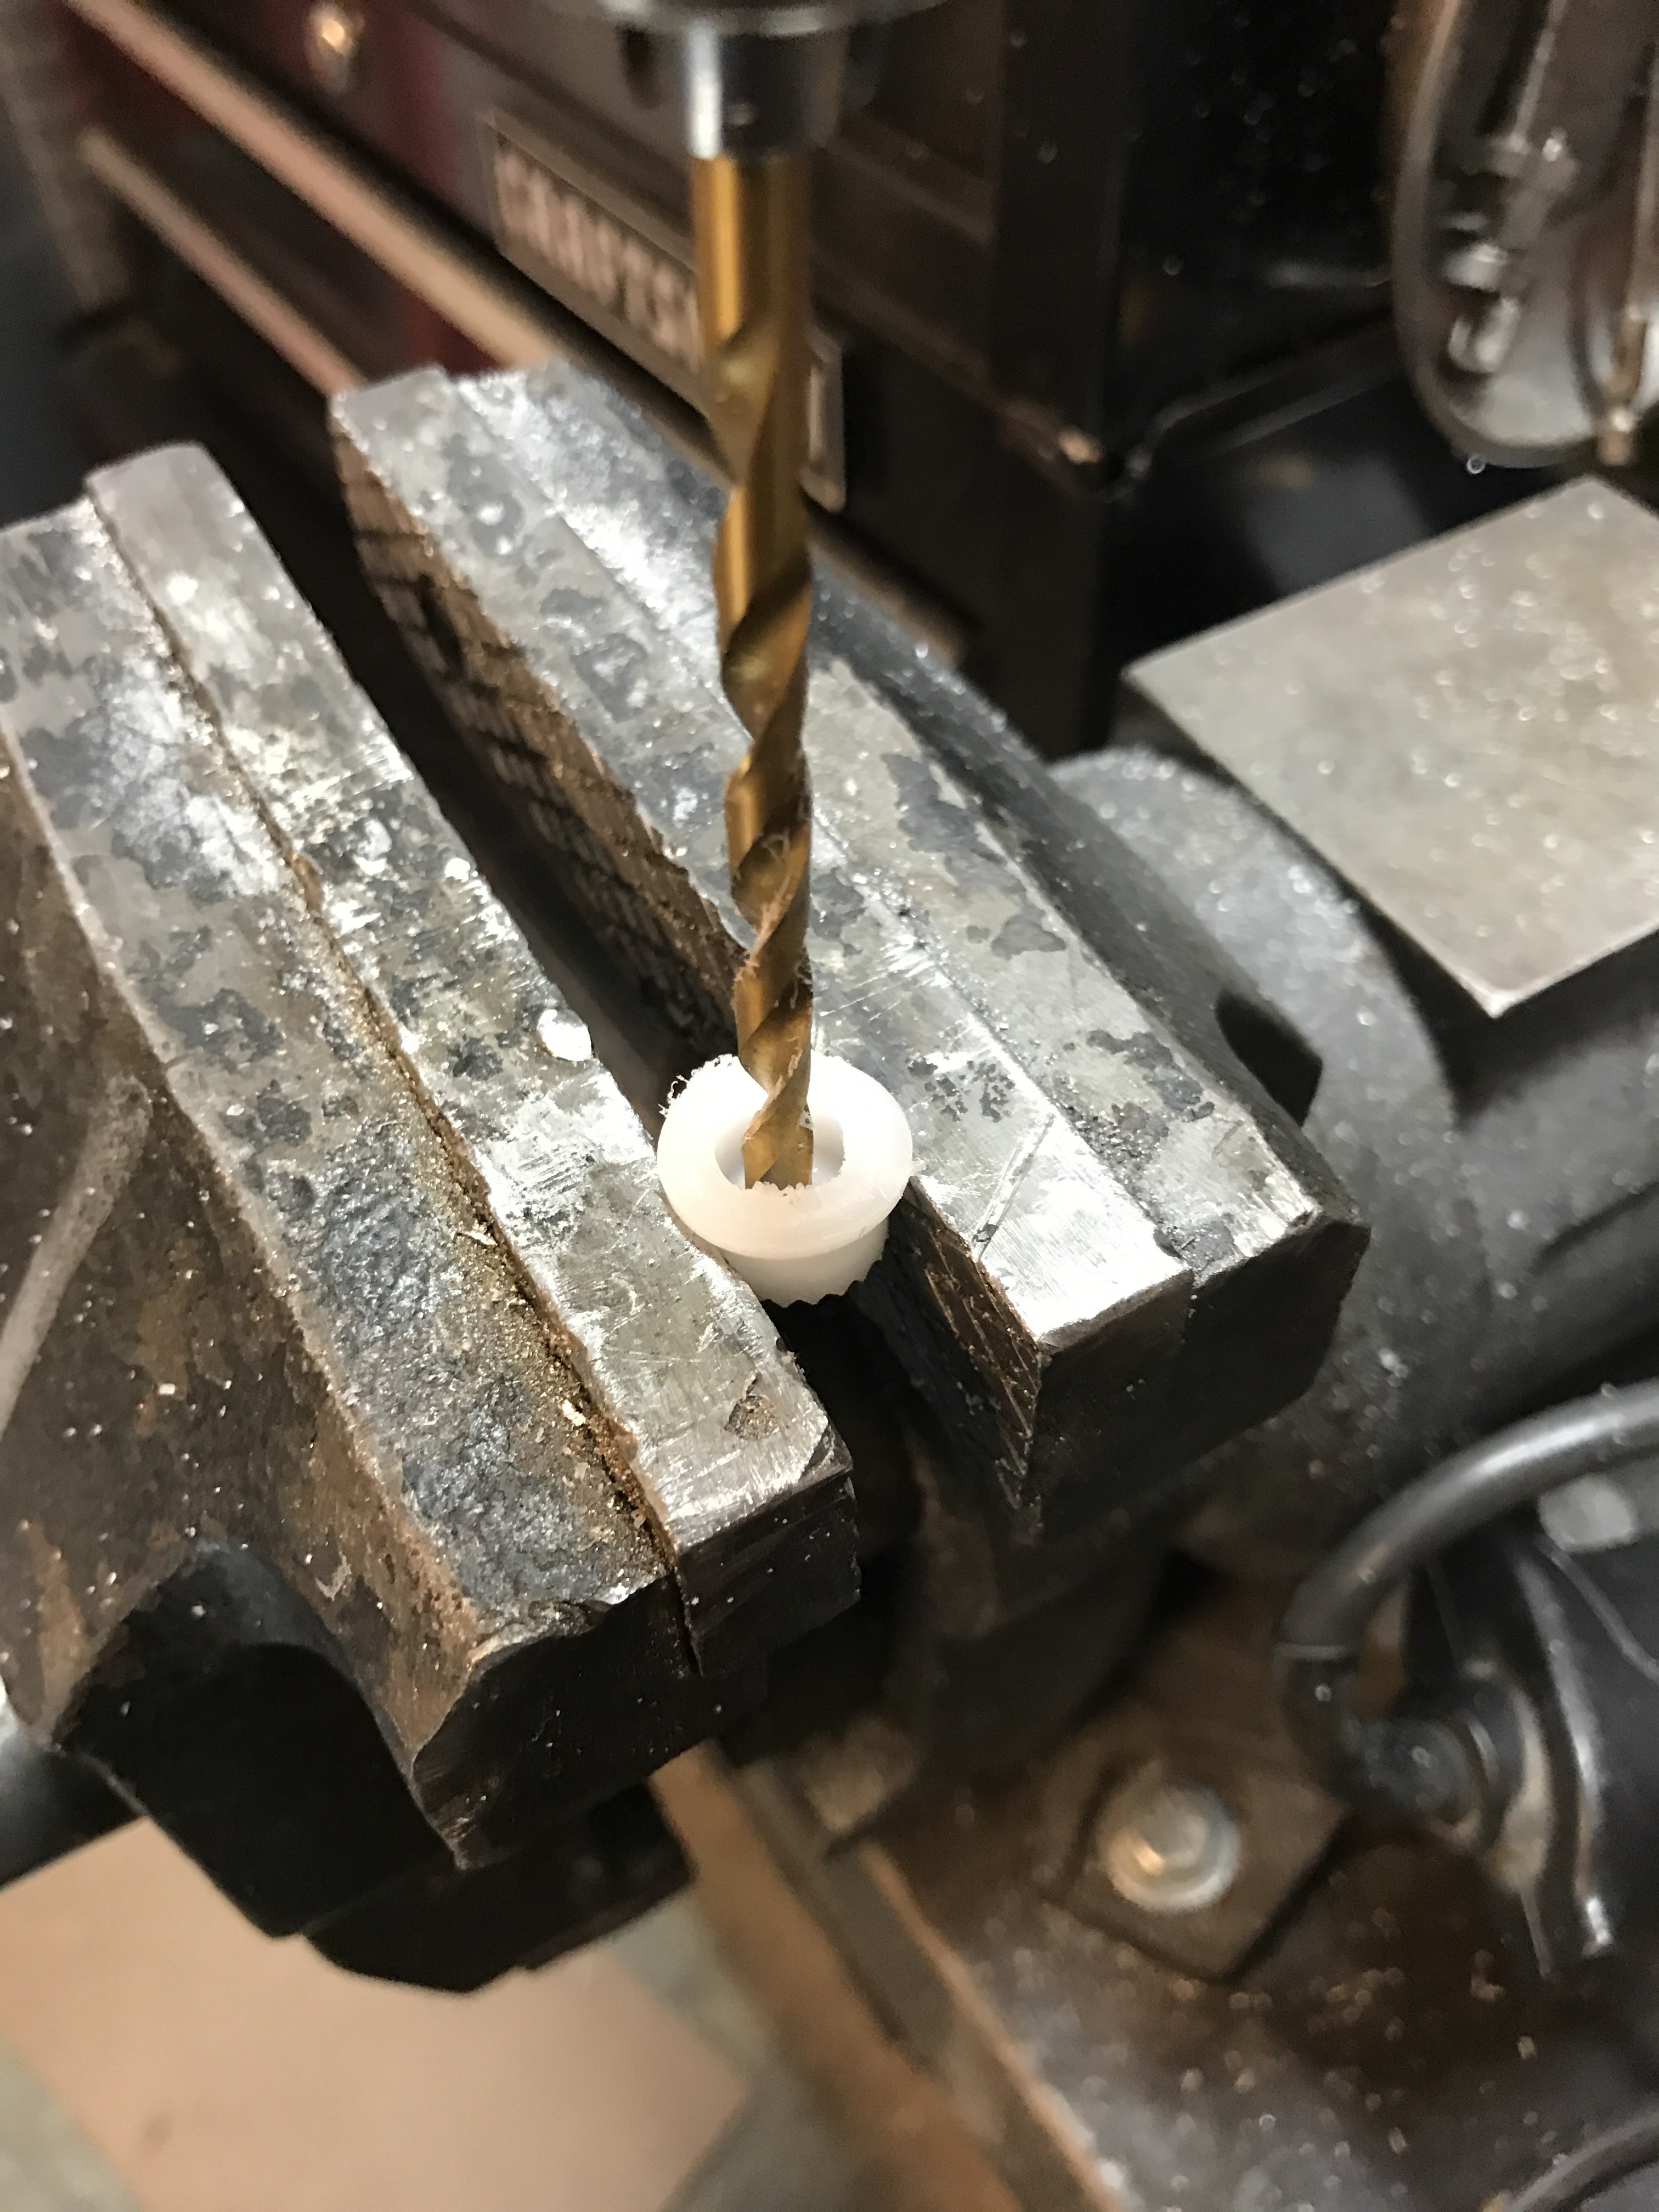
When you disassembled the legs there were nylon spacer that the bolts went through. They need to be cut and drilled. Place spacer in vice and cut top off and small collar on opposite end . Drill out to 3/16''. Reference the pictures below.
Started assembly of Boney #2 to get him close to Boney #1. I will add pictures as I go, pictures are better than words. Drilling out shoulders and hips for bearing installation. It is very important that you start out with a small drill bit and work your way up and finish with a 3/8 bit. The bearing I used was a FR-166-ZZ and you will need eight, one for inside and one outside of hips and shoulders. Use one to check fit but do not install them yet. The nylon inserts will pop out. I left them in to drill, to help hold them.
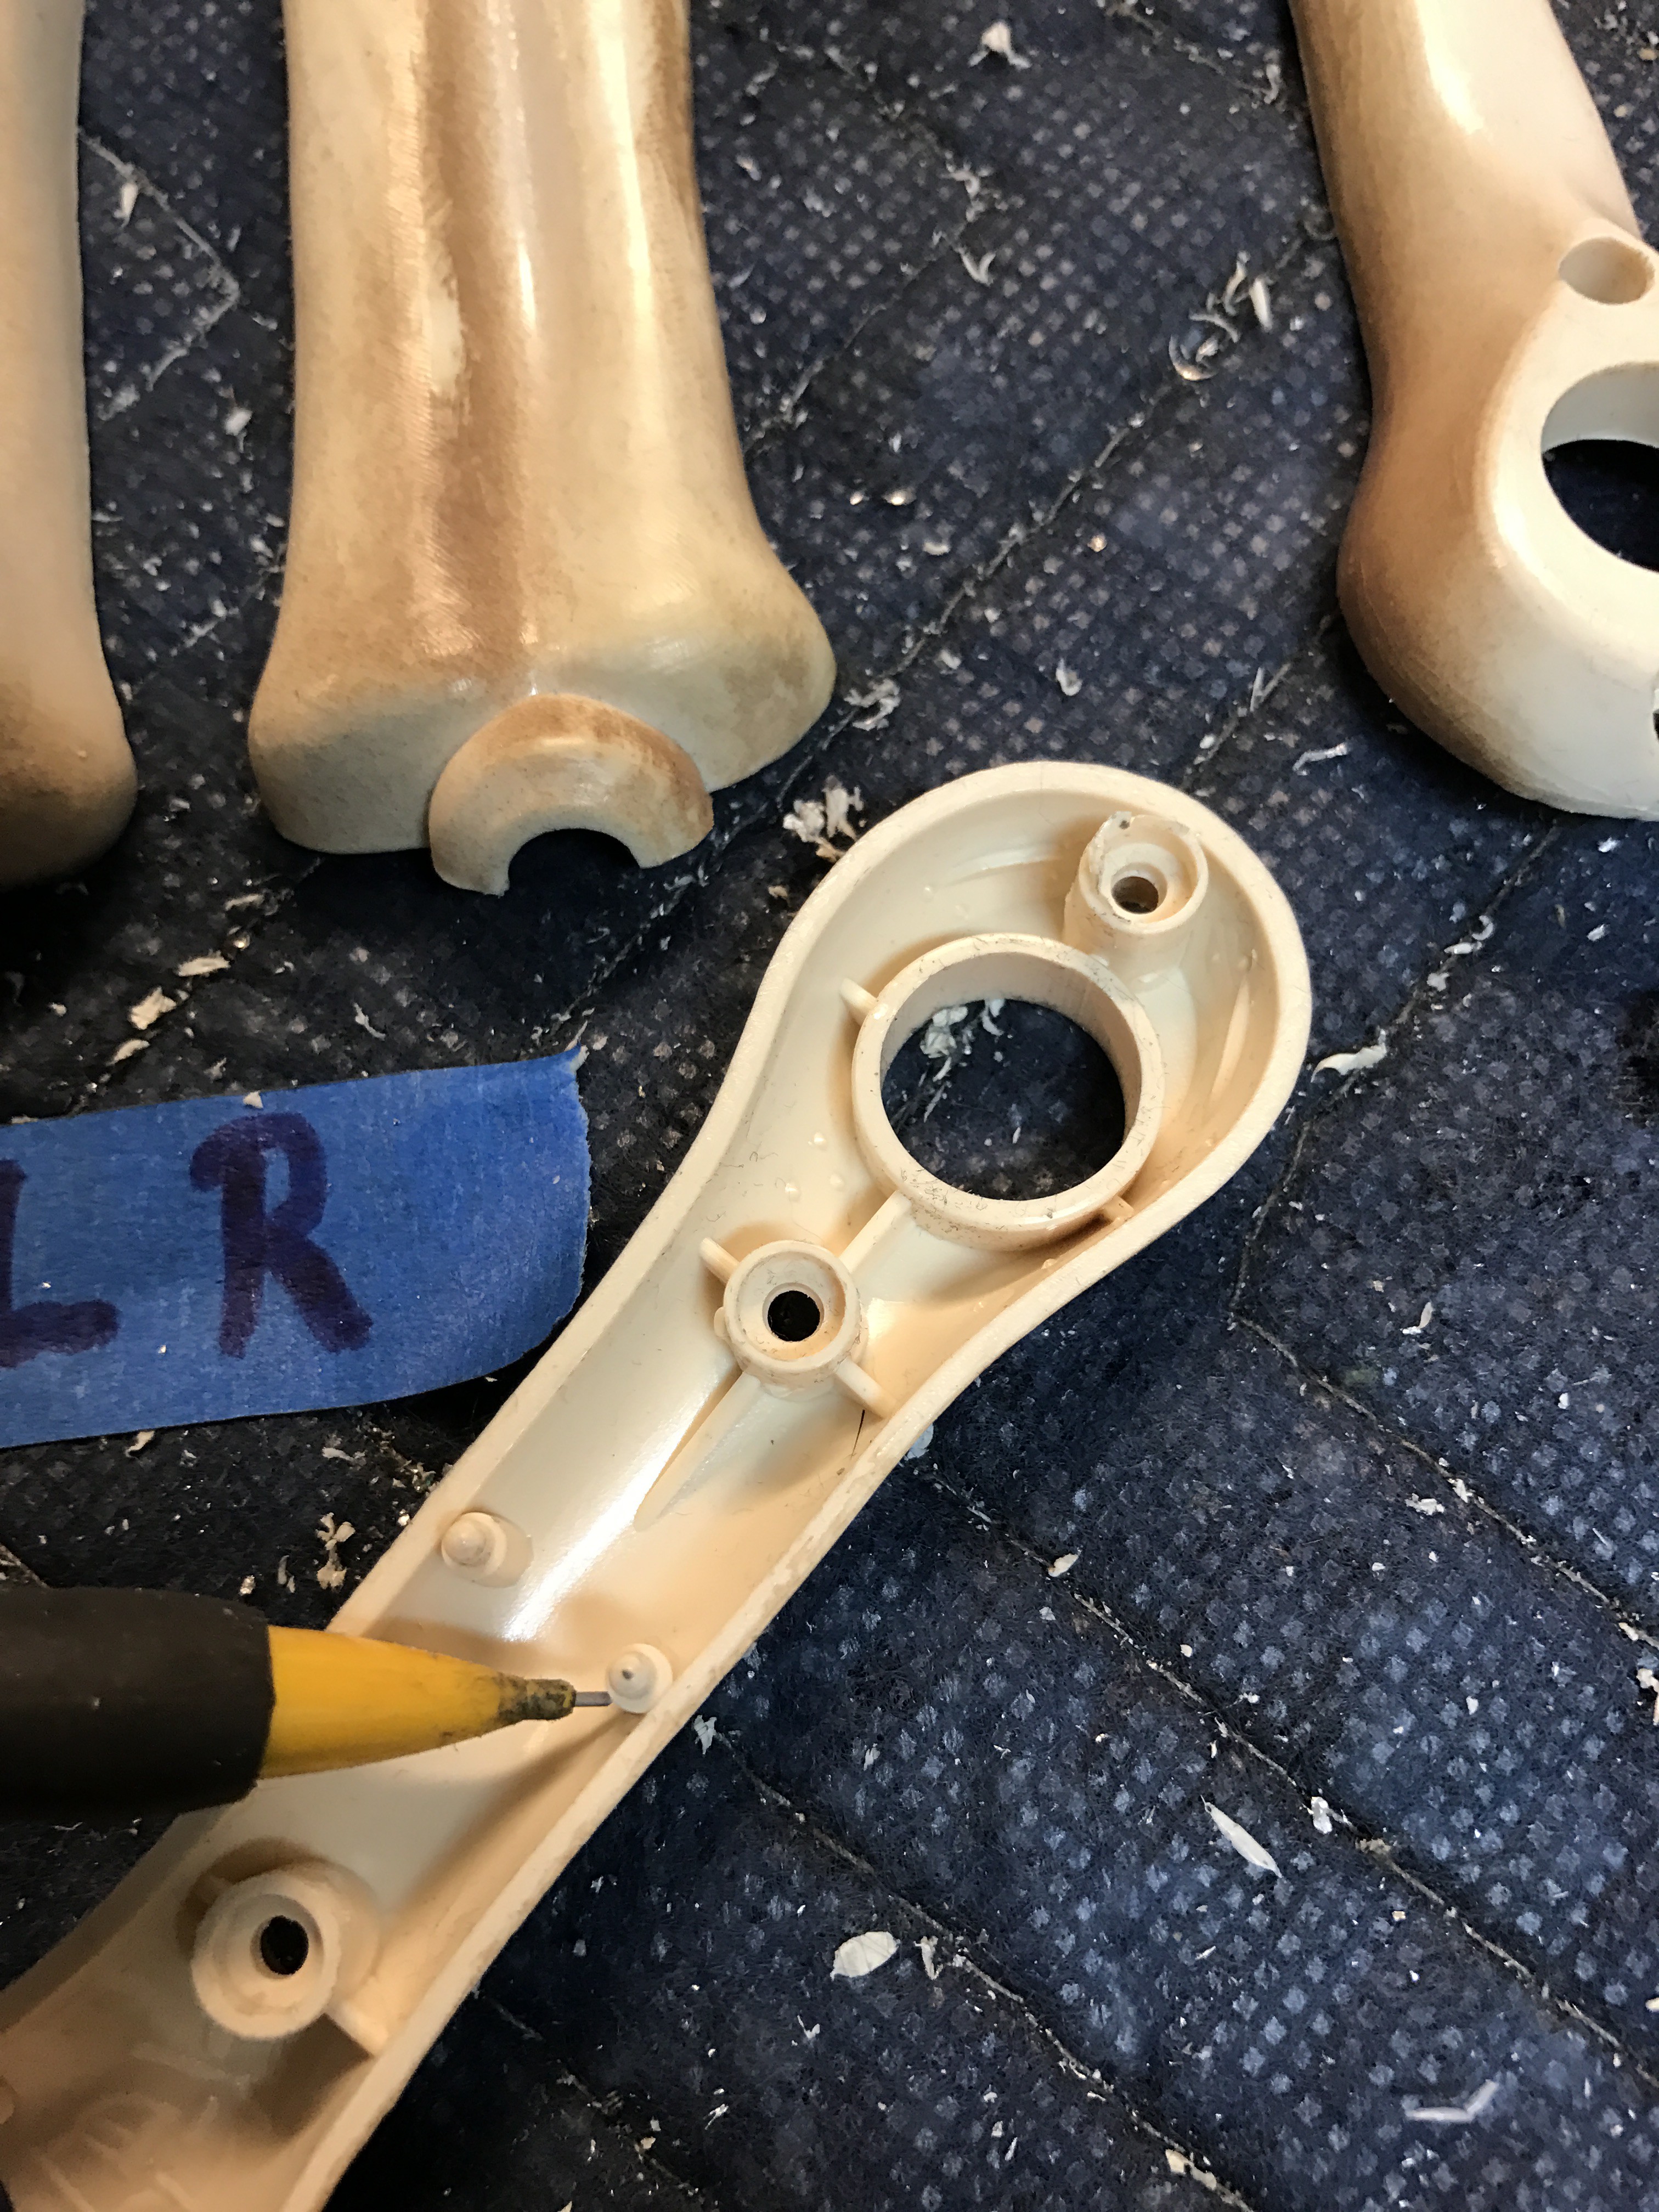
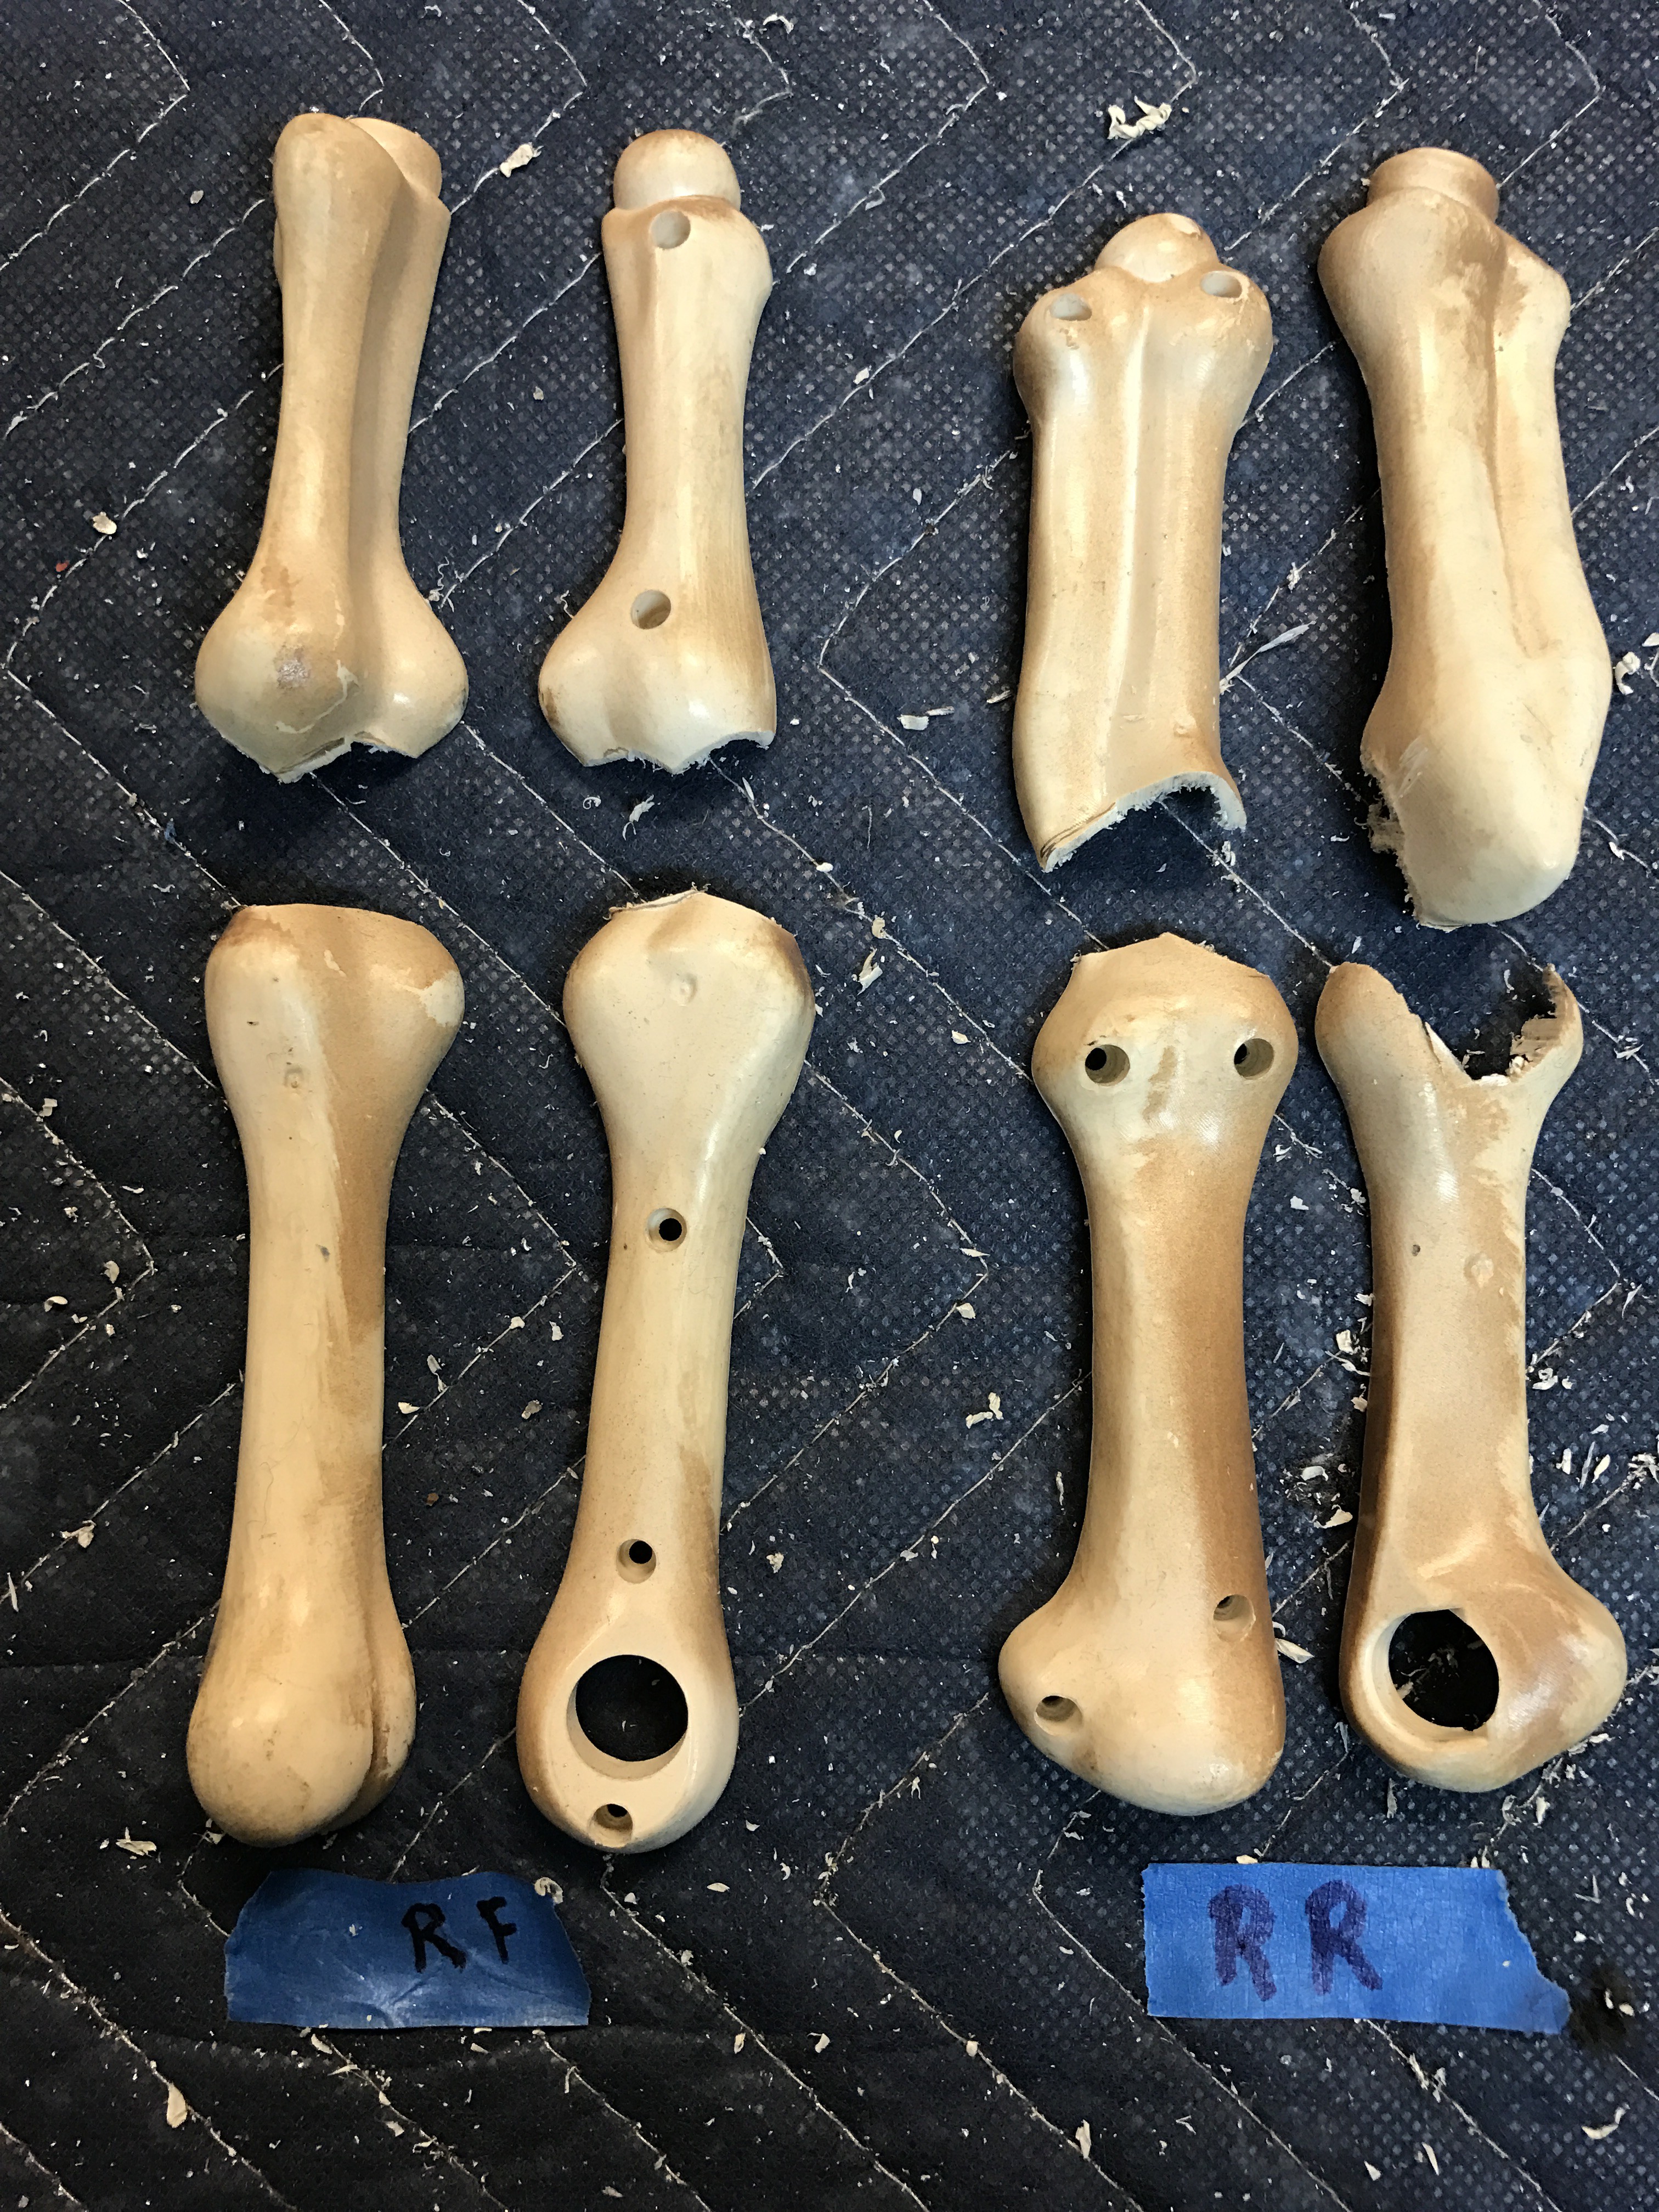
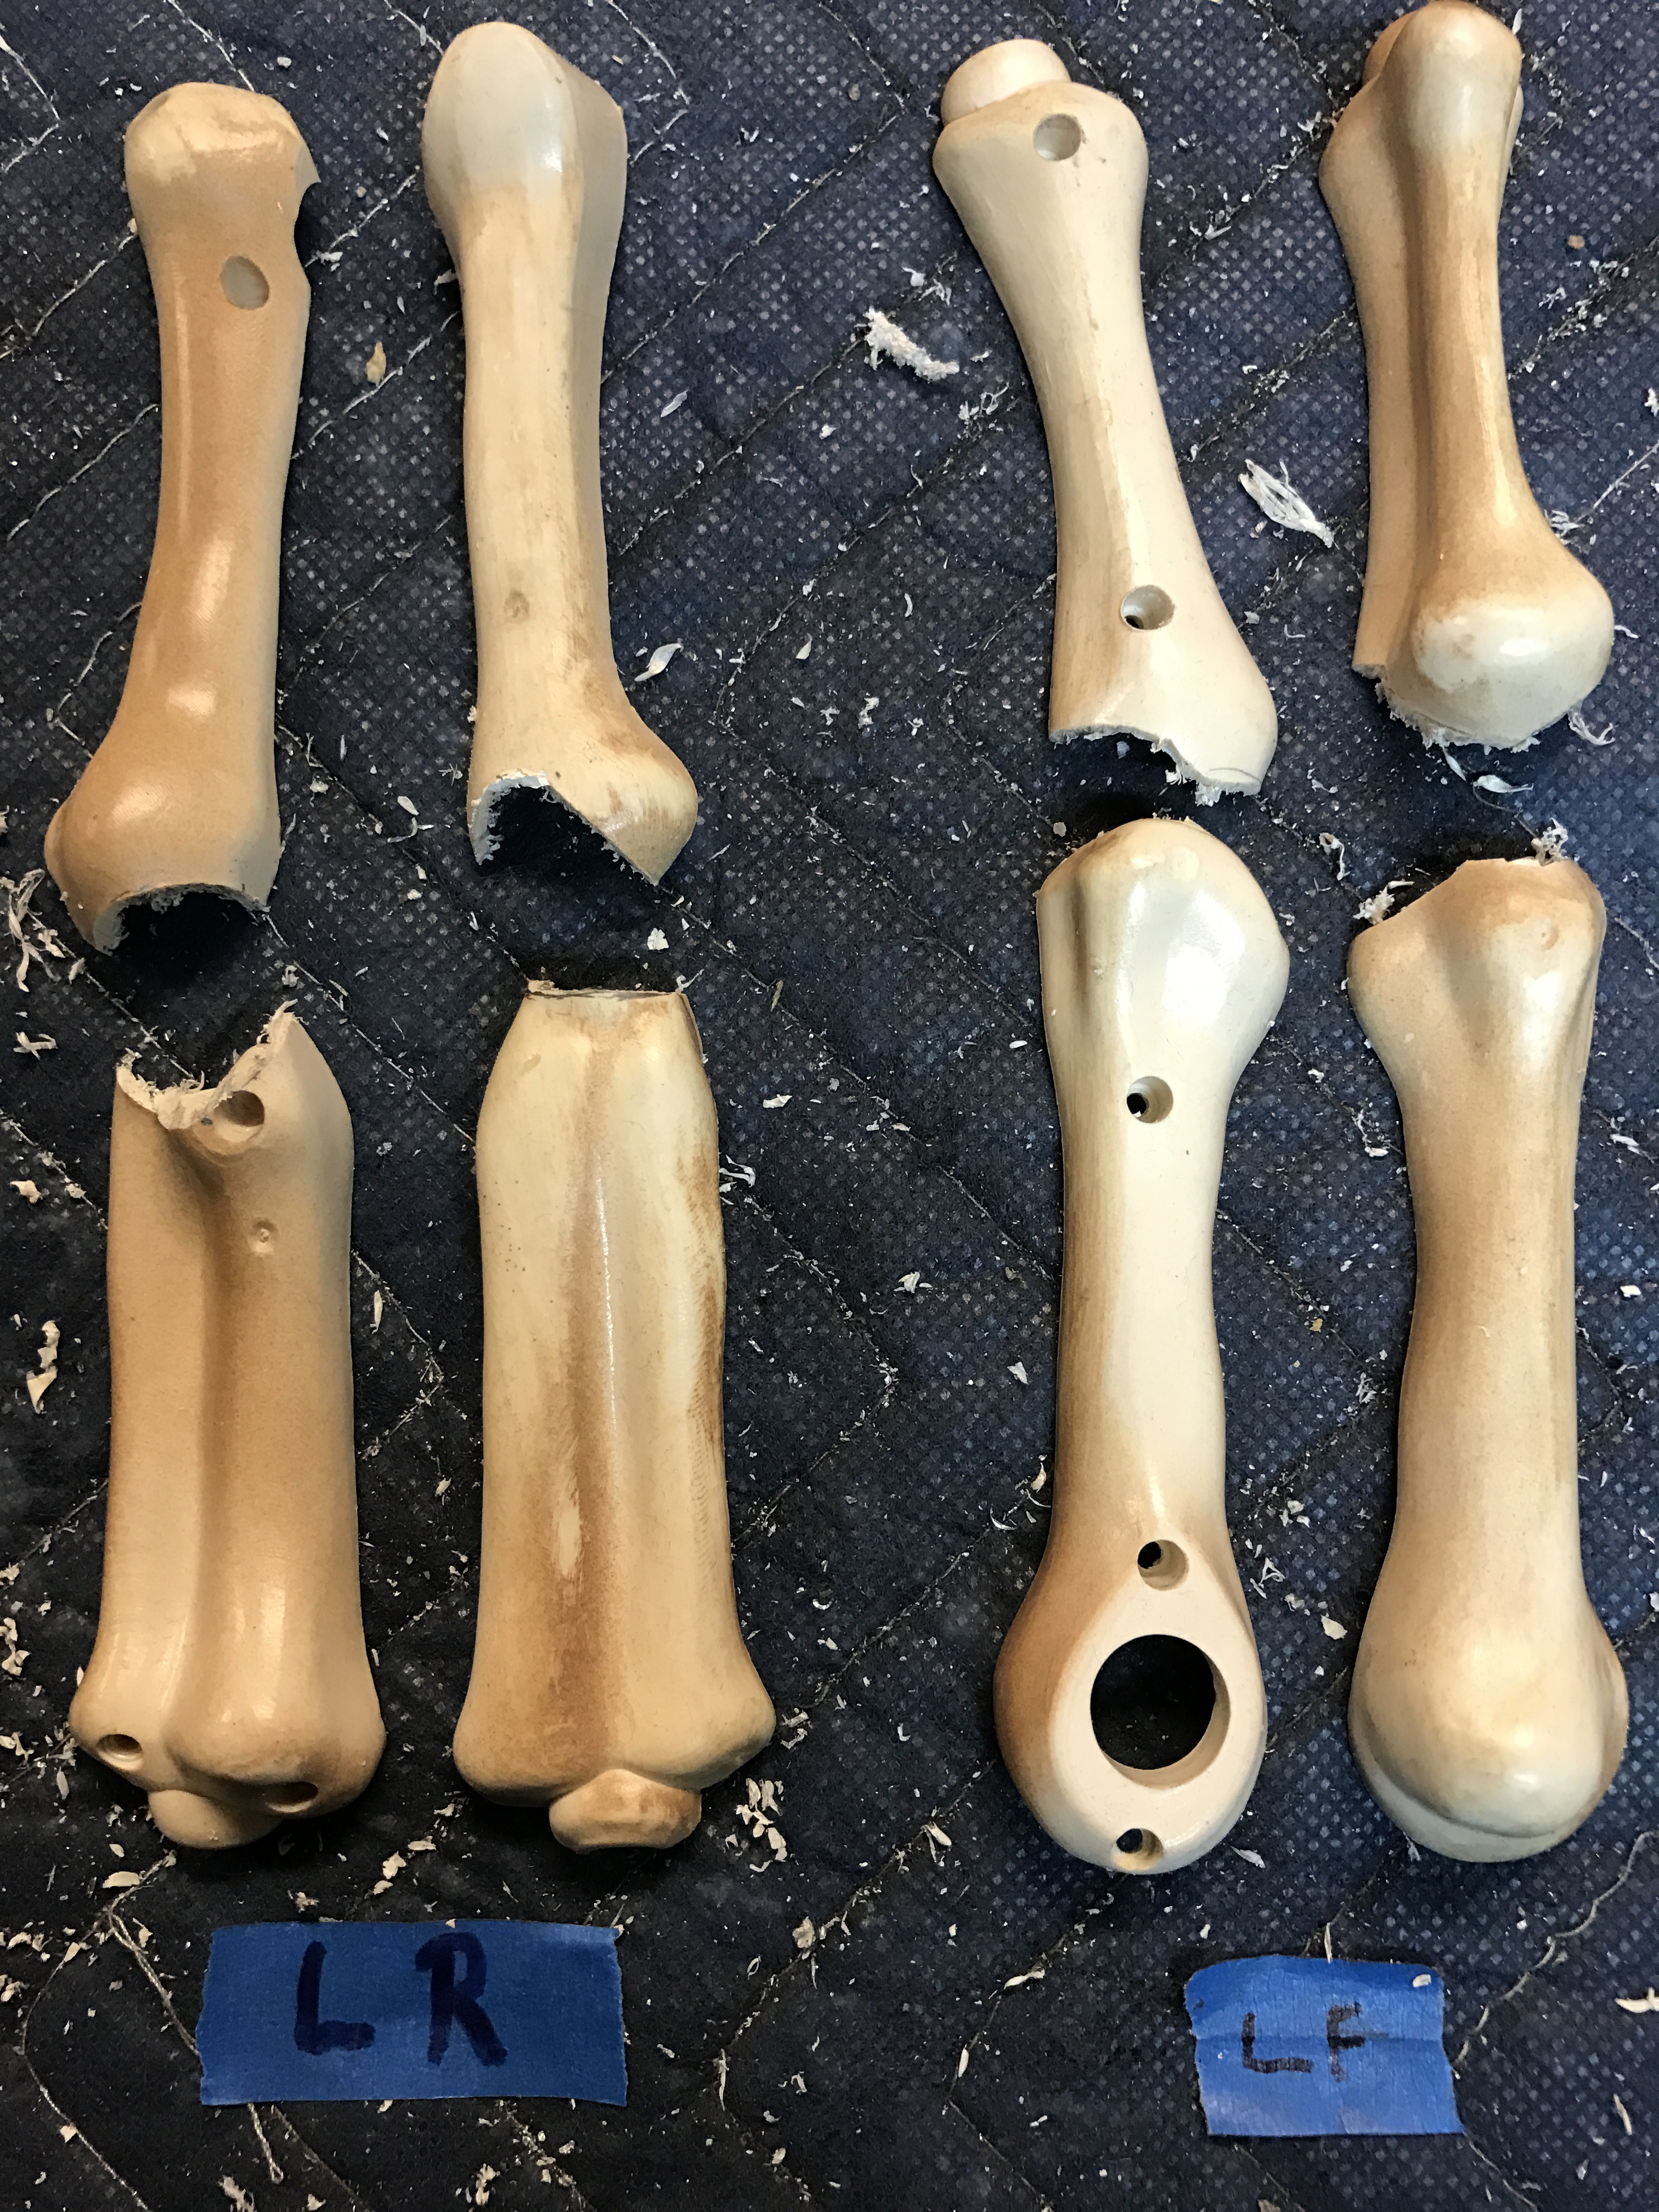
Next, dissemble the four legs and save the small screws, you can pitch the machine screws, nuts and springs. Mark the inside of the legs LF -Left Front , LR- Left Rear RF-Right Front , RR-Right Rear you will be cutting the legs at the knee, so mark each piece at both sides of knee. Marking the legs for cutting at the knee I used a pencil to mark them and you can refer to the picture above as reference.
I purchased 2 skeleton dogs from Home Depot. After Halloween I was able to get one 50% off for $12.50. I am building two, you will only need one, you can try to go on Depots' site and see if you can still get one. I purchased 1/8'' x 1 1/2'' x 8' aluminum flat stock at Lowes and used just under 5' to fabricate one set of brackets. I used all stainless fasteners to assemble the dog, which I purchased at Lowes and on eBay I got the 4-40 nylon locks and 4-40 machine screws. The 6-32 machine screws and 10-24 machine screws I got at Lowes. I will work on fastener list and other supplies needed. Also a tool list, one very important tool is metal cutting band saw and drill press. If you don't have these tools the project will not be fun to build and its about having fun. Let me know if you are interested in building this project so I can give you as much detail as possible.
 BoneConstructor