 lagunacomputer
While recently searching for new employment and going on many job interviews, I asked myself, "what could make me stand out from other applicants?"
I noticed that everyone seemed to have paper business cards, yet nobody had anything close to a digital business card. Sure there were mobile phone apps that could send you contact information, but I wanted something people could hold and interact with.
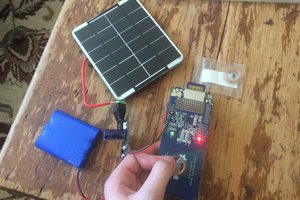
On a single coin cell, you can get about 2 weeks power with intermittent use out of them. On the newest models I have made, I actually included a small slider power switch and 2 coin cell batteries in parallel, giving far more long term power.
Well, long story short, I got the job soon after building and handing a few of these out.
 Samuel Archibald
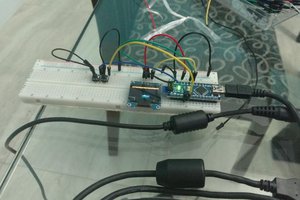
 Andre Baptista
 Rob Smith
 Kumar, Abhishek