 OddDavis
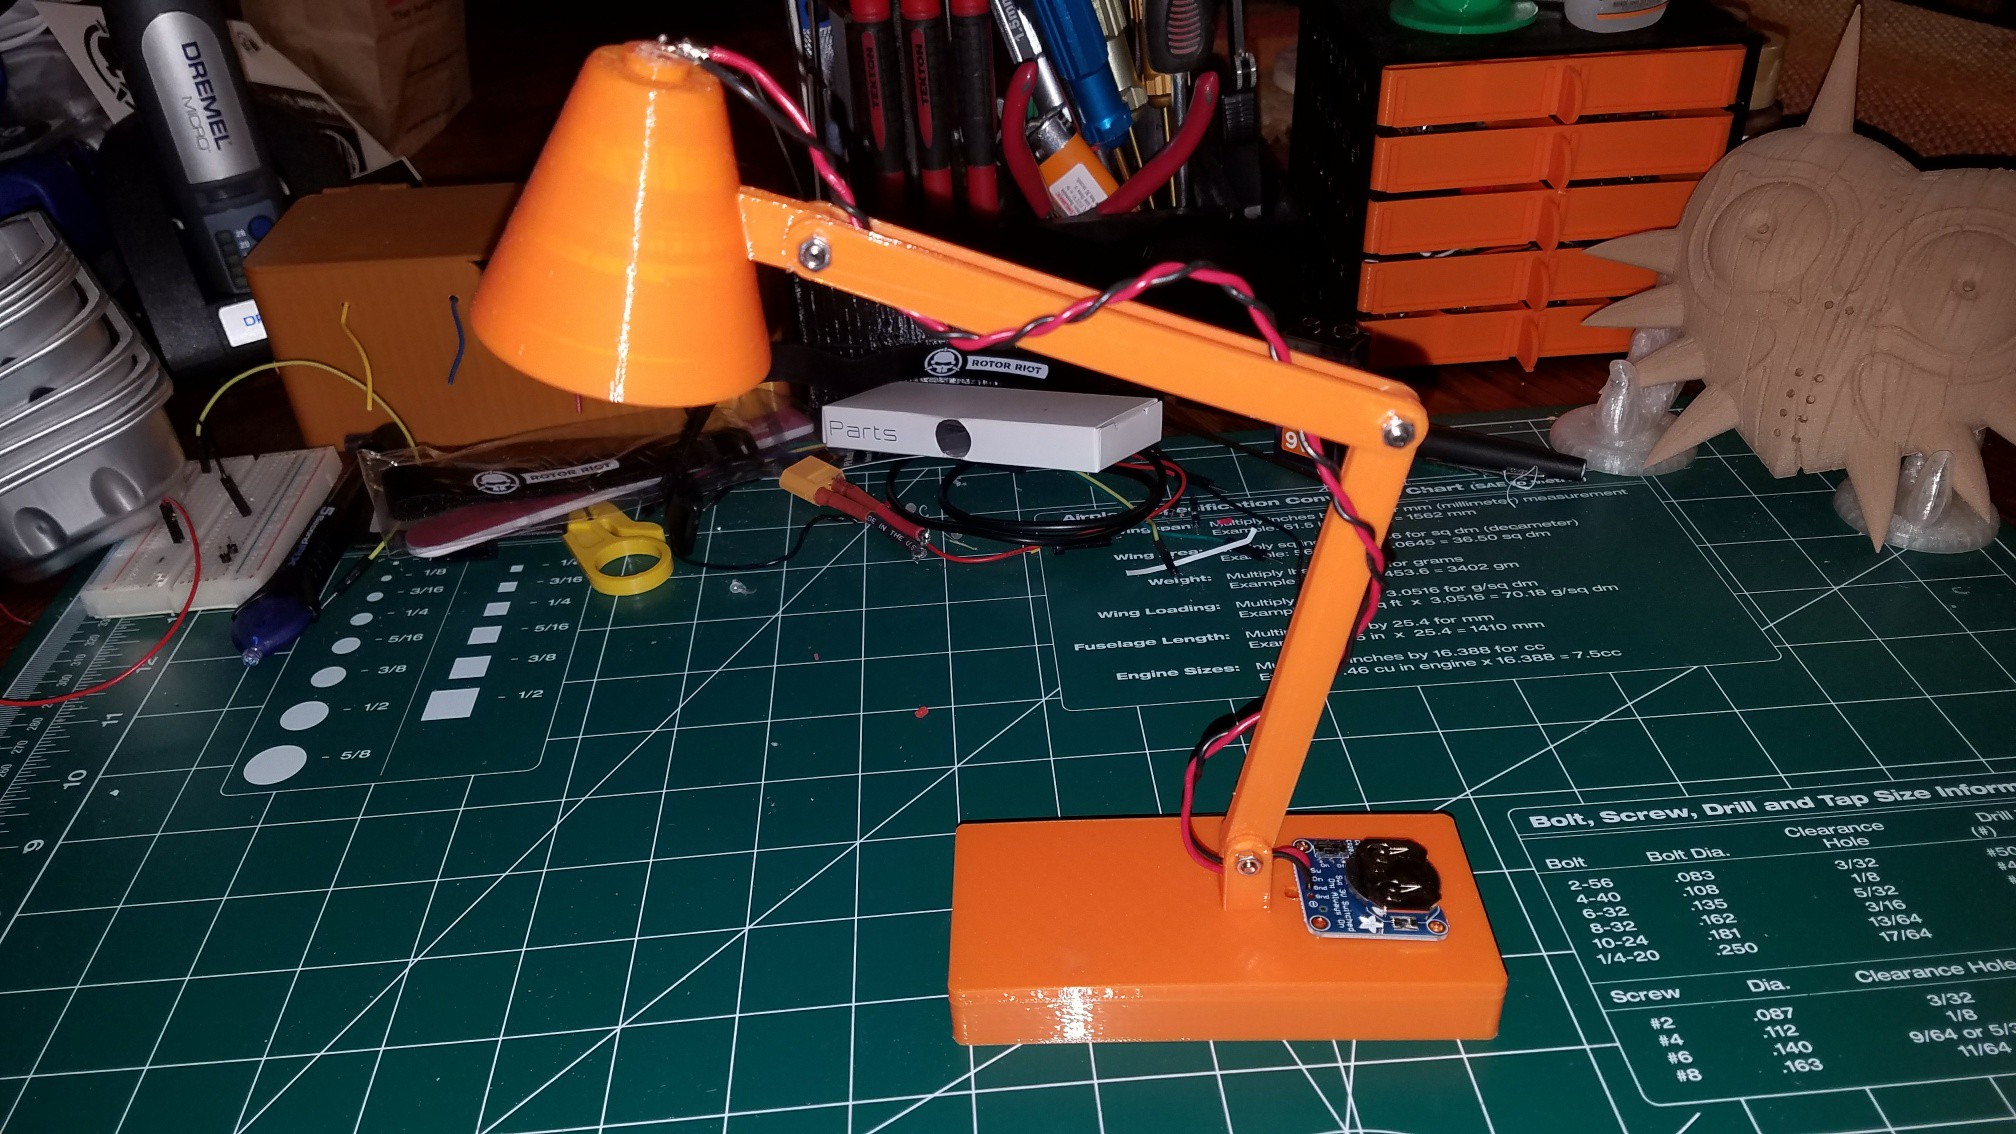
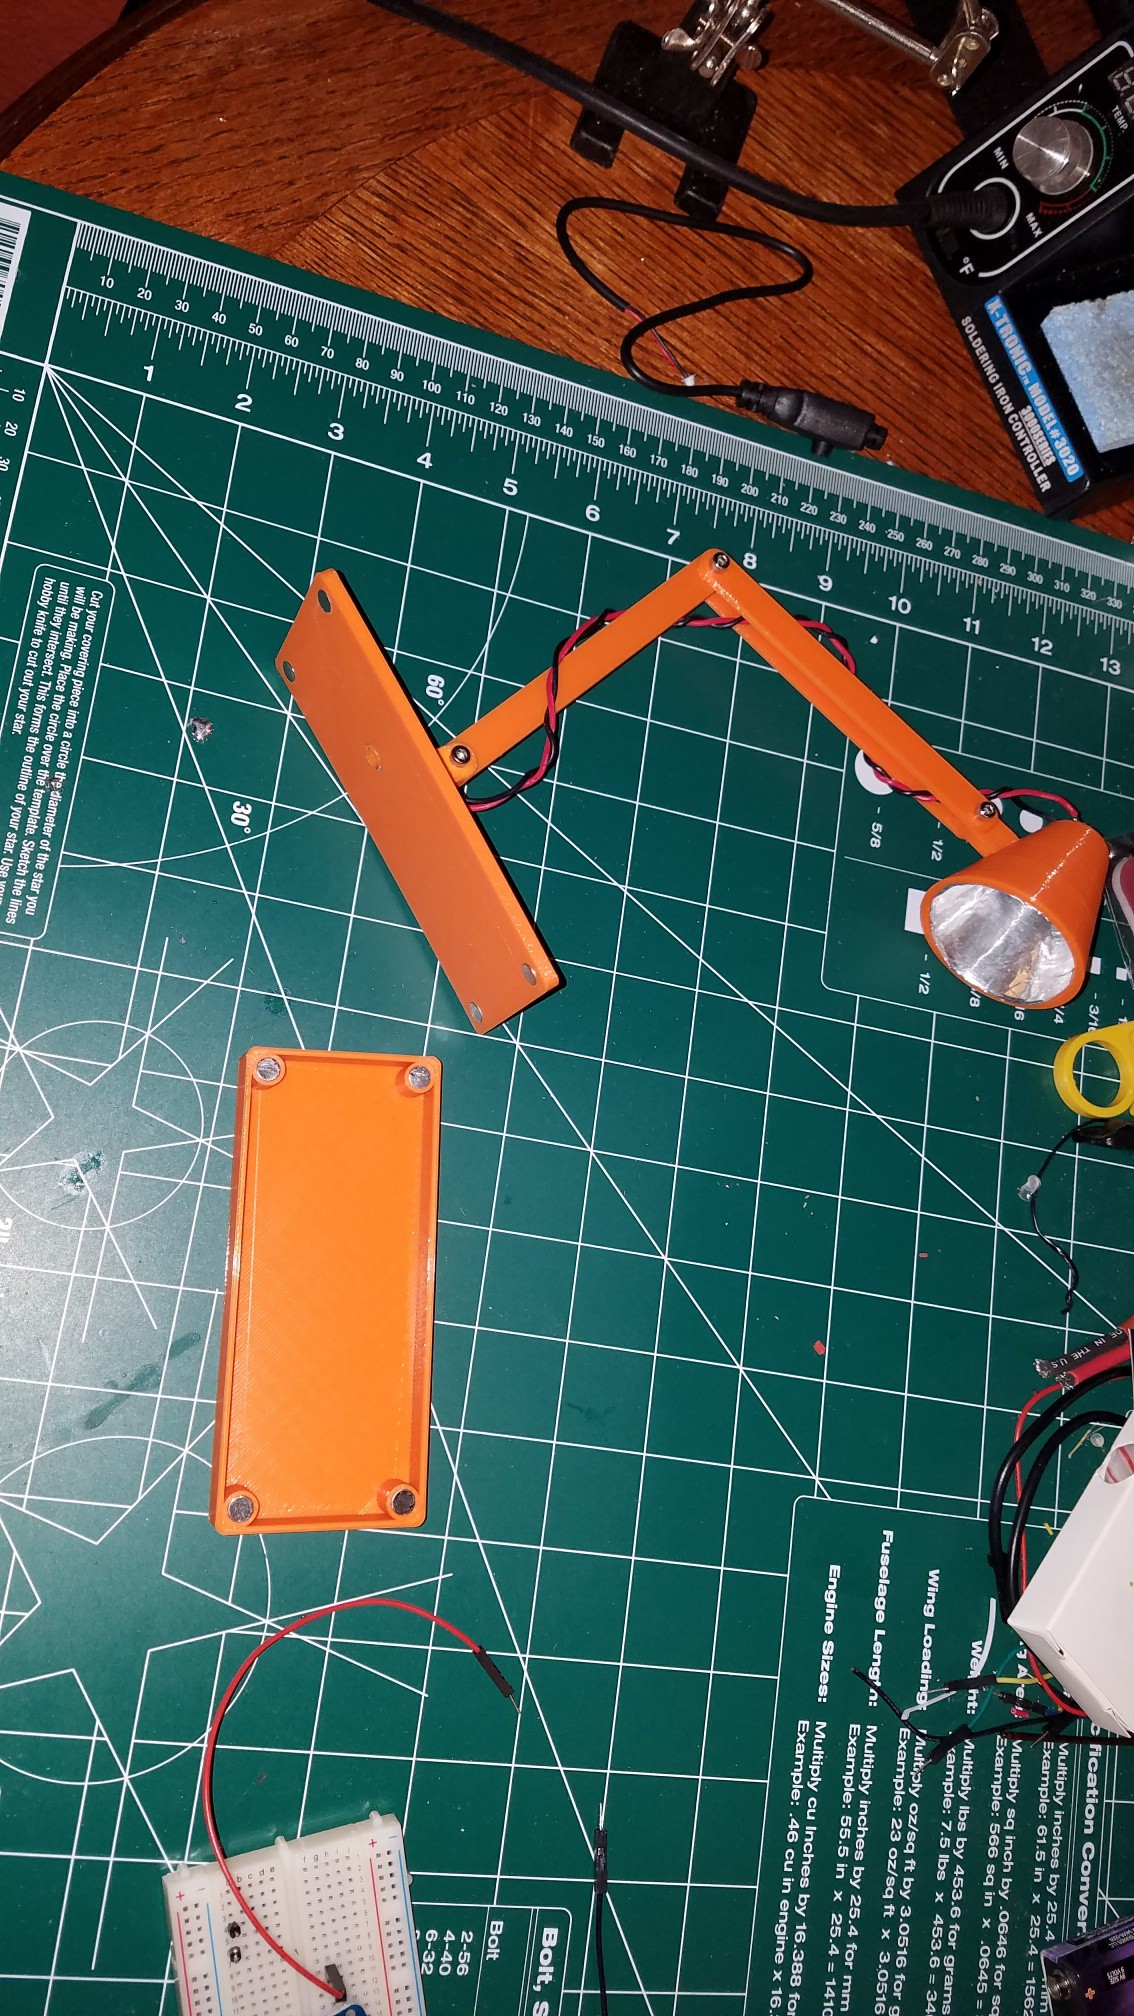
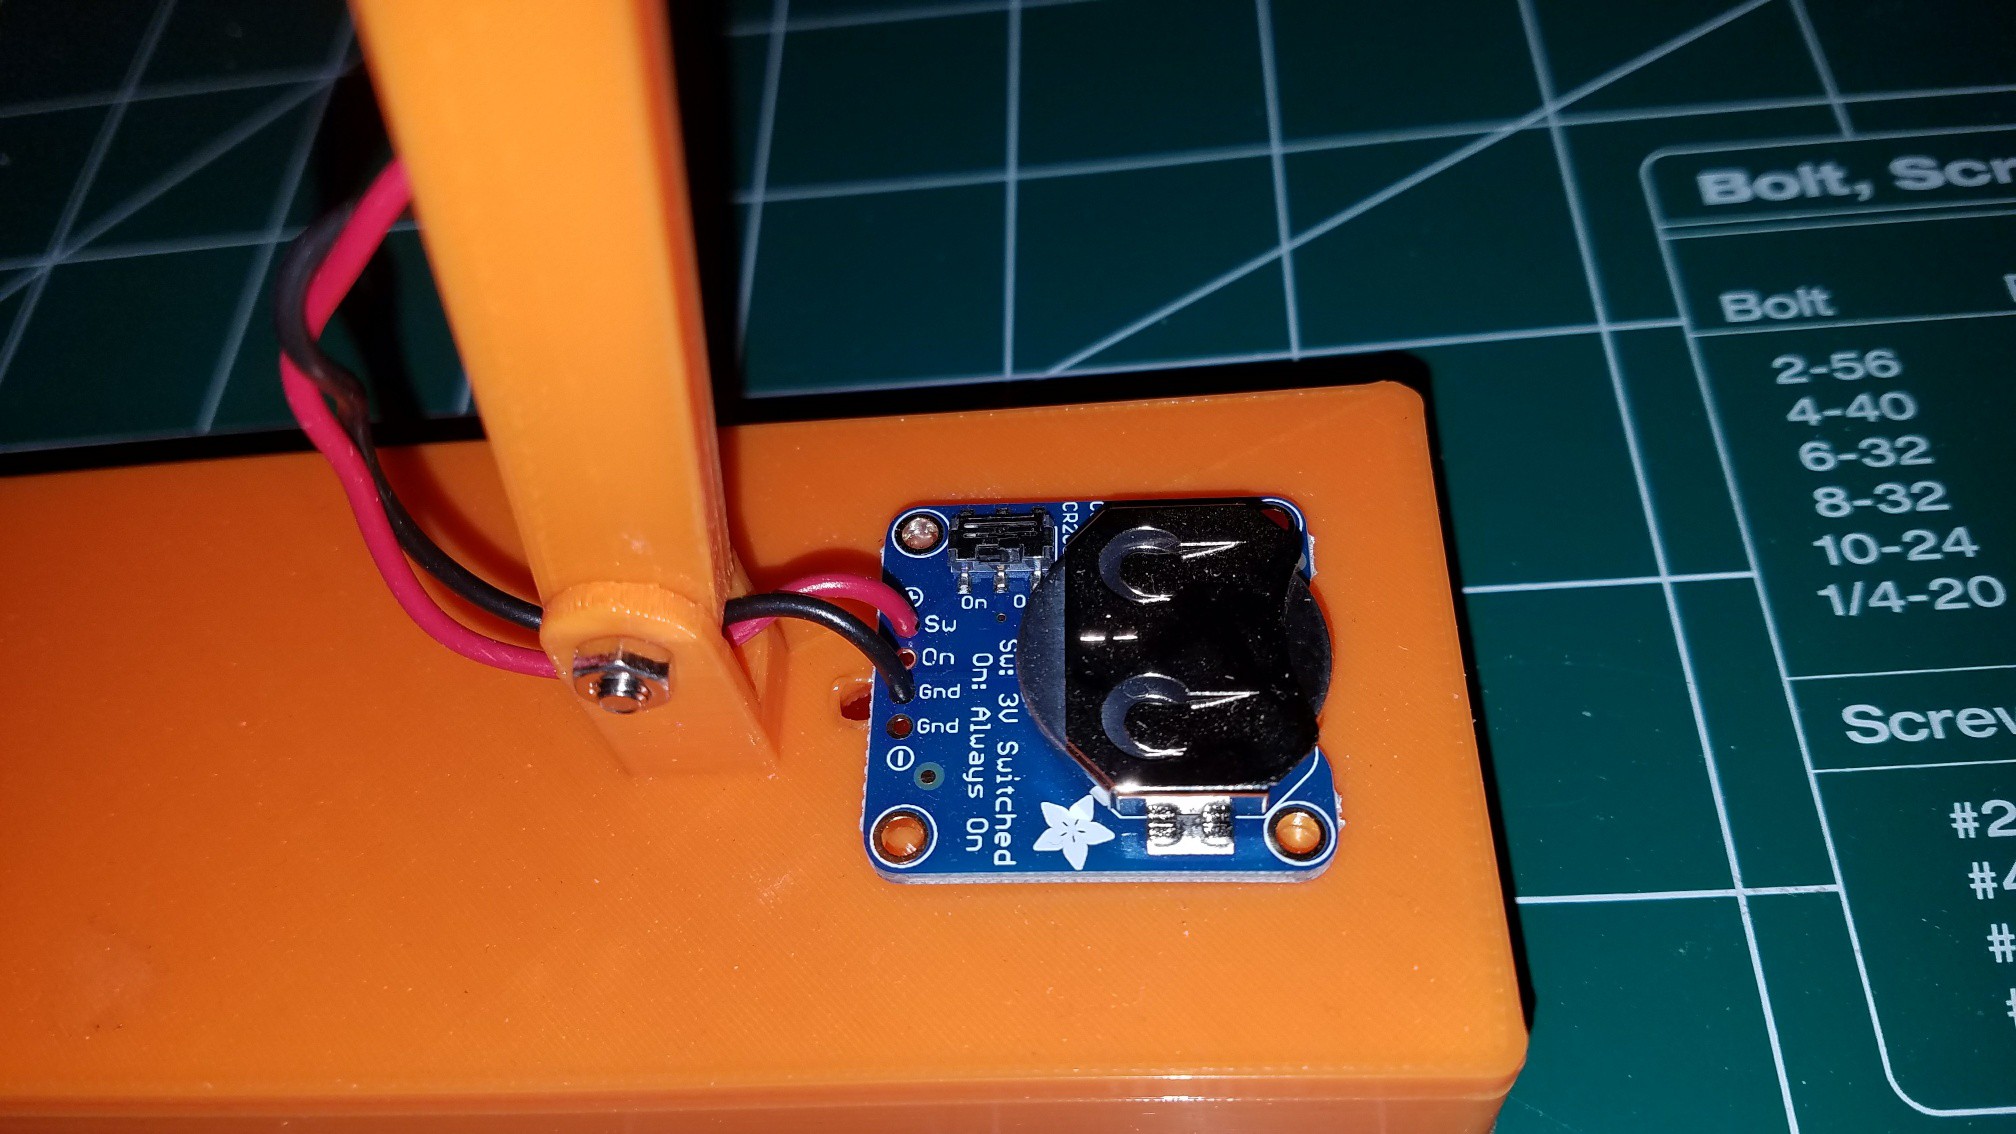
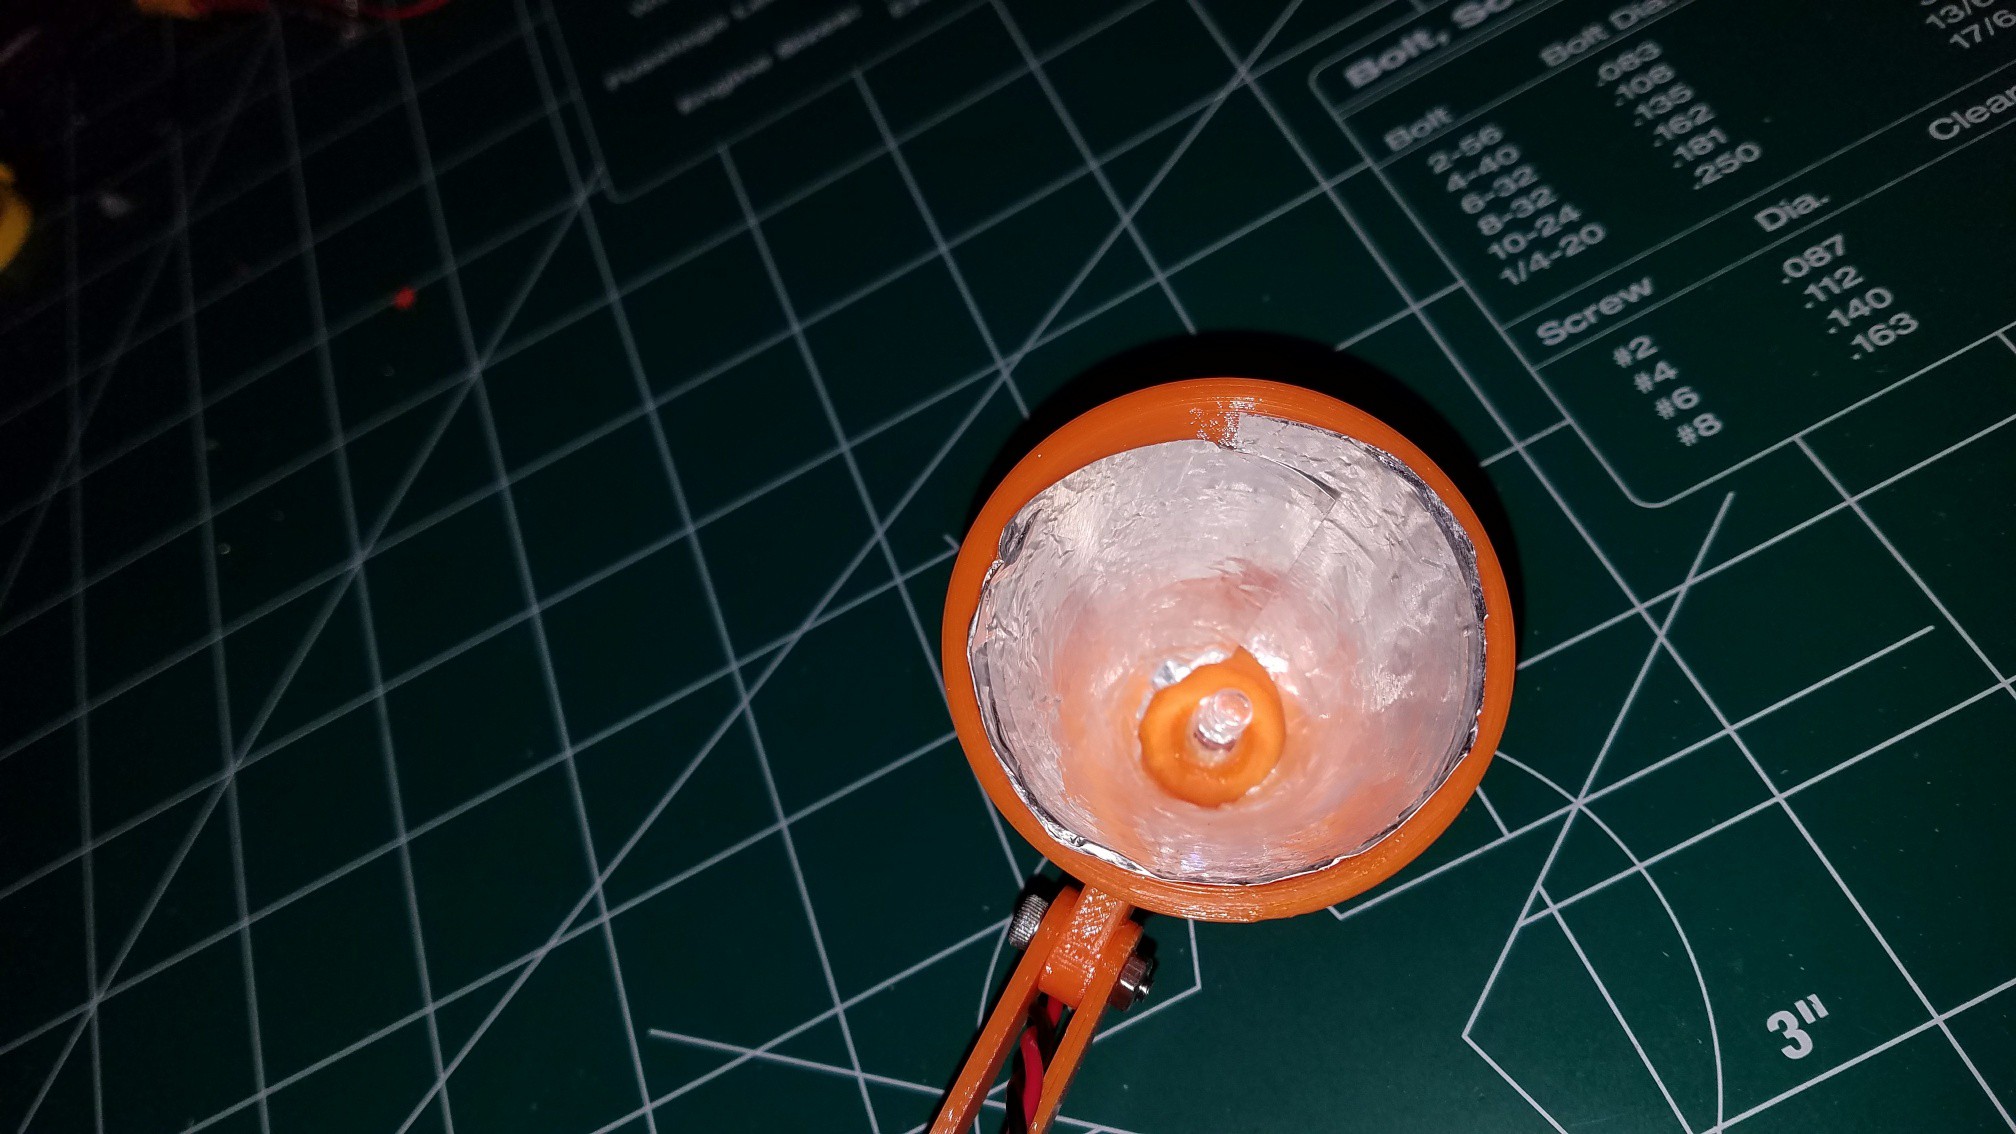
I originally designed it for needing a light on what I was working on at the time. After searching the web for DIY lamps, I found Mr. Useful's popsicle led lamp. His Video is below. I then thought I could design my own in Cad. So that is what I did. I then printed the parts out and assembled using some nuts, bolts and magnets. I hot glued the led in place and then super glued some tinfoil on the inside of the lampshade. Installed the electronics and Valla. I used magnets on the top and bottom parts to have easy access. Inside the bottom, you could hold spare coin batteries. Or add some weight to it.
0%
0%
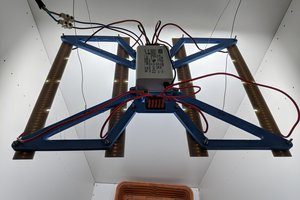
3v coin powered Articulated Mini Lamp
This is a 3d printed mini led lamp ran on a 3v coin battery.
Become a Hackaday.io member
Already have an account? Log in.
Just one more thing
To make the experience fit your profile, pick a username and tell us what interests you.
Pick an awesome username
hackaday.io/
Your profile's URL: hackaday.io/username. Max 25 alphanumeric characters.
Pick a few interests
Projects that share your interests
People that share your interests
 Niko
Niko

 audreyobscura
 Lyon
Lyon