0%
0%
Handheld Arduino Pong Console
Use an OLED screen to play pong in the palm of your hand! Simply plug in a micro USB cable and you're ready to play- with sound effects!
 having11
Become a Hackaday.io member
Already have an account? Log in.
Just one more thing
To make the experience fit your profile, pick a username and tell us what interests you.
Pick an awesome username
hackaday.io/
Your profile's URL: hackaday.io/username. Max 25 alphanumeric characters.
Pick a few interests
Projects that share your interests
People that share your interests


 Lastly, I added two buttons on the left side to add controls.


 Travis Lin
 Jean Noel
 Faire-soi-meme
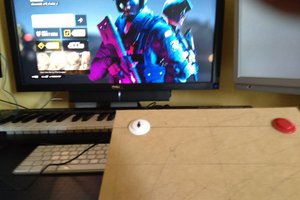
 Juan M. Casillas