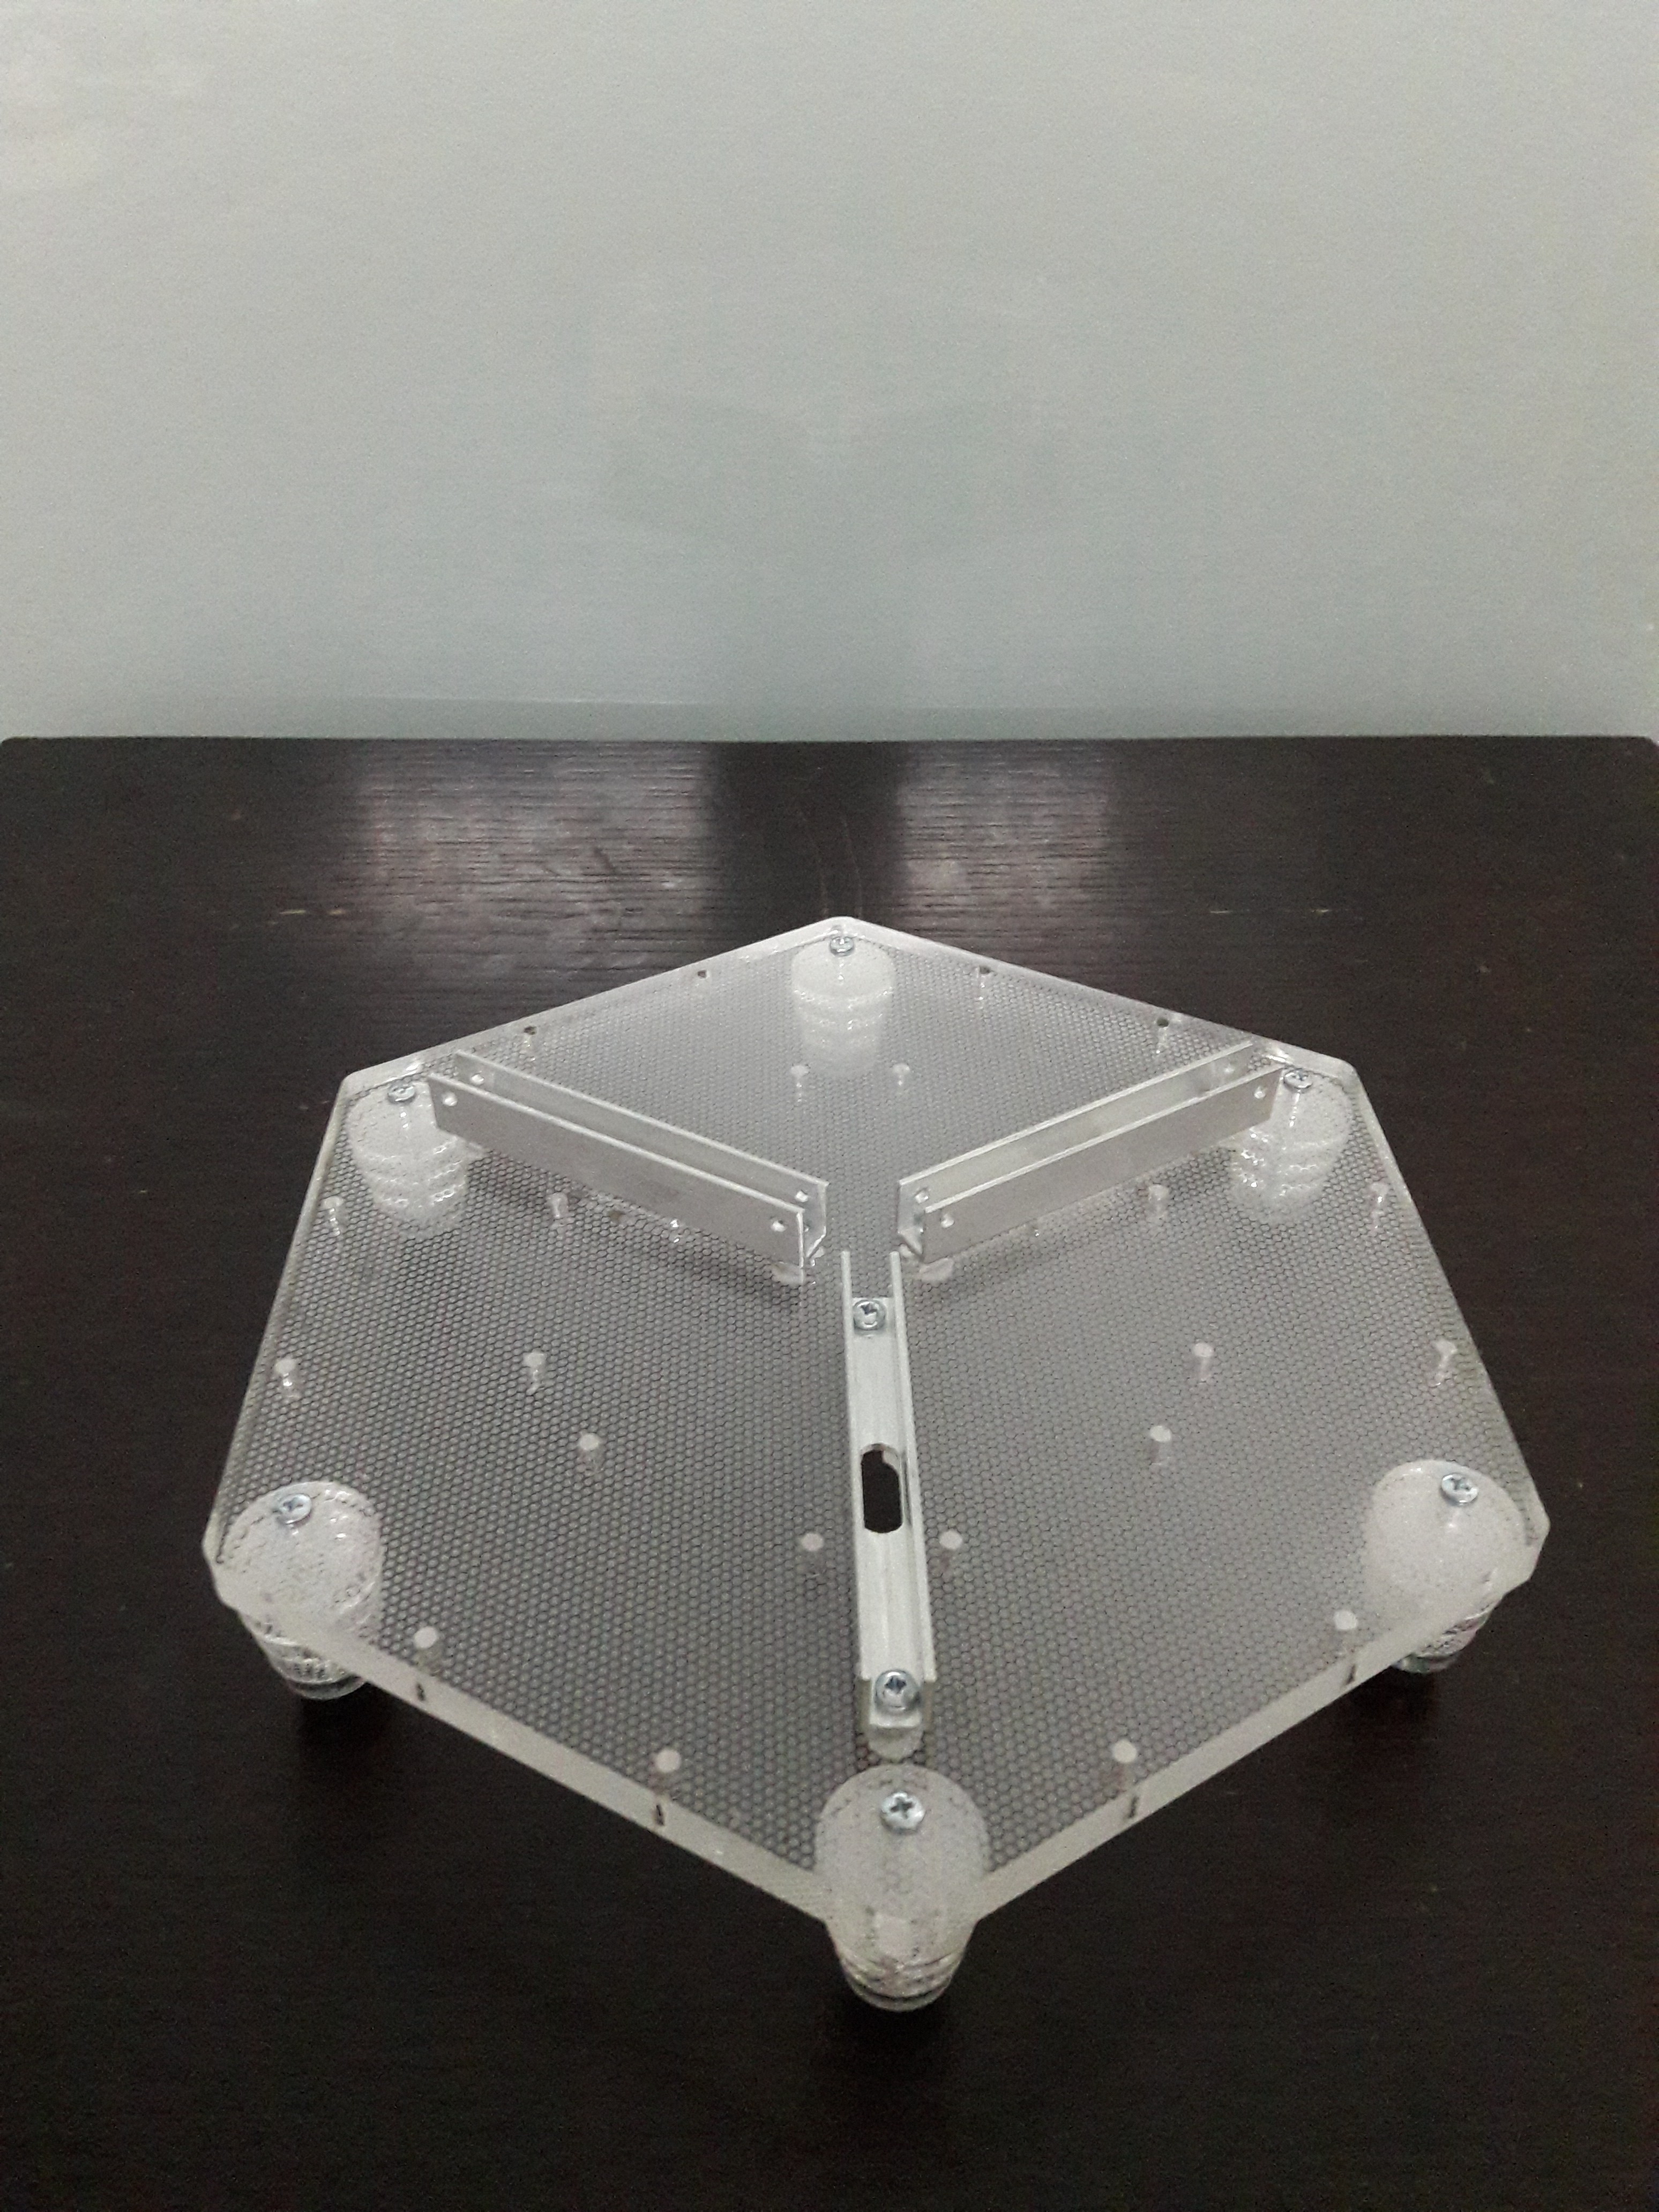
The assembly of the DiamondLight starts with the 6 feet made of 4, 6mm rings and a rubber pad. The base is 10mm thick with cutout slots for the cable and adjustment for the U bracket screws.
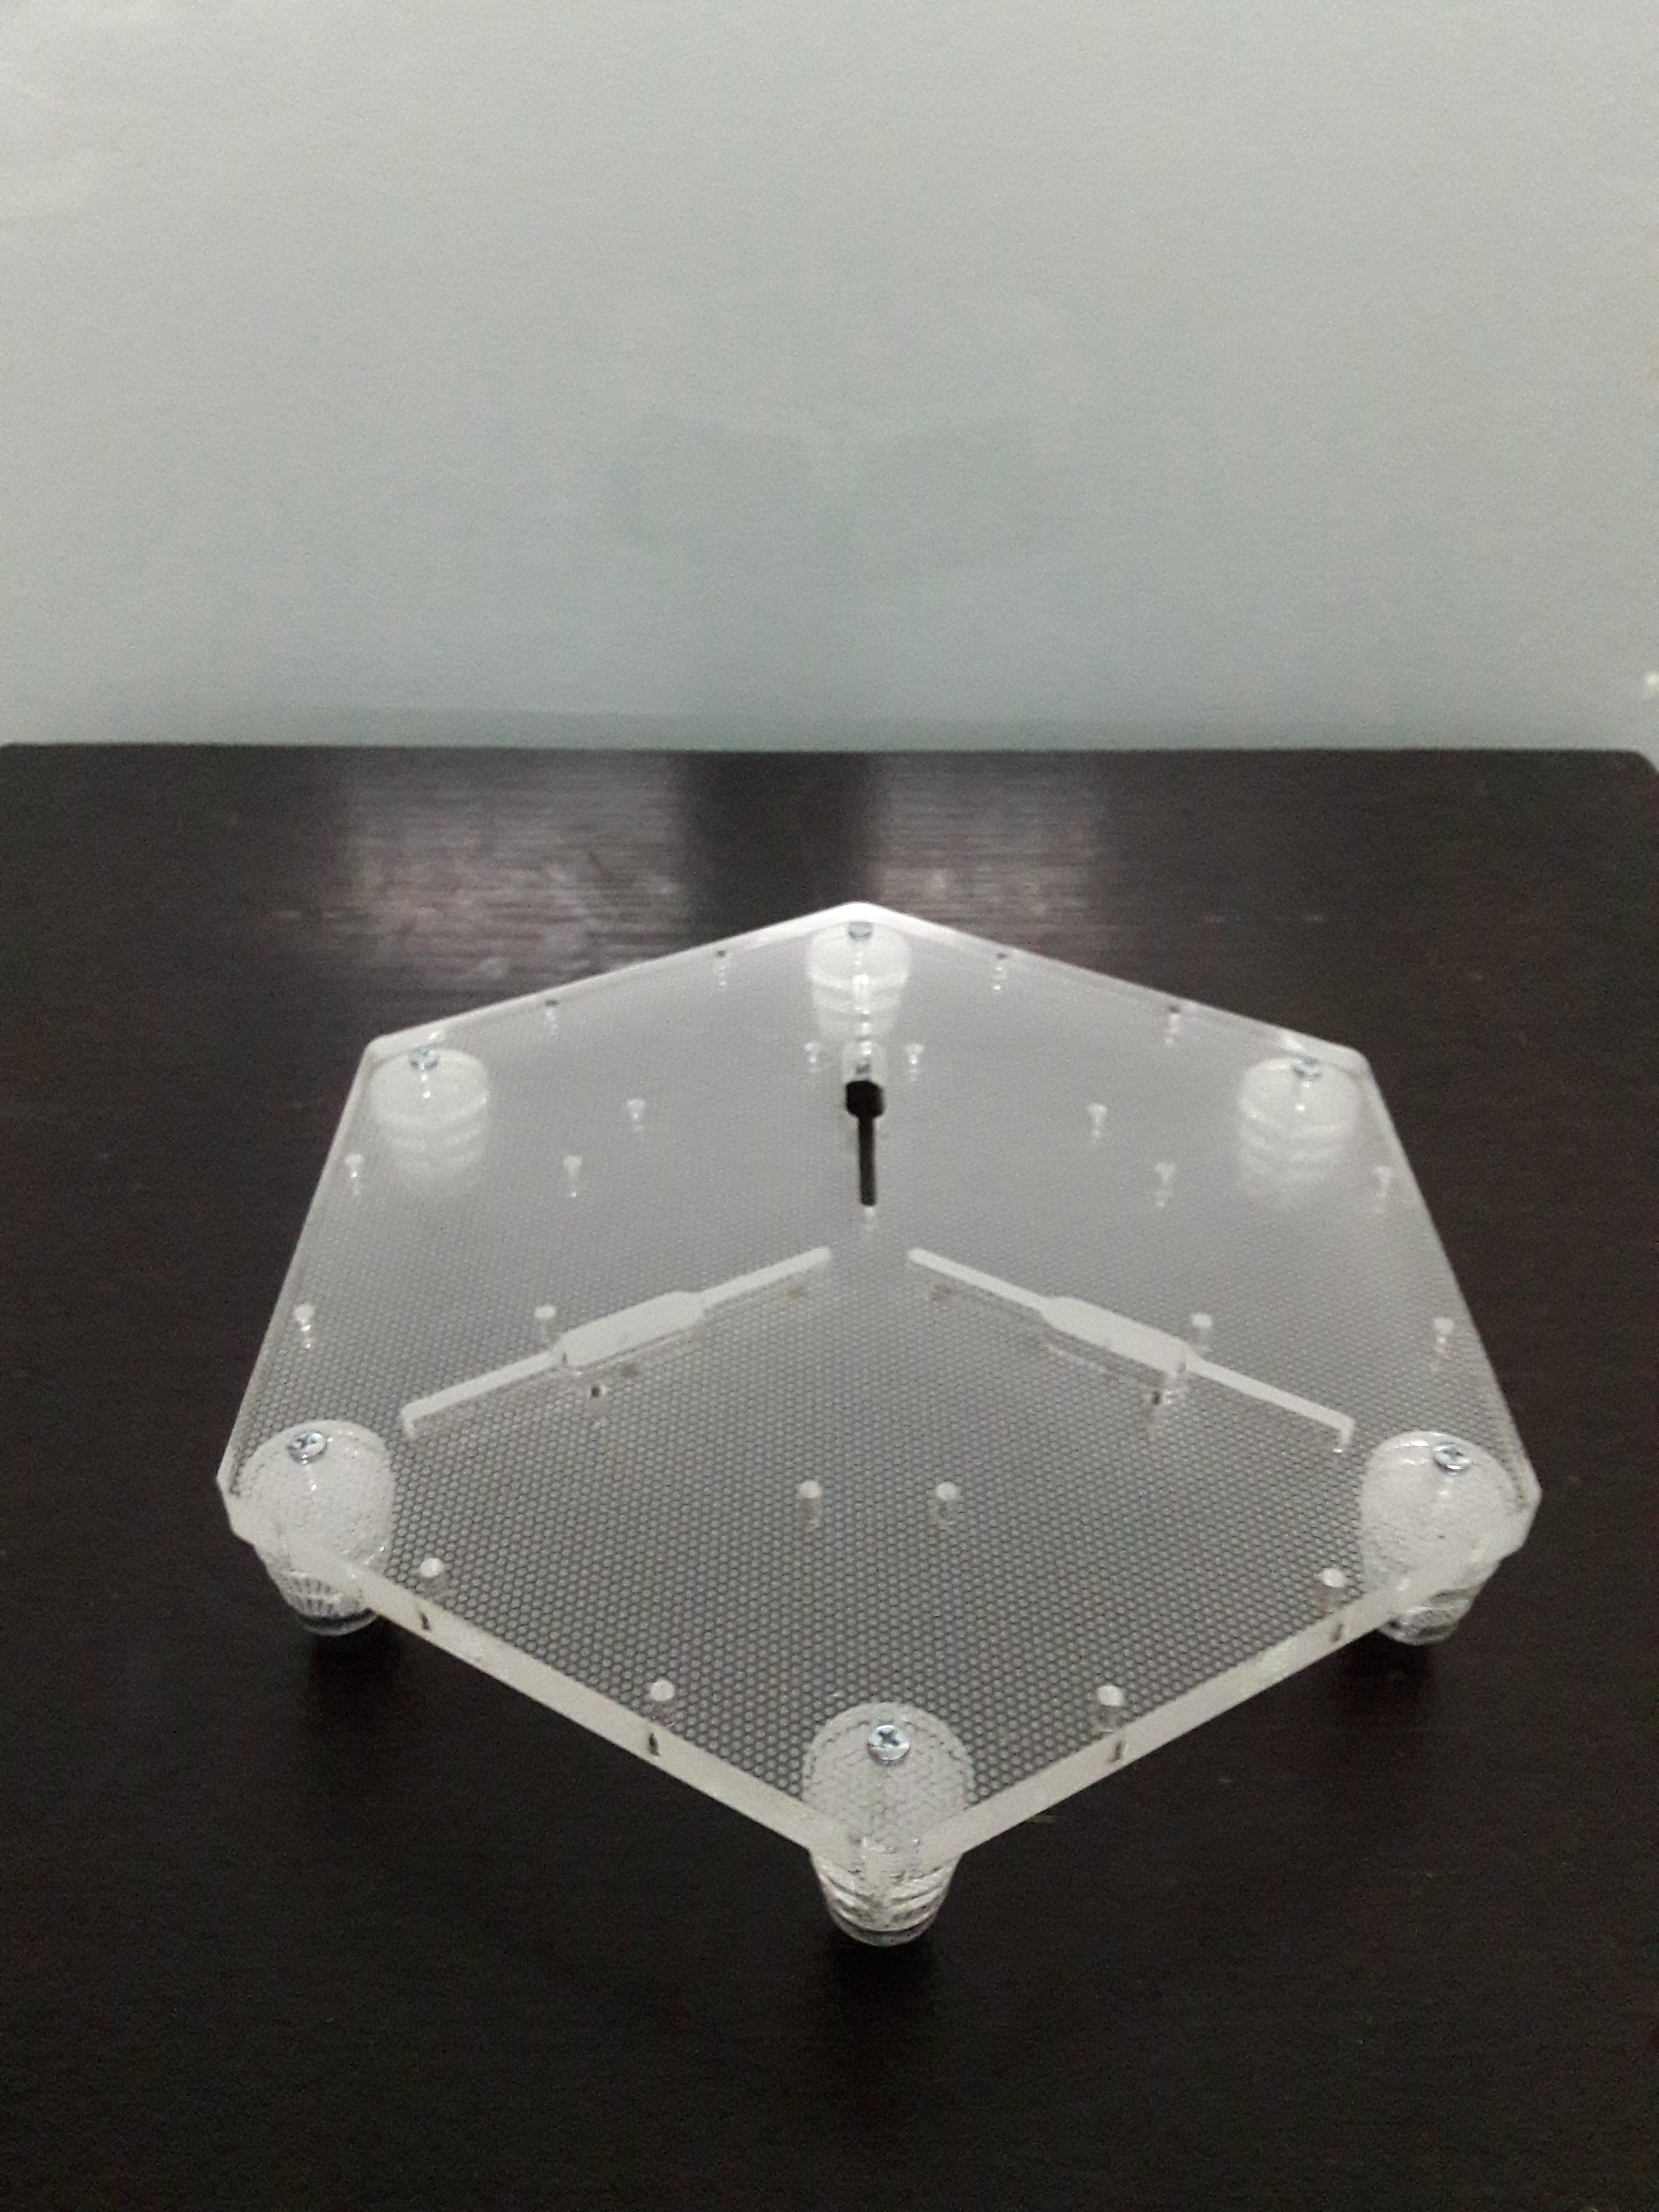
The U brackets are mounted on the base with screw and nylon washers.
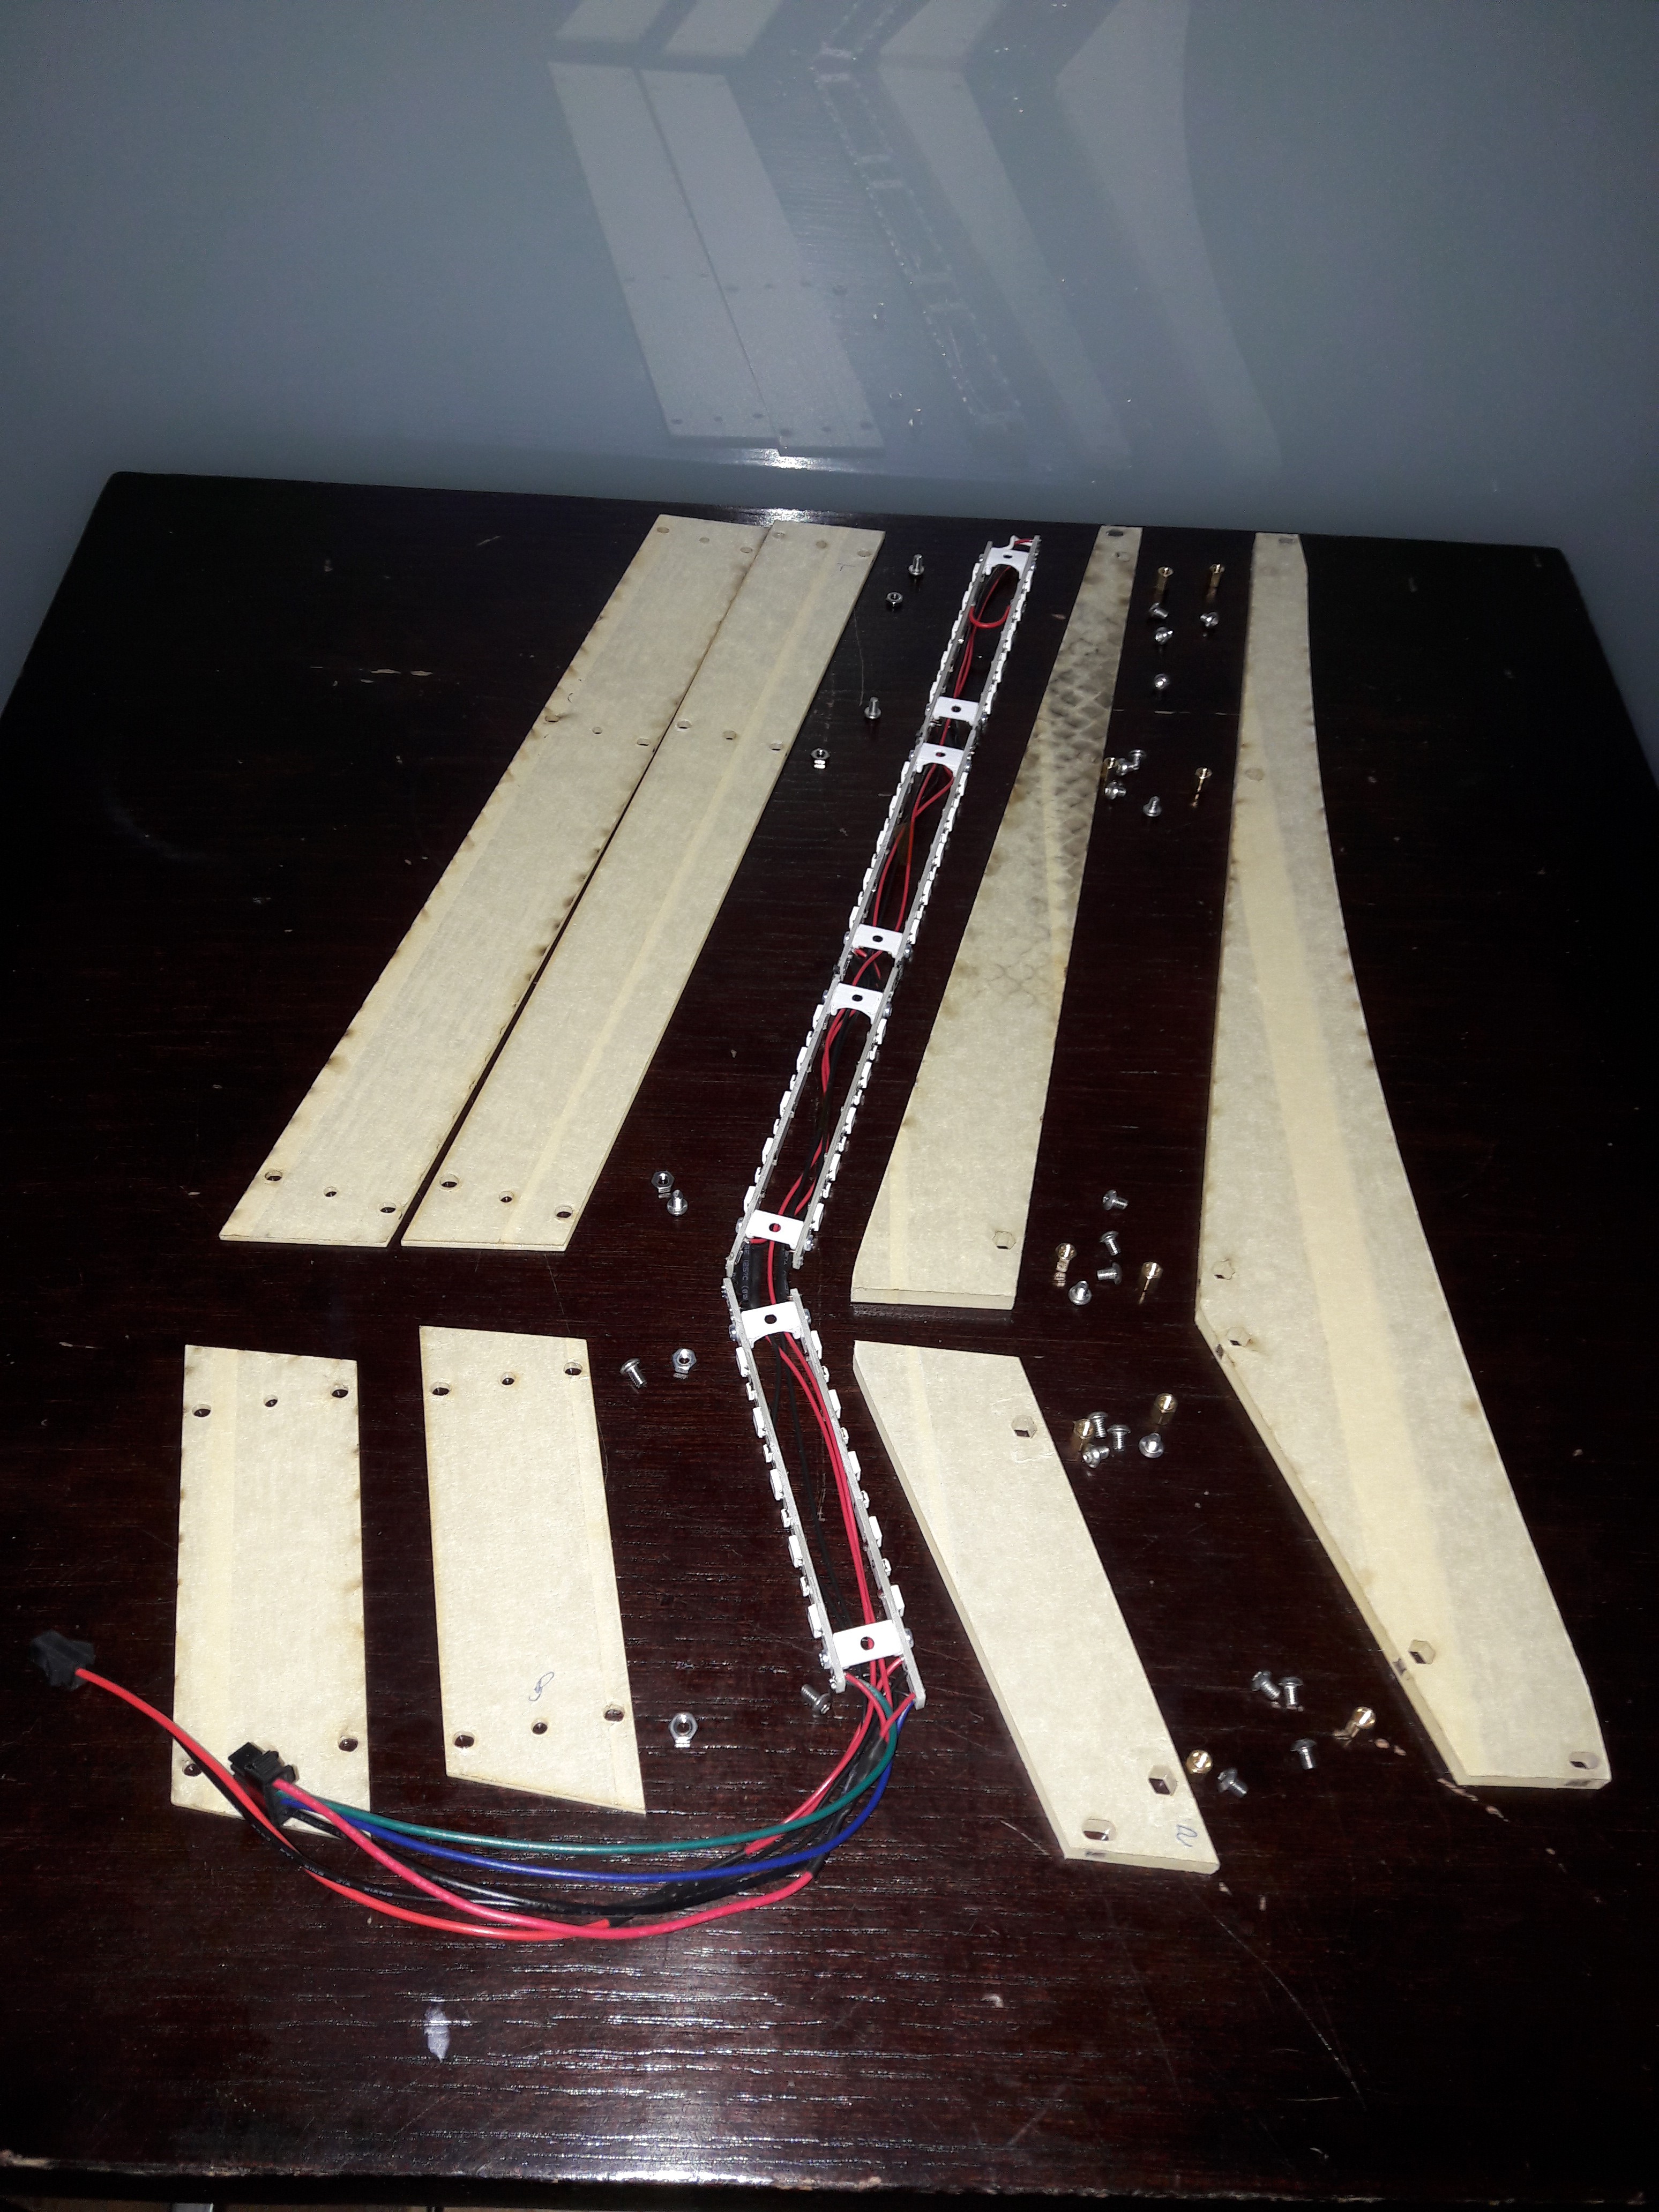
Assembly of a panel requires the following. The standoff are embedded in the acrylic, hex cutout were made with the laser. The side cover have minor horizontal adjustment thanks to 4mm long slot holes. Painter tape covers the acrylic for protection during preparation. The outside edge of the main acrylic piece were sanded to smooth light diffusion. The LED assembly was completed on a support to get the required position and angle.
- 20 x 4mm flat head M3 screws
- 5 x 5mm flat head M3 screws
- 5 x M3 nuts
- 10 x 6mm M3 Hex standoff
First assembled panel. Peeling off the painter's tape is a careful task. The side cover is only 2mm thick acrylic.
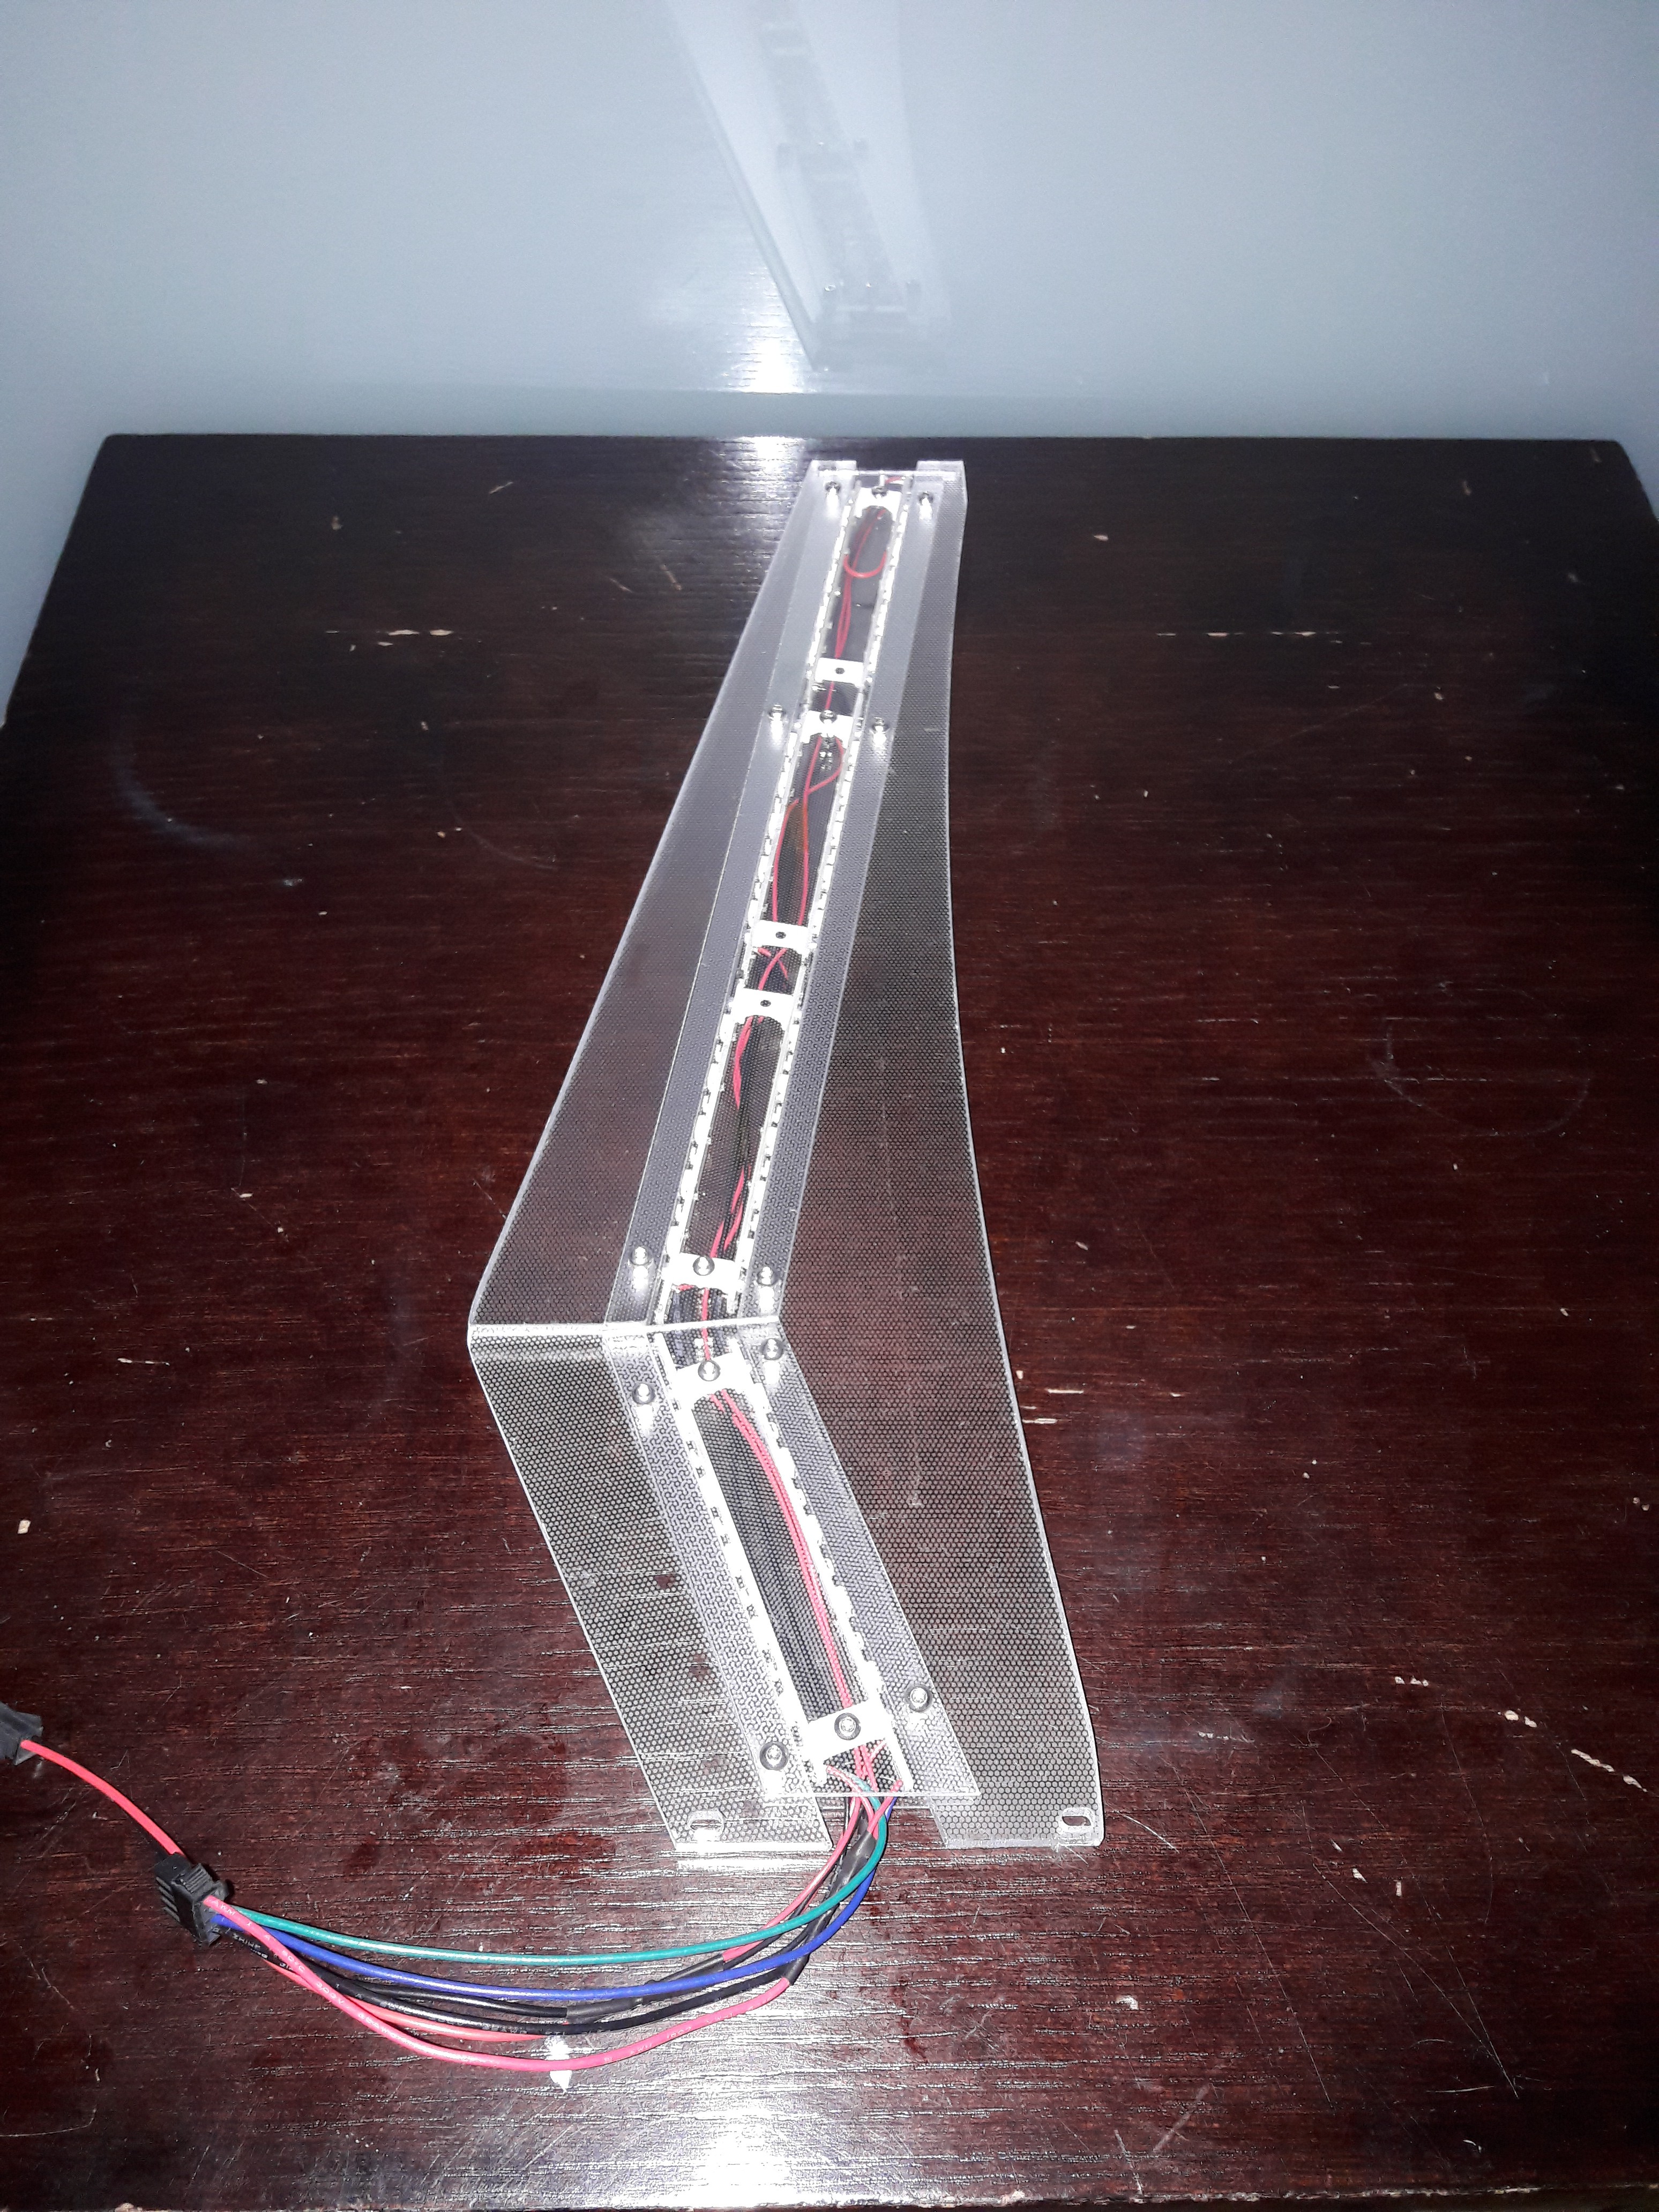
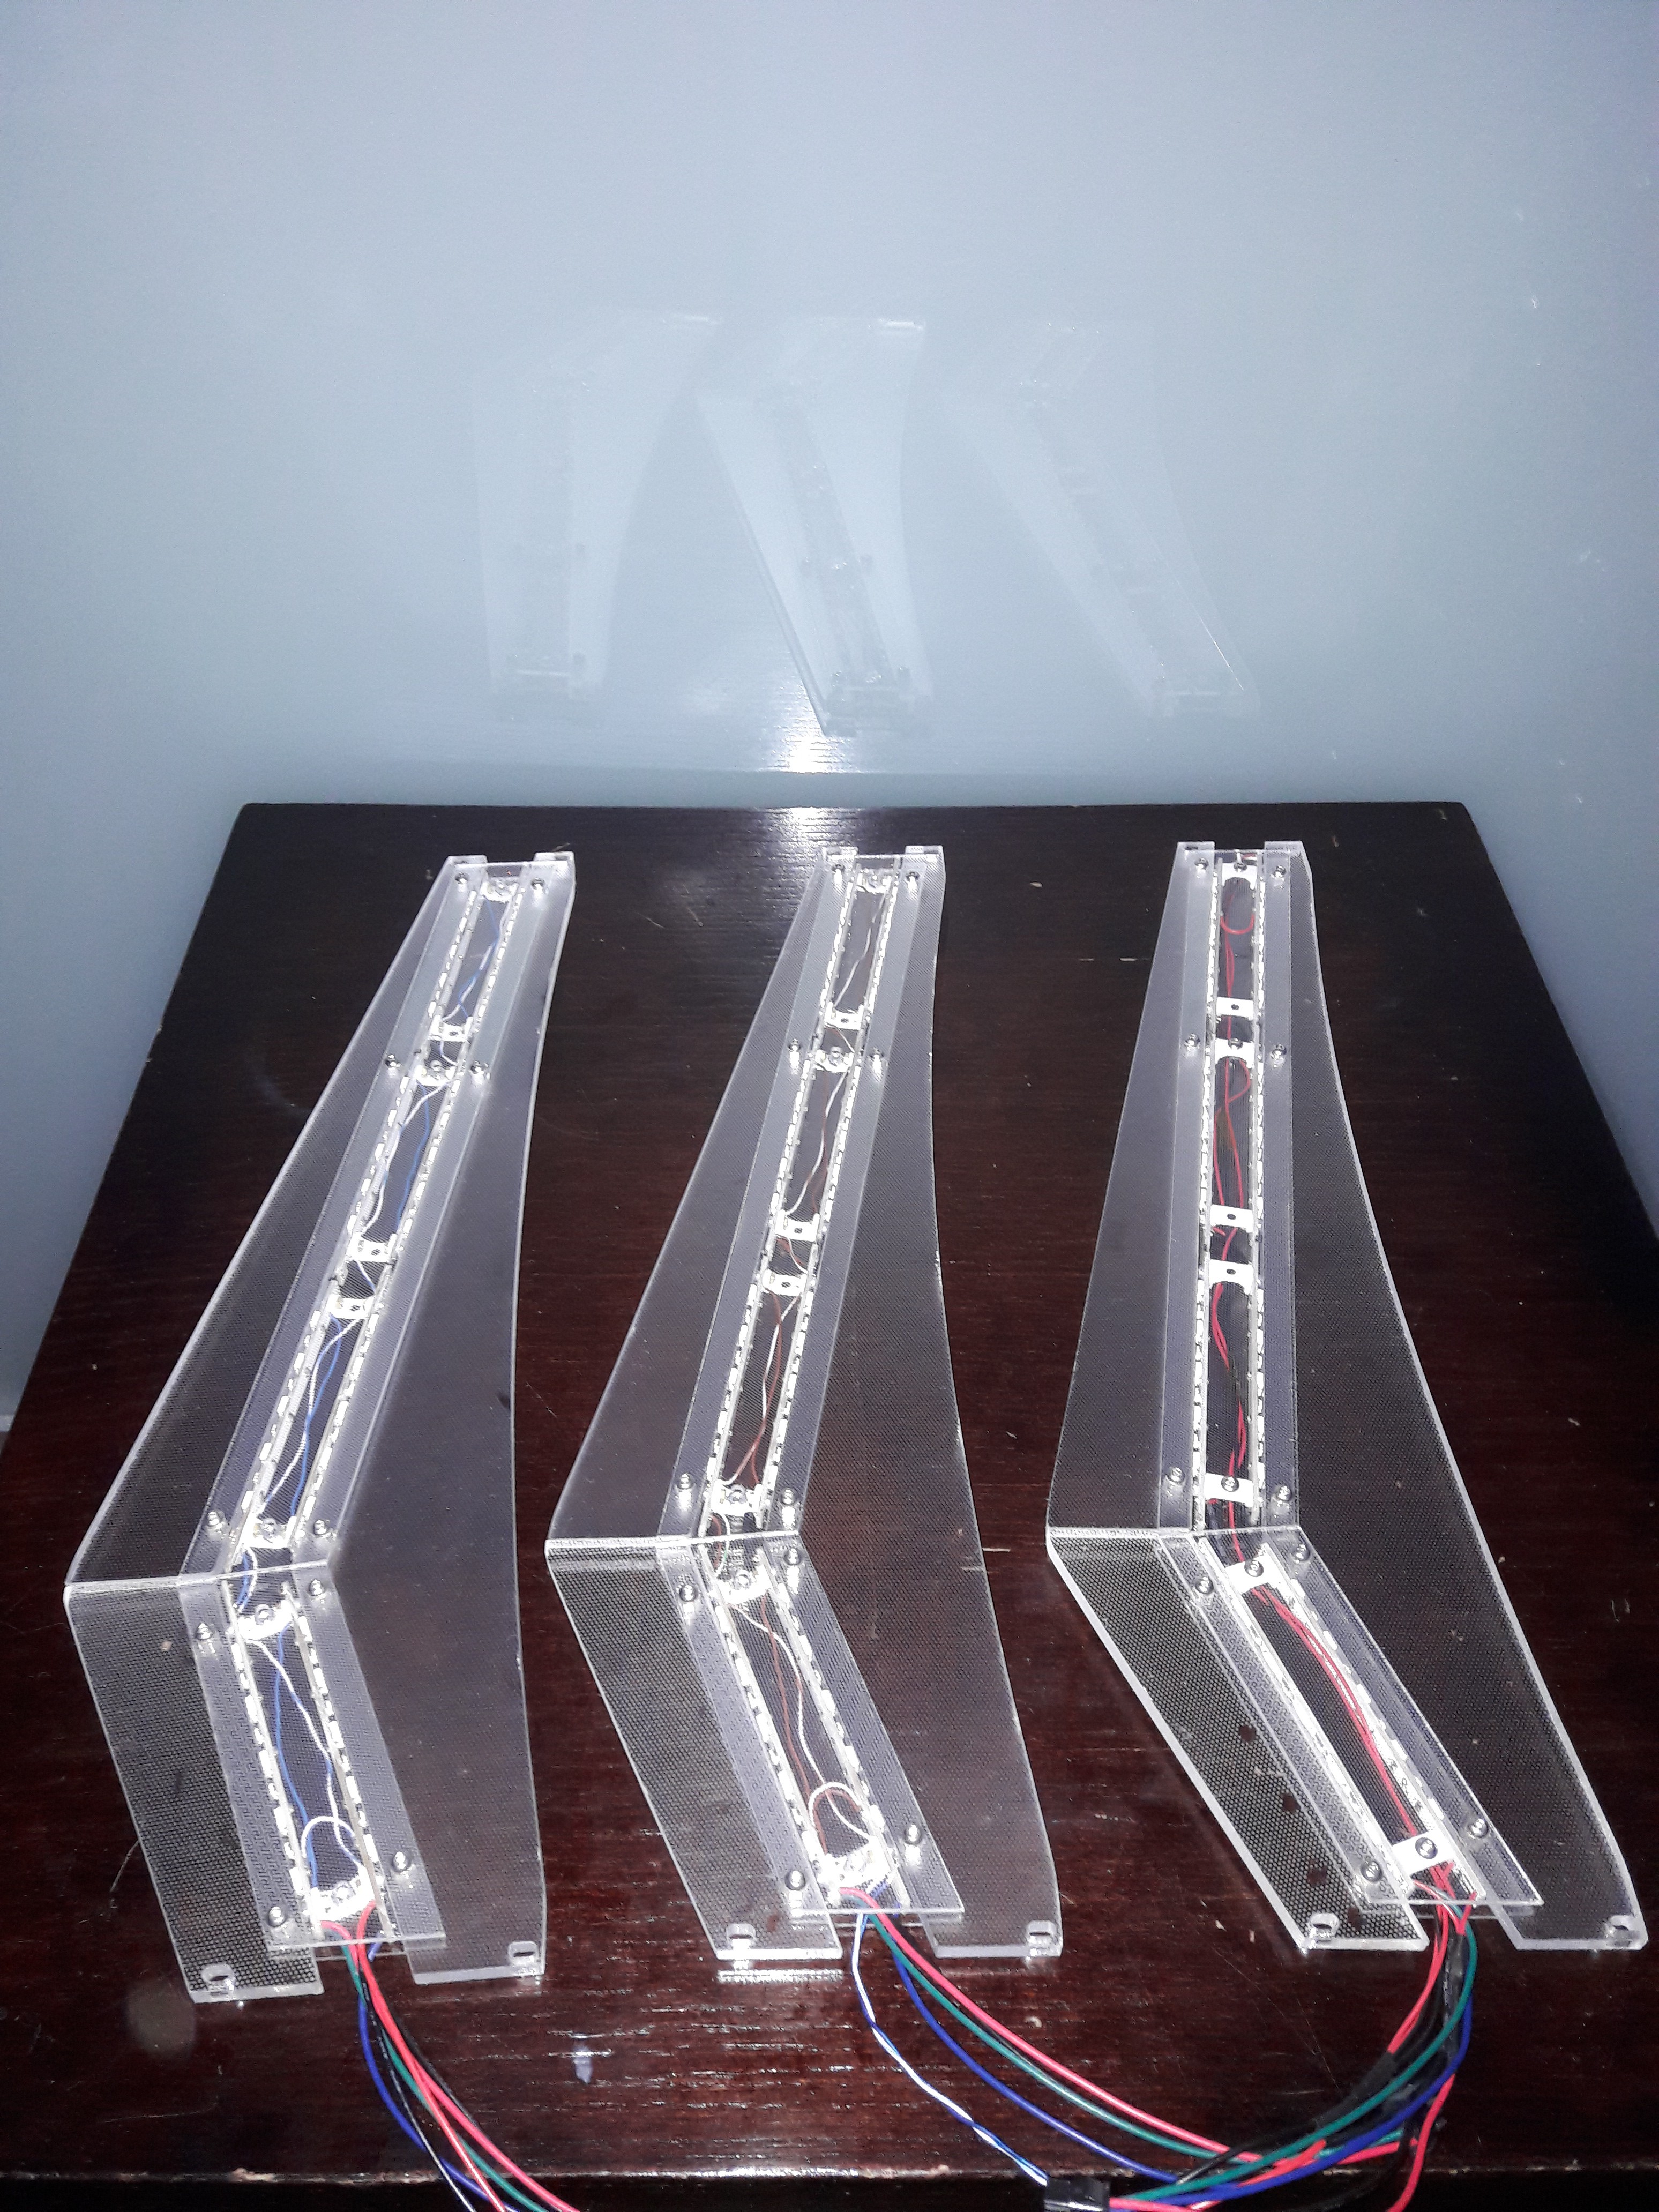
After one done, 2 more to go. All 3 panel assembled.
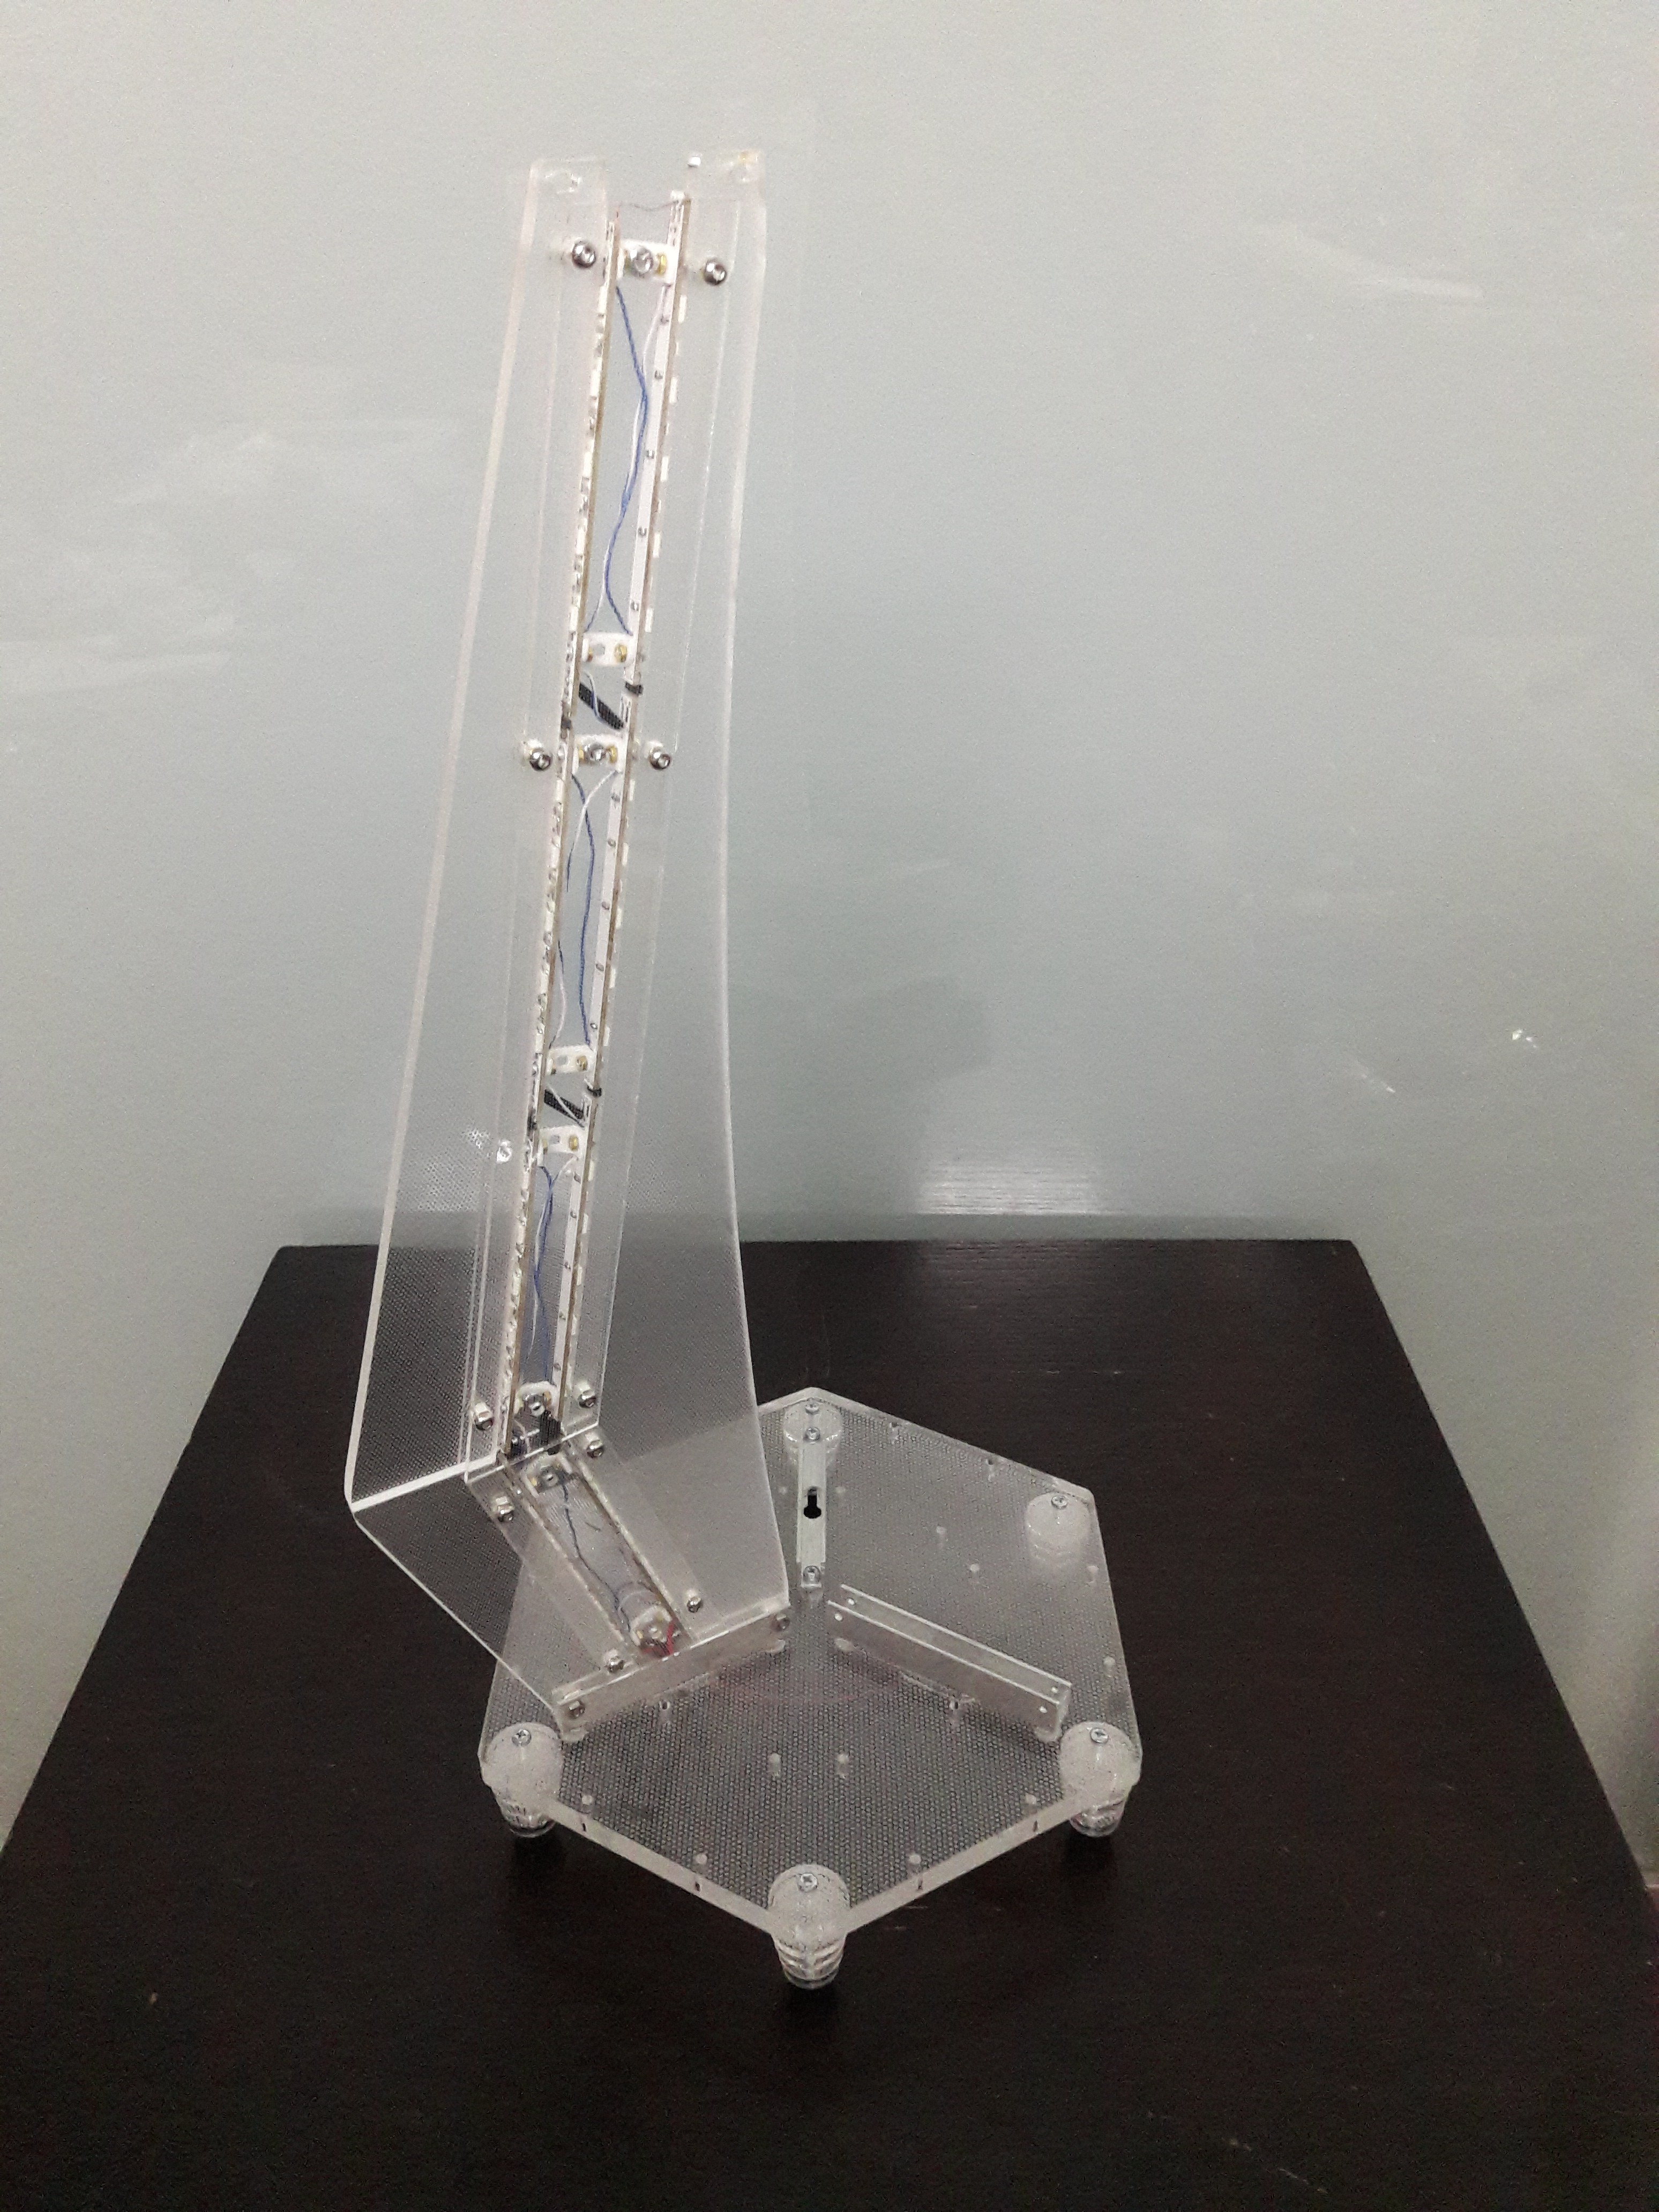
The panel is mounted on the base. The cable is passed thru the hole in the U-bracket. Screw secures the panel on the base. The panel has slot holes on the bottom and the top to allows for adjustment.
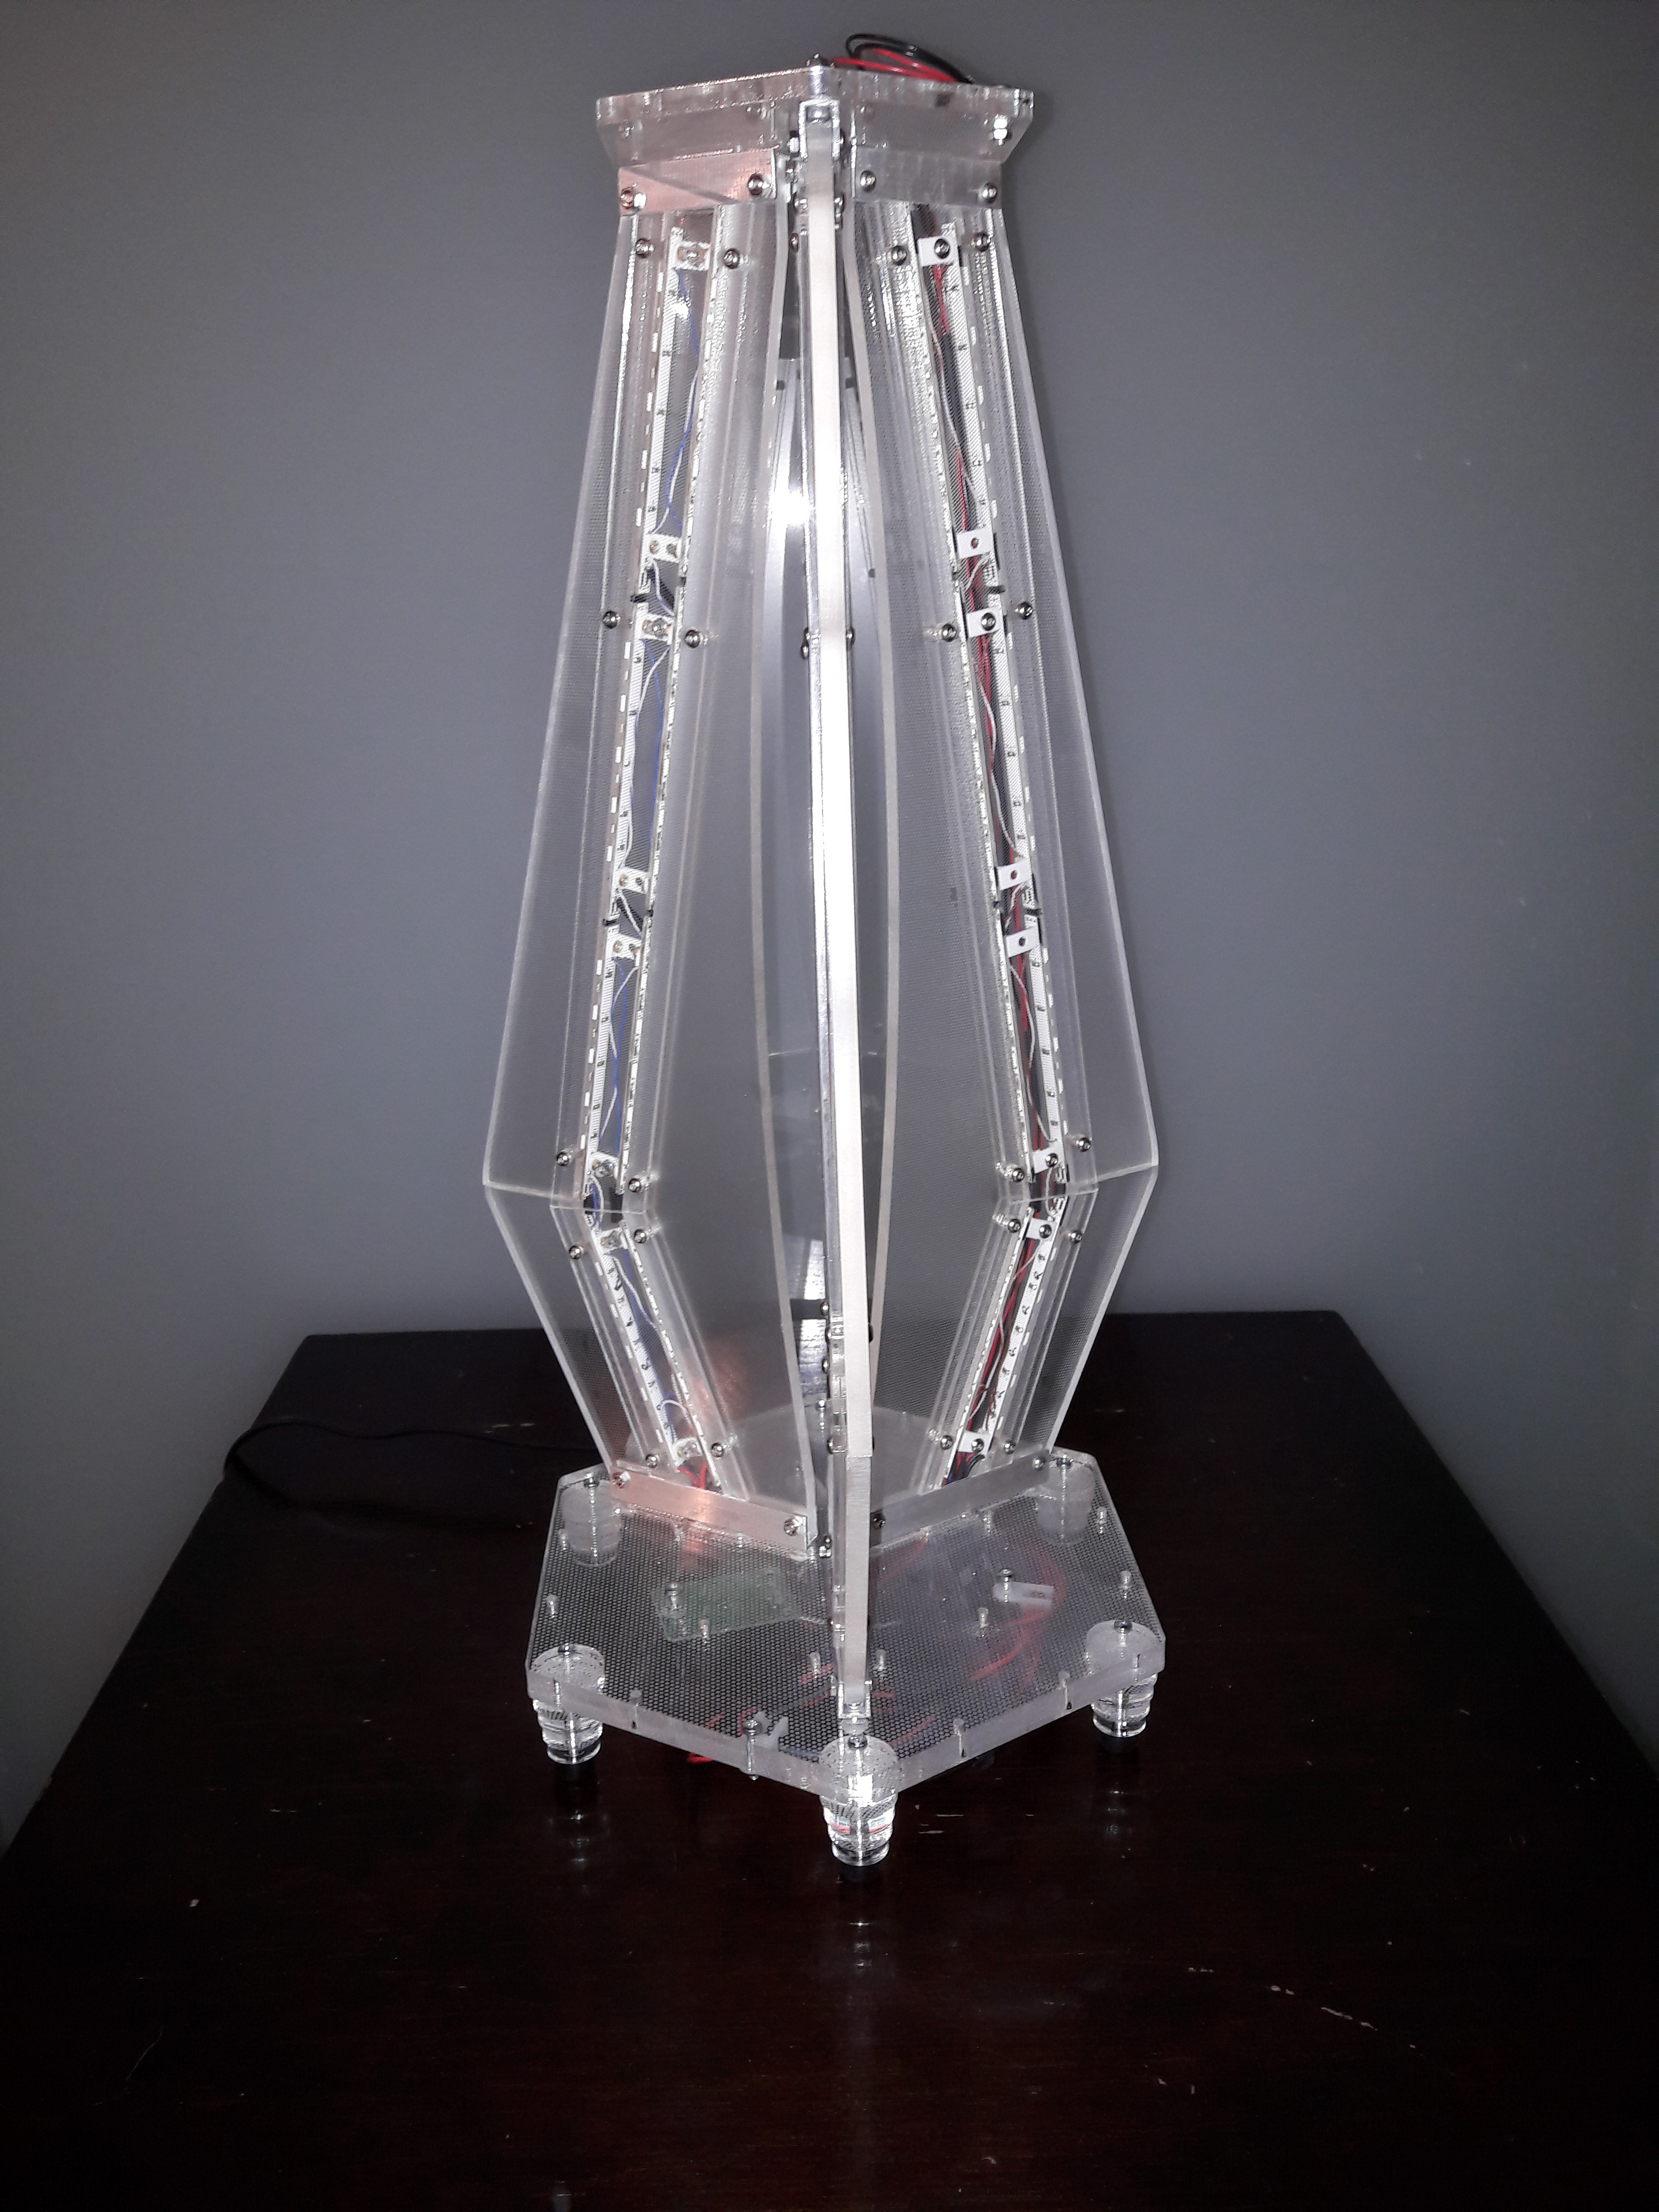
All the panels are mounted on the base. The top plate is assemble with its U-brackets and completes the DiamondLight.
 Stanislas Bertrand
Discussions
Become a Hackaday.io Member
Create an account to leave a comment. Already have an account? Log In.