 agp.cooper
Parts
Bought the following parts:
- 2x NEMA 17 stepper motor - 68 oz in (400 steps/rev)
- 1x Pololu universal aluminum mounting hub for 5mm shaft M3 holes (2 Pack)
- 2x NEMA 17 stepper motor mounting bracket
- 1x Nano 3.0 CNC board (uses A4988 stepper motor drivers)
- 1x 11.1v LiPo battery
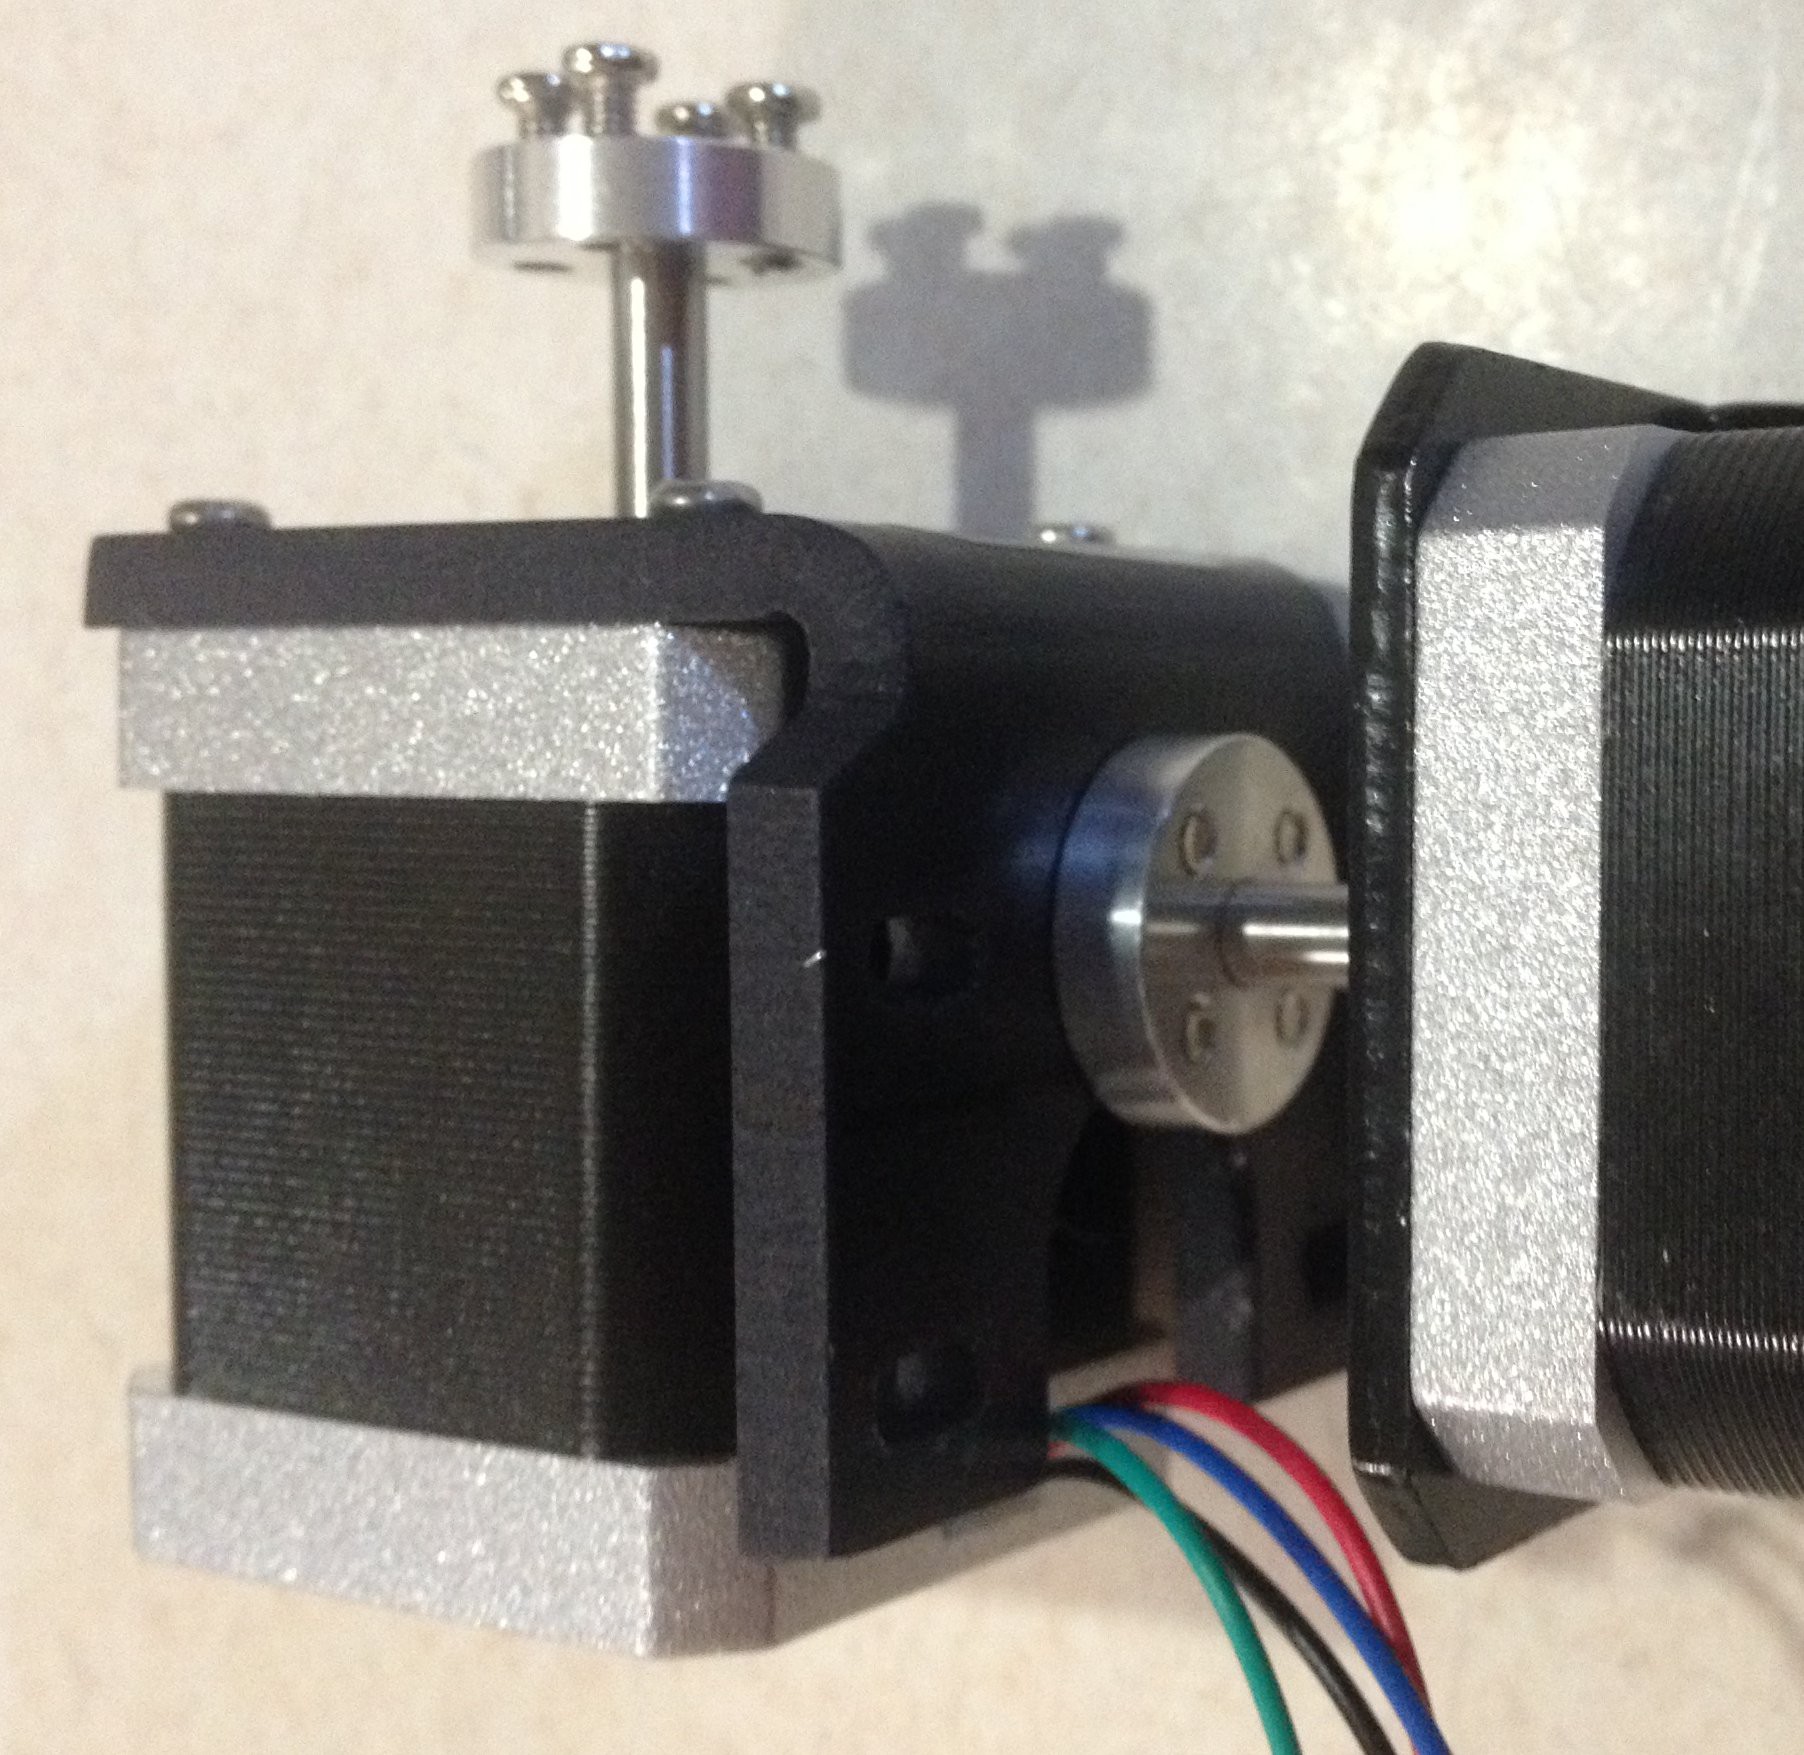
Assembling the Turret
I drilled 4x 3 mm diameter holes in the base of one of the motor brackets to match the mounting hub:
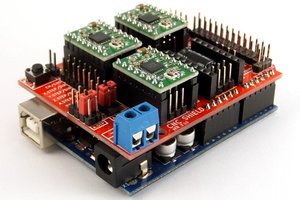
Hook Up the CNC board
Here is what the CNC board looks like:

Almost no documentation in the Internet on this board!?
Mapping/tracing the Nano pins I get:
- RX - Serial Receive (pin provided but not used)
- TX - Serial Transmit (pin provided but not used)
- D2 - X Direction
- D3 - Y Direction
- D4 - Z Direction
- D5 - X Step
- D6 - Y Step
- D7 - Z Step
- D8 - Enable
- D9 - +/- X End Stops (pin provided but not used)
- D10 - +/-Y End Stops (pin provided but not used)
- D11 - +/-Z End Stops (pin provided but not used)
- D12 - Free (pin provided)
- D13 - Free (pin provided)
- A0 - Abort (pin provided but not used)
- A1 - Hold (pin provided but not used)
- A2 - Resume (pin provided but not used)
- A3 - Coolant Enable (pin provided but not used)
- A4 - SDA (pin provided but not used)
- A5 - SCL (pin provided but not used)
- A6 - Free (pin provided)
- A7 - Free (pin provided)
There are also:
- +5v0 and ground pins
- +3v3 and ground pins (uses an on board regulator)
- Reset button (for Nano)
- E-Stop pins (same as reset)
- The power plug (Motor Power 8-12v):
- Powers the Nano and via a shunt powers the A4988 stepper motor boards.
- Otherwise the A4988 boards and the Nano are powered separately.
- Under each A4988 stepper motor board are pins to shunt (S) the micro-stepping:
- MS1 MS2 MS3 (up view)
- - - - Full Step
- S - - Half Step
- - S - 1/4 Step
- S S - 1 /8 Step
- S S S 1/16 Step
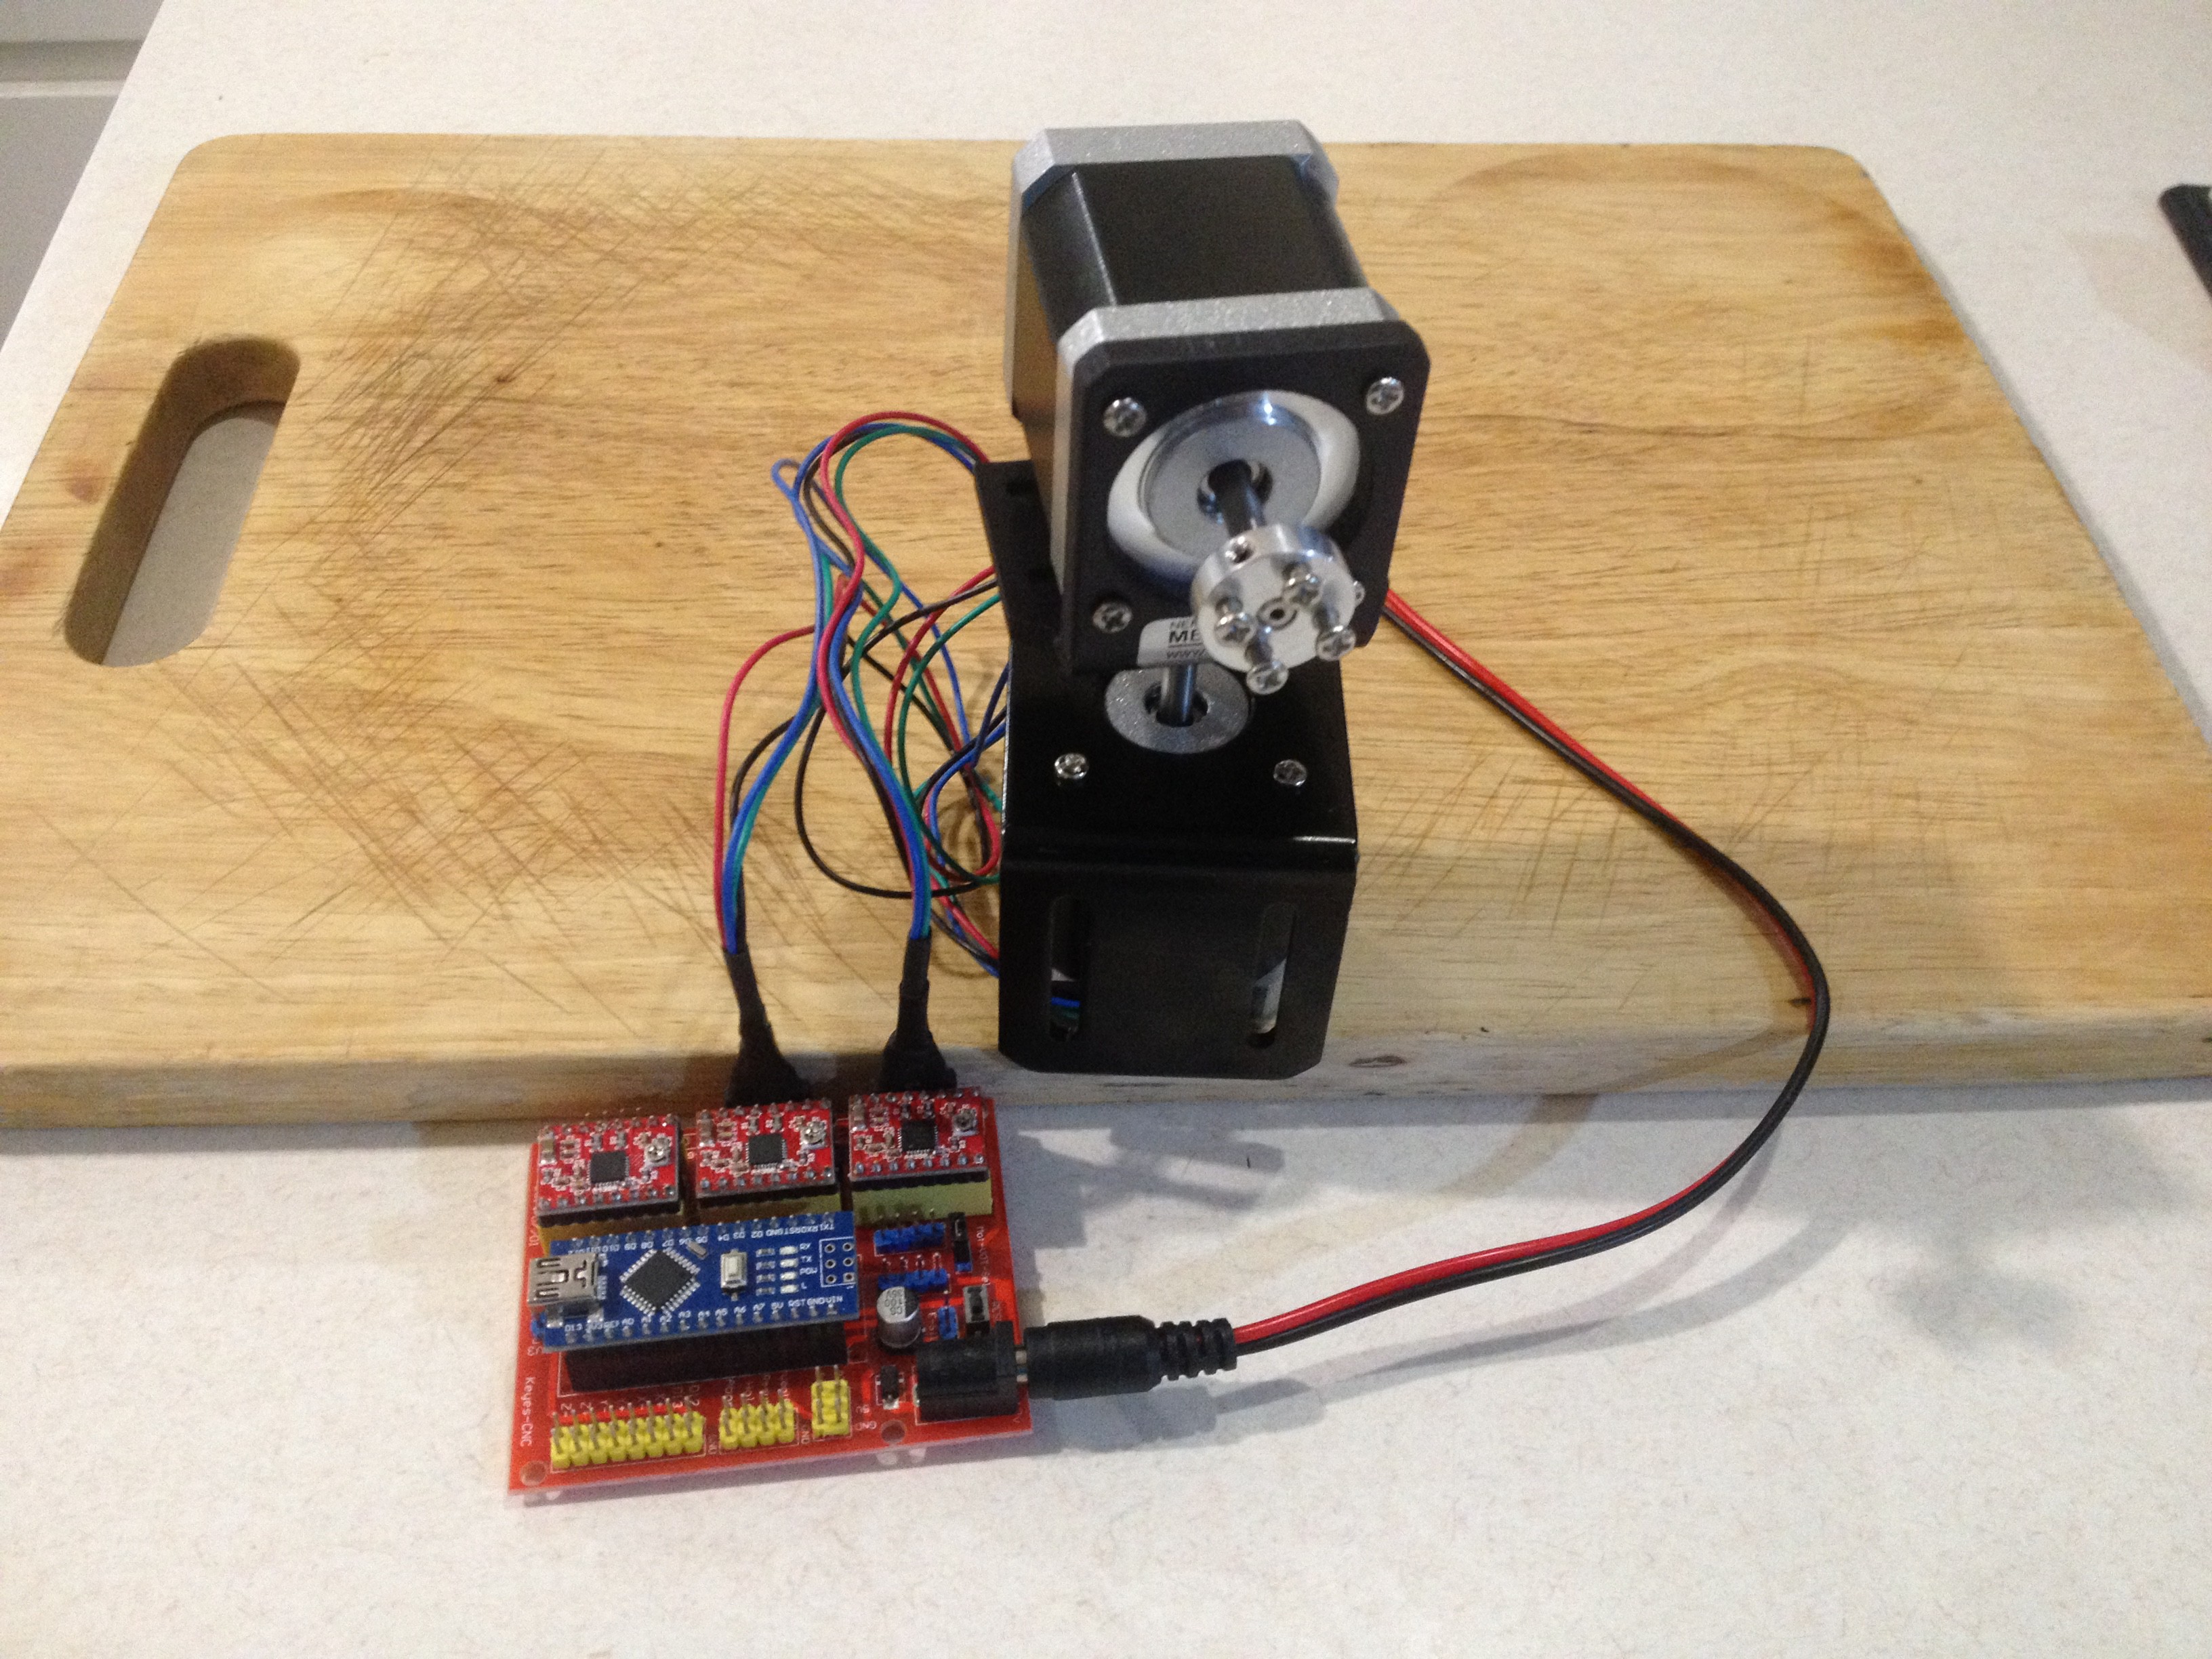
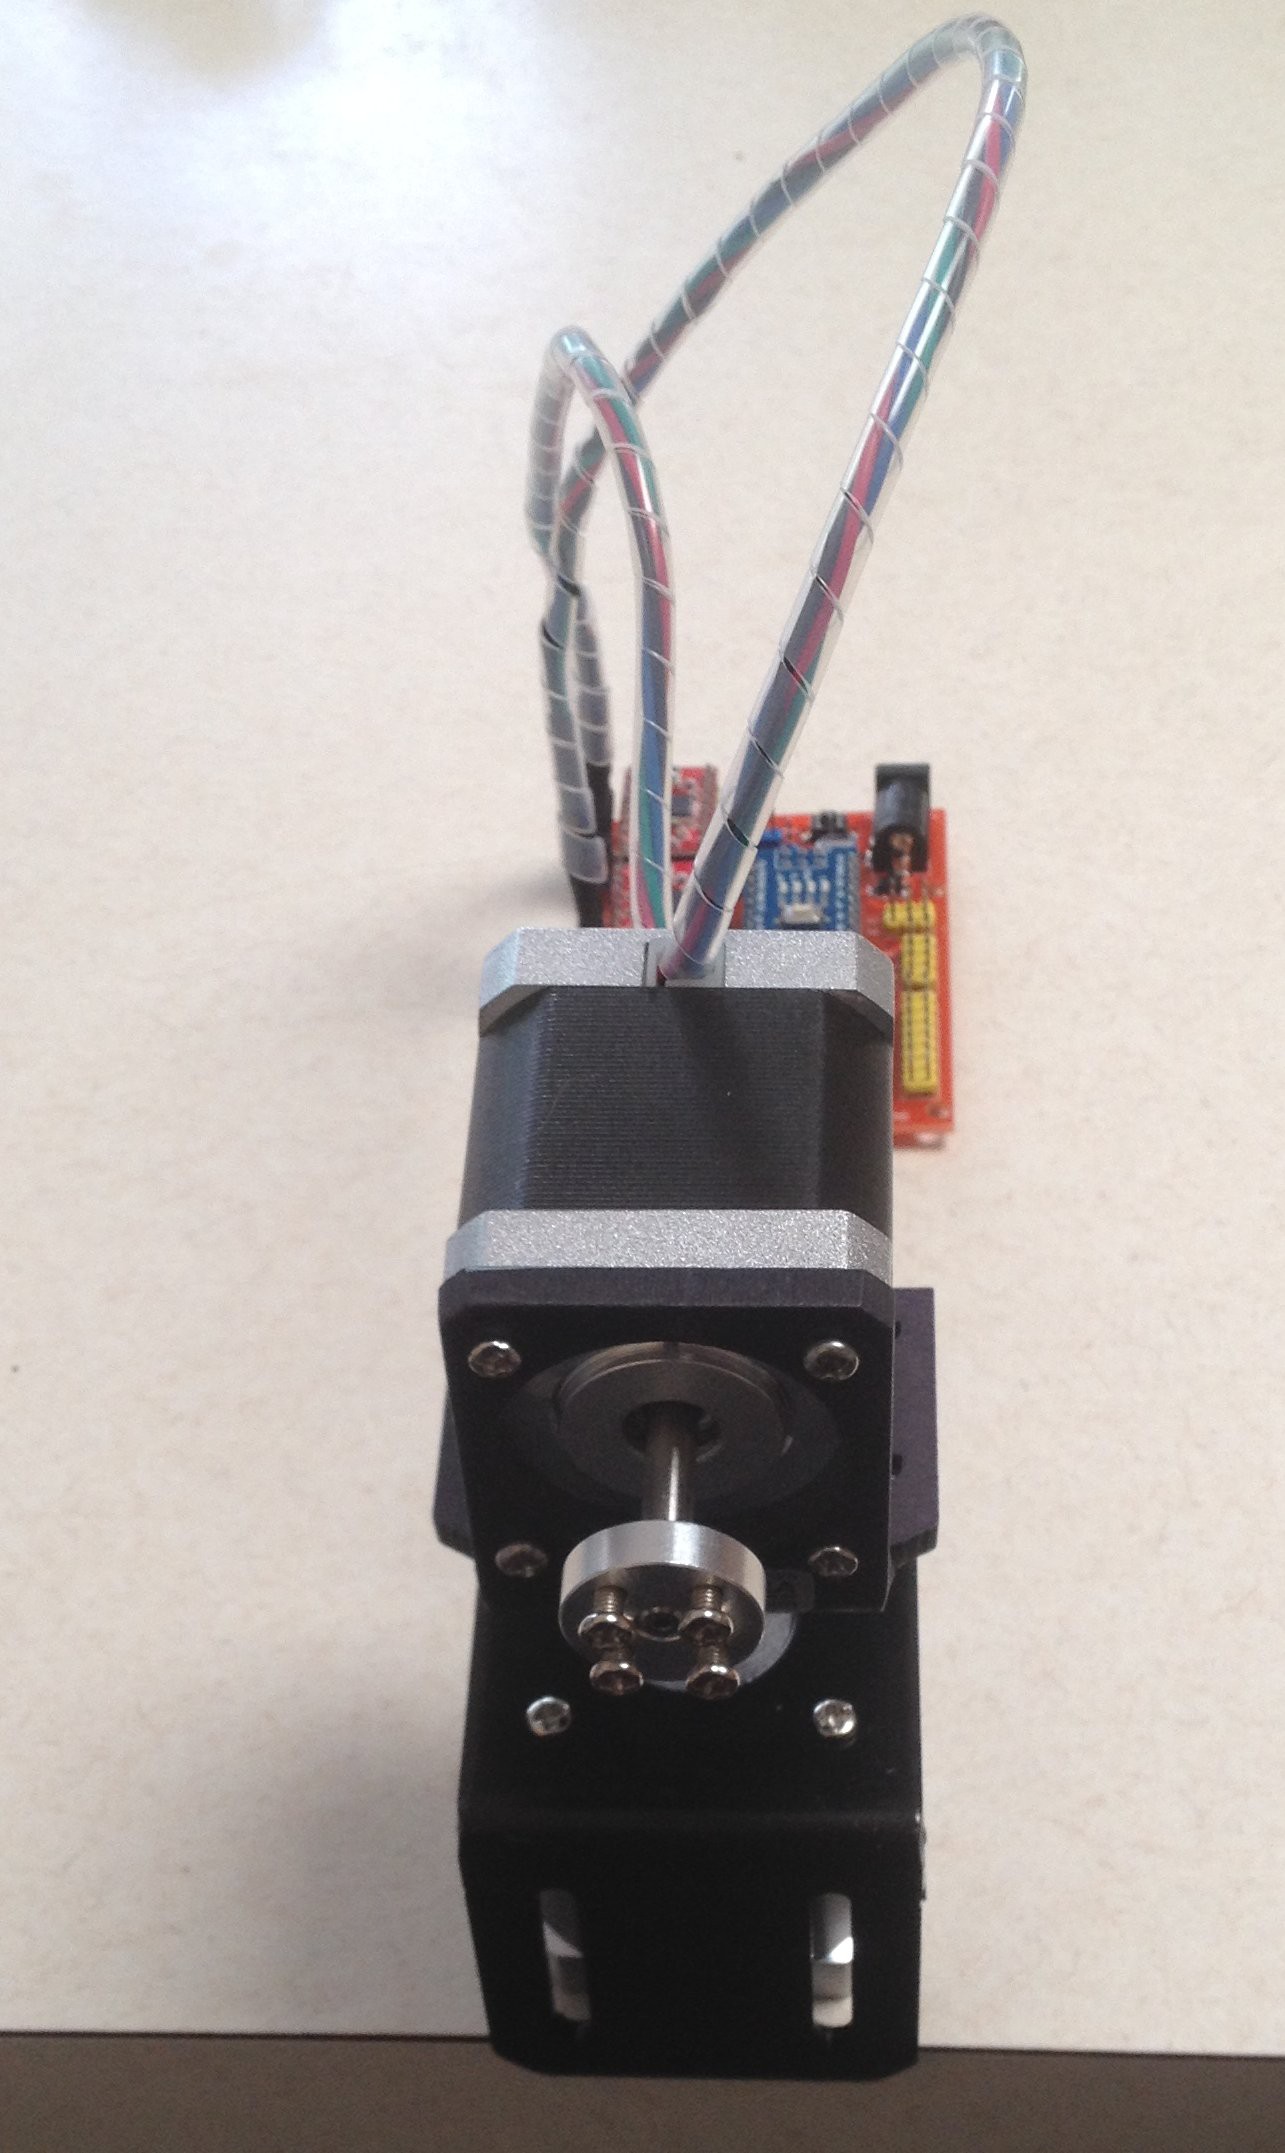
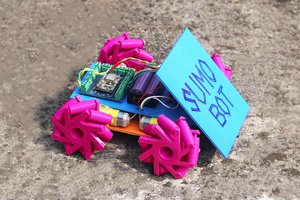
Here is the turret waiting for the battery pack (ordered), code and perhaps some cable sleeves:
![]()
Next
Get a laser pointer and write some code to control it (see logs).
AlanX


 selena1995
 Charles Dean Modrich
Hi TM,
My code was about moving the turret from A0,B0->A1,B1 (polar coordinates).
At the time I was considering a mechanical brake to prevent overshoot.
Belt drive seemed the next step for me.
You may be able to add PID without feedback to control the stepper motor overshoot.
Perhaps you can control pulse rate and/or current and/or micro stepping.
Depends of what you can control on the stepper motor driver chip.
You may need to design your own driver circuit or find one the allow this fine control.
The other option is to use a position sensor ($) and use closed feed back PID to control the
stepper motor driver chip.
Other than belt drive I suspect none of the above will be out of the box, as you seem to be requesting.
Still have a look at PID, its not that hard and someone may have already done the work.
Regards Alan