 mclien
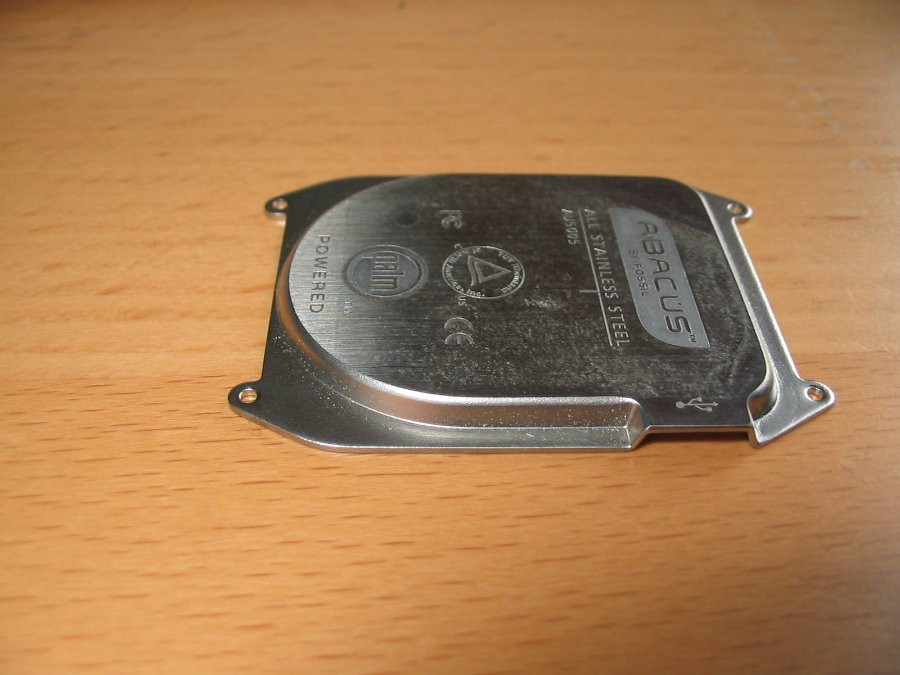
I started by using the original back plate and glued a piece of aluminium, 3mm thick, on the back and filled the gaps with a mixture of resin (all resin is epoxy) and cotton flocks:
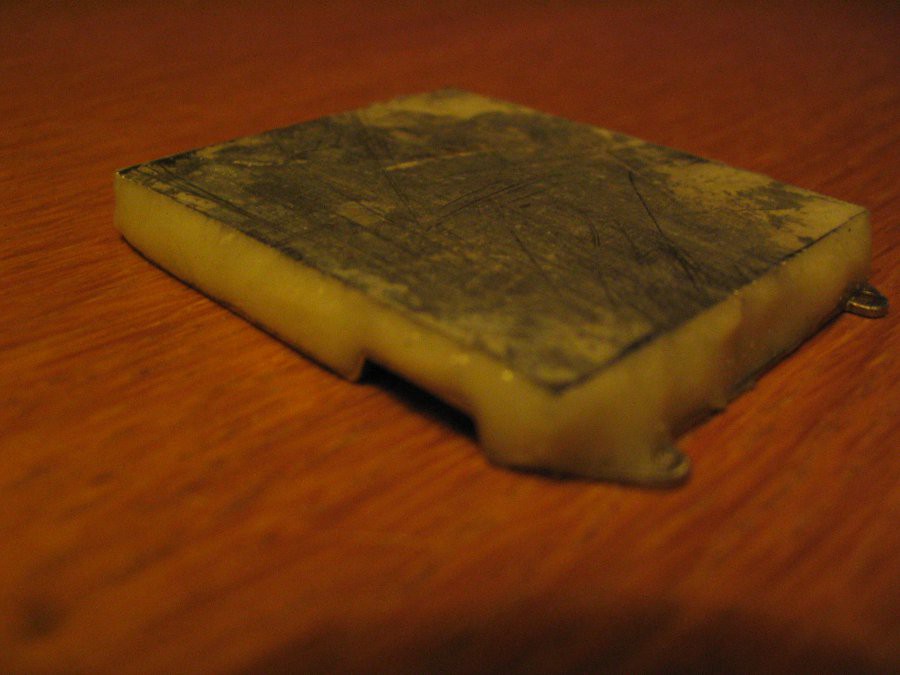
After some rasping and grinding (and appling some resin (with cotton flocks to get a mark for the future USB port ), we have something like this:
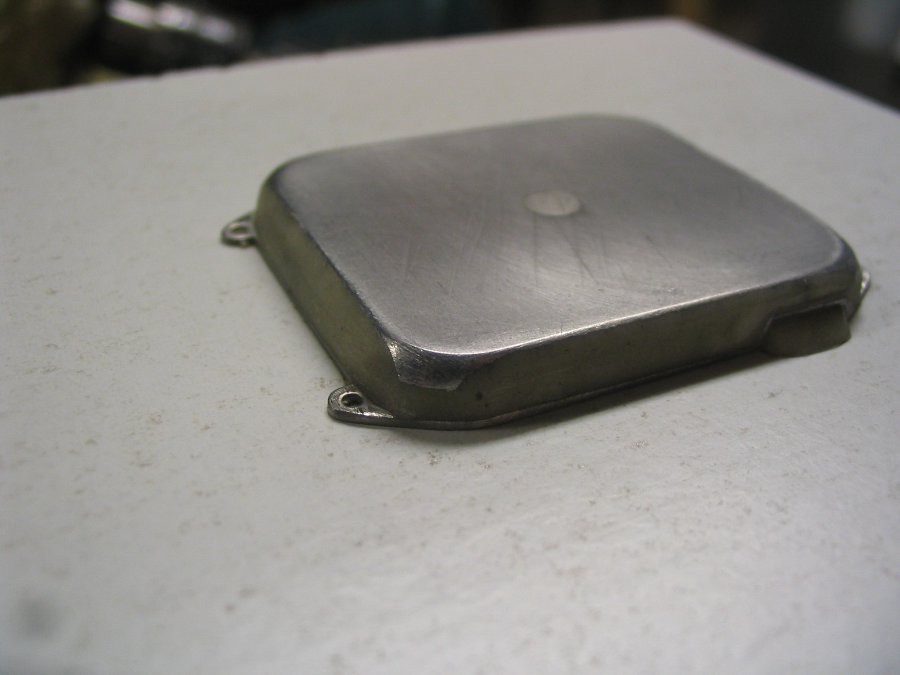
I perhaps somehow fixed that in the coated wooden plate you see here, but I can't remember how. I possibly simply glued it there or fixed it with a metric screw from unterneath. Both will work anyway. Imortant part is, the smooth surface will be the separation plane for the mold.
For this tiny parts the mold release agent I use is wax spray. Apply at least 3 layers (I use 7 often: paranoid mode).
To build the mold, the first step was to apply a layer of special mold resin, which should cover all parts of the original plus som space around. Then comes the tricky timing part, where you need to wait until the reisn is cured in a state, where it's solid enough to not immersing any fabric, but still stick enought to make a good connection to the next layer of the mold.
then you start to laminationg several layers of glass fabric and resin (something loike 5-7 layers of glass twill [163gr/m²].
(Sorry, no pics of the process here. Mostly I work on my own and you simply don' want to touch your digicam while hadling resin...)
Discussions
Become a Hackaday.io Member
Create an account to leave a comment. Already have an account? Log In.