 mclien
So the working mold is the one without any silicone. Both halfs are simple resin, no special mold resin is needed as I learnded with this one.
The part for the upper half is smooth without any mechanism to pop out the final part. The dottom half has a hole to inject the resin.
Here are the steps in a quick format (detailed one will follow in the Instruction writeup):
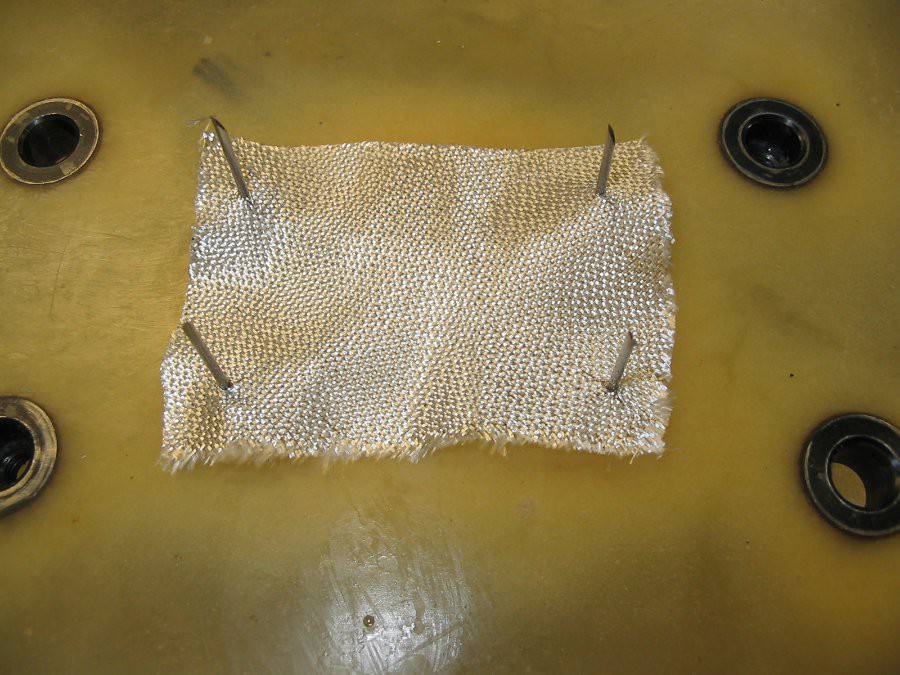
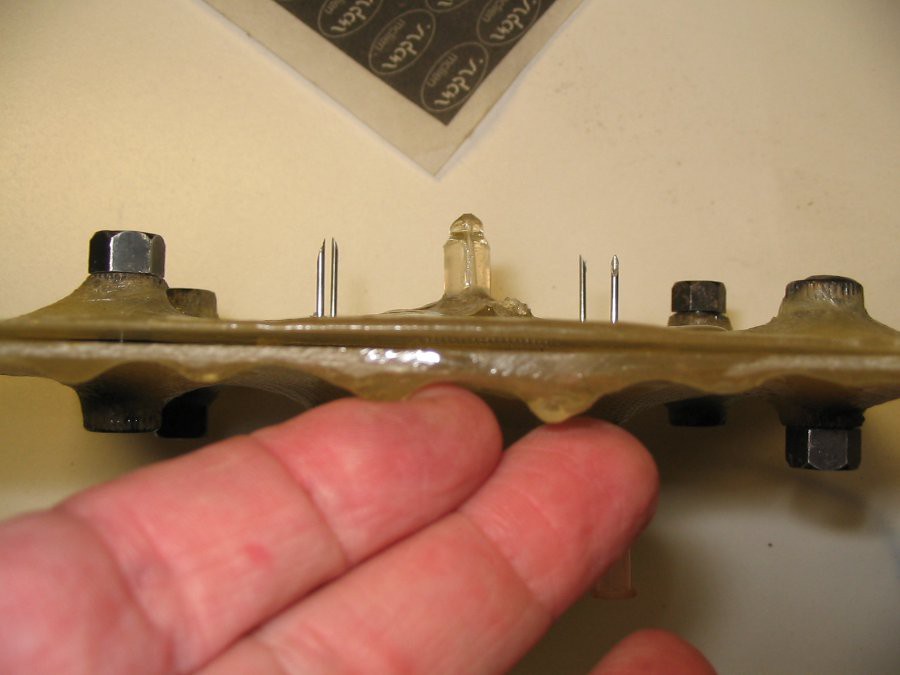
We start upsite down with the mold for the outer shell and the cannulas in place.
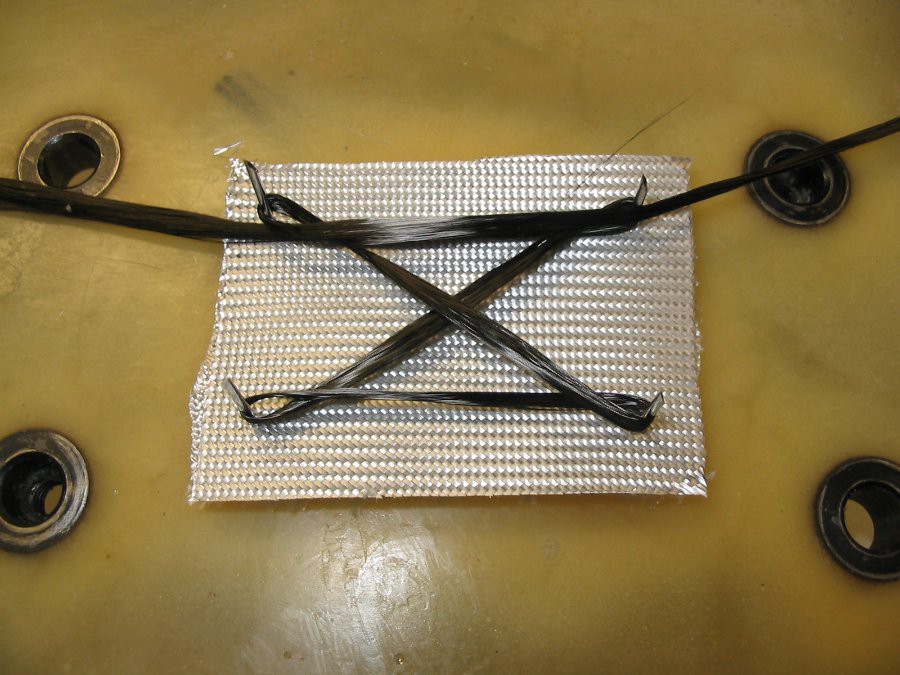
left: first layer: glass right: design fabric and carbon fiber
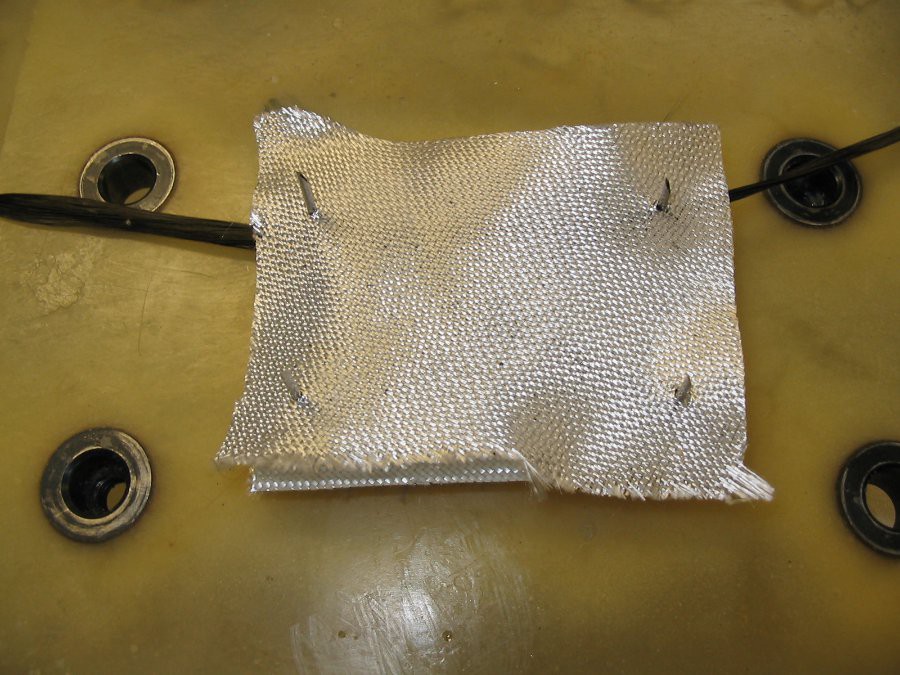
left: last layer of glass fabric right: whole stack with the 2nd half of the mold
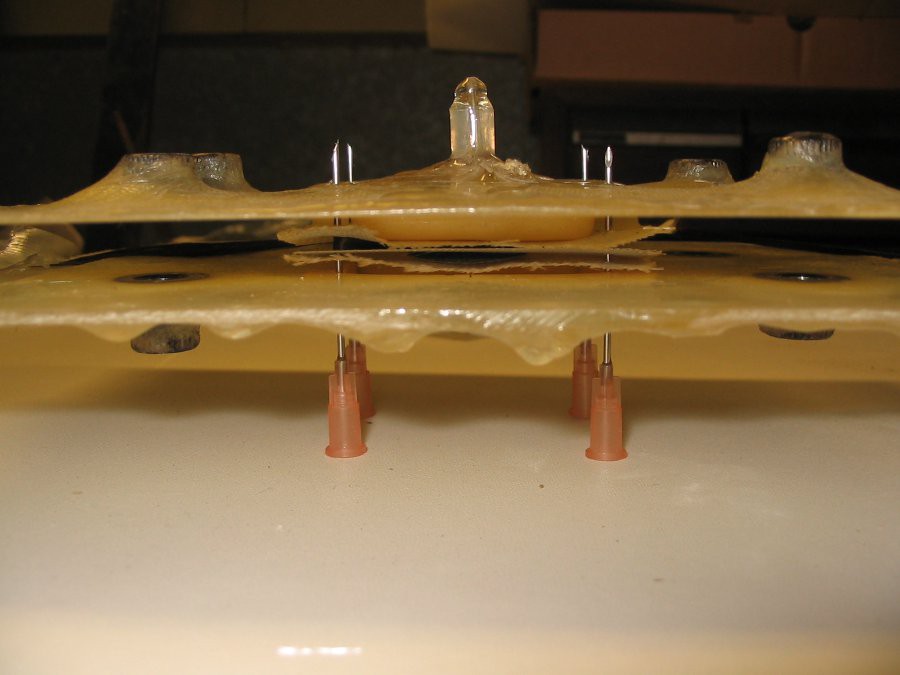
left: leave a small gap between the mold halfes right: injecting the resin
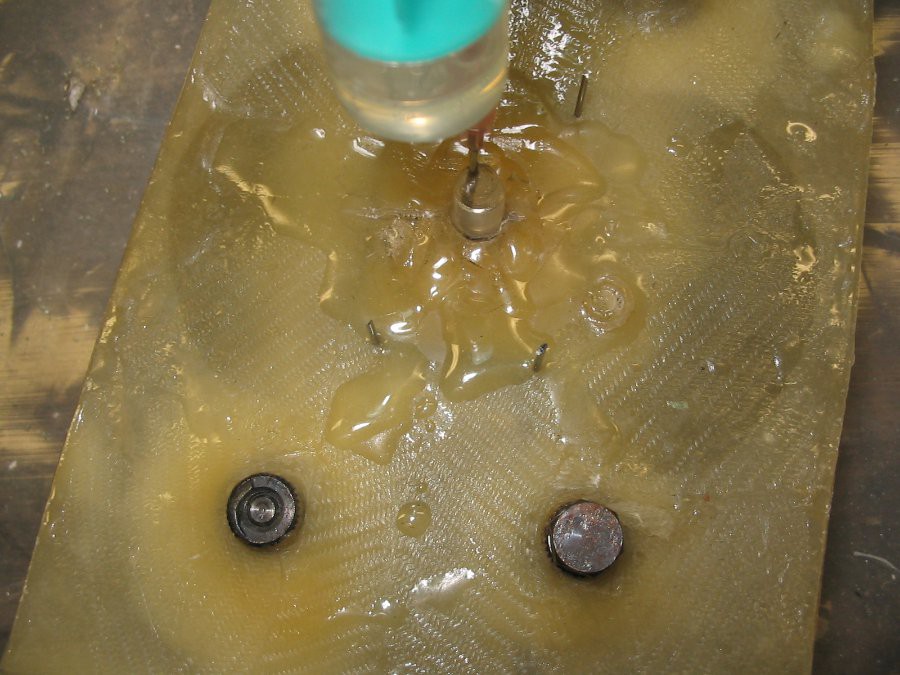
The injecting part is the tricky one. The resin is sucked into he fabric SLOWLY, so it's takes again some try and error to get a feeling at which pressure and in which speed the resin goes into the mold. Additionally it's somewhat difficult to get the right depth for the cannula, because a blunt one is closed one it touches the mold half. Using a sharp one is tricky too, because it dosen't spread the resin in all directions evenly. Good part is, as you see in the last picture, you can see how the resin spreads, that is the reason why using standard resin give an advantage here, because it stais a little transparent (which special form resin doesn't.
The rest is waiting for cure of the resin and unforming.
(After I get my digicam working again I'll start the Instruction writup with some more details)
Discussions
Become a Hackaday.io Member
Create an account to leave a comment. Already have an account? Log In.