 Paul Haas
We are on our second version of the PCB.
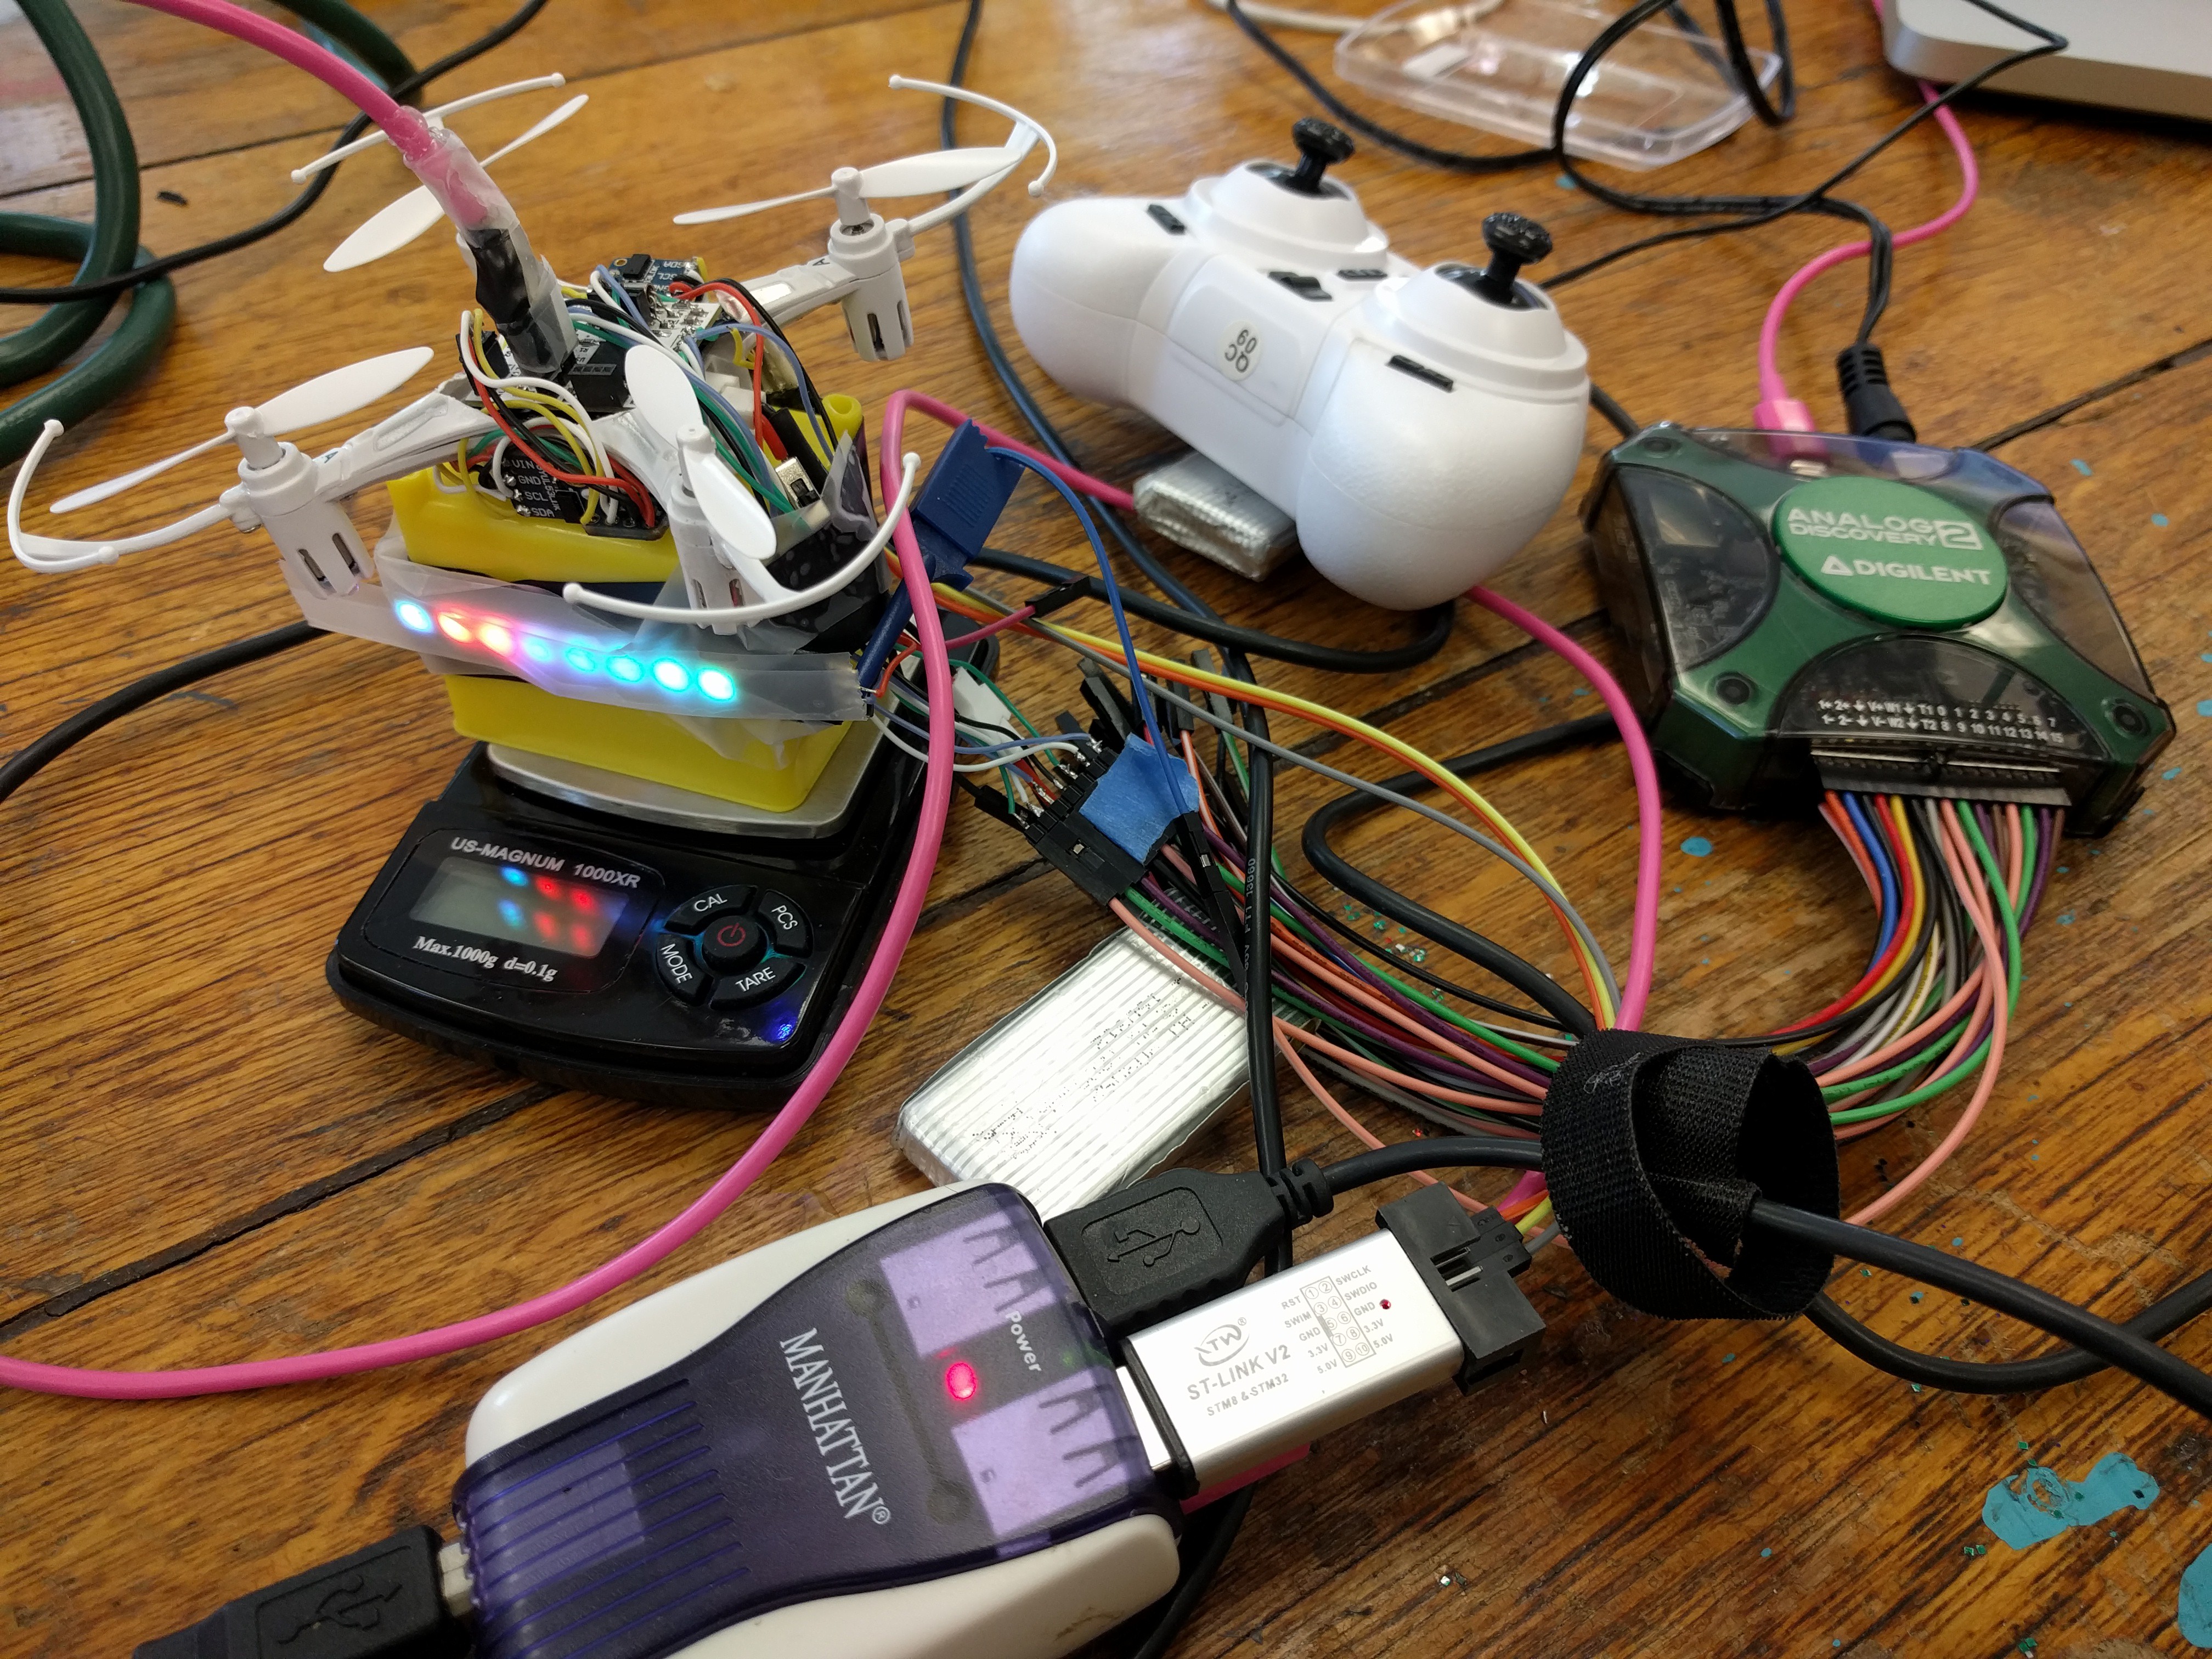
Modified Eachine H8 Mini "blueboard" quadcopter with an Arduino M0 clone grafted on top. The Arduino acts as the Cortex doing higher level control such as path planning, and collision avoidance, while reading from the laser range finders that act as primitive eyes. The original STM32F0x is running a modified version of Silverware acting as the brainstem to handle basic functions like balance. With the debugging connections this prototype weighs to much to actually fly, so it is on a test stand which includes a scale, so we can measure lift. Once we measure the maximum lift, we will know if this prototype can be made to fly, or if we need to wait for the next version.
The USB hub is connected to a Chromebook running Gallium (a derivative of Ubuntu). The ST-Link V2 programmer allows us to reboot or reprogram the STM32F0x brain stem. The pink USB cable coming out the 3 pin mail header on top is used to reboot or reprogram the Arduino M0 Cortex. There are five VL53L0X laser range finders connected to the cortex over an I2C bus. They point up, down, left, right, and forward. The colored lights on the test stand are a row of 8 Adafruit NeoPixels. The next version will use smaller pixels that are actually mounted on the quad copter, and thus will be available for use during flight.
The Digilent Analog Discovery 2 is configured as a protocol analyzer monitoring the SPI buses between cortex and the brain stem, and between the cortex and the XN297L radio receiver for the remote control seen in the background.
The Arduino acts as a man in the middle between the XN297L radio and the brain stem. With the standard Arduino IDE, it will be possible to program the quadcopter for anything from autonomous tasks, such as being a hovering work light, to being fully remote controlled, with many levels of assistive flight in between. For example, the quadcopter could take off and land by itself, but otherwise fly under remote control at a fixed height, and avoid running into walls.
The blurry tape over the NeoPixels is acting as an optical diffuser. Without the diffuser, the point source LEDs produce annoying afterimages that persist after I switch from looking at the LEDs to looking at the computer.
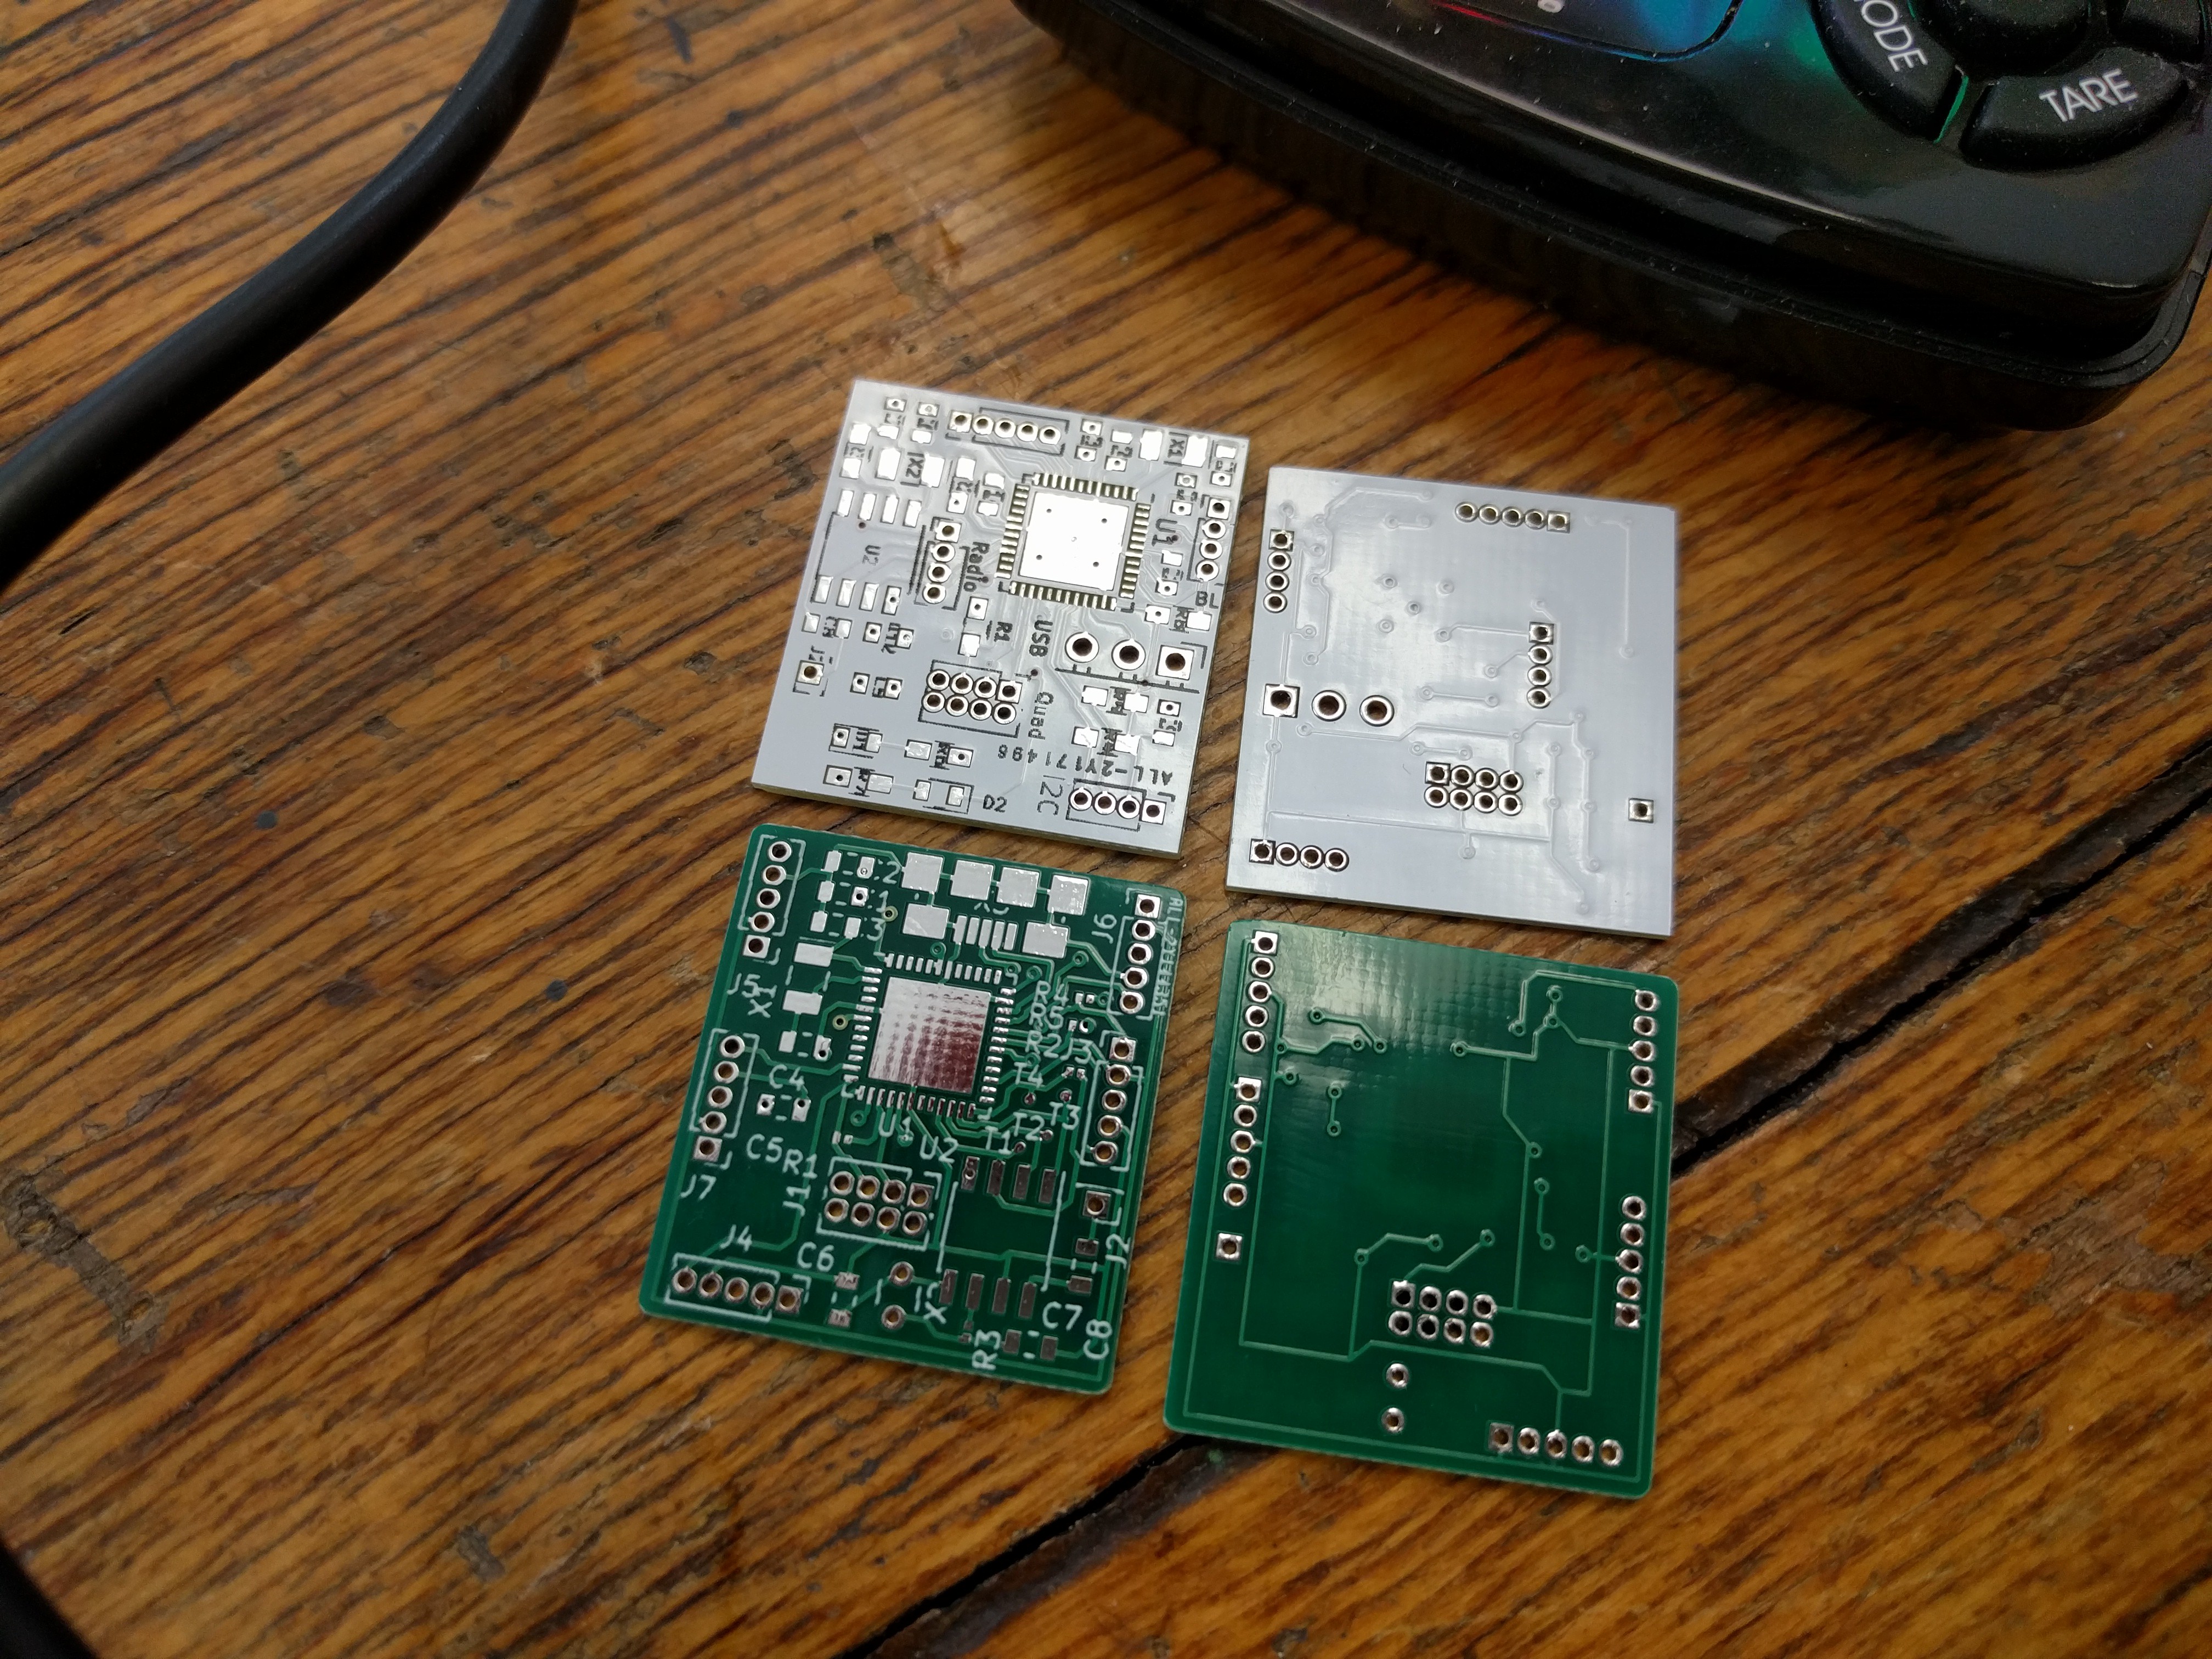
Examples of the older green board and newer white board PCB prototypes for the self flying quad copter. They are based on the Adafruit Feather M0 design and can be programmed with the Arduino IDE configured for an Adafruit Feather M0.
To make documentation easier, the white board does not use any GPIO pins that aren't easily accessible on the Adafruit Feather M0. In the prototype, there is a battery extension cable with built in test points and a power switch.
Discussions
Become a Hackaday.io Member
Create an account to leave a comment. Already have an account? Log In.