 Andrew Mayhall
This fluidizer project was built to powder coat small batches of black iron pipe fittings used primarily for making furniture kits.
As a small side business I partnered with a national custom furniture builder that builds farm tables and other rustic and rustic modern pieces. They recently wanted to expand into offering iron pipe furniture to their customers and online followers. Iron pipe furniture pieces are cool but if the fittings and piping that make them aren't finished properly they will rust over time and really start to look hideous...
Now there are a ton of ways to finish a simple plumbing fitting. A few of them actually look nice when done right, and even fewer of them actually hold up to time and abuse. In the end for my application, powder coating seemed to fit the bill perfectly.
Powder coating is such a unique finish because there are actually a few methods that the same bulk material can be applied for similar or in some cases a better quality of finish. Not to mention the literally thousands of colors and style options to choose from. - It defiantly rivals traditional painting methods. As with everything though, there are a few trade offs for each method and some barriers to entry that prevent most from exploring this finish.
Most everyone is aware of probably the most commonly practiced method of powder coating: Electrostatic Spraying. I won't get into detail of how this method works or the systems behind it simply because that is a little out of scope. The two largest barriers to entry though using this method is experience and cost with a few draw backs being part coverage limitations (Faraday cage effects) and setup time.
Experience plays a big roll into a flawless powder coat finish. When using the electrostatic spray method because the equipment behaves much like a traditional paint spray guy. An operator will have to watch their movements, the amount of powder being spraying out, how close they get to the part, etc. This takes time to master and can present a steep learning curve.
Cost is also an important consideration too. Typically, any decent powder coating system will run into the thousands of dollars. Recently there have been some half decent starter systems come available for $300 - $500 in the last 5 years or so but these are pretty much glorified toys. They work don't get me wrong! Of course, there will also be some people who are big supporters of them too. But for serious use, or if the goal is to powder small items or complicated parts this electrostatic spray method can just be a headache regardless of system.
As in my case, I was trying to coat a bunch of small pieces with the least amount of time and effort to keep costs as low as possible. Spray powder coating would have worked but it isn't really the best option because of coverage limitations. Electrostatic spray powder coating suffers from Faraday cage effects since the workpiece is grounded and the particle cloud is charged. When parts have corners, tight angles, close-proximity pieces, perforated materials, or embossed features it can be a real pain to achieve an even coat of powder.
The other method and the overall scope of this project is fluidized powder coating. It is less known that electrostatic spraying in that it is more specialized albeit simpler.
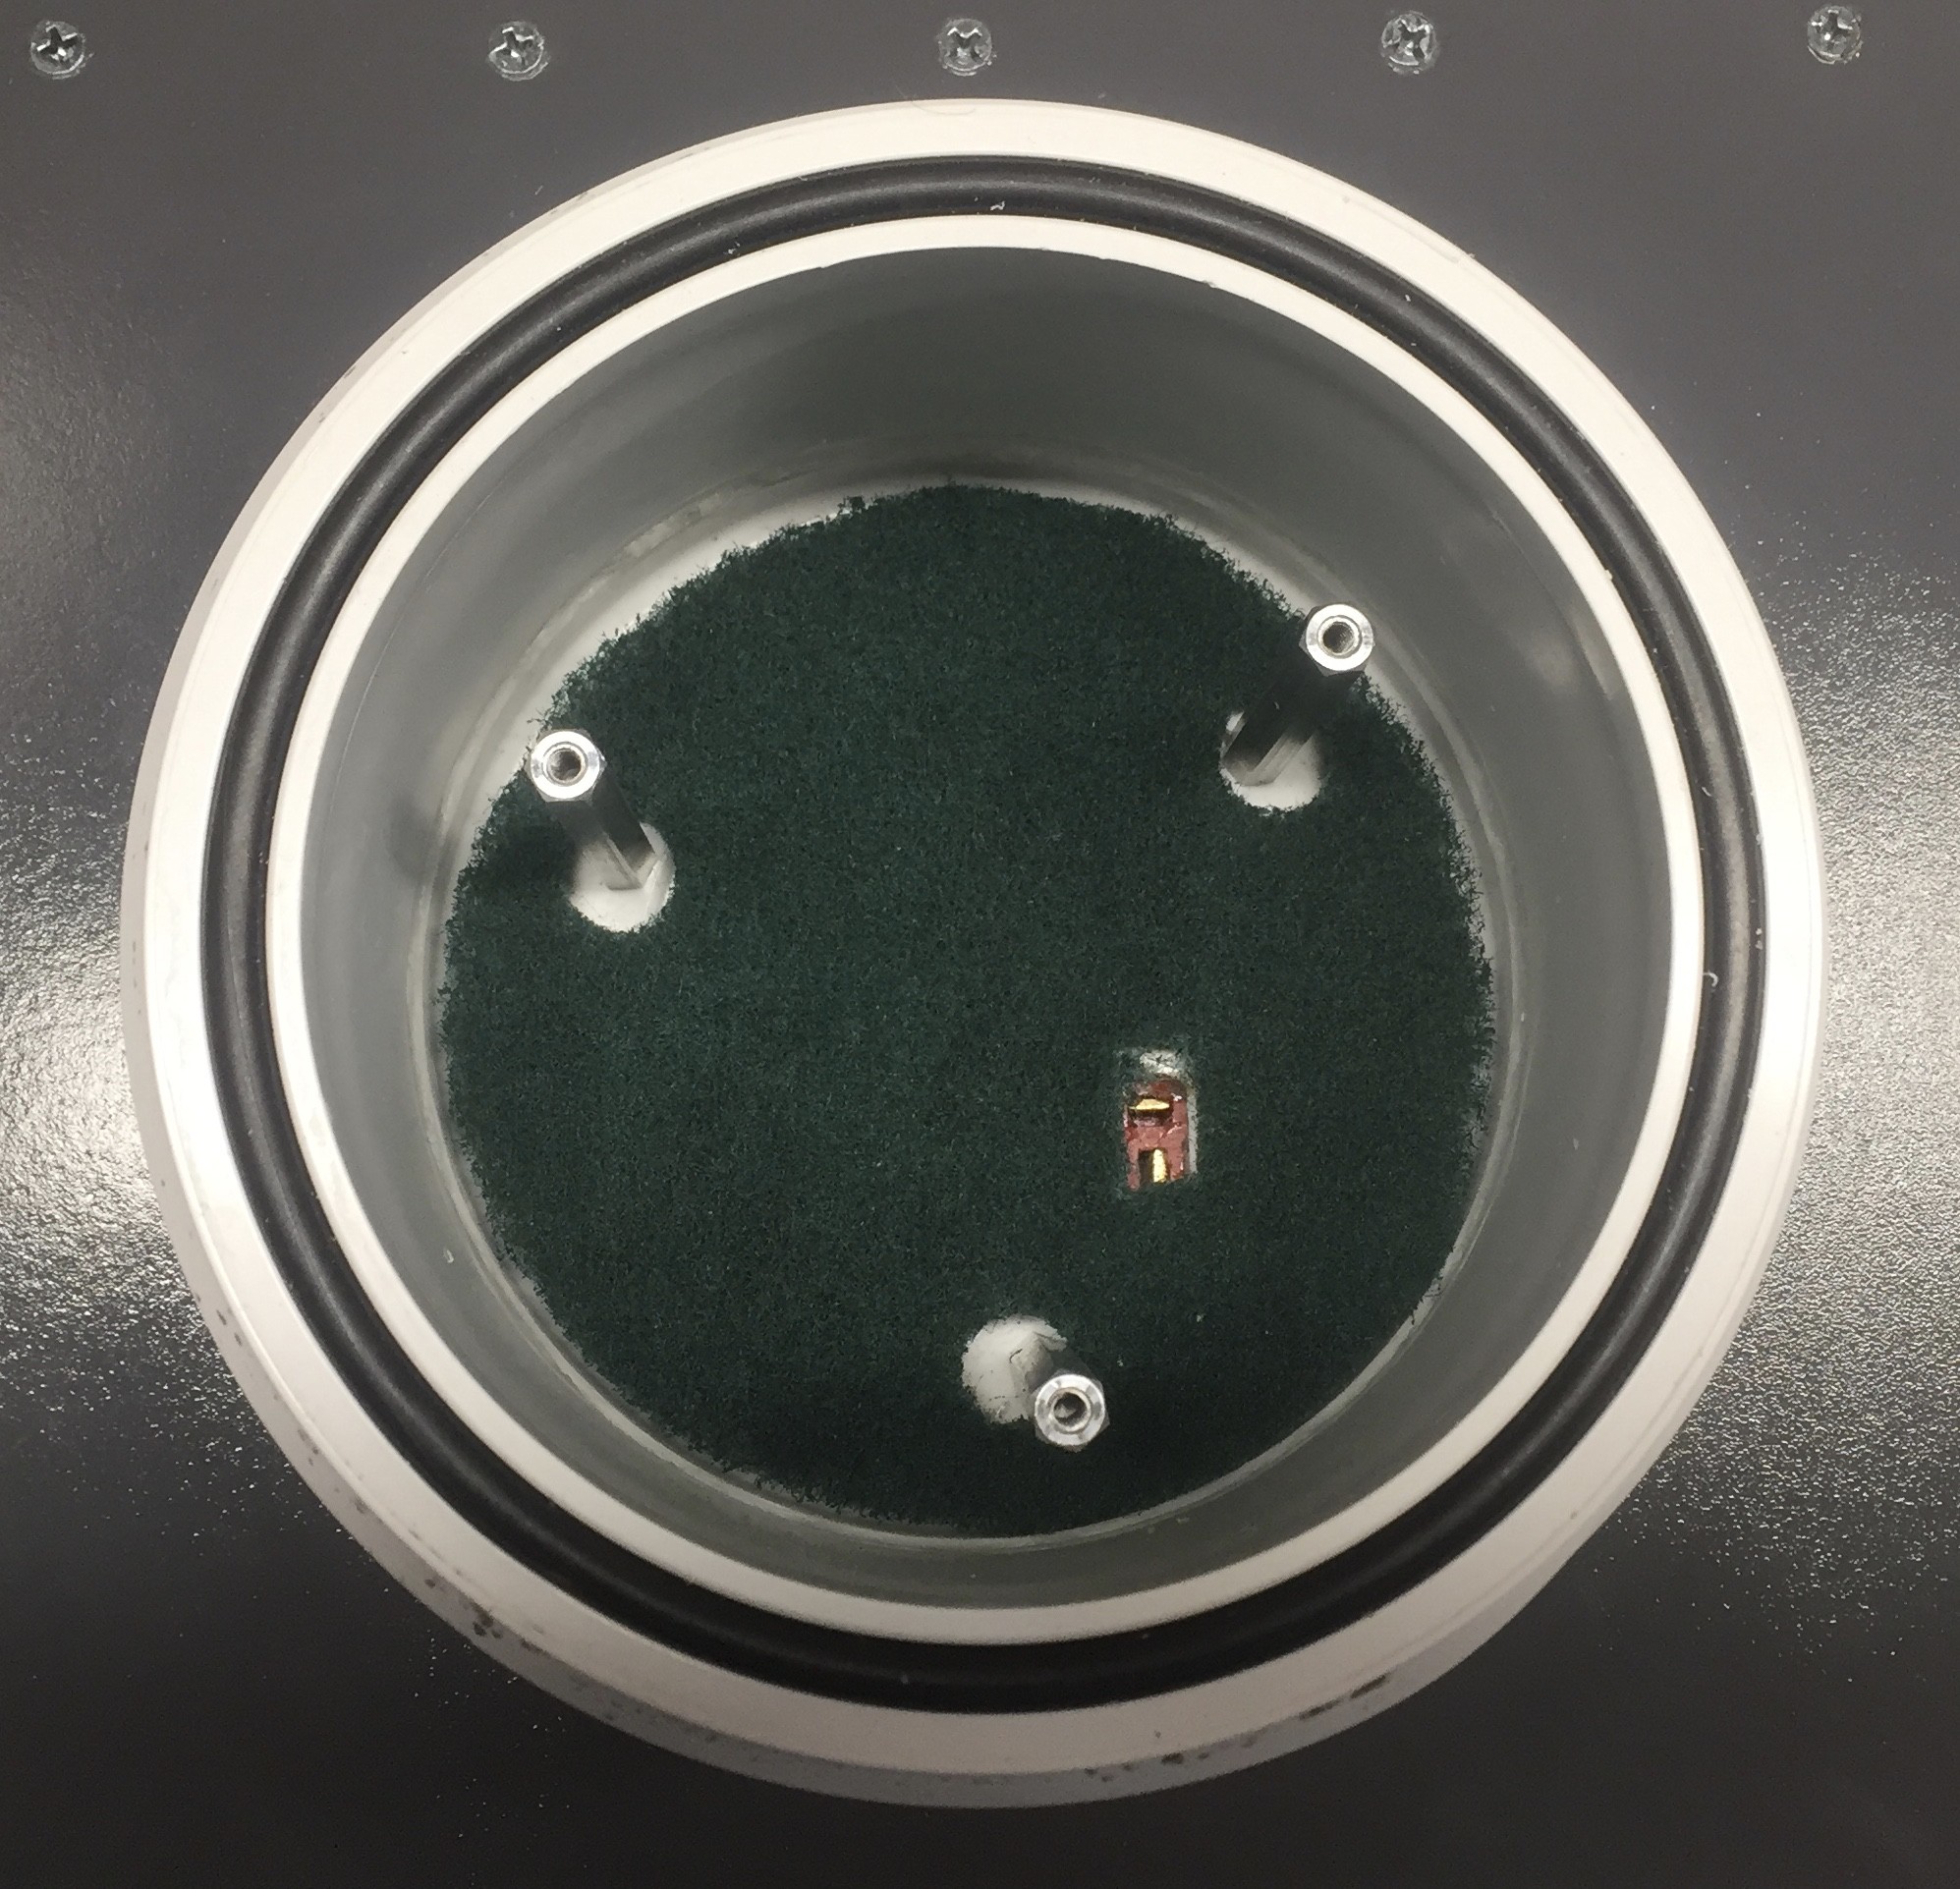
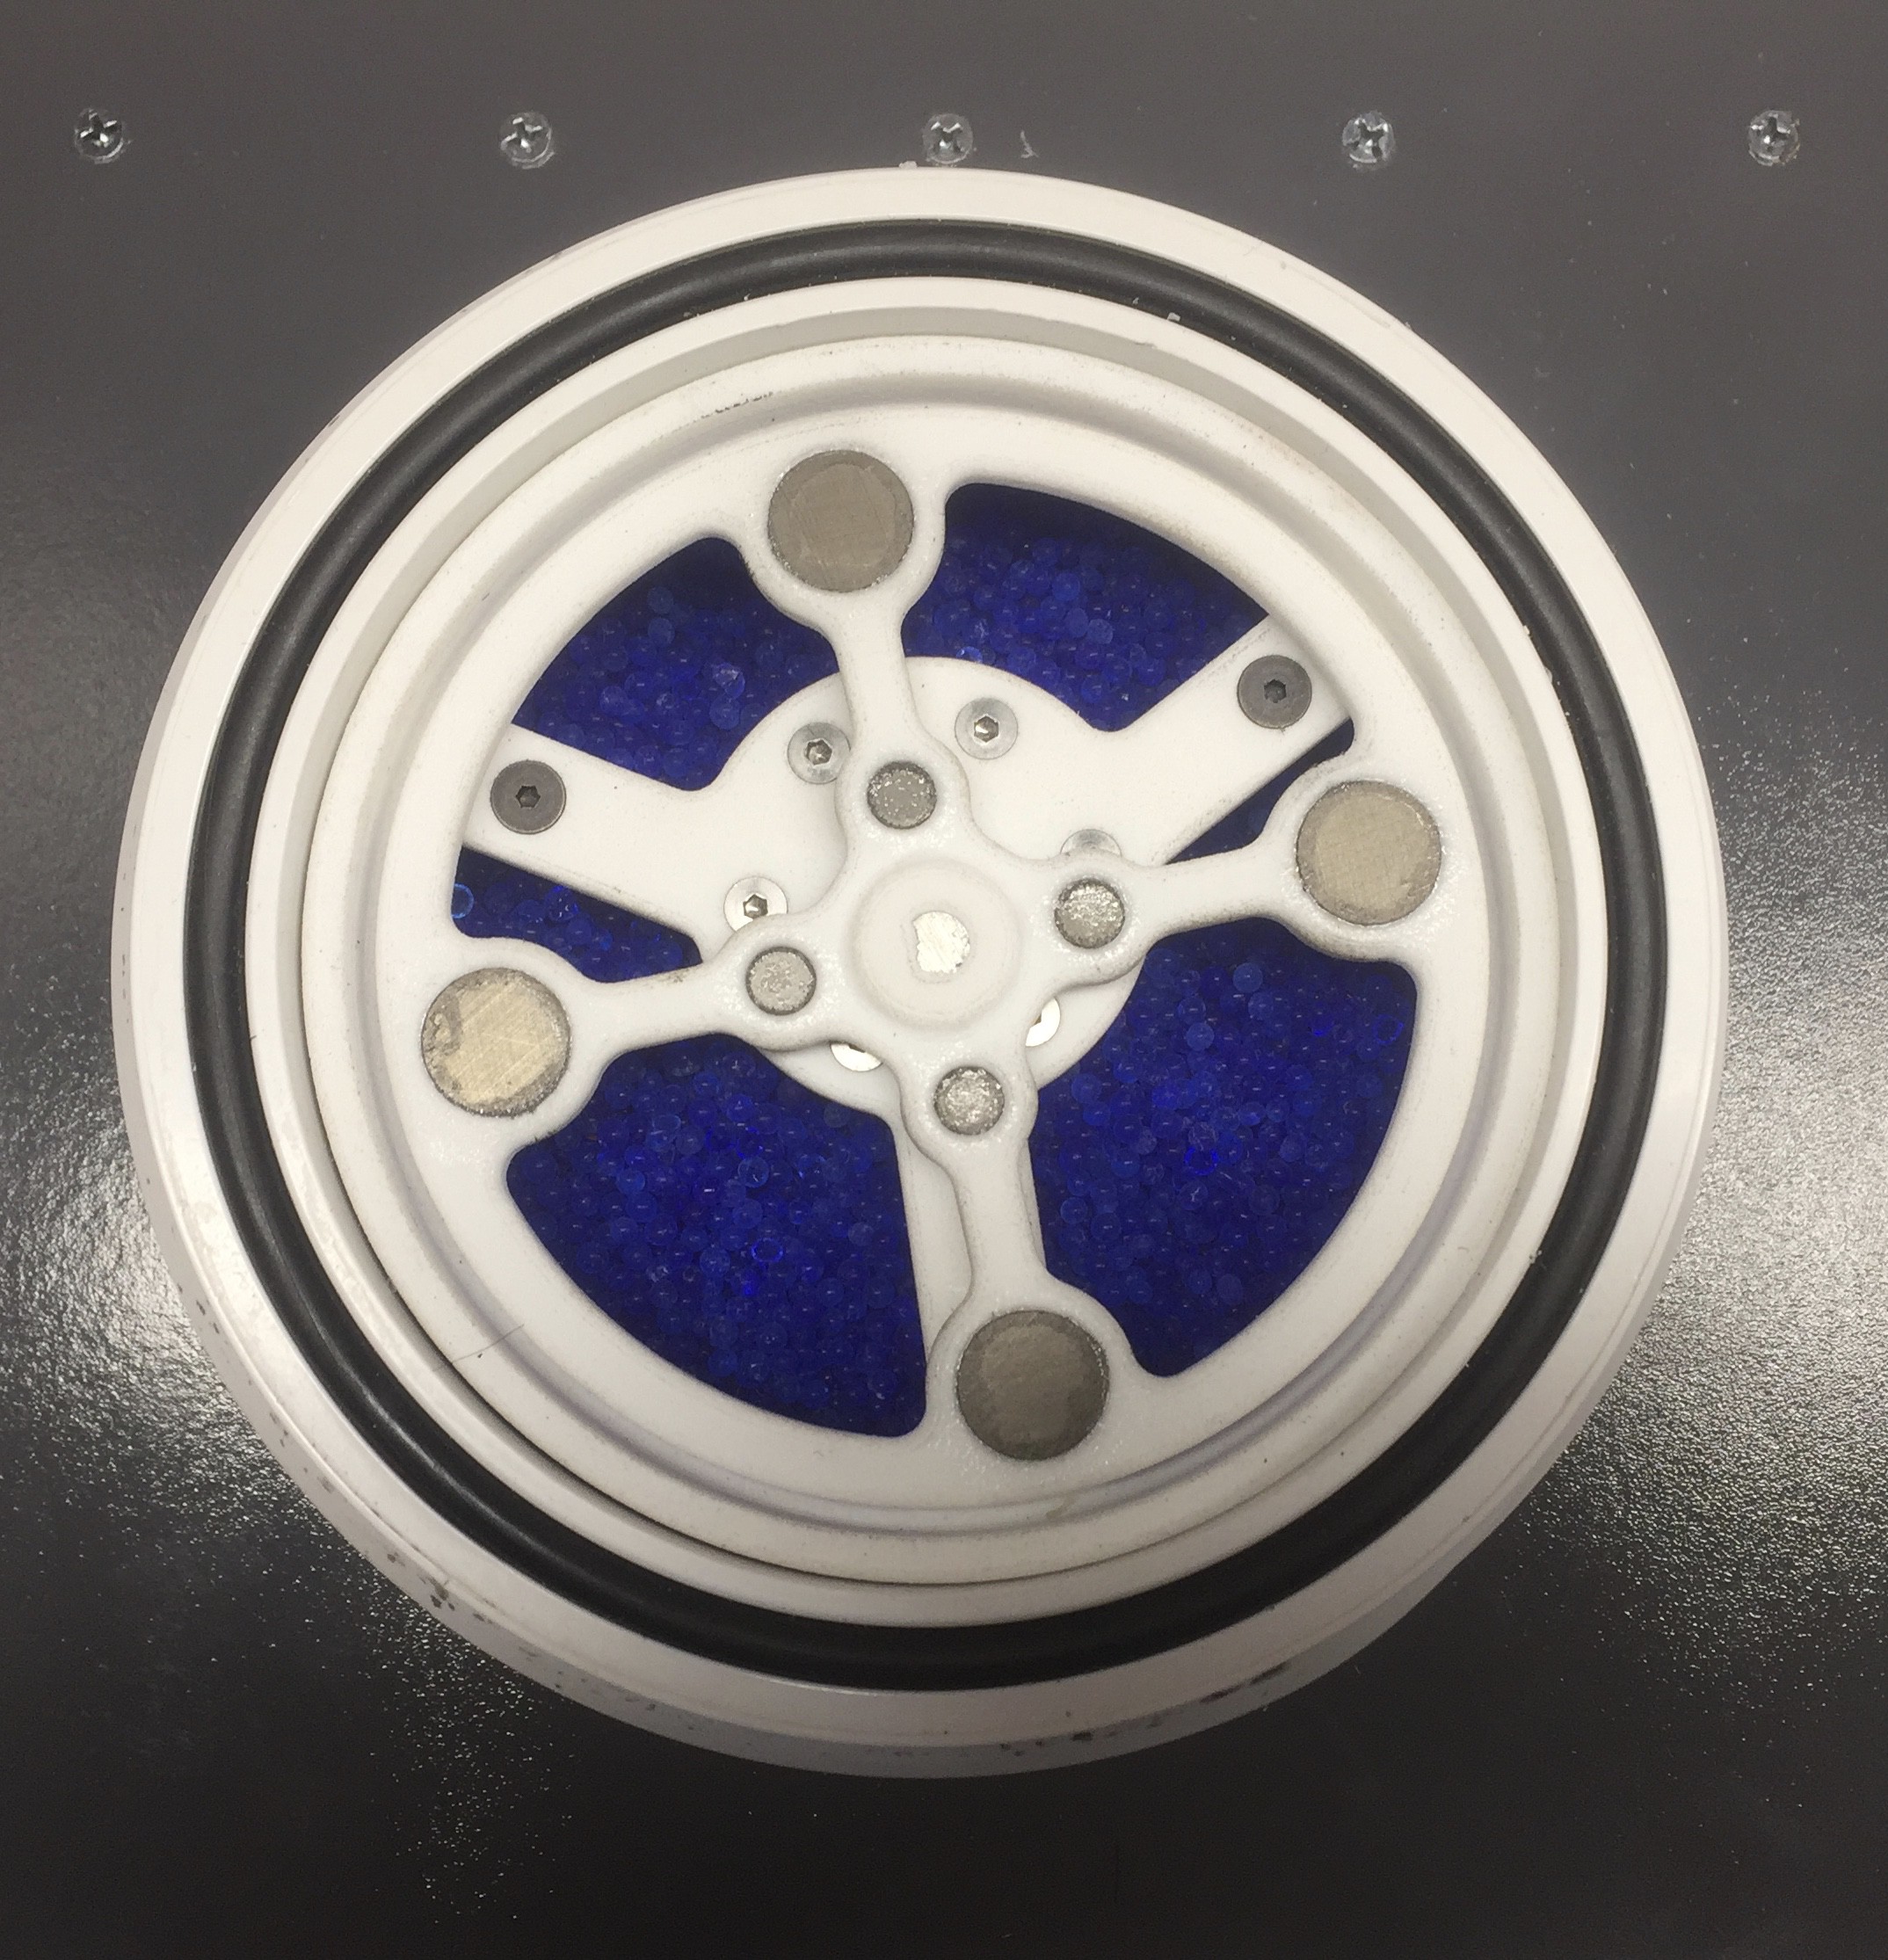
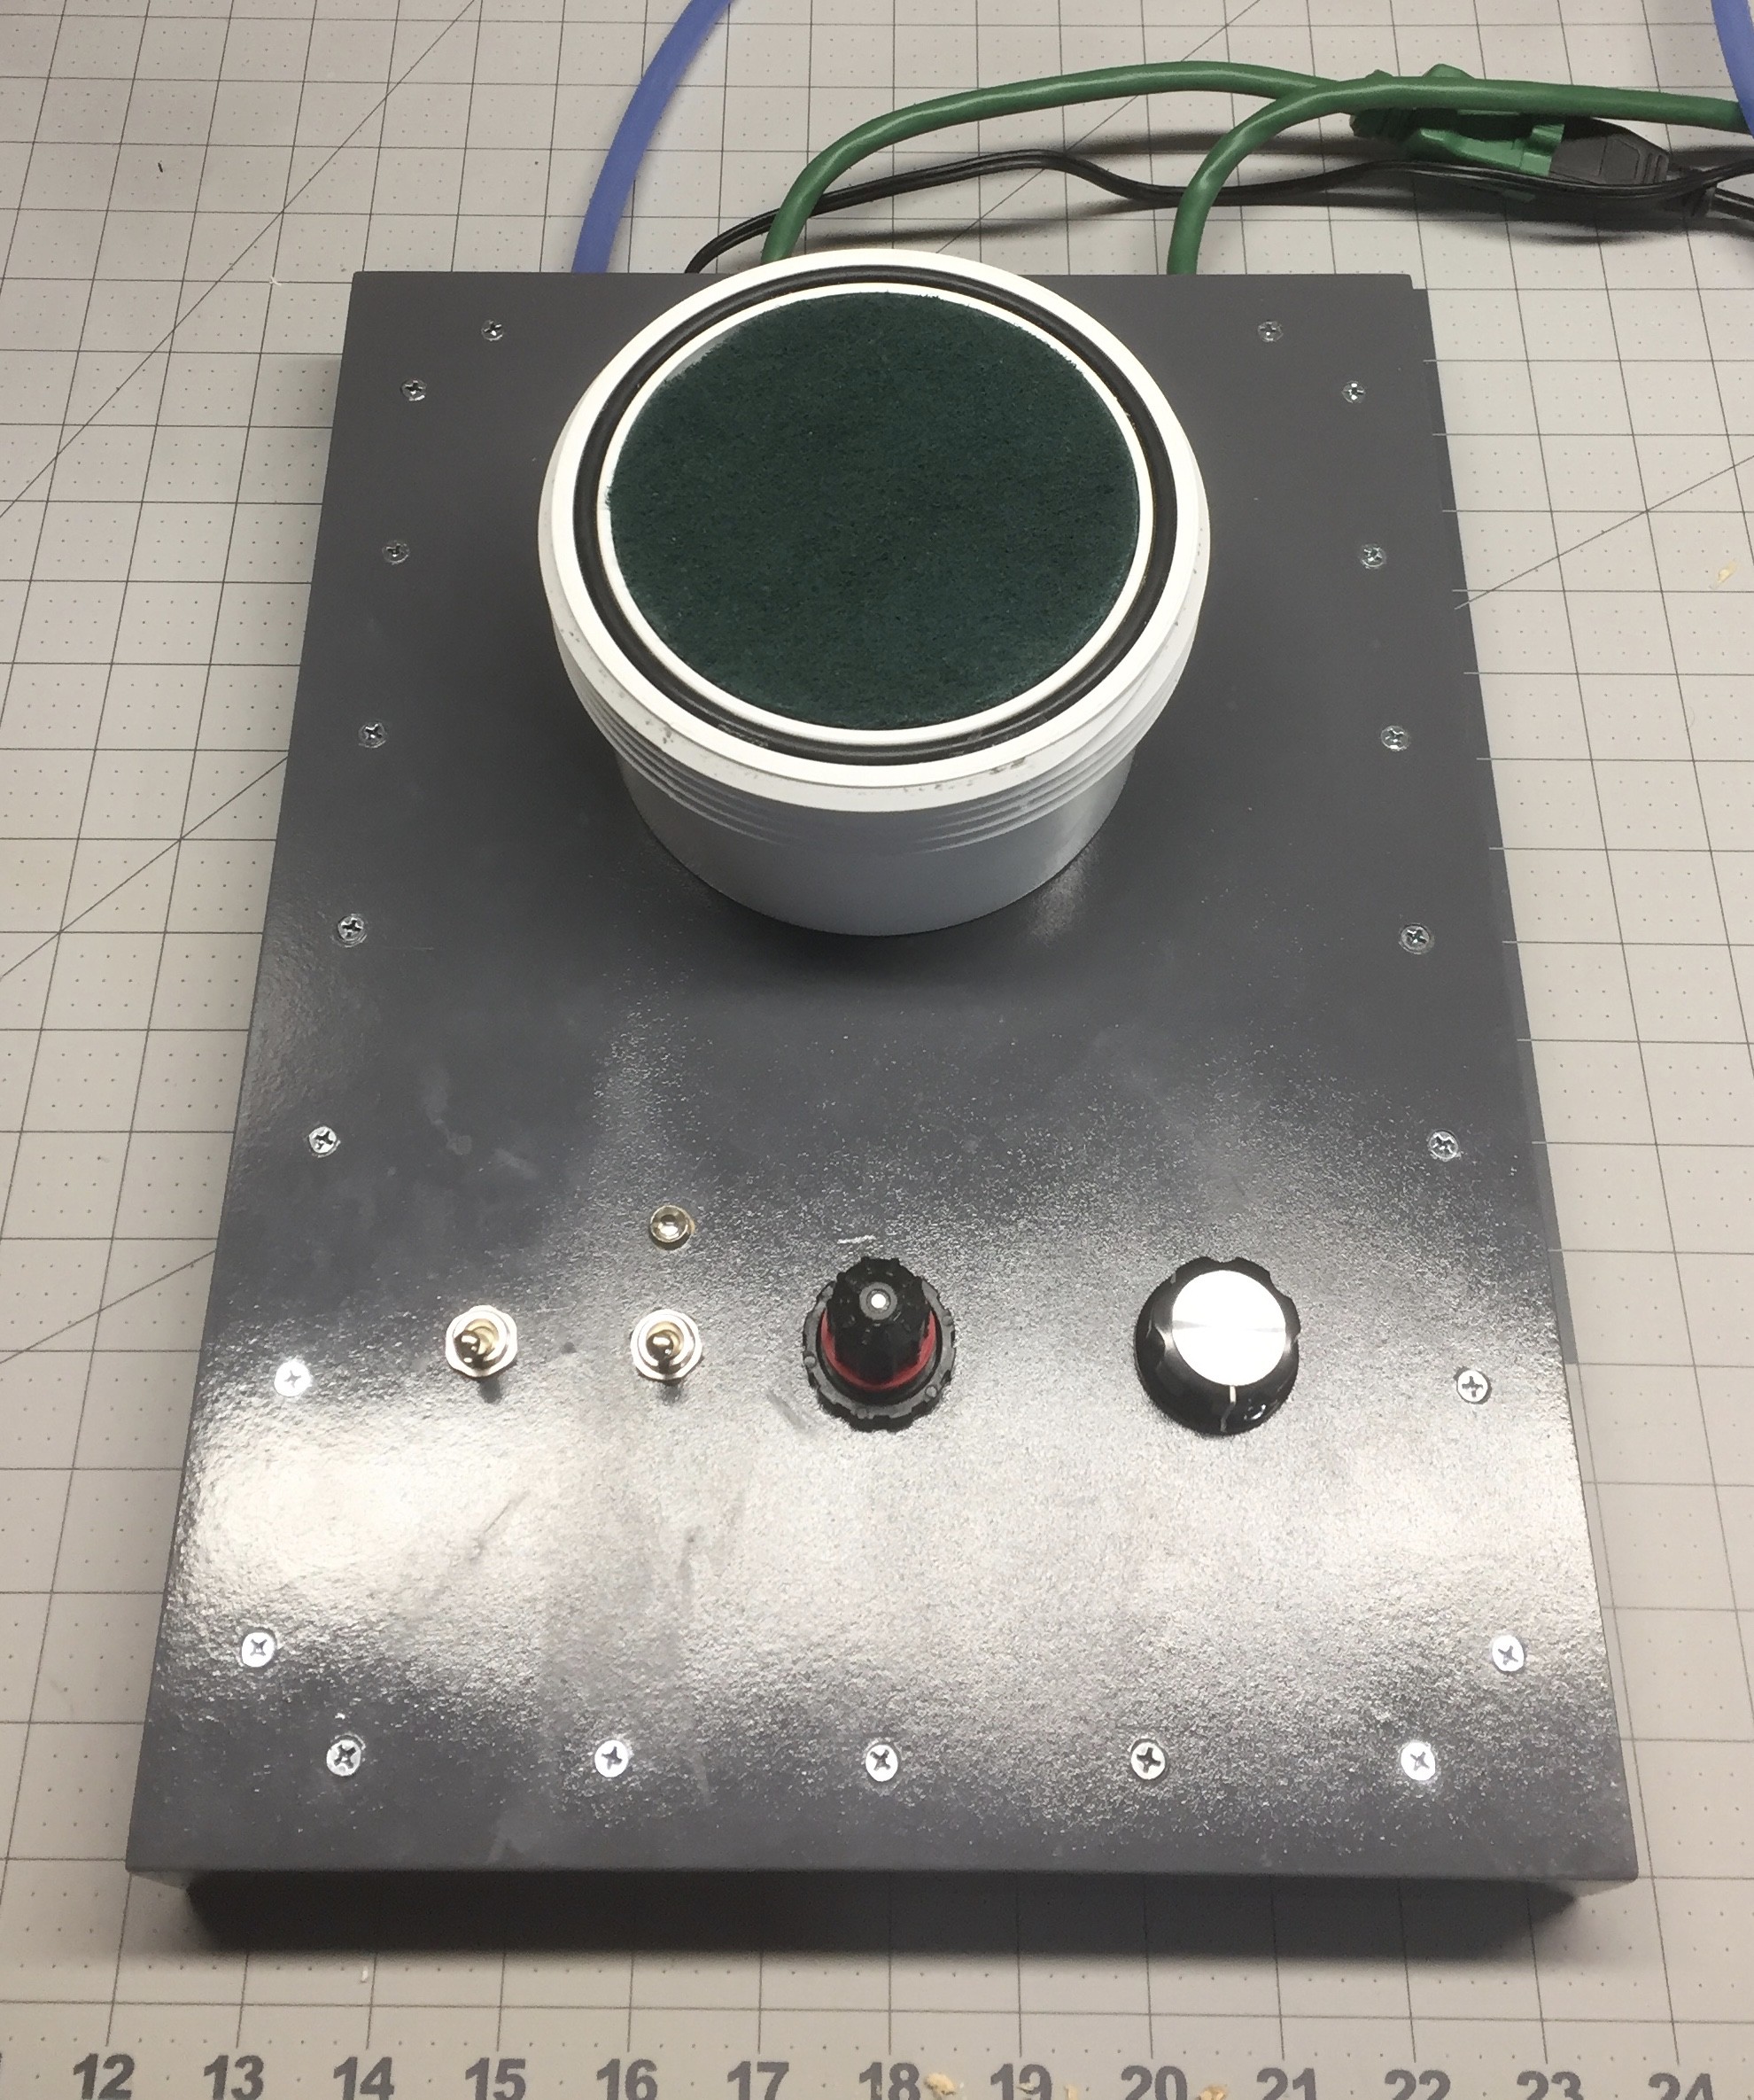
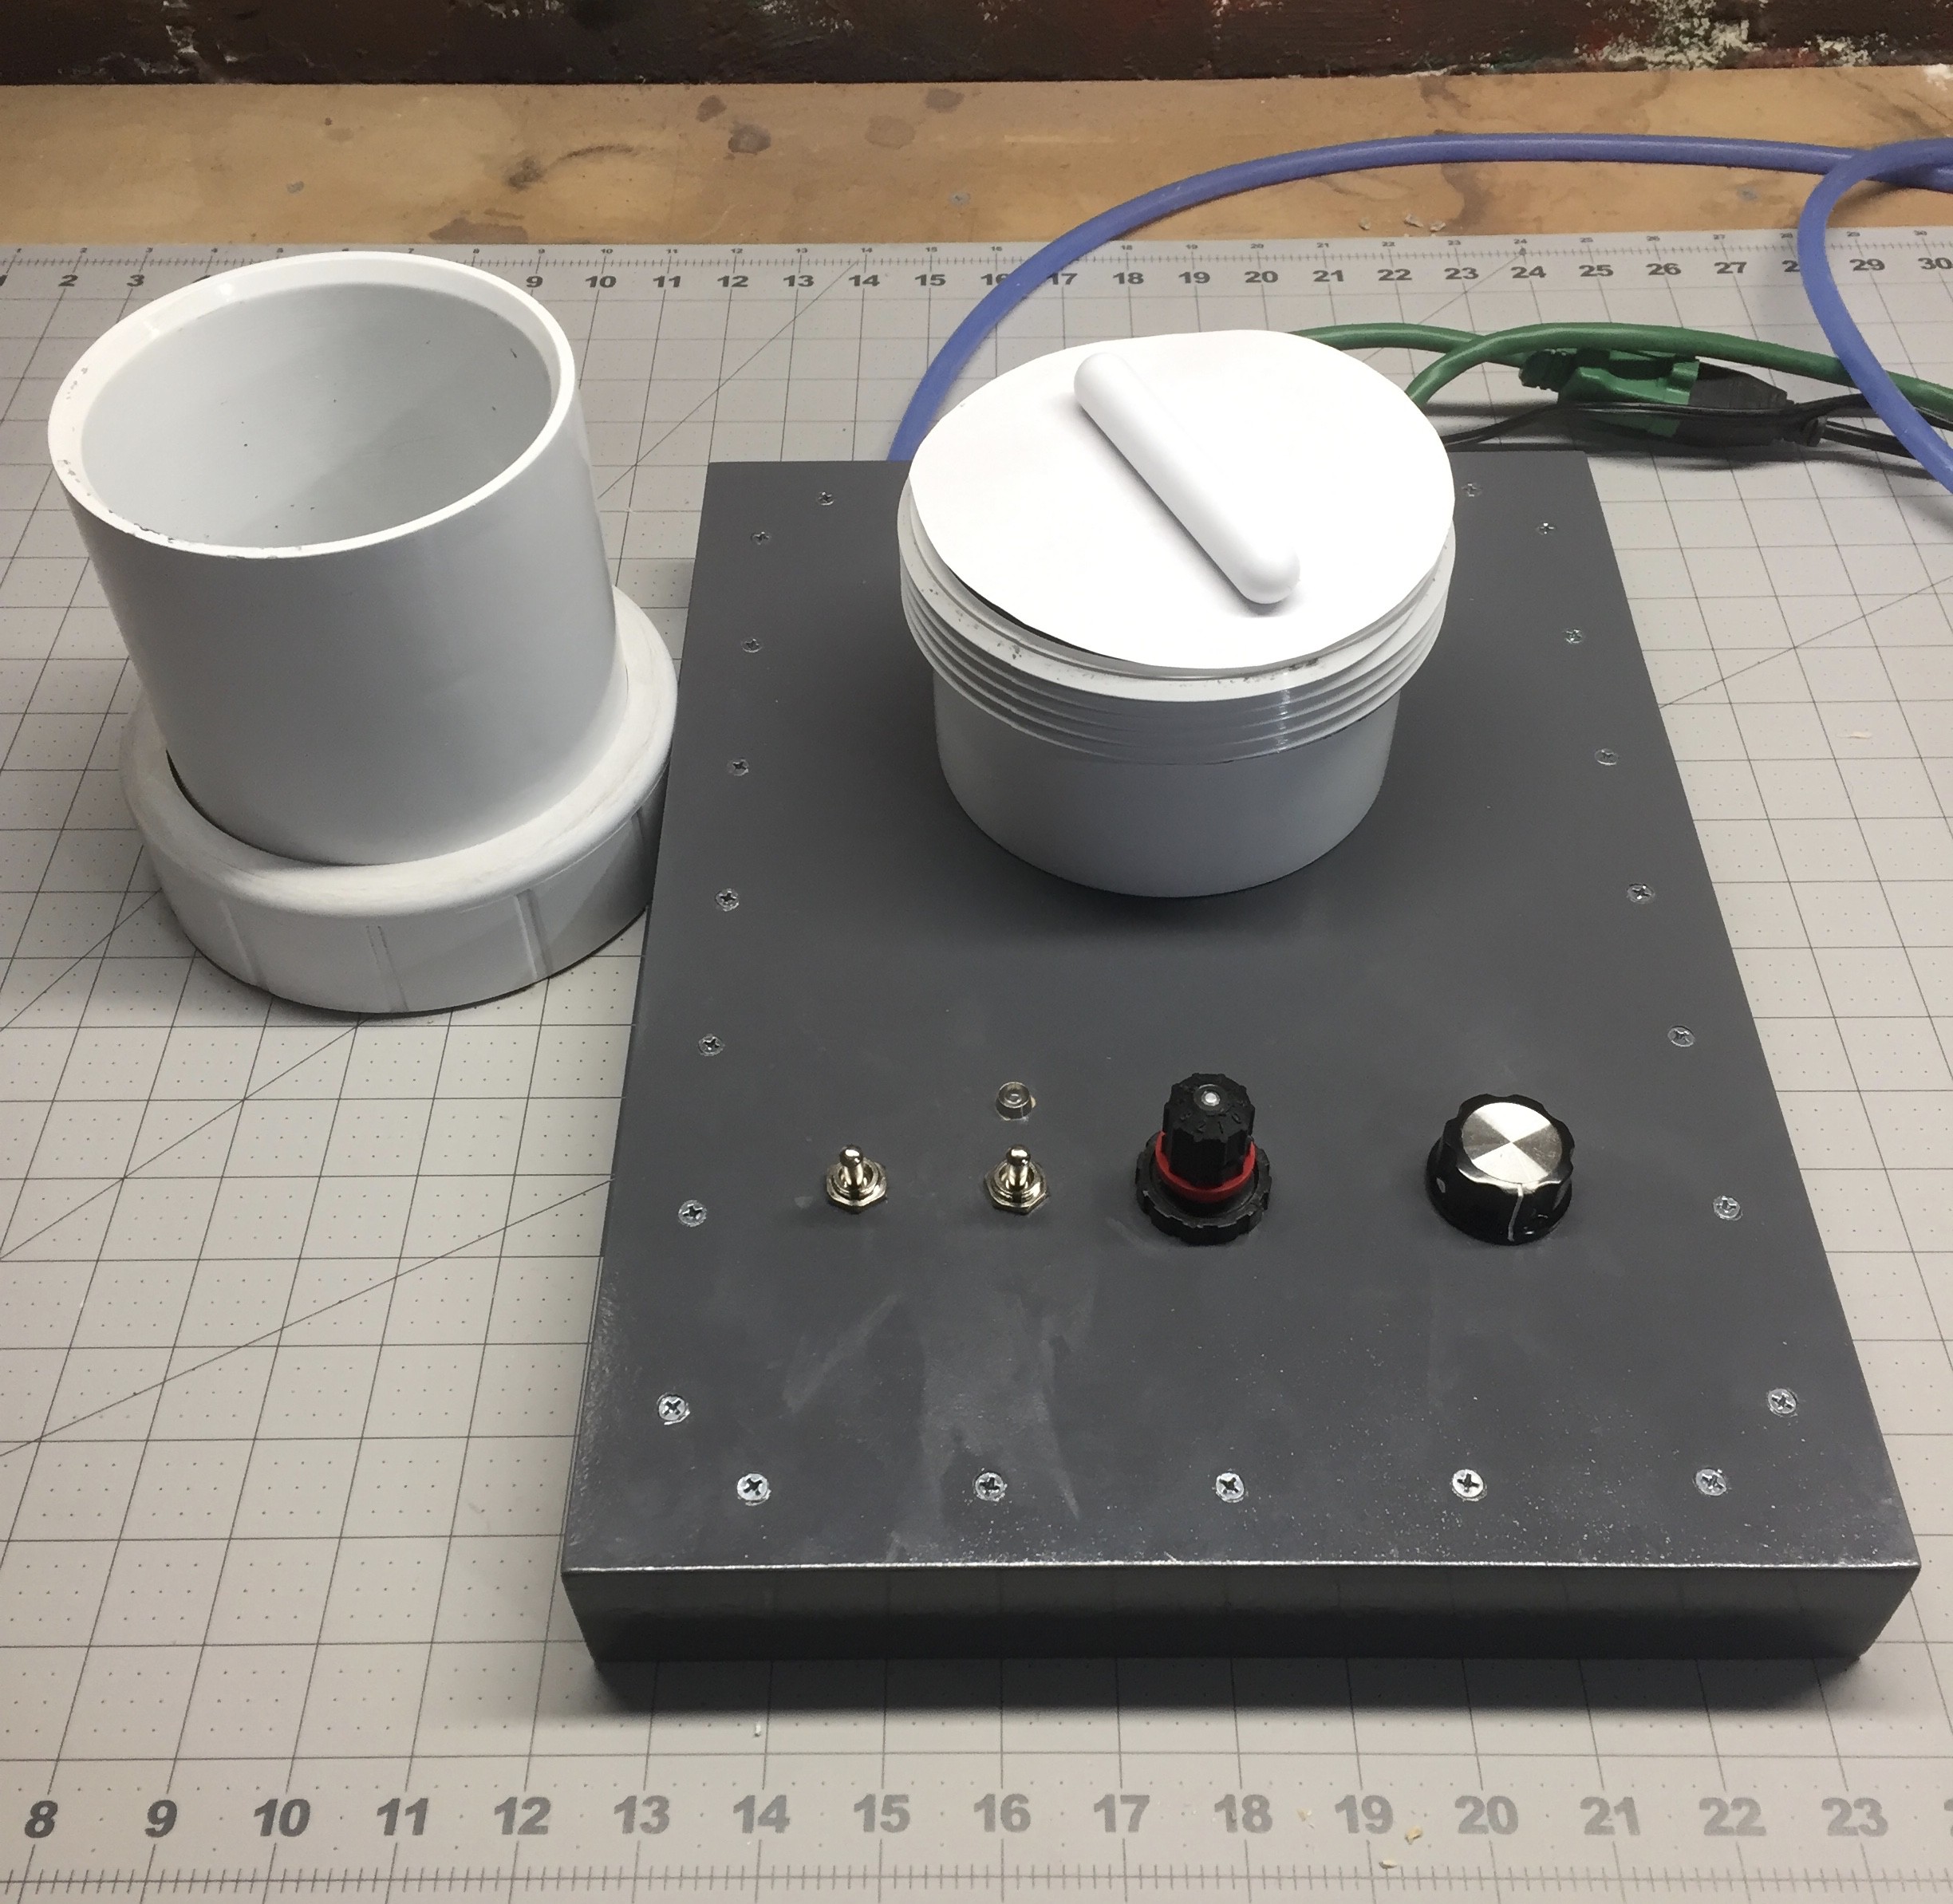
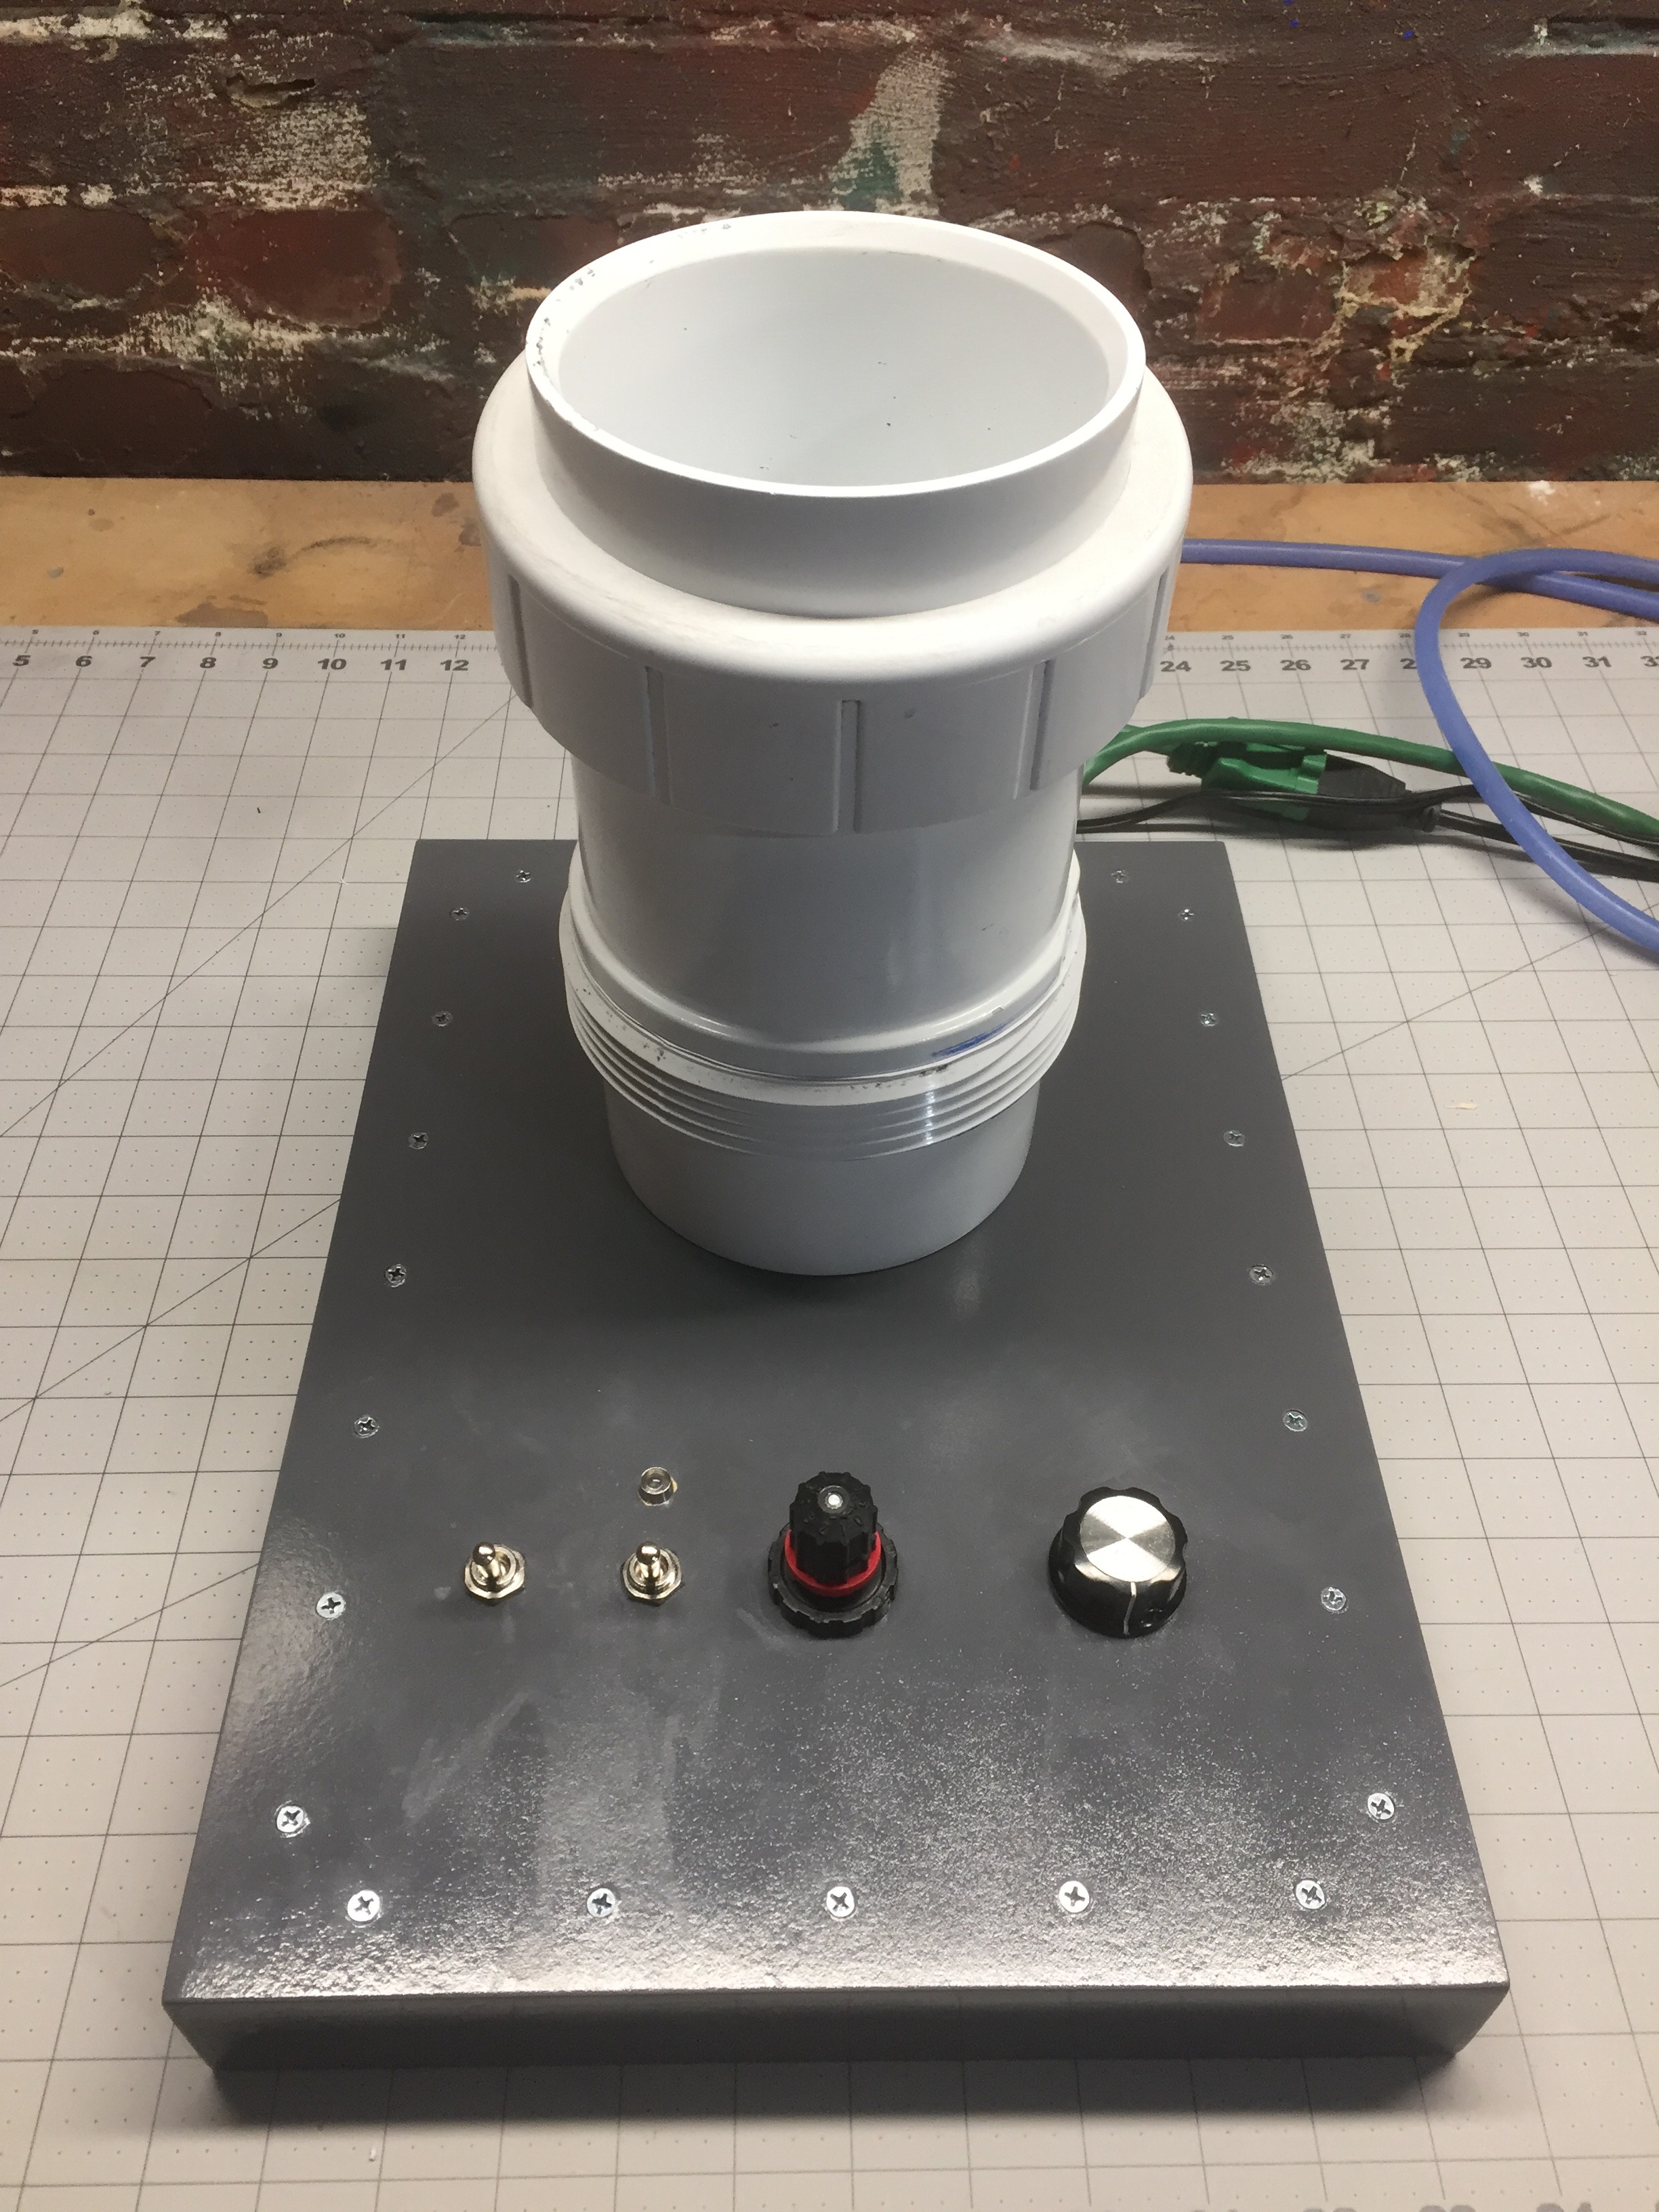
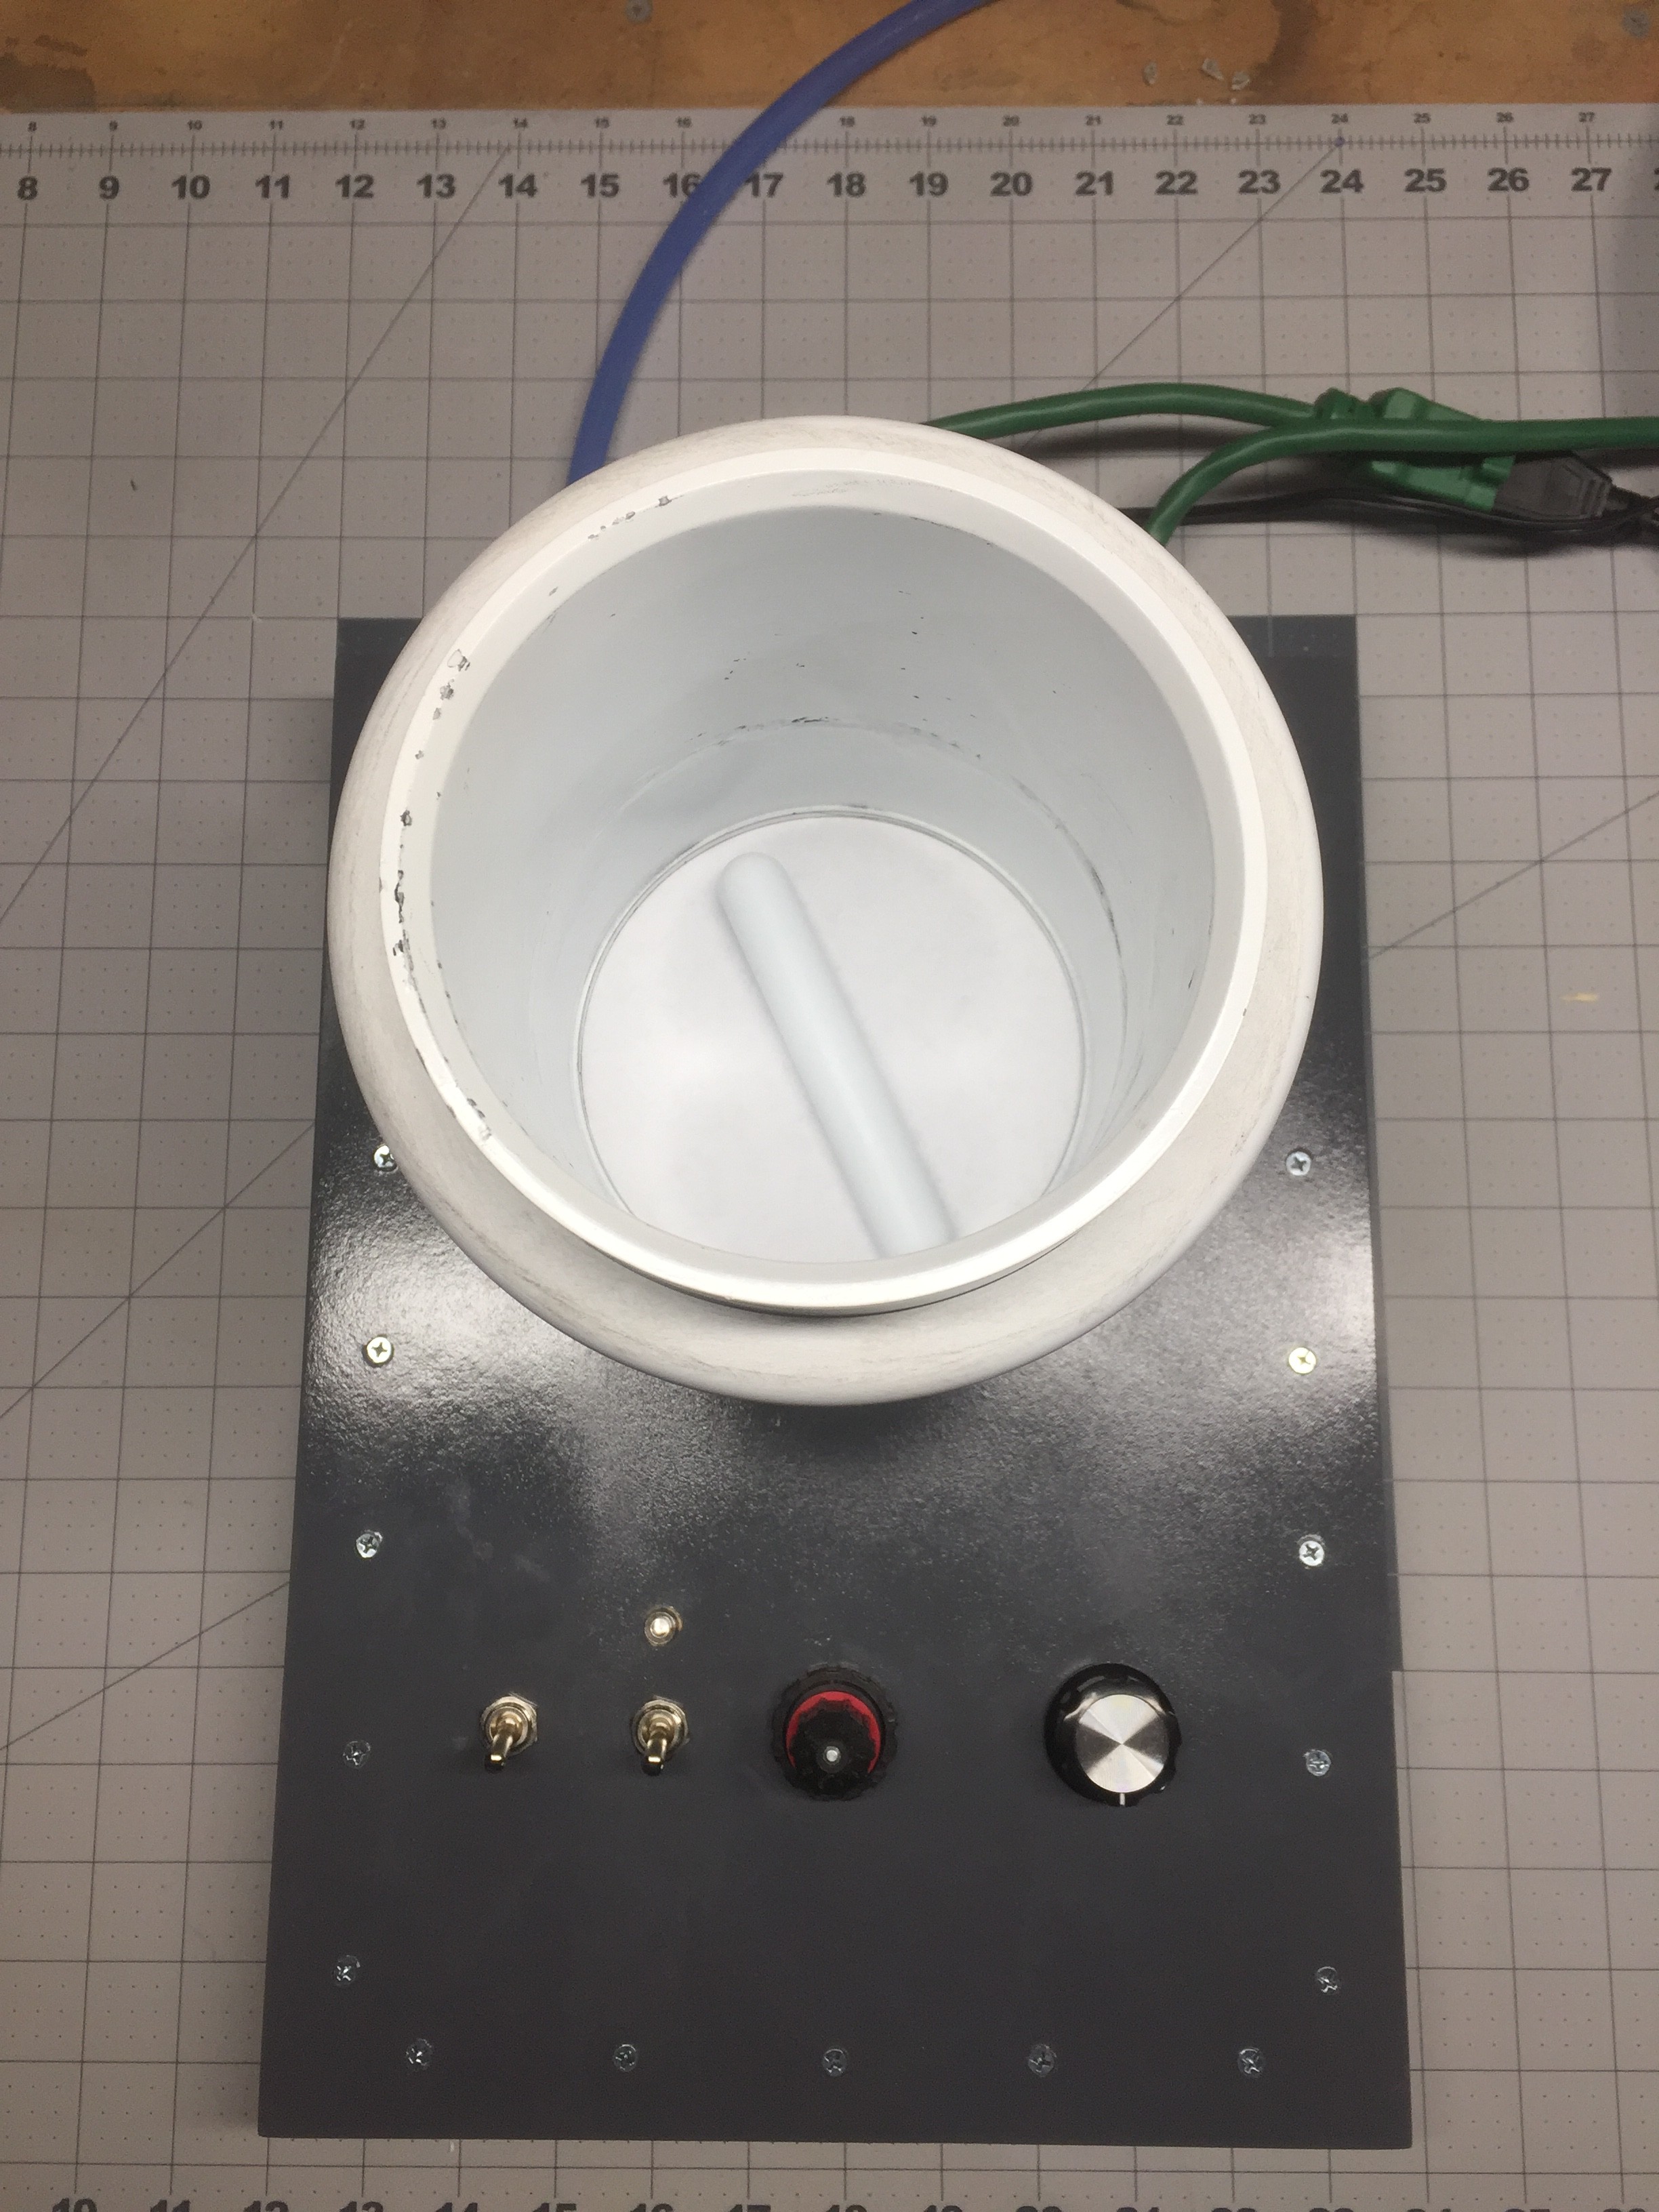
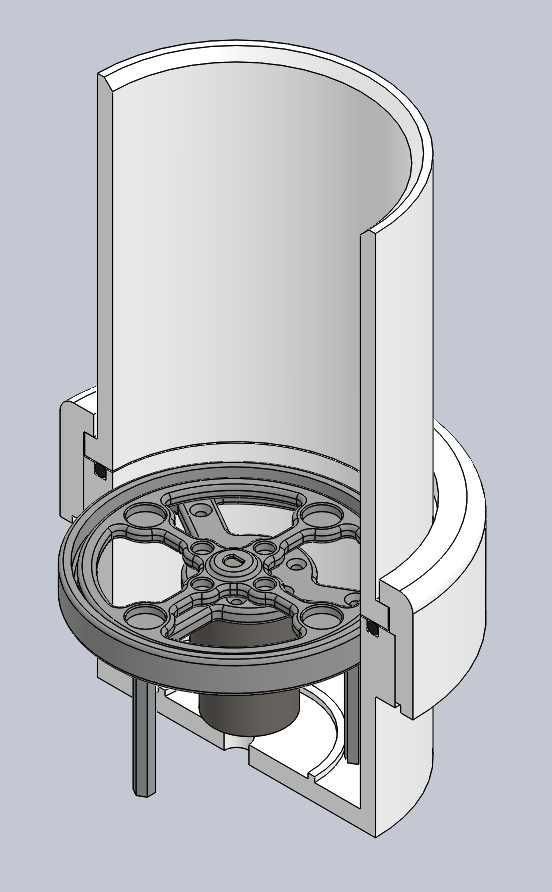
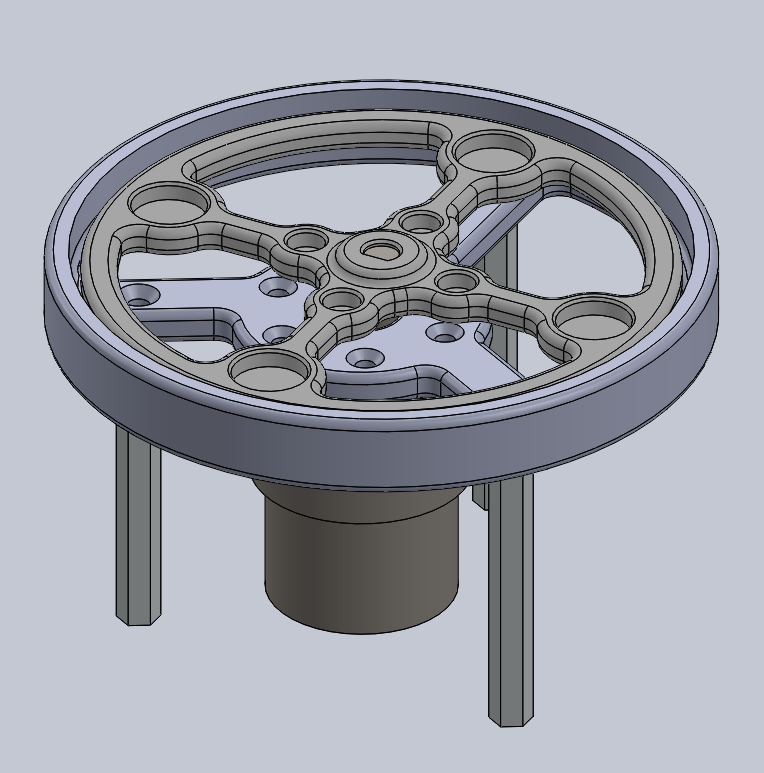
In fluidized powder coating, a hopper or a bed called a fluidizer is used to hold powdered material in a state of continuous fluidization by forcing air (or any gas) up through the powder material. A hot part is simply dunked into this fluid like material and pulled out several seconds later with a sugary like coating of powder to later be cured in an oven. (Or completely "flowed out" and "cured" if the part is heated to a higher temperature and has enough thermal mass.)
Small parts that have close angles, small openings, or...
Read more »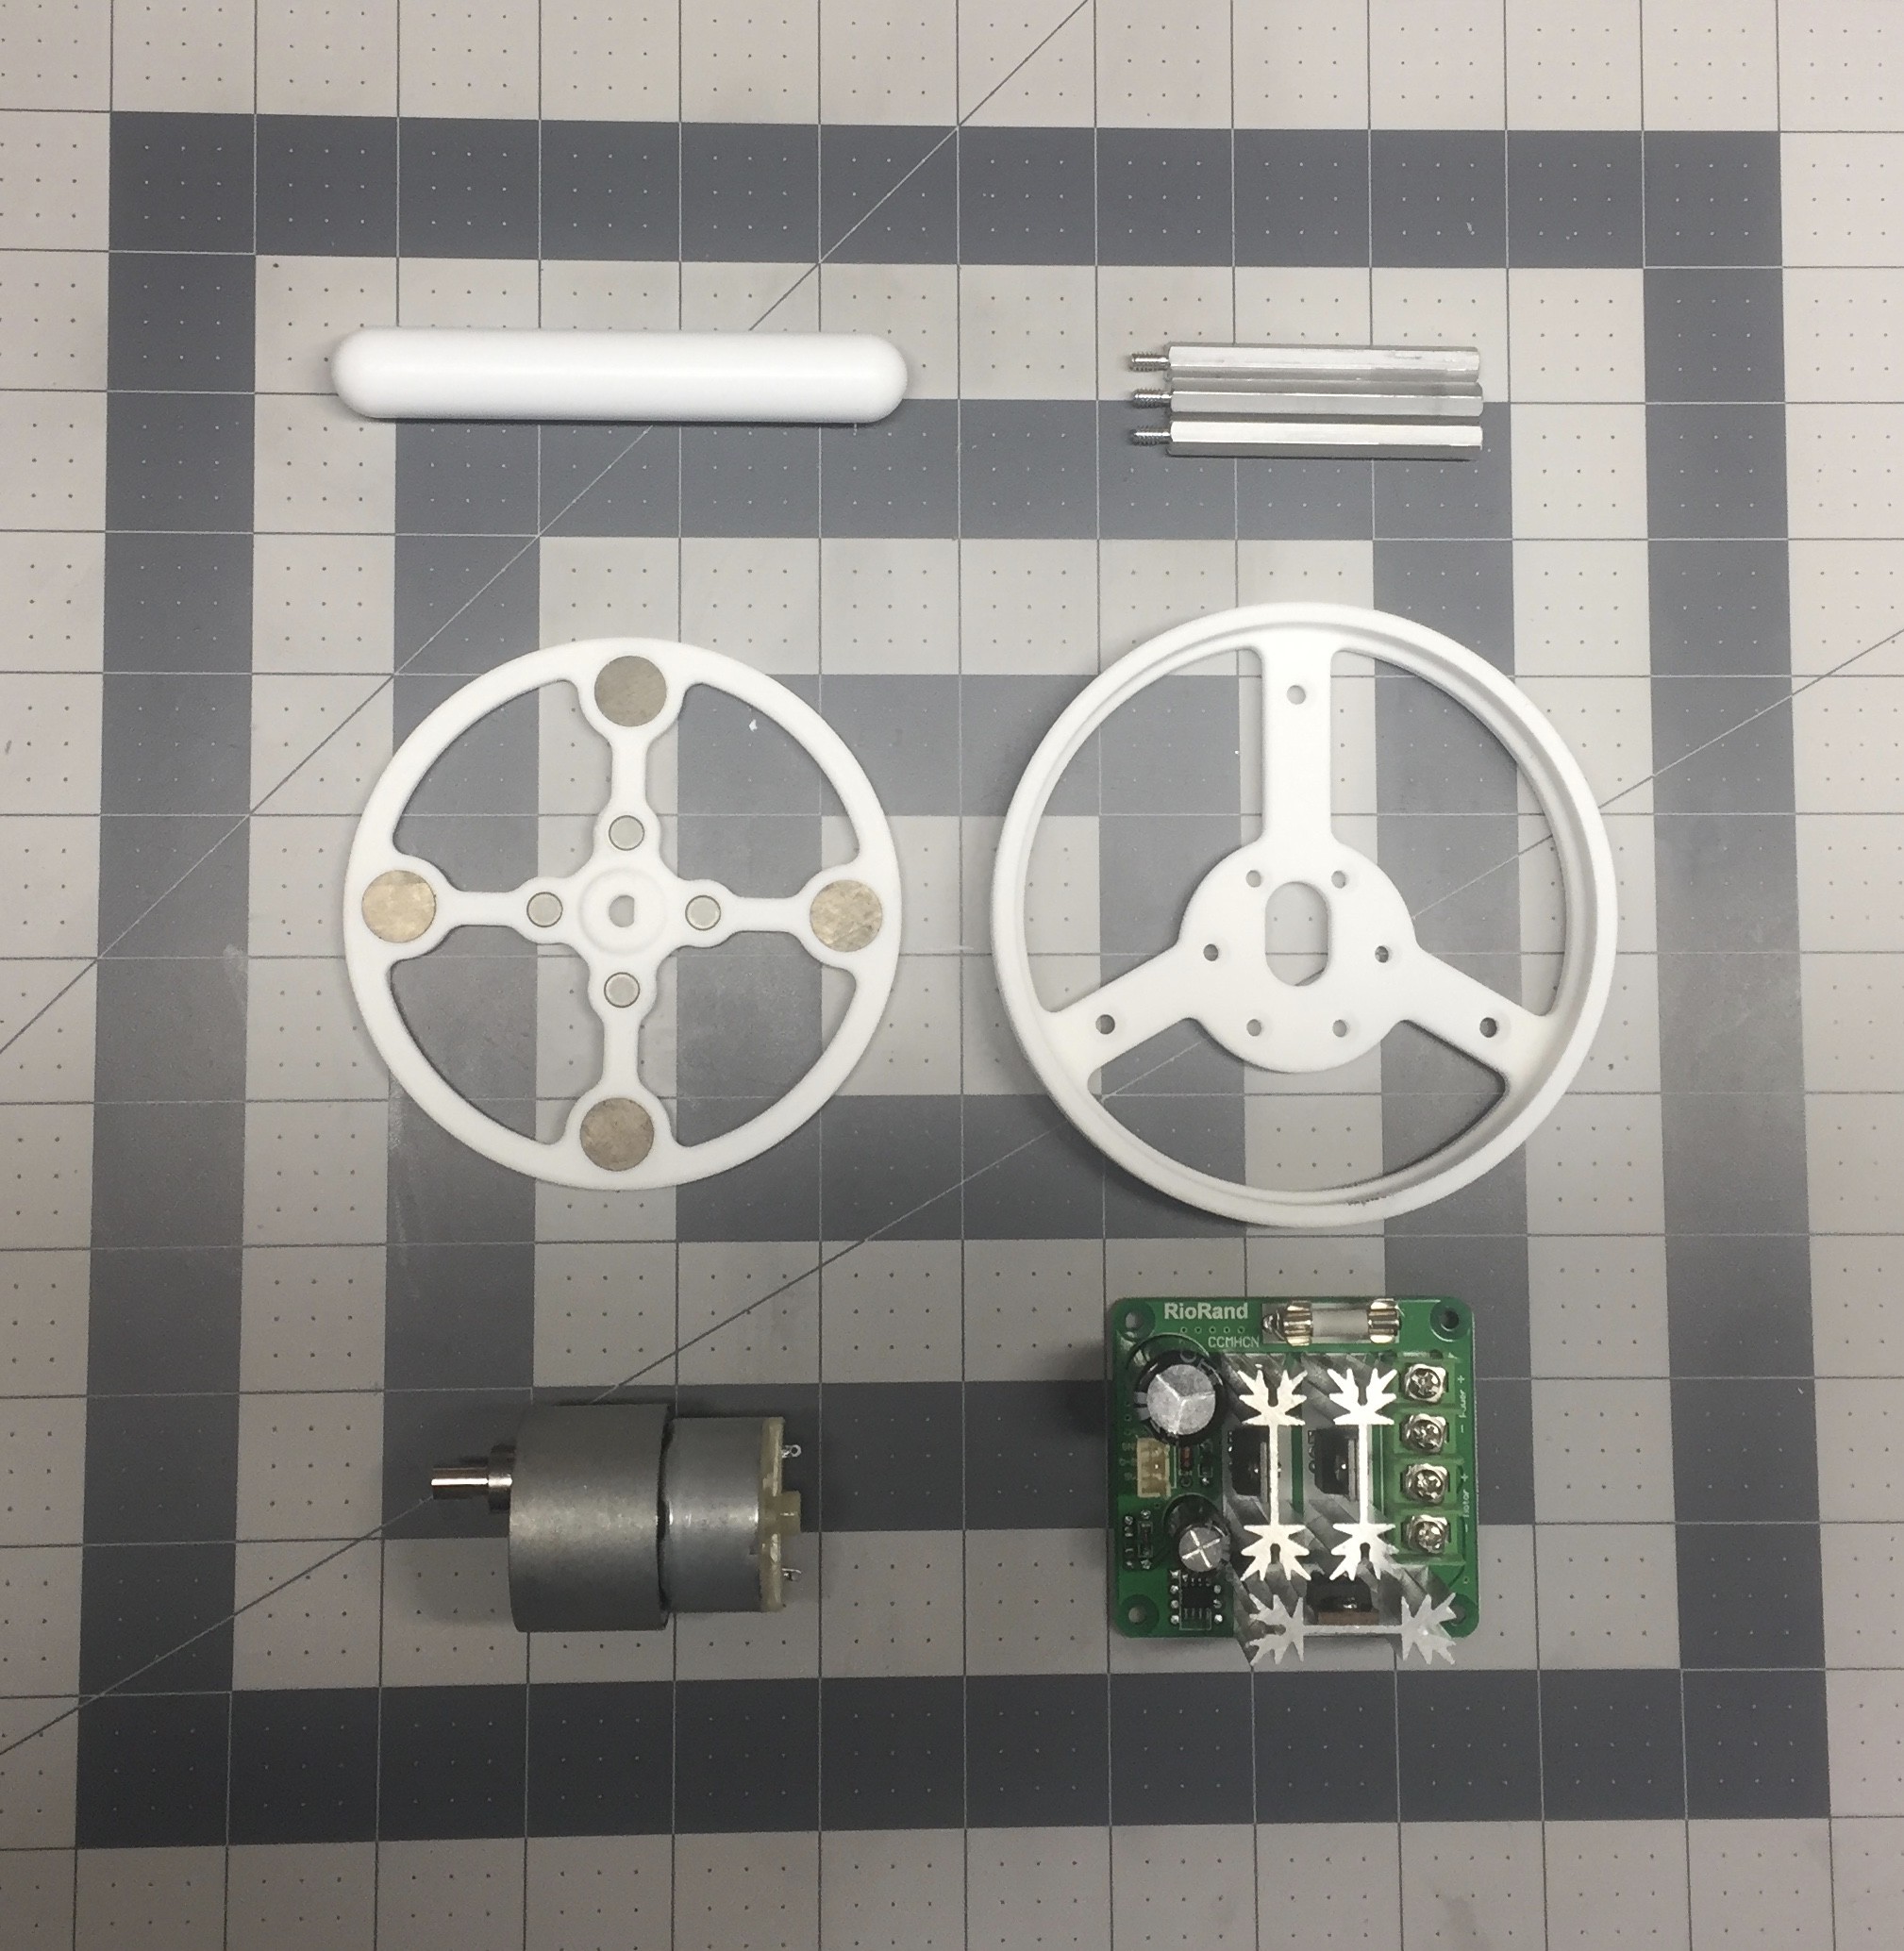


 Kārlis
 UkiyoWeee
 Quinn
Quinn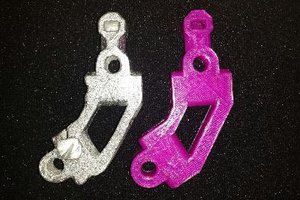
 Julia Longtin