Marc René Schädler
The details are explained in the GitHub wiki.
0%
0%
Mobile hearing aid prototype
An almost consumer hardware based mobile prototype of a hearing aid with open source software
Become a Hackaday.io member
Already have an account? Log in.
Just one more thing
To make the experience fit your profile, pick a username and tell us what interests you.
Pick an awesome username
hackaday.io/
Your profile's URL: hackaday.io/username. Max 25 alphanumeric characters.
Pick a few interests
Projects that share your interests
People that share your interests
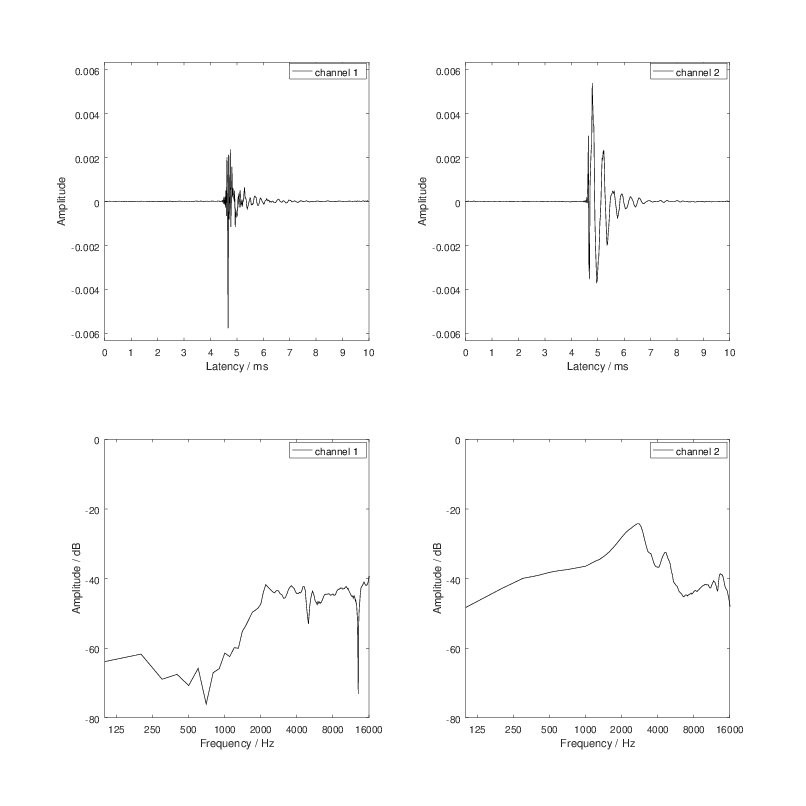 The impulse responses are shown in the upper panel, the frequency responses in the lower panel.
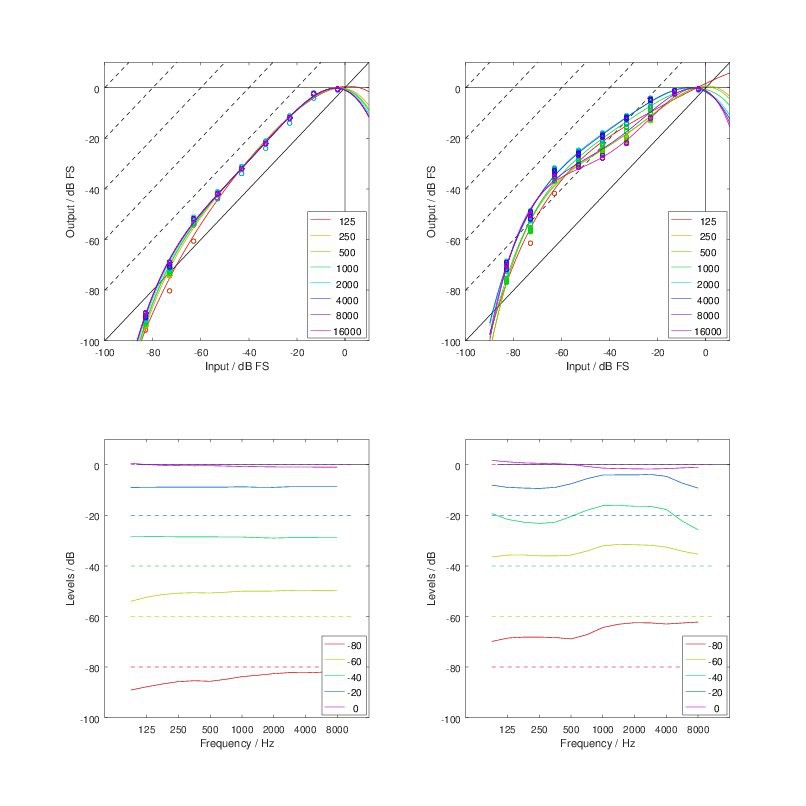 The measures of input and corresponding output levels are plotted for an example configuration in the upper panel, where the color indicates frequency bands.
 Sundance Multiprocessor
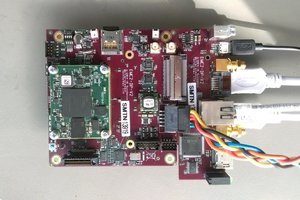
 NotBlackMagic