0%
0%
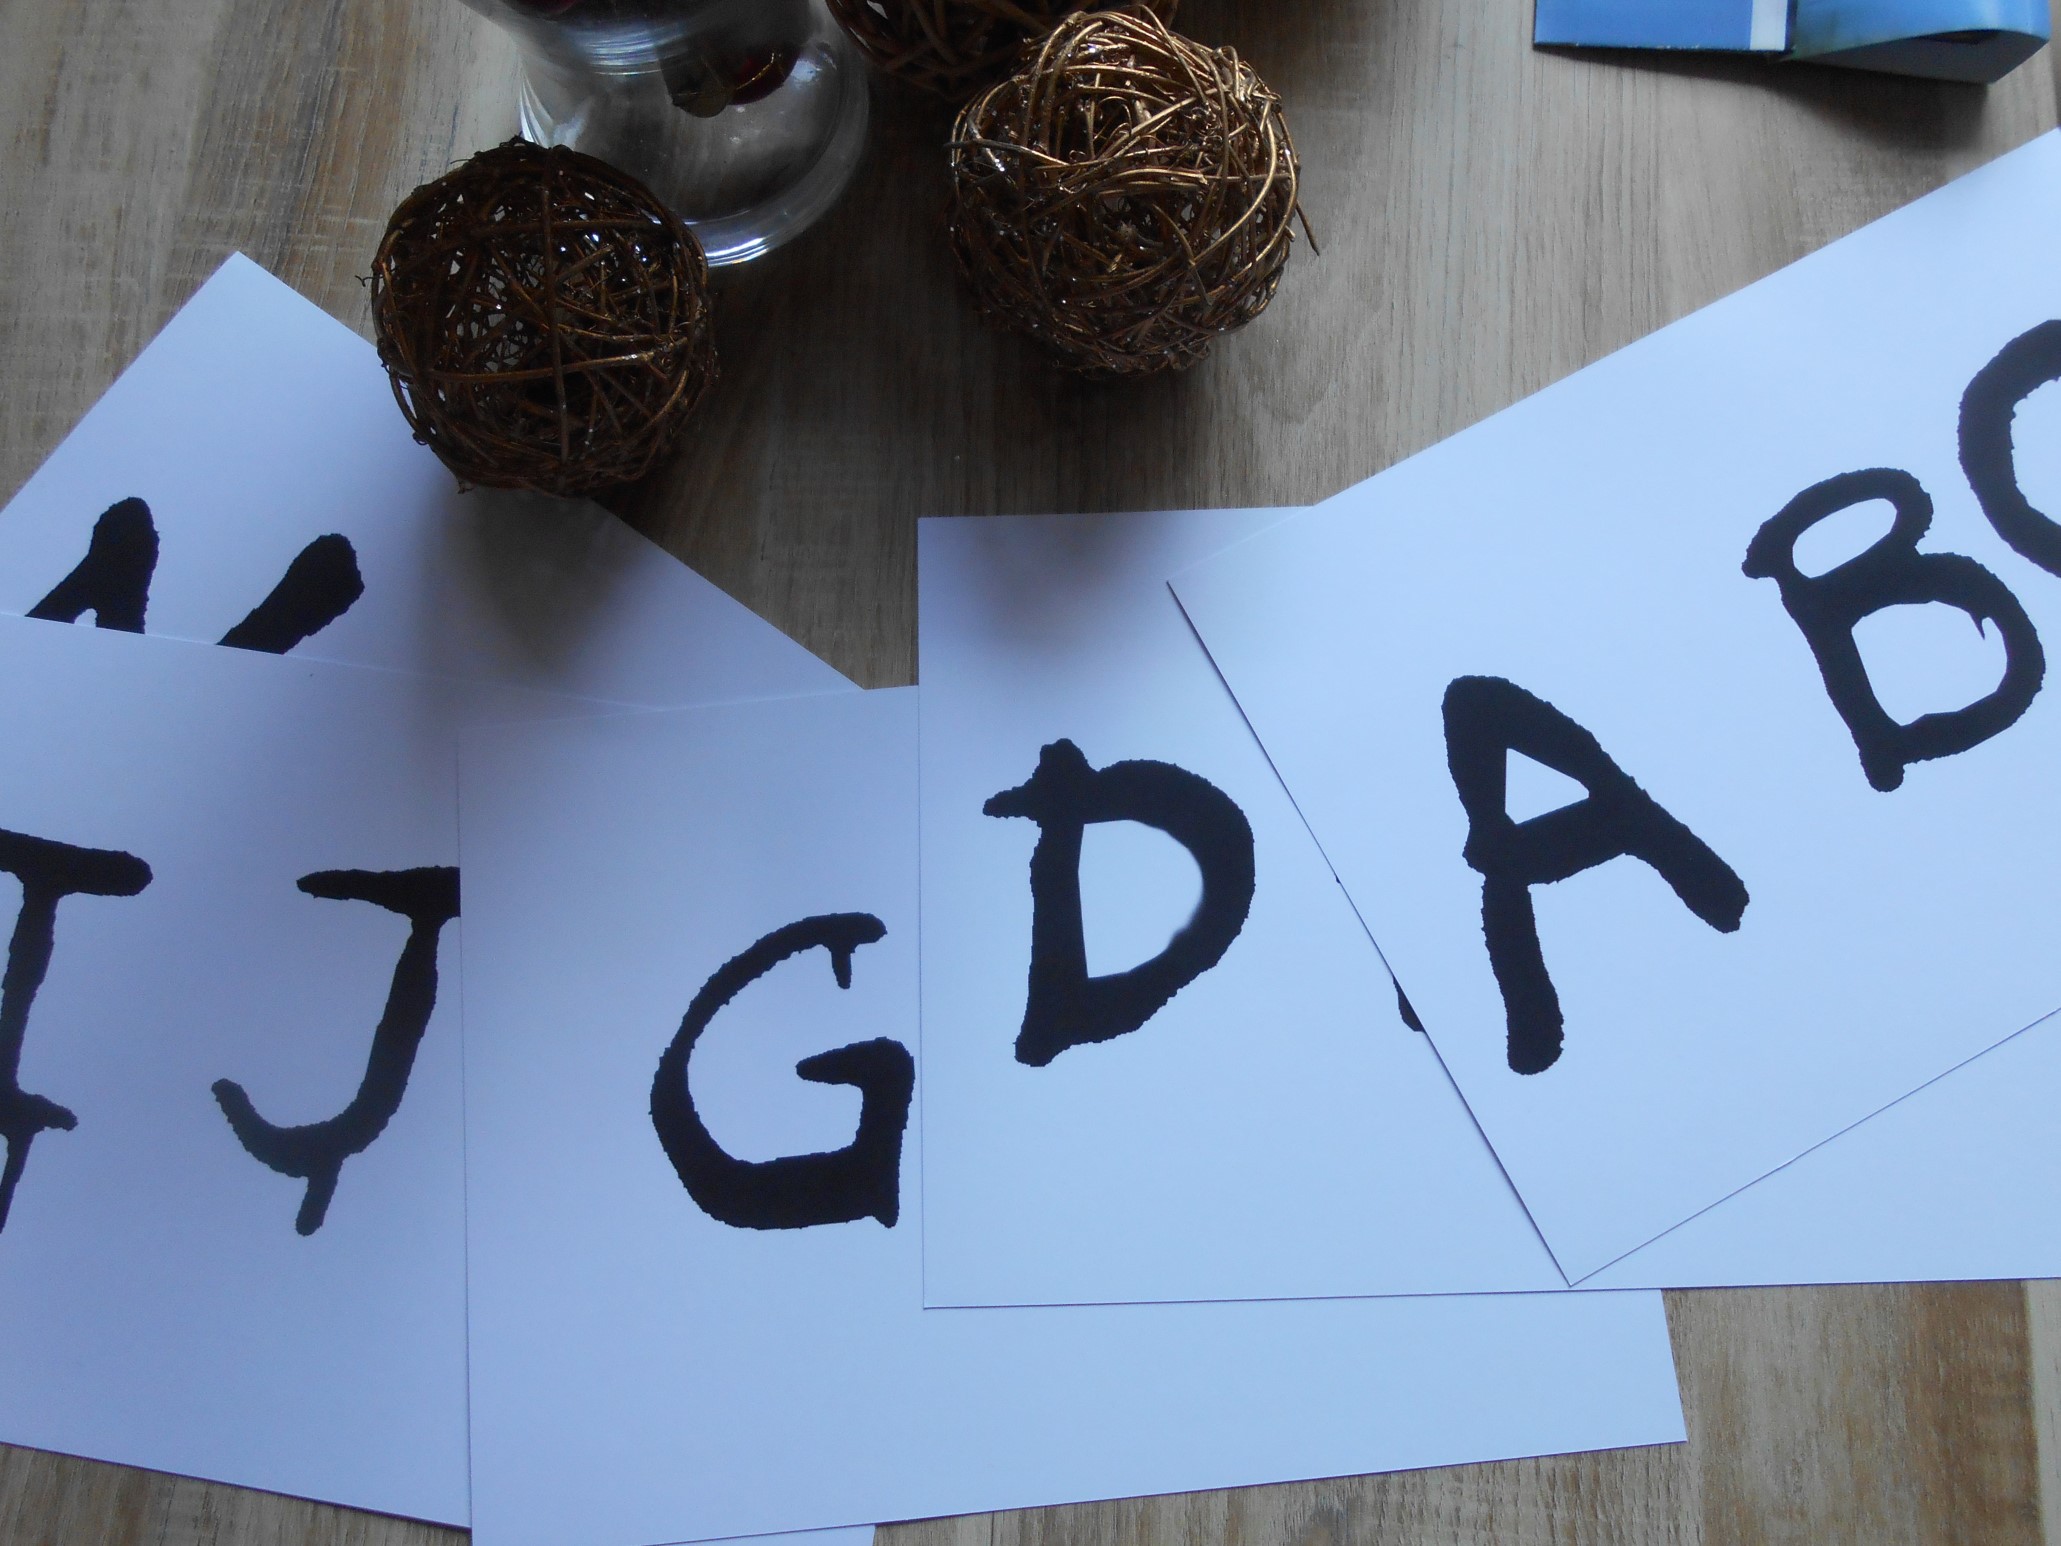
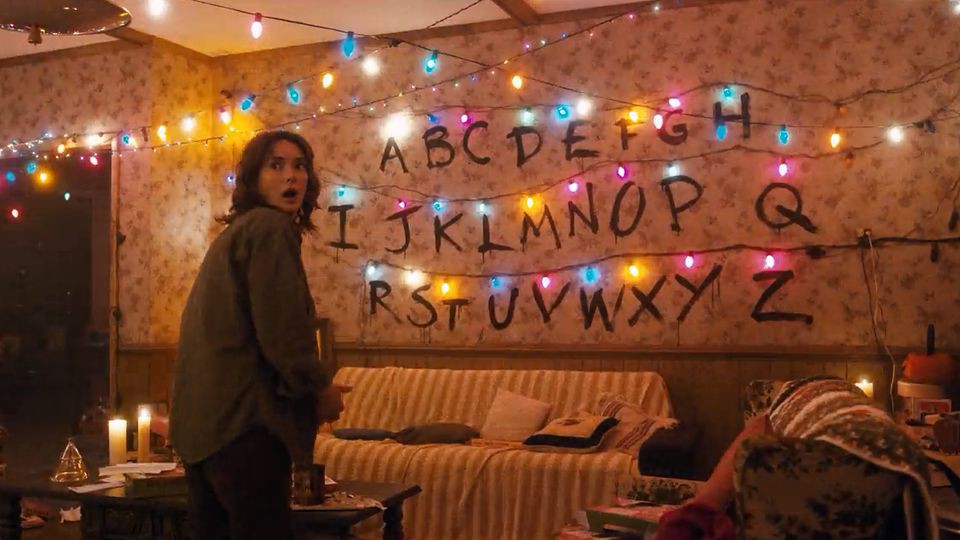
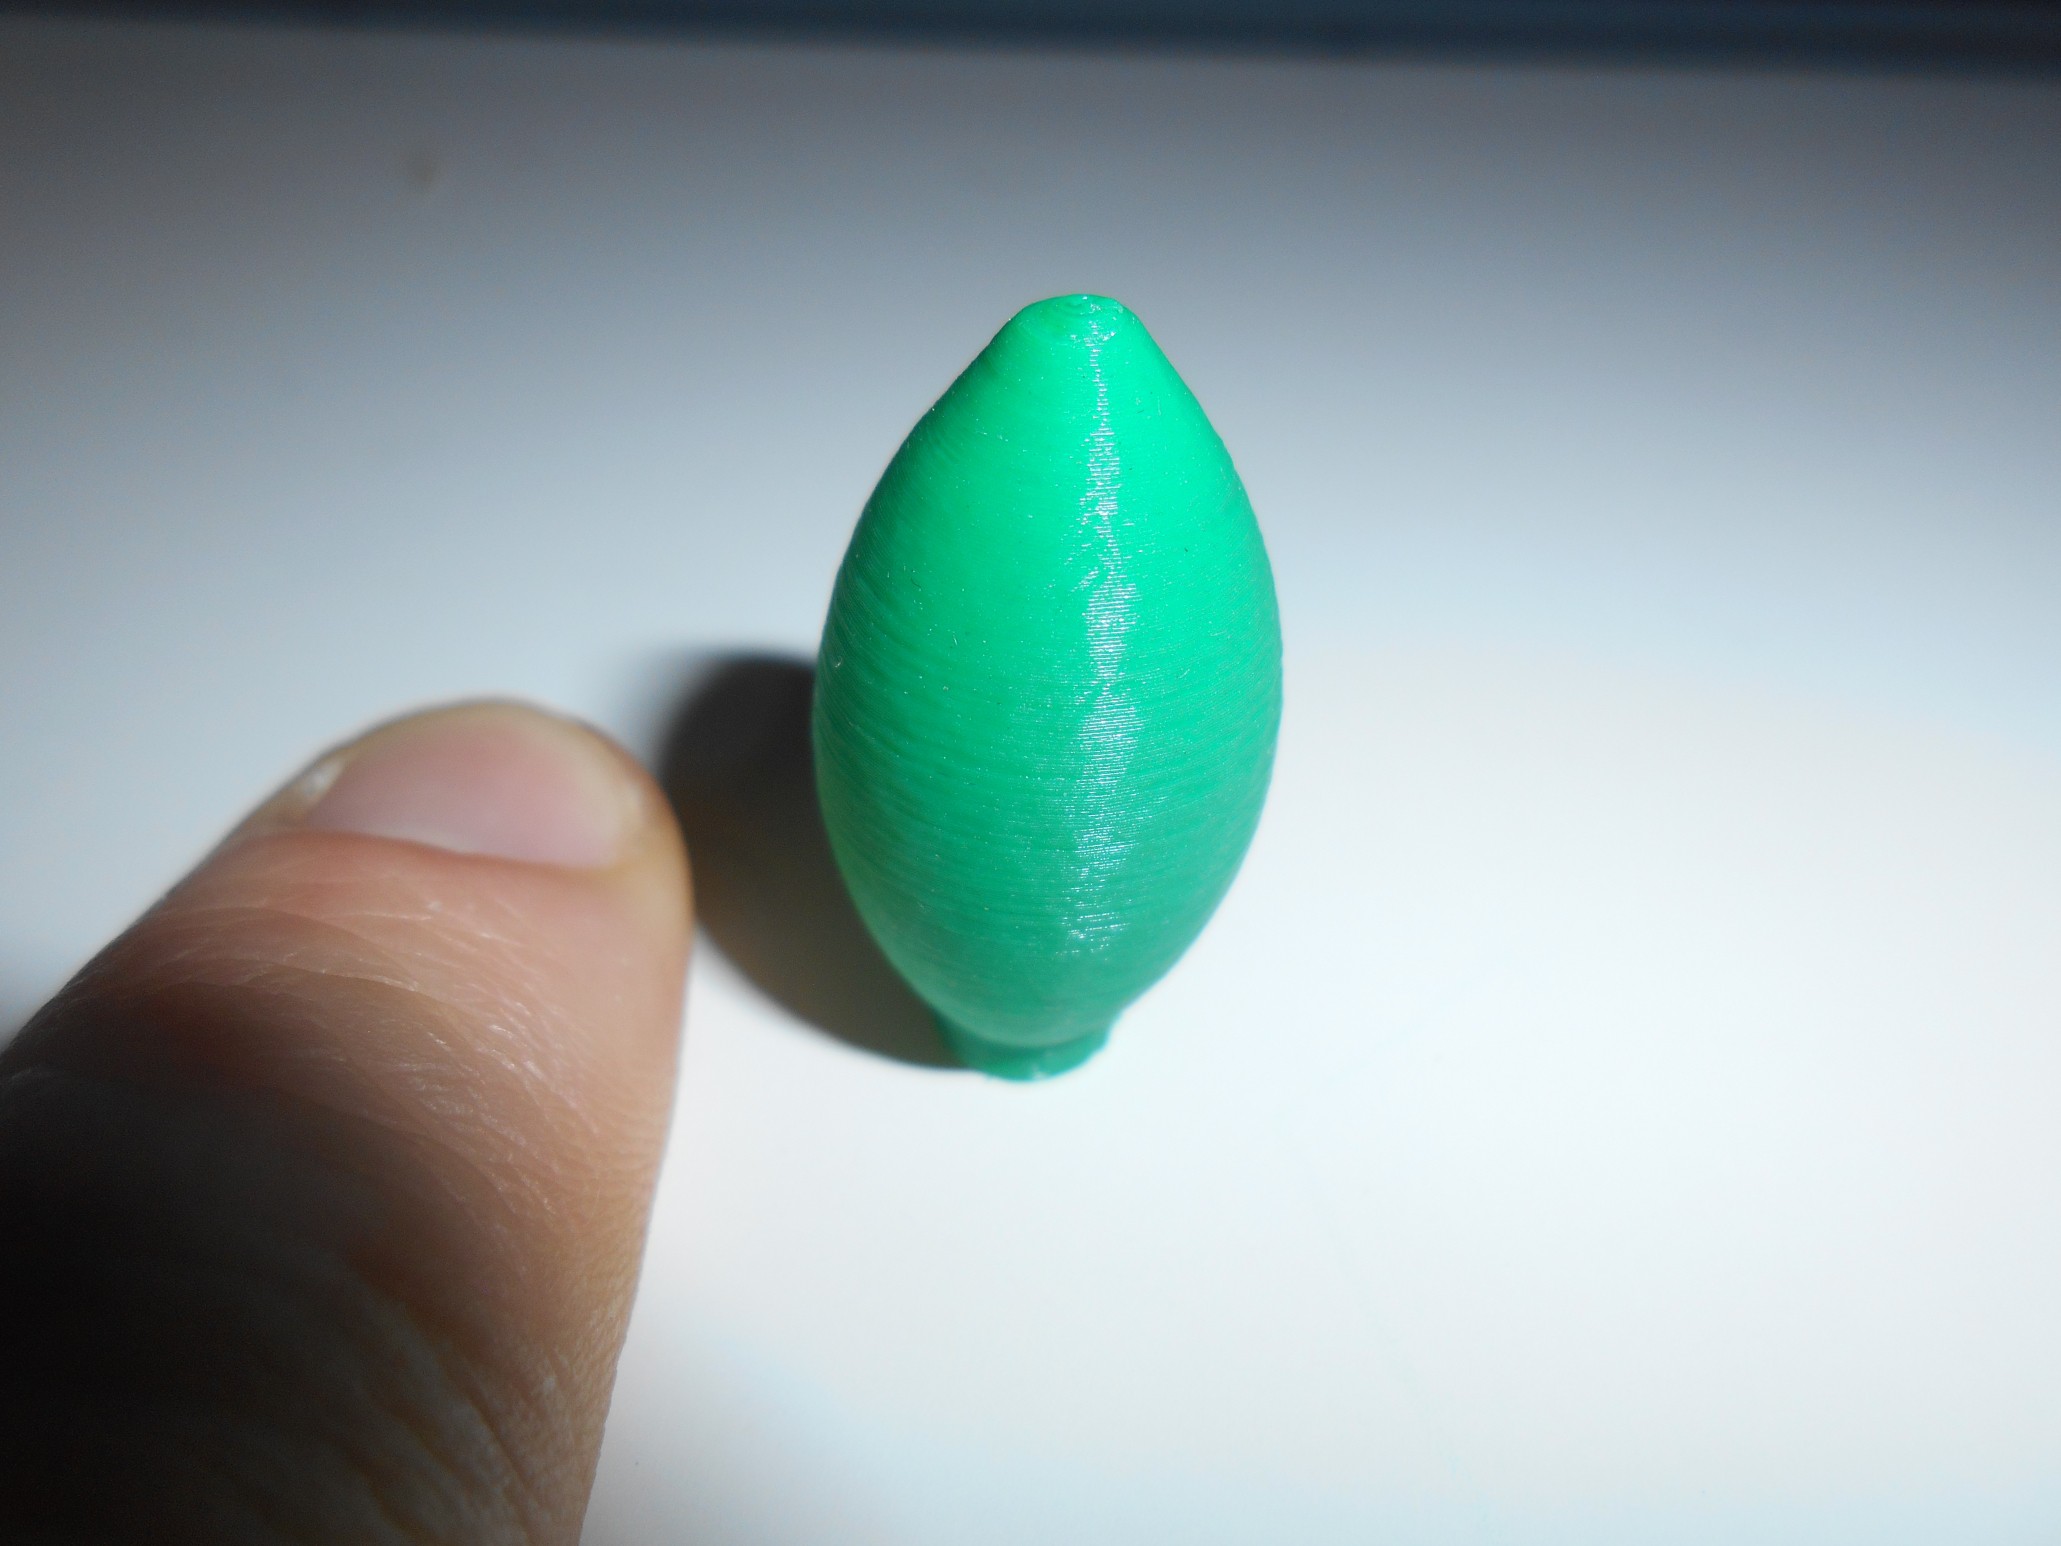
A realistic, yet another Stranger Things alphabet
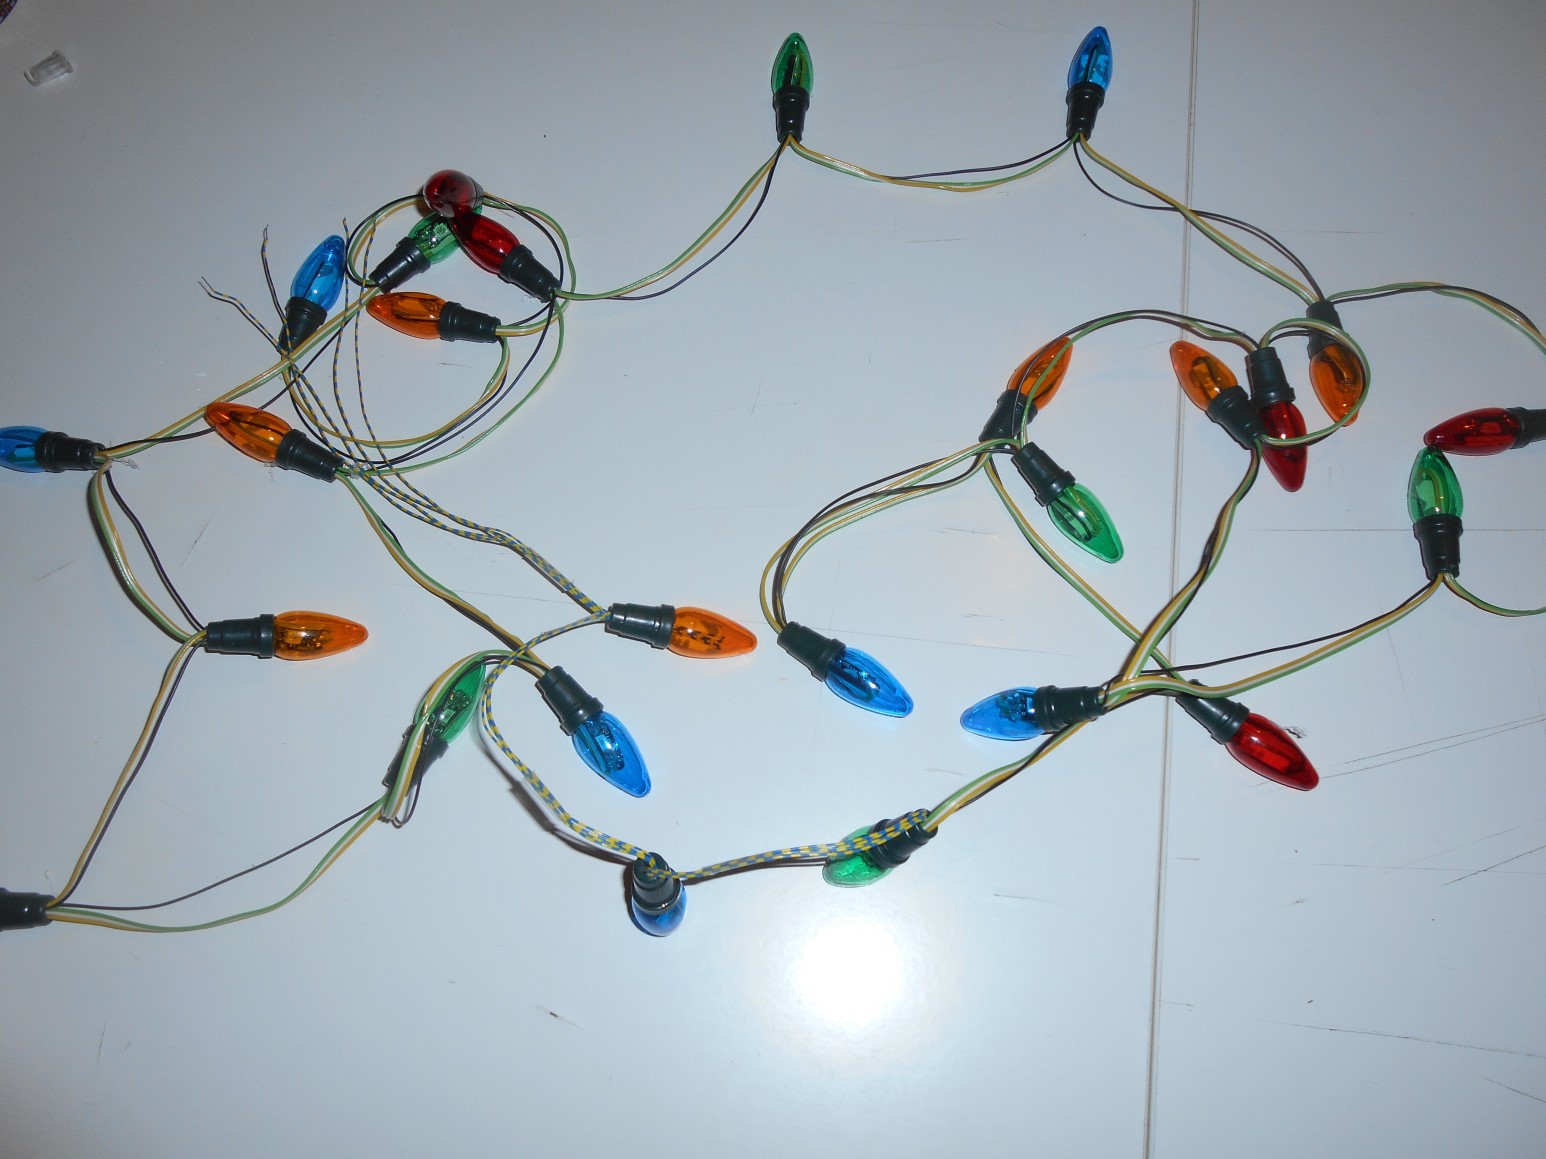
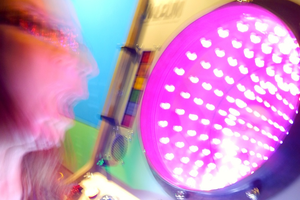
The simplest, most efficient way to talk with the Upside Down
 Enrico
Become a Hackaday.io member
Already have an account? Log in.
Just one more thing
To make the experience fit your profile, pick a username and tell us what interests you.
Pick an awesome username
hackaday.io/
Your profile's URL: hackaday.io/username. Max 25 alphanumeric characters.
Pick a few interests
Projects that share your interests
People that share your interests
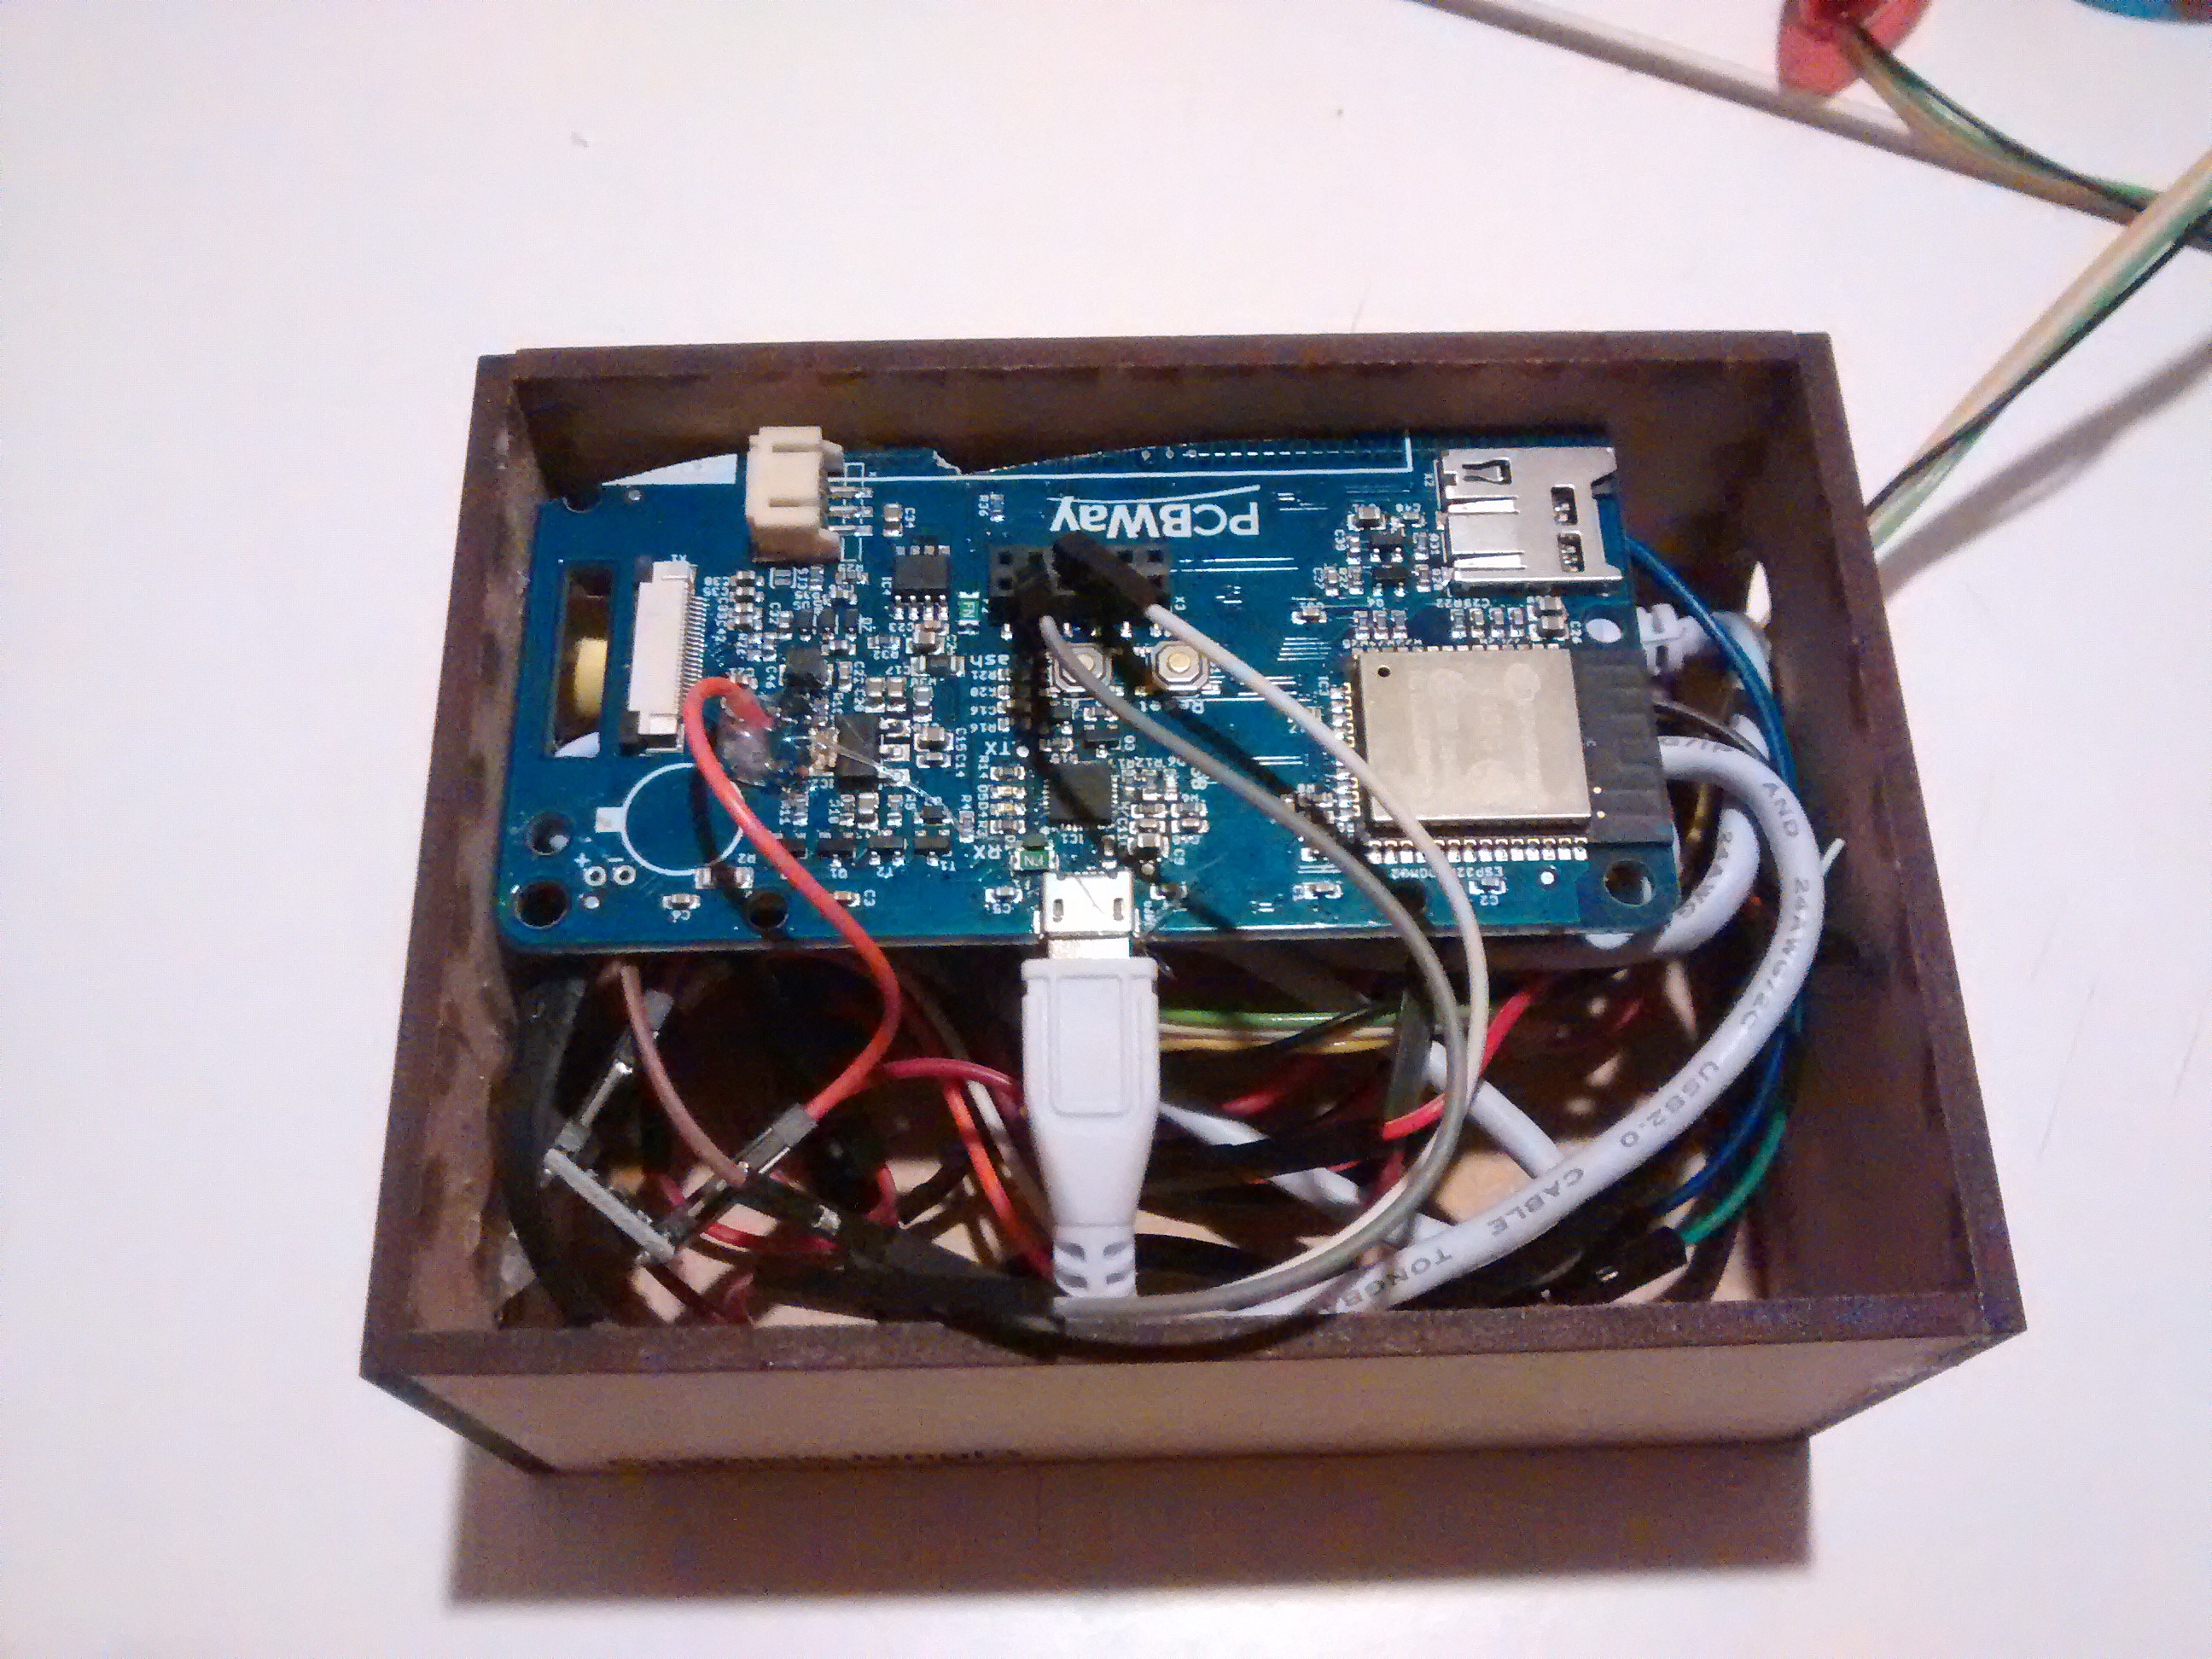


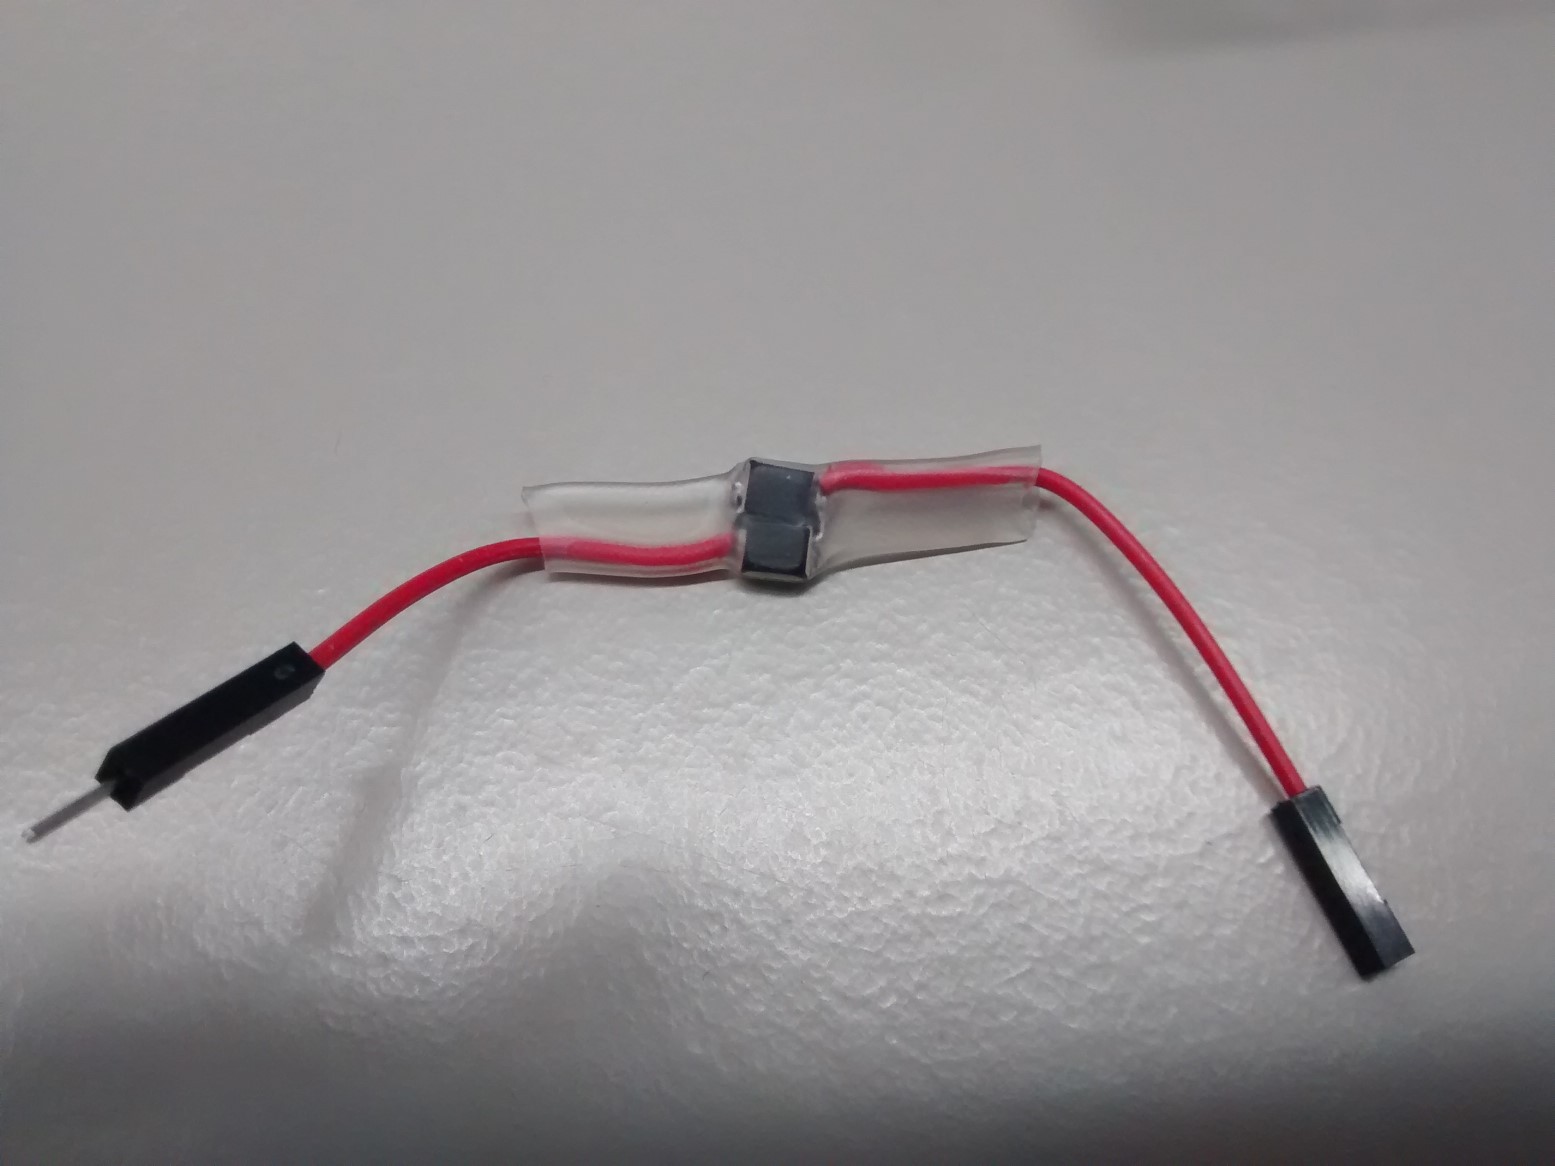
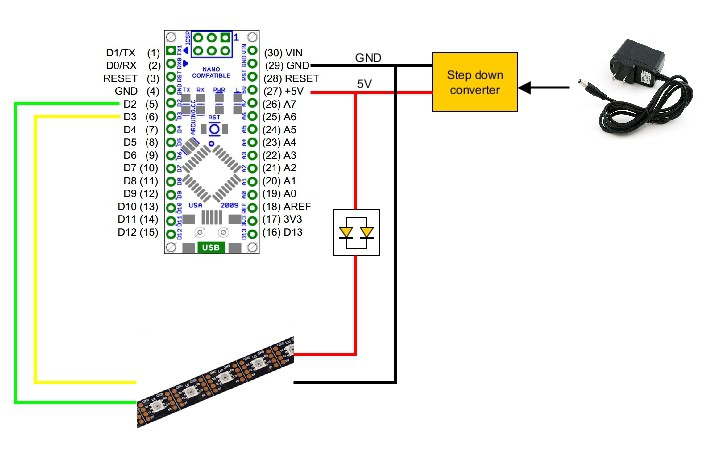
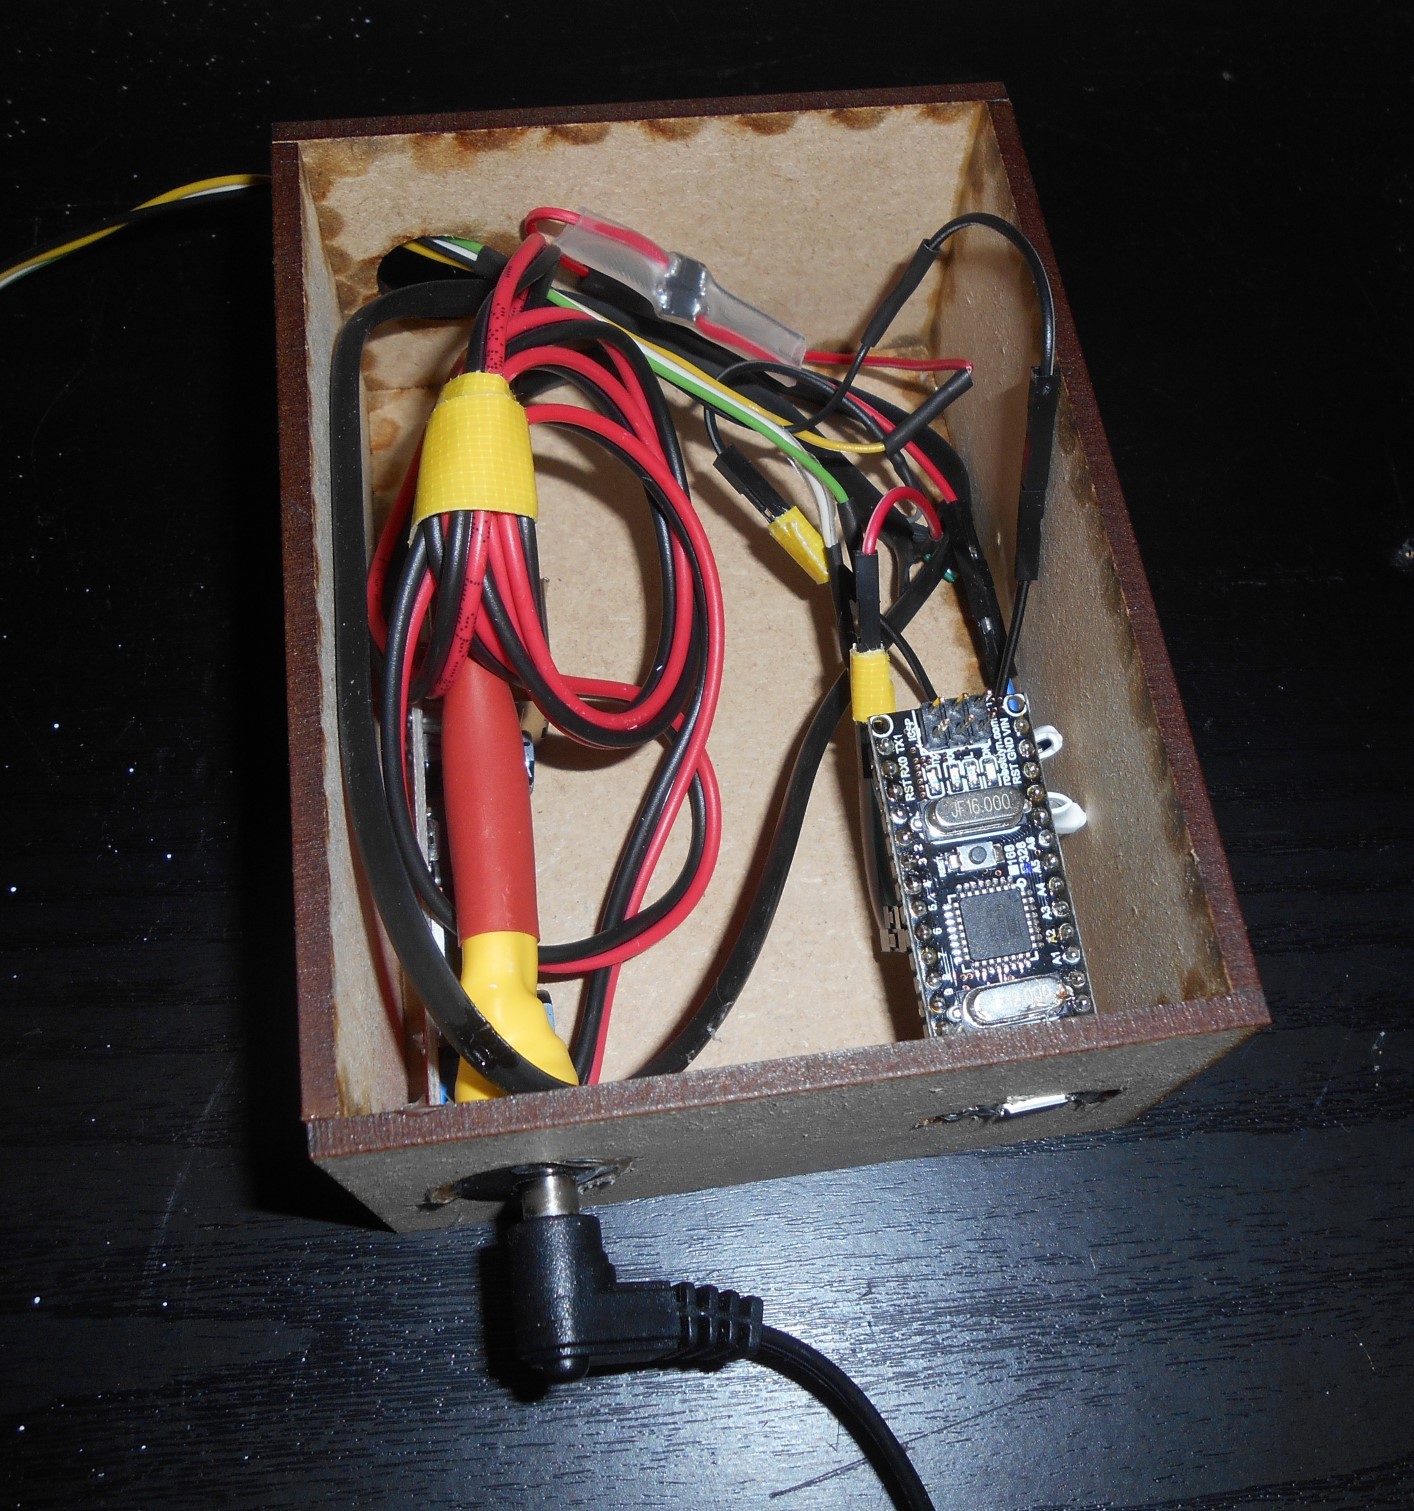


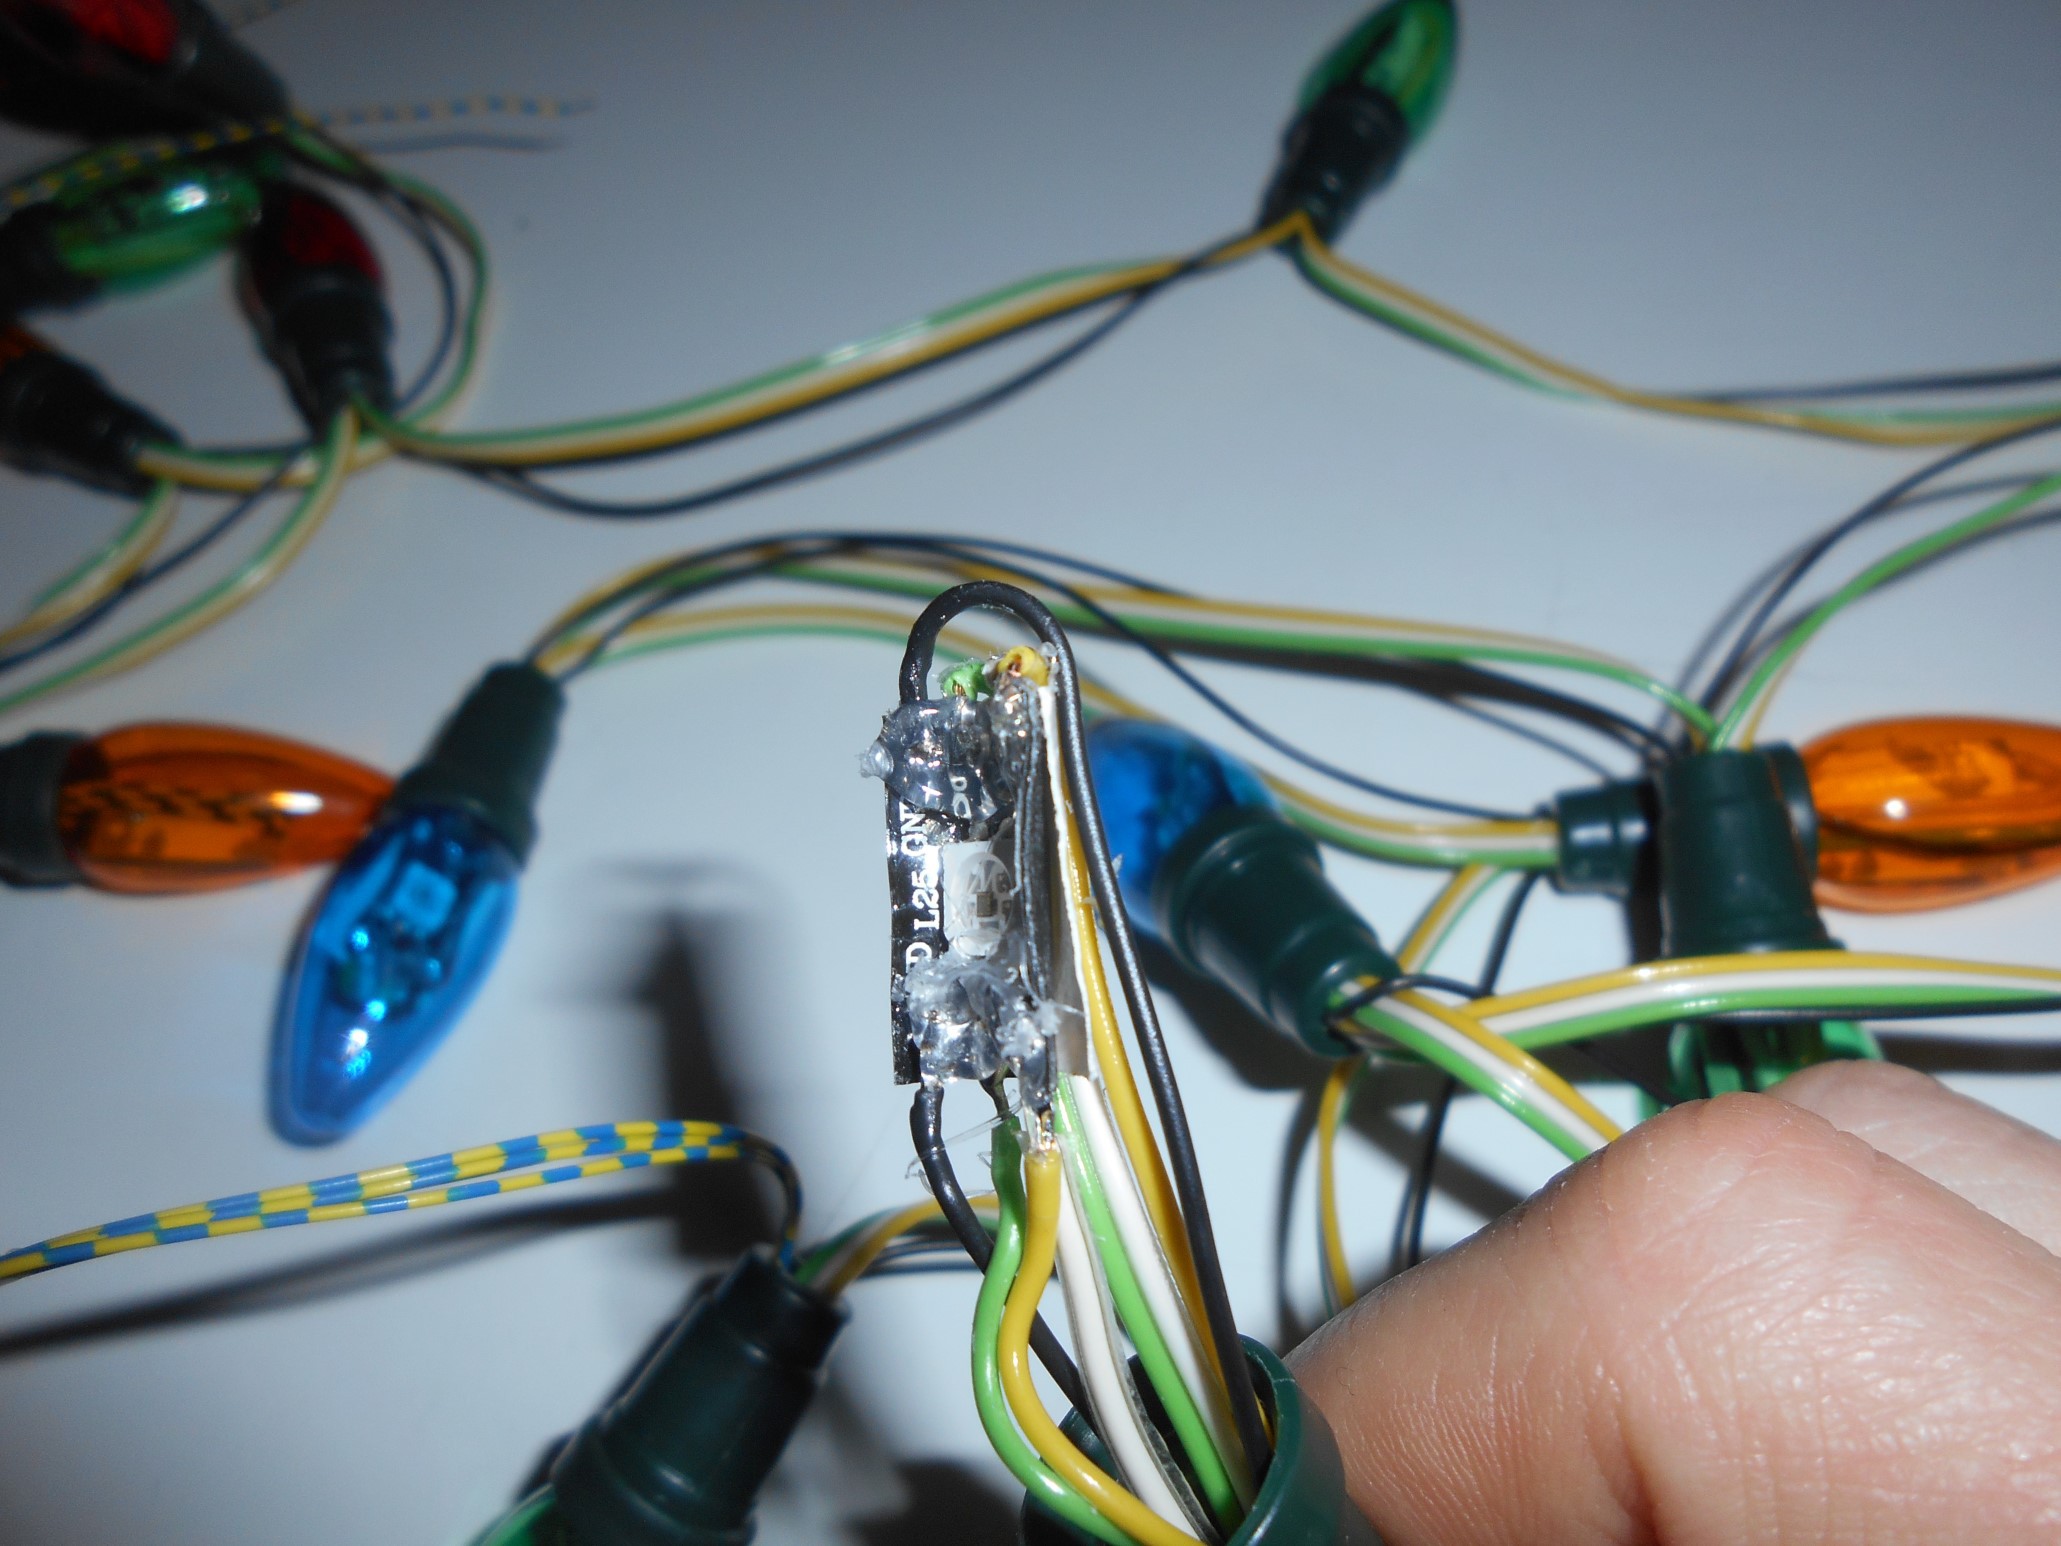
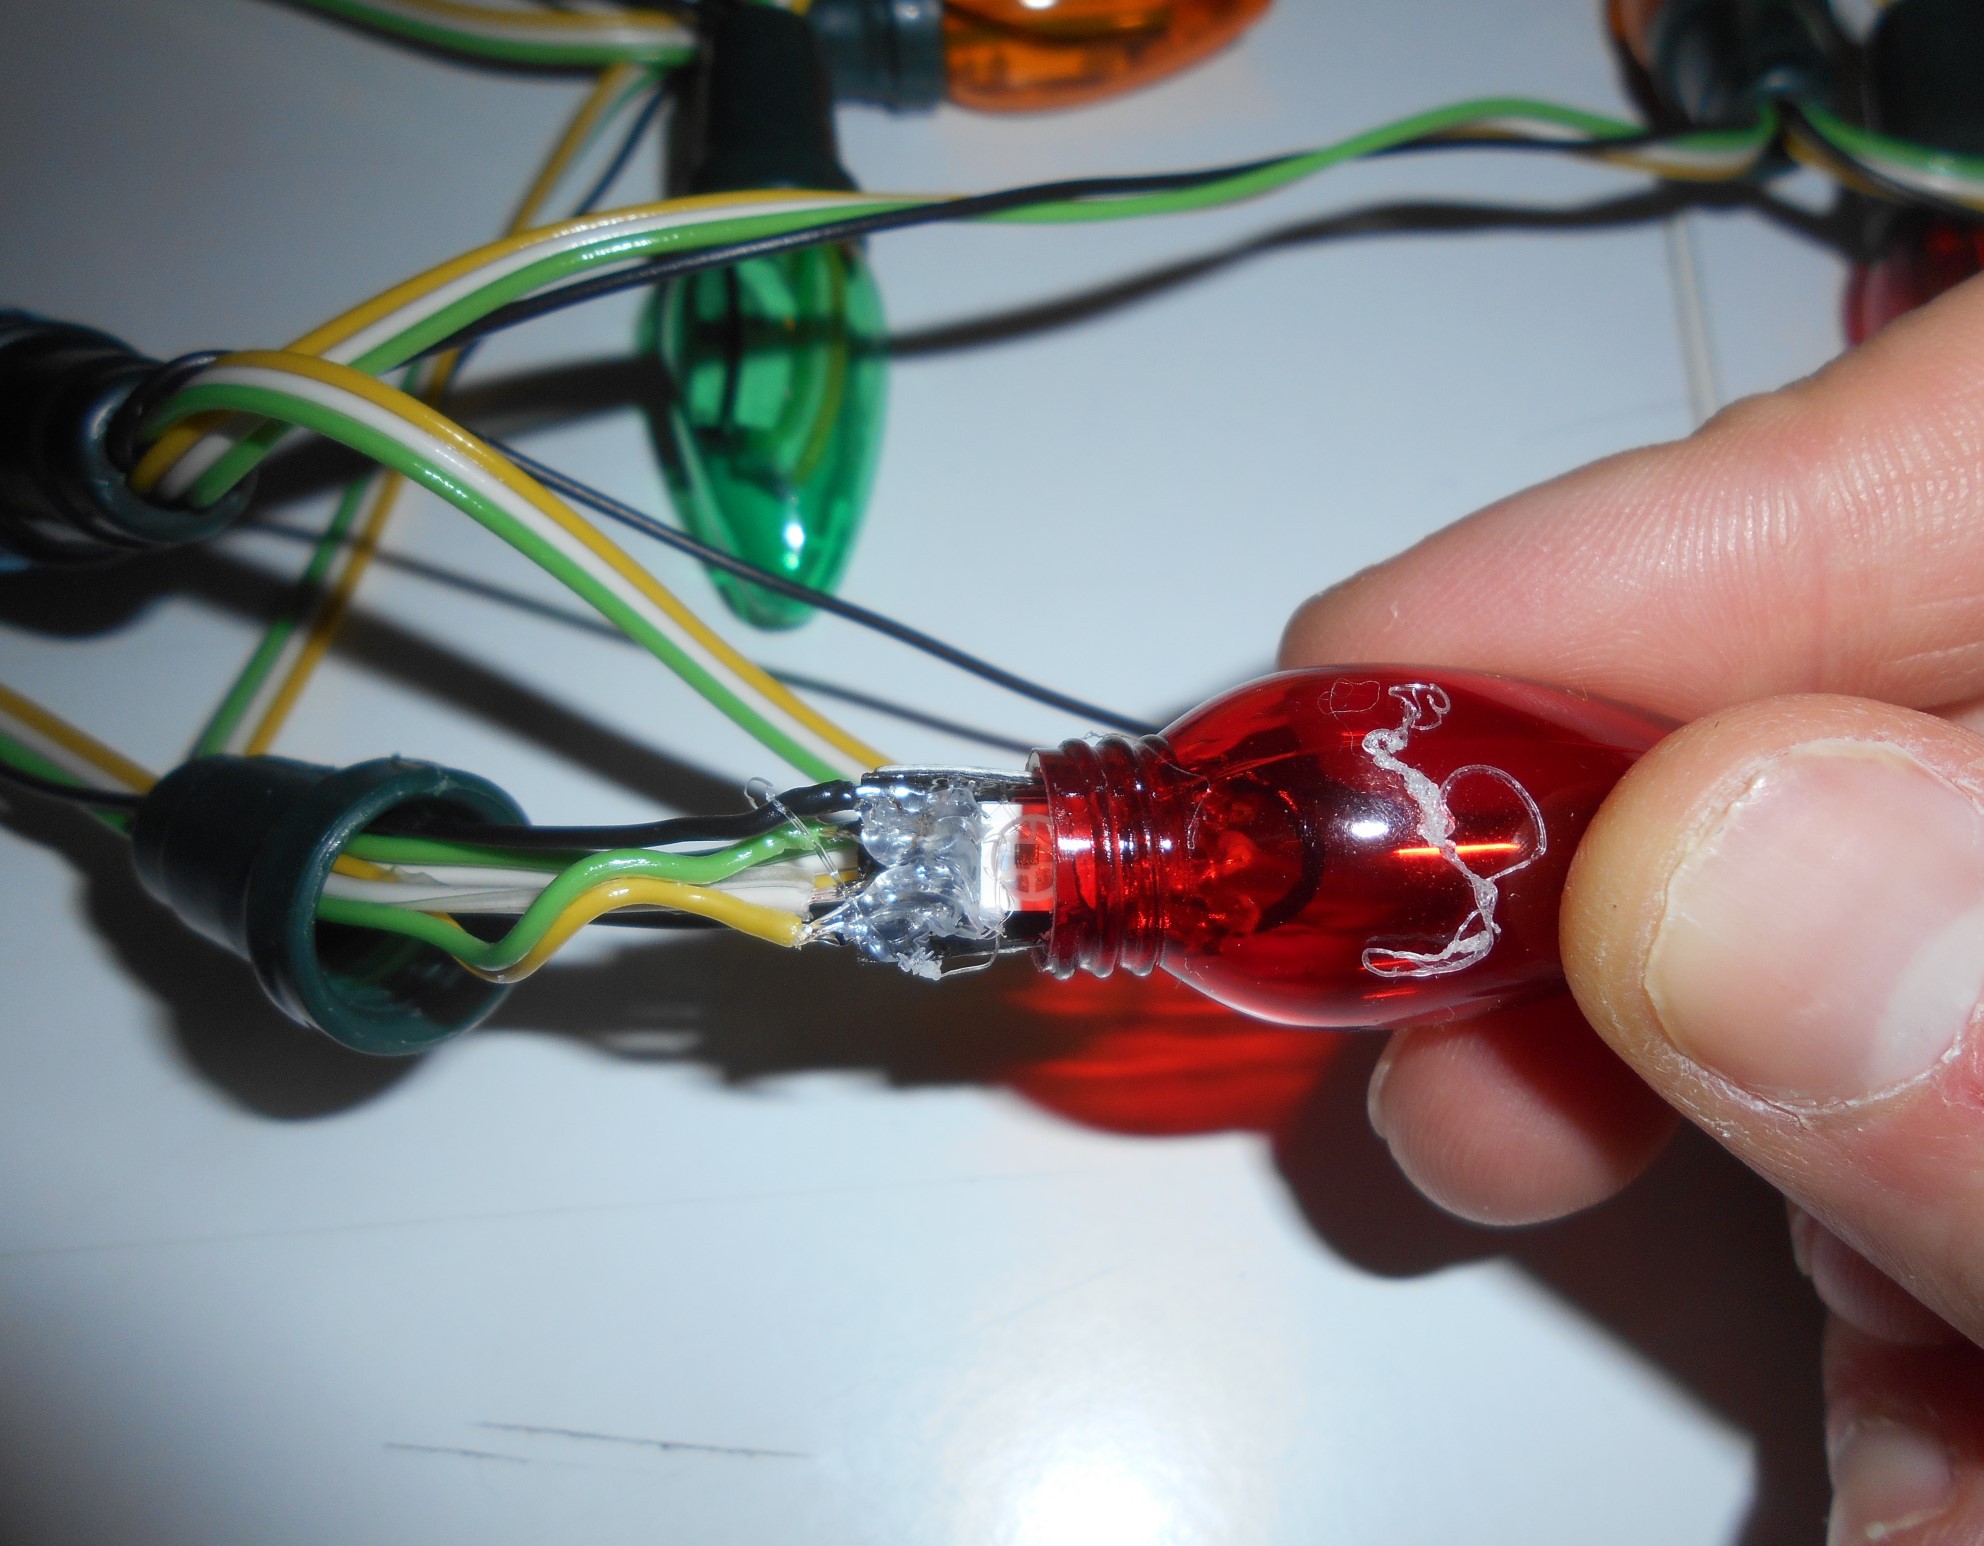
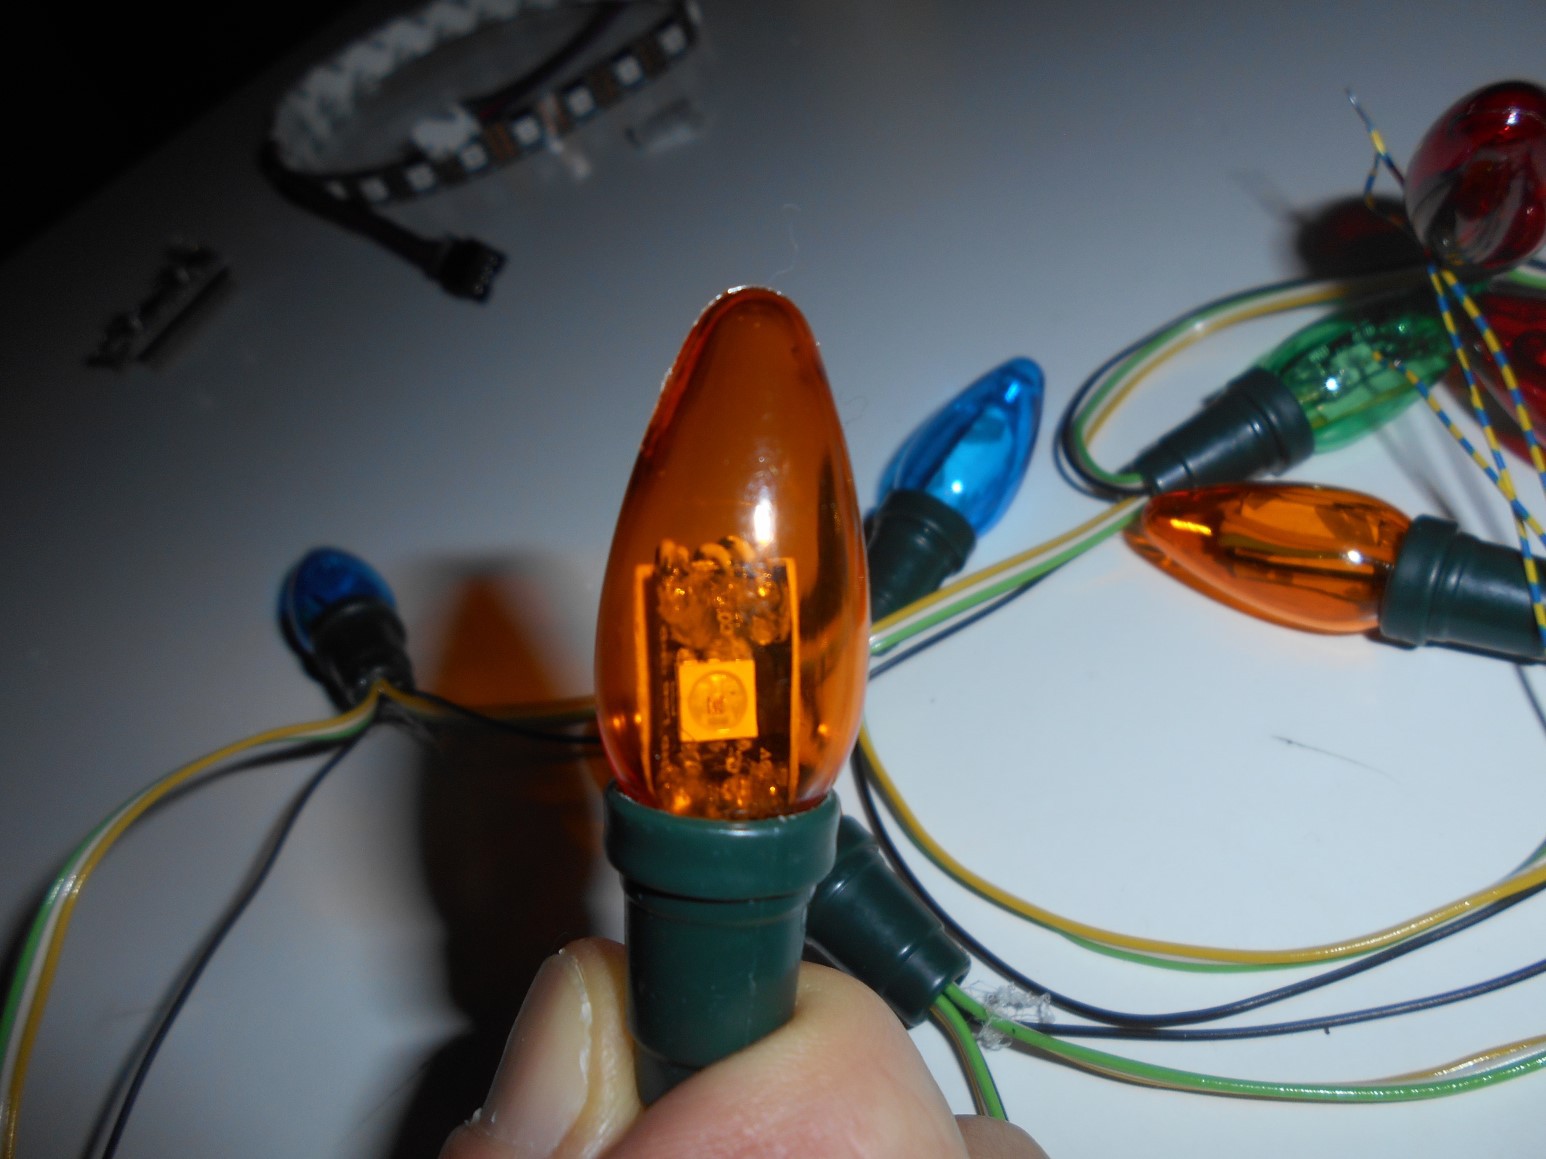
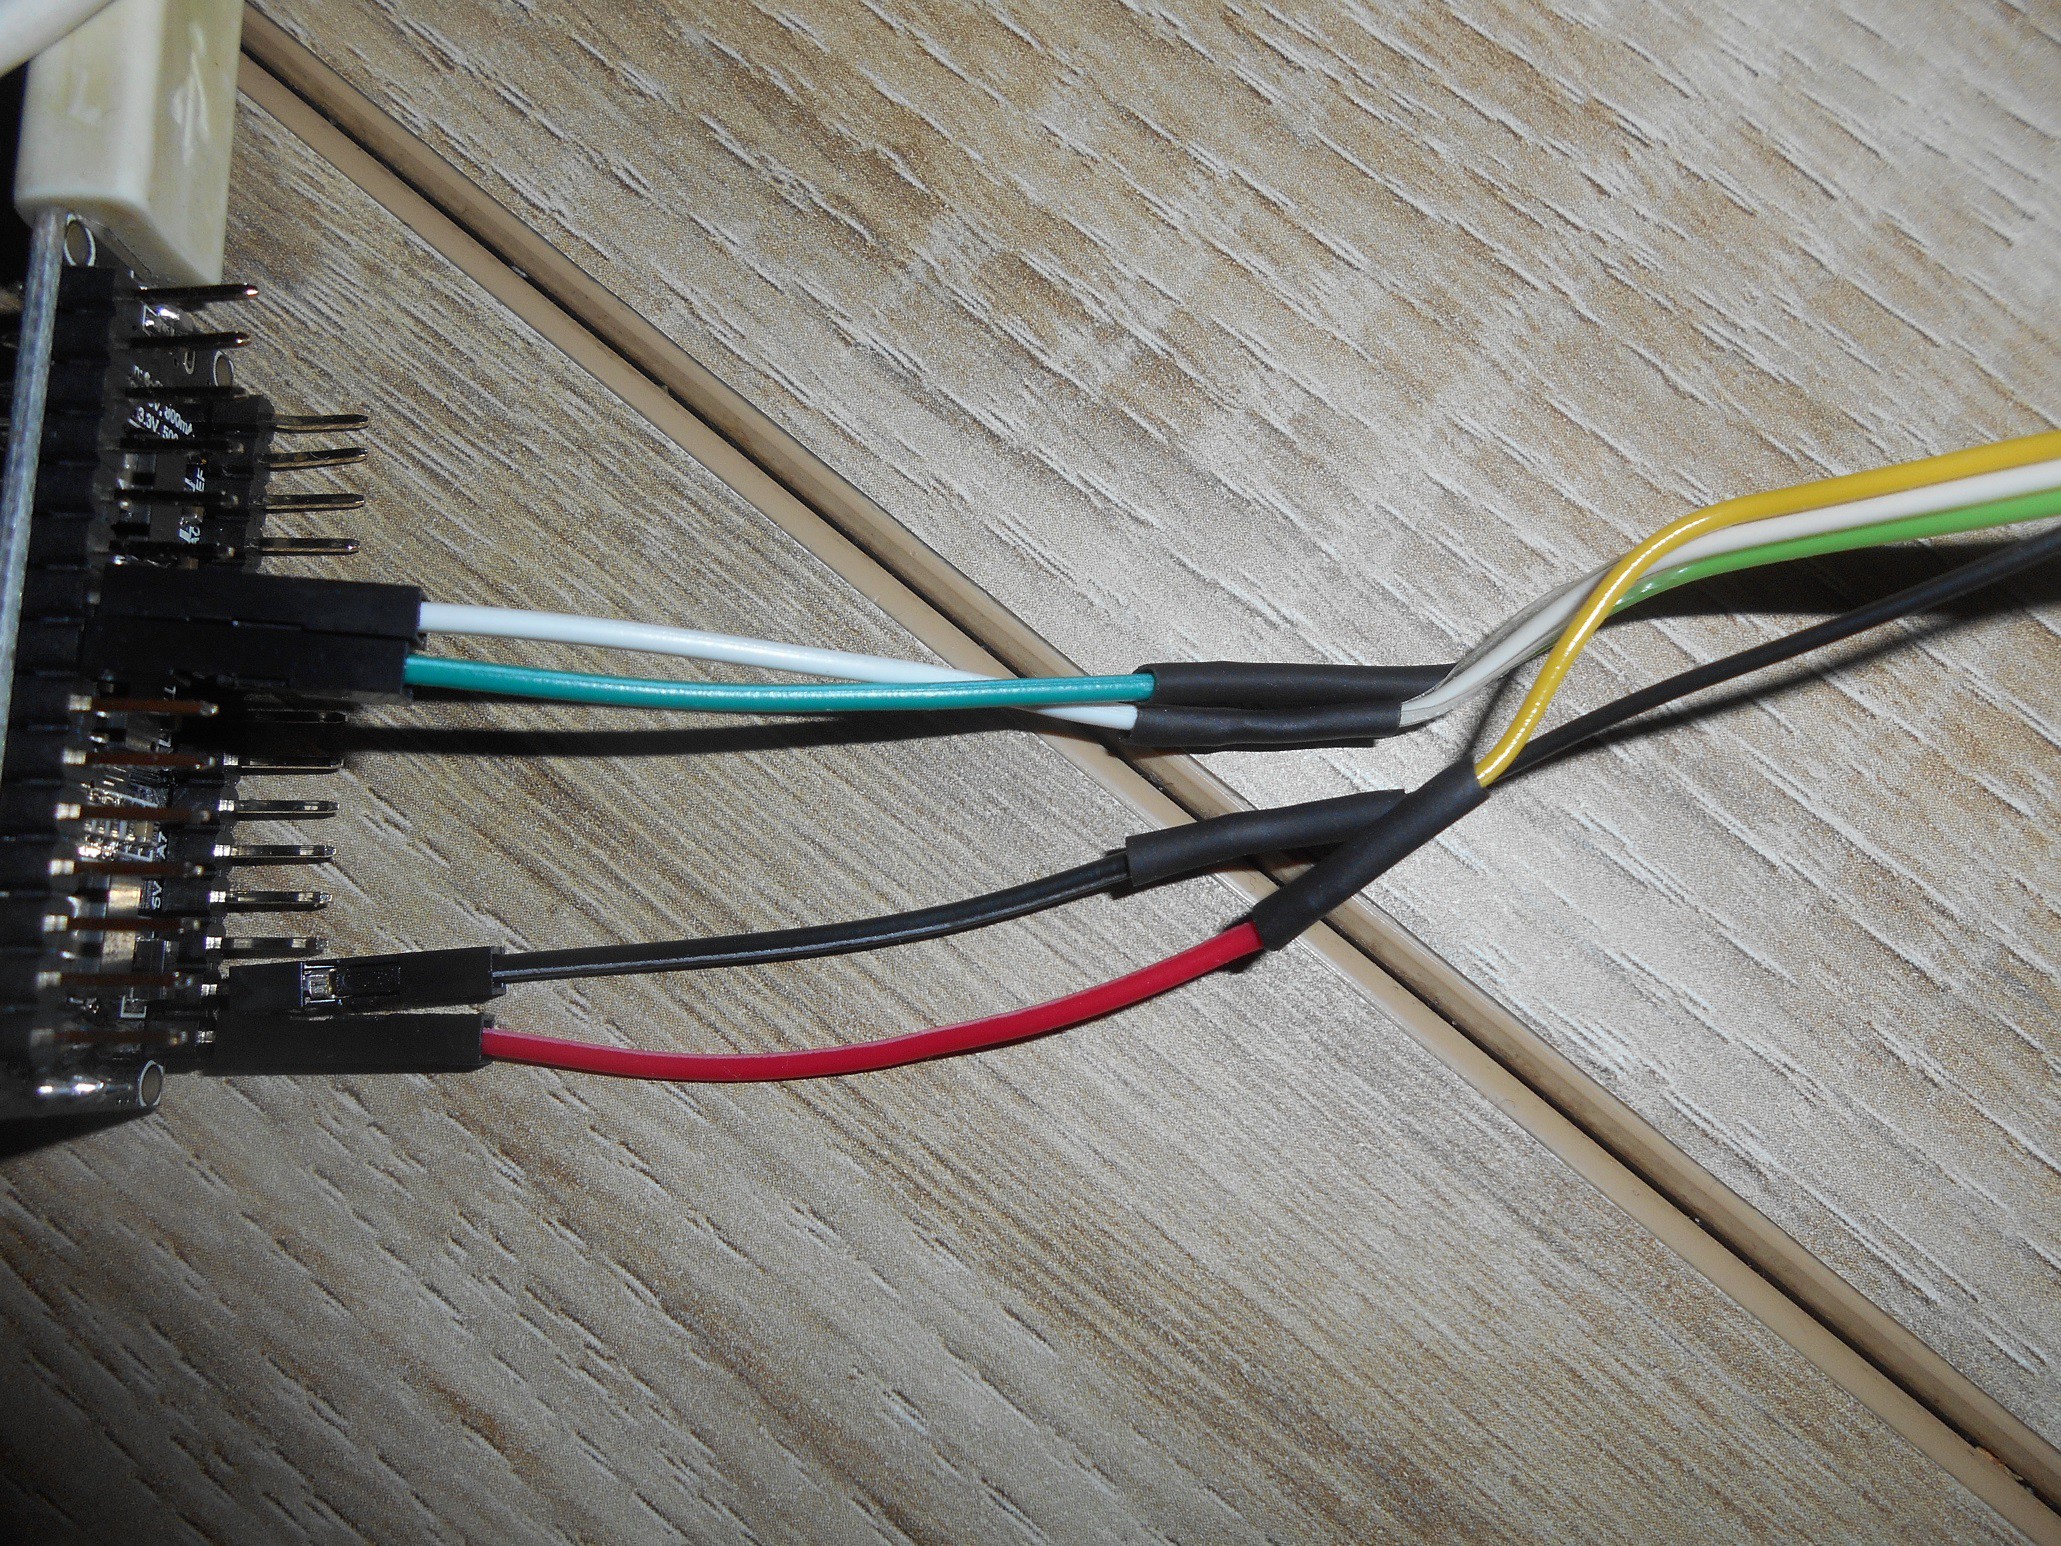
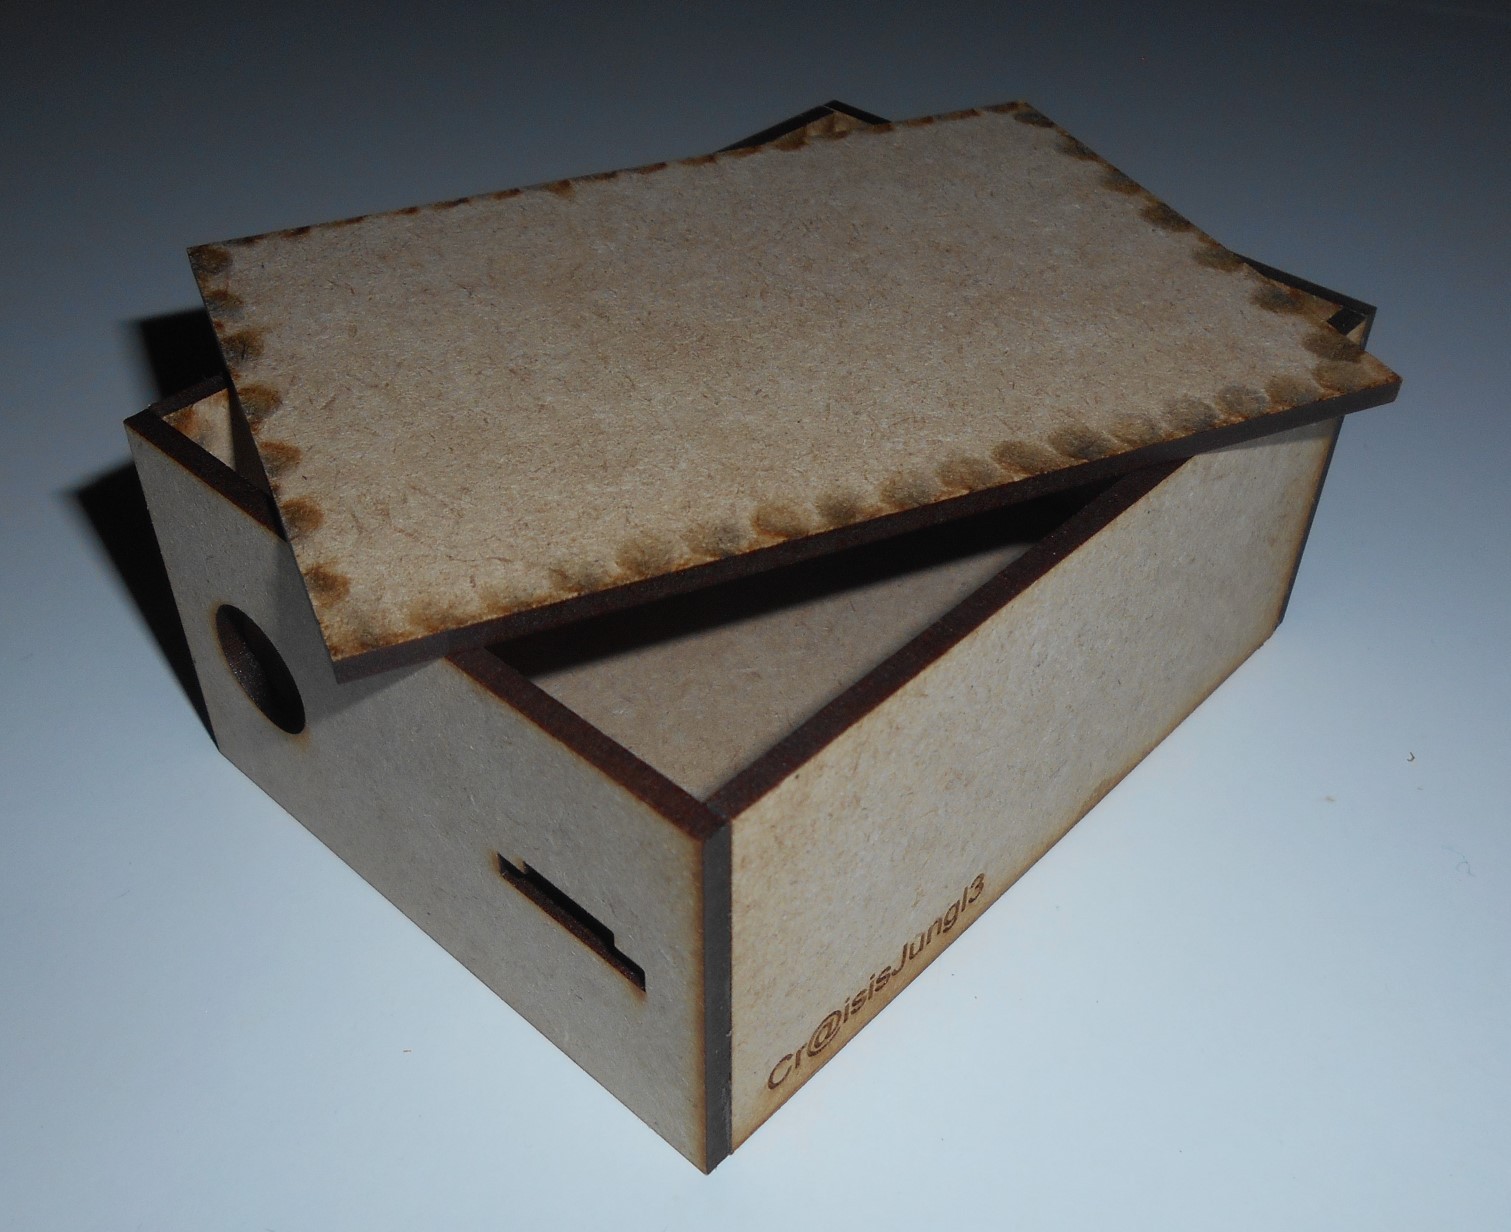
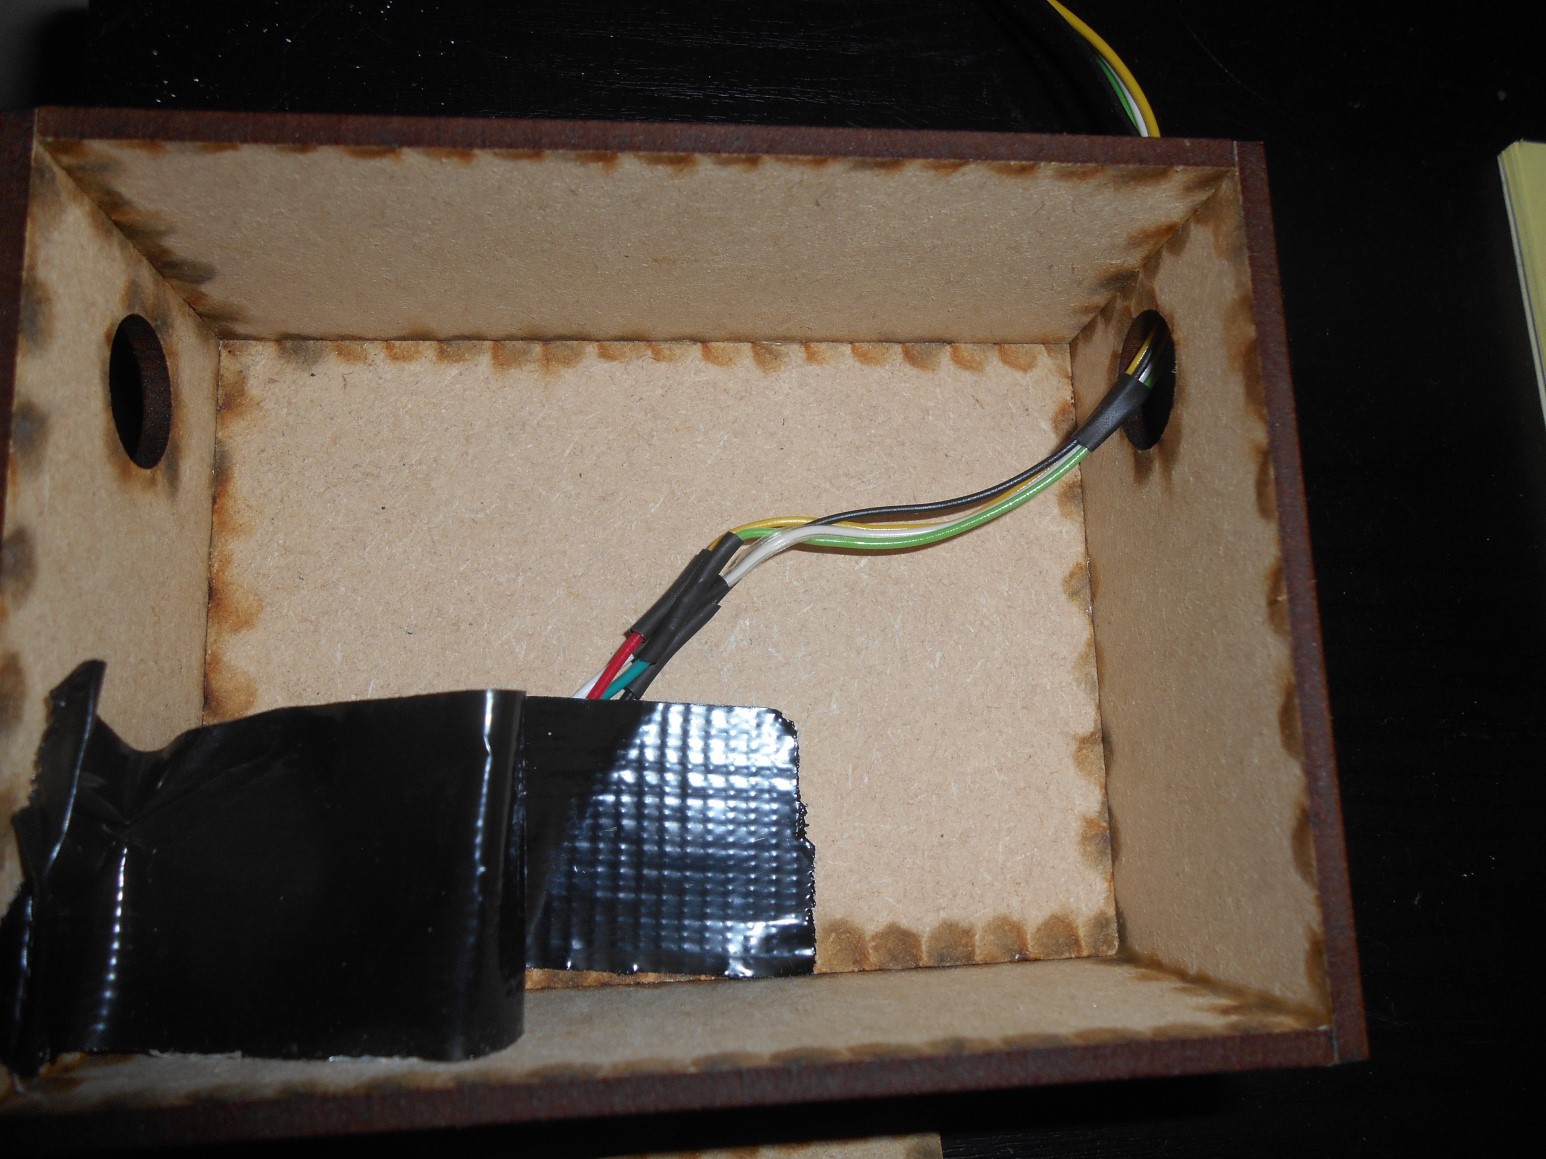
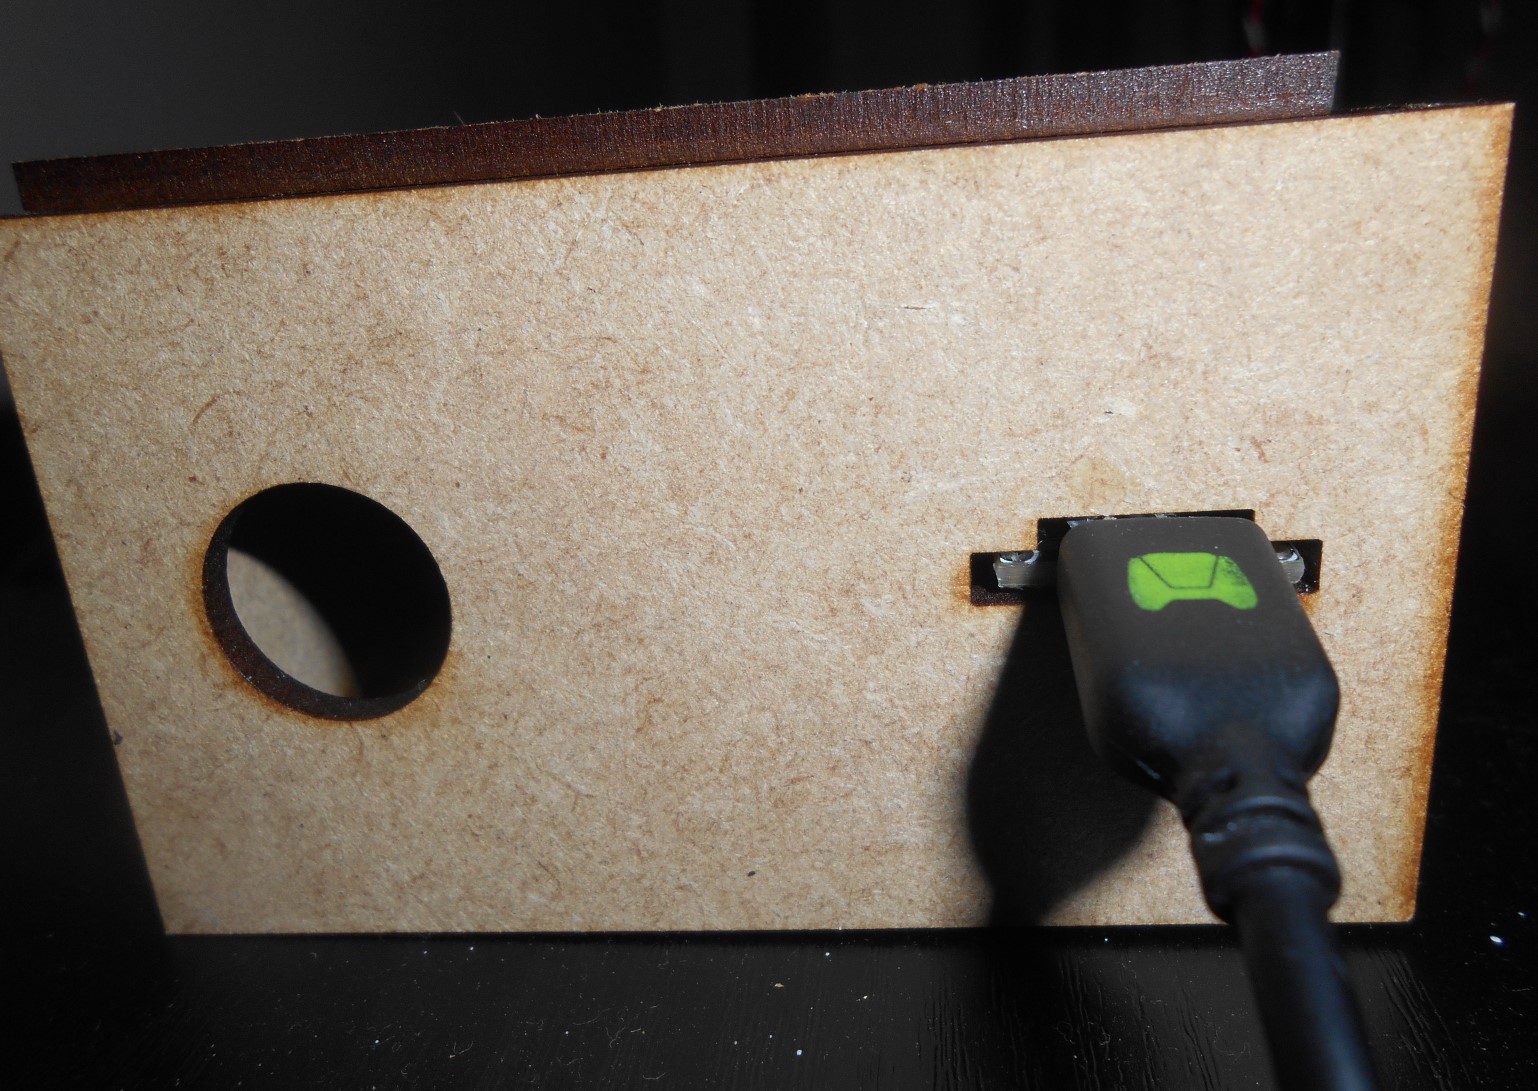
 We also decided at the beginning how to keep everything together. We end up in a laser cutted box, with the space of "some" input and output wires (couple of holes) and the Arduino Nano USB:
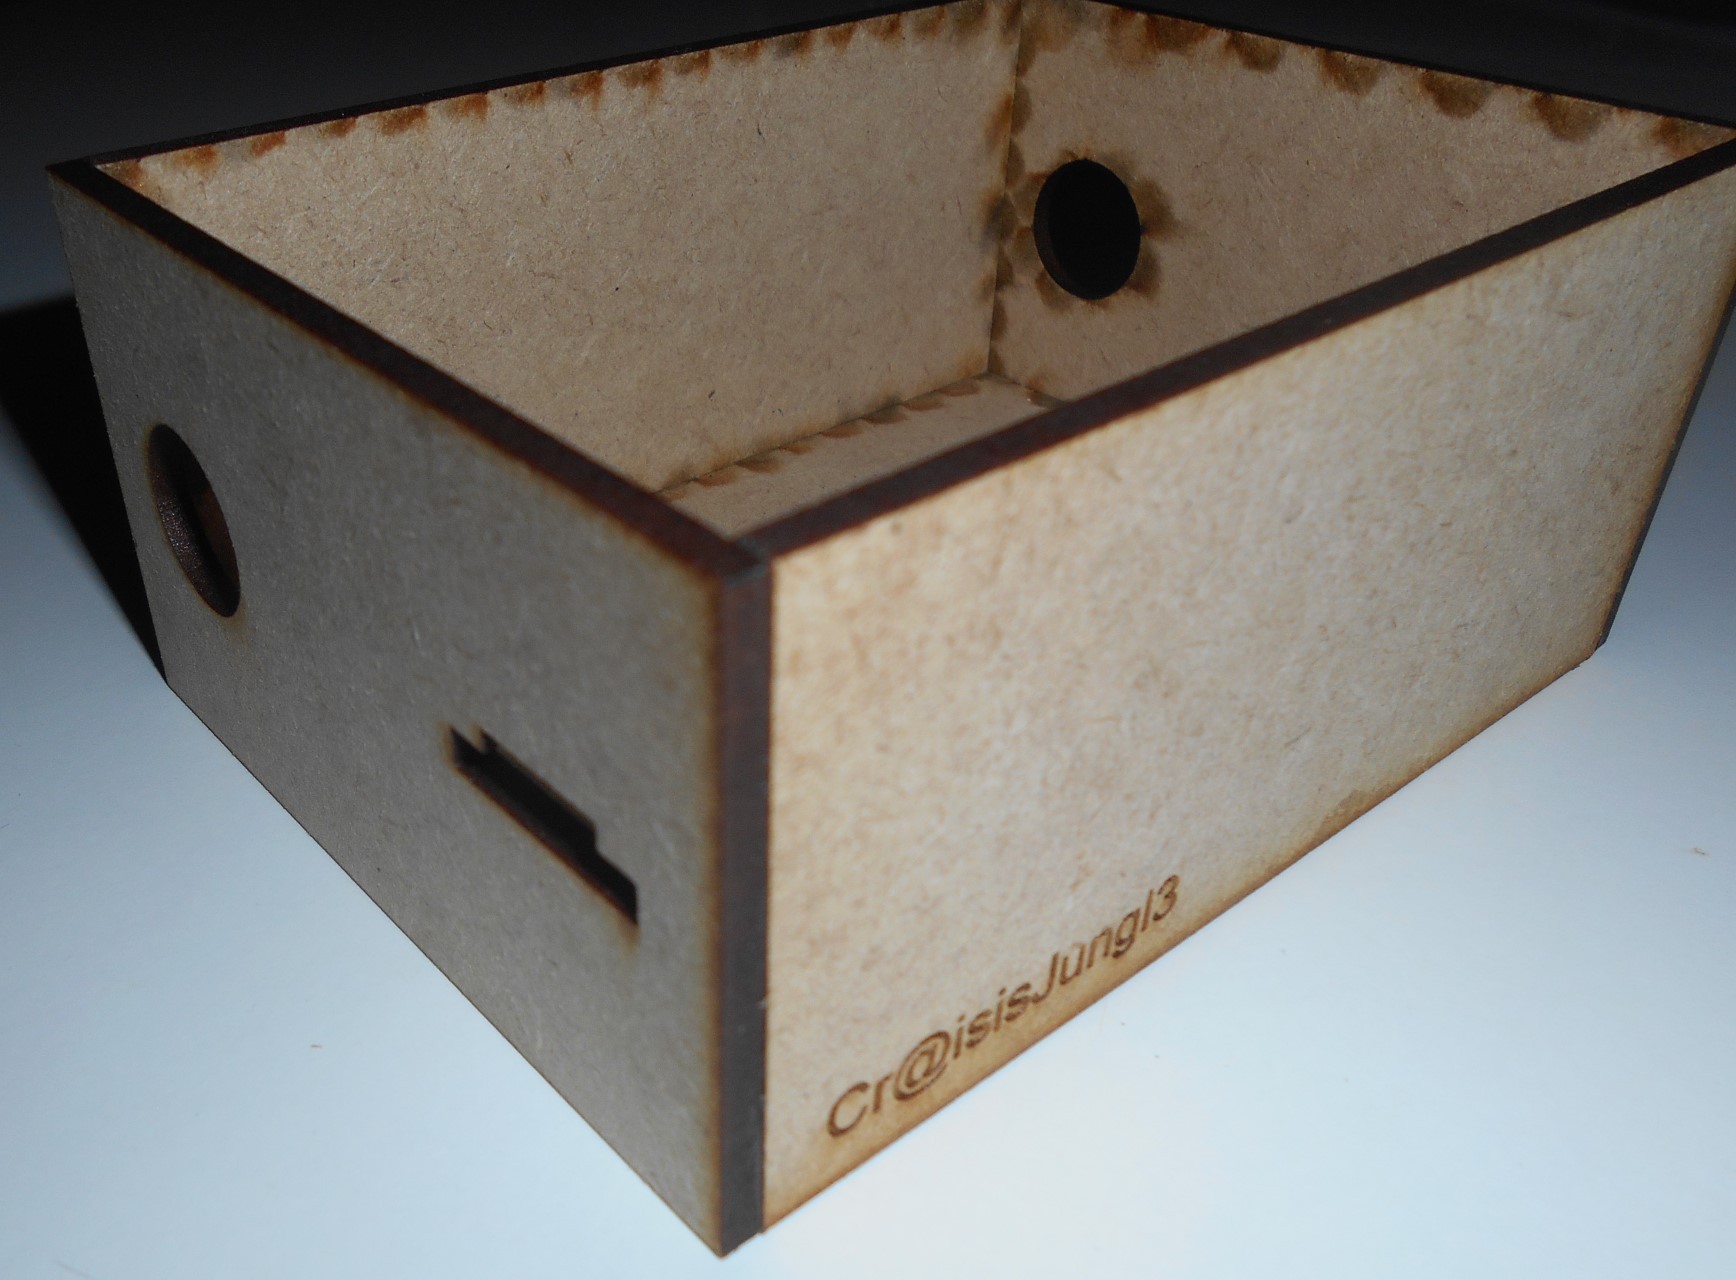

 Alan
Alan

 Jan
Jan
Vocabulary choice was great and apart from that this article really had a nice flow throughout . <a href="https://www.amazon.com/Decrum-Mens-Stranger-Things-Shirt/dp/B078JJKSTB">Stranger Things T Shirt</a>