Close
0%
0%

Noodle Spawnling

A posable micro-spawn of NoodleFeet that beeps and judges you <3

Similar projects worth following
Surely, the sign of true success is when one becomes immortalized in miniature likeness for all to obtain and keep as a personal totem. My child robot, NoodleFeet is convinced he must have his own action figure.

With minimal effort and access to a 3D printer, this project enables you to print and assemble your own posable NoodleFeet figurine. The Noodle spawn is designed to house a special PCB called the Marshmallow, which I designed for the express purpose of blinking LEDs and beeping an itty-bity piezo voice box. The Marshmallow brain is cute, small, and powered by the juice of a coin cell battery.

Noodle encourages you to make babies. Of him.

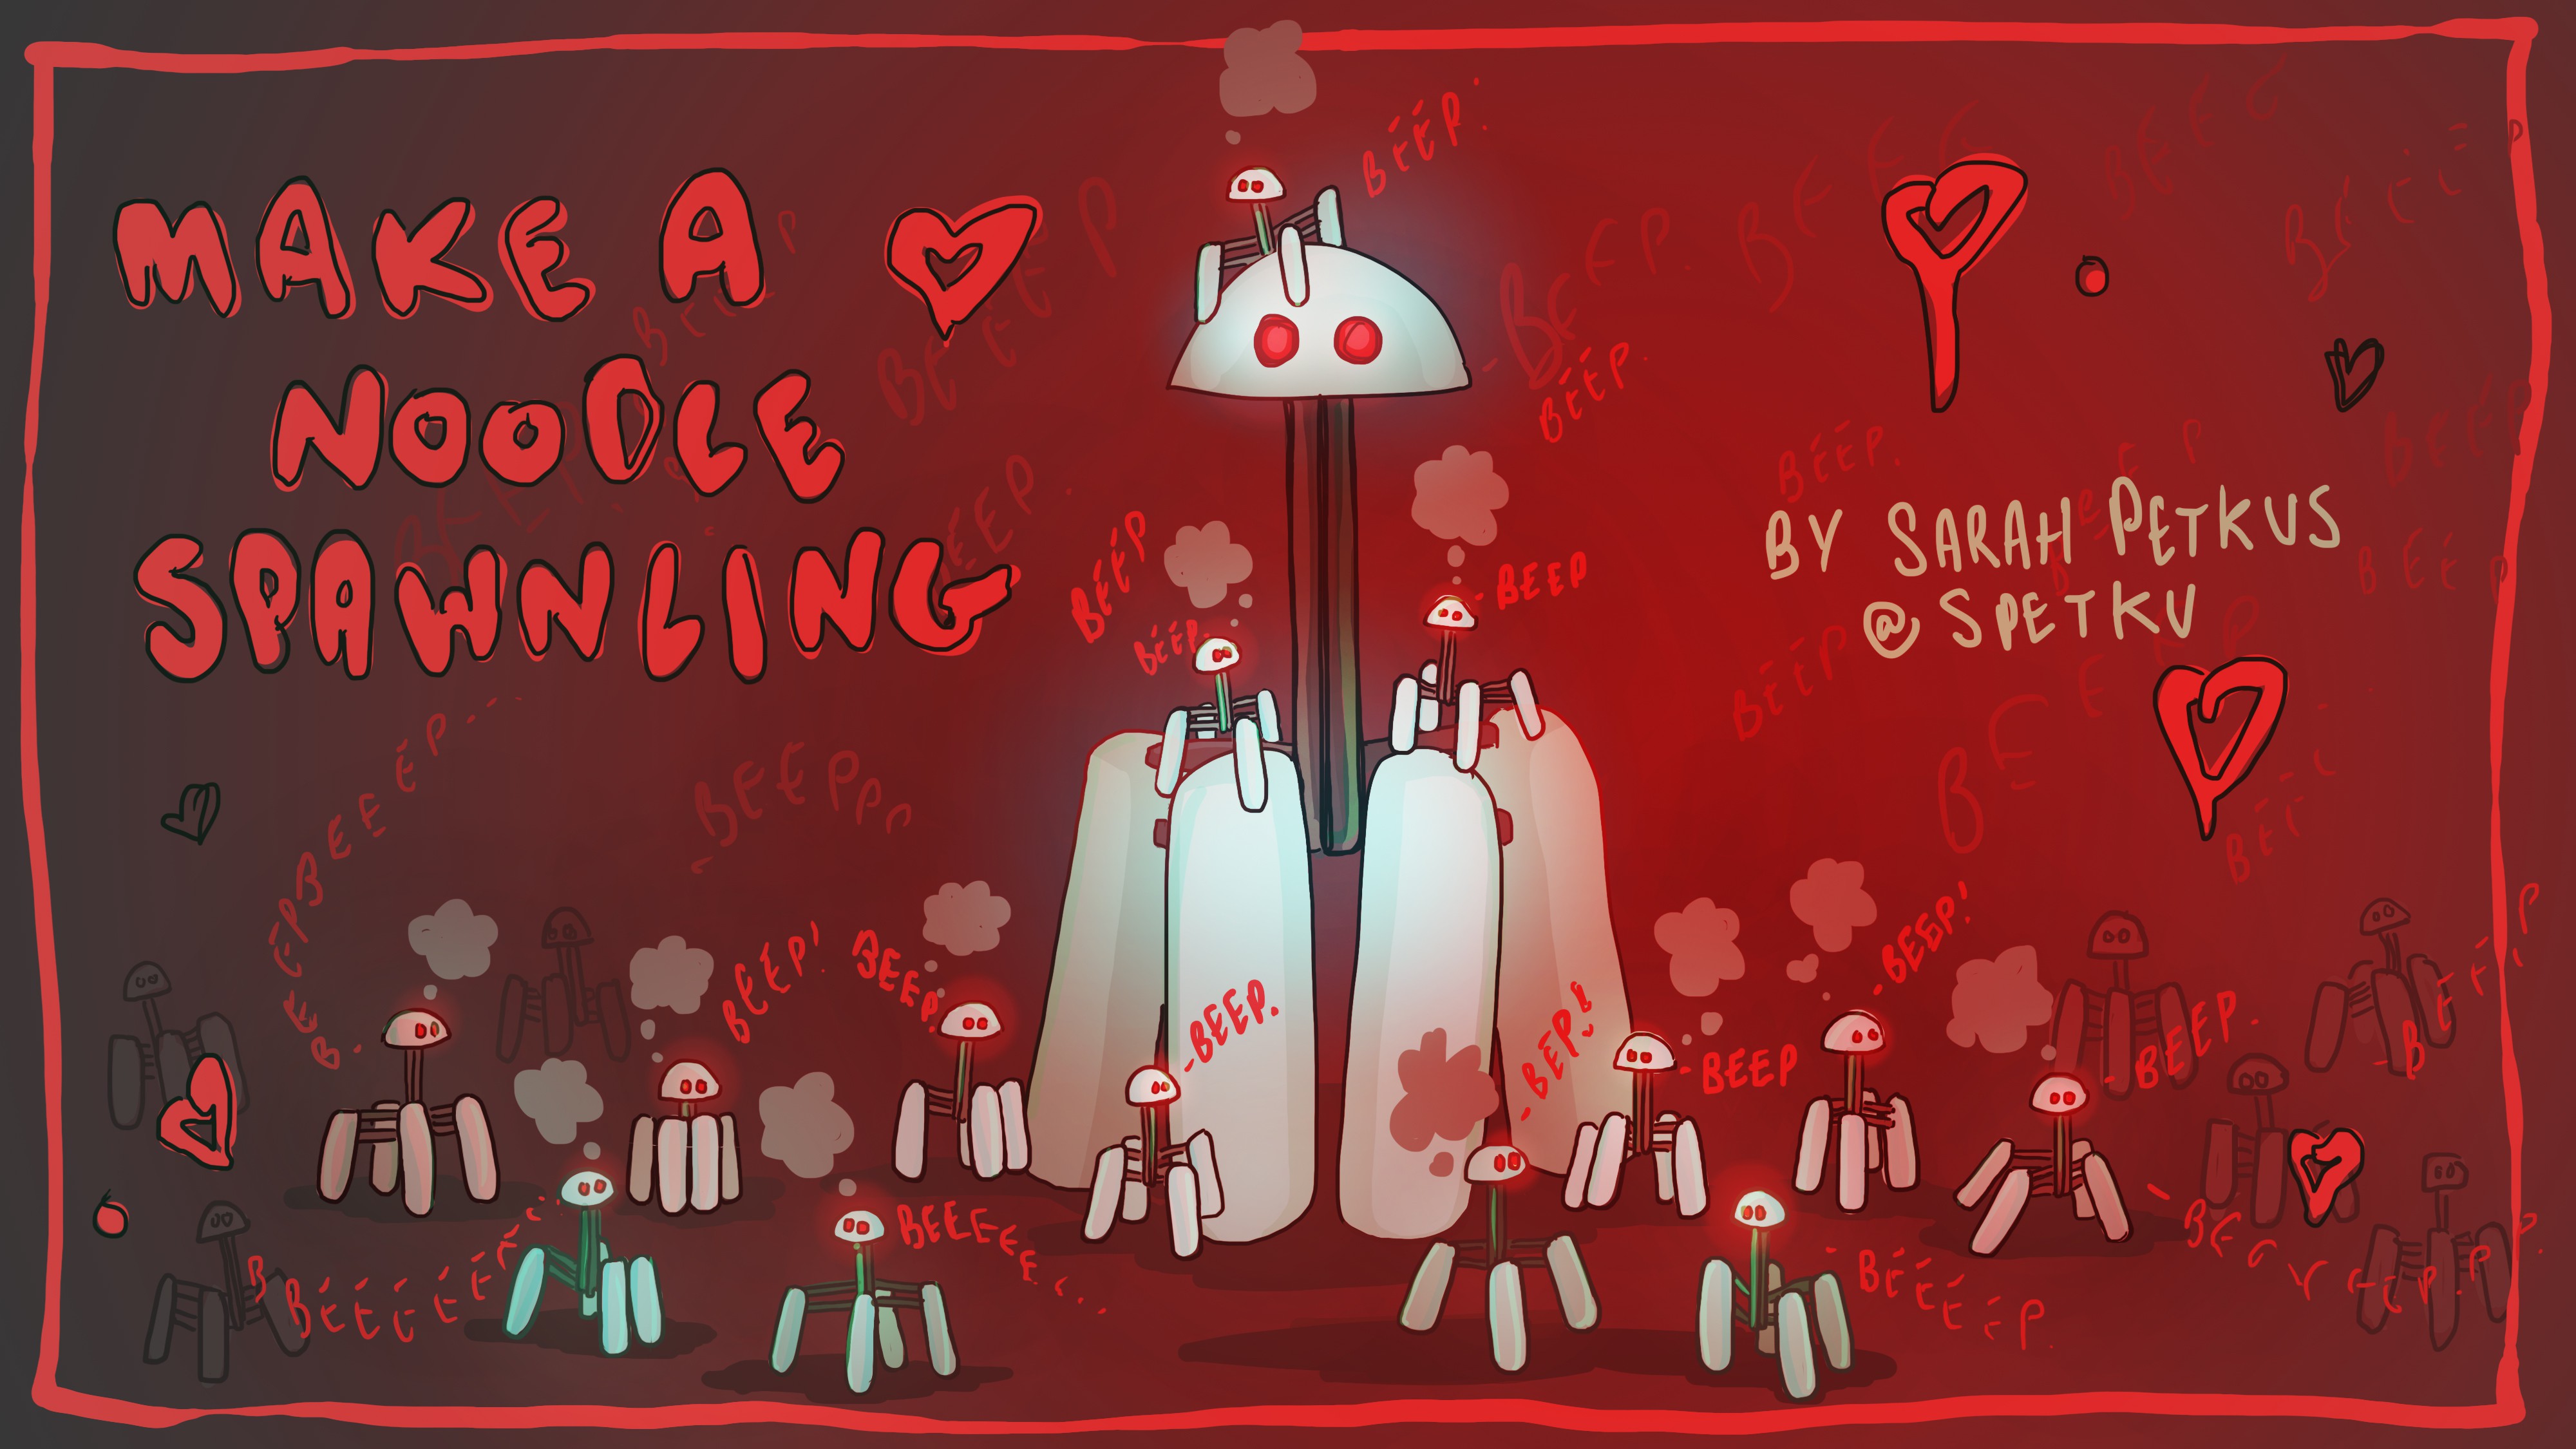
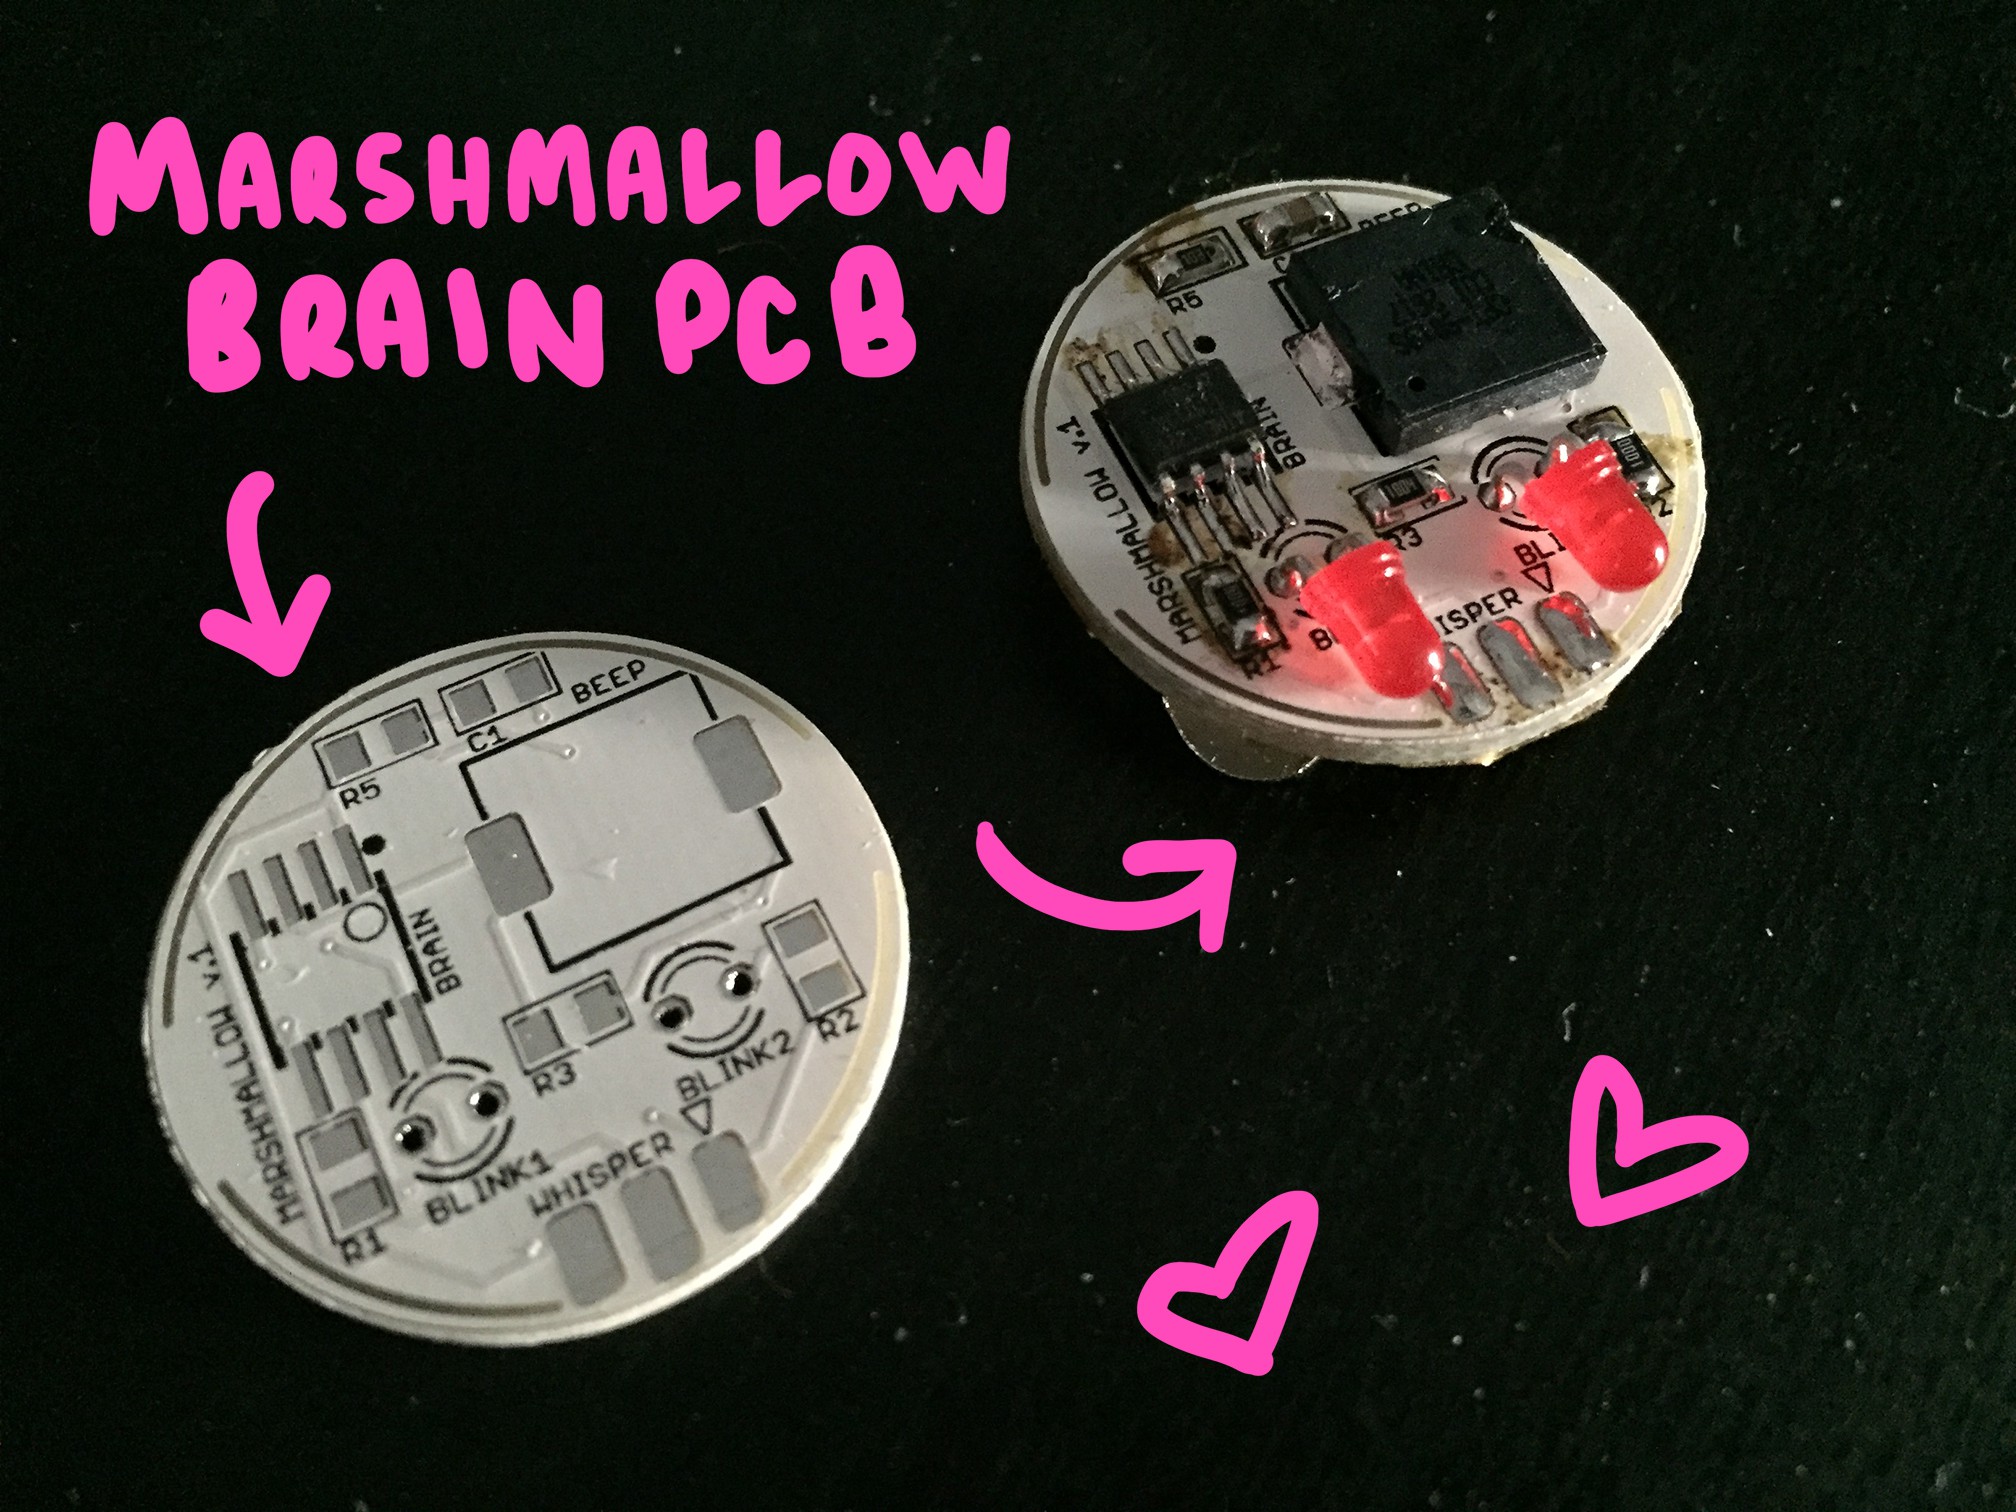
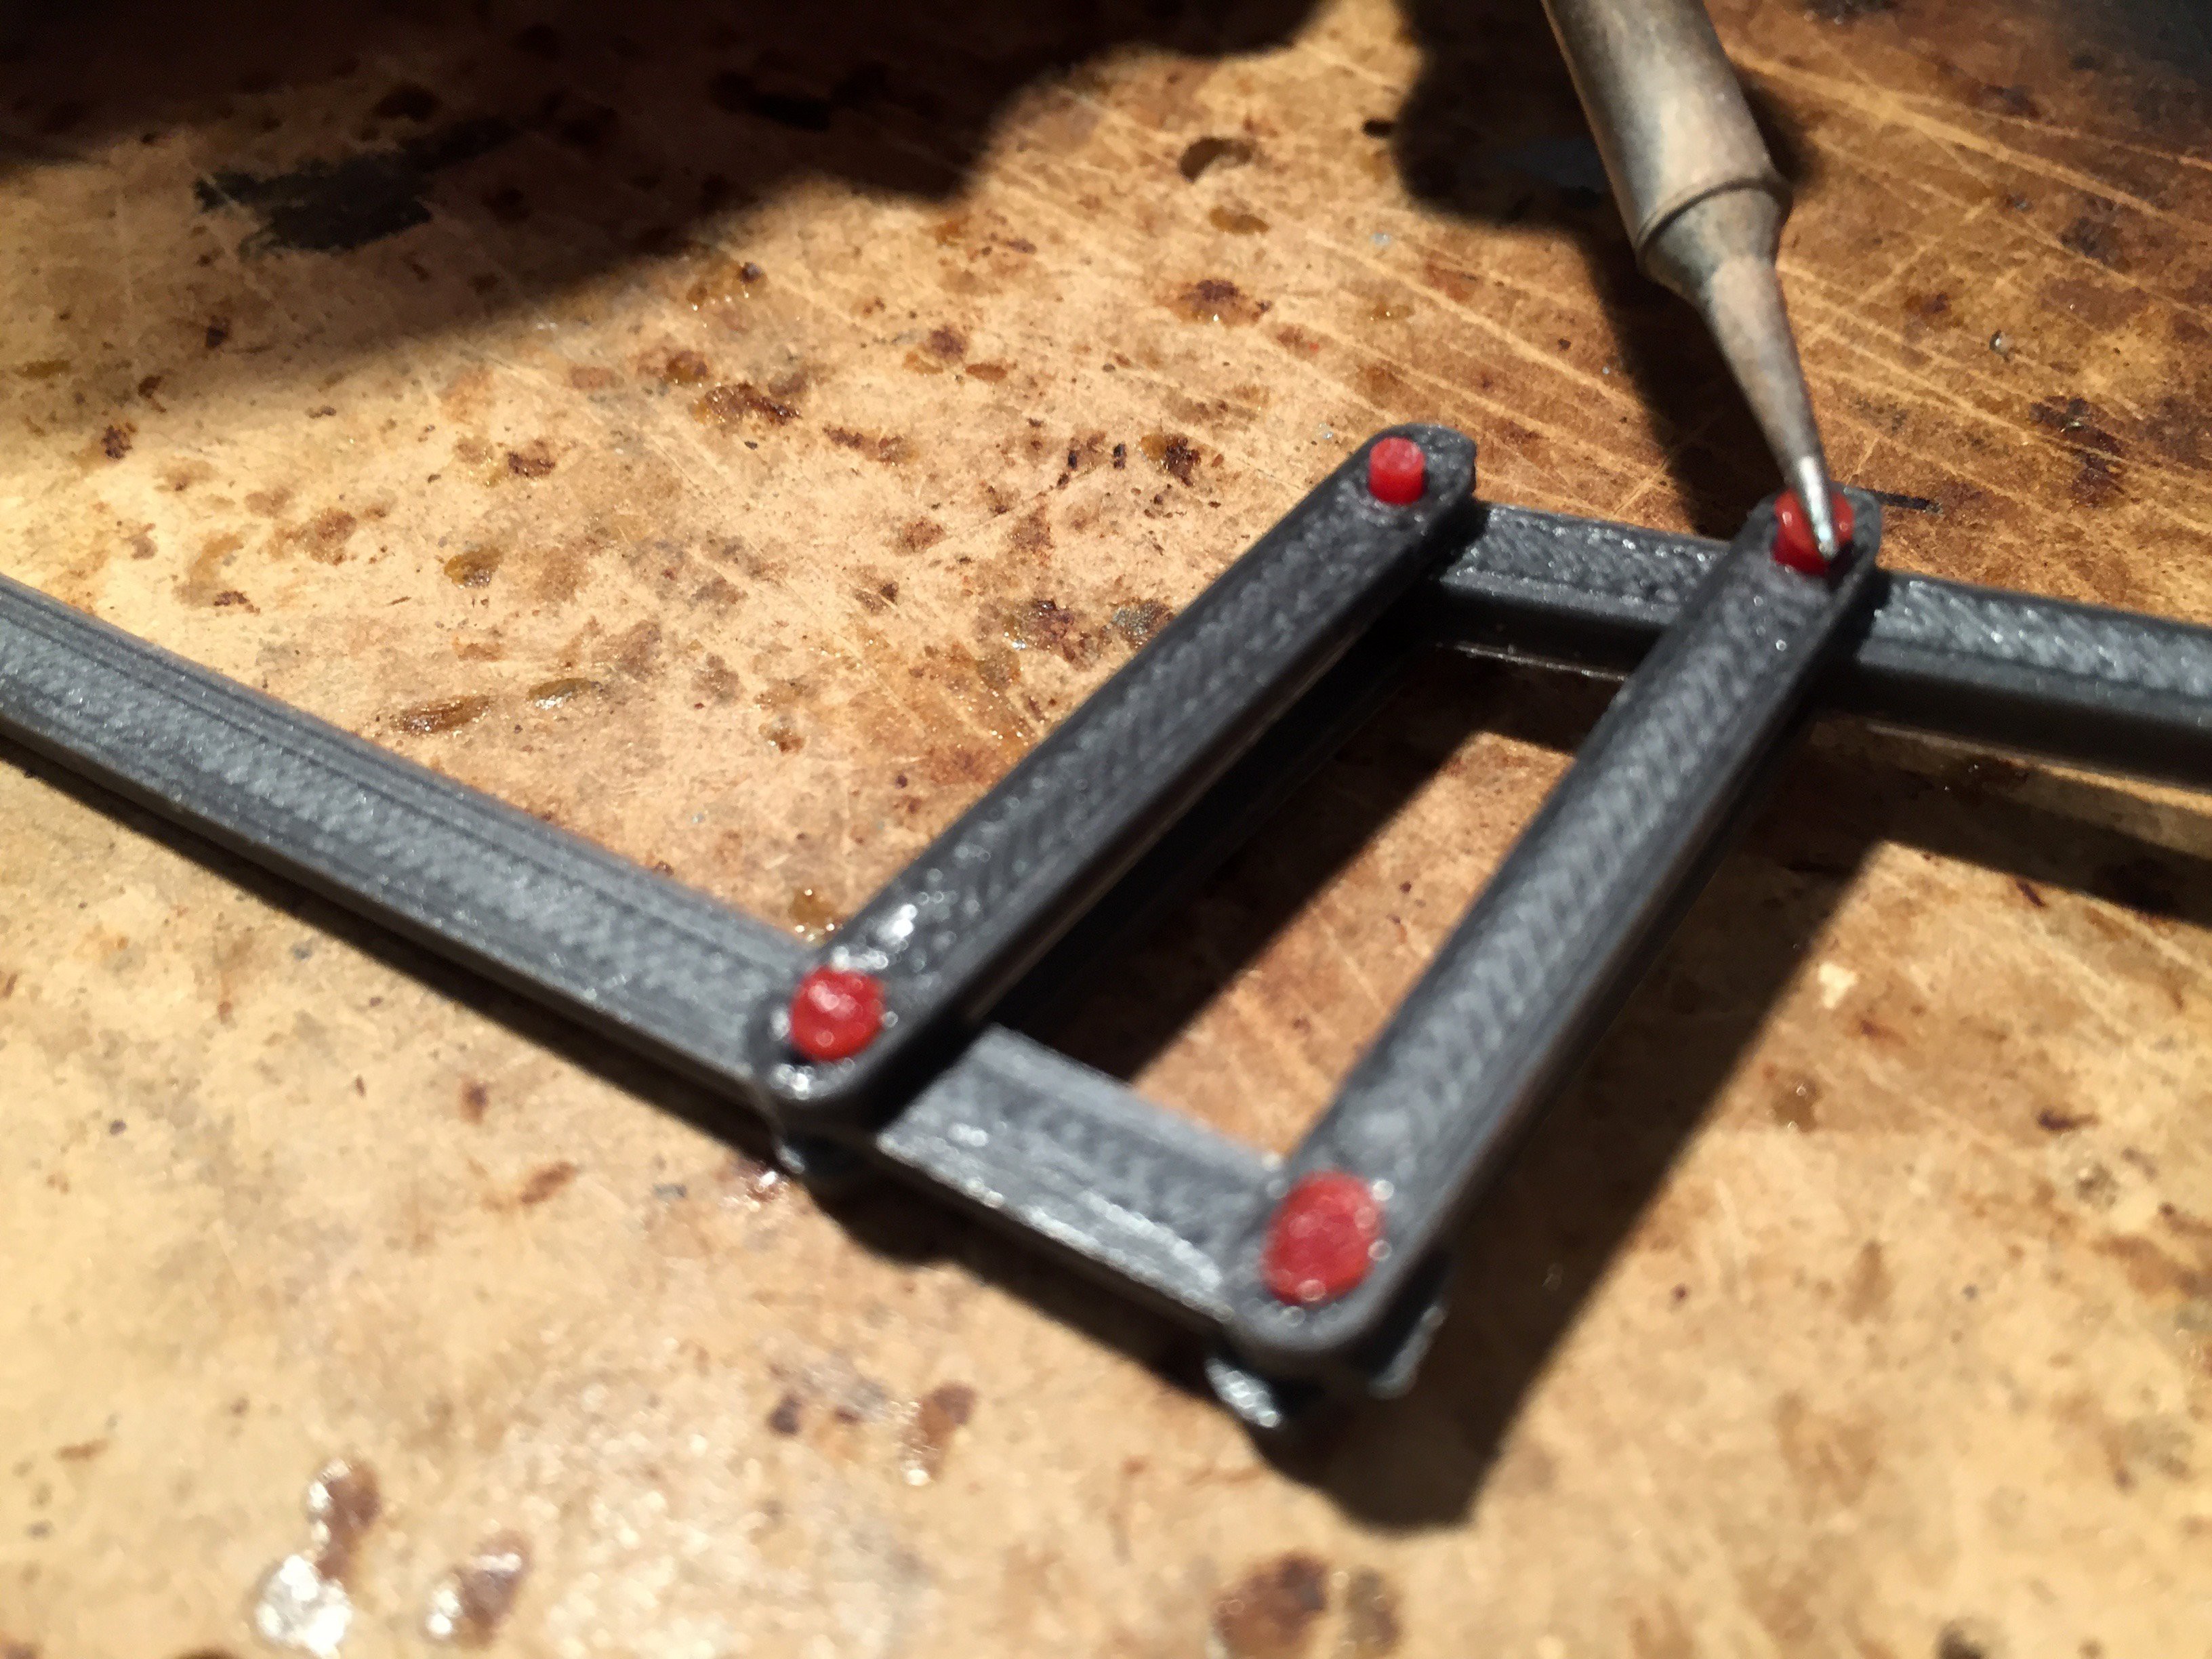
Throughout November I had been kicking around the notion of doing a second iteration of the spawnling now that I've converted to the church of Fusion360. Once I saw that Hackaday was holding a Coin-Cell Battery Challenge, this was the push I needed to actually do it! Instead of simply creating another analog figurine, I decided to incorporate a custom PCB with an itty bitty microcontroller so that the spawnling can do more than just win every staring contest with forever judging glow-eyes. For this task, I created a coin-cell-sized brain called the Marshmallow! This 26mm diameter morsel is equipped with an ATTINY brain, which blinks two red LEDs at random intervals, and also causes a small piezo buzzer to beep occasionally.

My hope is to spread Noodle to all. Anyone with a 3D printer can produce the parts I've designed, and assemble their own posable spawn with the help of these instructions. <3

Watch my video instructions for this build!

grayParts_spawnling.thing

this is a (Replicator 1) print-bed loaded with all the gray pieces you'll need to give your baby noodle bones! =D

thing - 48.86 kB - 12/20/2017 at 19:59

Download

whiteMeat_spawnling.thing

this is a (Replicator 1) print-bed loaded with all the white pieces you'll need to put meat on them bones!

thing - 100.92 kB - 12/20/2017 at 19:59

Download

  • 1 × 8mm circular magnet like... 1.5mm thick max
  • 1 × 7mm circular magnet also 1.5mm thick max

  • 1
    Birth a Noodle Spawnling

    To make a spawnling:

    • For the parts: you will need to print the .stl files I have provided on my Git/noodleSpawnling. There are two print beds already laid out will all the required duplicate parts as .thing files for your use!
    • For the electronics: you will need a coin cell powered Marshmallow PCB OR the willingness to produce your own blinking implement.
    • You will also need a set of small 8mm magnets OR (1) 6mm long M3 cap head screw with (1) M3 nut (hardware instructions and .stl files coming soon!).

    THE MARSHMALLOW

    On Nov 30th, the Marshmallow board was born. It is 26mm in diameter and can randomly blink two red LEDs, as well as pulse a tiny piezo buzzer at different keys. That is all it do. This is the magic sauce that will breathe life into your empty baby noodle shell and grant it a beeping soul. It will also upgrade your Noodle to near-robot status...

    The little morsel comes with a coin cell battery holder, and snaps into the printed head assembly. So with little effort, you suddenly have the tiniest little functioning Noodle-Noggin conceivable:

    If you don't end up grabbing a Marshmallow, I will *soon* outline how to produce glow-eyes of your own by other means. BUT, if your savvy hacker-pants can manage, figure out how to install some LEDs on your own, as I'm sure you can. ;)

    I highly suggest you invest in one of my boards though. The small about of $$ will help Noodle's mother buy him beans and cornflakes. Plus, this is the first of a series, and you might want to collect the iterations as they develop.

    BIRTHING

    Alright prospective parent: ready your artificial uterus!!! Make sure your print bed is level and clean of residue before you start!

    To birth a spawnling in the suggested pallet, you will need both gray and white filament. NOTE: The pieces were designed with tolerances for PLA. I'm not sure if they will fit together as nicely if printed in ABS, due to its shrinking nature.

    If you use the (2) .thing files I've supplied on my Git, you will be producing one build plate of gray pieces, and one plate of white pieces.

    GRAY BONES:

    WHITE MEAT:

    Lets assemble the legs!

  • 2
    Gather all the tiny sticks!

    Separate your bones into piles by length. You should have four separate piles of unique pieces: femurs, shins, tibias, and fibulas. *NOTE* The tibias and fibulas are very close in size, so be sure not to mix them up. You should have (8) of each.

    Check these parts for two things:

    • the tiny 2.4mm holes on either end of the bones is clear and unobstructed by any printing anomalies.
    • your print-bed is leveled correctly and didn't trumpet the first layer out a whole bunch on the bottom.

    If your bones check out alright, proceed to your nearest soldering iron...

  • 3
    Rivet the joints!

    I have developed a process of creating the smallest hardware possible for the tiniest functioning joints conceivable, and it involves the use of some raw 3D printer filament from your spool, and your soldering iron.

    For this step you will need some of your gray 1.75mm PLA filament. (I'm using a bright color for visibility)

    Cut the raw filament into 7 - 8mm long pieces (you can eyeball this). You'll need (16) of these pieces. They will be your rivets:

    Each (1) leg should have a hip bone and shin that is joined together by (2) tibias and (2) fibulas sandwiching the femur and shin on either side:

    The set of tibias (shorter bones) should be above the fibulas (longer bones). The finished leg should match this orientation:

    Thread your rivet through all of the holes, so that a small amount pokes out on either side of the bone:

    Take your soldering iron, and carefully drag the edge of the tip at an angle along the portion of the rivet protruding from the hole in a slow circular motion until the end piece looks like a bead or round shape. Be careful not to make contact with the actual bone itself:

    I found that the easiest way to do this is to connect all pieces to either the femur or shin first. The cap of your rivet should be as low profile as possible but still have a little meat to it:

    After shaping your head cap on one side, you can flip the leg over and press it firmly against your bench. By doing this, it will force the rest of your rivets to poke out as far as they can on the side you're about to weld.

    Repeat the step of melting the end of the filament pieces. If you did it correctly, the rivets will not be able to slide out in either direction, and will be mostly flush with the bone. Should look like this:

    Notice that the rivets are tight enough that the leg bones can't fall straight down with gravity. There should be enough friction that they can stick straight outwards on thrown. This is important to achieve if you want your spawning to be posable!

    Now attach the opposite ends of the tibia and fibula to the shin with the bare end pointing in the opposite direction as the bare end of the femur. The shin should fit snugly between the two sets of parallel bones:

    Repeat the rivet welding process just the same as before:

    Once finished, you should have a fully posable, spawnling leg like this! Isn't it fun to fold and unfold???

View all 6 instructions

Enjoy this project?

Share

Discussions

jcrossley832 wrote 12/21/2017 at 02:53 point

Printing out a baby noodle! Can't wait to put the little guy together.

  Are you sure? yes | no

TK wrote 12/20/2017 at 20:21 point

Where do I find the Marshmallow Brain?

  Are you sure? yes | no

deʃhipu wrote 12/20/2017 at 14:27 point

Is the code available somewhere?

  Are you sure? yes | no

Sarah Petkus wrote 12/20/2017 at 19:16 point

=D it will be on my git soon. Will post it once I'm happy with the beepings

  Are you sure? yes | no

deʃhipu wrote 12/20/2017 at 10:57 point

attiny for the win!

  Are you sure? yes | no

Similar Projects

Does this project spark your interest?

Become a member to follow this project and never miss any updates