 Marcelo Barros
If you are a homebrewer, the following videos will be self explanatory ...
KiCAD Project: https://github.com/marcelobarrosalmeida/brewbuddy/tree/master/brew_buddy_hardware/R2
Firmware: https://github.com/marcelobarrosalmeida/brewbuddy/tree/master/brew_buddy

 Jakob Kilian
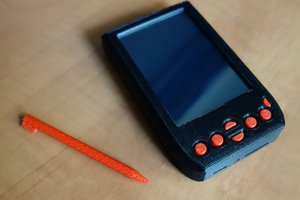
 brtnst
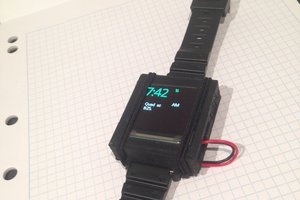
 Austin Marandos
 H00GiE
Gerber Files are not complete. Error received. The board outline layer contains an outline of the PCB area and slots to be milled. It should have an extension like .gml/.gko/.gbr. A board outline is required.