 Michael Furtak
As I might have let on earlier, I've mostly been exploring 3D printing as the way to produce an enclosure for this project. I started off doing tests with one digit at a time, seeing whether a nice segmented display could be produced from a single printed part. These tests were reasonably successful, so I recently moved on to a complete 4-digit clock-face part.
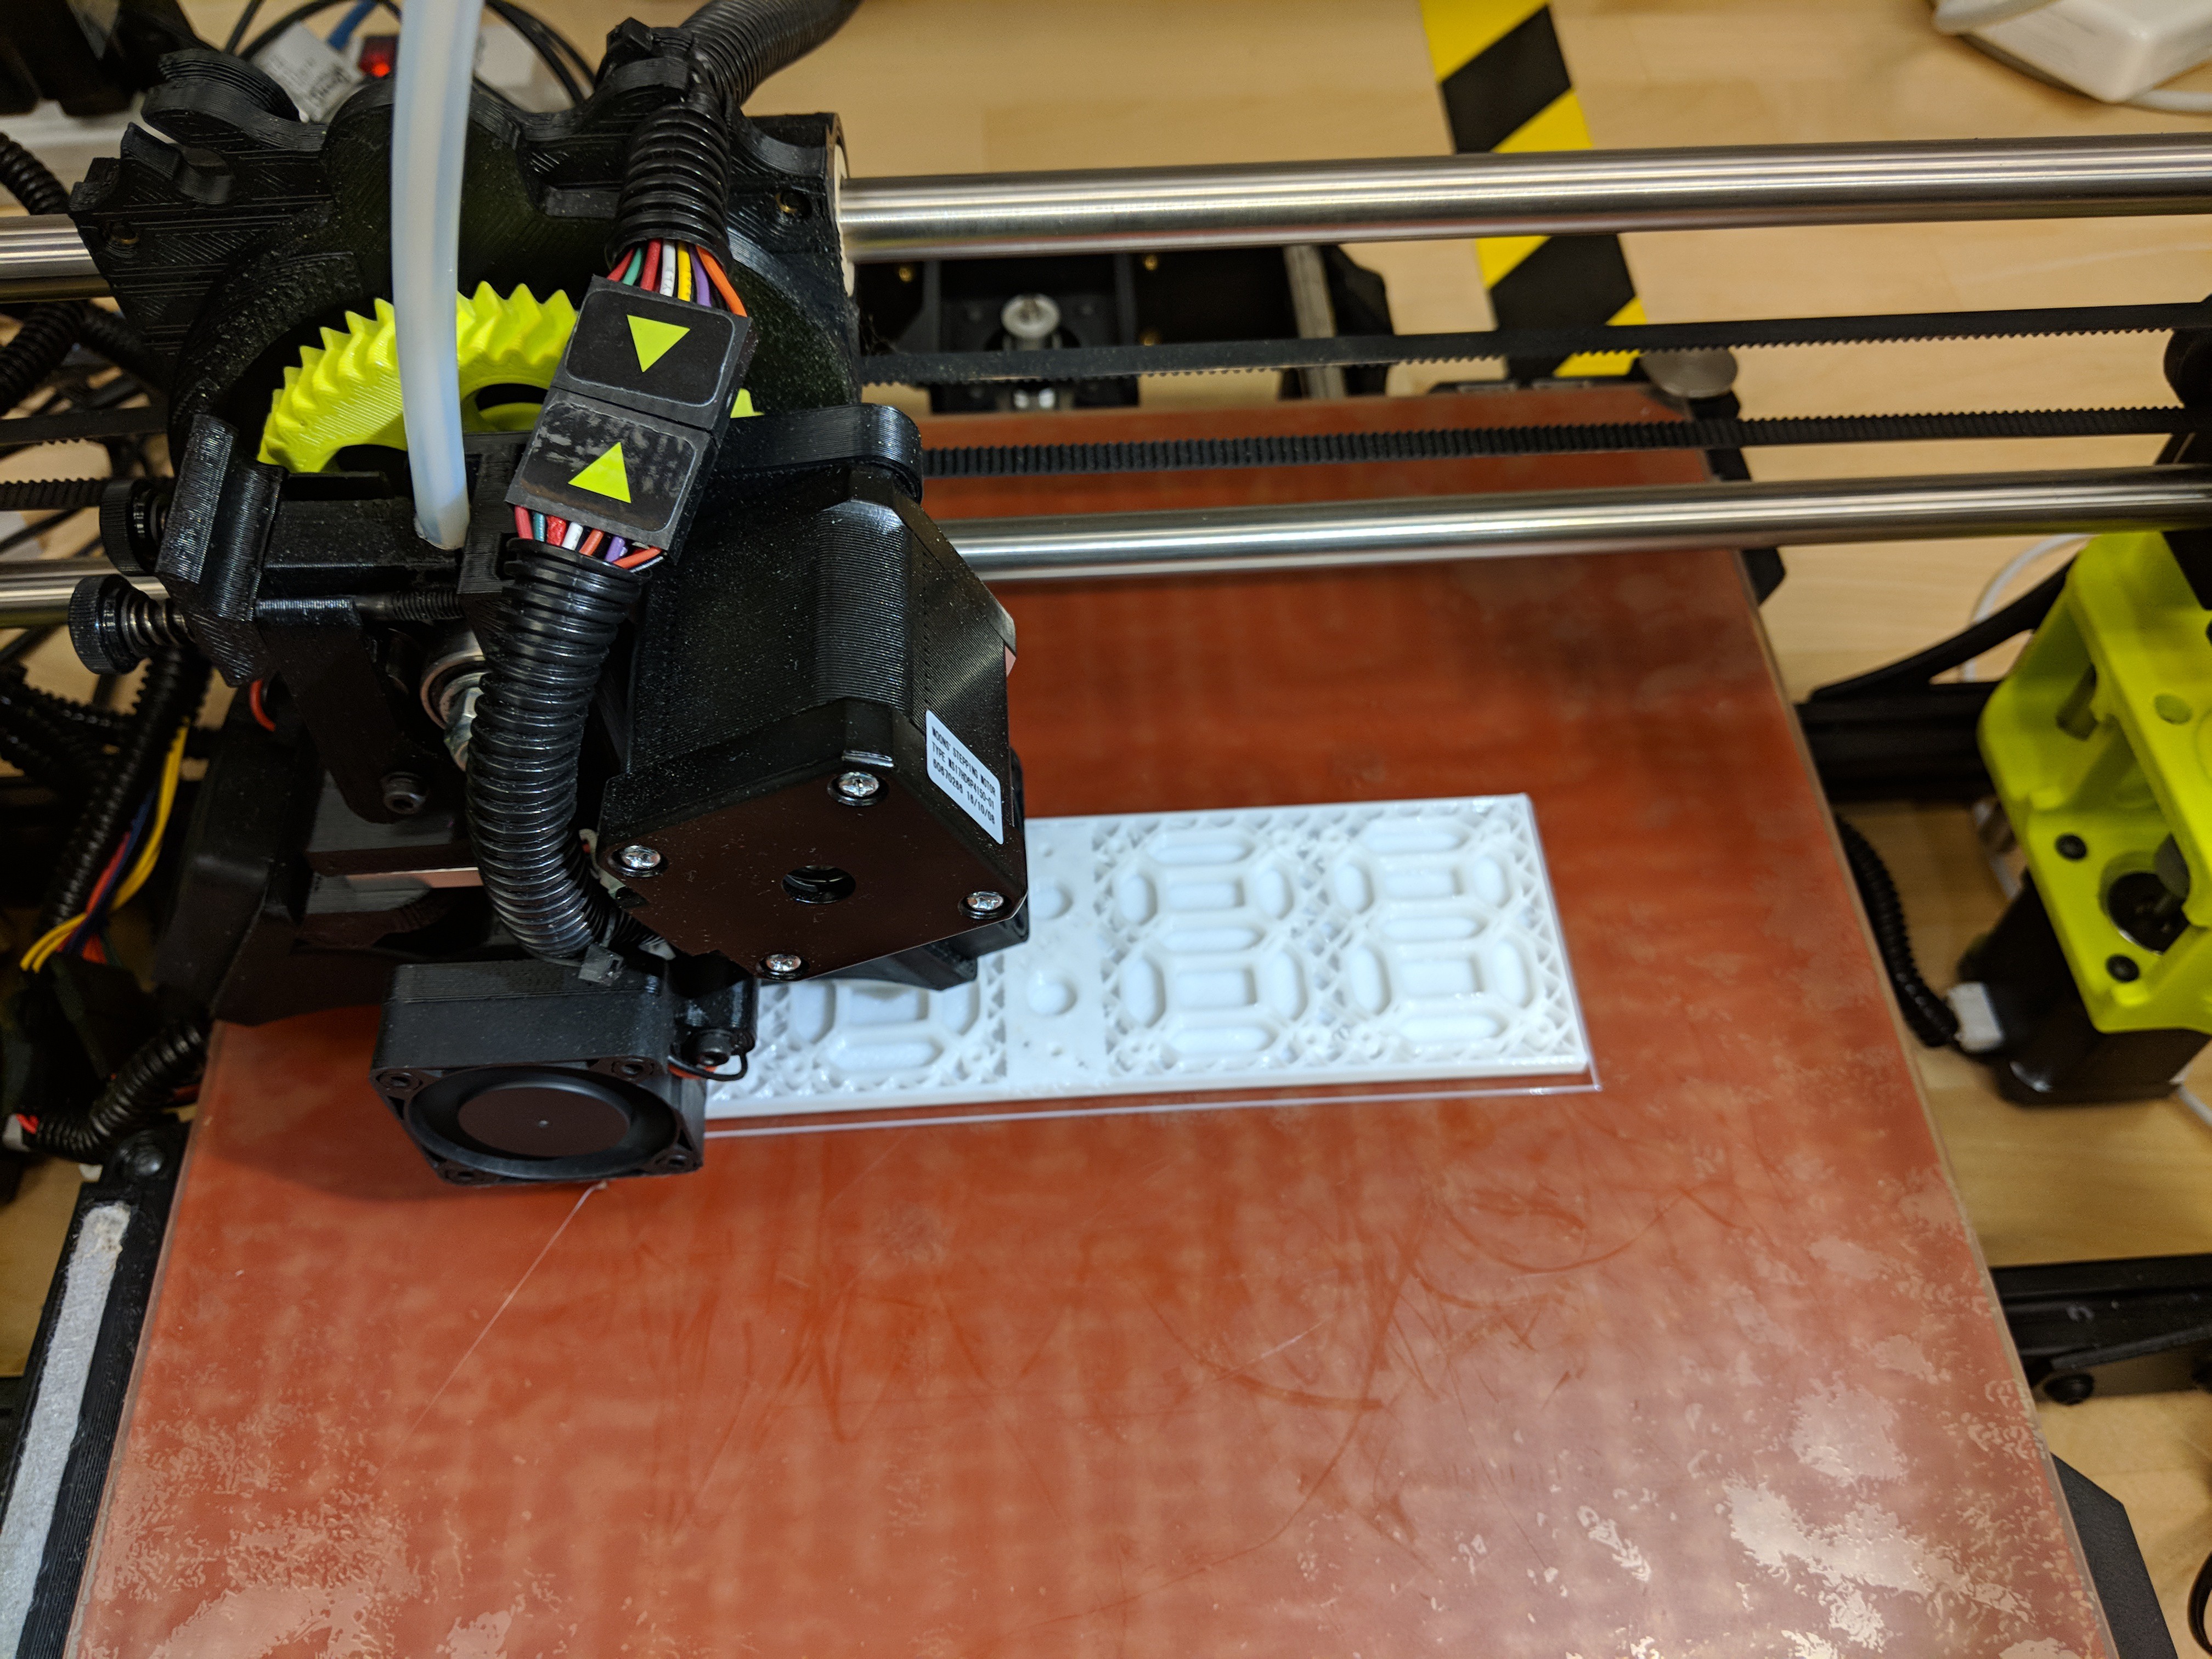
This print did not go well. It could be the reliability of my shared resource (the printer) or the nature of my design, or a combination of factors. But after a few false starts and a failure 2 hours into a 3-hour print, I started making alternate plans.
Namely, I started eying the laser cutter/engraver over in the corner, and started thinking, "you know, a wood enclosure would actually look pretty nice." So I bootstrapped a box with http://www.makercase.com/ and then added in the cutouts I would need.
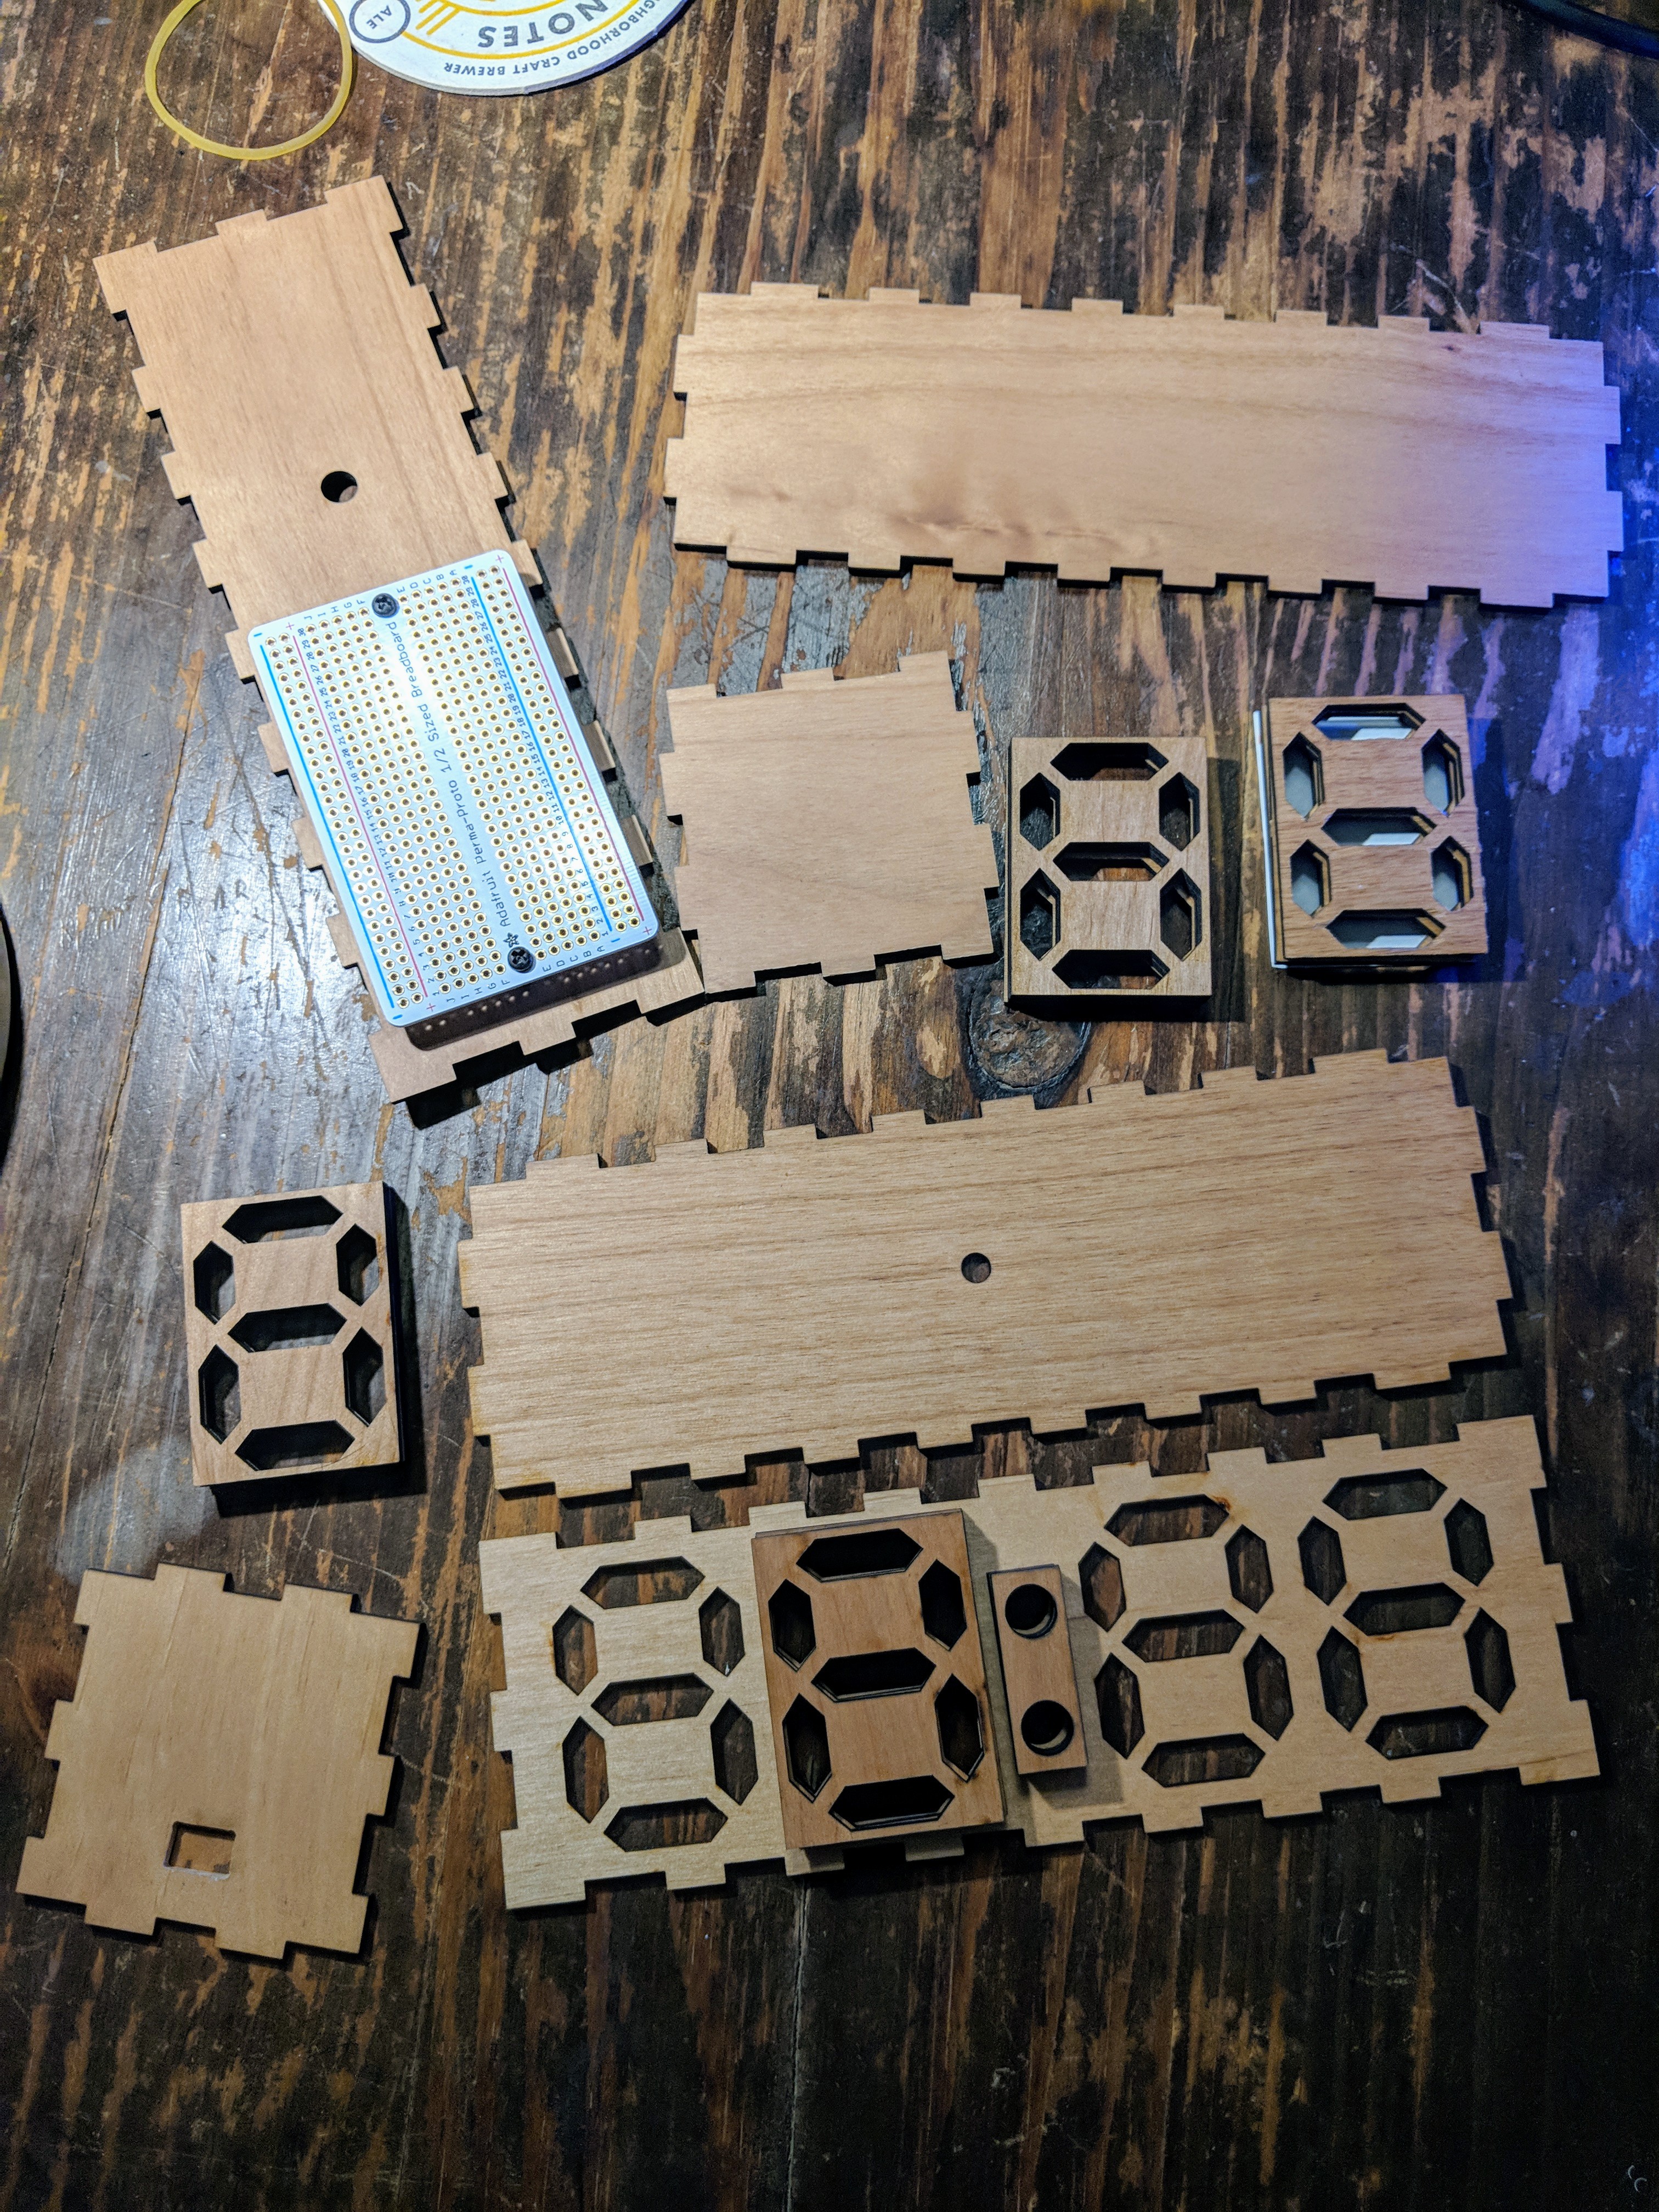
Not bad! And the laser cutter works much faster than the 3D printer, so I had plenty of time to mess up and try again. When I try this approach again in the future, I should think more about through-hole fastening all these layers of wood together. As it is, I didn't give myself any holes, or much room to drill them. So, the segment stacks and faceplate will be coming together with glue. Hope it holds!
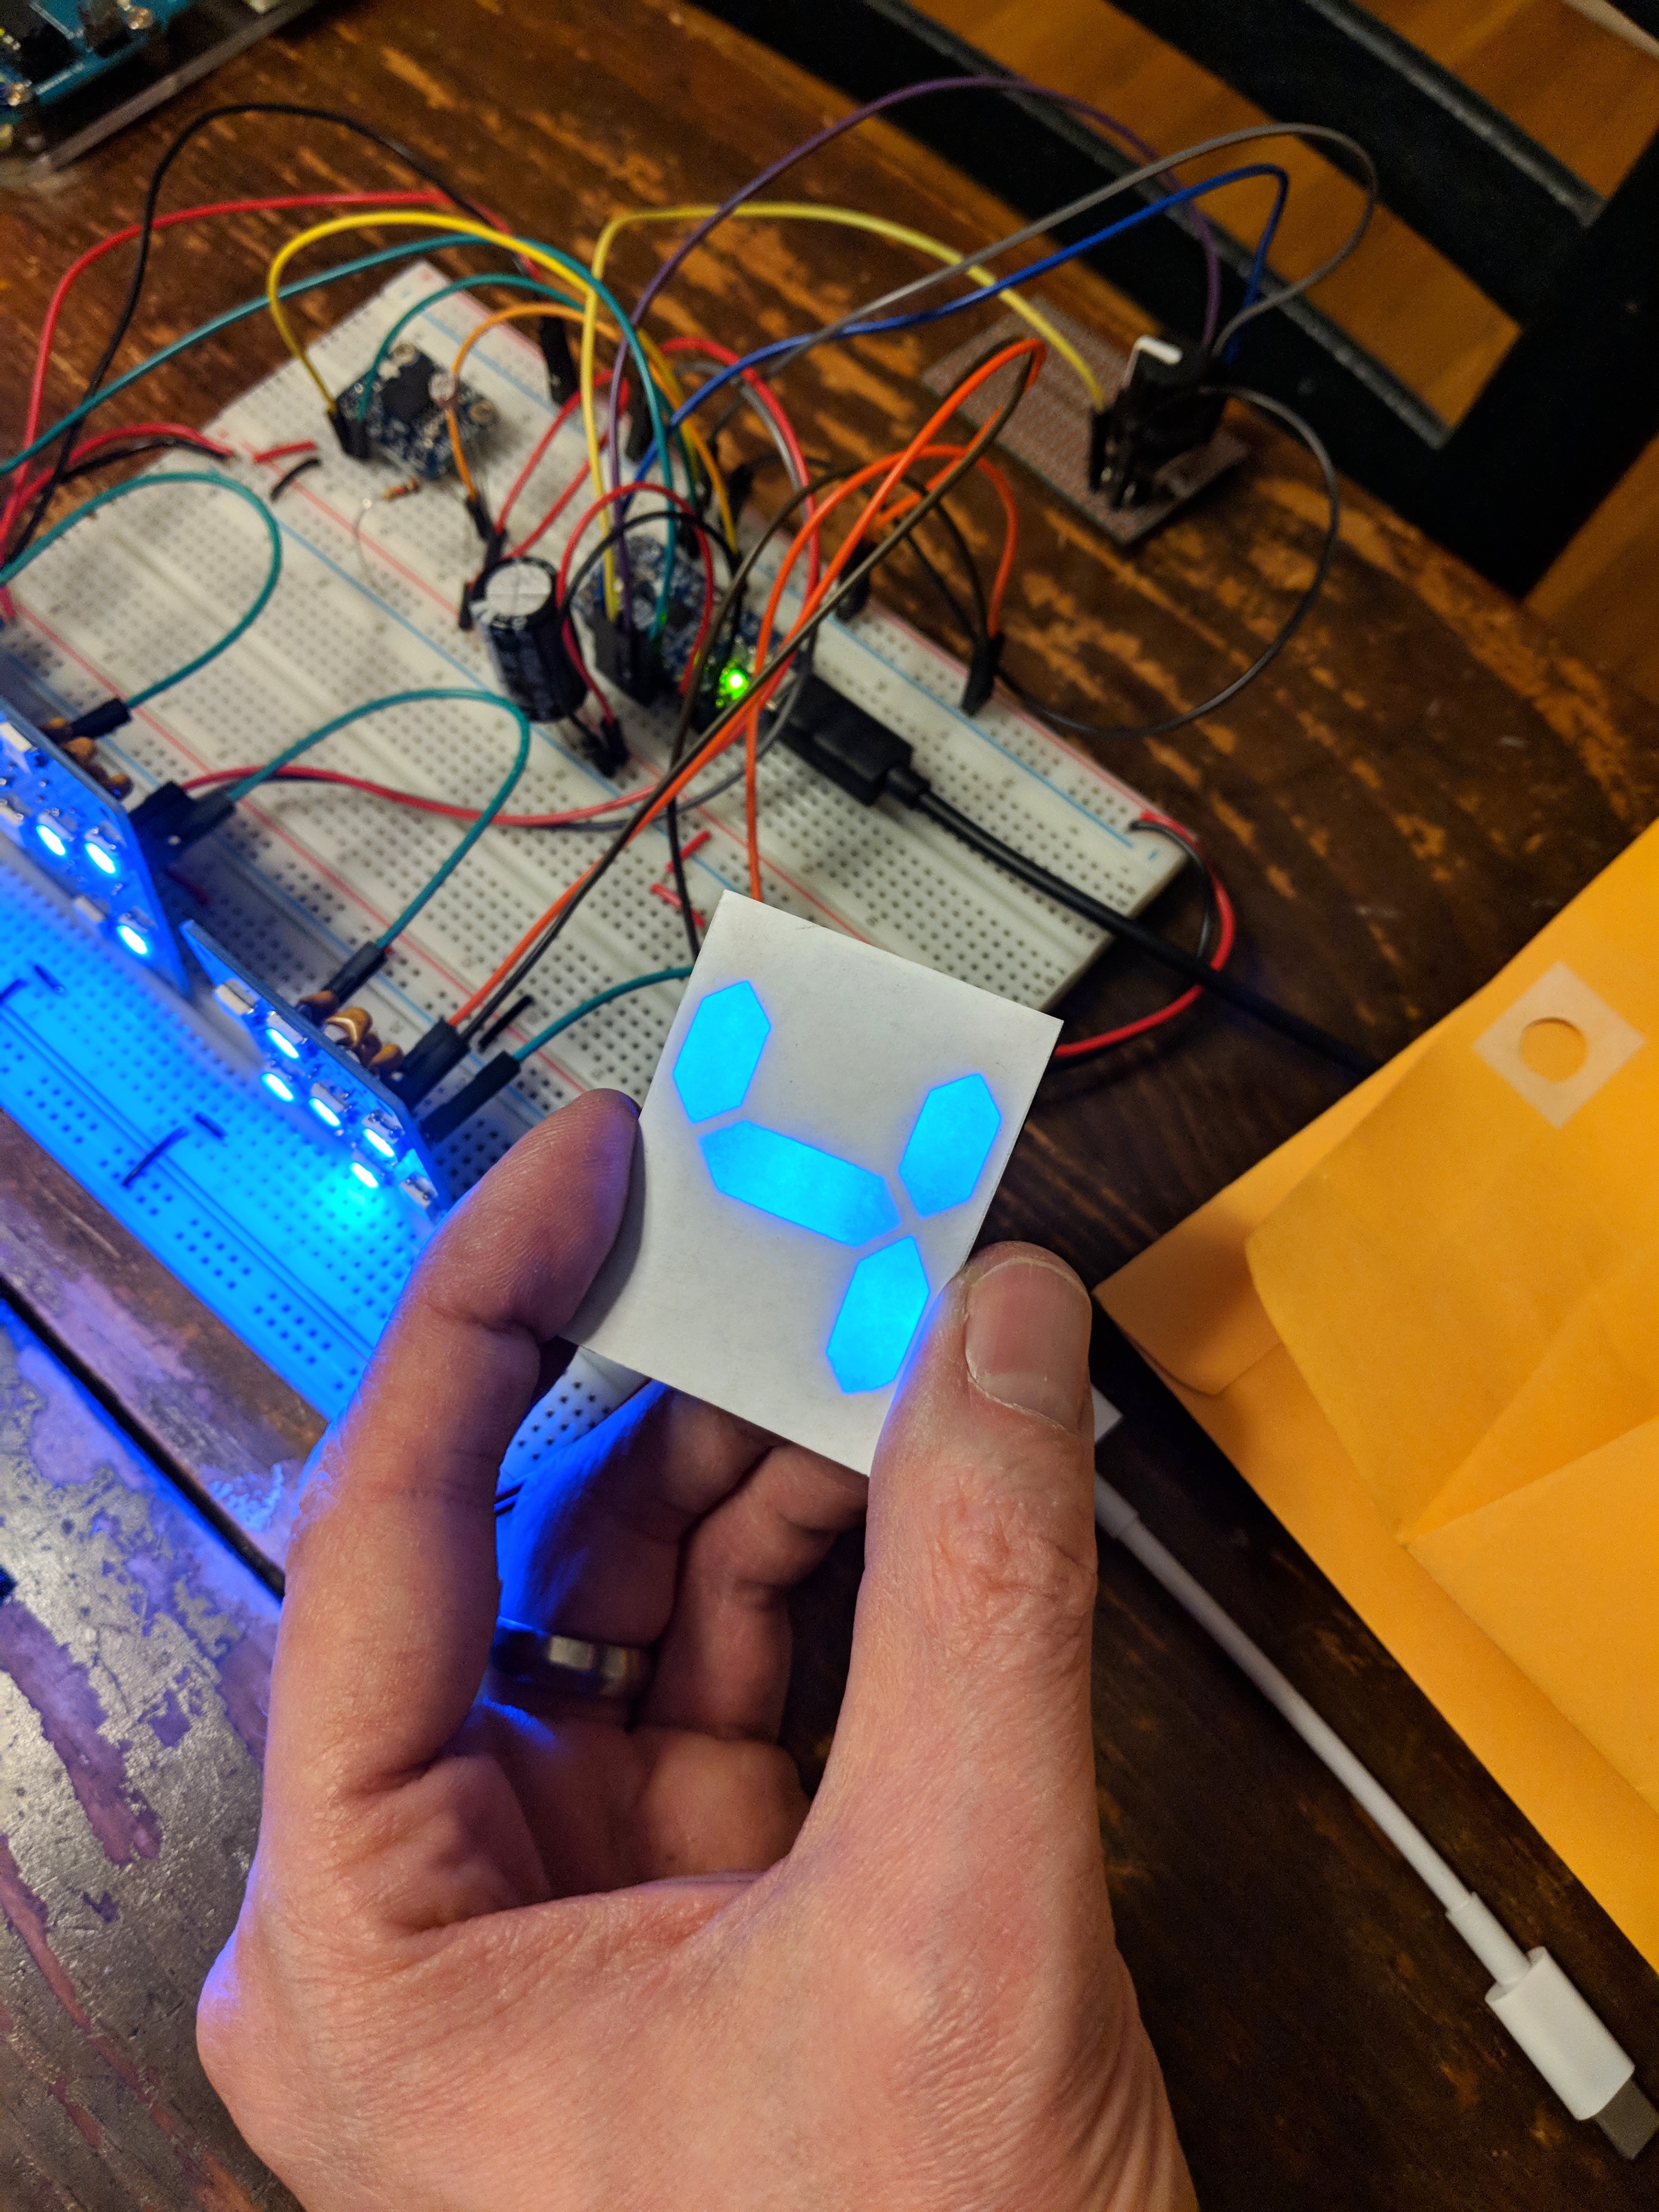
That said I think the final look is going to quite nice. The laser cut wood gives really excellent definition on the segment shapes, and I think plain white paper may do just fine as a diffuser surface. The combined wood + paper aesthetic will make for a fun contrast with the colorful LEDs!
Discussions
Become a Hackaday.io Member
Create an account to leave a comment. Already have an account? Log In.