 Michael Furtak
With the parts for the case cut, but not yet assembled, it's time to get the components out of the breadboards and into their more permanent arrangement.
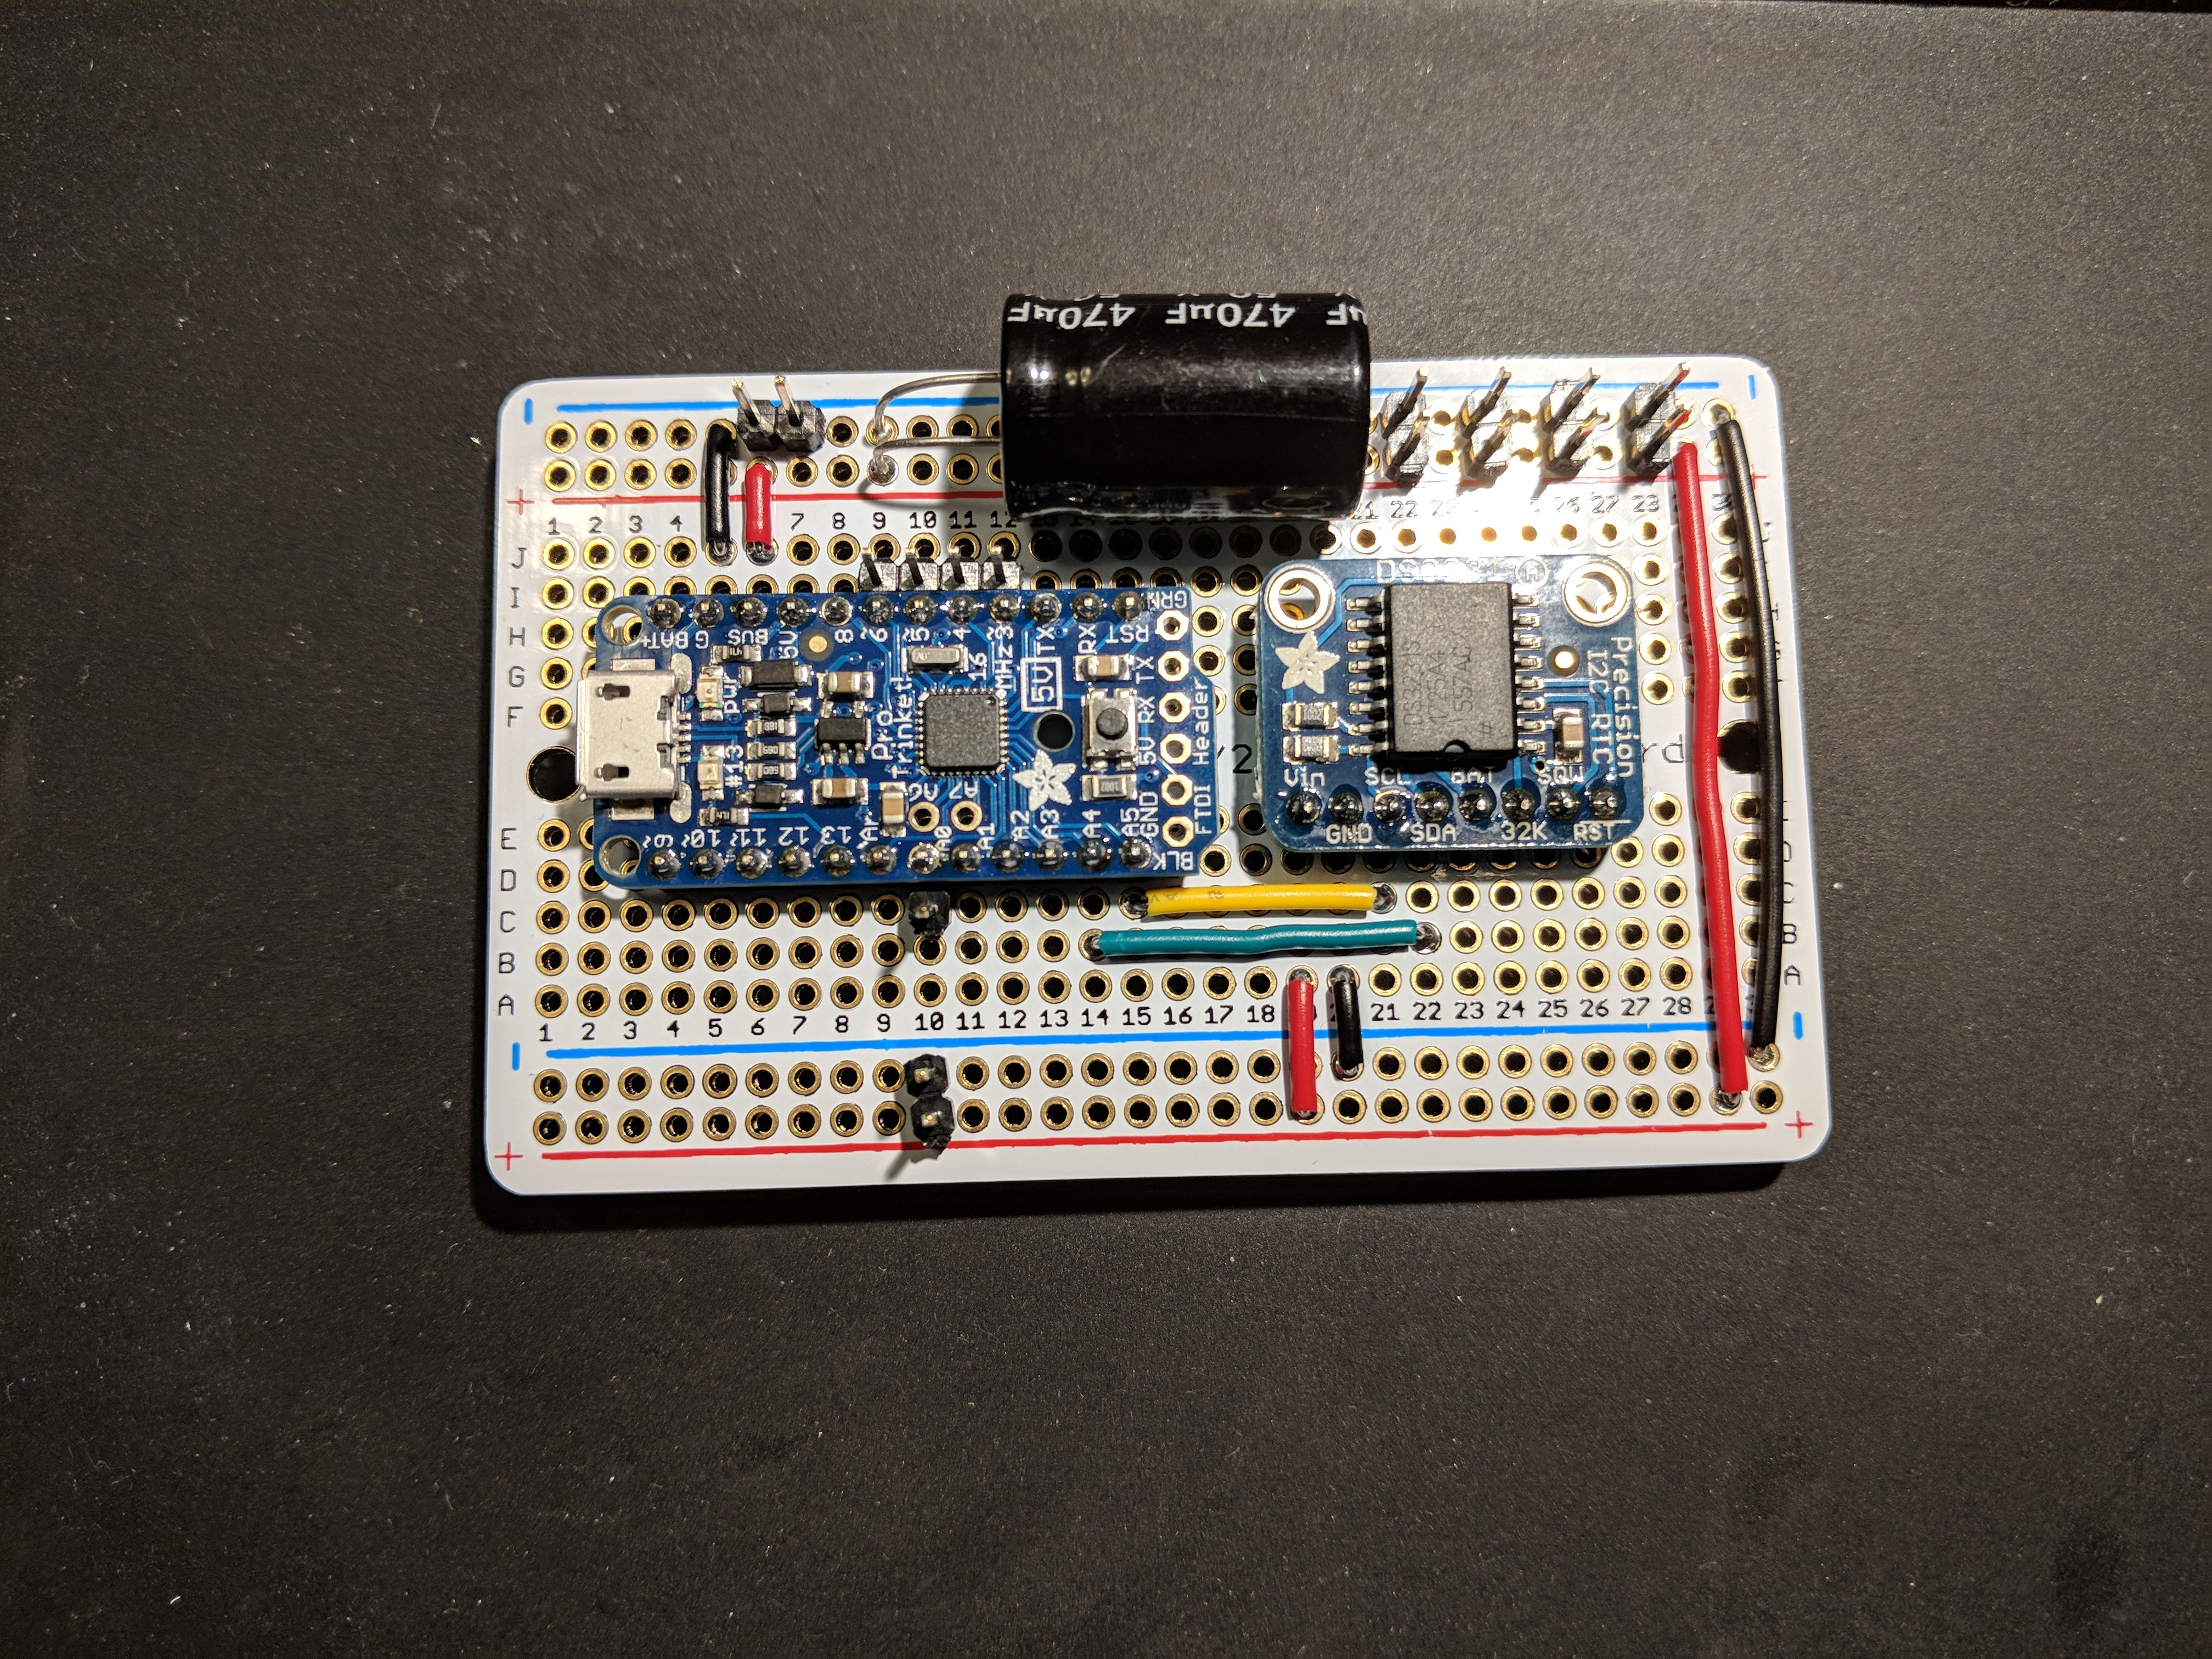
Despite the fact that I'll basically be gluing the case pieces together, I've opted for a lot of removable connections for VCC, GND and signals. Ultimately I don't expect I'll need to take it apart, but it just felt like it would be easier to get together this way. Also I opted to do the small amount of wiring on the front face of the protoboard. Somehow "showing my work" just felt more "authentic".
Here's a separate shot of the digit modules, roughly as they'll go in.

There's two more smaller break-outs which will also get connected up - one for the CdS photoresistor (attached to the top), and one for the rotary encoder (mounted through the back).
While I gave myself nice mounting holes on the PCBs, I pretty much failed to plan for getting those mounted onto the front of the clock. Through-holes and long bolts would have given me some real simple assembly for the face, segment shrouds, and boards. However, without the holes anywhere else, and since this project feels like it's been going on long enough, I'm going to opt for inelegant amounts of hot glue to save me. We'll see how it goes!
Discussions
Become a Hackaday.io Member
Create an account to leave a comment. Already have an account? Log In.