 Calebe94
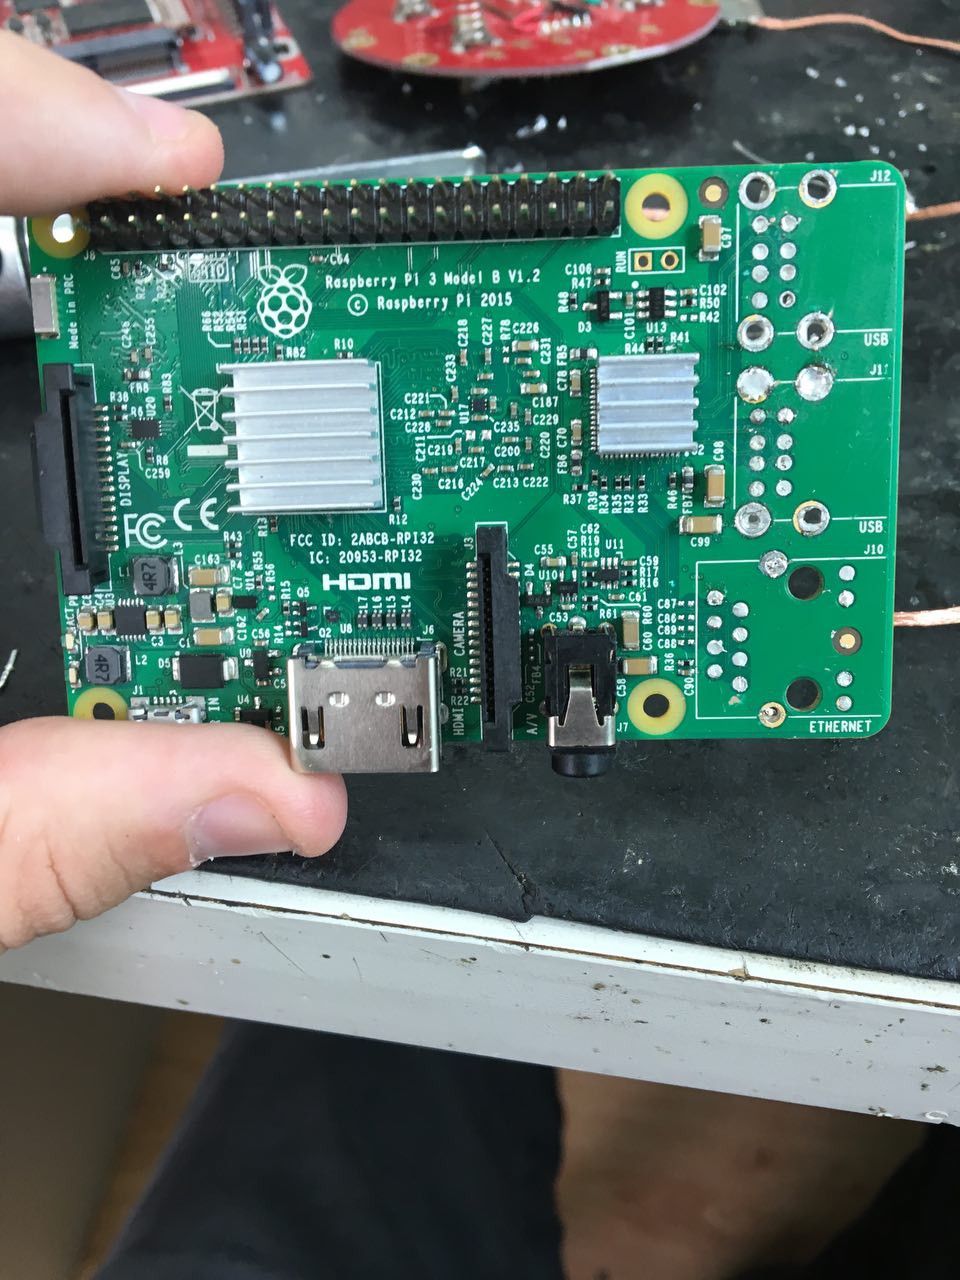
So, the goal here was trying to build a portable emulation station using the raspberry pi 3, but that can transform in a desk emulation when HDMI cable was pluged in, Pi 3 obviously because of his perfomance much higher then zero, with a high quality display and a built in controller.
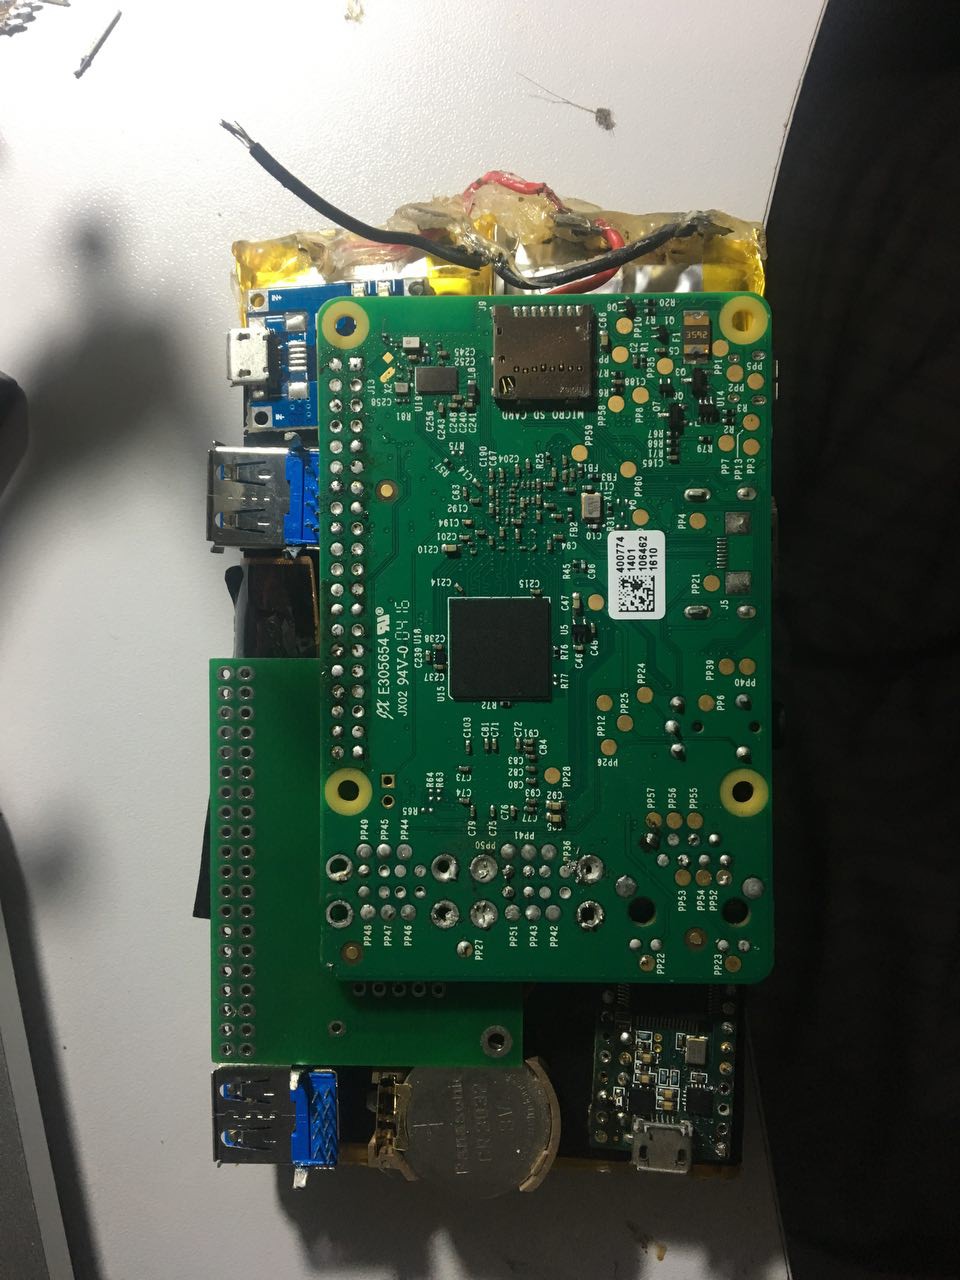
Okay, what we have here, let me list the components used until now:
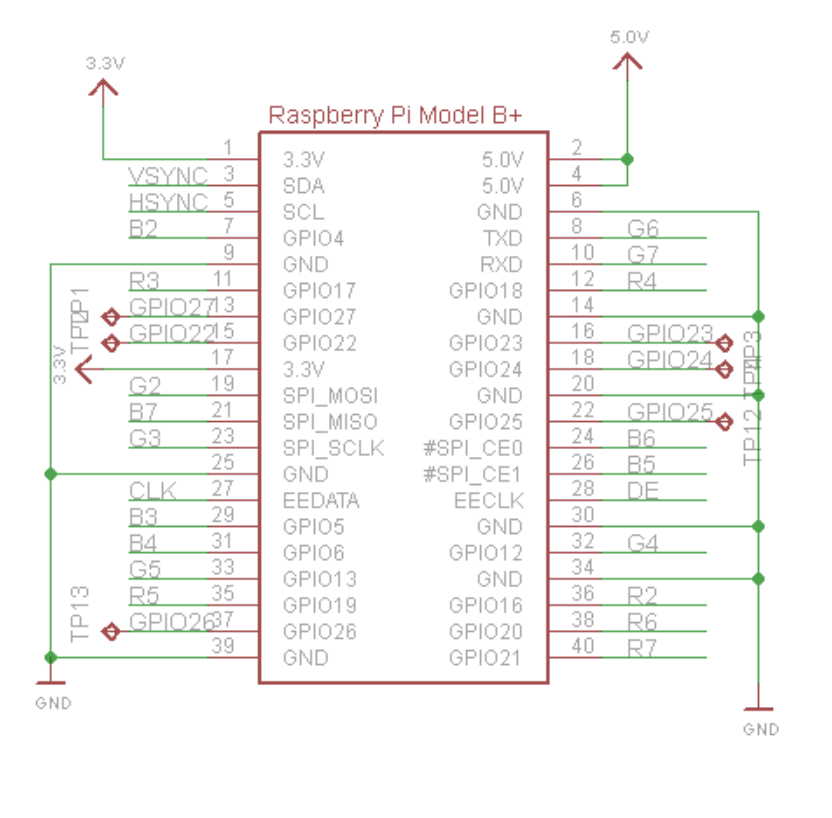
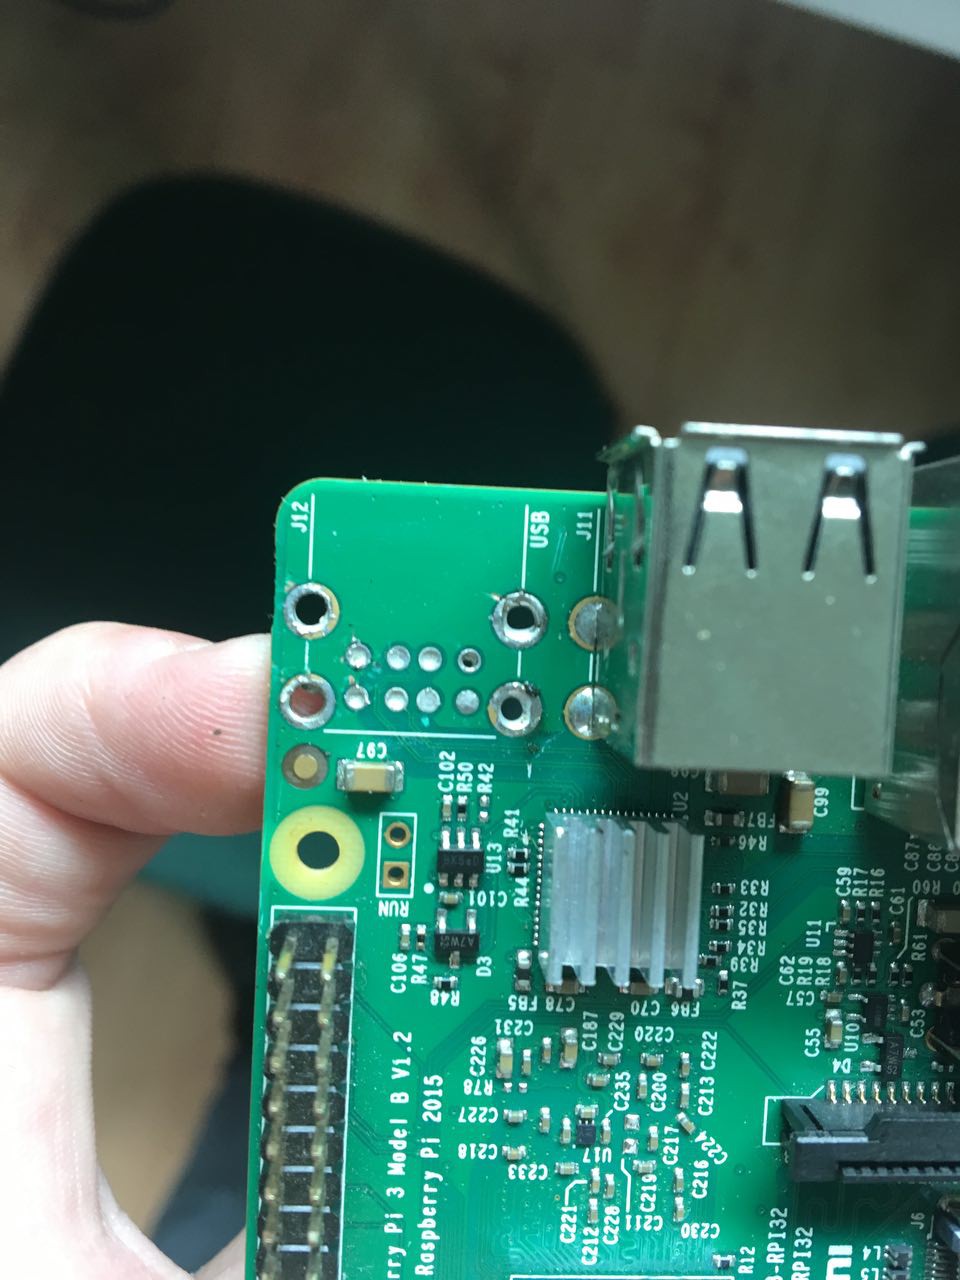
1x Raspberry Pi 3
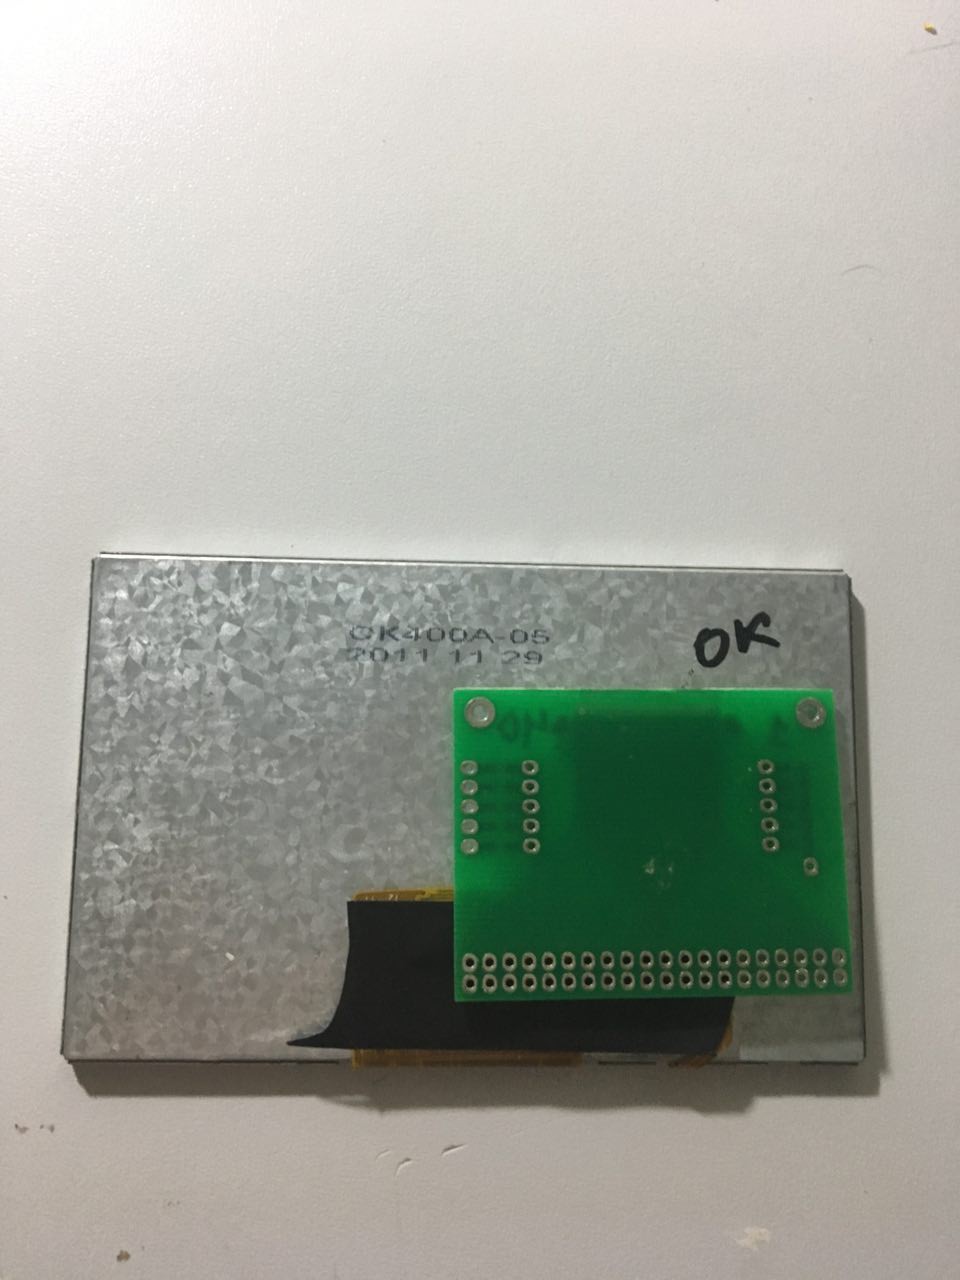
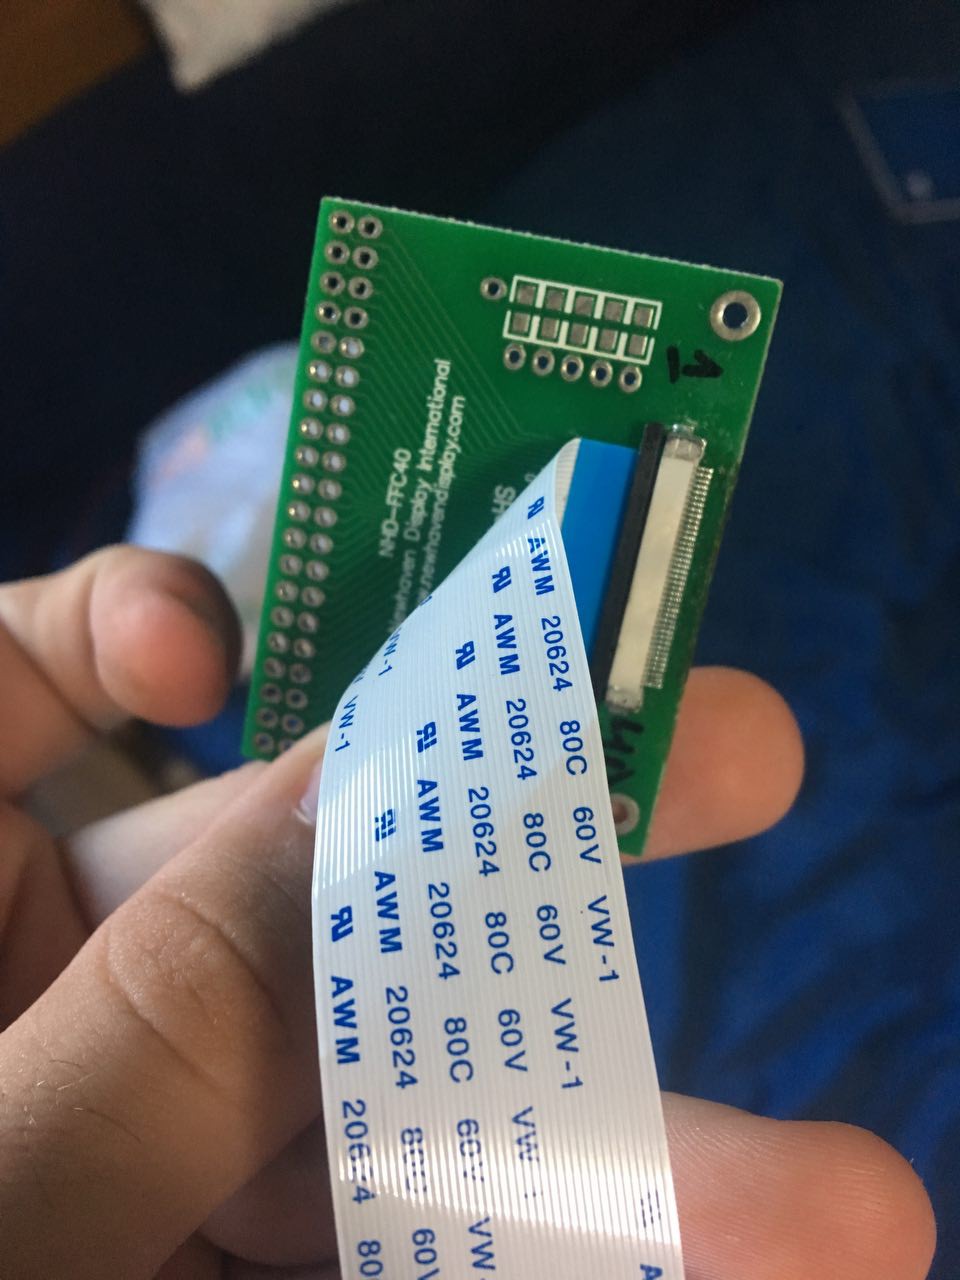
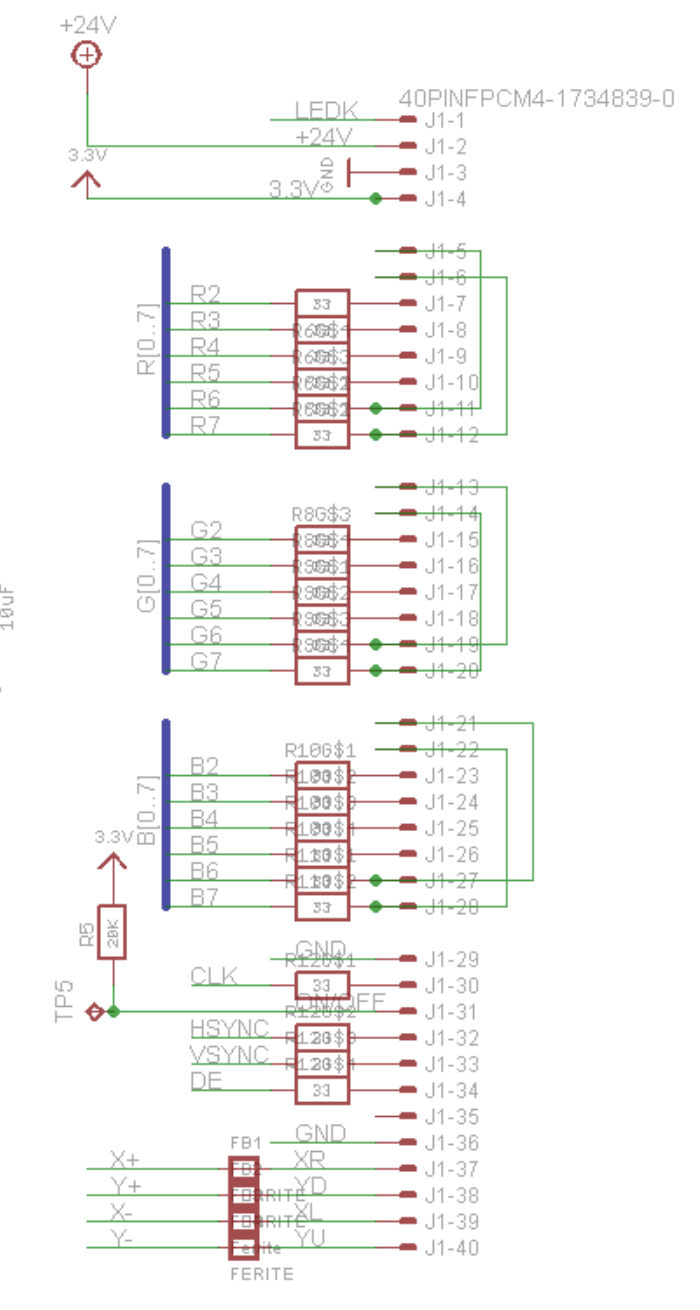
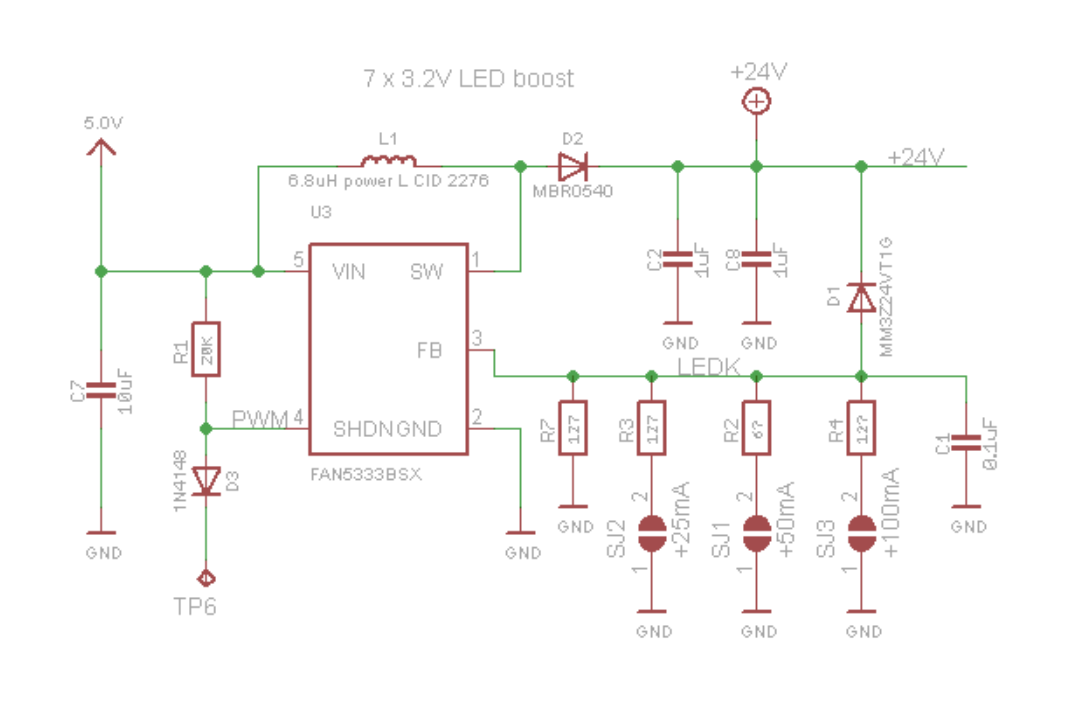
1x LCD TFT 4.3 40 pin Parallel interface
2x Battery's of 3A at 3.7V in parallel, that's result in a 6A battery at 3,7V
1x PS2 Controller
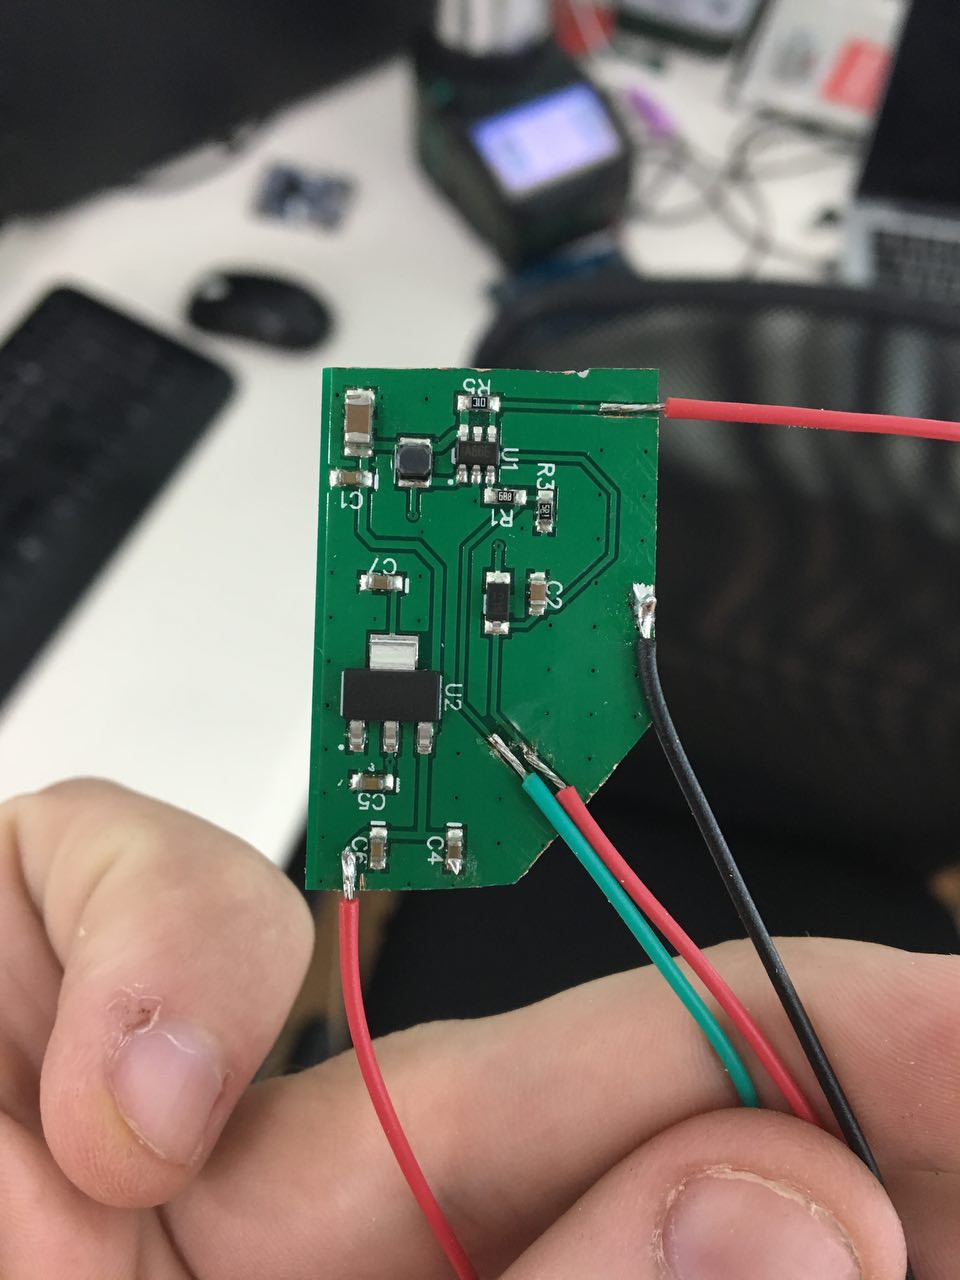
1x Charging module
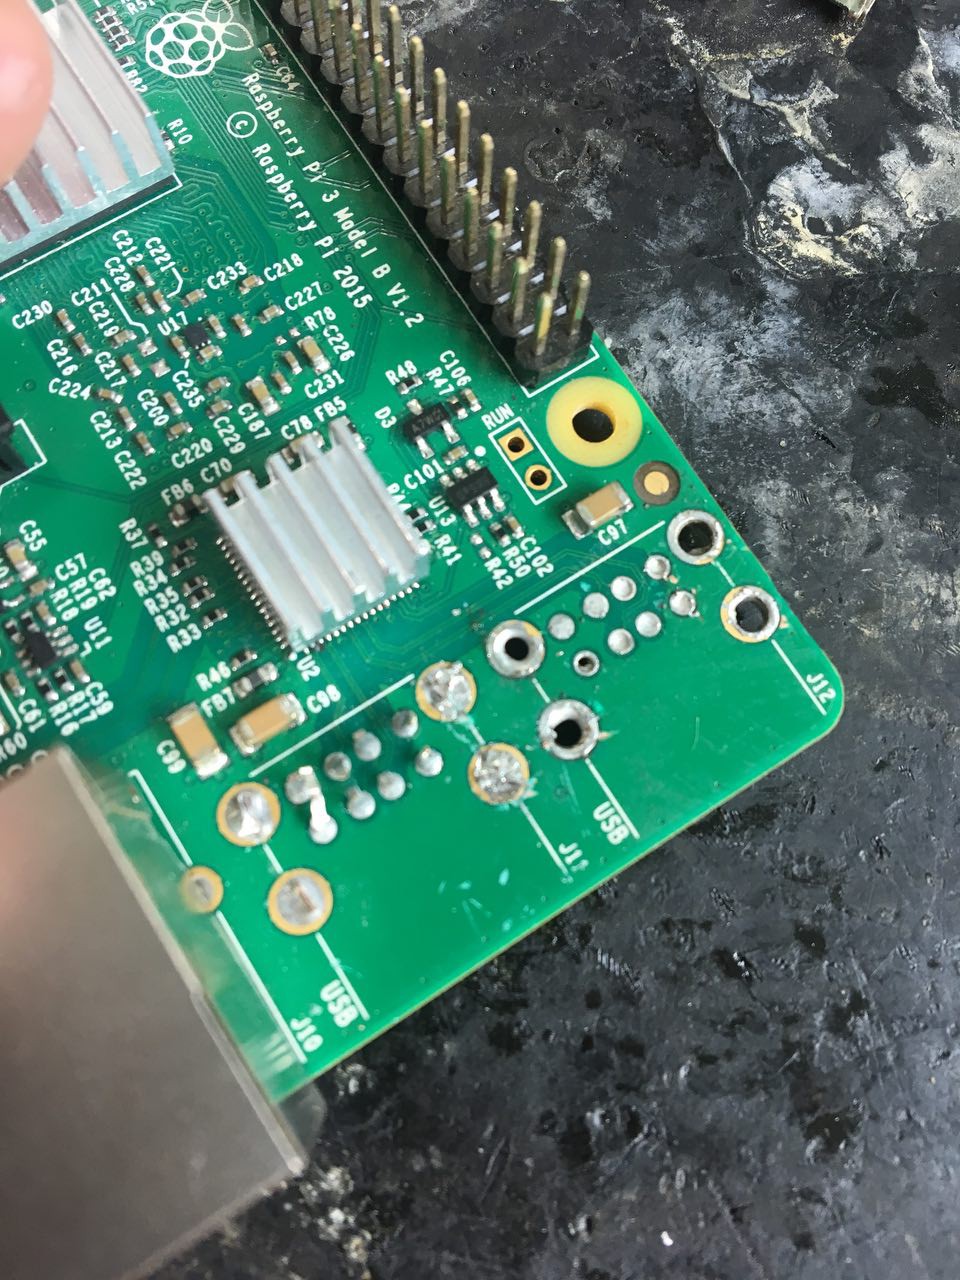
3x USBs Female
(This is outdated)
 j0z0r pwn4tr0n
 Arkadi
 Steven Roch