 Wassim
for mesh control gateway ang mqtt see the main project #Home Smart Mesh
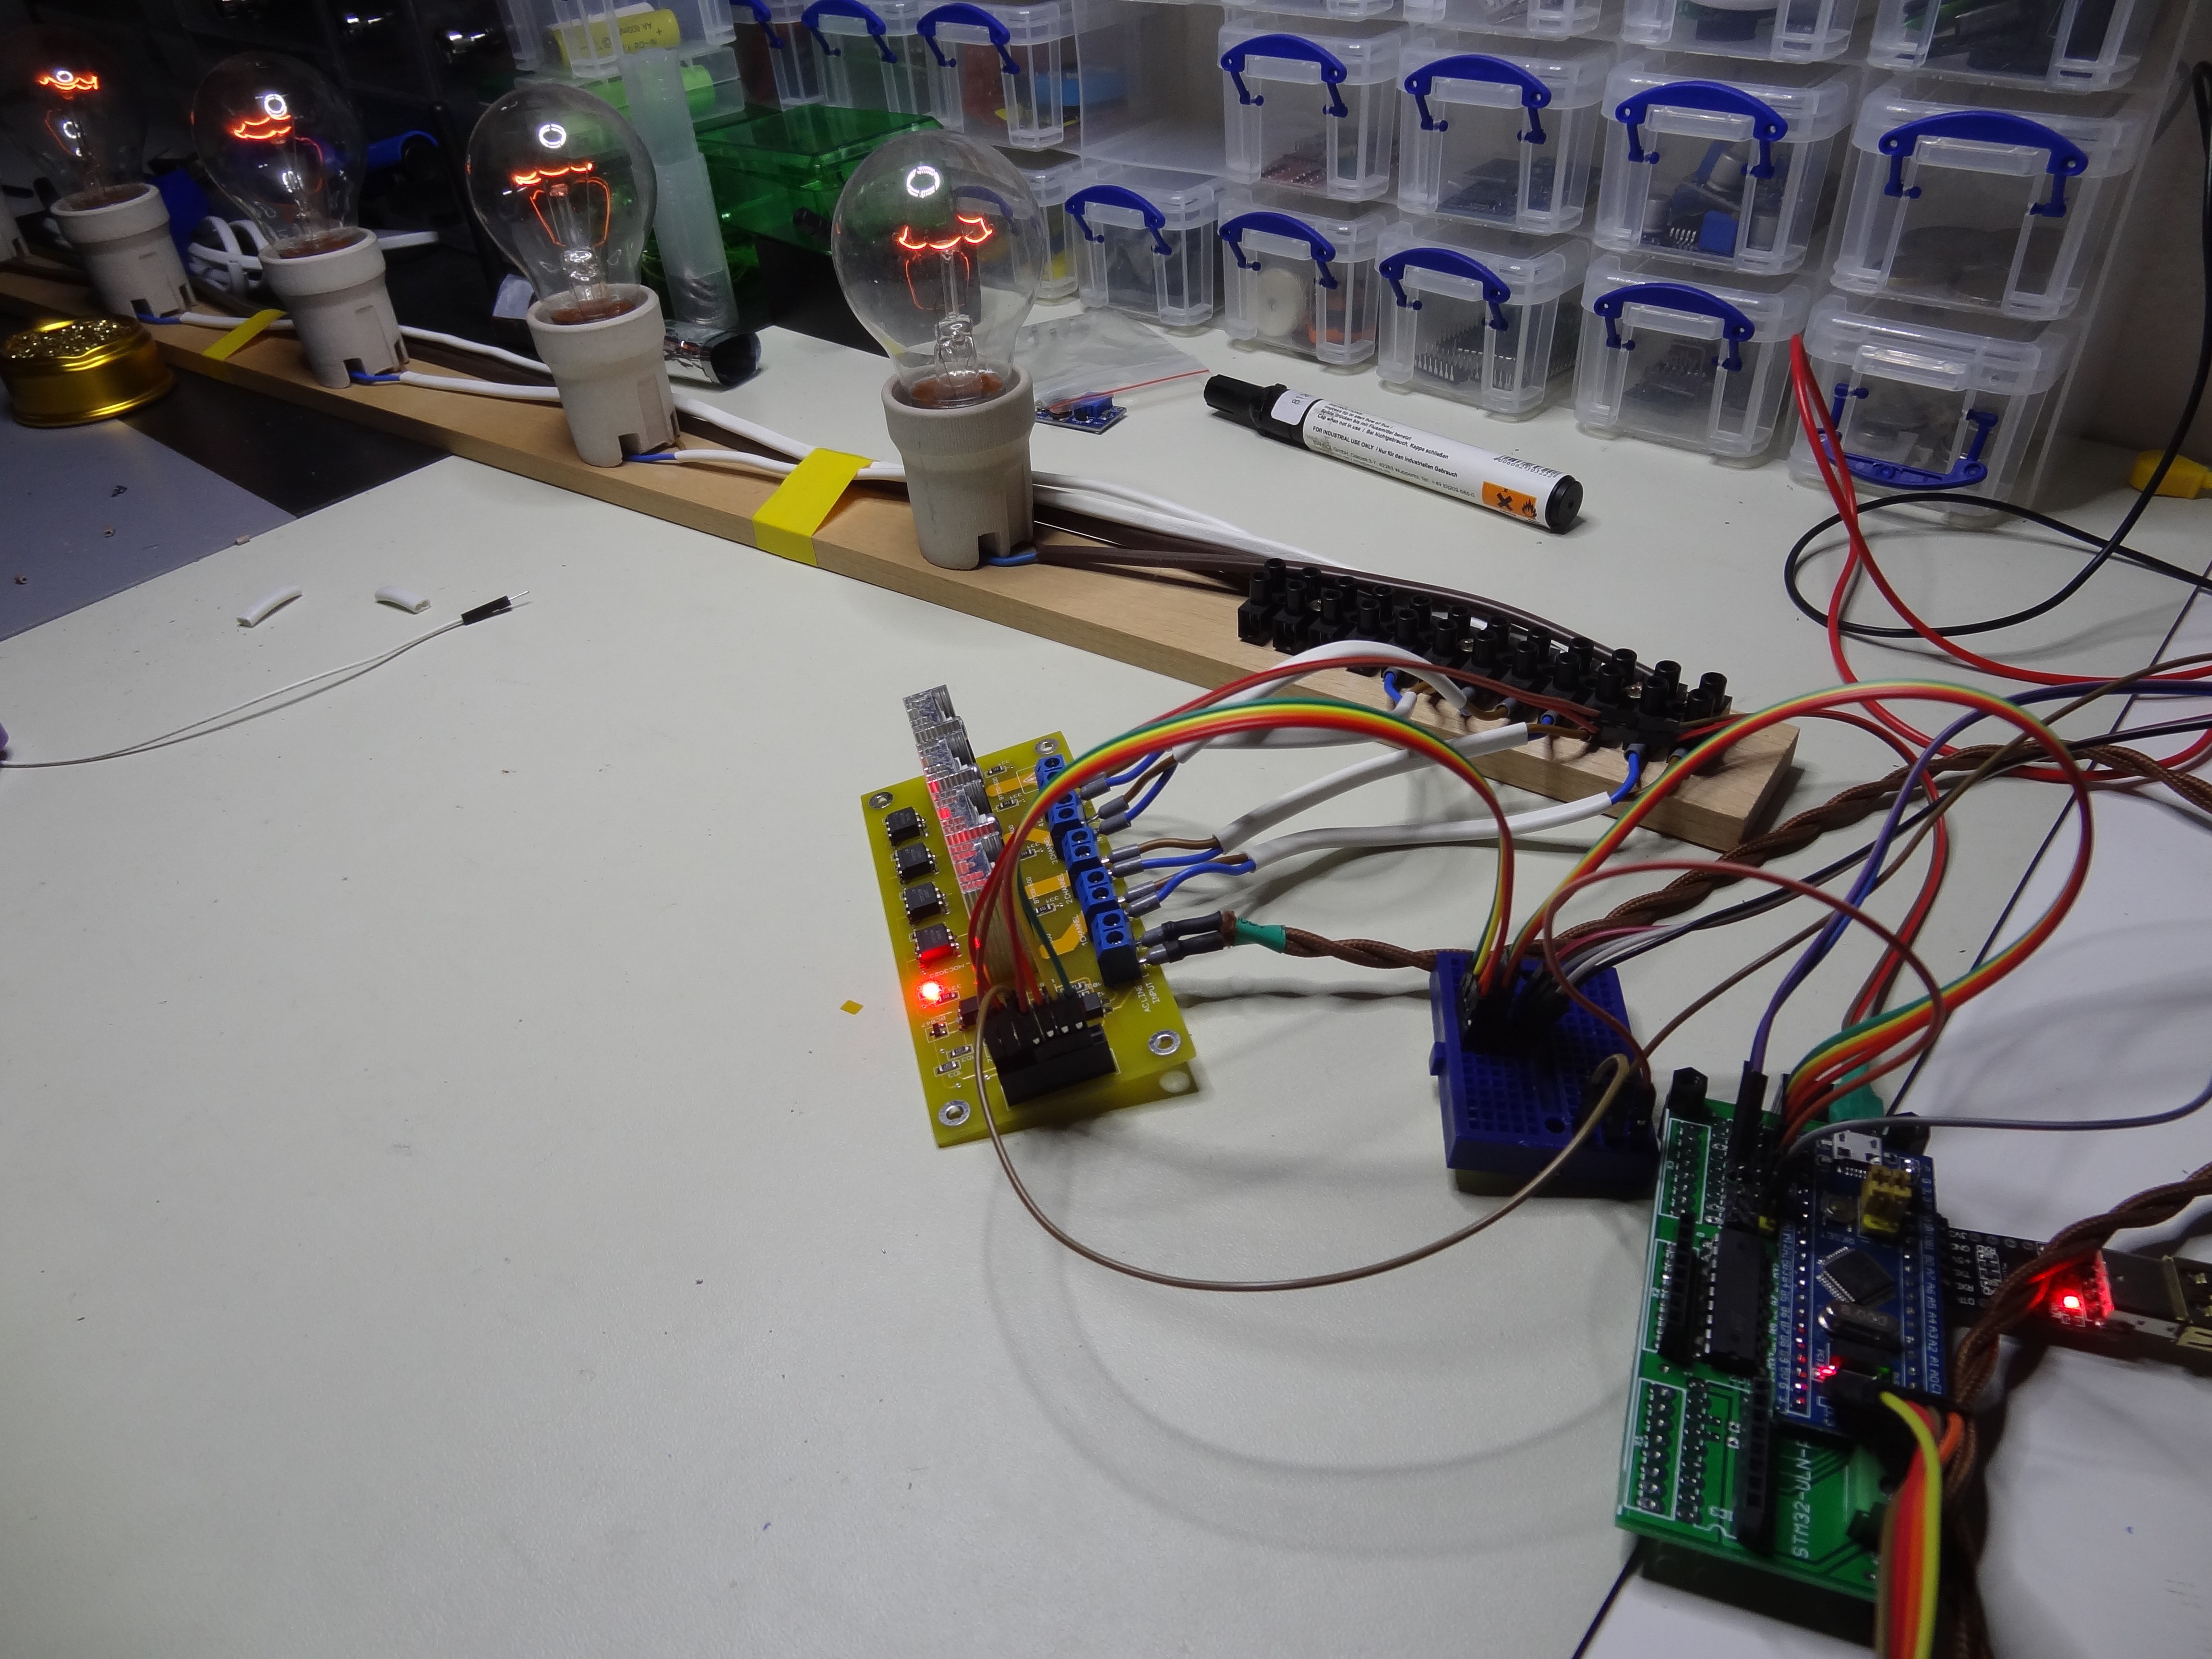
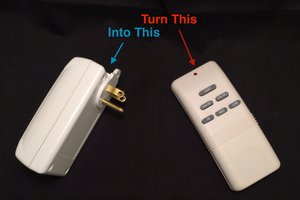
This is a control from the normal wall switch, an animation is programmed on the STM32 startup sequence to give the smooth light flow sequence.
here both the light and the beacon are speaking the Home Smart Mesh RF protocol but actually simply talking to each other without any other repeater or server required, well the server and the loggers can hear them talk of course.
Here the STM32 of the dimmer RFPIO is connected through another STM32 dongle that is talking to a Raspberry pi. The raspberry pi is hosting an MQTT broquer that gets commands from the generic Android MQTT client. It is enough to publish the dimme value in text e.g. "1000" to the corresponding node topic e.g. "Nodes/20/dimmer".
Home Smart Mesh light dimmer node
This dimmer project is one node out of many others that talk the Home Smart Mesh RF Protocol described in this Hackaday project.
The github.io website has also a snapshot of the dashboard where sensors and actions can be displayed.
What's next ?
Wall switch, nRF51822 beacon, generic MQTT App, this is just the beginning, the potential of this multi channel node dimmer is still yet to be revealed, stay tuned...
Making-of
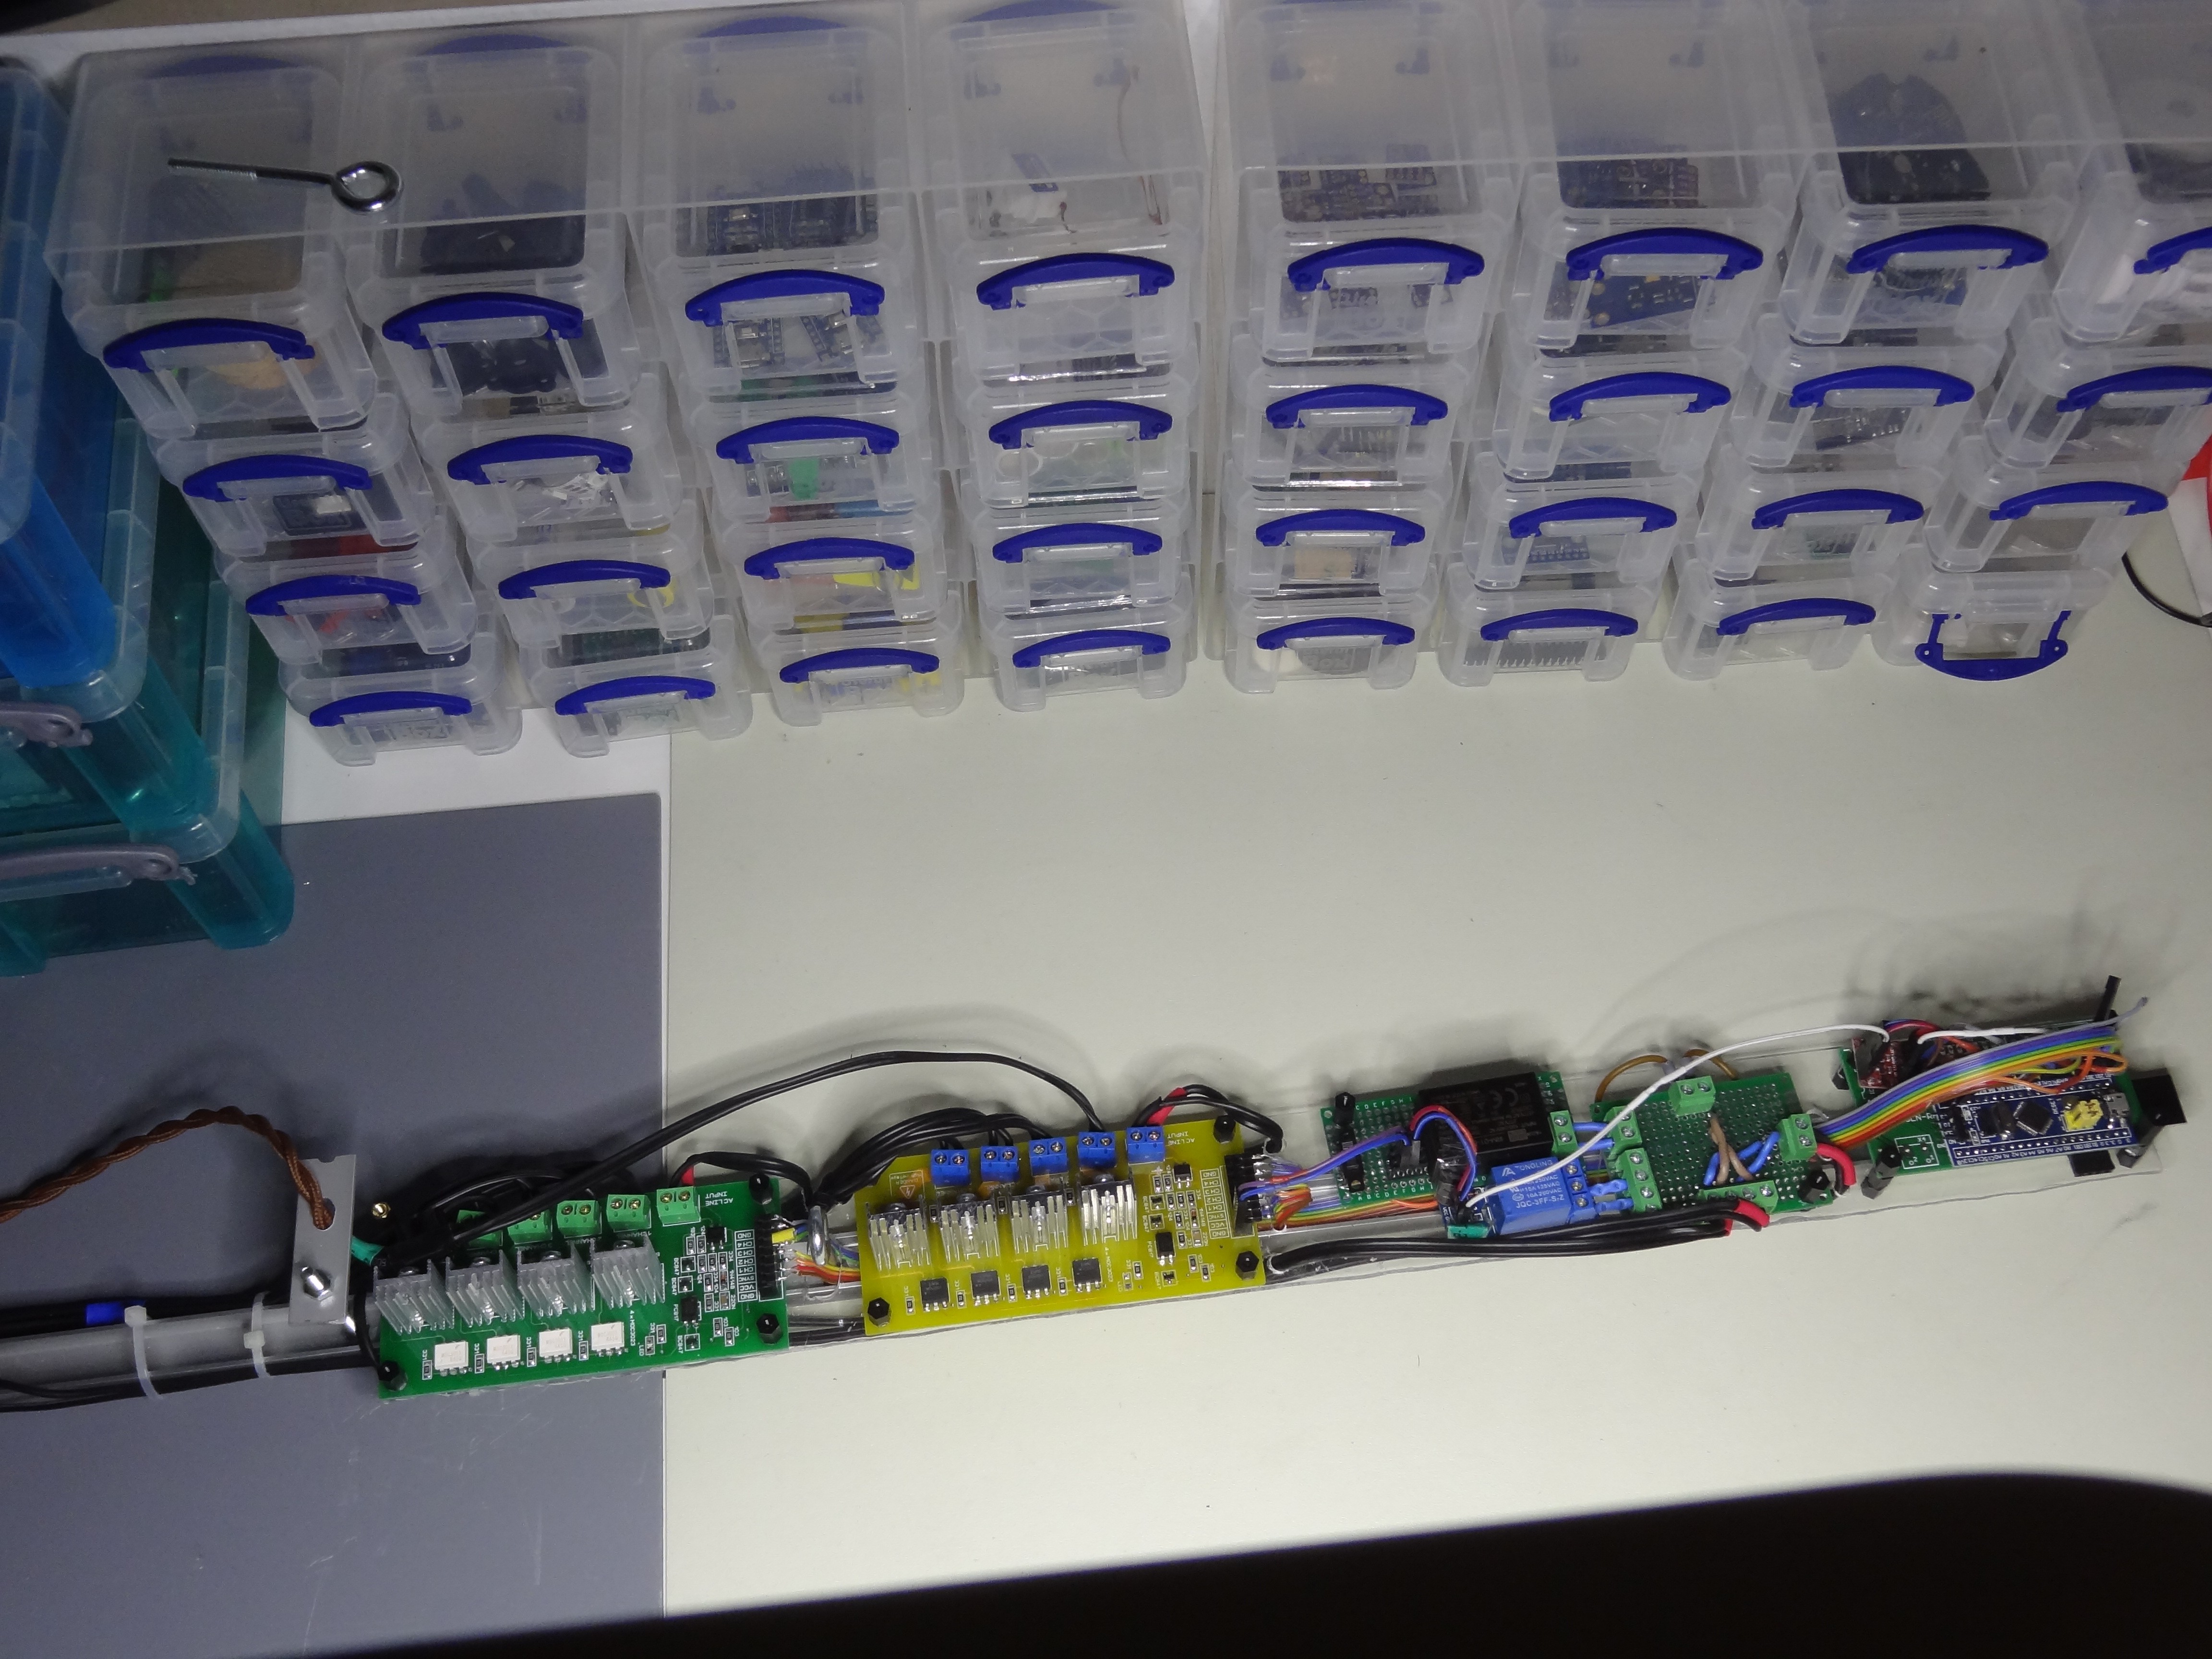
Here it's ready to be mounted
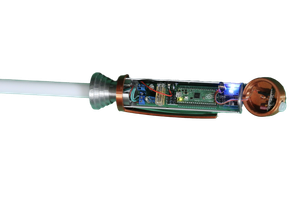
Home made needle adapter for the nRF51288 beacon

What we see here are 4 metal pieces taken from female pcb pin array adapter, when soldering the male pins not only they hold quite well to the metal pieces, but the metal pieces under the heat stick to the Plexiglas structure giving a good solid structure. I'm using the j-link EDU for programming and sticking to the nRF SDK as it has low power customRF samples.
The RFPIO board used
More description about the board in this Hackaday project
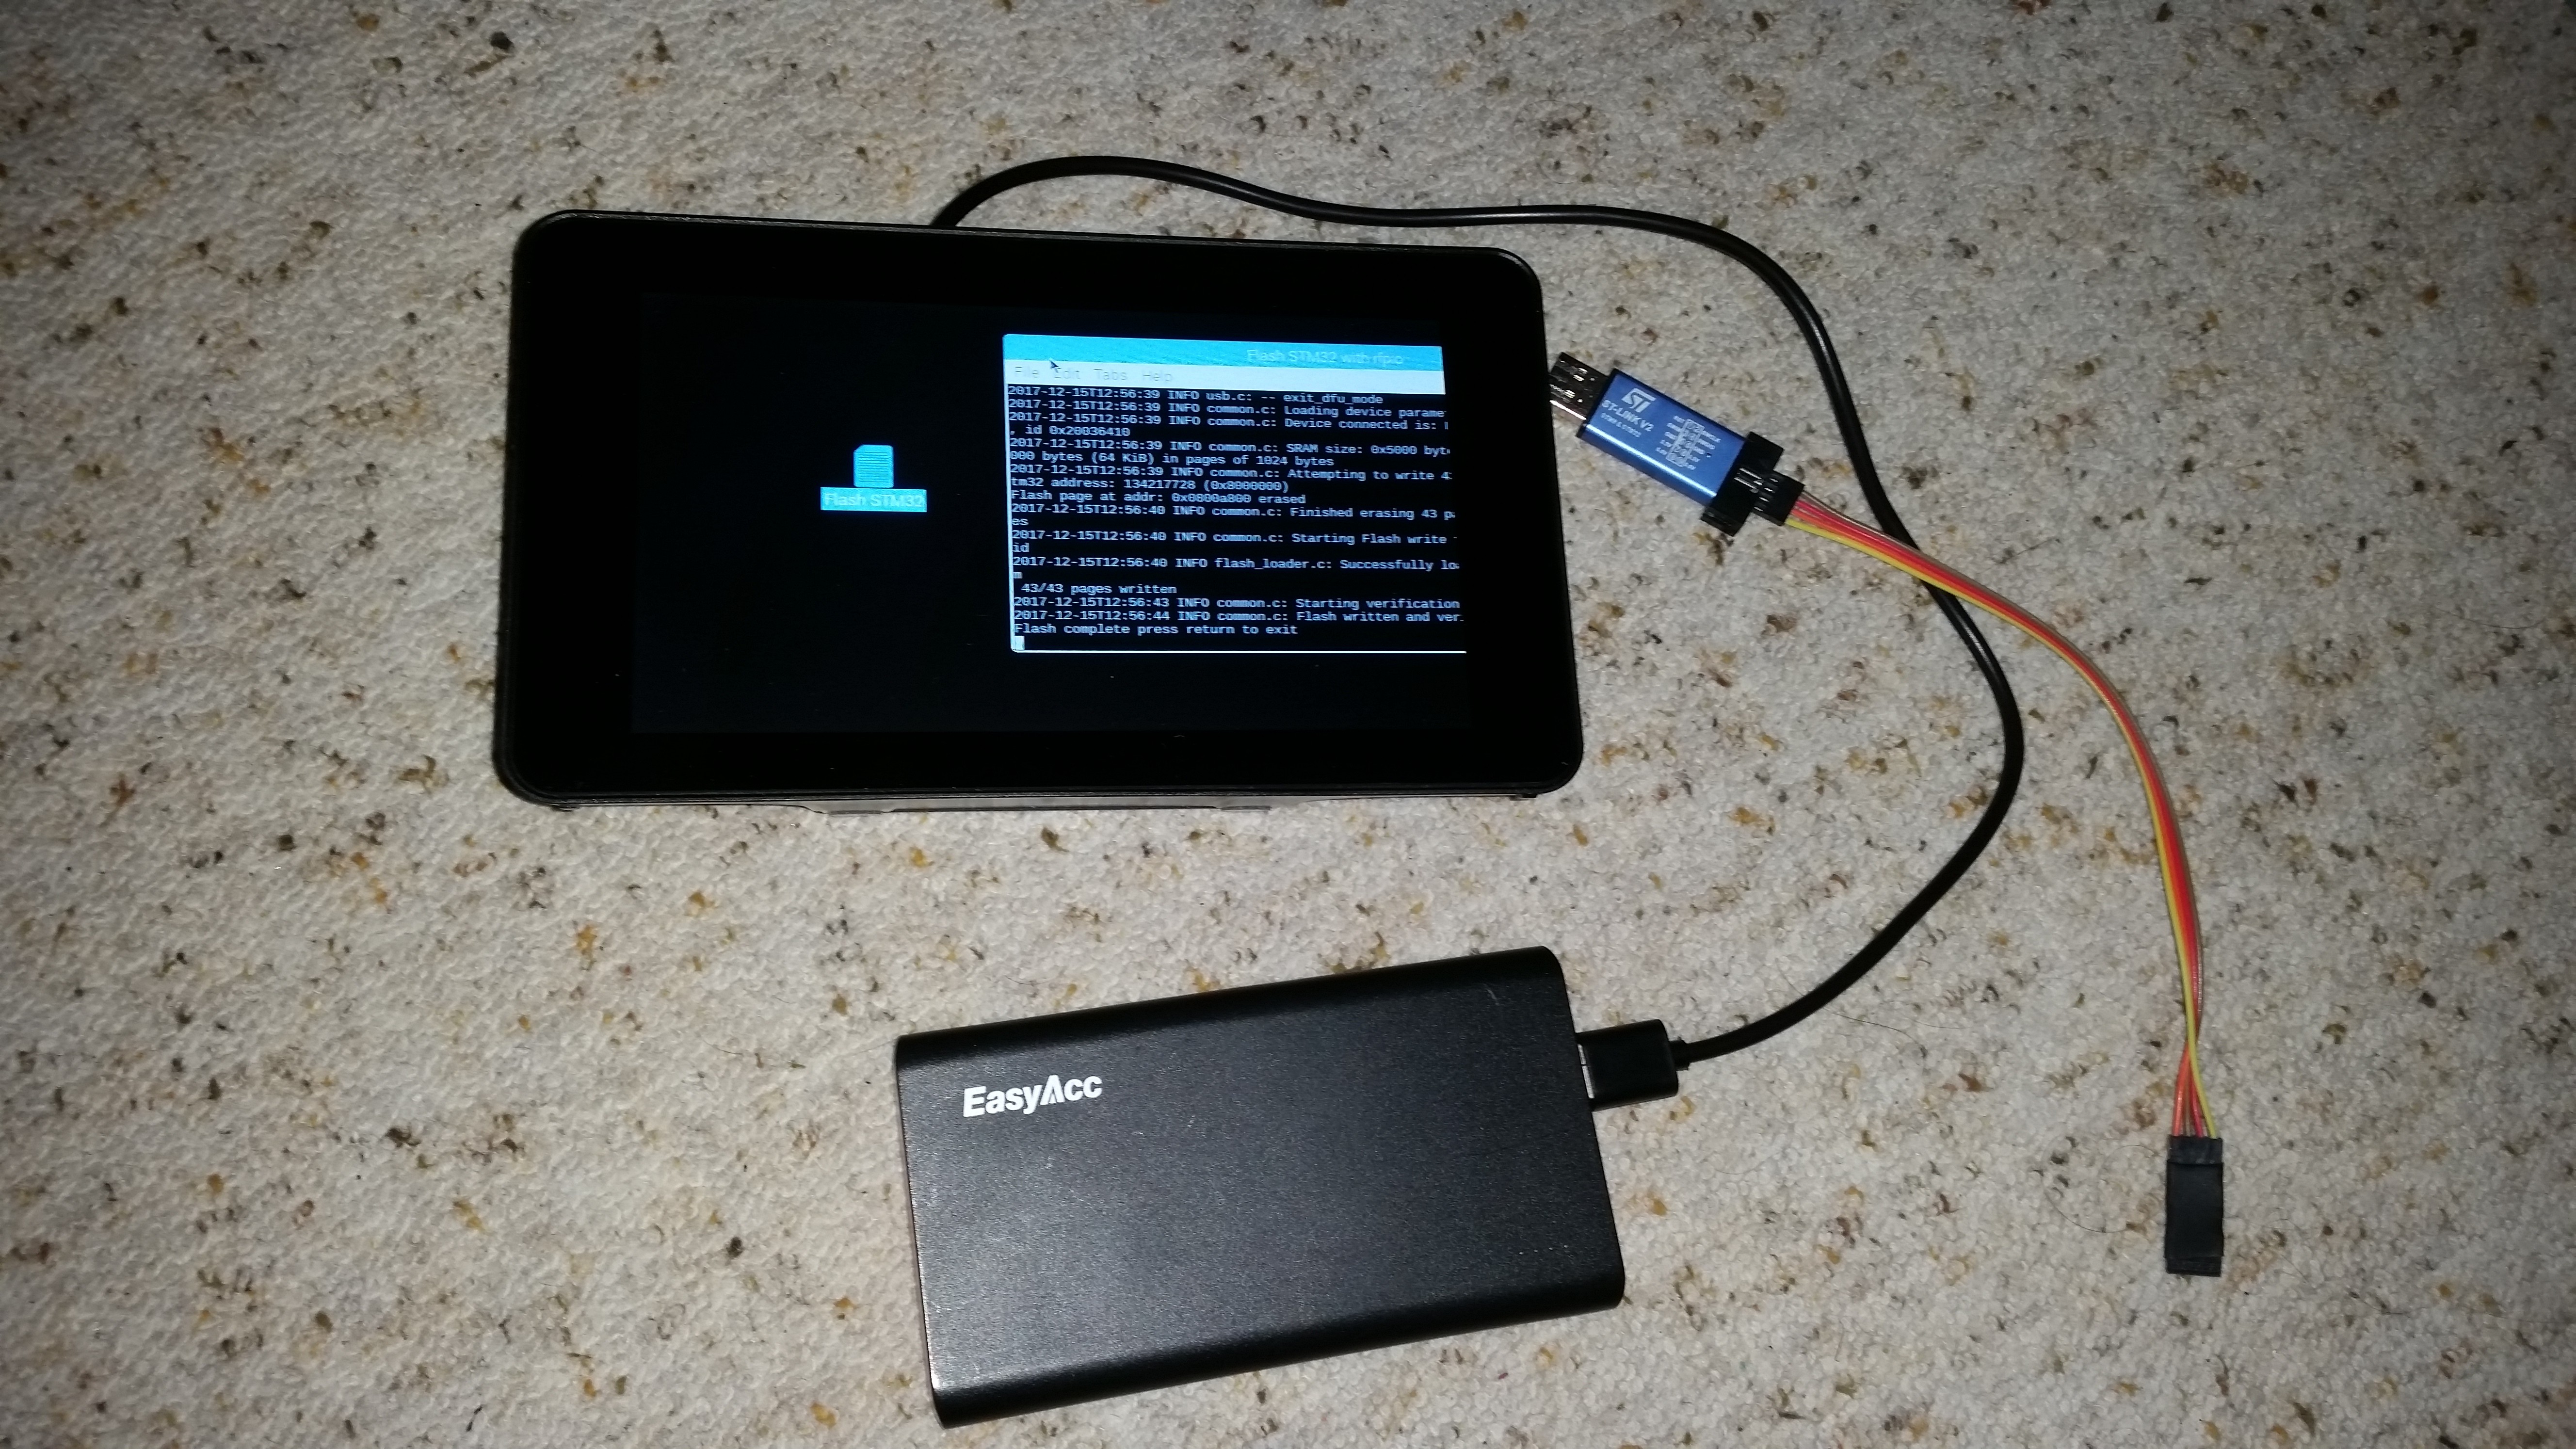
Flashing the STM32 : Rapsberry pi to the rescue
Over the air firmware update ? nfs bios, remote flash ? well, if the only problem is how to get the flasher to where the dimmer board is, probably high under the ceiling, then there's no place where the Raspberry pi cannot go to. Powered with a USB power pack, and covered with a touch screen where a simple click launches the flashing operation, the raspberry pi has nothing to envy from professional field equipment. for more details, see the Home Smart Mesh Instructions.
See the light
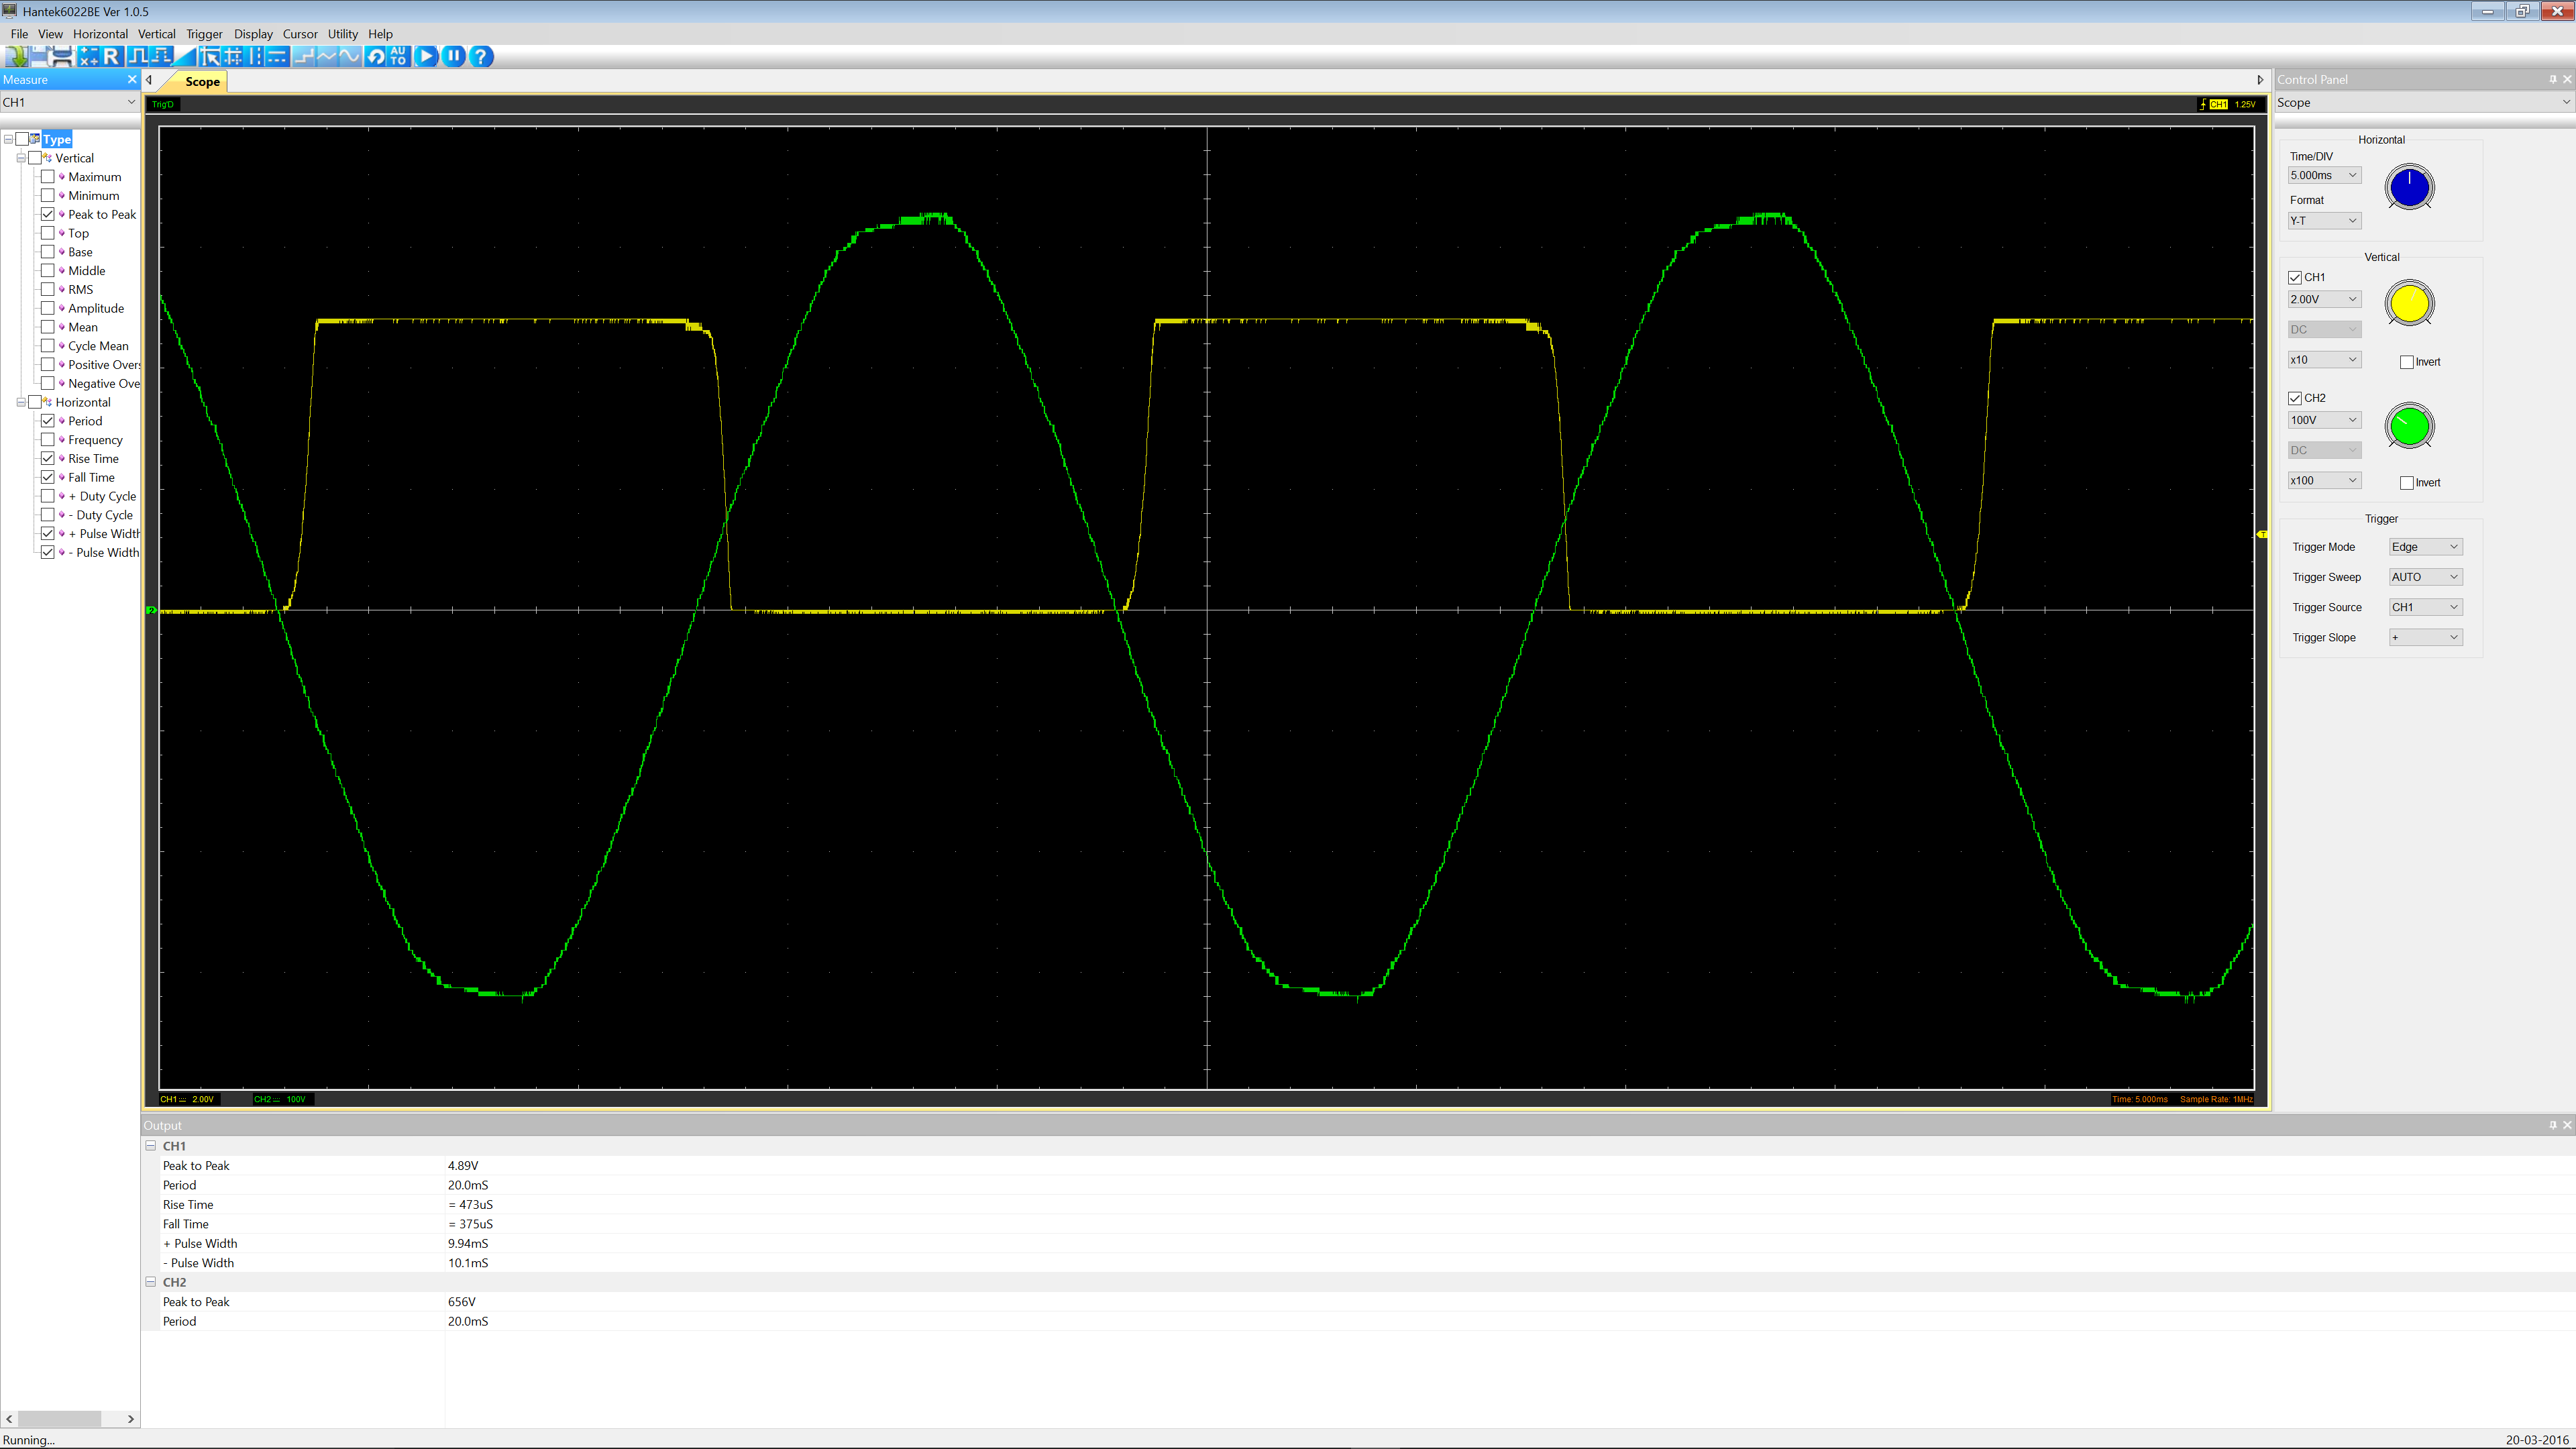
Early testing when I started to see the light, actually such a picture is good to have on owns mind when programming the PWM single shot pulses. Note that the sync signal coming back from the Krida dimmer board has some jitter as any signal, so getting close to the limits might have some light spikes.
Safety Warning
manipulating high voltage should be avoided in any case. This project has a power permanent switch and a relay and a fuse, and yet cannot guarantee absolute safety. Required knowledge about ground connections when making measures are absolutely vital.
 Jon durrant
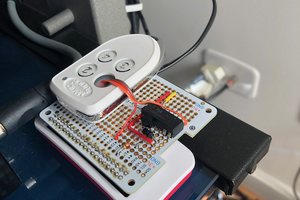
 rifowler
 Wojtek