 ga
gaThis is just another Picam, with some interesting features and ideas. Many already working, some which don't work, and others to be implemented. But in the end, nothing you haven't seen in other projects.
The original idea was only to take photos and panoramas, using 2 servos. But as the project was growing, I kept adding sensors and features. At first I doubted seriously if I was be able to build it, mainly due to my (really) low electronics knowledge, but hopefully I managed to overpass almost all the problems.
Table Of Contents
- First idea
- Camera enclosure
- Power
- Board
- Camera
- Temperature sensor
- Luminosity sensor (/lightnings sensor)
- Distance/Movement sensor
- HDRs
- Servos
- Panoramas
- Timelapses
- Fullmoon photos
- Whatsapp bot
- TODOs
0. First idea
As I've said, the original idea was to take photos, panoramas and lightnings, using 2 servos for the panoramas. So I started playing around.
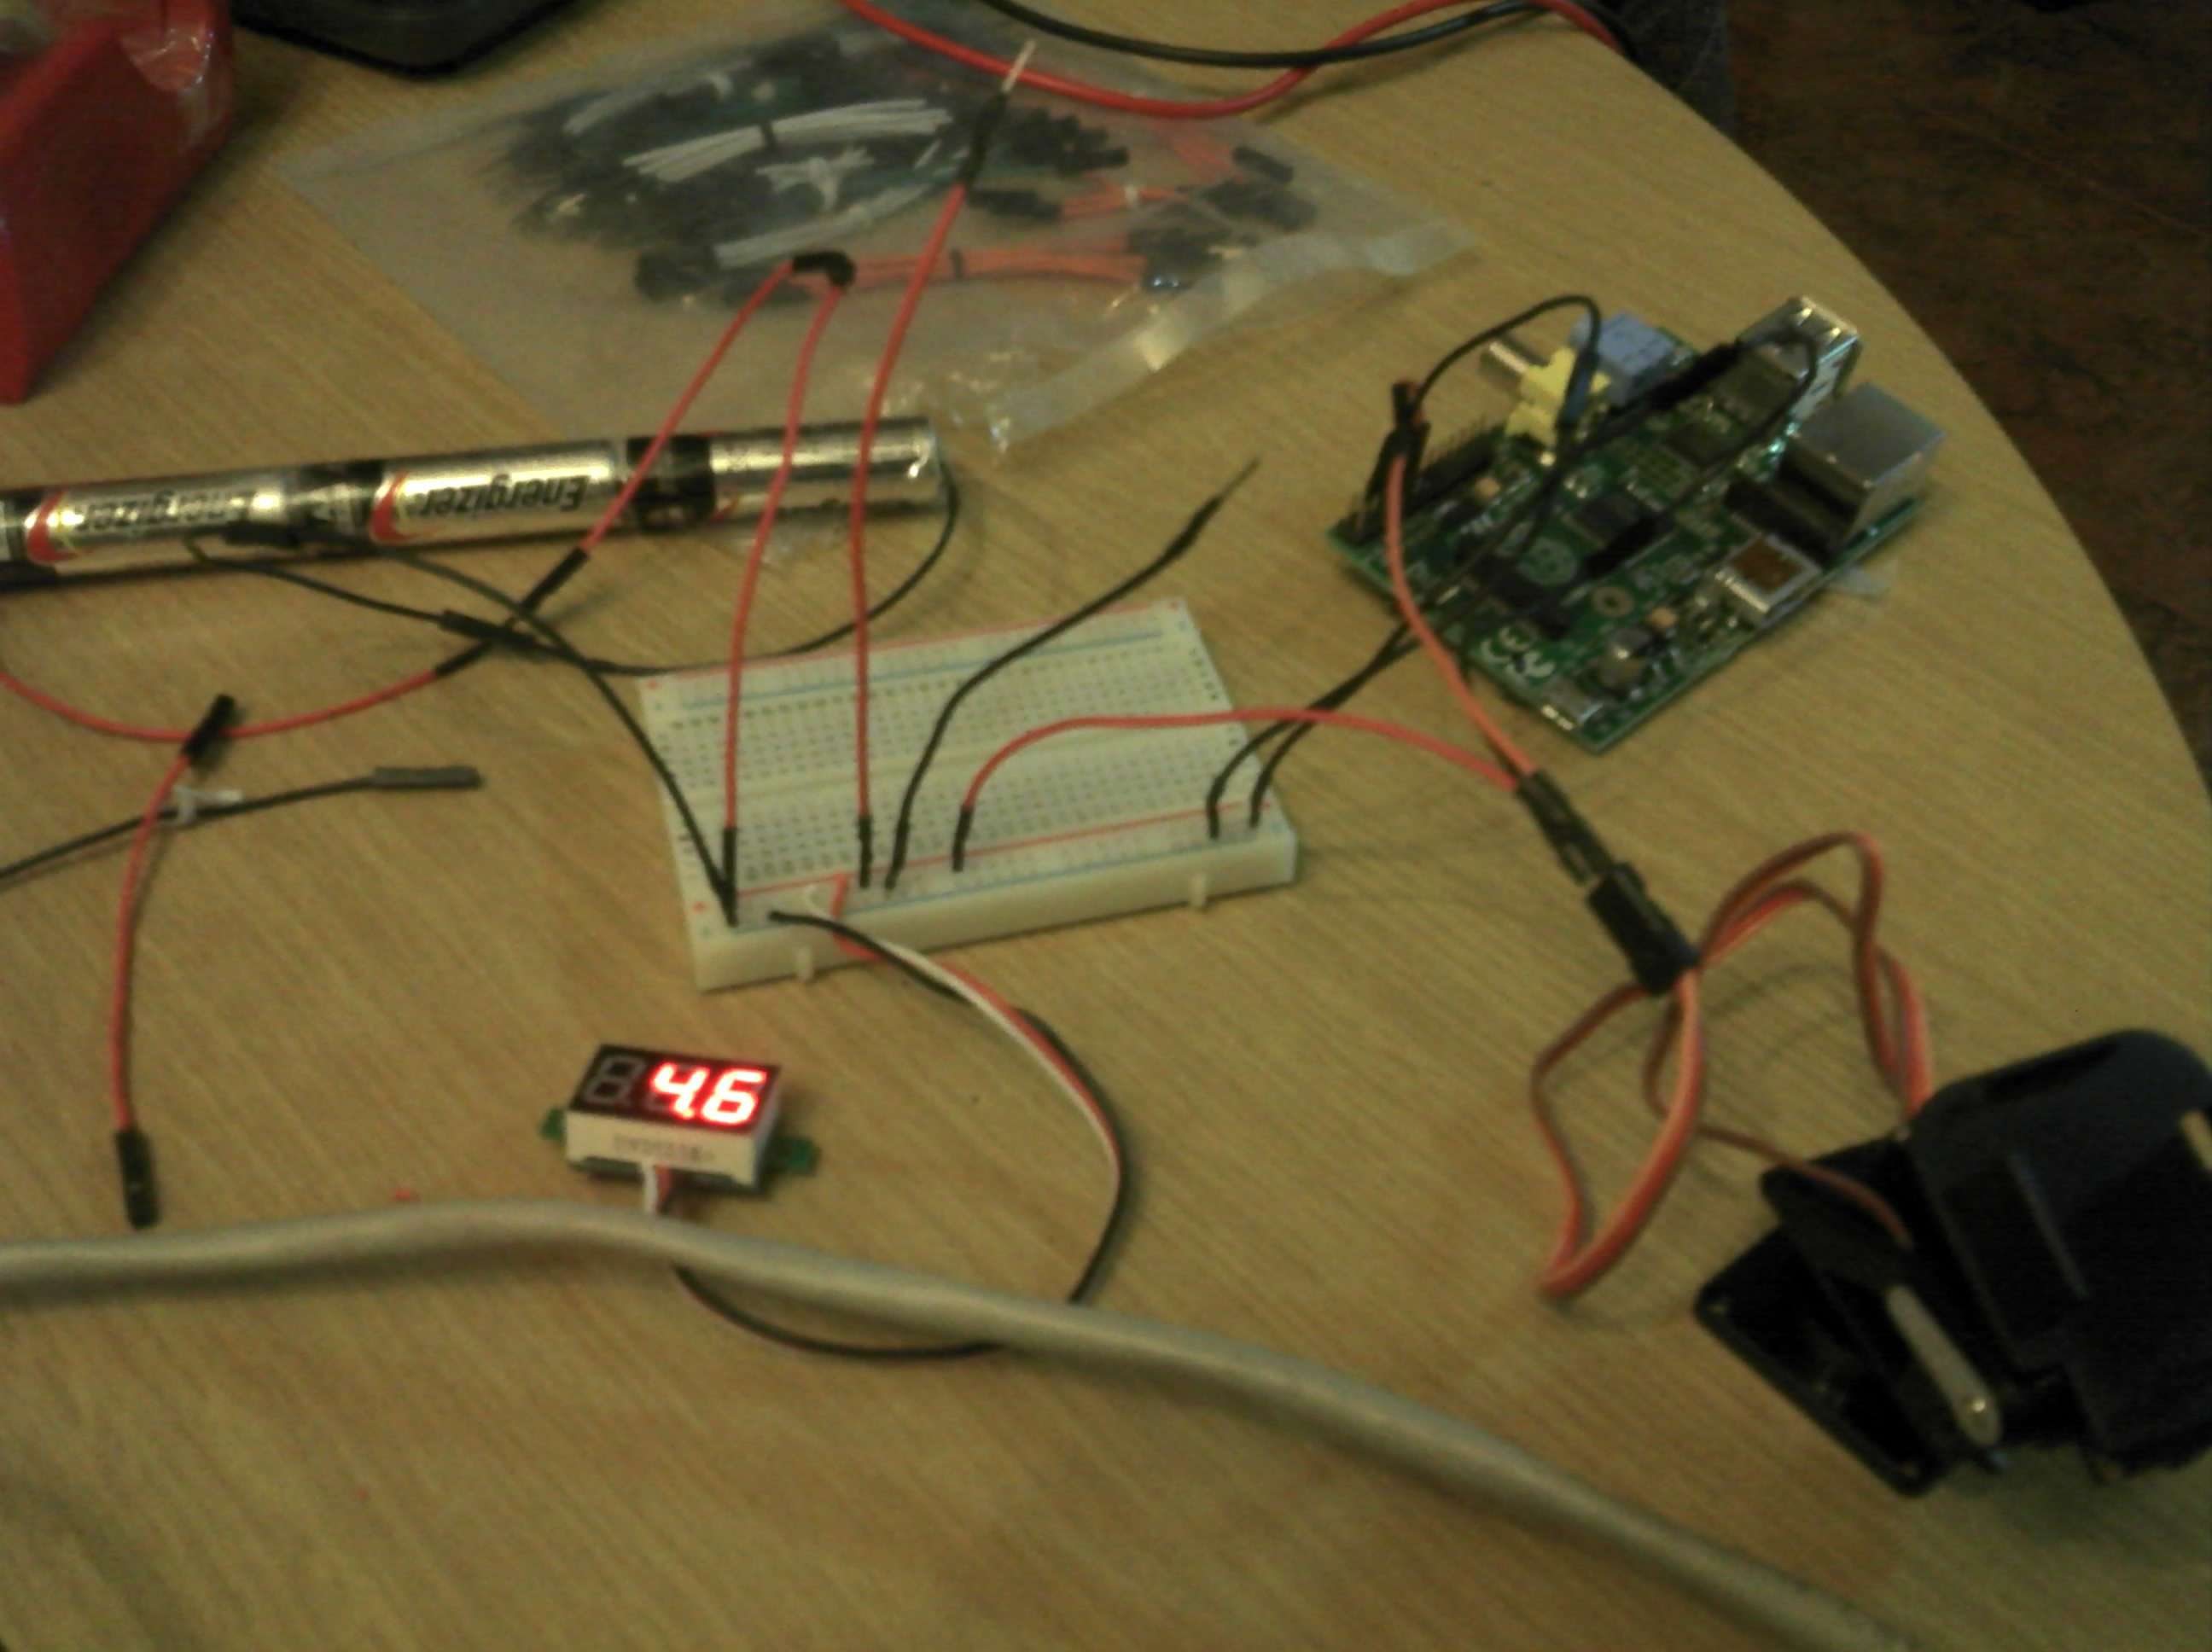 |  |
But this was just the idea. Later I changed the camera and used only 1 servo.
1. Camera enclosure
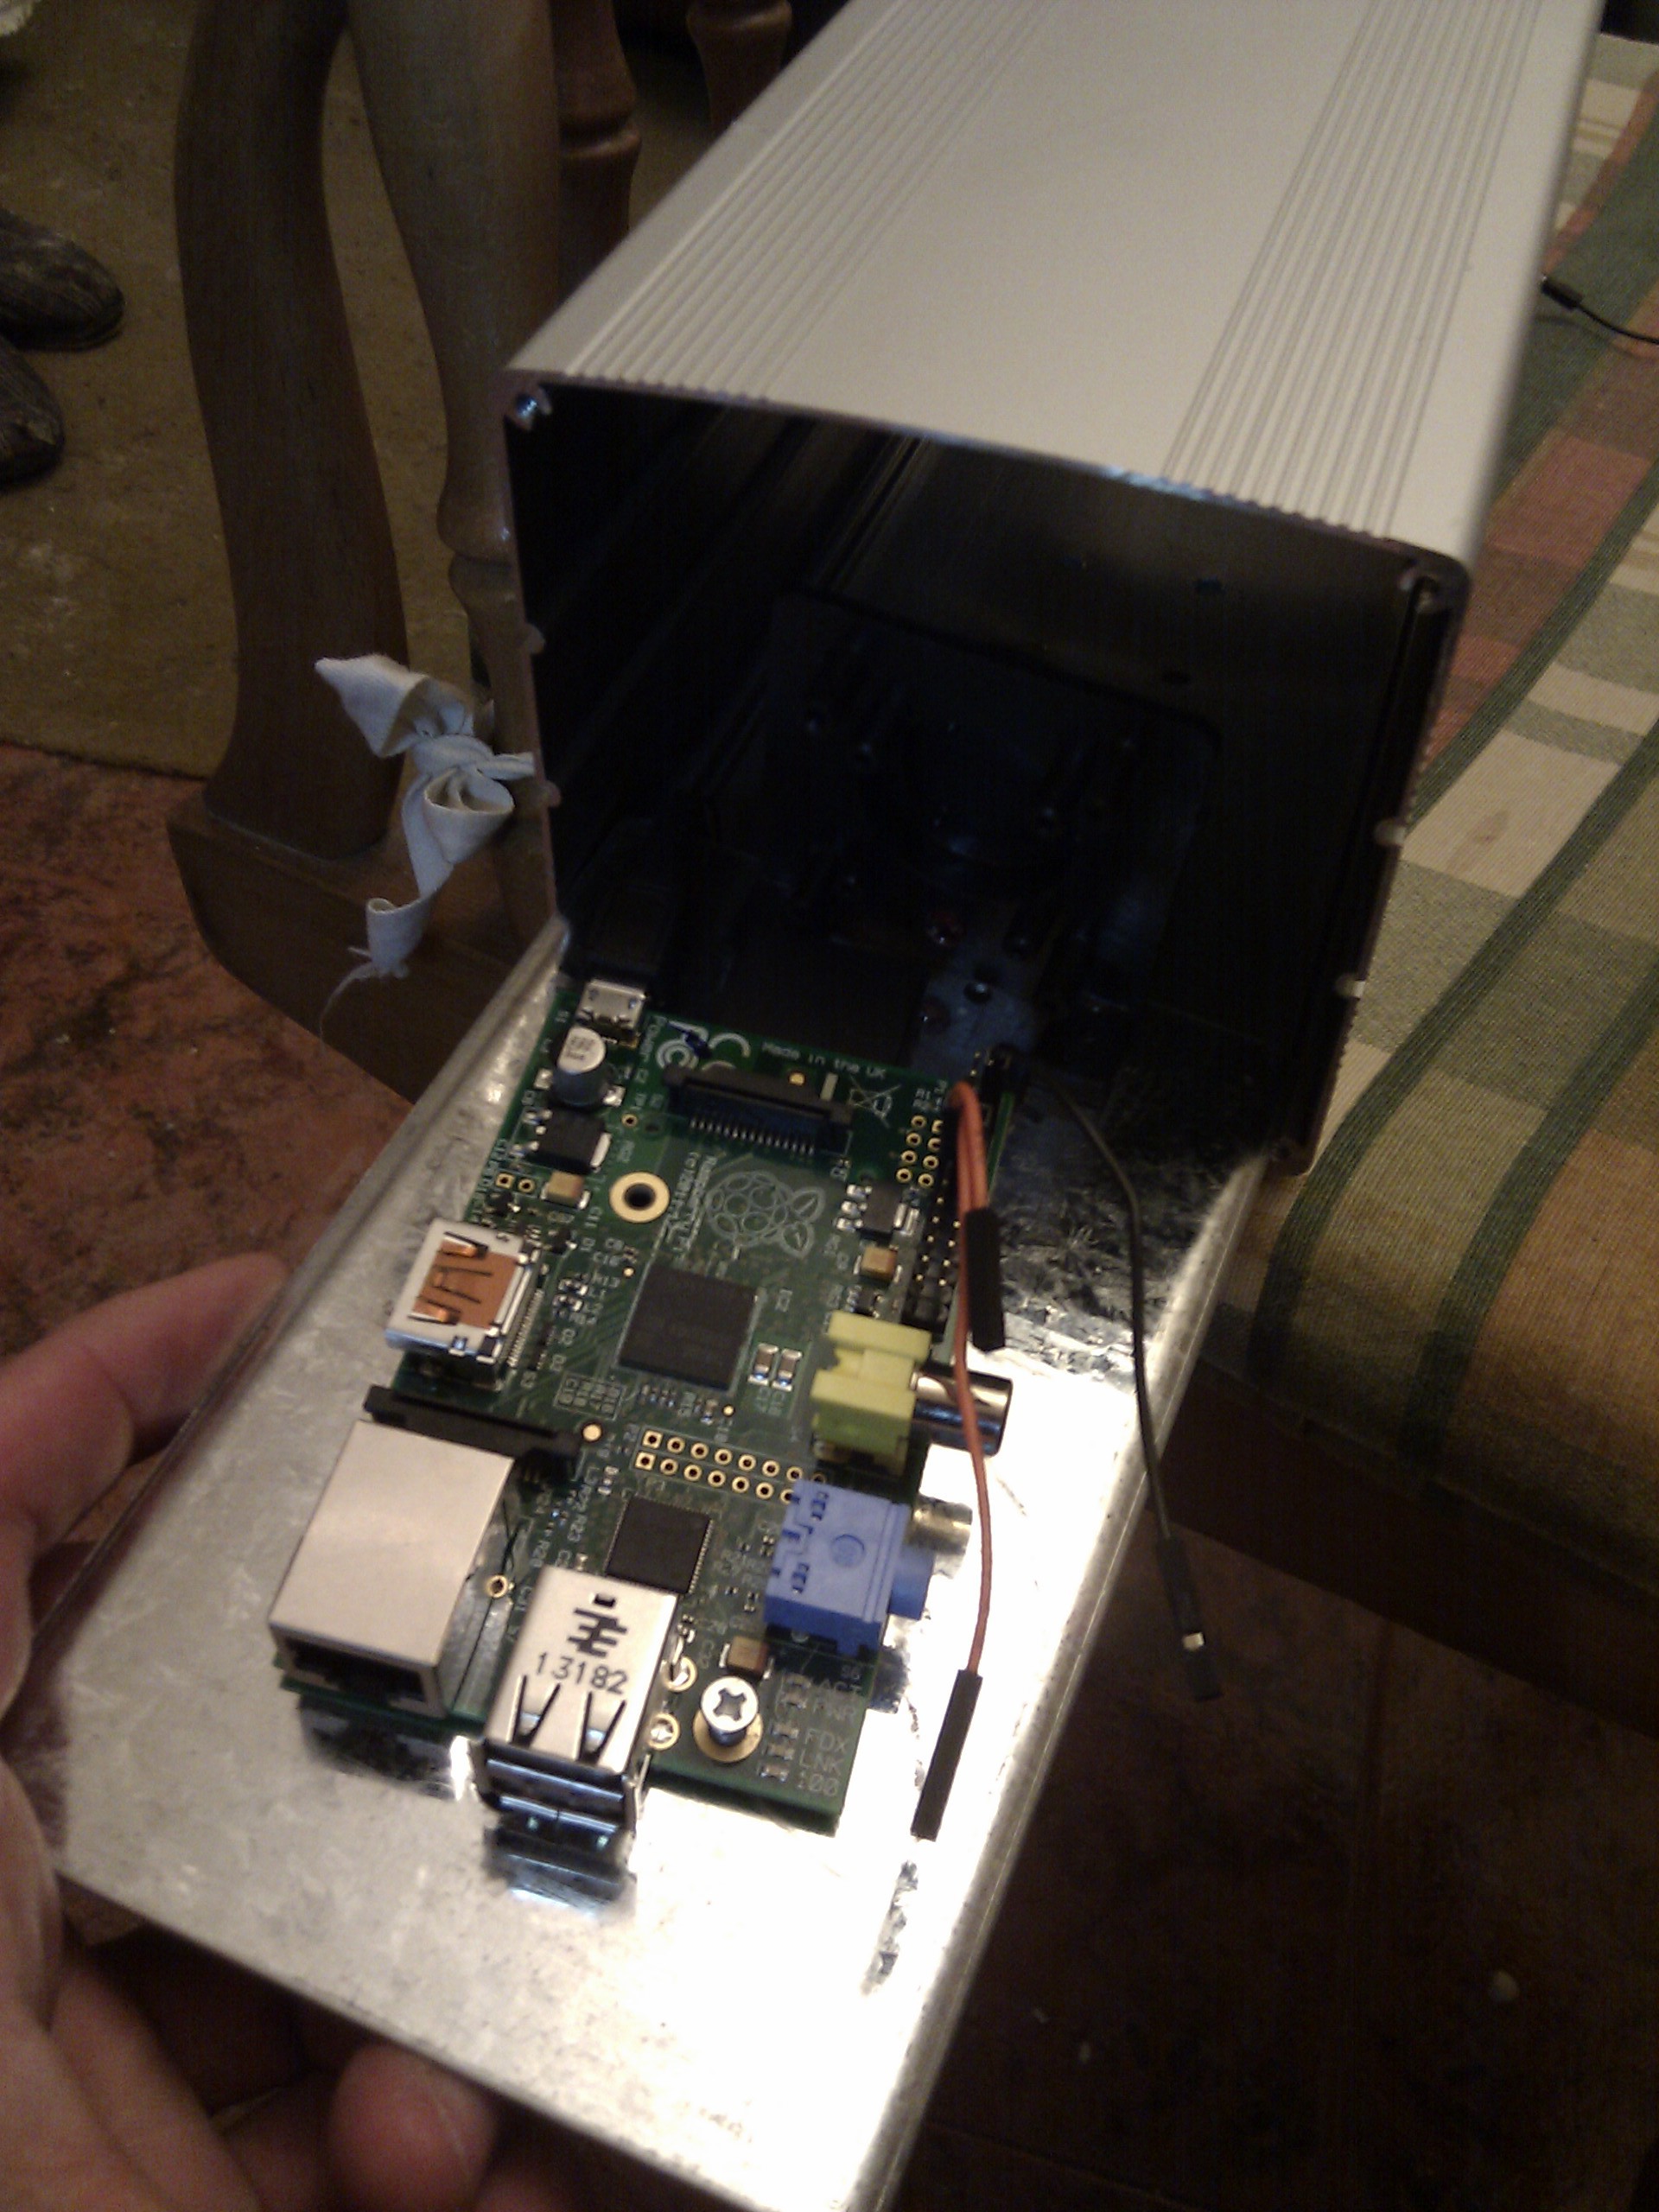
My idea was to place the camera outdoor. This Raspberry Pi board had been used for 2 years as wireless repeater in a very good enclosure without problems, working on -12ºC to 40ºC, but the lid was not transparent, so I could not use it for this project:
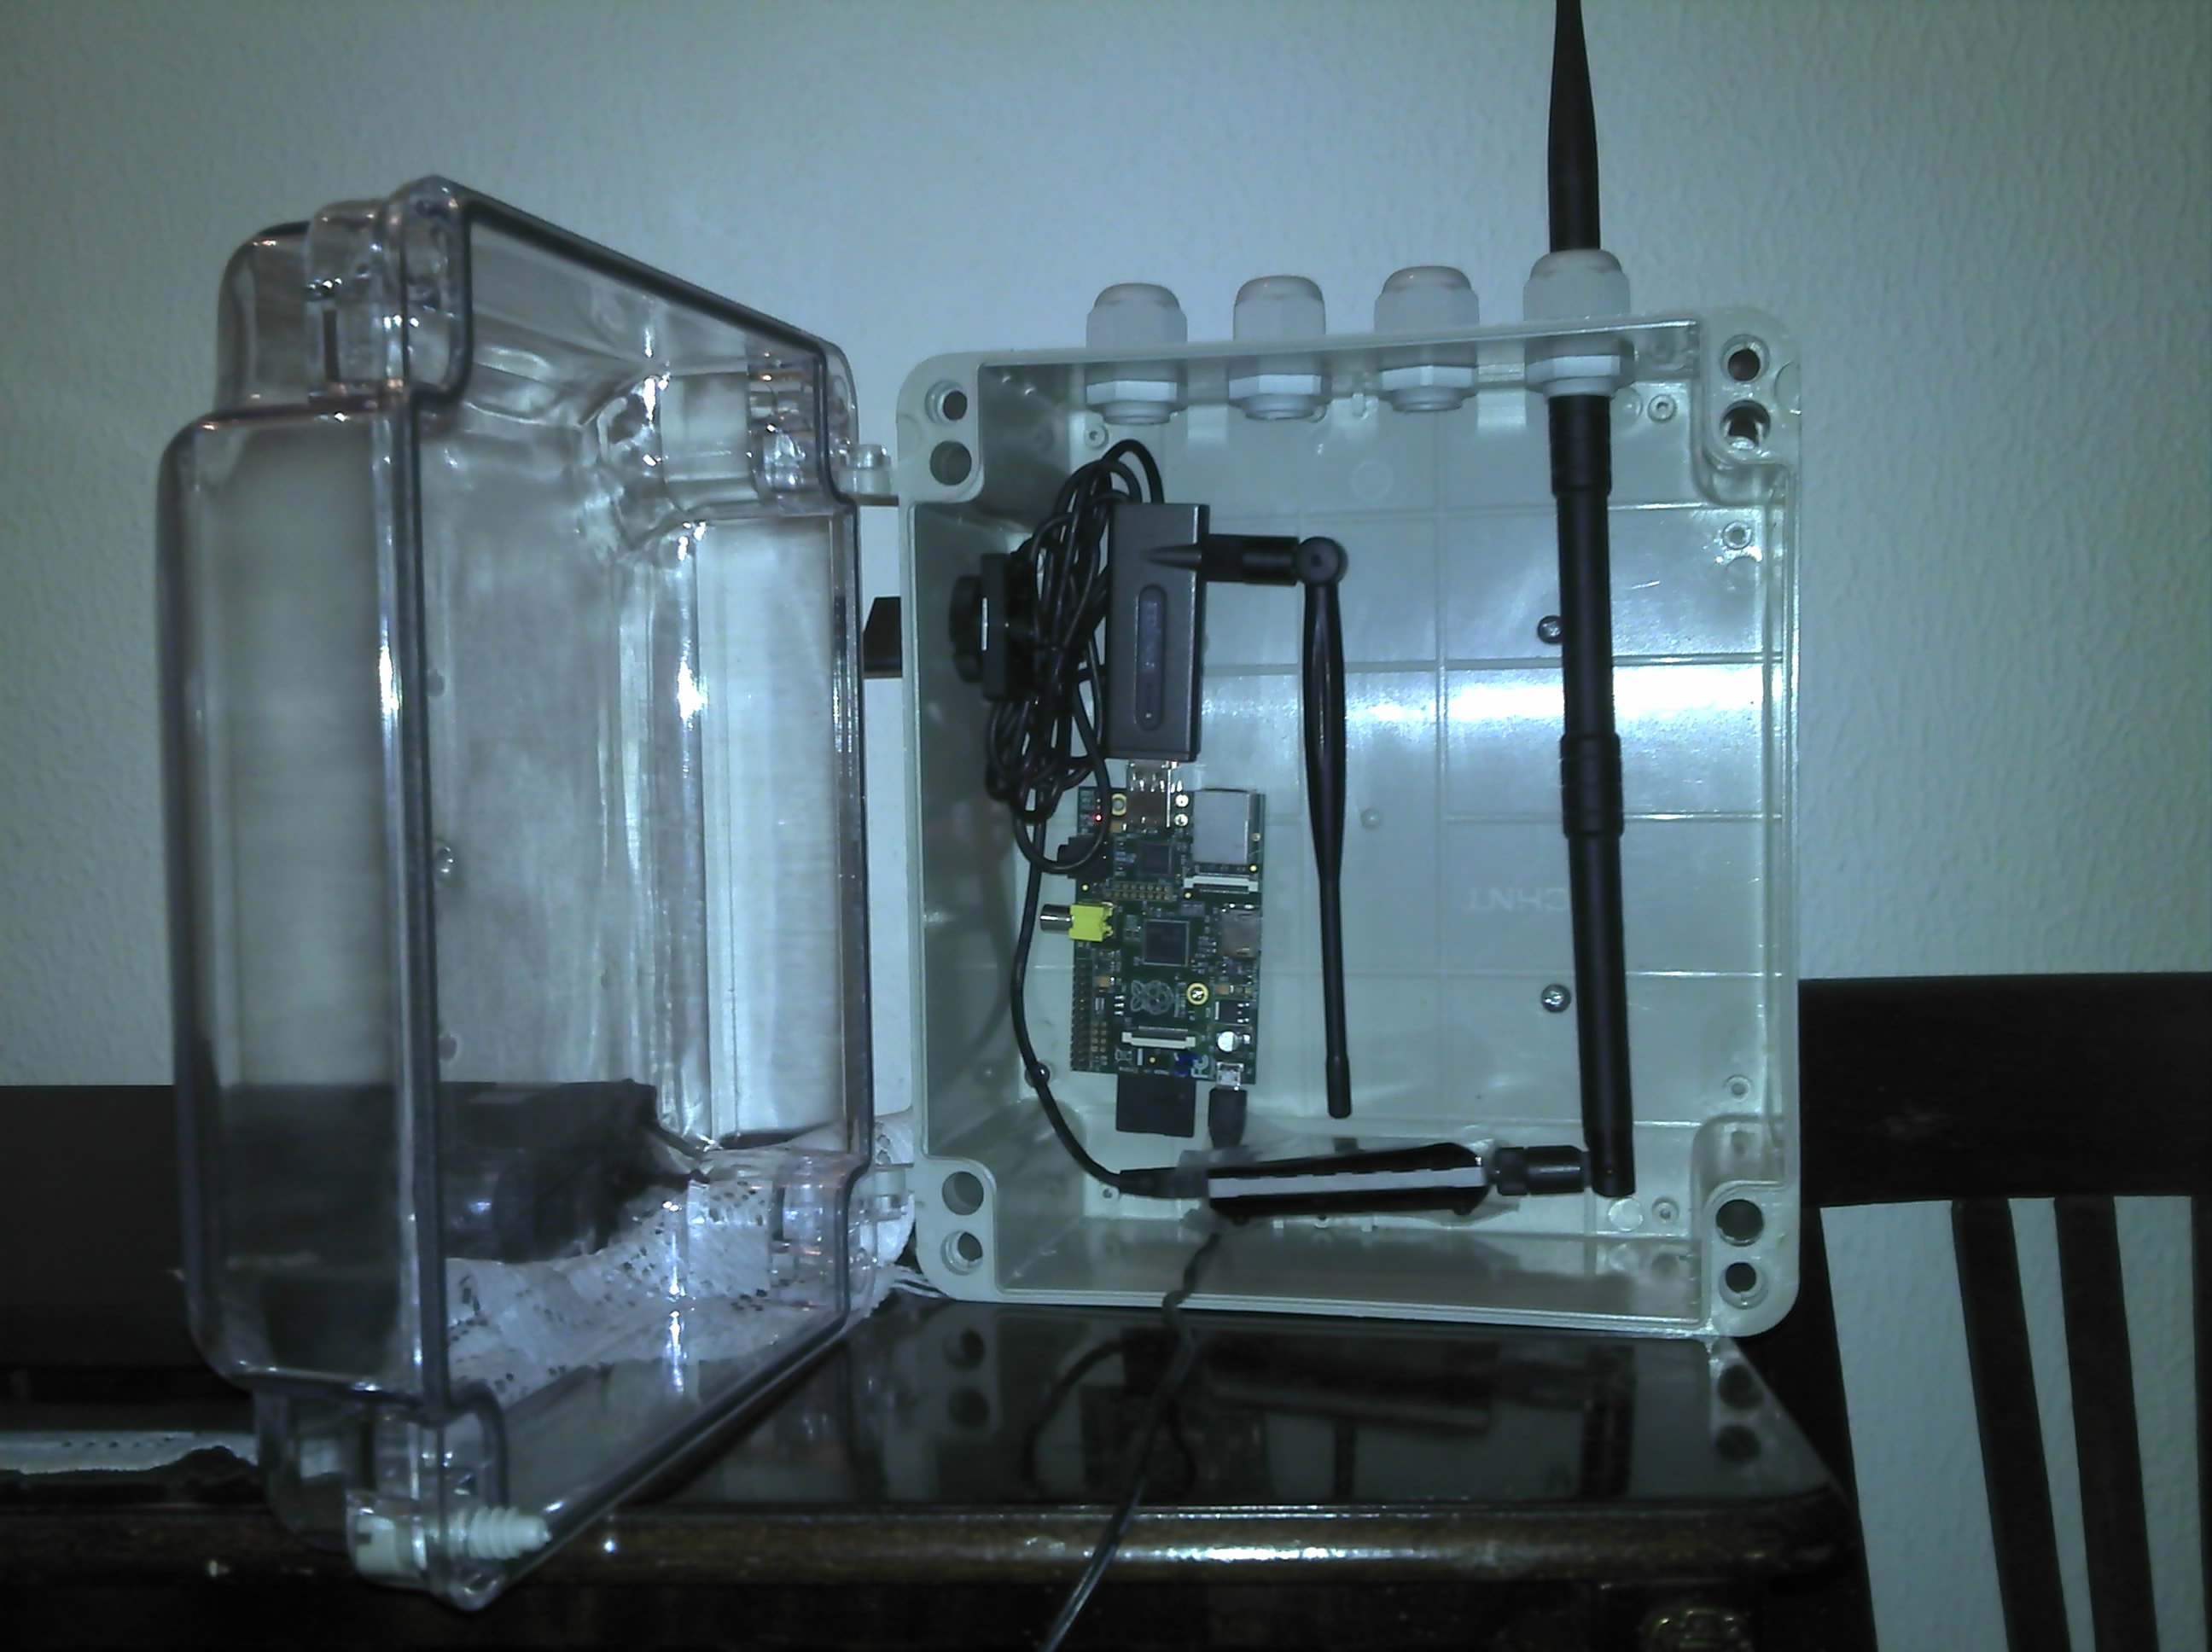 | 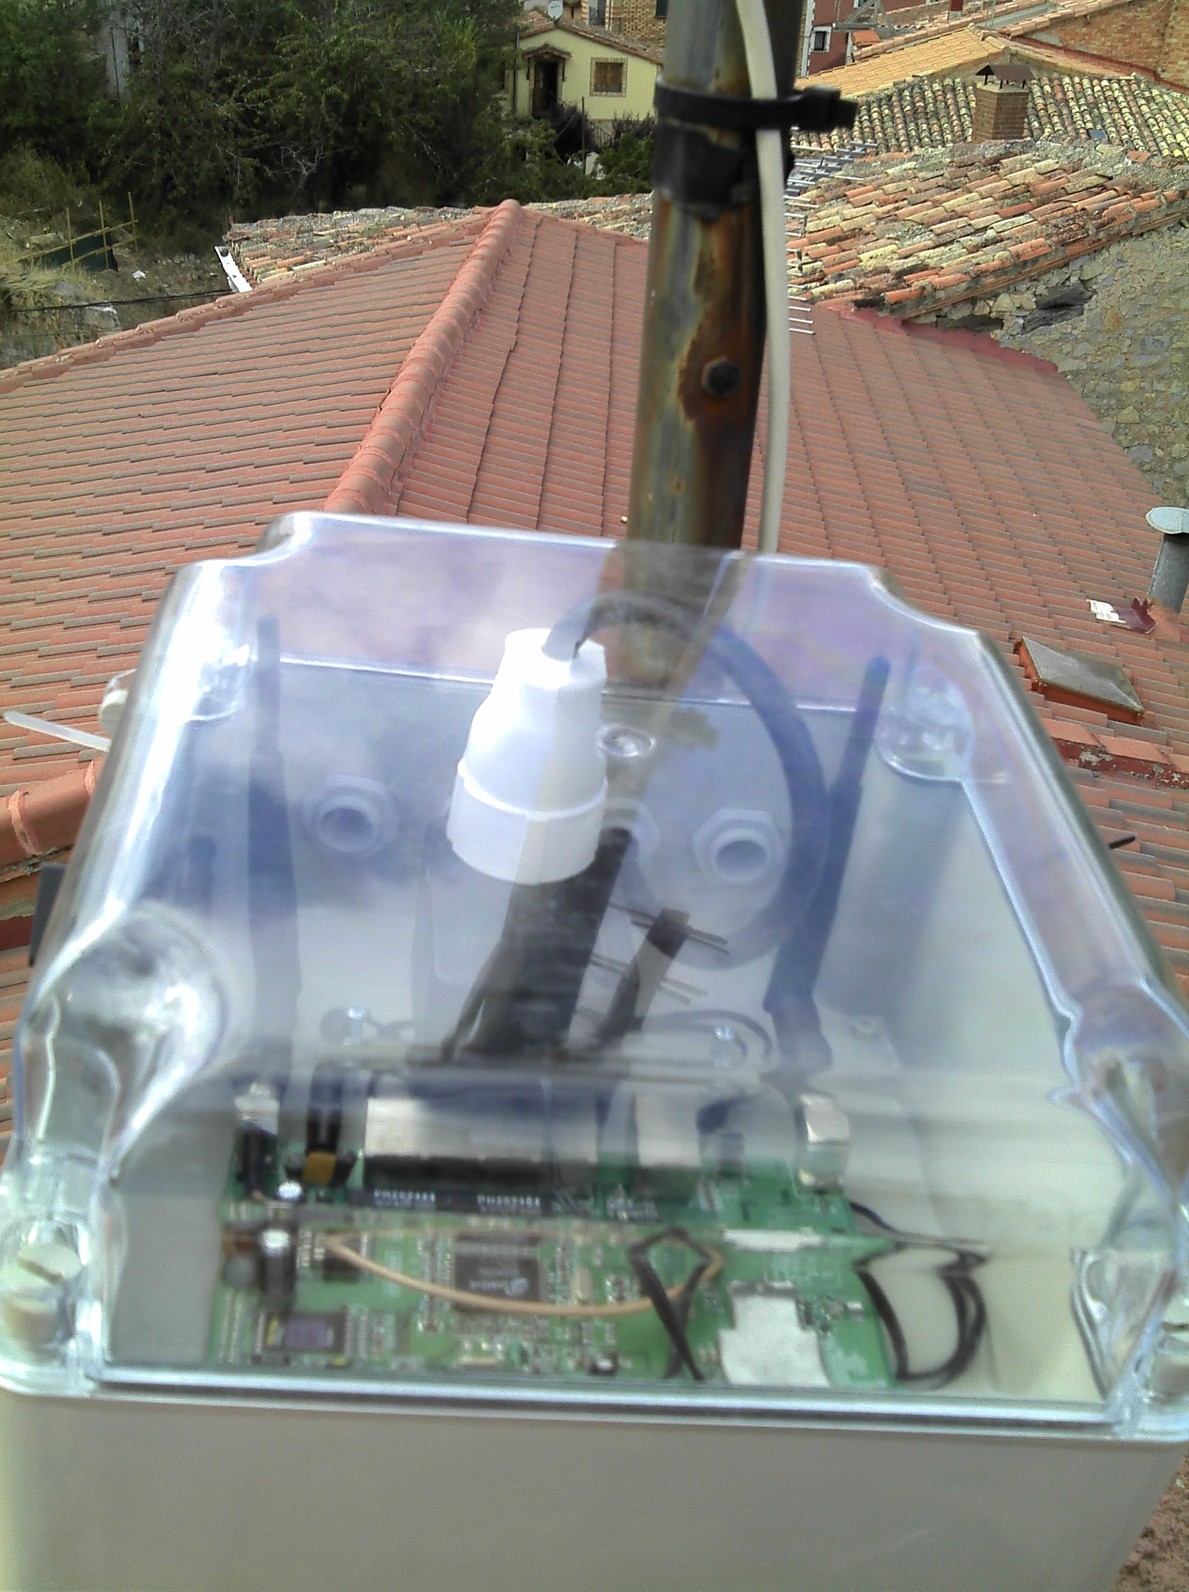 |
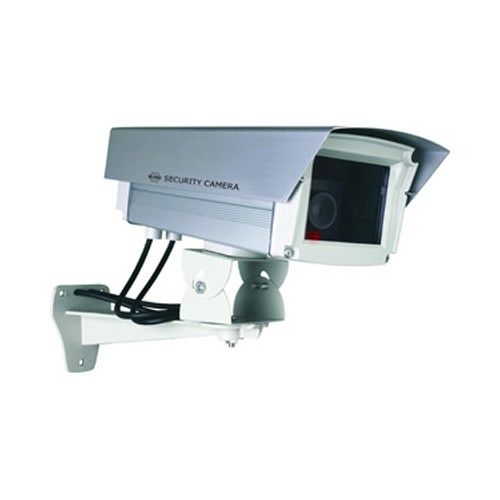
After some research and search, I realized that the best way to put the camera outdoor was to buy a dummy camera. They're cheap, with wall mounts, quite robust and fairly weather resistant. So I bought an enclosure which looked fine, but the crystal (plastic) was not transparent either.

So finally I bought the Elro CS66D dummy camera:
This one met all my needs: robust, with holes for the cables, wall mount, crystal transparent and clear to take photos, and apparently I could place a servo to move it (though I had no idea how yet). For my surprise, this dummy camera comes with a support which is perfect for place the raspi board, and the camera module fits perfectly in the mount of the dummy one:
 |
 |
If you build a similar setup, take a look at the Elro CS11D model. Probably it'll be enough, and it's cheaper and lighter than the CS66D.
2. Power
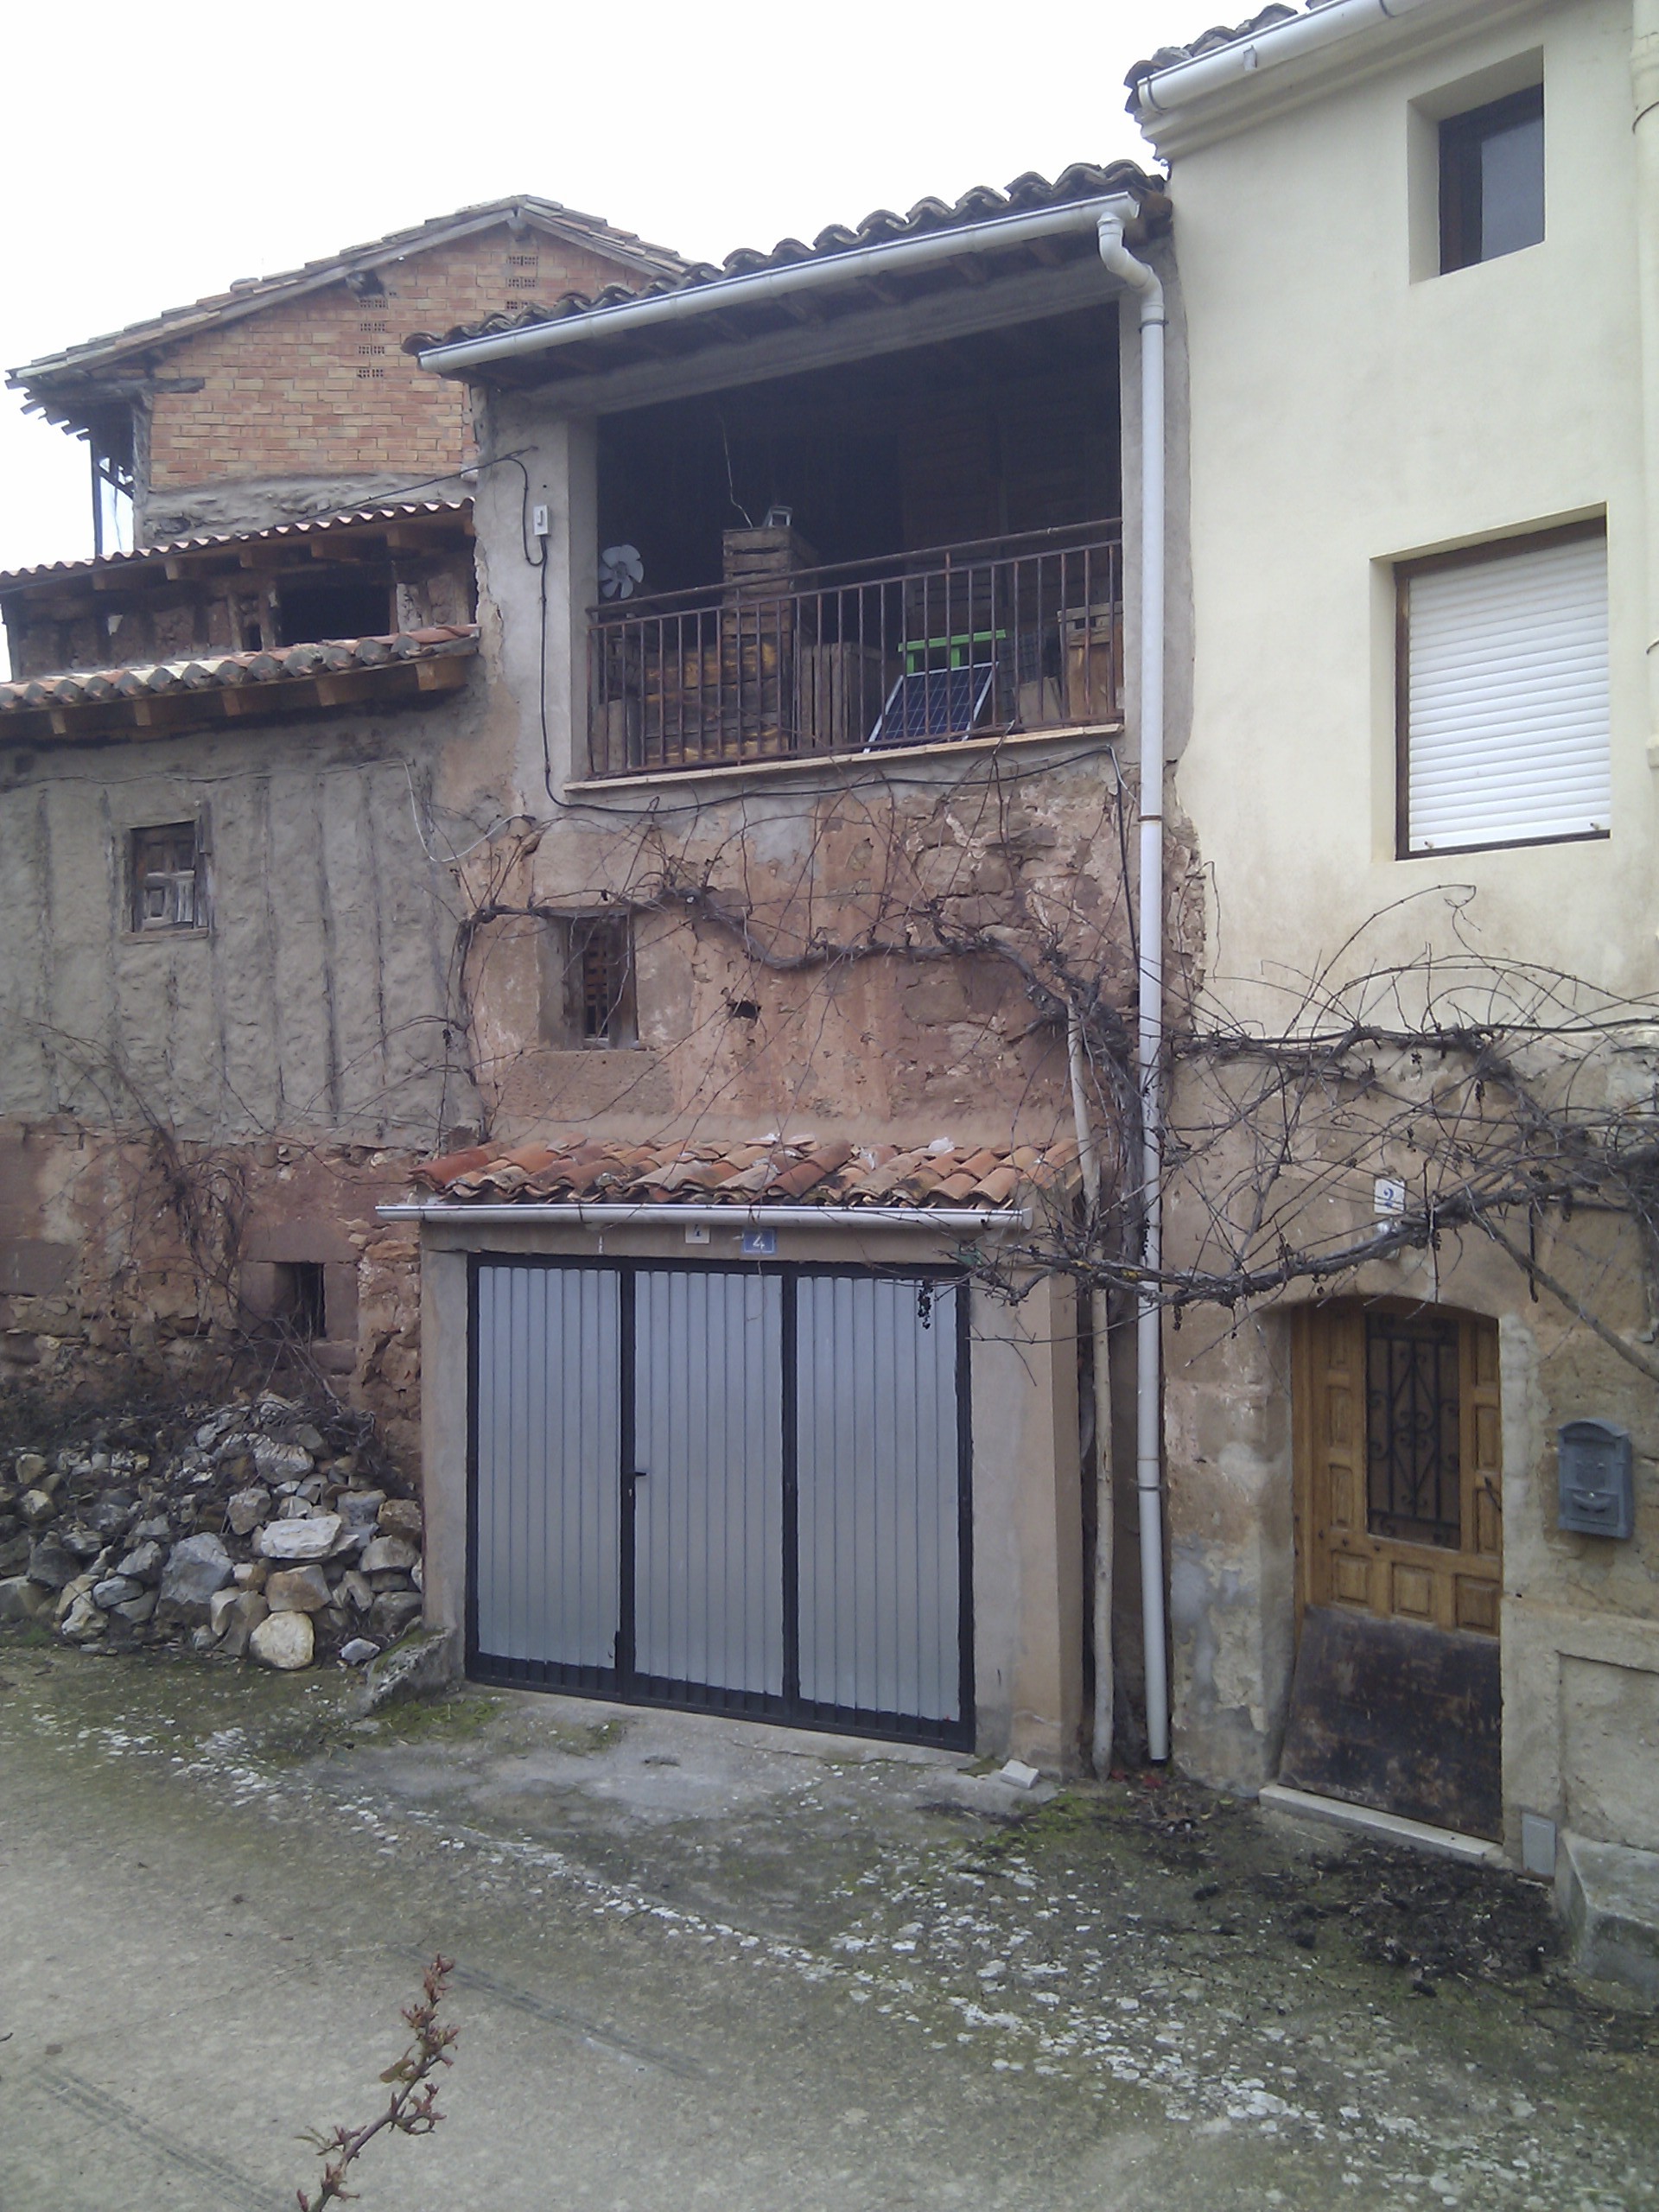
Once I had the enclosure to put the Picam outdoor, I needed to power it. The camera is located in a really small village where I don't live, so it should works on its own. The house doesn't have electricity, so a solar panel was the only alternative.
I recycled a 12V-5V step down DC converter, and adapted it for the Picam:
 |  |
I also recycled an old and faulty battery car, which for the tests was just ok. Over time I've recycled more old batteries taken out from the family's cars. One day I'll buy a new battery, for use with solar power. But for now I'm ok with how it's.
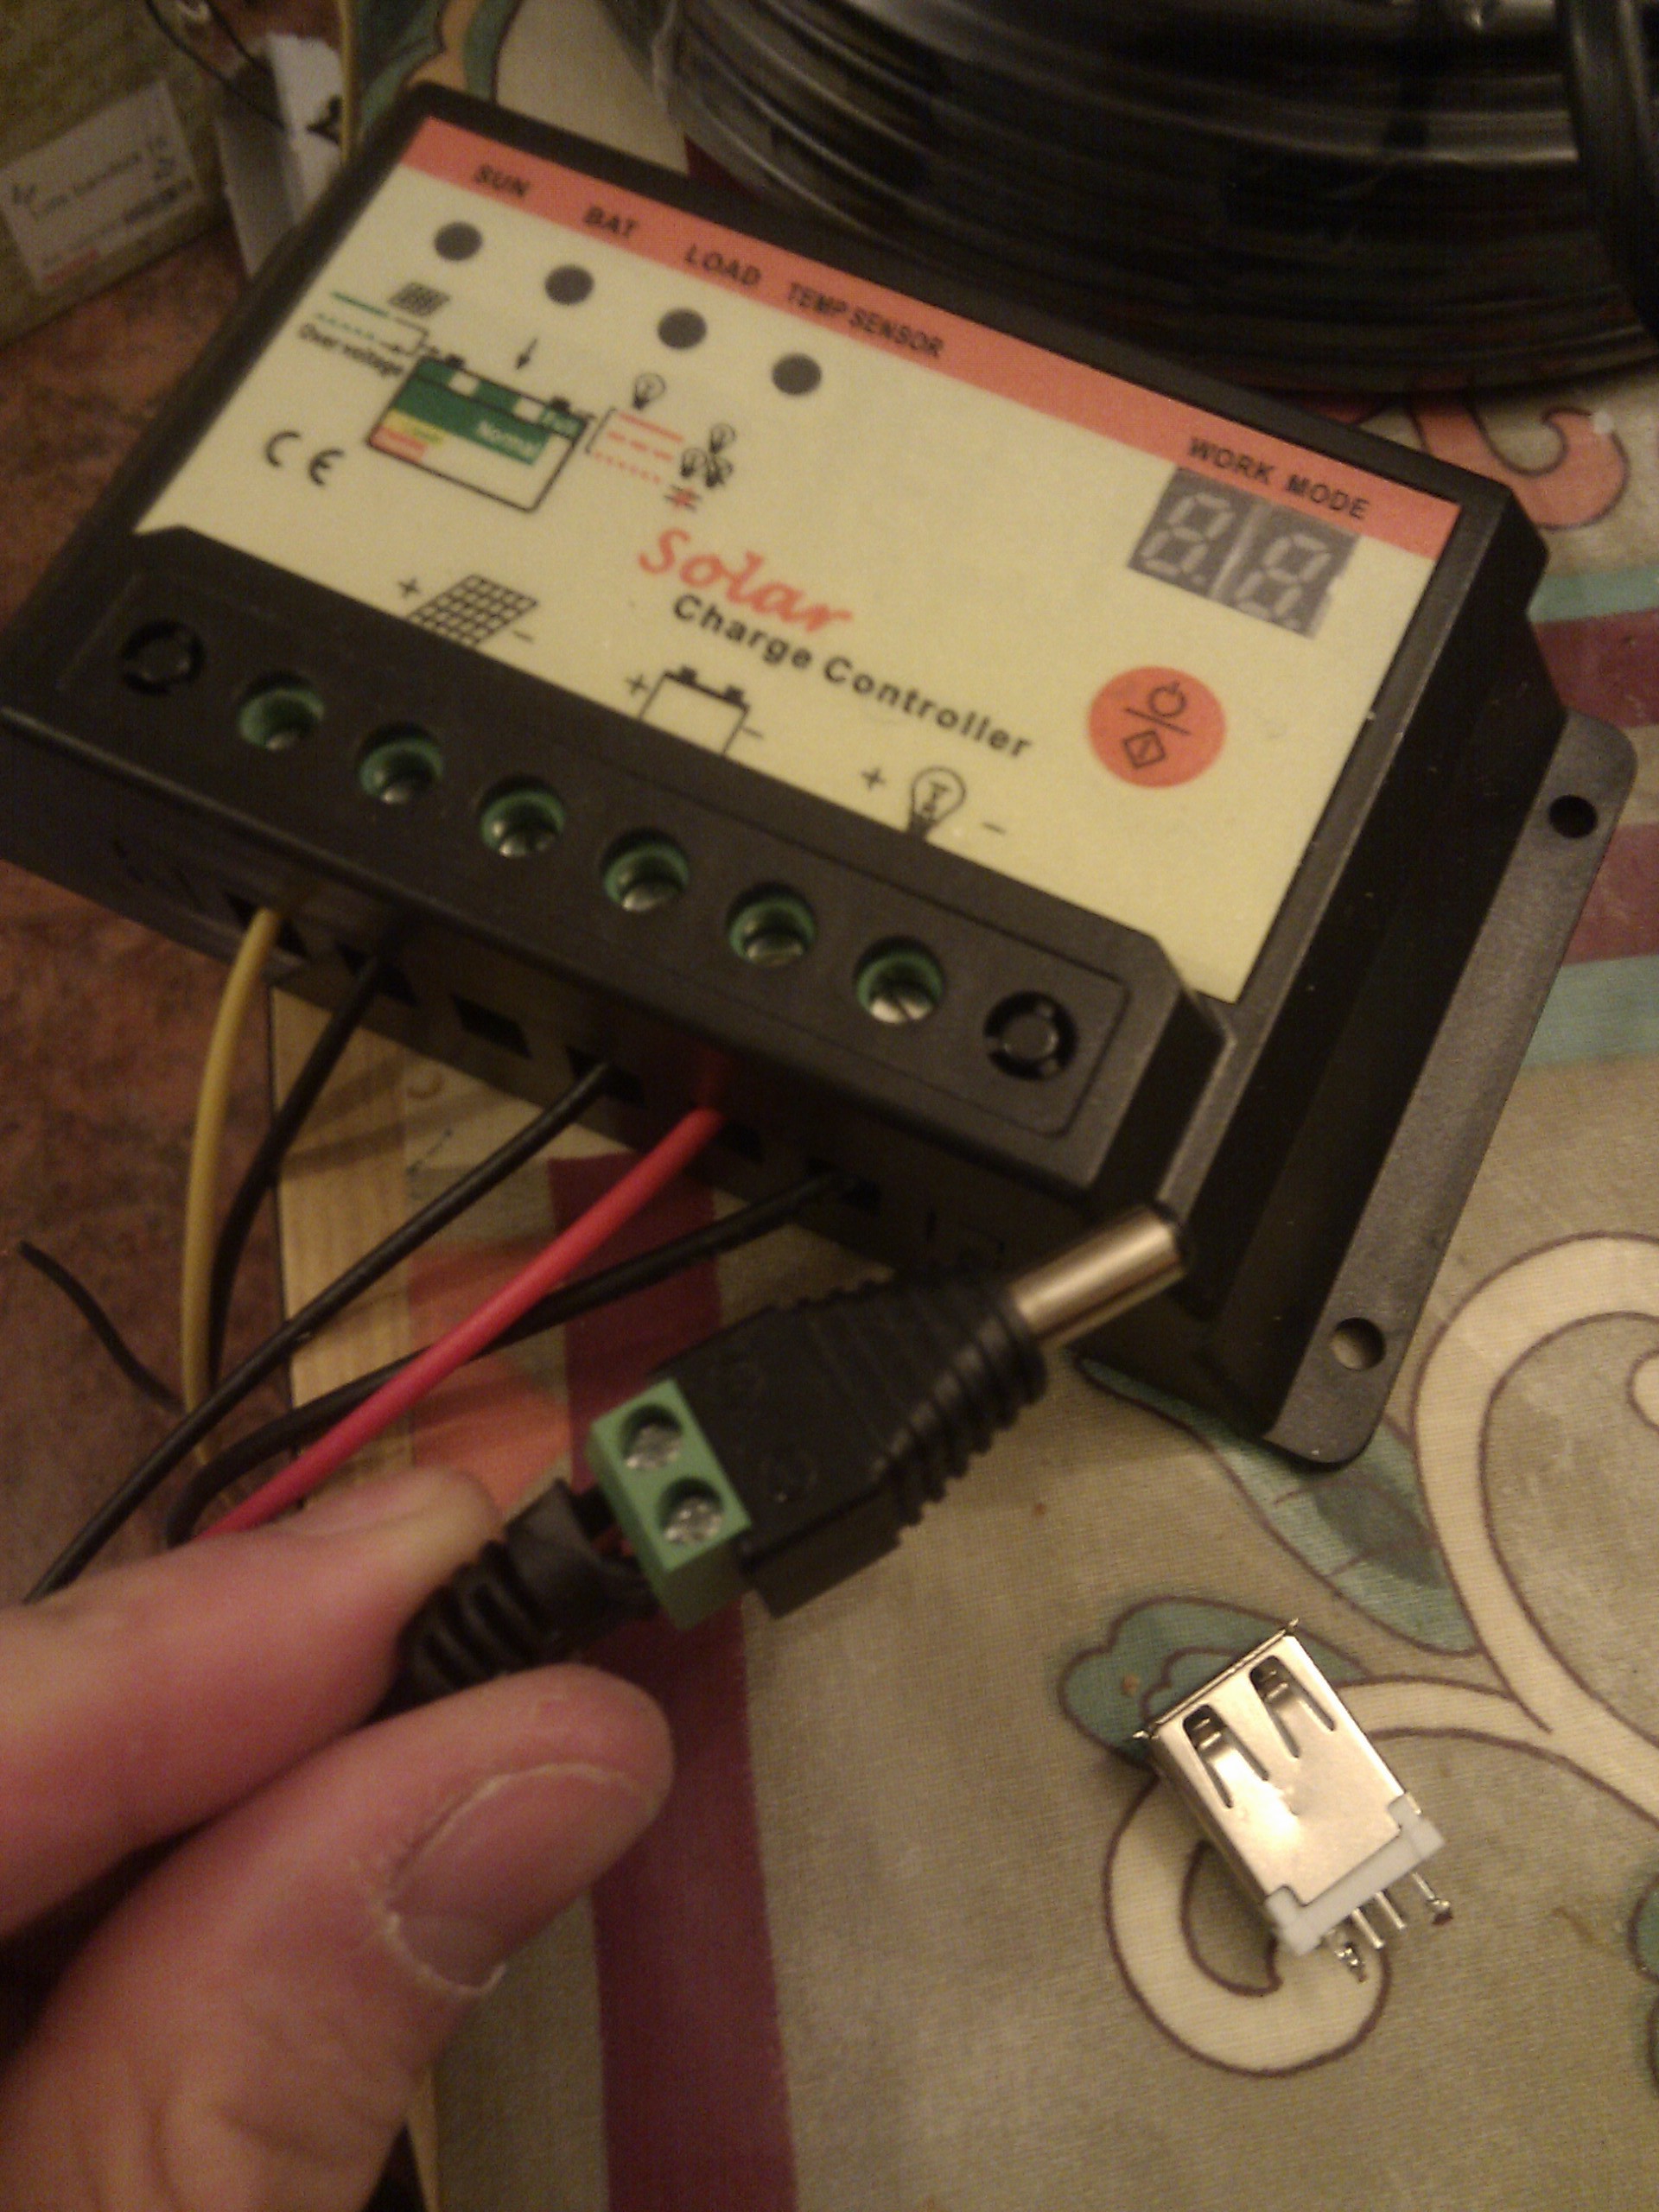
I bought a new solar charge controller, because the one shown on the images above doesn't support certain operation mode, and it causes a loop:
#1 When the solar panel charges the battery enough, the charger connects back the load so the Pi starts up. However on cloudy days, the charge rate is so low that the Picam discharges the battery again after few seconds/minutes, and the solar charge controller cuts the load so the Picam is switched off unexpectedly. Go to #1.
This caused Picam to switch off continuously, causing severe damages to the SD card, and in the end corrupting the filesystem.
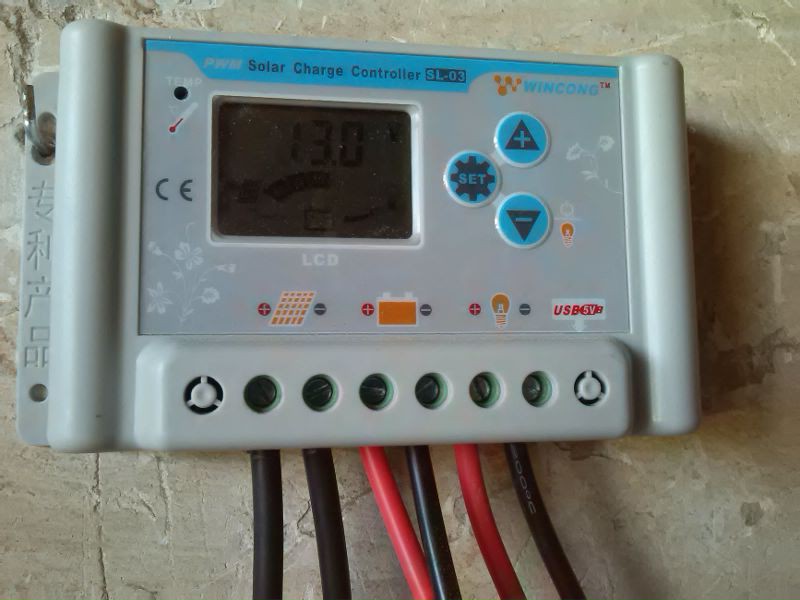
With this solar charge controller I can configure the minimum battery voltage to connect back the load. So far so good.
The cable used to connect the battery to the solar charge controller is a 12awg solar cable.
As many times, specially in winter, there're not enough sun light to charge the battery, I decided to switch off the picam after sunset. Then every hour switch it on for 15-20', take some photos, obtain temperature and humidity, and switch it off again.
For this task I used a 12v programmable relay. Since I wanted to switch it off, the picam should be able to switch on again every hour by itself, so this was the easiest for me way to accomplish it.

Another possibility would be to use the Witty 2 RTC module with power management capabilities, the witty mini version or the sleepy module. This way we could preset certain hours to turn the Picam on, and based on the sunset/sunrise of the year adjust the time when we start taking timelapses or panoramas. Or for example if we want to take timelapses on fullmoon days, don't switch off the picam until it has finished.
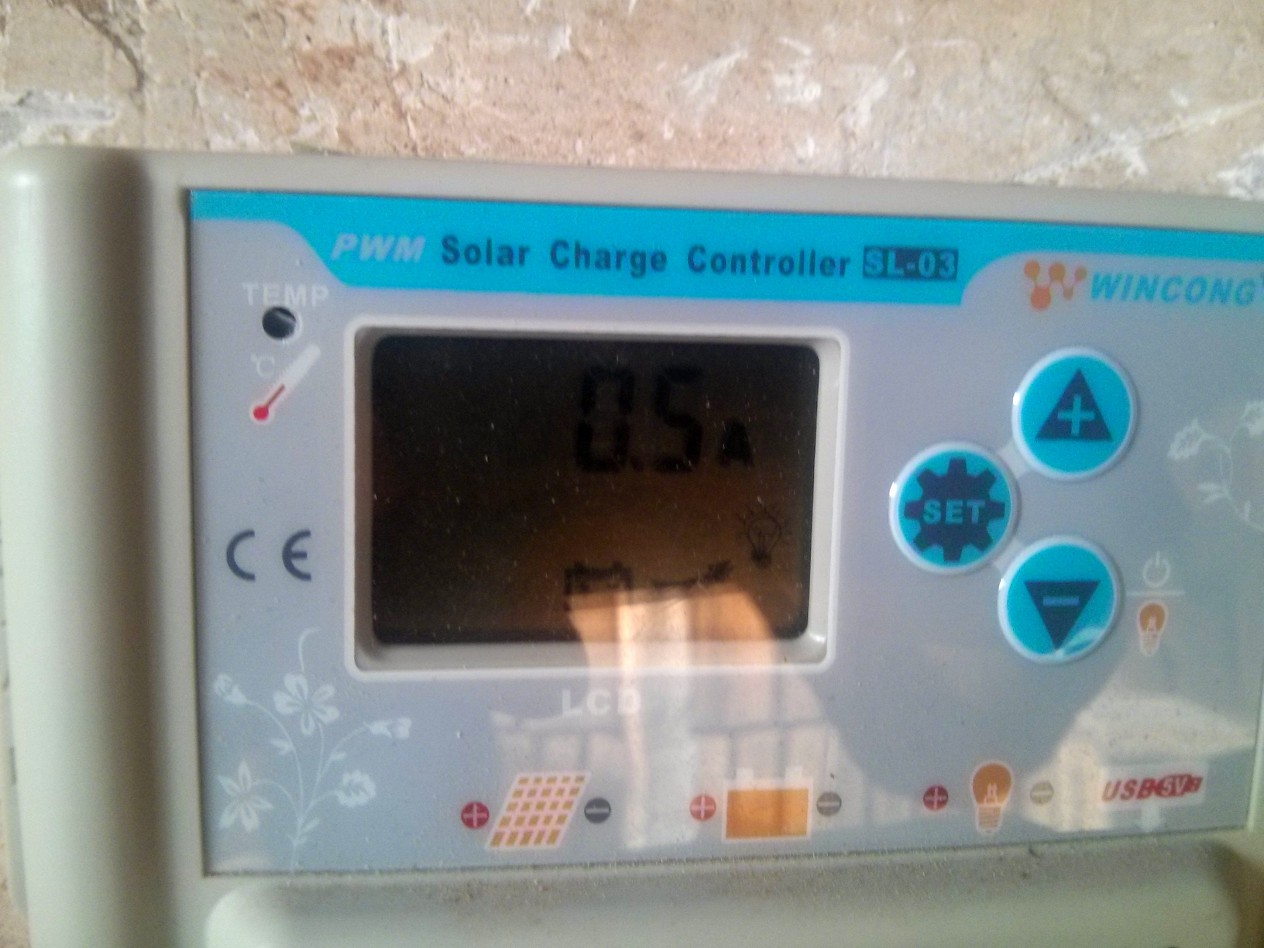
The power consumption with all the sensors while taking a HDR is 0.5A:
3. BOARD
Not much to say about setup the Raspberry Pi. It has installed a raspbian lite and it connects to the village's wireless network.
Where it's located now, it doesn't receive the sunlights directly, so it doesn't heat up as much as it did when it worked as wireless repeater (cpu temp up to 70ºC). Still, the temperature working range is -10ºC - 40ºC.
Filesystem:
A few months ago, the SD card got corrupted after 2 years of use, because many times there're not enough solar power and the battery is drained off, so the Picam switches off unexpectedly.
Now the root is read only, and /tmp and /var/tmp are mounted on tmpfs (/var/log for now no,and rsyslog is disabled). The images/panoramas taken are saved to /dev/shm/, and this approach has at least 3 advantages: 1) they are saved/modified faster, 2) the photos directory is cleaned up on startup so we don't waste space, and 3) it should avoid filesystem corruption.
proc            /proc           proc    defaults          0       0
tmpfs           /tmp            tmpfs   rw,nodev,nosuid,size=5M    0 0
tmpfs           /var/tmp            tmpfs   rw,nodev,nosuid,size=2M    0 0
PARTUUID=da0e8cec-01  /boot           vfat    defaults,ro          0       2
PARTUUID=da0e8cec-02  /               ext4    defaults,noatime,ro  0       1
PARTUUID=da0e8cec-03  /mnt            btrfs   defaults,noatime  0       1
Note: some people advice to also disable swap in /etc/dphys-swapfile
Unfortunately the timelapses must be saved to the SD, because they occupy around 1,5GB. For now they will be saved to a partition in the same SD card with write permissions, but I guess that it would be better to save it to a different SD card.
If you want to modify something once the system is up, just remount it with write permissions:
mount / -o remount, rw
Time:
The Raspberry Pi board doesn't have a hardware clock, so it doesn't keep track of the date. Besides use NTP for set the date, fake-hwclock can be used, which stores every hour (/etc/cron.hourly/fake-hwclock) the current date and time to a file, and on startup it sets it back.
This is fine, but the last saved time won't be accurate if your Pi switches off unexpectedly. To improve it, you can add a cron task to update it every 5 minutes for example:
*/5 * * * * root [ -x /sbin/fake-hwclock ] && /sbin/fake-hwclock save
As the filesystem is read only, and fake-hwclock writes the date to /etc/fake-hwclock.data, we have to move it to a writable storage:
mv /etc/fake-hwclock.data /mnt/fake-hwclock.data
ln -s /mnt/fake-hwclock.data /etc/fake-hwclock.data
Note: it may be possible that you need to load the saved time earlier than raspbian executes fake-hwclock. It's as simple as execute fake-hwclock load prior to execute your scripts.
Cron tasks:
There're also several cron tasks for generate temperature and luminosity graphs using rrd, and sync them with a remote server.
One of the tasks is to switch off the Picam after the sunset at the minute 27 of each hour until the sunrise.
NOTE about the cron tasks: say for example that there's a task to shutdown the Picam at 20:30. If the Picam is shutdown prior to the task, for example due to an unexpected power loss, on the next startup the task will be executed. So if one of the tasks is to shutdown the Picam, it'll be shutdown on that startup.
There's a note also con the cron's man:
"Special considerations exist when the clock is changed by less than 3 hours, for example at the beginning and end of daylight savings time. If the time has moved forwards, those jobs which would have run in the time that was skipped will be run soon after the change."
Network:
For connect to the wireless network, you just have to configure it in wpa_supplicant.conf:
    ctrl_interface=DIR=/var/run/wpa_supplicant GROUP=netdev
    update_config=1

    network={
      ssid="bentre"
      key_mgmt=NONE
      priority=1
    }
On 2015/6 the network configuration on rasbian was as always, just modify /etc/network/interfaces (eth0 conf excluded):
allow-hotplug wlan0
iface wlan0 inet static
        address 192.168.1.4
        netmask 255.255.255.0
        gateway 192.168.1.1
post-up wpa_supplicant -Dnl80211,wext -c/etc/wpa_supplicant/wpa_supplicant.conf -iwlan0 -B
But on latest raspbian (2017-11-29), if you don't uninstall/disable dhcpcd, you have to configure the static IP in /etc/dhcpcd.conf.
And if you need to execute commands on startup, you can place them in the script /etc/rc.local:
# configure wireless card power transmission
/sbin/iw reg set BO
/sbin/iwconfig wlan0 txpower 30

# disable TV output
/opt/vc/bin/tvservice -o

# deactivate activity led
echo none >/sys/class/leds/led0/trigger
# deactivate activity led brightness
echo 0 >/sys/class/leds/led0/brightness
Another possibility is to place them in the crontab of a user:
crontab -e
@reboot /path/to/command ...
My option hasn't been one of these. Instead I've created an init service, because it's more flexible. You can use dependencies in order to execute your scripts, or wait for the network to be ready for example. For more info: https://wiki.debian.org/LSBInitScripts/ and http://refspecs.linuxbase.org/LSB_5.0.0/LSB-Core-generic/LSB-Core-generic/iniscrptact.html.
Example:
#!/bin/sh
### BEGIN INIT INFO
# Provides:          daily_captures.py
# Required-Start:    $local_fs $network
# Required-Stop:
# Default-Start:     3 4 5
# Default-Stop:      0 1 6
# Short-Description: Start daily_captures at boot time
# Description:       Enable service provided by daemon.
### END INIT INFO

PATH=/sbin:/bin:/usr/sbin:/usr/bin

# Some things that run always
#touch /var/lock/blah

. /lib/lsb/init-functions

# Carry out specific functions when asked to by the system
case "$1" in
  start)
    echo "Starting daily captures "
    /sbin/fake-hwclock load
    /home/pi/pi-blaster/pi-blaster
    /home/pi/bin/daily_captures.py
    ;;
  stop)
    echo "Stopping daily captures"
    /bin/kill -9 `/bin/pidof python`
    ;;
  *)
    echo "Usage: /etc/init.d/init_daily_captures {start|stop}"
    exit 1
    ;;
esac

:
#exit 0
The service can be enabled with this command: update-rc.d init_daily_captures defaults
You can also create a systemd service, which allows you to specify dependencies, like wait until the network is configured:
[Unit]
Description=Daily captures
Requires=systemd-networkd-wait-online.service
After=systemd-networkd-wait-online.service
[Service]
ExecStart=/home/pi/daily_captures.py
[Install]
WantedBy=multi-user.target
Save it to /etc/systemd/system/dailycaptures.service, and enable it with: systemctl enable daily_captures.service
4. CAMERA
After playing a bit with a webcam and some software like fswebcam, I decided to buy the Raspberry Pi camera module v1. fswebcam crashed sometimes, and as the Pi camera had a SDK to control it, it gave me more versatility to play with it. There are several posts comparing the different available camera modules [1] [2], and nowadays there're many cameras to choose [3].
The Pi camera consumes ~240mA, just creating the PiCamera object, so if you want to save some power you have to close() it. The Raspberry Pi Foundation camera documentation is AWESOME, so just read it carefully. I'll post here some code I use in my setup.
For night shots, I use this configuration, which I think is a good balance between quality, speed and light:
    # https://picamera.readthedocs.org/en/release-1.10/recipes1.html#capturing-in-low-light
    camera = picamera.PiCamera()
    camera.resolution = (2592, 1944)
    camera.framerate = Fraction(1, 6)
    camera.shutter_speed = 6000000
    camera.exposure_mode = 'off'
    camera.exposure_compensation = 18
    camera.iso = 200
    camera.led = False
Examples:
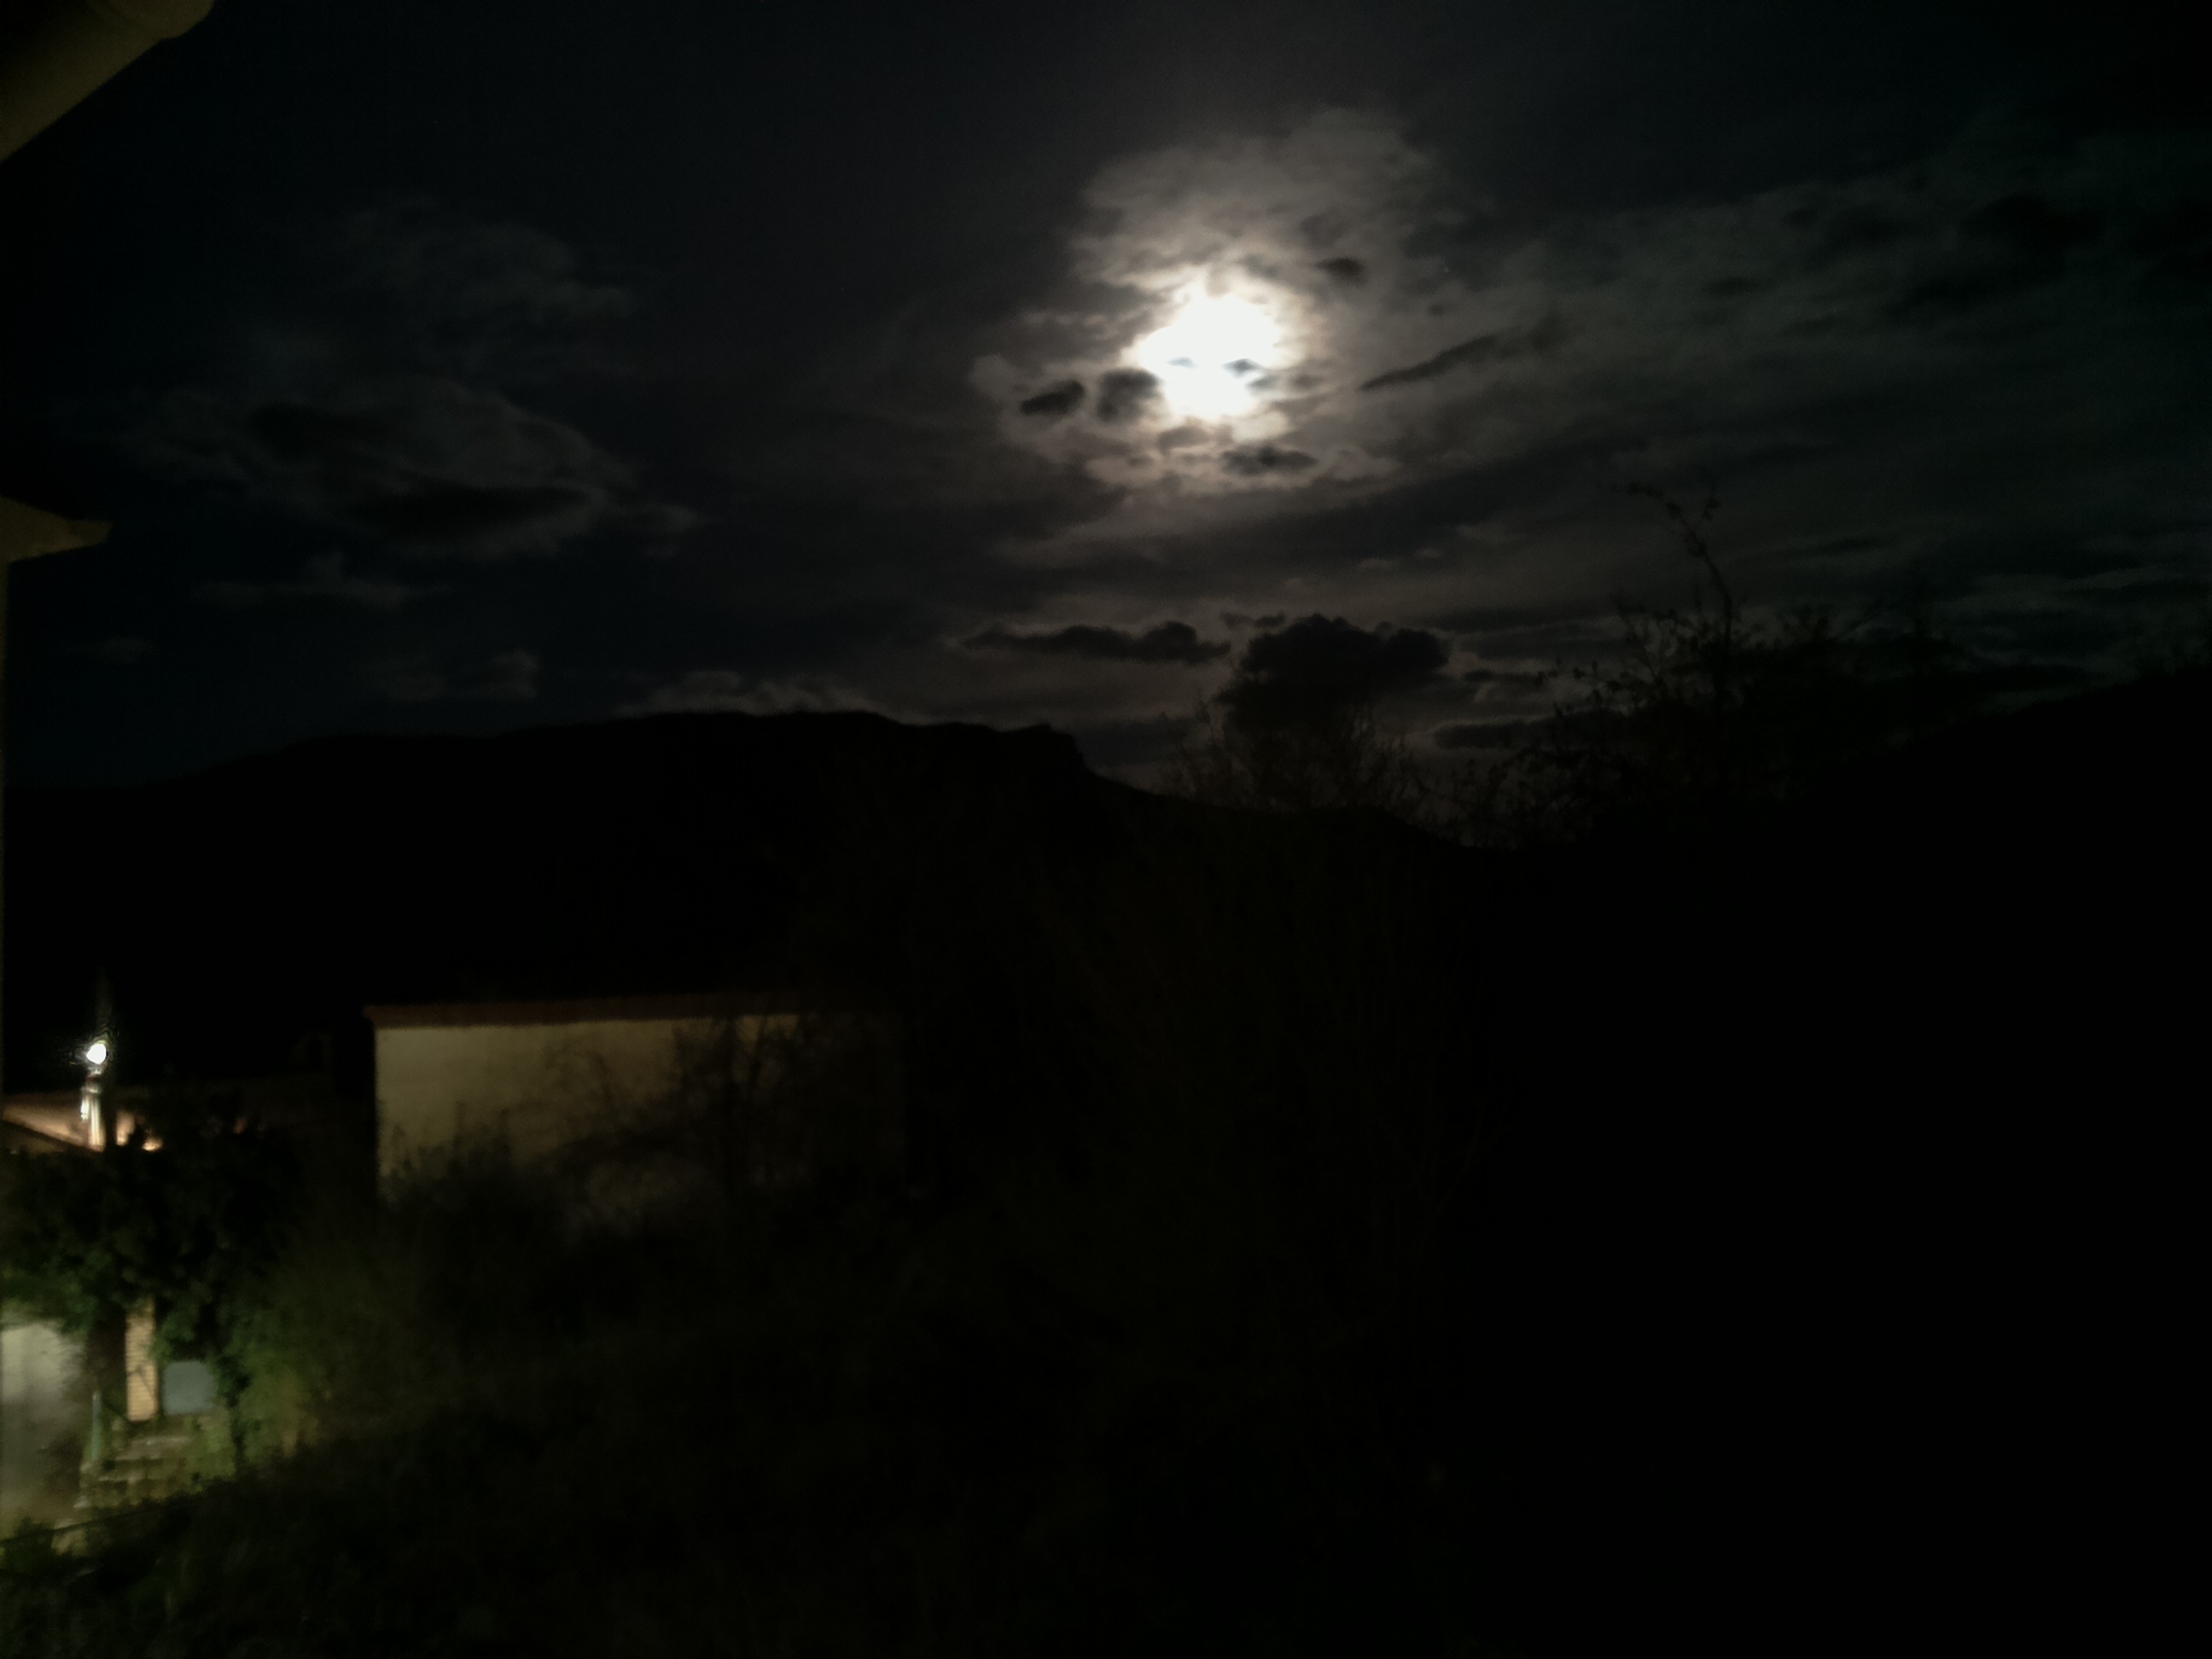
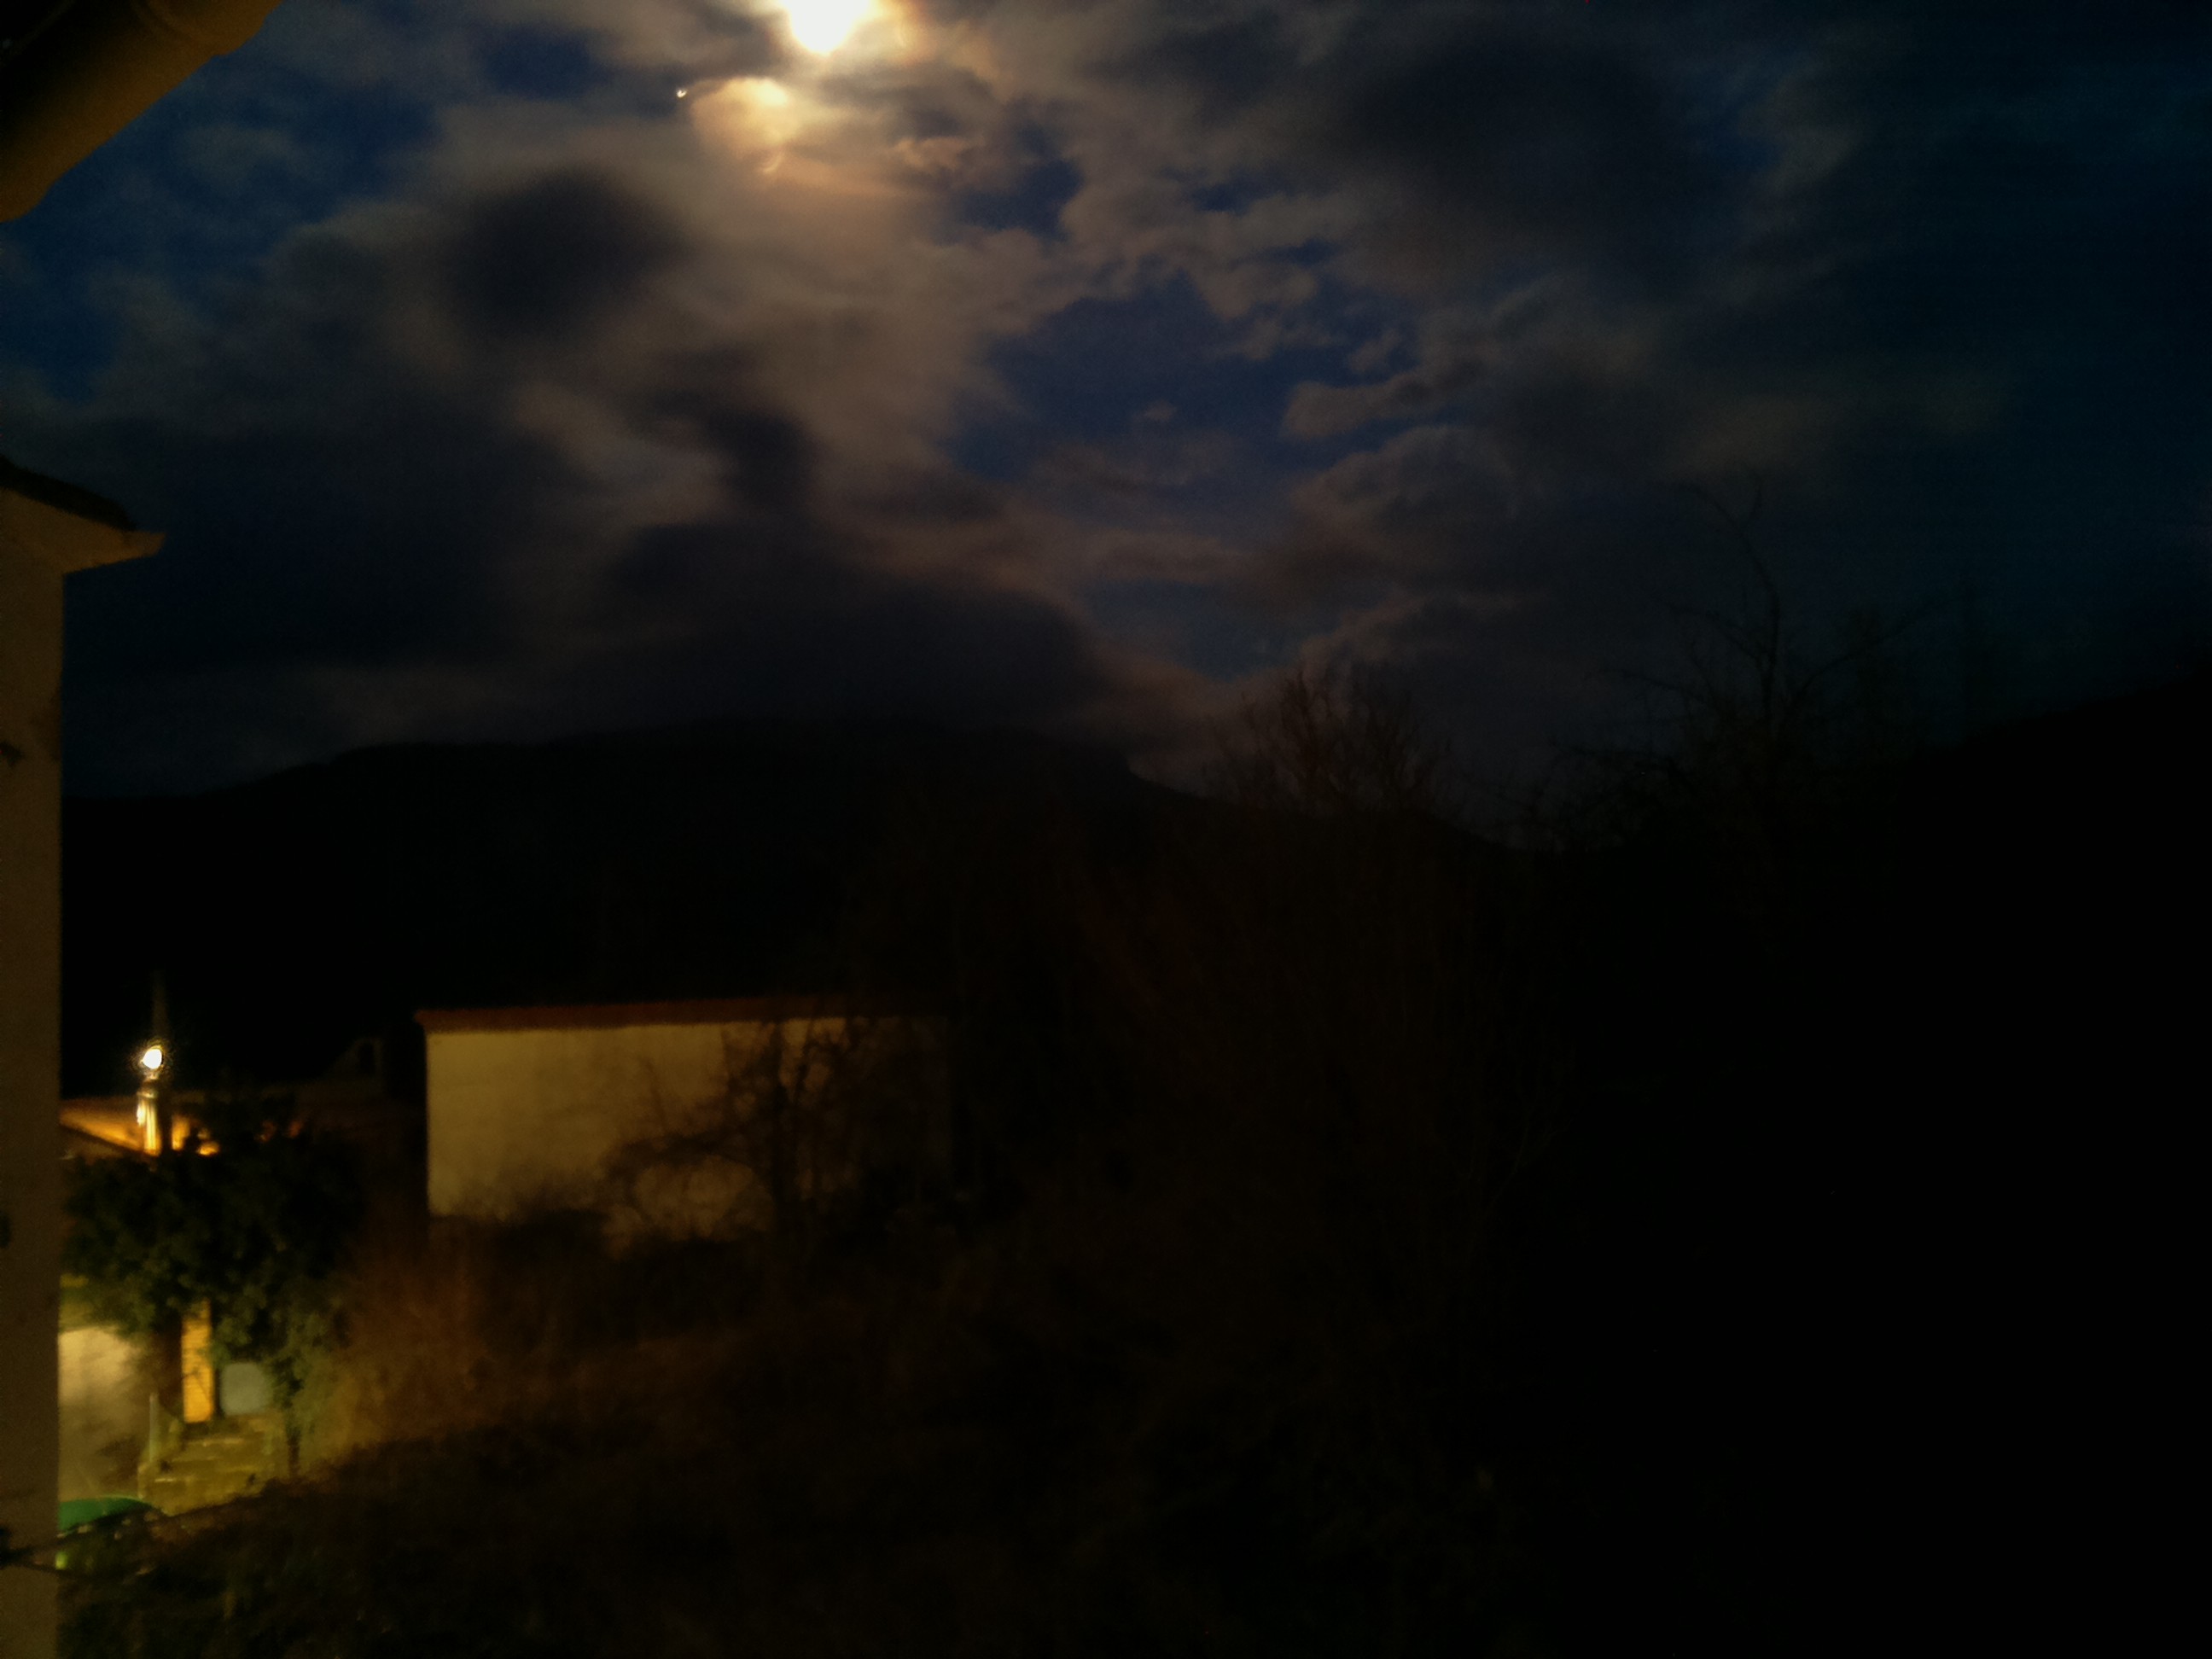
These images are not retouched in any way, they're just as the Picam shots them.
Comparison of ISO 200 and ISO 800:
ISO 200 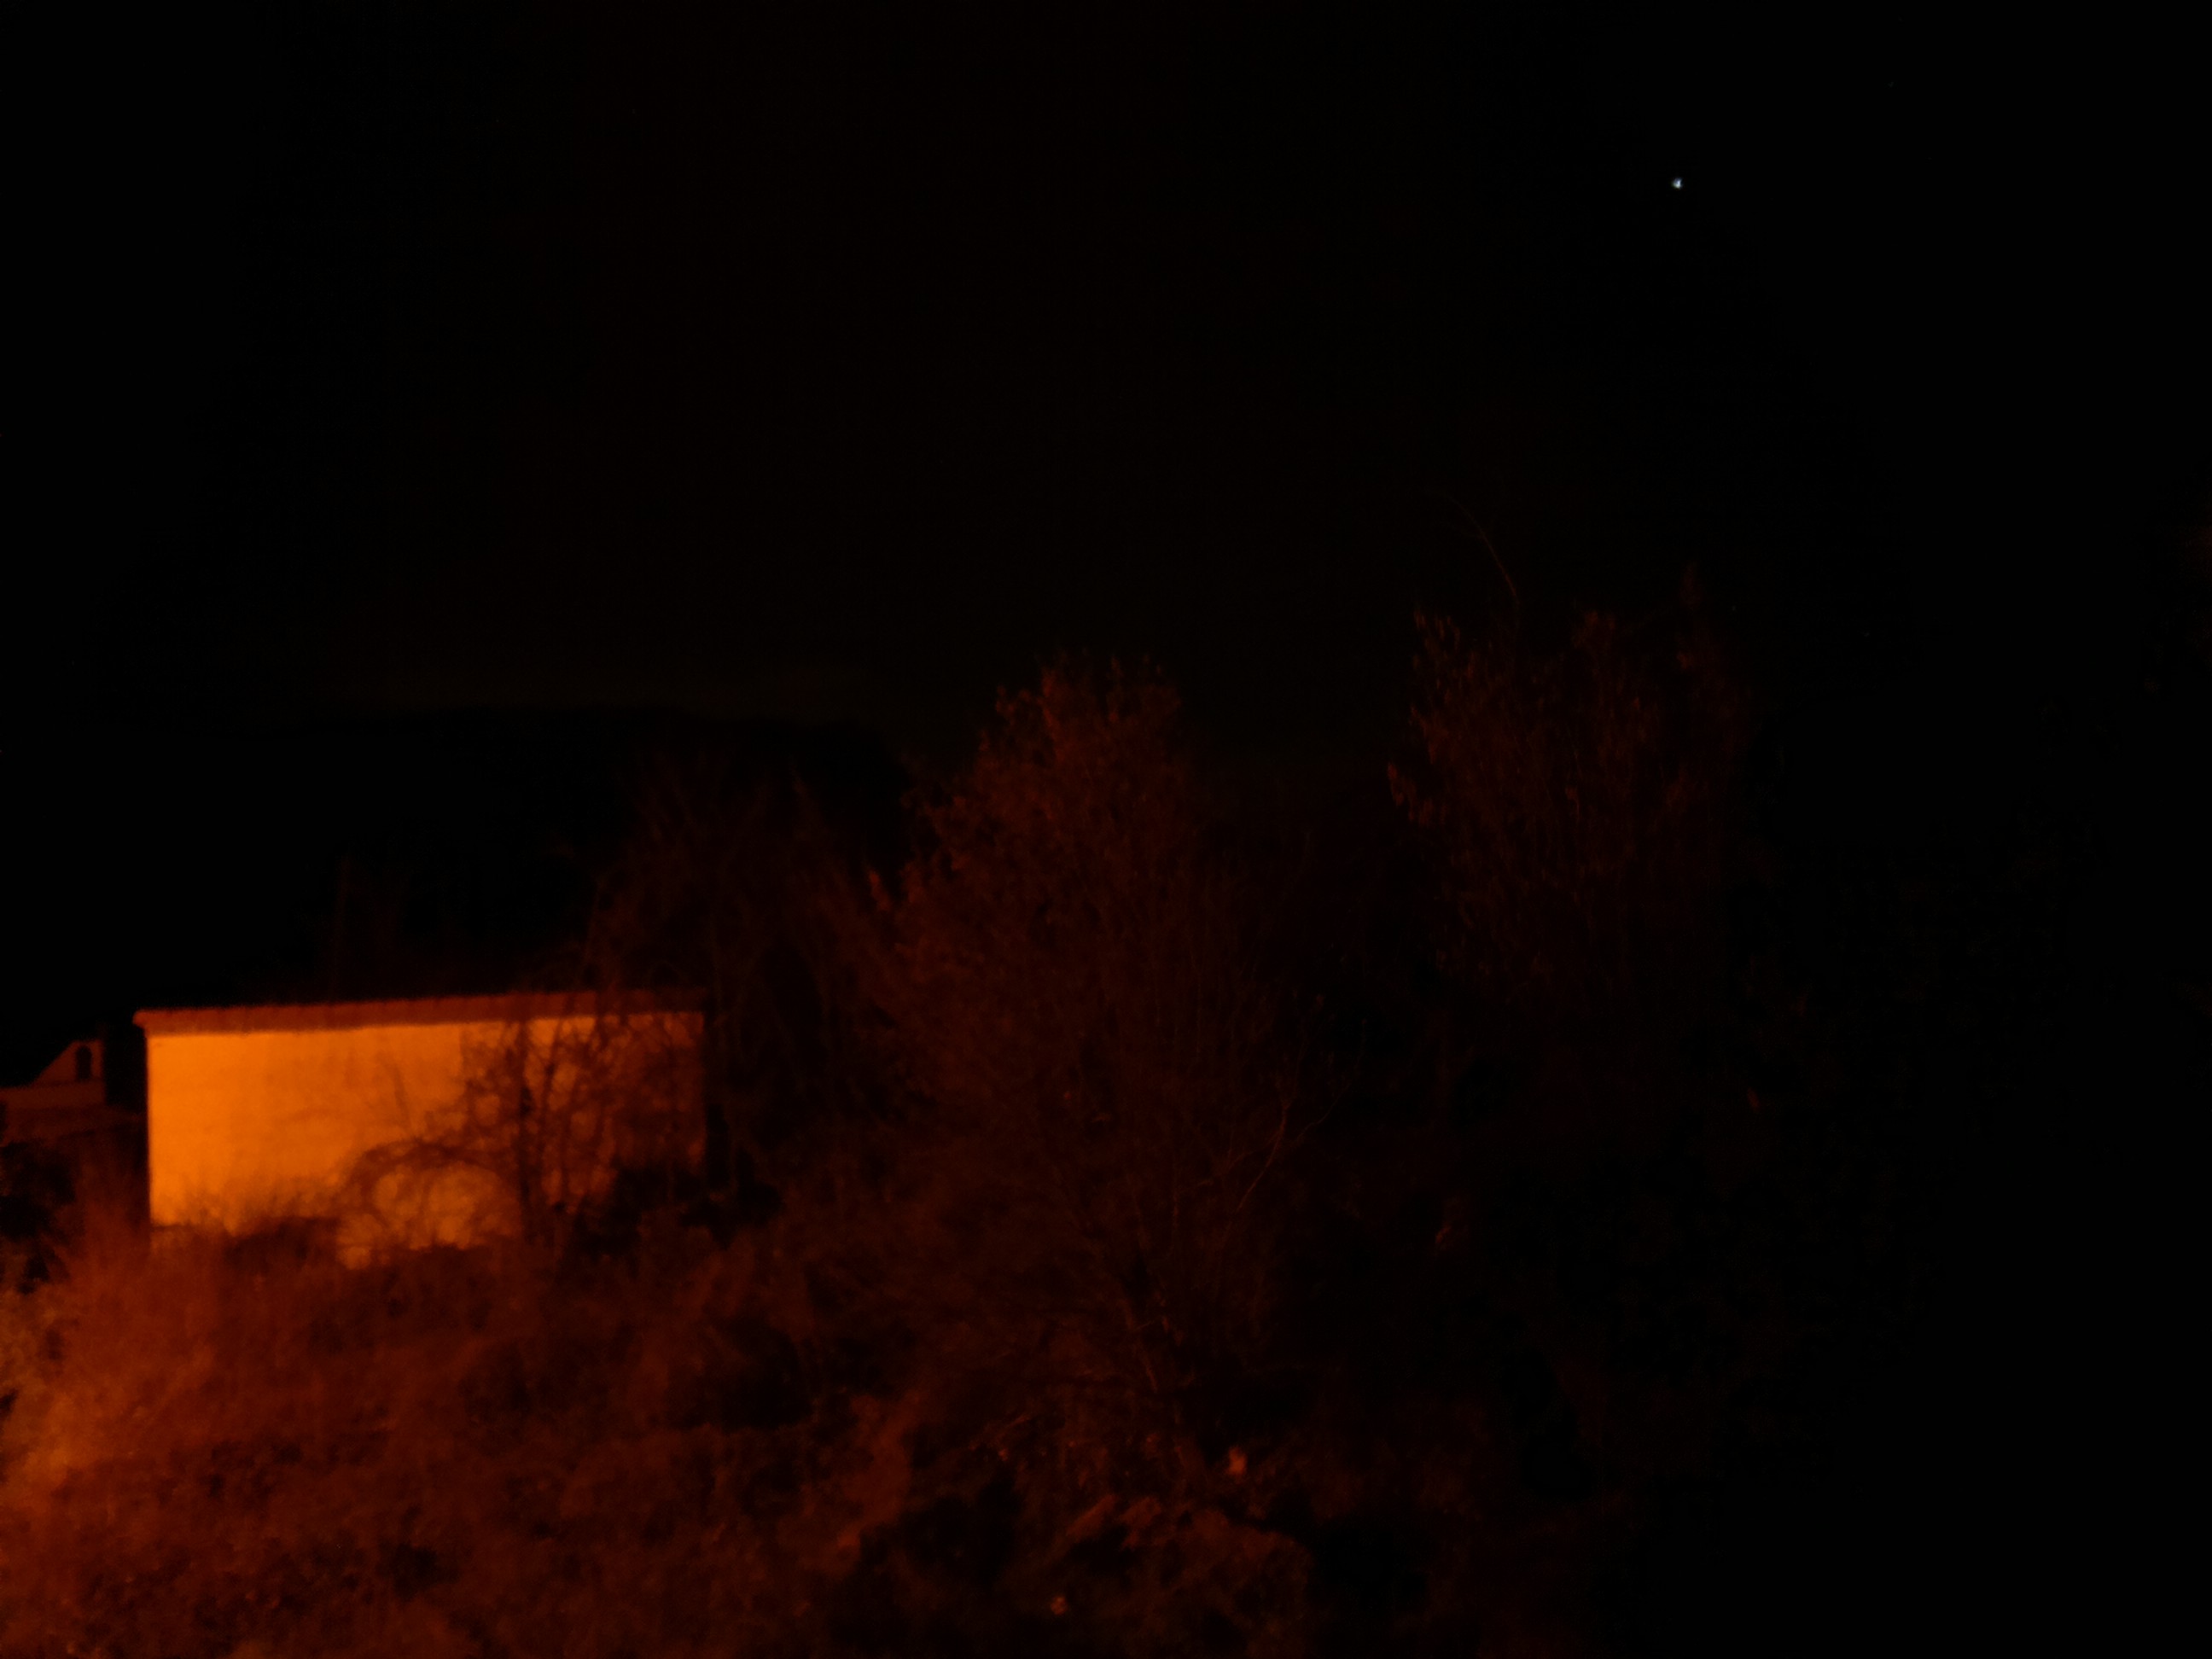 | ISO 800  |
The camera working mode is configured depending on the time of the day. If the time of the day is sunset_time + 30' and sunrise_time - 45', then it'll work in "night" mode. Otherwise in "day" mode:
if current_time >= (sunset_time+30) or (current_time < sunrise_time-45):
One thing I realized after some shots was, that certain photos had a reddish color tone. Specially on night shots:
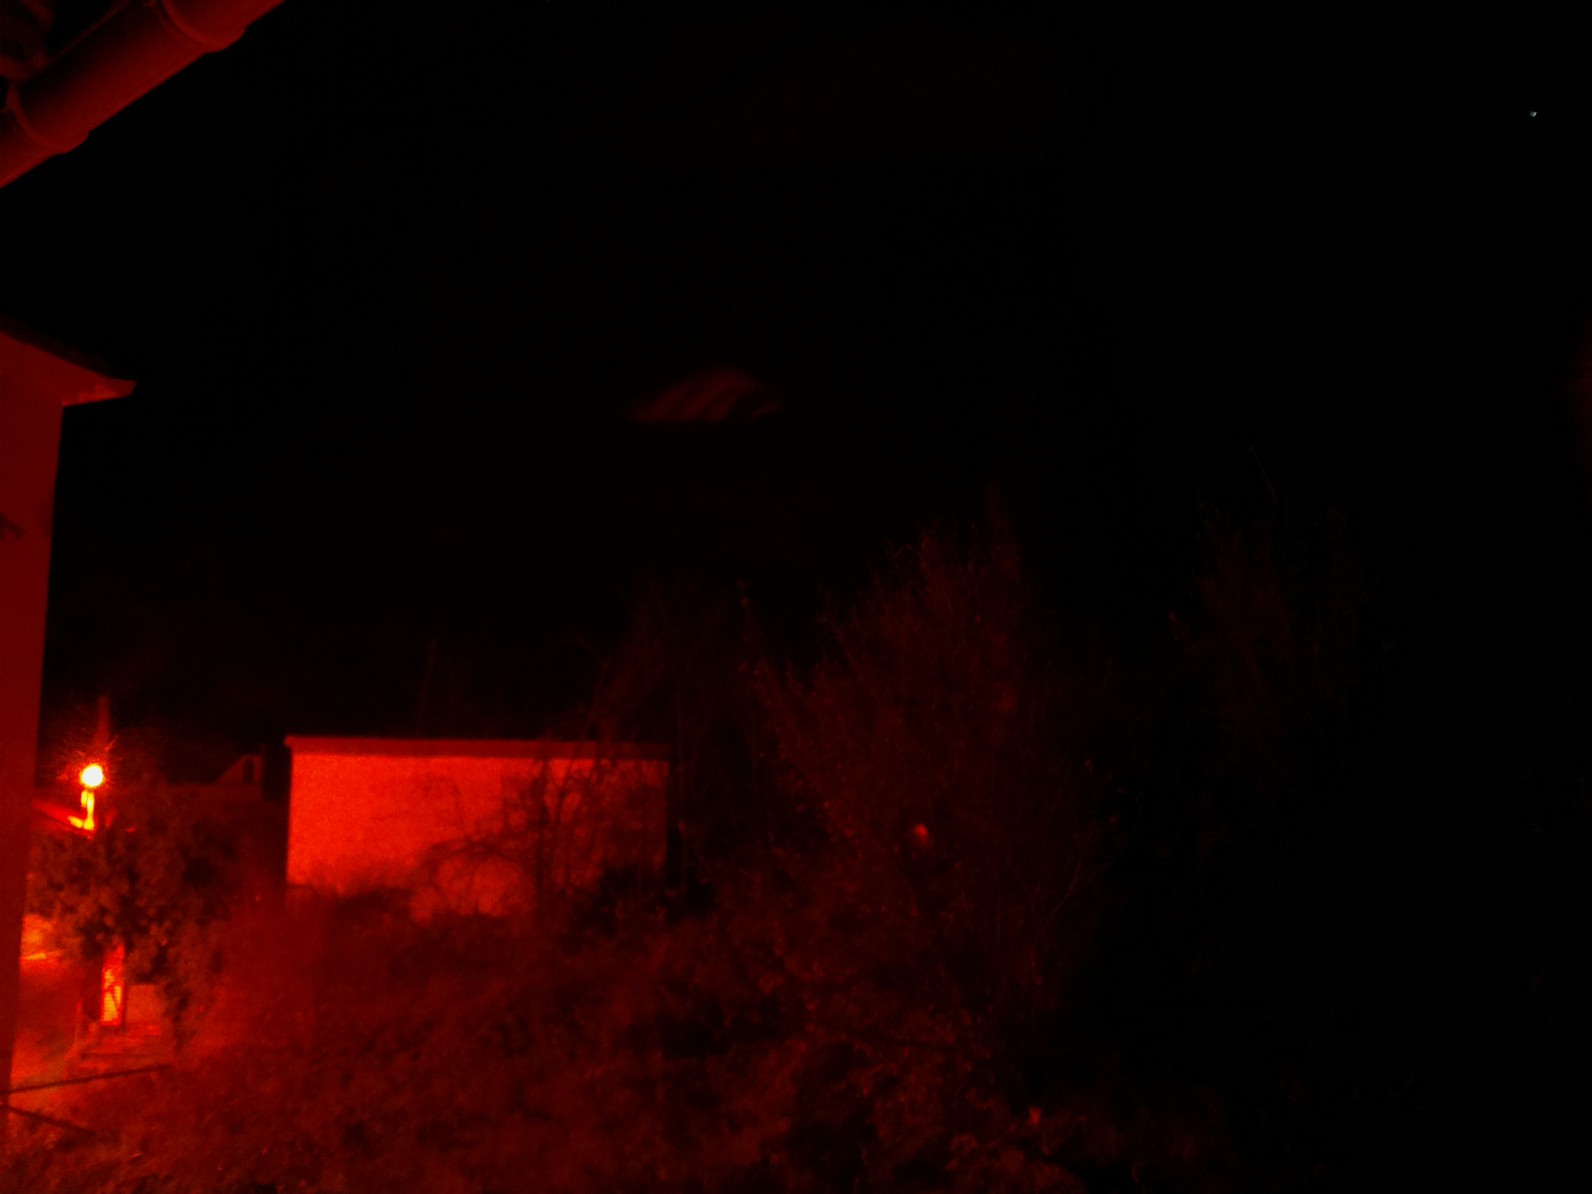
This was caused by the red led of the camera module, so I deactivated it on the startup and covered it with insulated tape. The activity, network and power leds of the Pi board are also covered with insulated tape
When a new photo is taken, it is uploaded to flickr: https://www.flickr.com/photos/bentretea_picam/
There're many many examples of python scripts for this task. I've cloned one of them, and improved it for my needs, you can get it here.
The photos taken with the Pi camera are a bit blurry in my opinion, and a bit desaturated. They can be improved with these parameters:
camera.contrast = 20
camera.sharpness = 70
camera.saturation = 20
 |  |
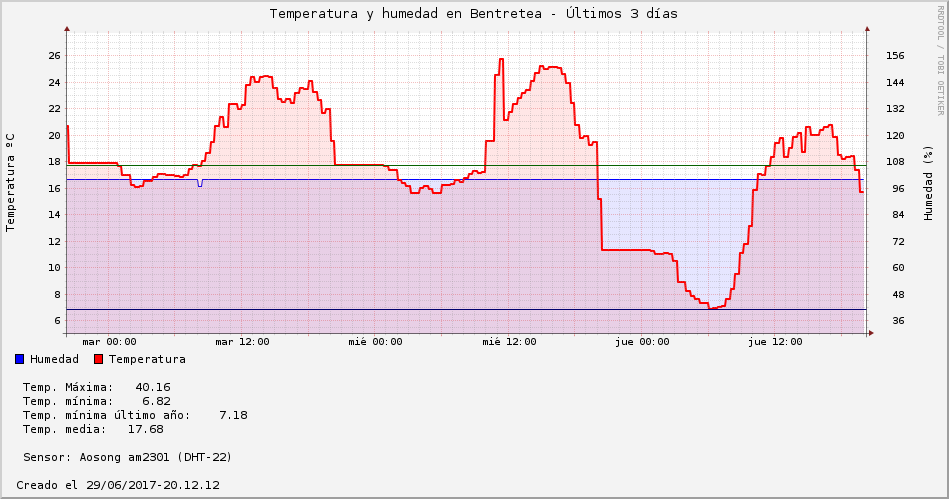
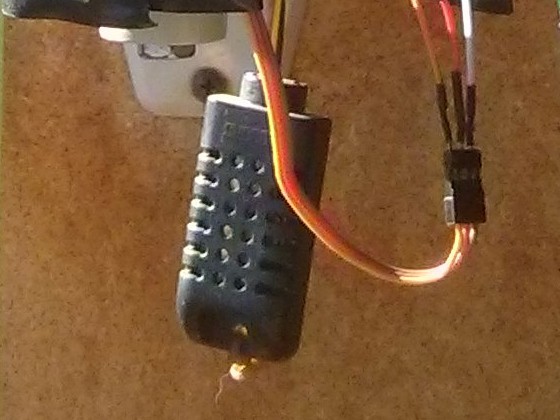
5. TEMPERAURE SENSOR
The temperature sensor used is the Aosong DHT21/AM2301, with enclosure for outdoor use. Compared to the DHT22, it's less precise, less accurate and works in smaller range of temperature/humidity. But the DHT21 is cheaper. You can control it with python using the lib from adafruit.
Every 5 minutes the Picam gathers the temperature and humidity, saves it to a rrd DB and generates the graphs.
There's also an interesting device for display the temperature and humidity on a LCD, which could be added to the Picam. Really cool and freak :)
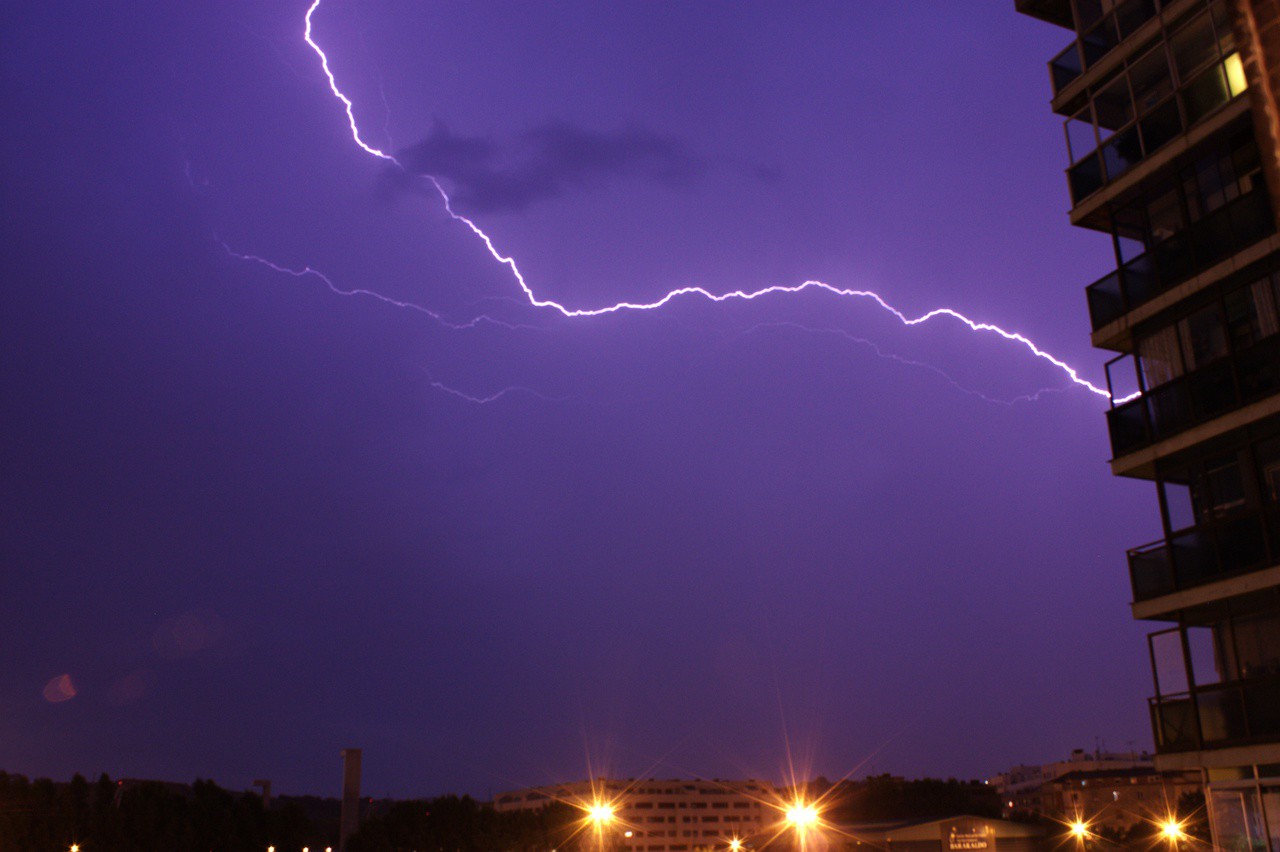
6. LUMINOSITY SENSOR / LIGHTNING SENSOR
The reason to use a light sensor was not for measure the lumens of the day. Instead, the idea was to take photos of lightnings. When a lightning strikes, many times it illuminates the sky, so I thought that by measuring the difference between the average lumens of last (1,2,3,4, etc) seconds and of a lightning flash would be possible to capture some lightning with a bit of luck.
The technique I've used other times to take photos of lightnings with a reflex camera is as follow: 1) On a stormy day take photos continuously of 1-5s of exposure, or 2) shot in B mode, and when a lightning strikes stop it.
Not bad, so if I was able to detect the first lightning flash, I could shot 5-10 photos to try to photograph the subsequent lightnings. Unfortunately, this approach doesn't work :]
There are many types of light sensors for Arduino and Raspberry Pi:
https://www.intorobotics.com/common-budgeted-arduino-light-sensors/
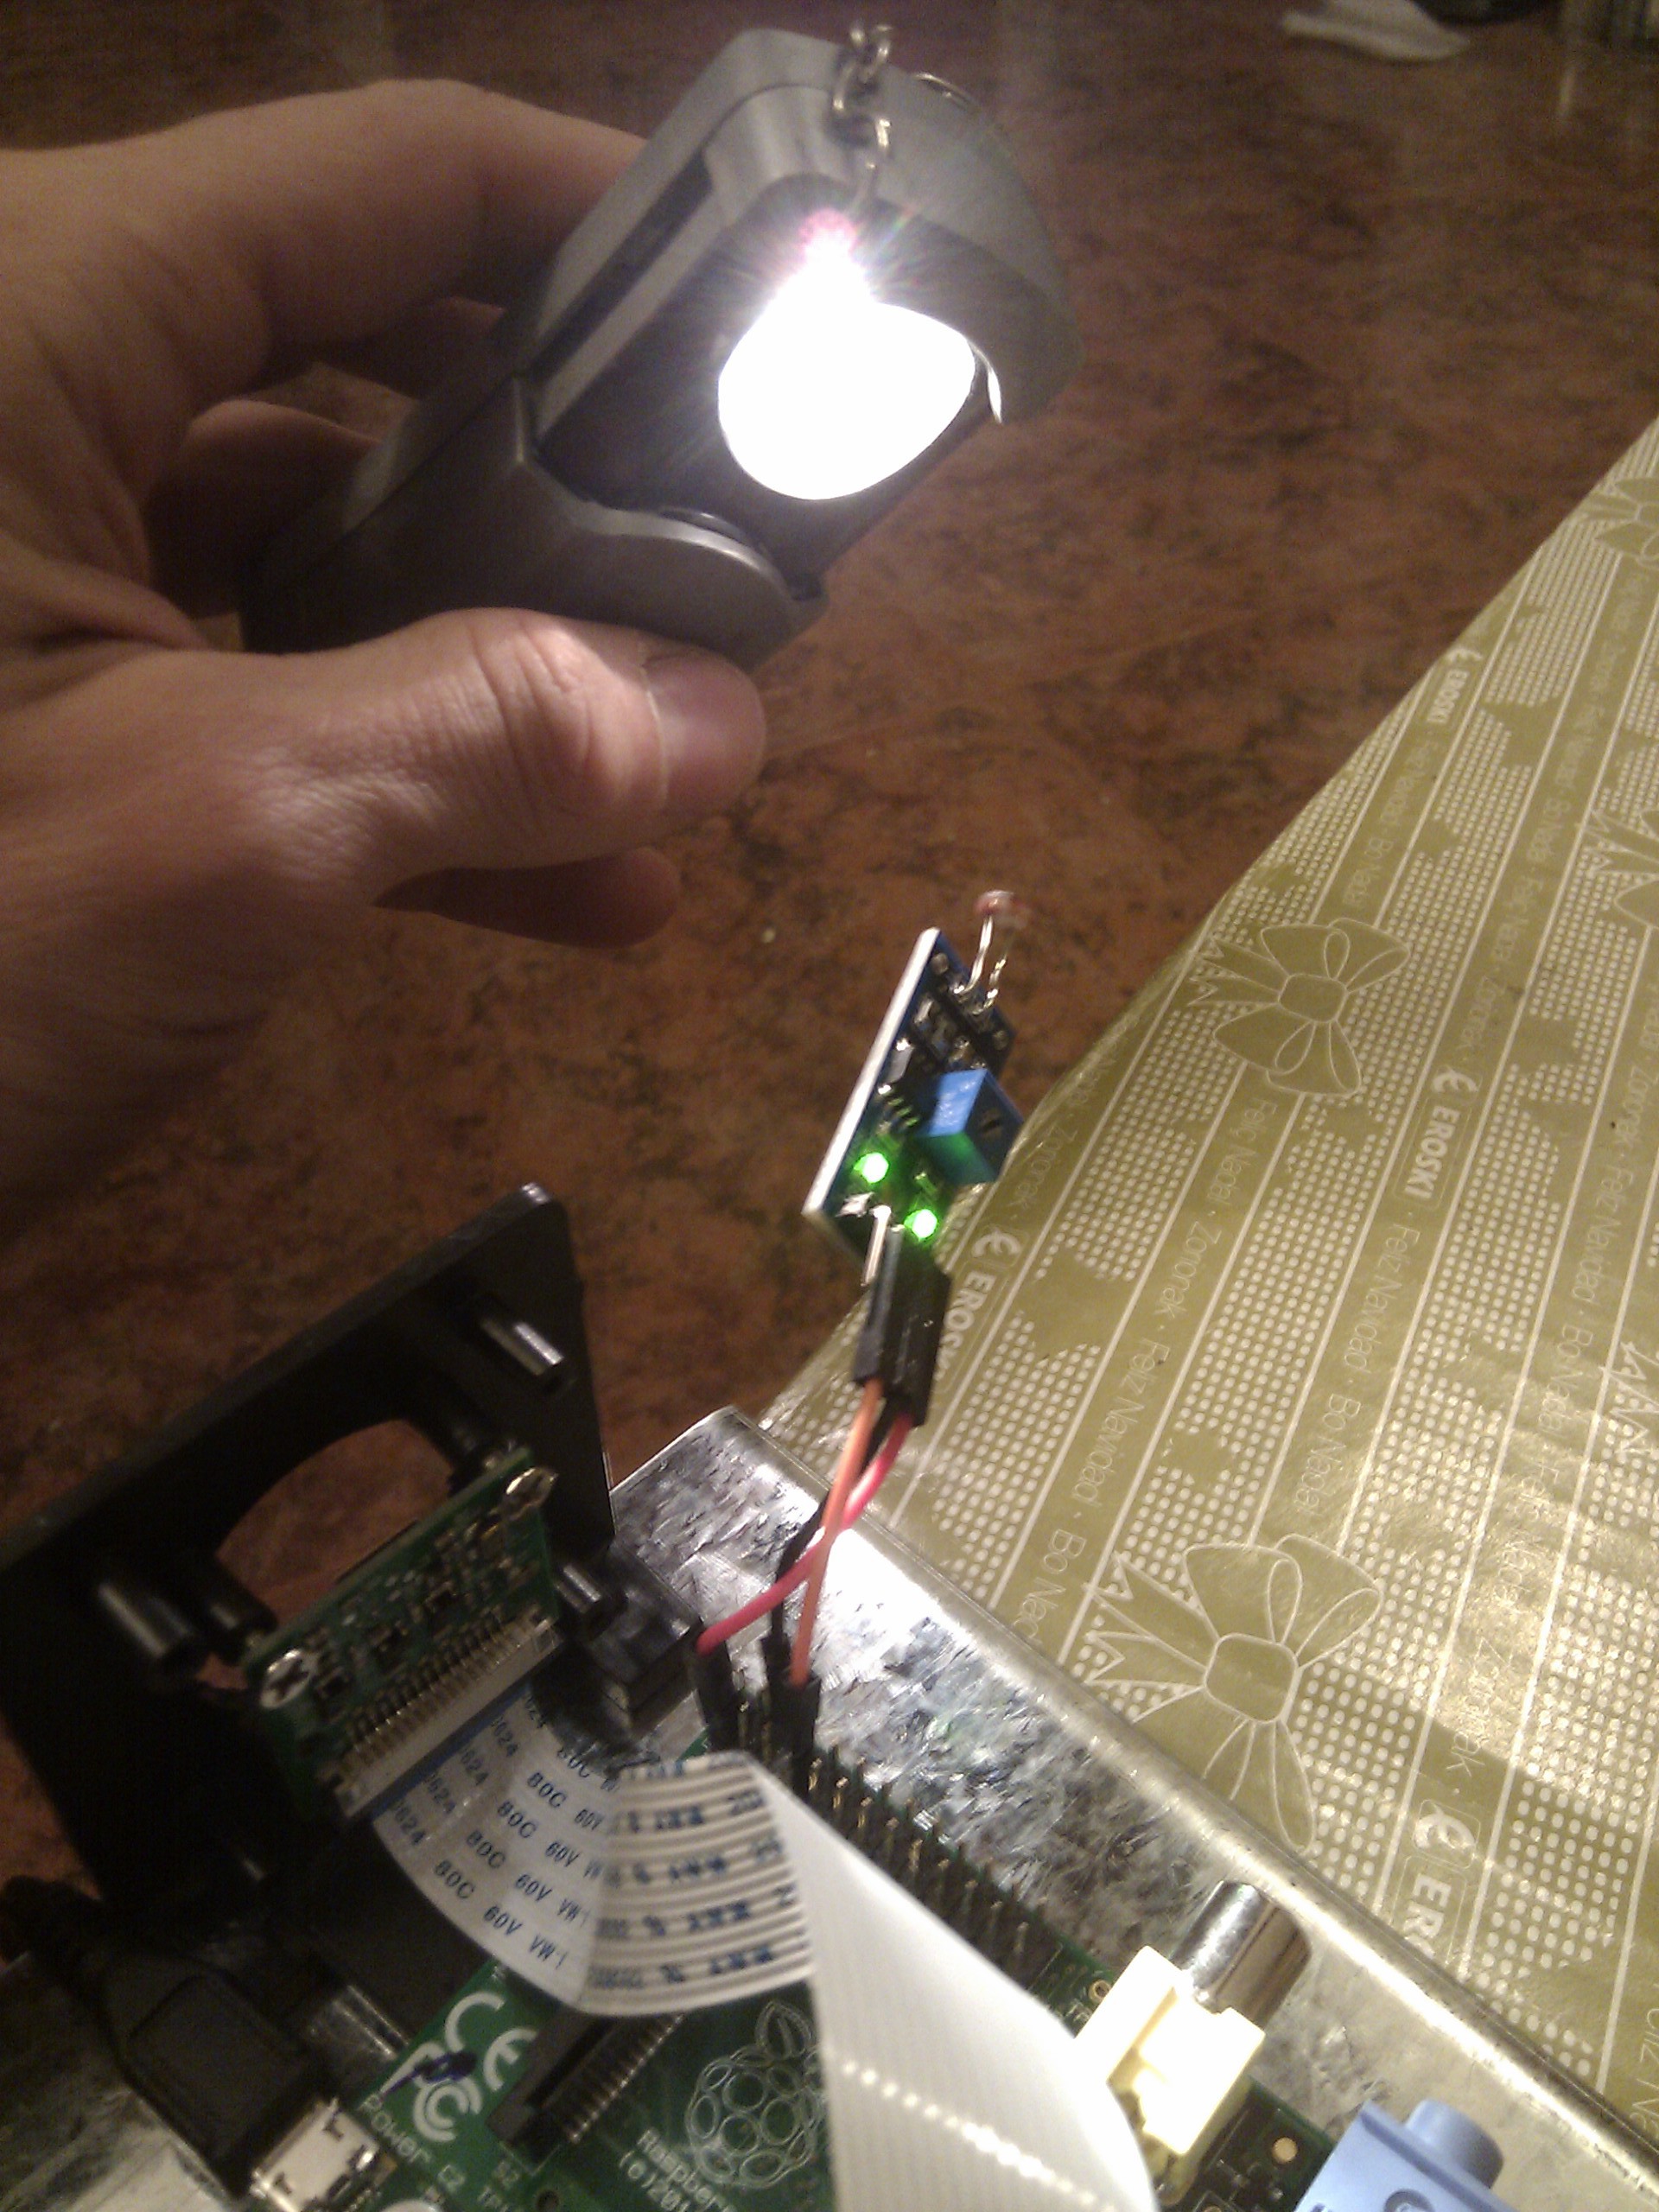
The first one I choose was a photoresistor. It worked fine, but soon I realized that it was very limited for my purposes, because the threshold is set manually and not controlled by software. Though it helped me to keep experimenting. To test the functionality, I just adjusted the threshold, and illuminated the sensor intermittently with a torch. Simple.
I researched a bit more, and decided to use the BH1750 sensor. I considered the TEMT6000 as well, which has a response time of 15ums, but I was aware that even with that response time the camera wouldn't be fast enough to take a photo of a lightning in that moment.
The BH1750 is configured in the 0x13 mode, which give us a response time of 16ms, and has a minimum lumens value of 4lx. Below 4lx, the readings are 0lx, but for our purpose is sufficient.
Using the same technique used to take photos of lightnings with a reflex camera, I tested it with a torch, and by comparing the average lumens of the latest seconds with the current reading, I shot when the difference exceeds a threshold.
False positives:
Many days, when there are clouds and sun, the sensor receives intermitent sunlights, so the difference between readings is so high that it caused false positives. It's the same case than putting the hand in front of it and release it.
In order to avoid some false positives, if the lumens are high (> 2000), the shot is skipped.
Due to all of this, this feature is faulty and useless. Maybe in some case it could capture a lightning, but for now it hasn't been the case.
The next TODO will be to use a proper lightning detector, the AS3935. And we'll see if we get luck.
7. DISTANCE/MOVEMENT SENSOR
If you want to detect movement with a Raspberry Pi, and you have no idea about this kind of sensors, you'll end up buying a PIR sensor for sure.
Quoting https://diyhacking.com/raspberry-pi-gpio-control/:
"The lens on the sensor focuses any infrared radiation present around it toward the infrared detector. Our bodies generate infrared heat, and as a result, this heat is picked up by the motion sensor. The sensor outputs a 5V signal for a period of one minute as soon as it detects the presence of a person. It offers a tentative range of detection of about 6-7 meters and is highly sensitive. When the PIR motion sensor detects a person, it outputs a 5V signal to the Raspberry Pi through its GPIO"
But this sensor has a problem, and it's that if the sunlights hit the sensor directly it'll cause to activate it. Besides this, the chances to detect a body that generates infrared heat is really low where the Picam is placed, and the times that I know for sure that a body that generates infrared heat has been in front of the sensor it has detected nothing. Thus I've decided to replace it by the ultrasound sensor HC-SR04.
The first day after leaving it running it detected a cat, so not bad.

To make it work I've used the python package hcsr04sensor. There are several ways to measure the distance, but I've found that this one is the most reliable.
Note: If measuring the distance continuously sometimes your script enters in an infinite loop while waiting for the Echo pin to be 0, check out that you have the latest version of this lib. The one I used had this problem, but it's fixed upstream.
Note on bad readings/false positives: if you measure the distance continuously, you'll get false positives. Quoting the developer of the lib:
"Linux is not a Real Time OS so you can expect to get a small variance on each reading, usually within a half cm of the actual value. I say "usually" because every once in a while you can get a reading that is way out of range. This is due to the OS executing other tasks before getting your distance reading. It is why I use a sample of readings. I can always trust that the median of my sample of 11 readings is good."
For now the sensor is without a enclosure, but I'll find one to put it in, or I'll fabricate one:
