0%
0%
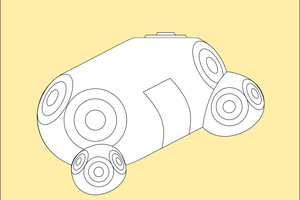
Yet another wireless speaker/internet radio
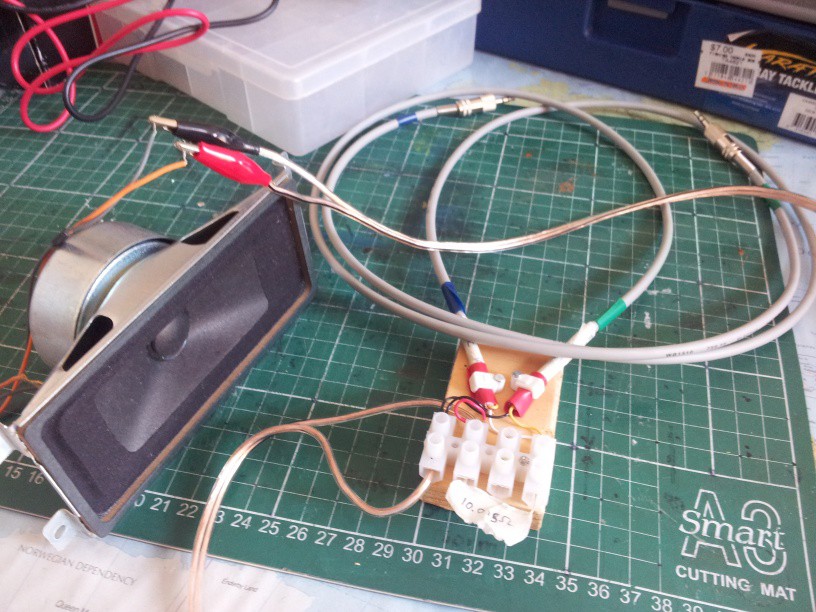
A portable speaker with wifi/bluetooth, made from stuff lying around
Become a Hackaday.io member
Already have an account? Log in.
Just one more thing
To make the experience fit your profile, pick a username and tell us what interests you.
Pick an awesome username
hackaday.io/
Your profile's URL: hackaday.io/username. Max 25 alphanumeric characters.
Pick a few interests
Projects that share your interests
People that share your interests


 I'm planning to use a screen from an old Nokia E63 (I've got 2 of them lying around). I'm also sure there'll be a volume knob, which may double as a power switch. It'll probably be continuous rotation, since I'm planning to often control this remotely from a phone/other device. I'm unsure what other buttons will be there and what they'll look like.


 Morning.Star
 Ivan Bakhtin
 Alex Lungu
 Adam Guilmet