 Audrey Robinel
I'm starting the aquarium rack. For this purpose, i did choose wood as a material, as i know how to work with it.
I did want something nice looking and that can withstand some abuse, so i chose tropical hardwood : muriacataria, also known as tiger wood. This wood can't be eaten by termites, it can be permanantly wet, fungus doesn't grow on it, and it's flame retardant. The last property may not be of great use for my aquariums, but the others are great : no need to treat the wood with nasty chemicals that i don't want in my fishroom!
So i bought raw beams from my local wood store, at 30€ for a 310*12*5cm beam and 45€ for a 400*15*5cm beam.
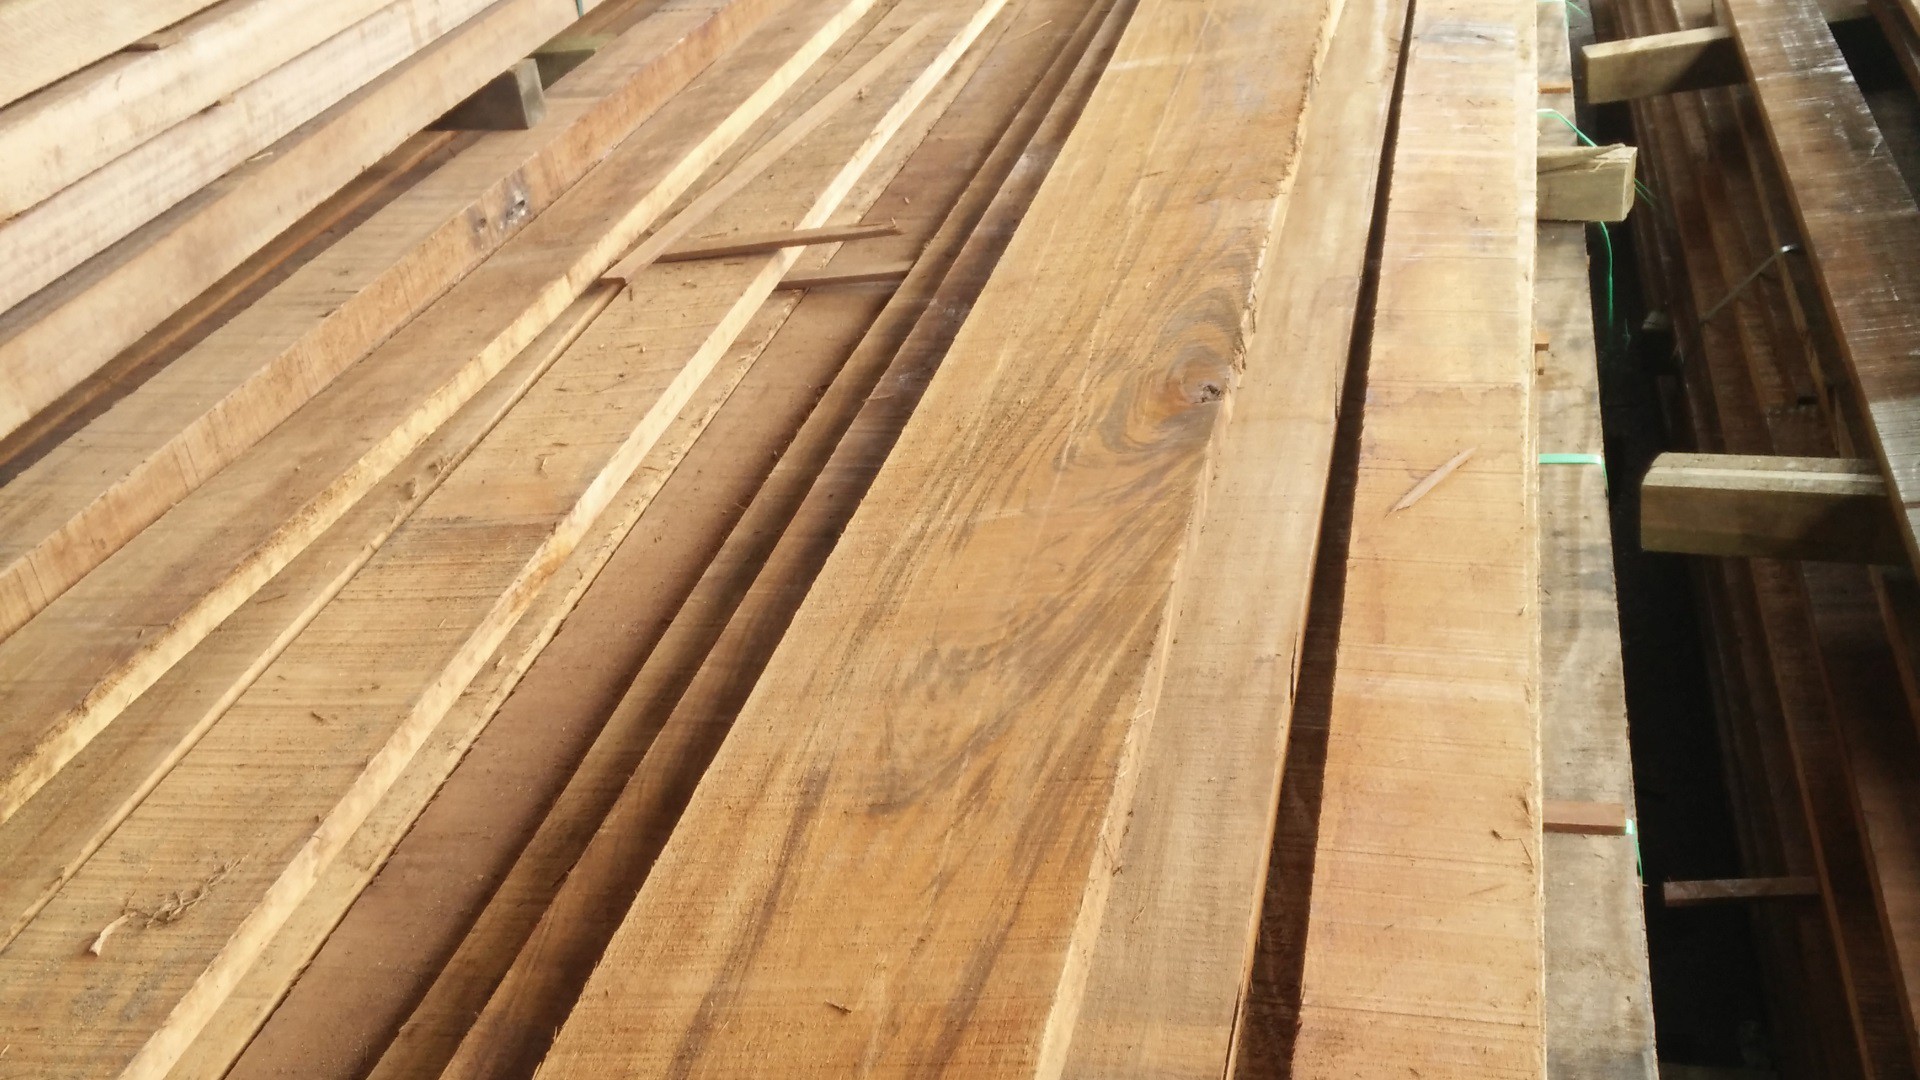
I did split both beams on my homemade table saw, obtaining something more like square beams.
On the picture above you can already see the figures in the wood, and why i chose it. However, it's far from what it will become later on, trust me on that!
Next thing was to cut the beams to more managable sizes. I'll have a first level of 220cm*60cm for my smaller aquariums (for many shrimps colors and species), so i did cut two beams longer than that to allow finer adjustment later on.
If you work on large wood pieces, trust me : it's good to have frients help you out. For the 4m beams (more than 13 feet!), it definitely helps to have someone on each side of the beam to support it.
So with some help, i did cut my beams, and a few 125cm beams, that i'll re-cut later on in 2 for 60cm beams, or in 4 for 30cm ish beams (the foots).
I used my home-made cross cut sled for that. Only problem : i have to cut on both sides, my saw blade is not big enough to cut trough the whole wood.
In the end you get raw beams, and by raw i mean this :
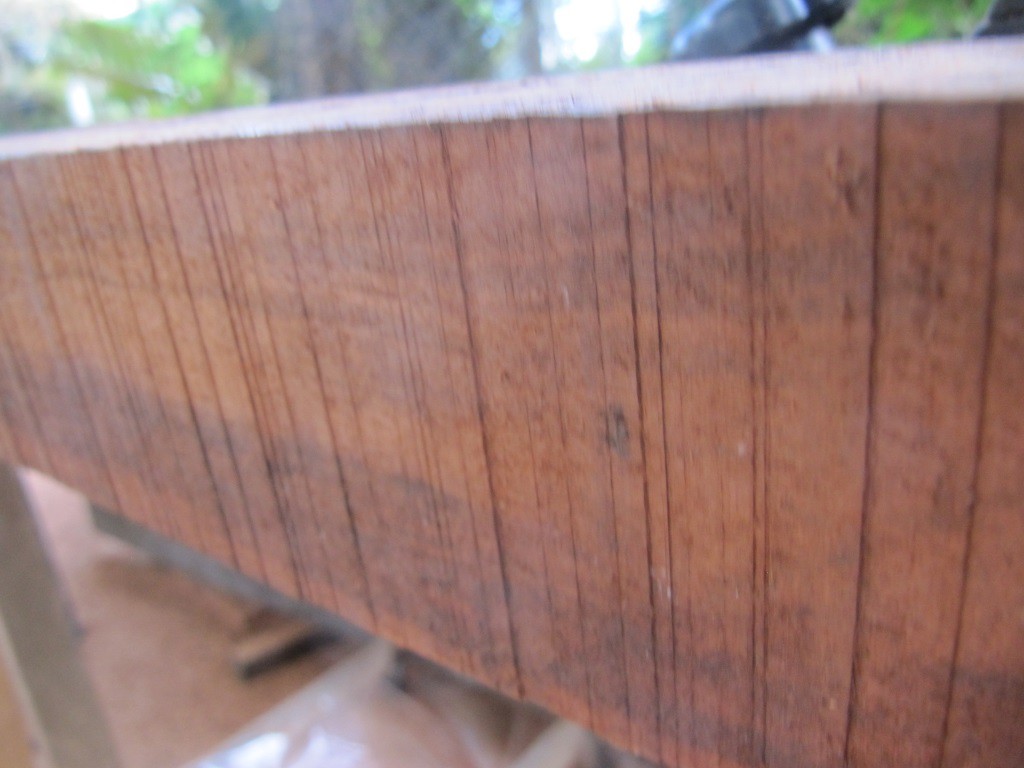
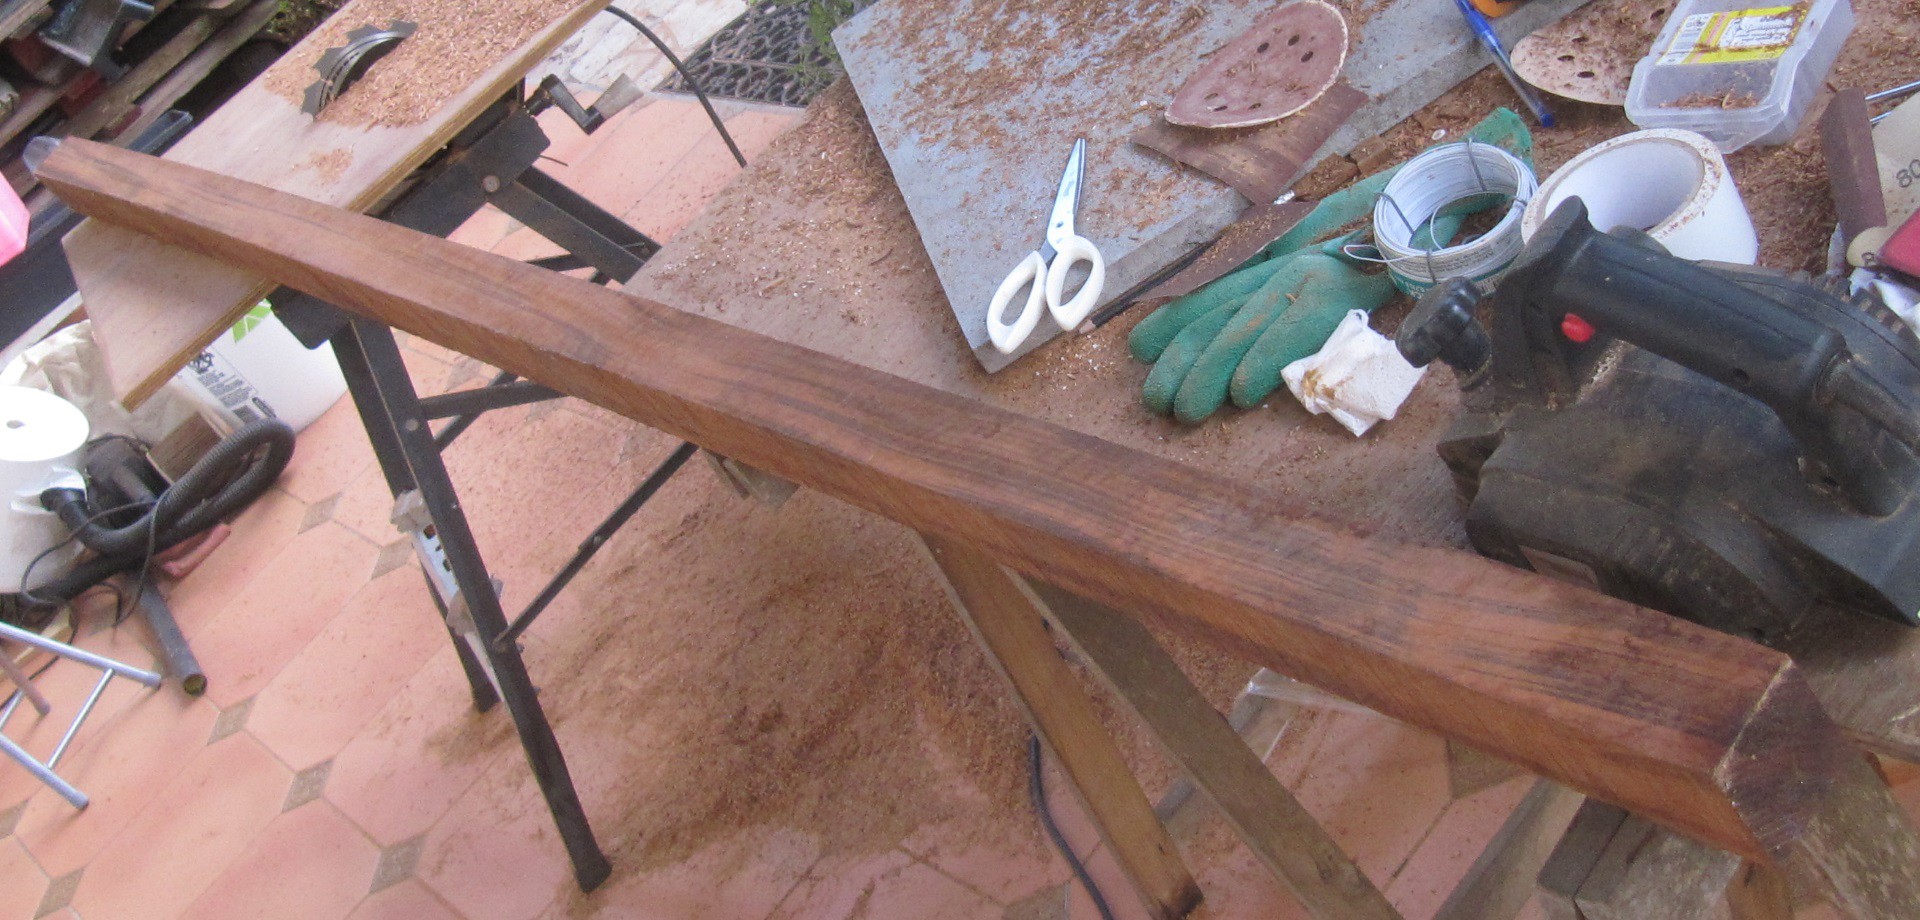
The surface is very uneaven, and it hides the beauty of the wood. So next step is to use the electric hand planer to shave the surface of the wood.
It does not make the lumber square, nor the thickness consistant, but it gets the surface way nicer. I did spend one or two hours doing that, and thus obtained this result :
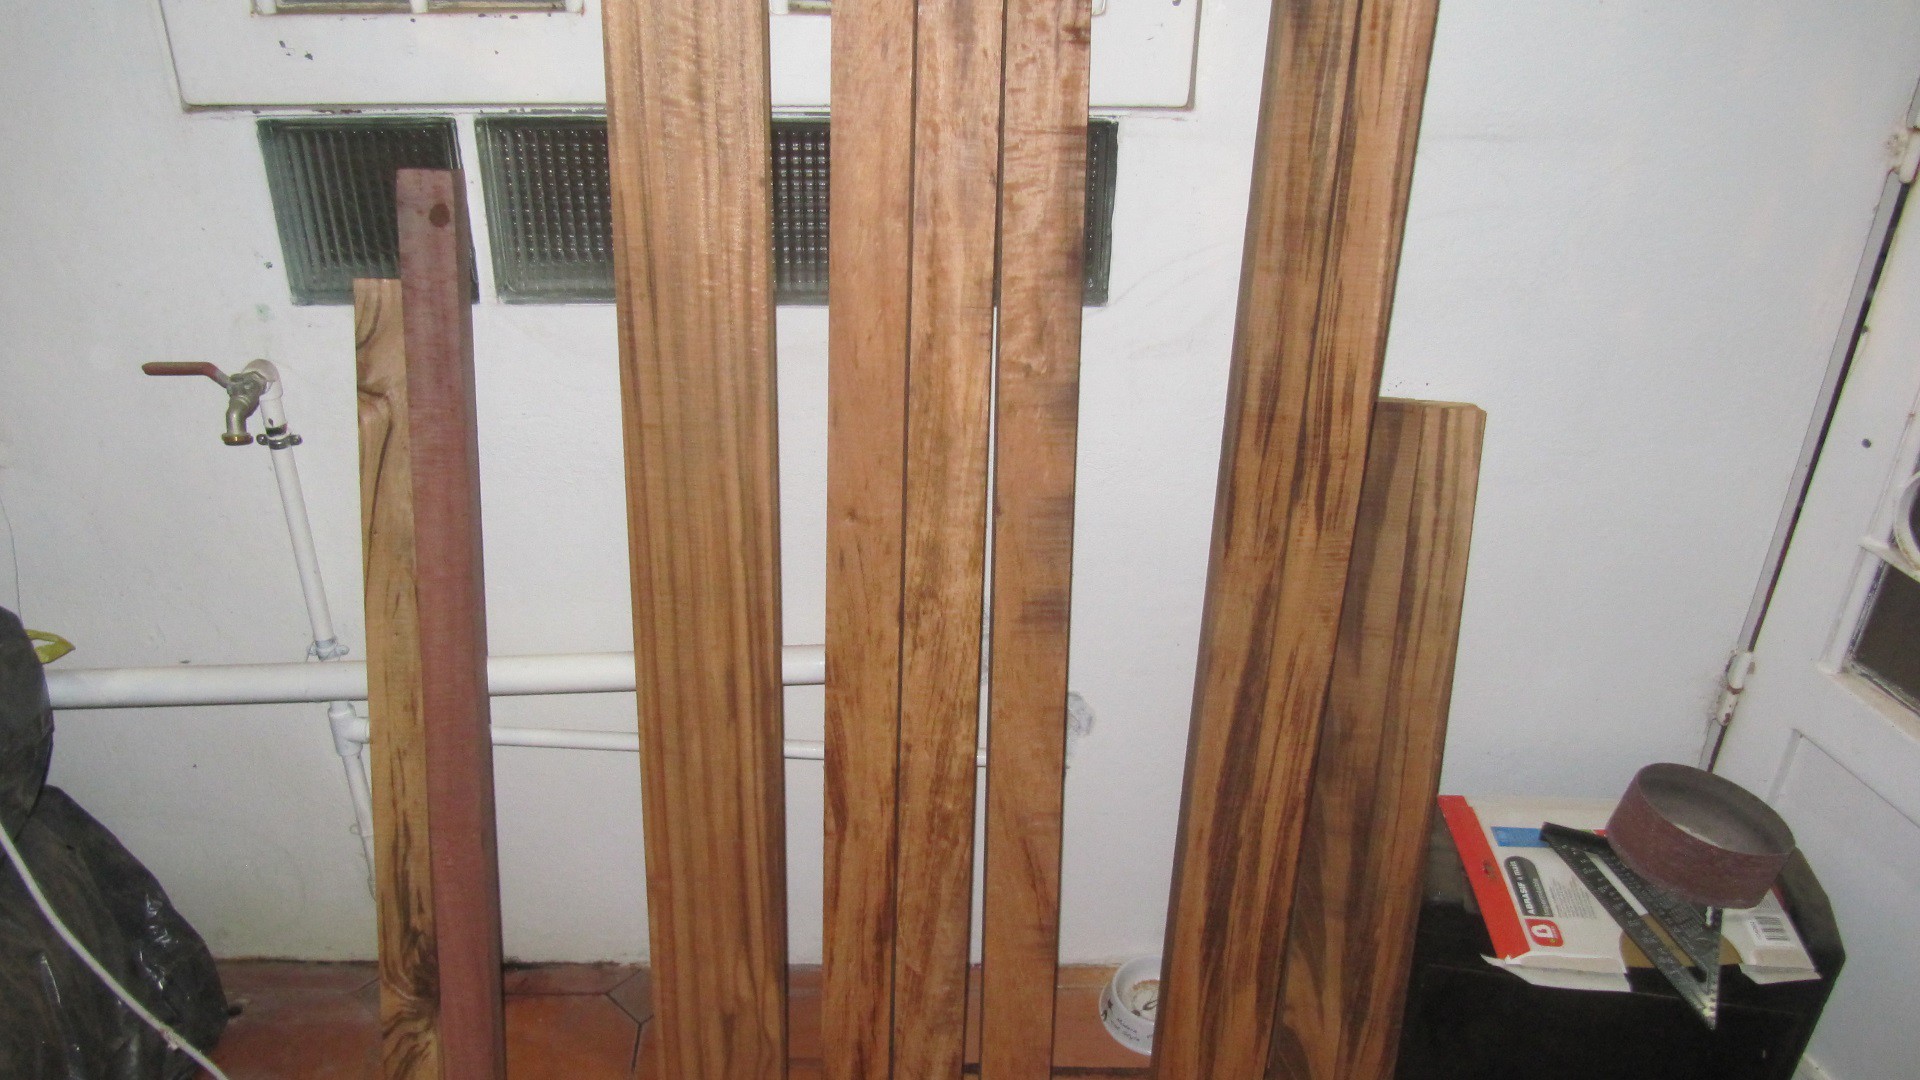 While at it, i did surface various planks and beams that i had around. Indeed, it produces LOTS of shavings, so i thought that i might as well keep working and clean only once.
On the picture above, you can see the variety of the figures of this wood along with some burls, flames that will show up much better when we'll finish up the wood. I'll chose the most beautiful parts for the front and visible part of the rack. i considered using lesser wood such as pine for the hidden parts, but since it's going to be lots of work, and some money, i figured i may as well go all in, and make it super strong using this very hard wood.
As a hint of what this wood can look like with some finish, here is an aquarium cover with integrated LED lighting that i made for a friend :
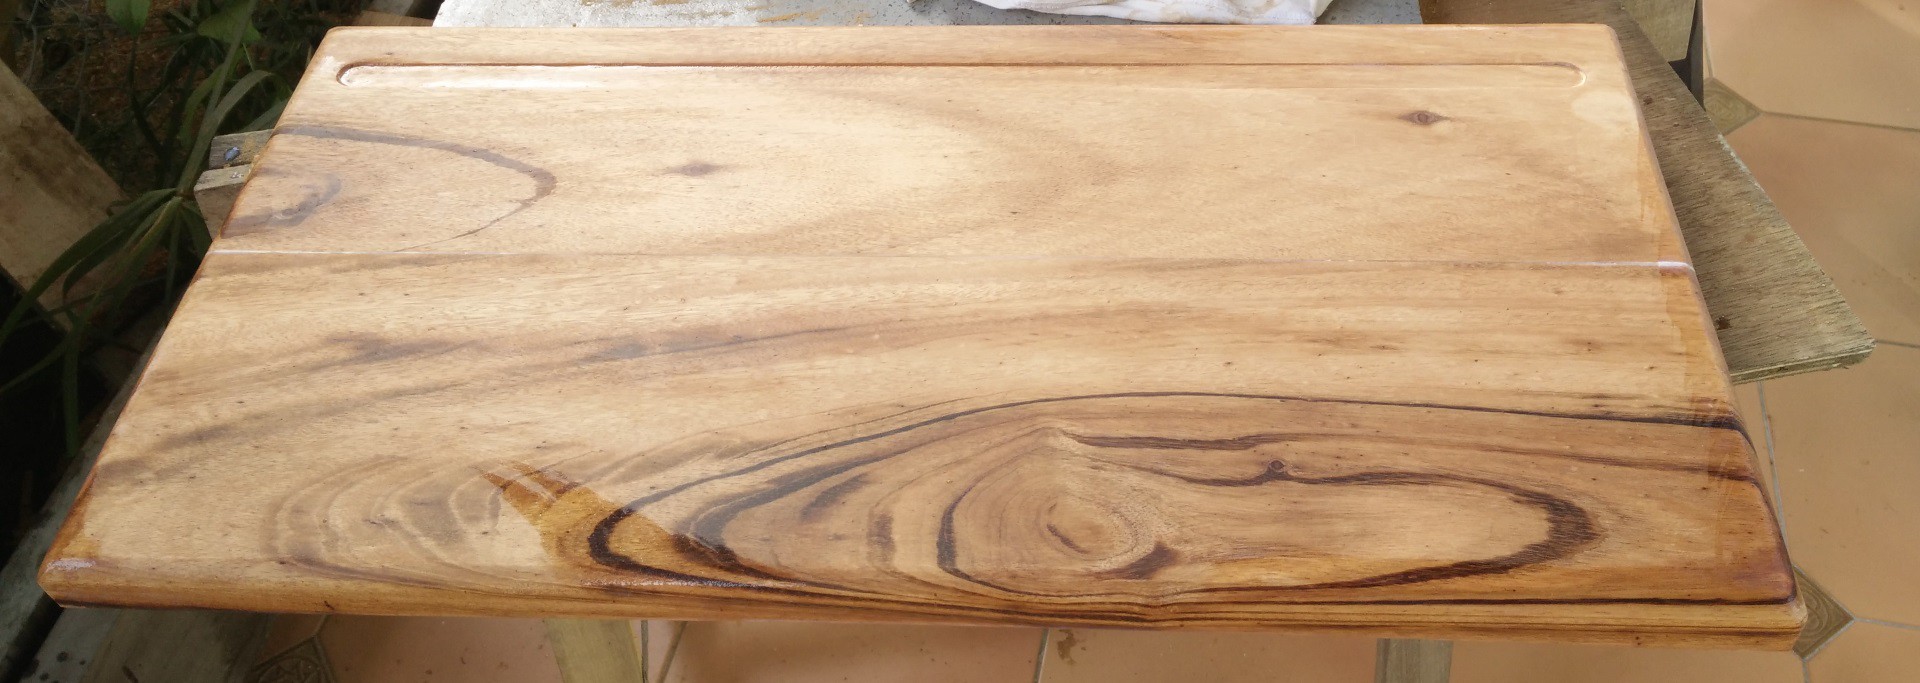
On this picture, it's not fully finished (a few oil coats left to do, perhaps some bee wax on the last coat), but you can see the coloration of the wood, the figures, and the smooth look of the routed edges and some sanding (80, 120, 180 grit with the orbital sander, then 500 grit with the oil on to knock the fibers that rose whith the oiling, and have the wood dust fill the tiny holes and cracks of the wood. This causes it to be super smooth from oil layer 2 and above).
The wood i selected has more figures, next time i'll help my friend choosing better (i told him at the store to chose one he liked, and did not realized that he would not see trough the raw external layer of the wood).
But this one ended up looking quite good, although i can't wait to see mine when finished!
Side note : the shavings of this wood are extremely durable : they won't rot for years. I keep those for my plants, they keep moisture in the pots and keep unwanted grass from growing.
See you next!
Discussions
Become a Hackaday.io Member
Create an account to leave a comment. Already have an account? Log In.