 Ted Yapo
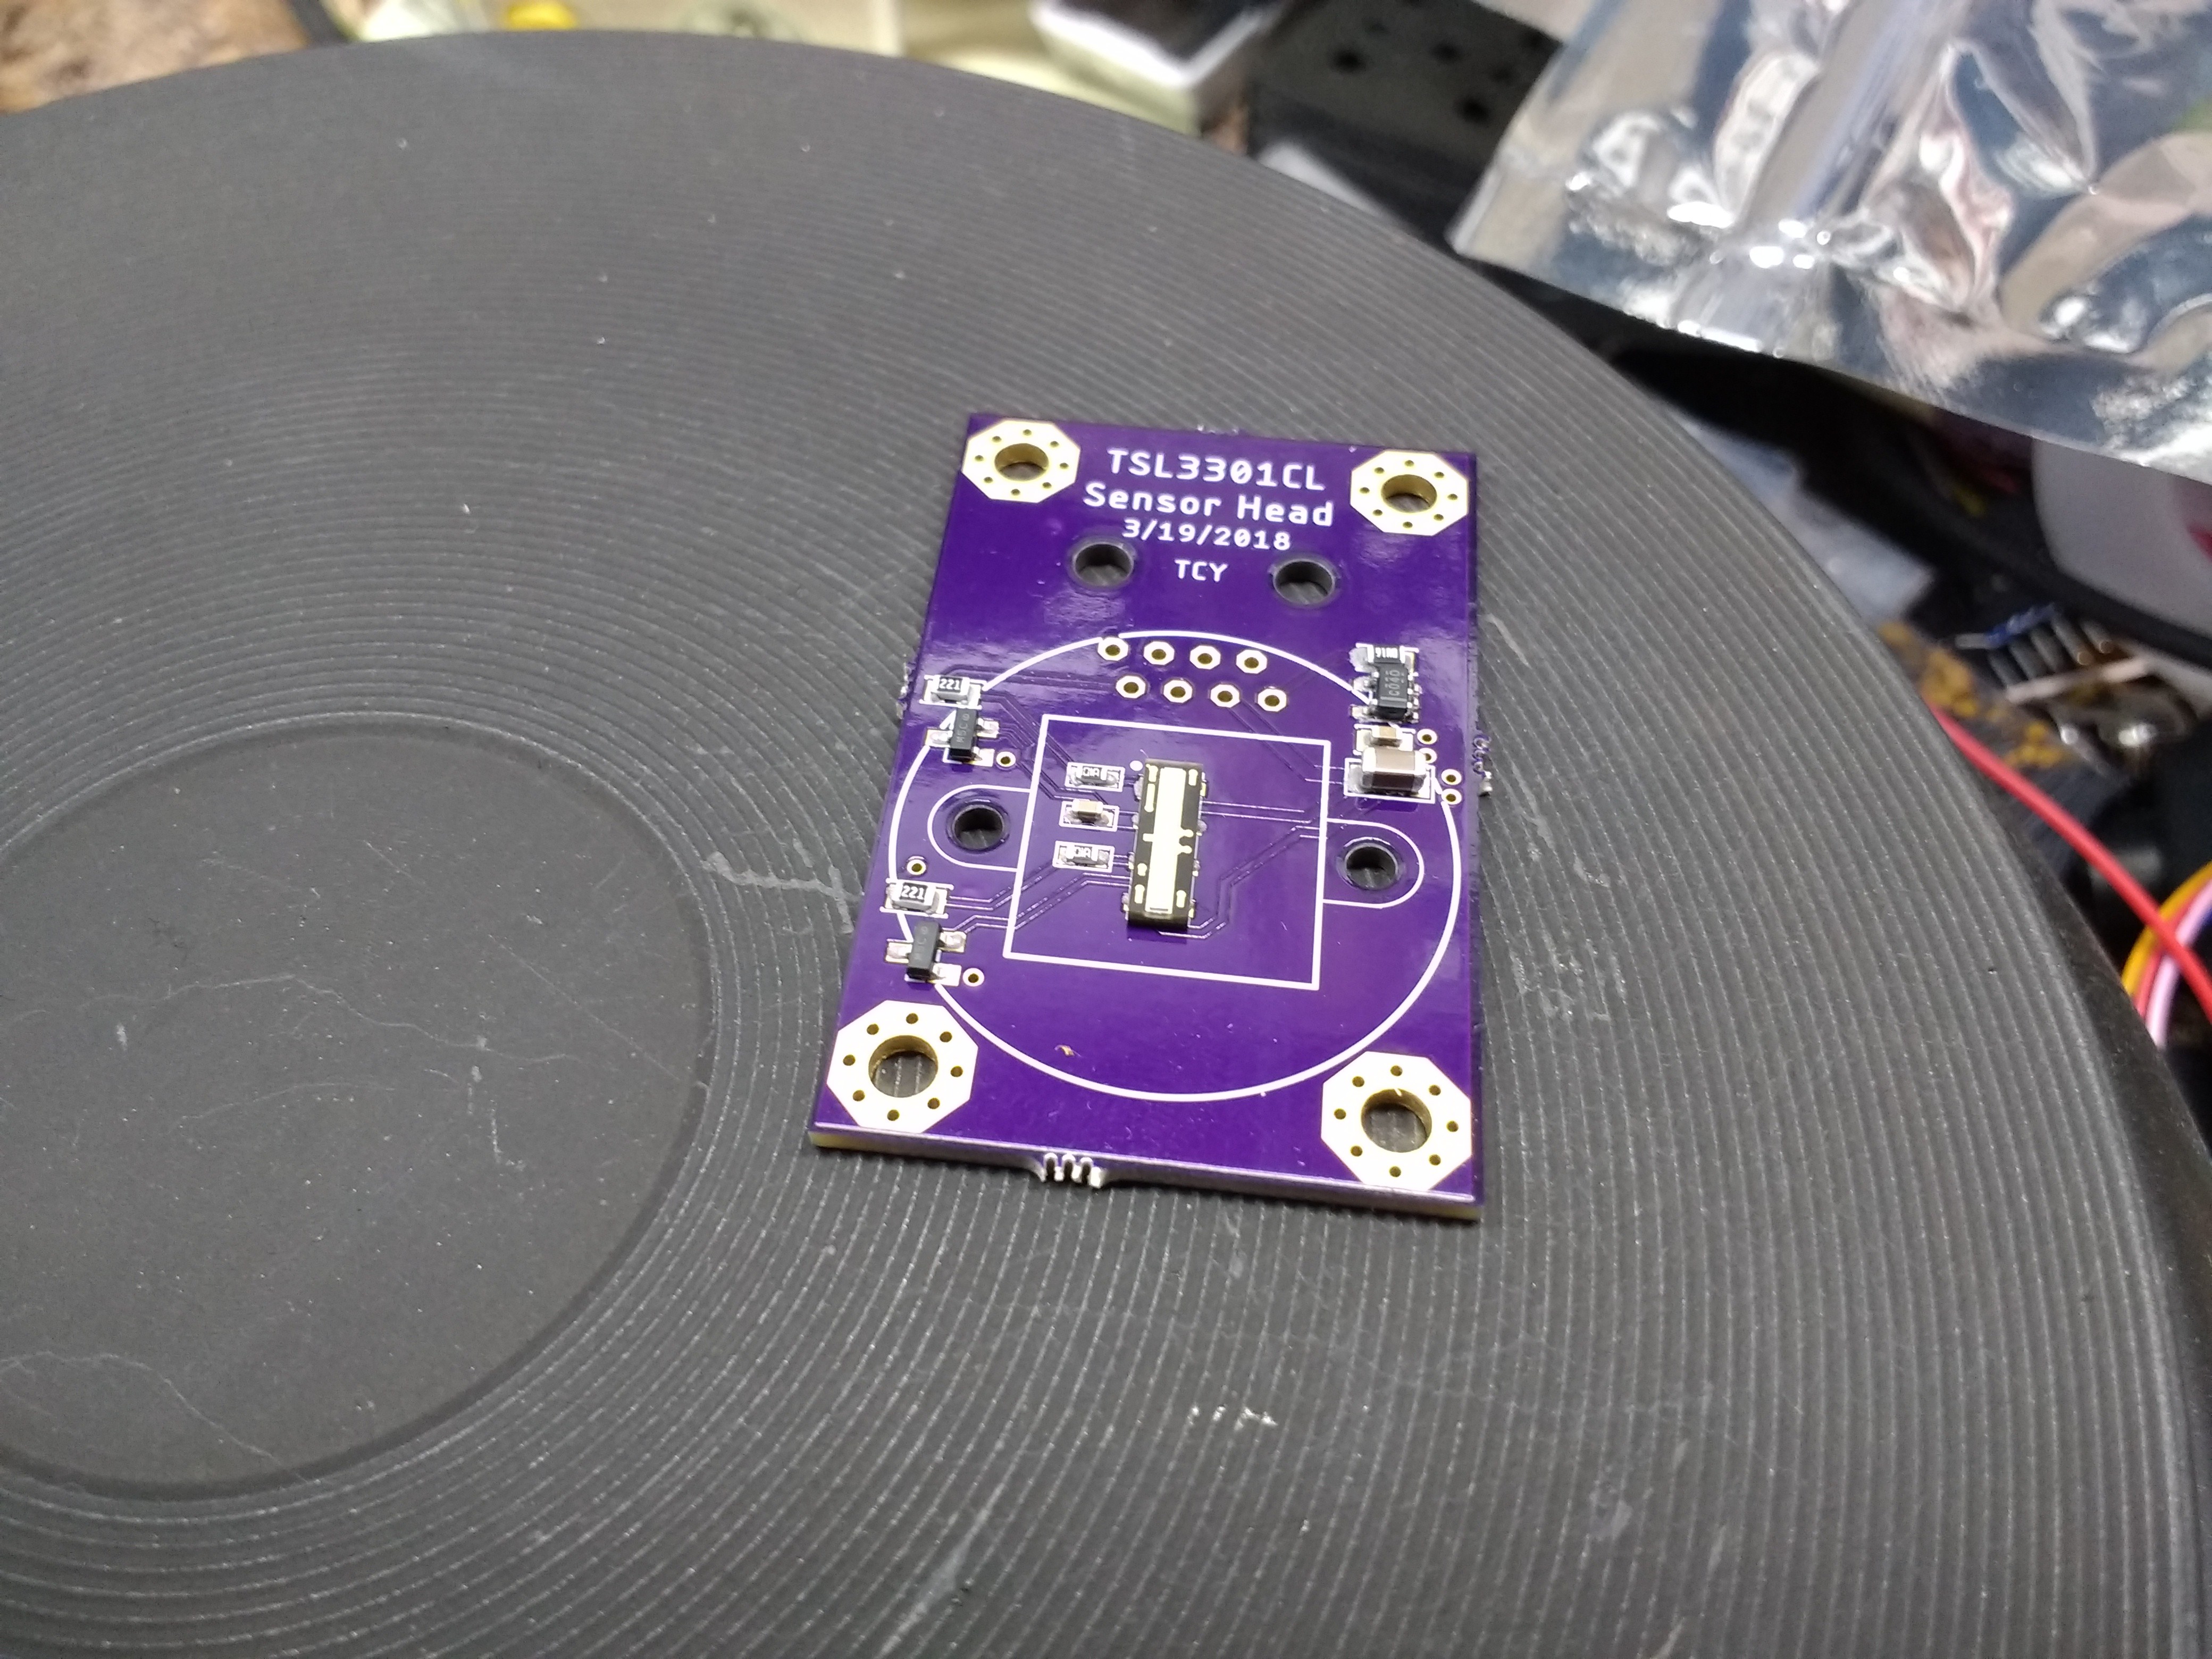
There was a discussion on hackchat about garage reflow processes. I happened to be assembling three small PCBs today, so I figured I'd take some pictures and document how I do it. I don't think anything I do is really original, but I've stolen a set of techniques that work together. Here are the tools of the trade:
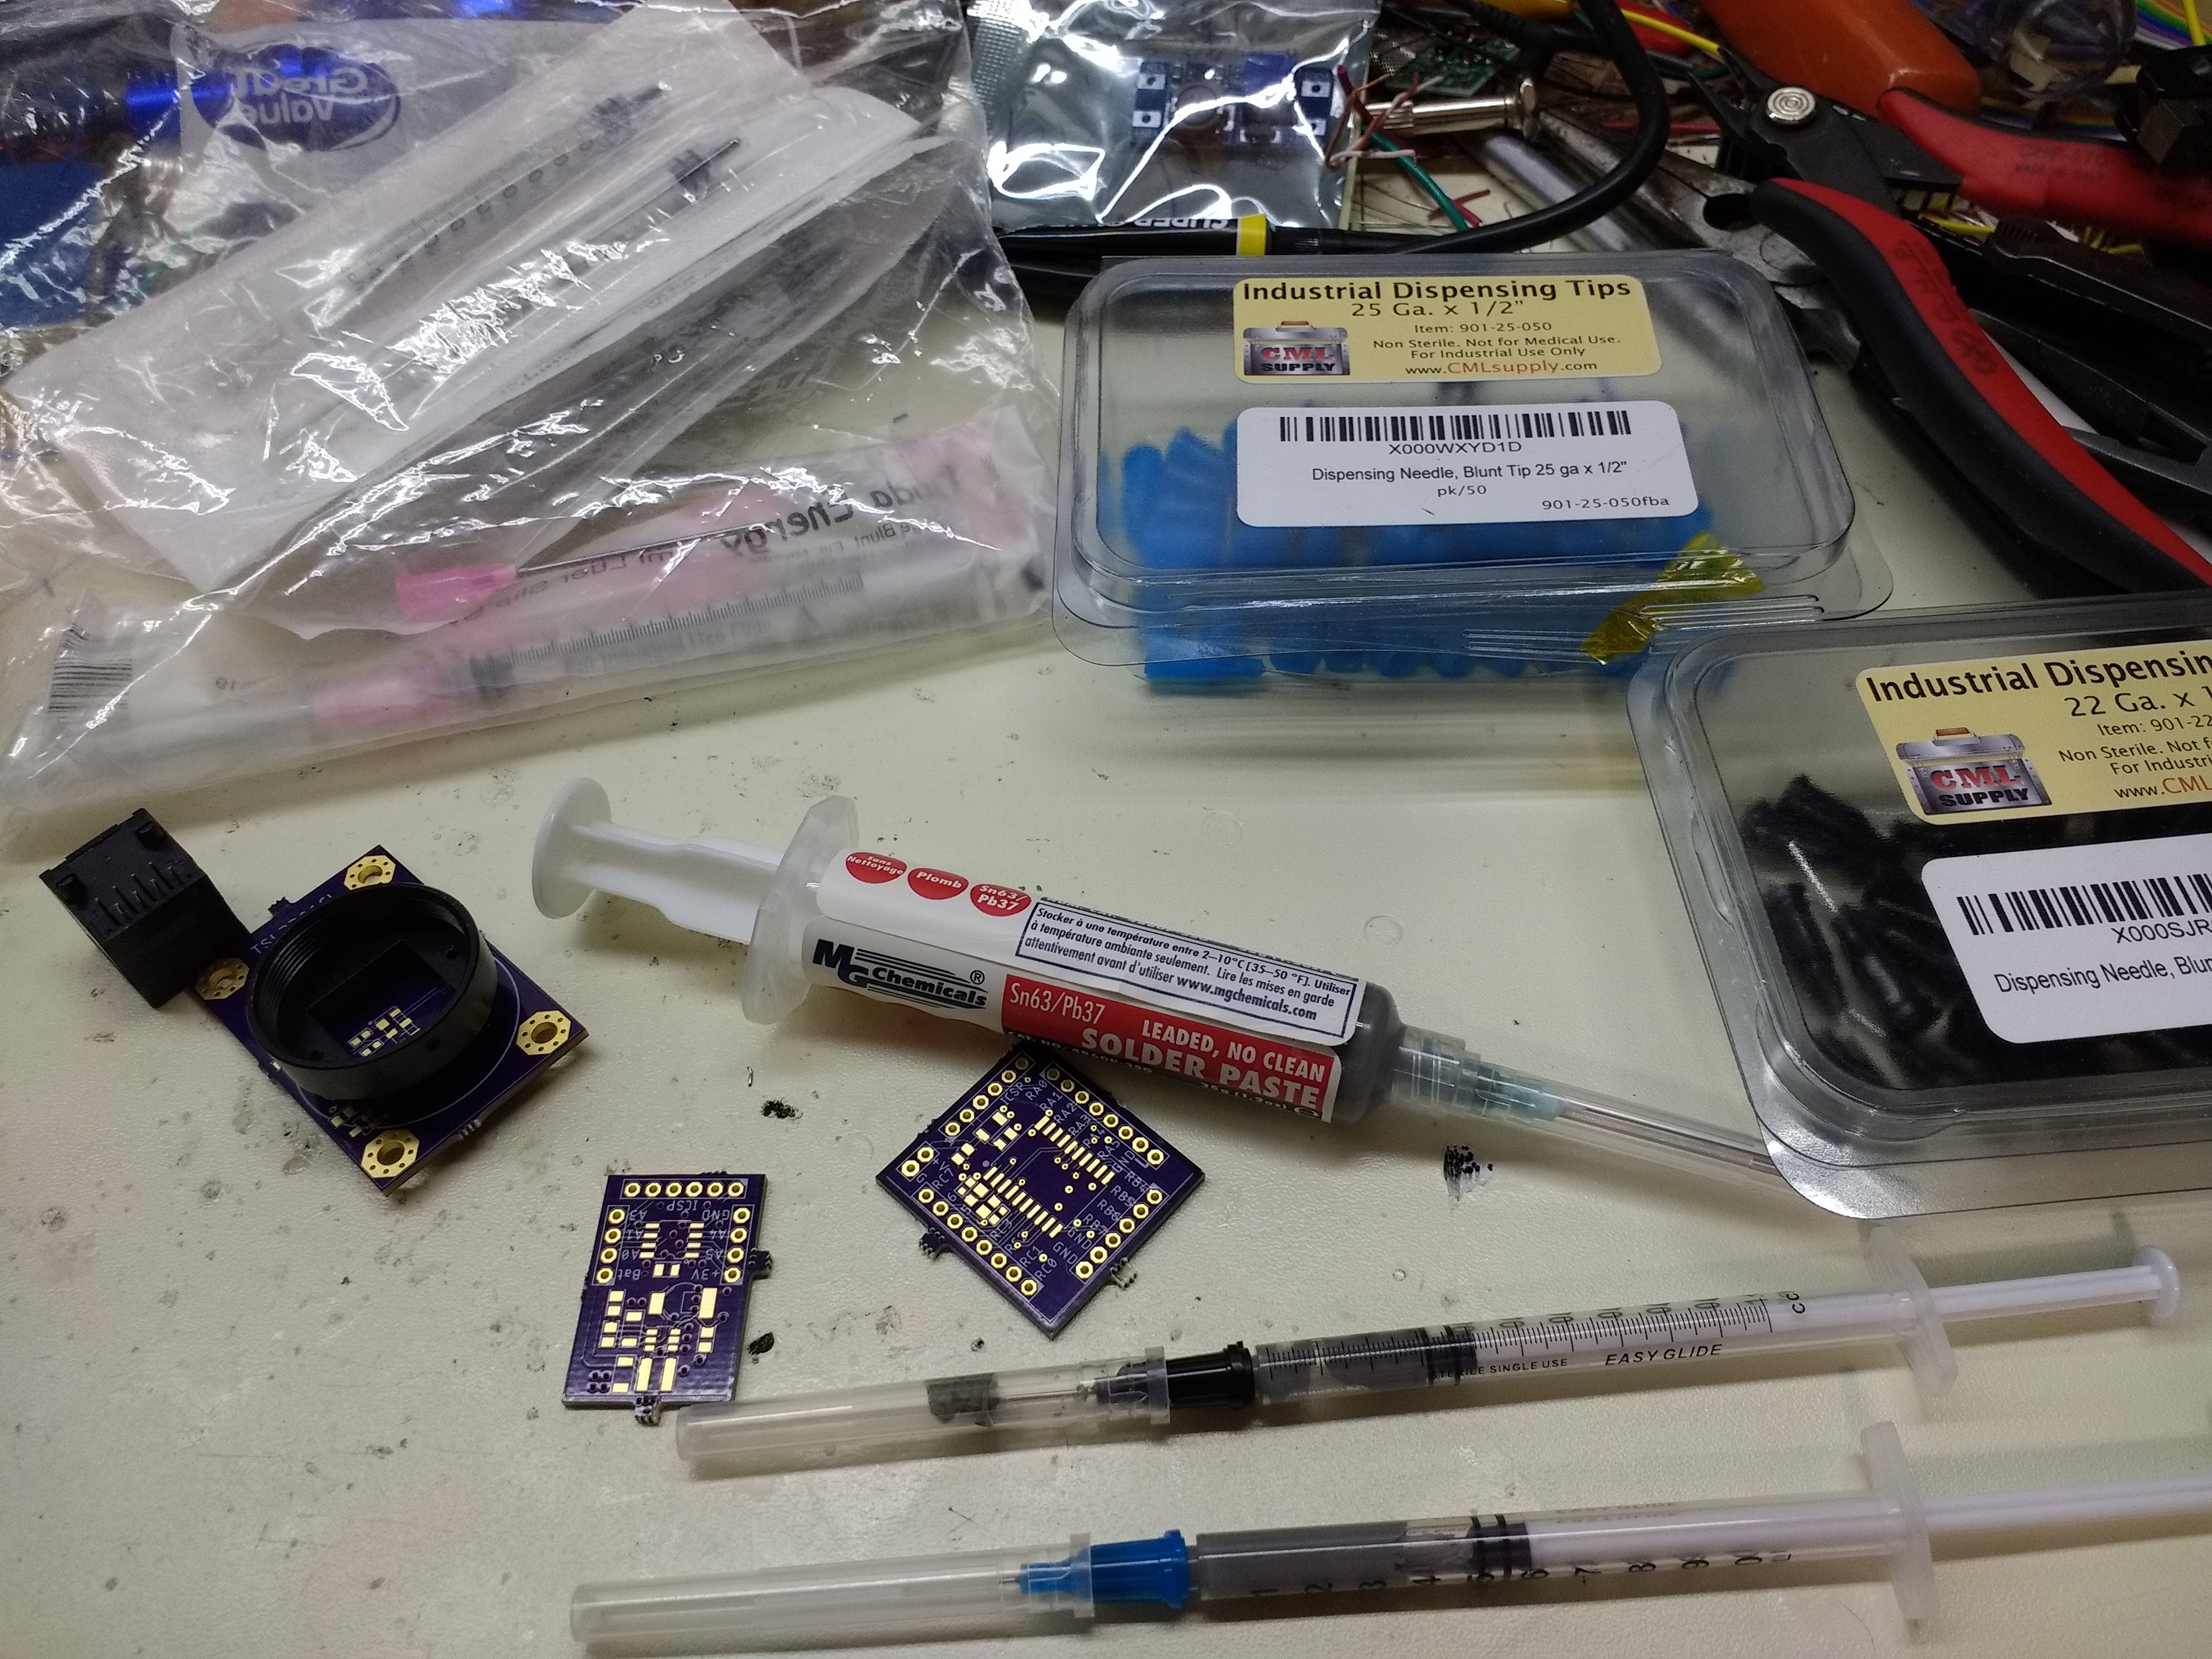
I transfer solder paste from the larger syringe it comes in into 1 ml ones. These syringes are much easier to dispense from and control accurately. I use two different blunt needle sizes, 22 ga and 25 ga. The 22 is useful for SOIC-sized components, while the 25 is better for smaller pitched components. I have some 27's on order, because I think 22/27 is probably a better combination. You can see the air bubbles in the syringes. You should try to avoid these, because they add a springiness to the dispensing that makes it a little more difficult to control. I used to take better care to avoid them, but at this point I just deal with it.
I dispense the paste with my thumb on the plunger, resting my hand on the bench. It's surprisingly easy to do this accurately after a little practice.

Every once in a while, either due to air bubbles or my hand heating and expanding the paste, too much will flow. I wipe the excess on a scrap of paper towel.

How much paste do I use? I don't know. I've found that excess paste usually doesn't cause too many problems. I occasionally get a bridge or two on 0.65 or 0.5mm pitch components, but mostly you just get solder balls which are easily removed (see below).
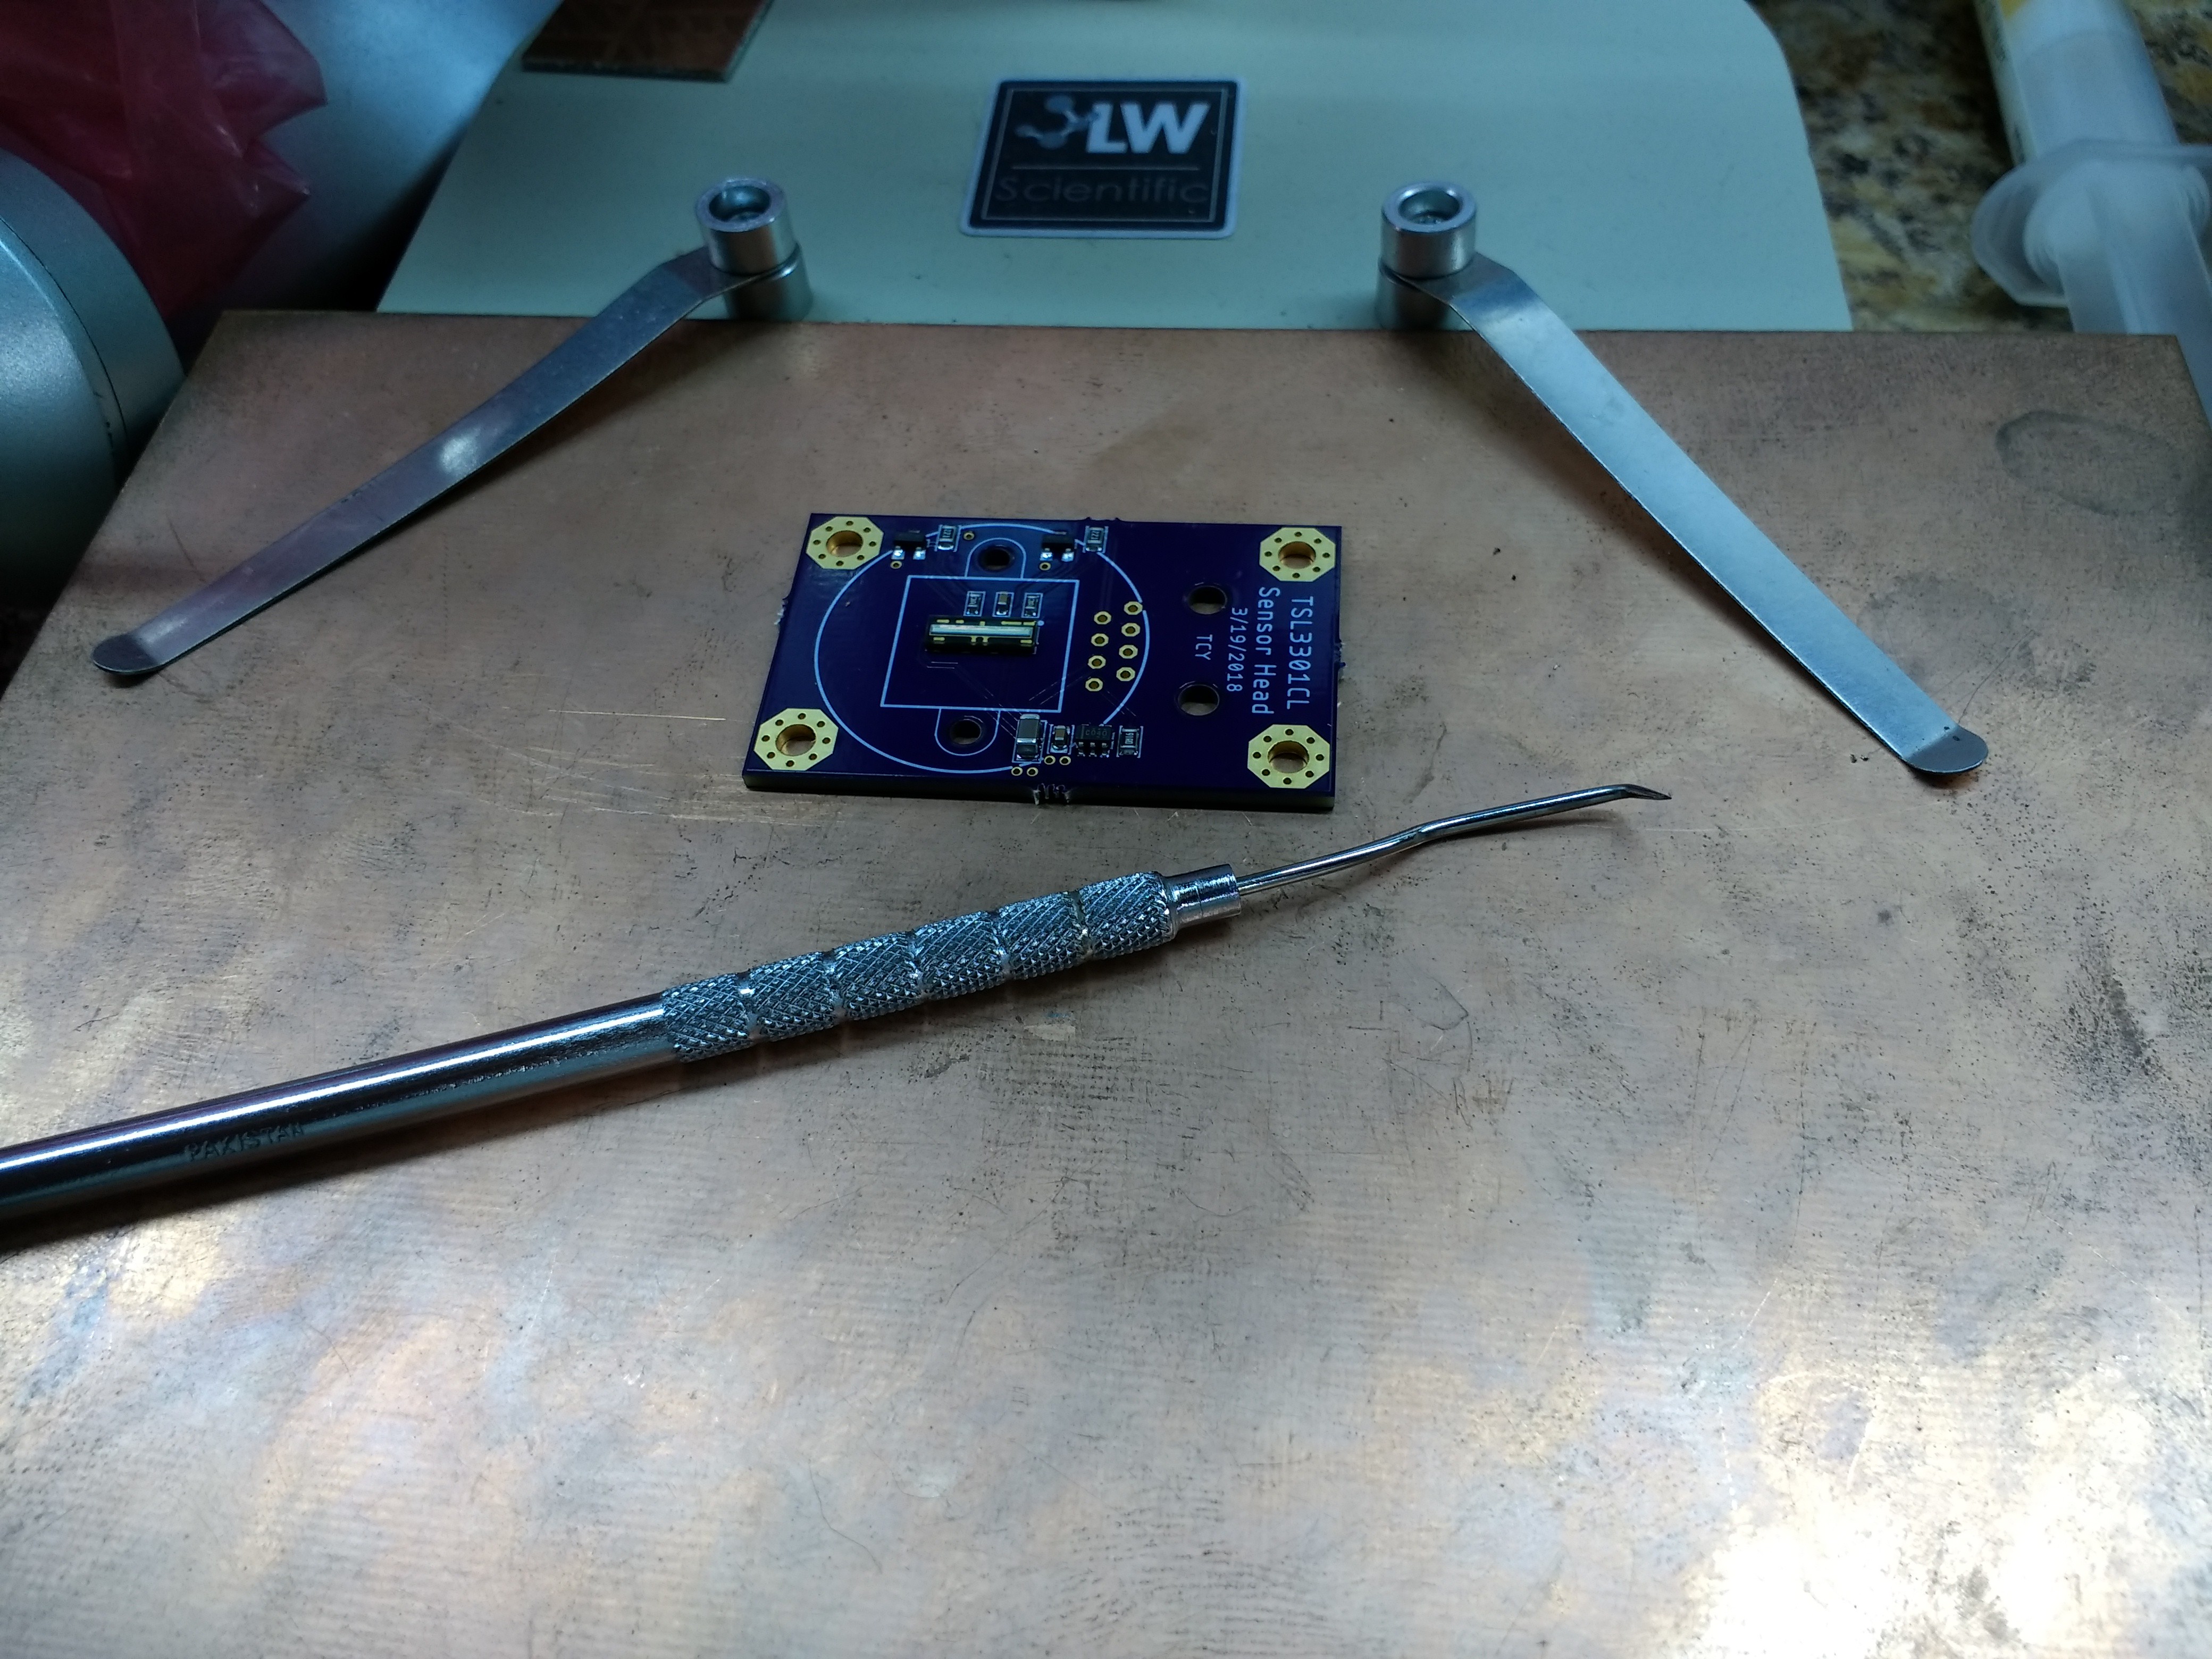
After applying all the paste, I place the components with tweezers.
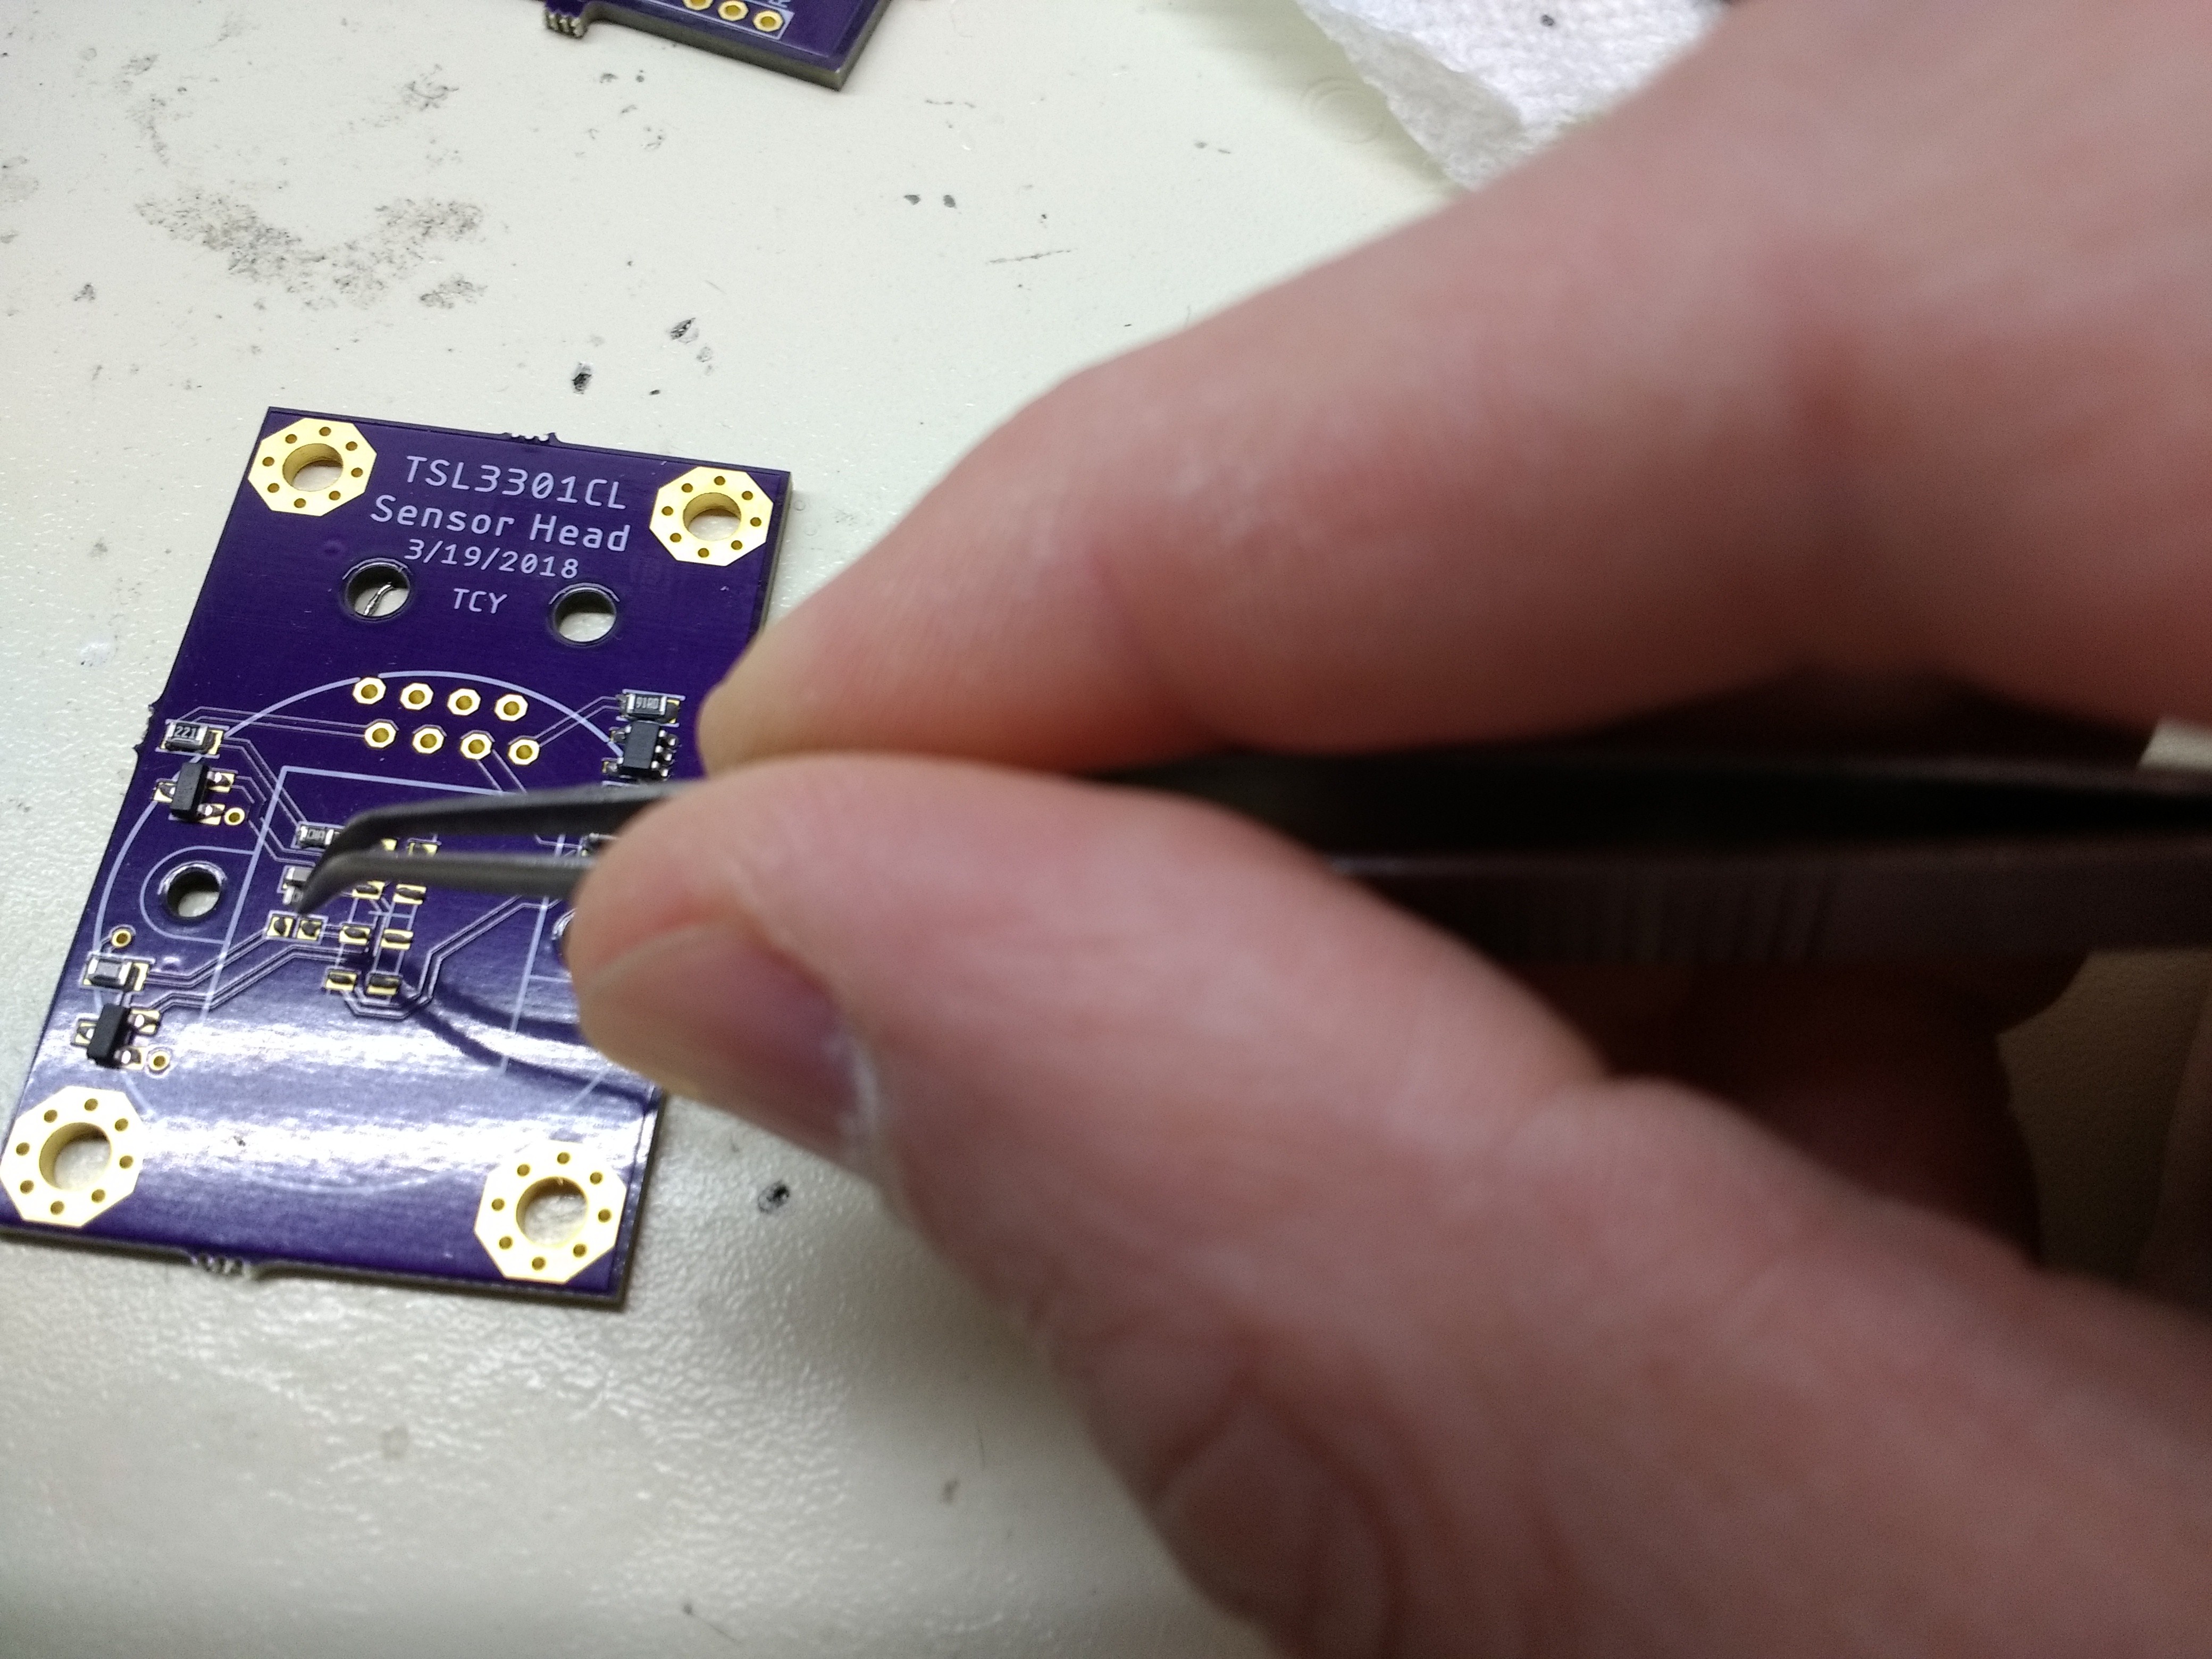
Sometimes, the paste gets on the tweezers and the flux makes them stick to components. Wipe the tweezers with a paper towel (moistened with 90% isopropyl alcohol in tough cases) if this happens.
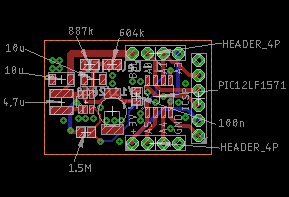
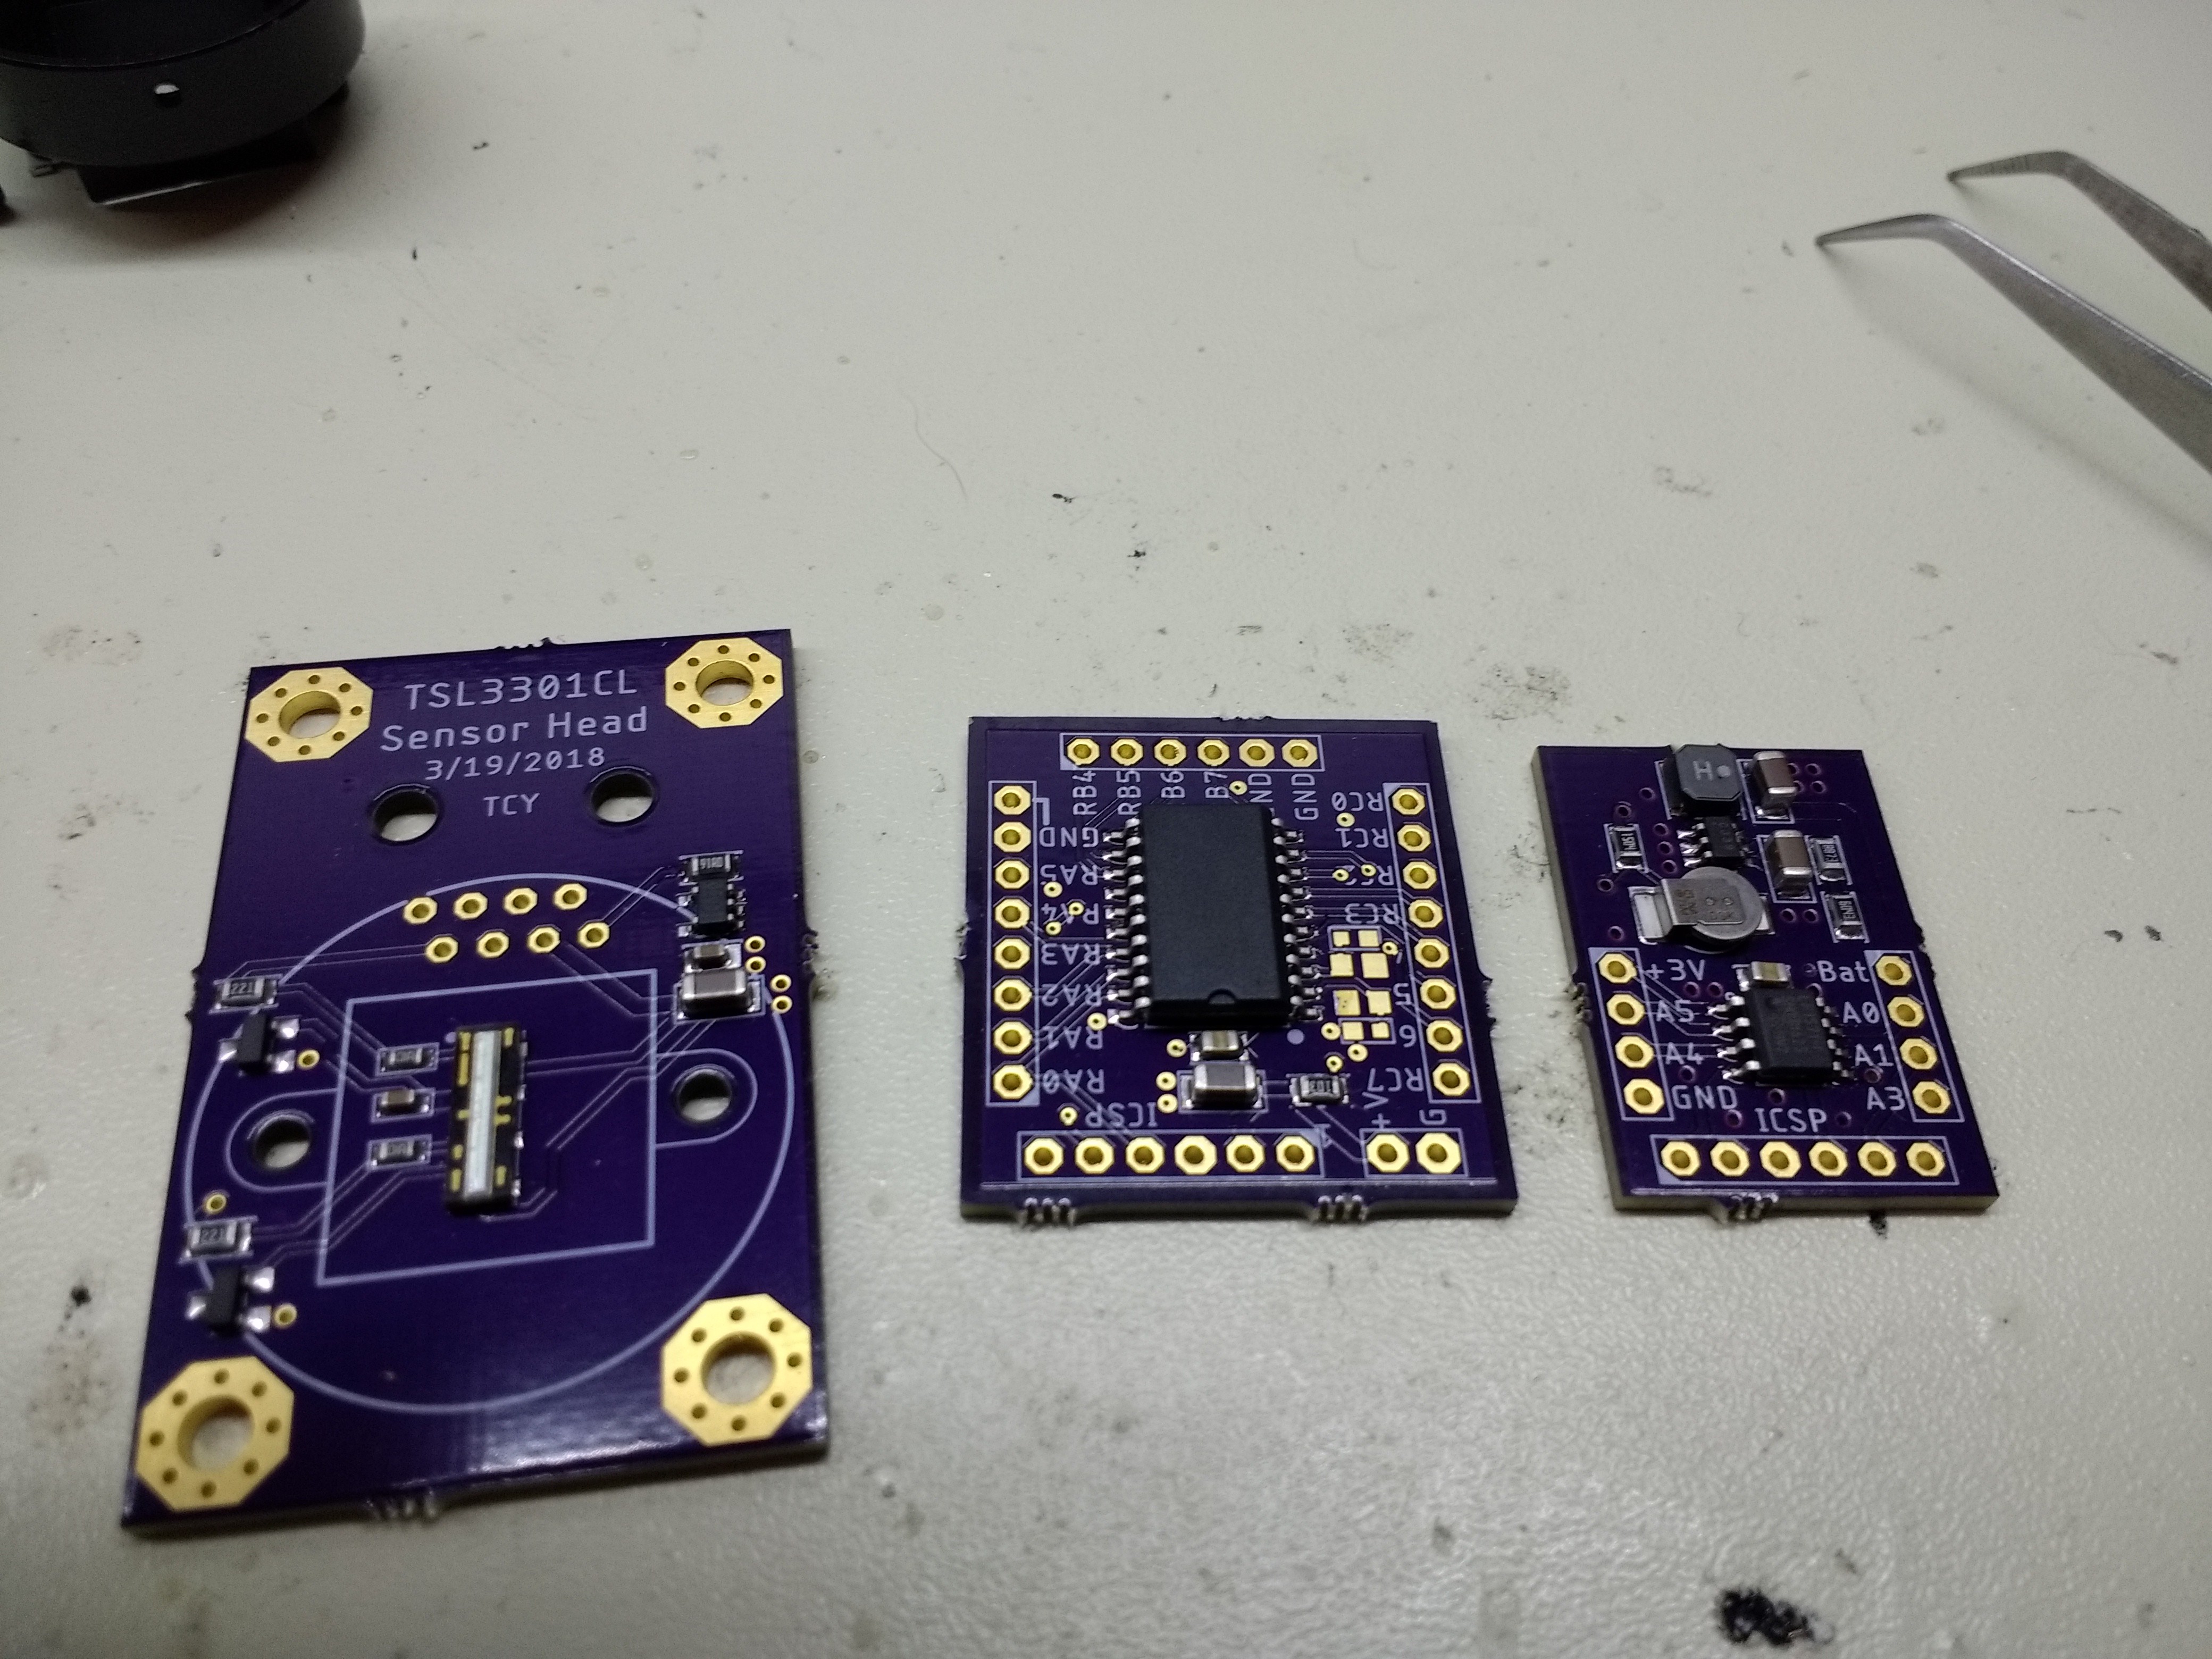
I make a component map in Eagle to know what's going where:
You can see the components on the solder paste here. It doesn't have to be a very precise operation. Solder paste is amazingly resilient and fixes a lot of your mistakes. For fine pitch components, it's OK to just lay a single bead along all the pads. The paste will do the rest. You can see where I used an 0603 cap on 0805 pads. I can never tell just by looking at them.
I reflow the boards on a cheap hotplate. This particular one has a flat surface that works pretty well:
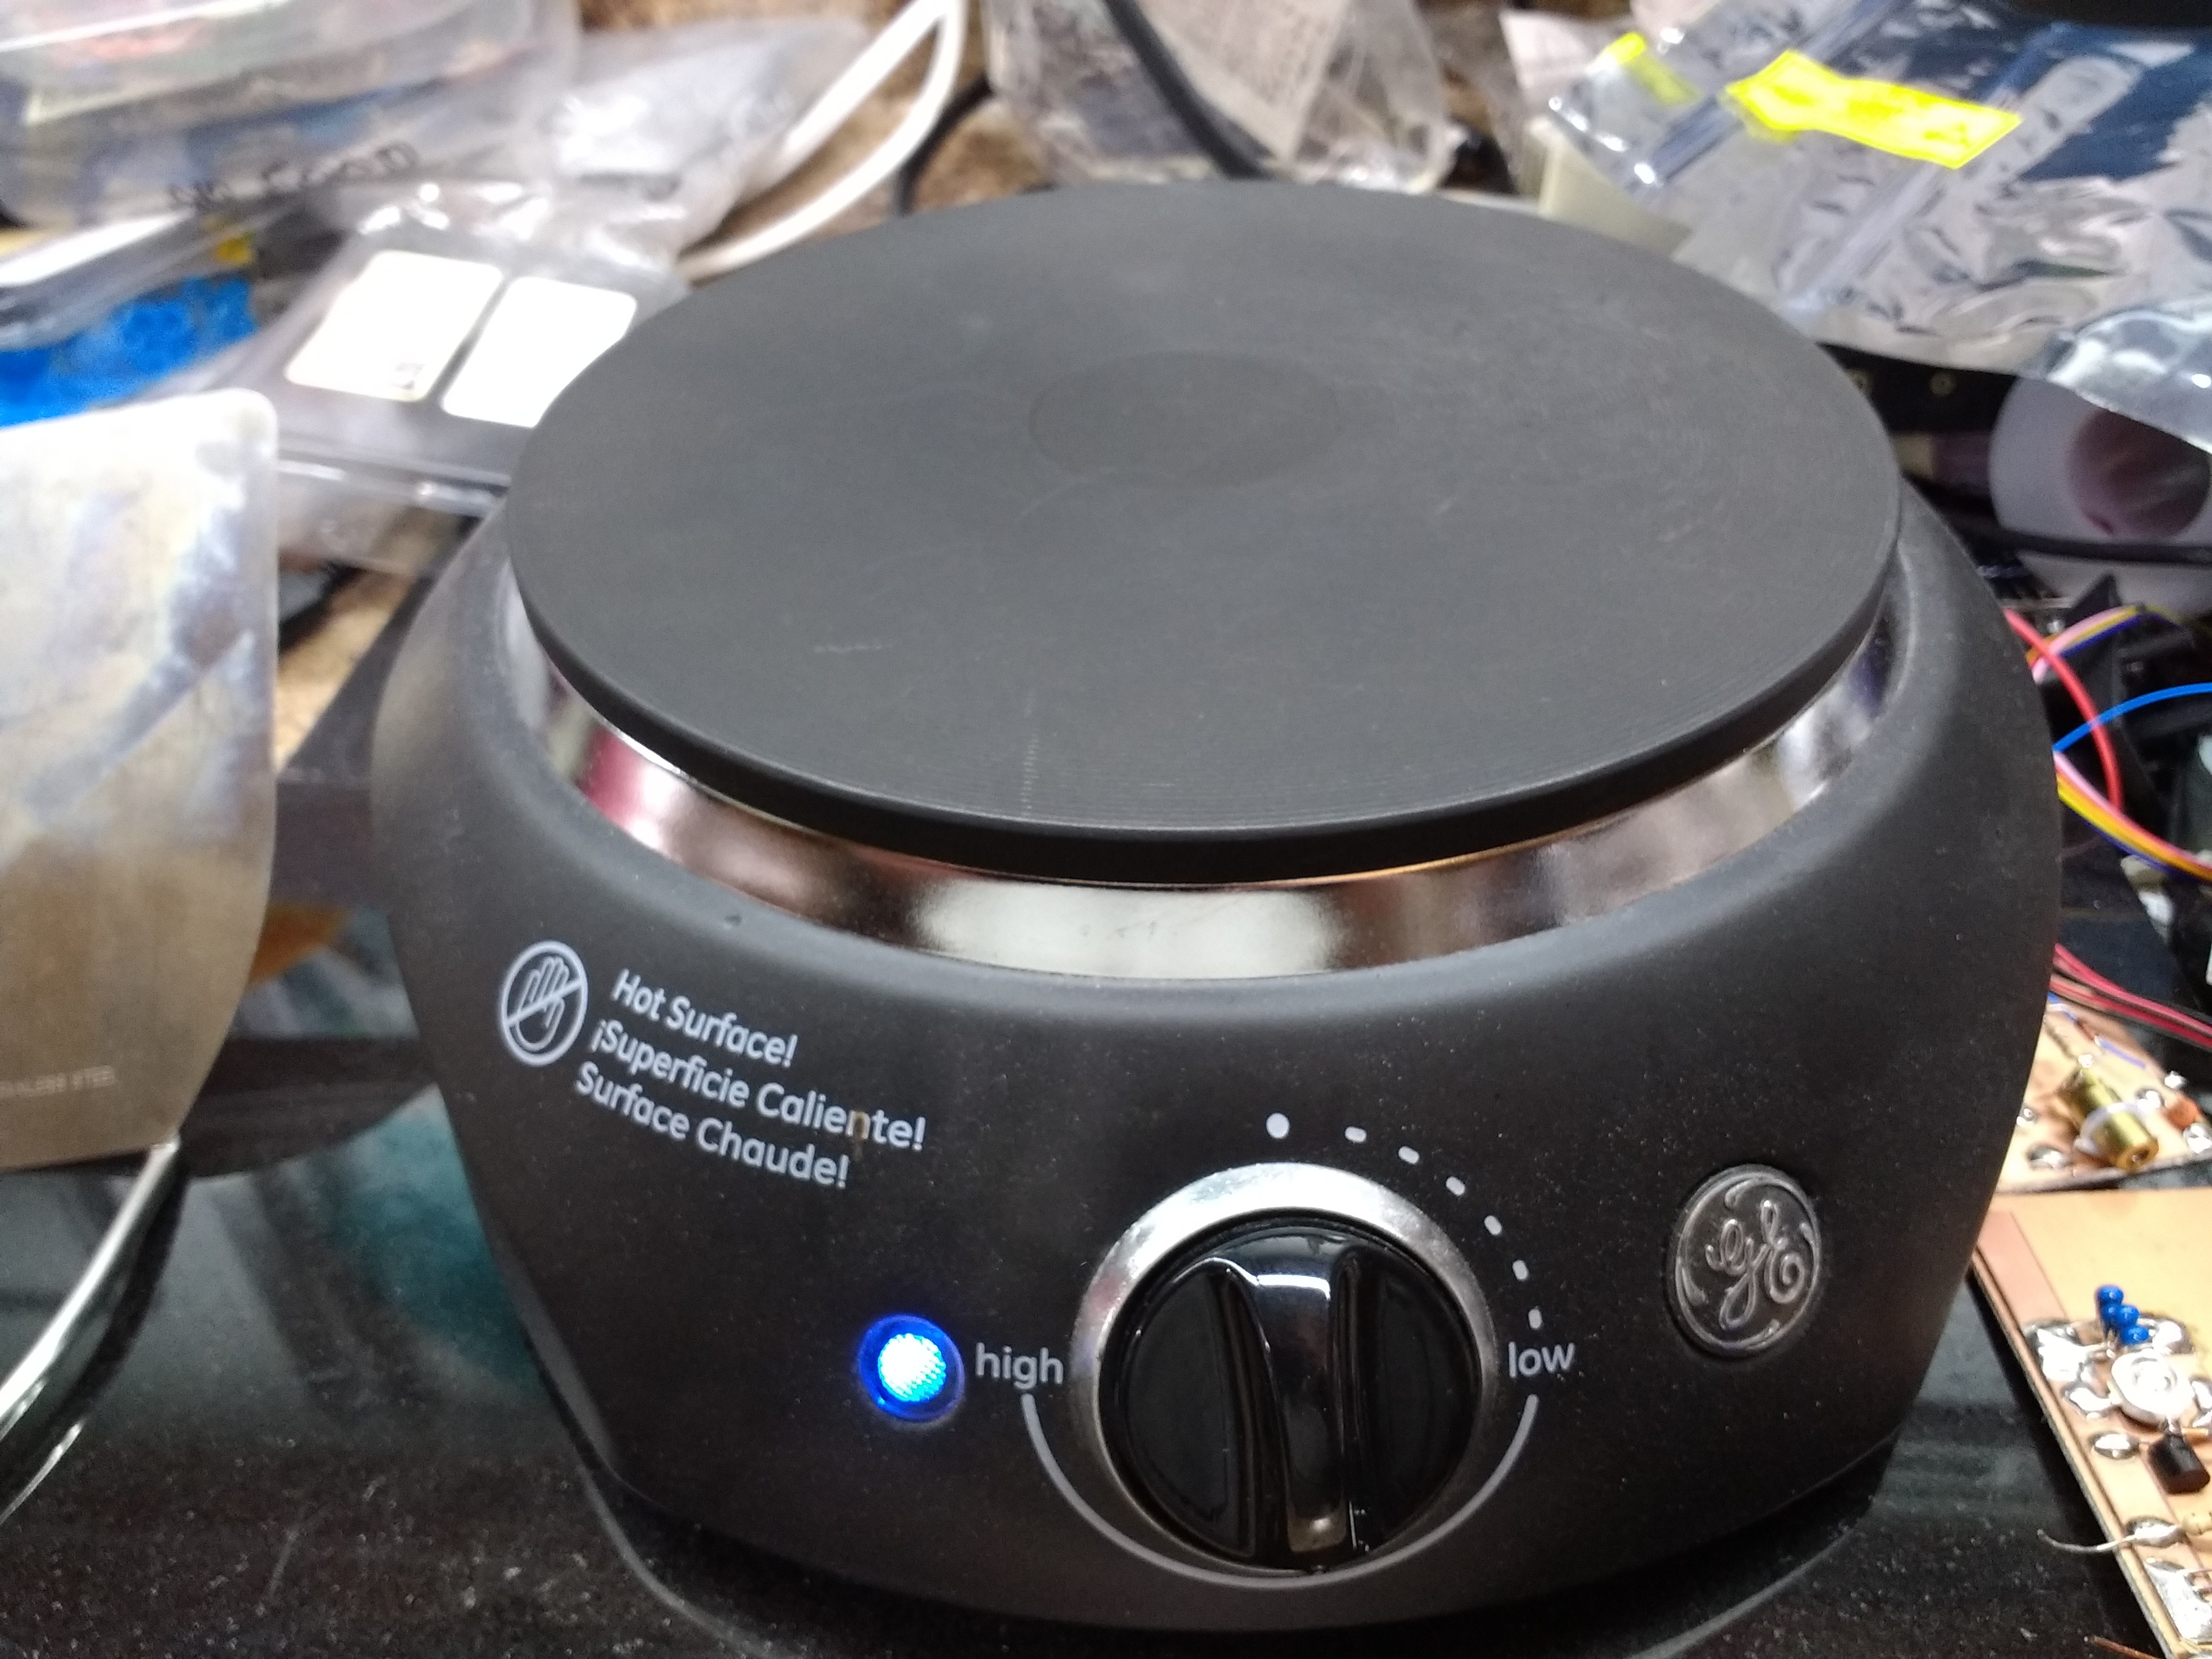
I turn it half way up, which I tried the first time I used it several years ago, and have just stuck with. I wait until the surface approaches 200C, measuring it with an IR thermometer.
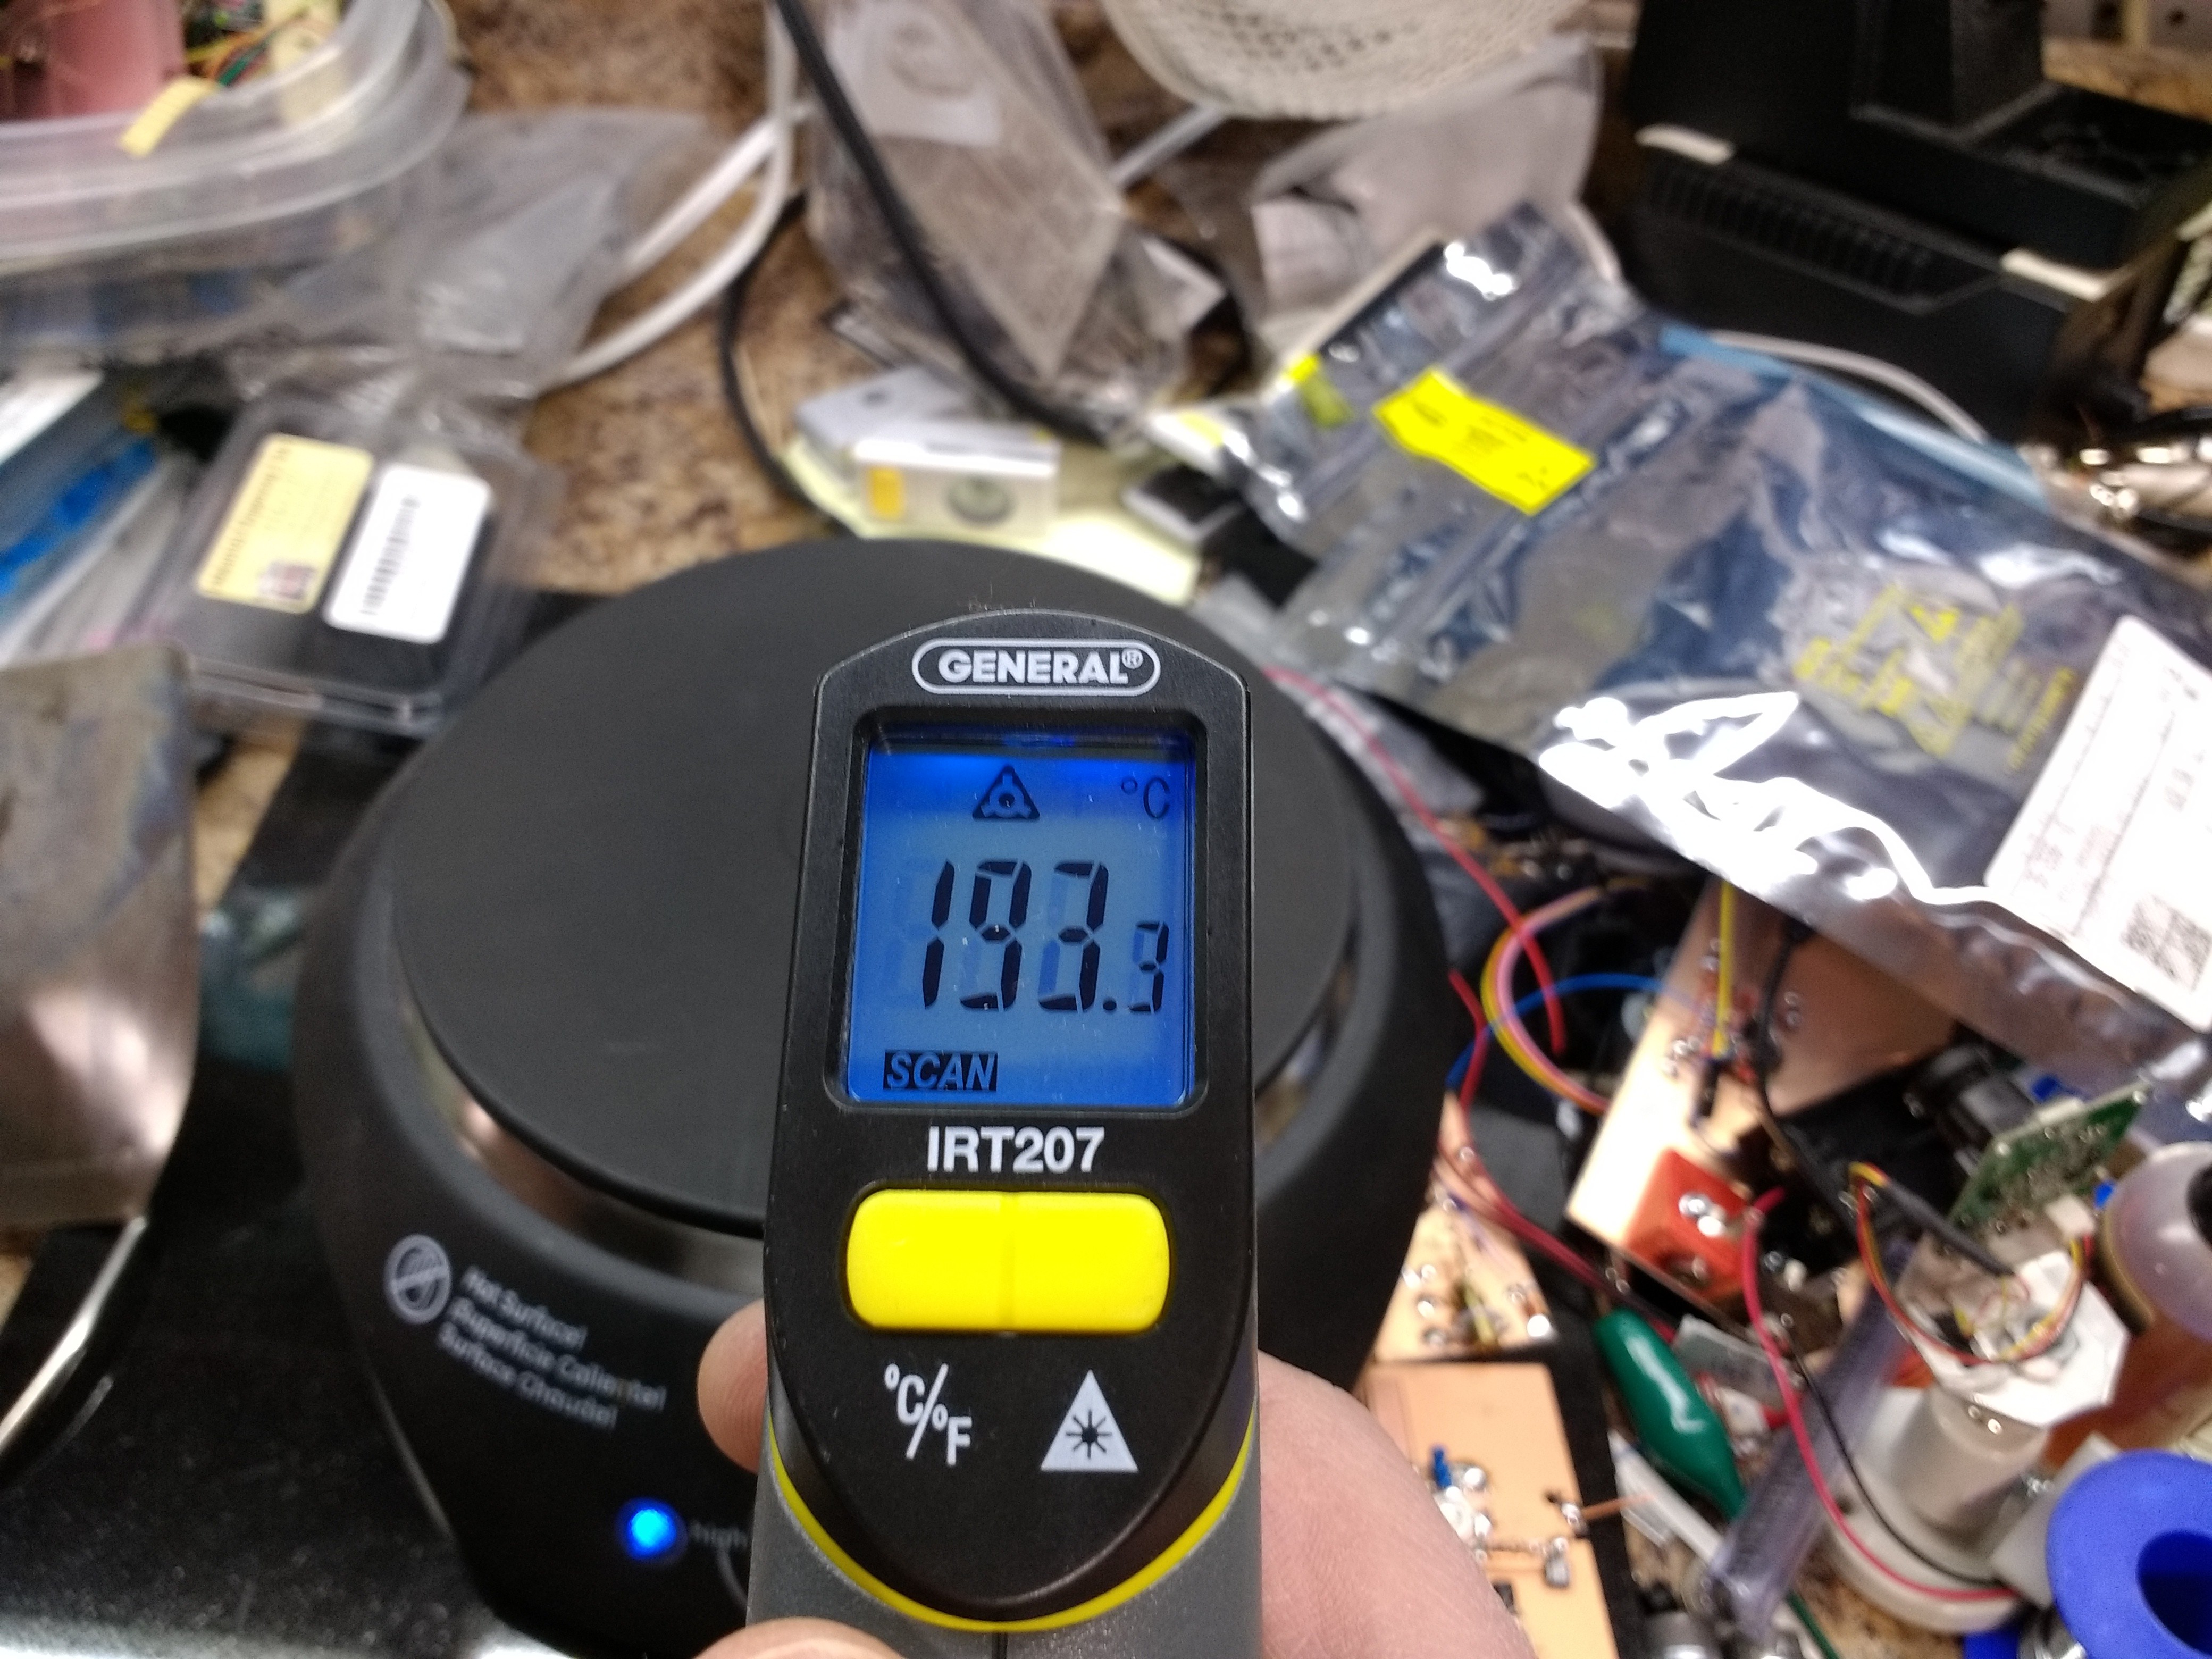
I'm using 63-37 leaded solder here, which melts at 183C. The hotplate will continue to heat after I place the board on there, getting up to around 240 or so. If you are using the usual lead-free solder, you will want higher temperatures, and with tin-bismuth solder (I have some on order), lower temperatures.
Once the hotplate is around 200C (and rising), I place the board on there.
I just watch the paste. When it turns silver and shiny, and all the parts get pulled into position, it's done. I pay careful attention to larger components (especially USB connectors) which sink heat away from the PCB. These melt last.
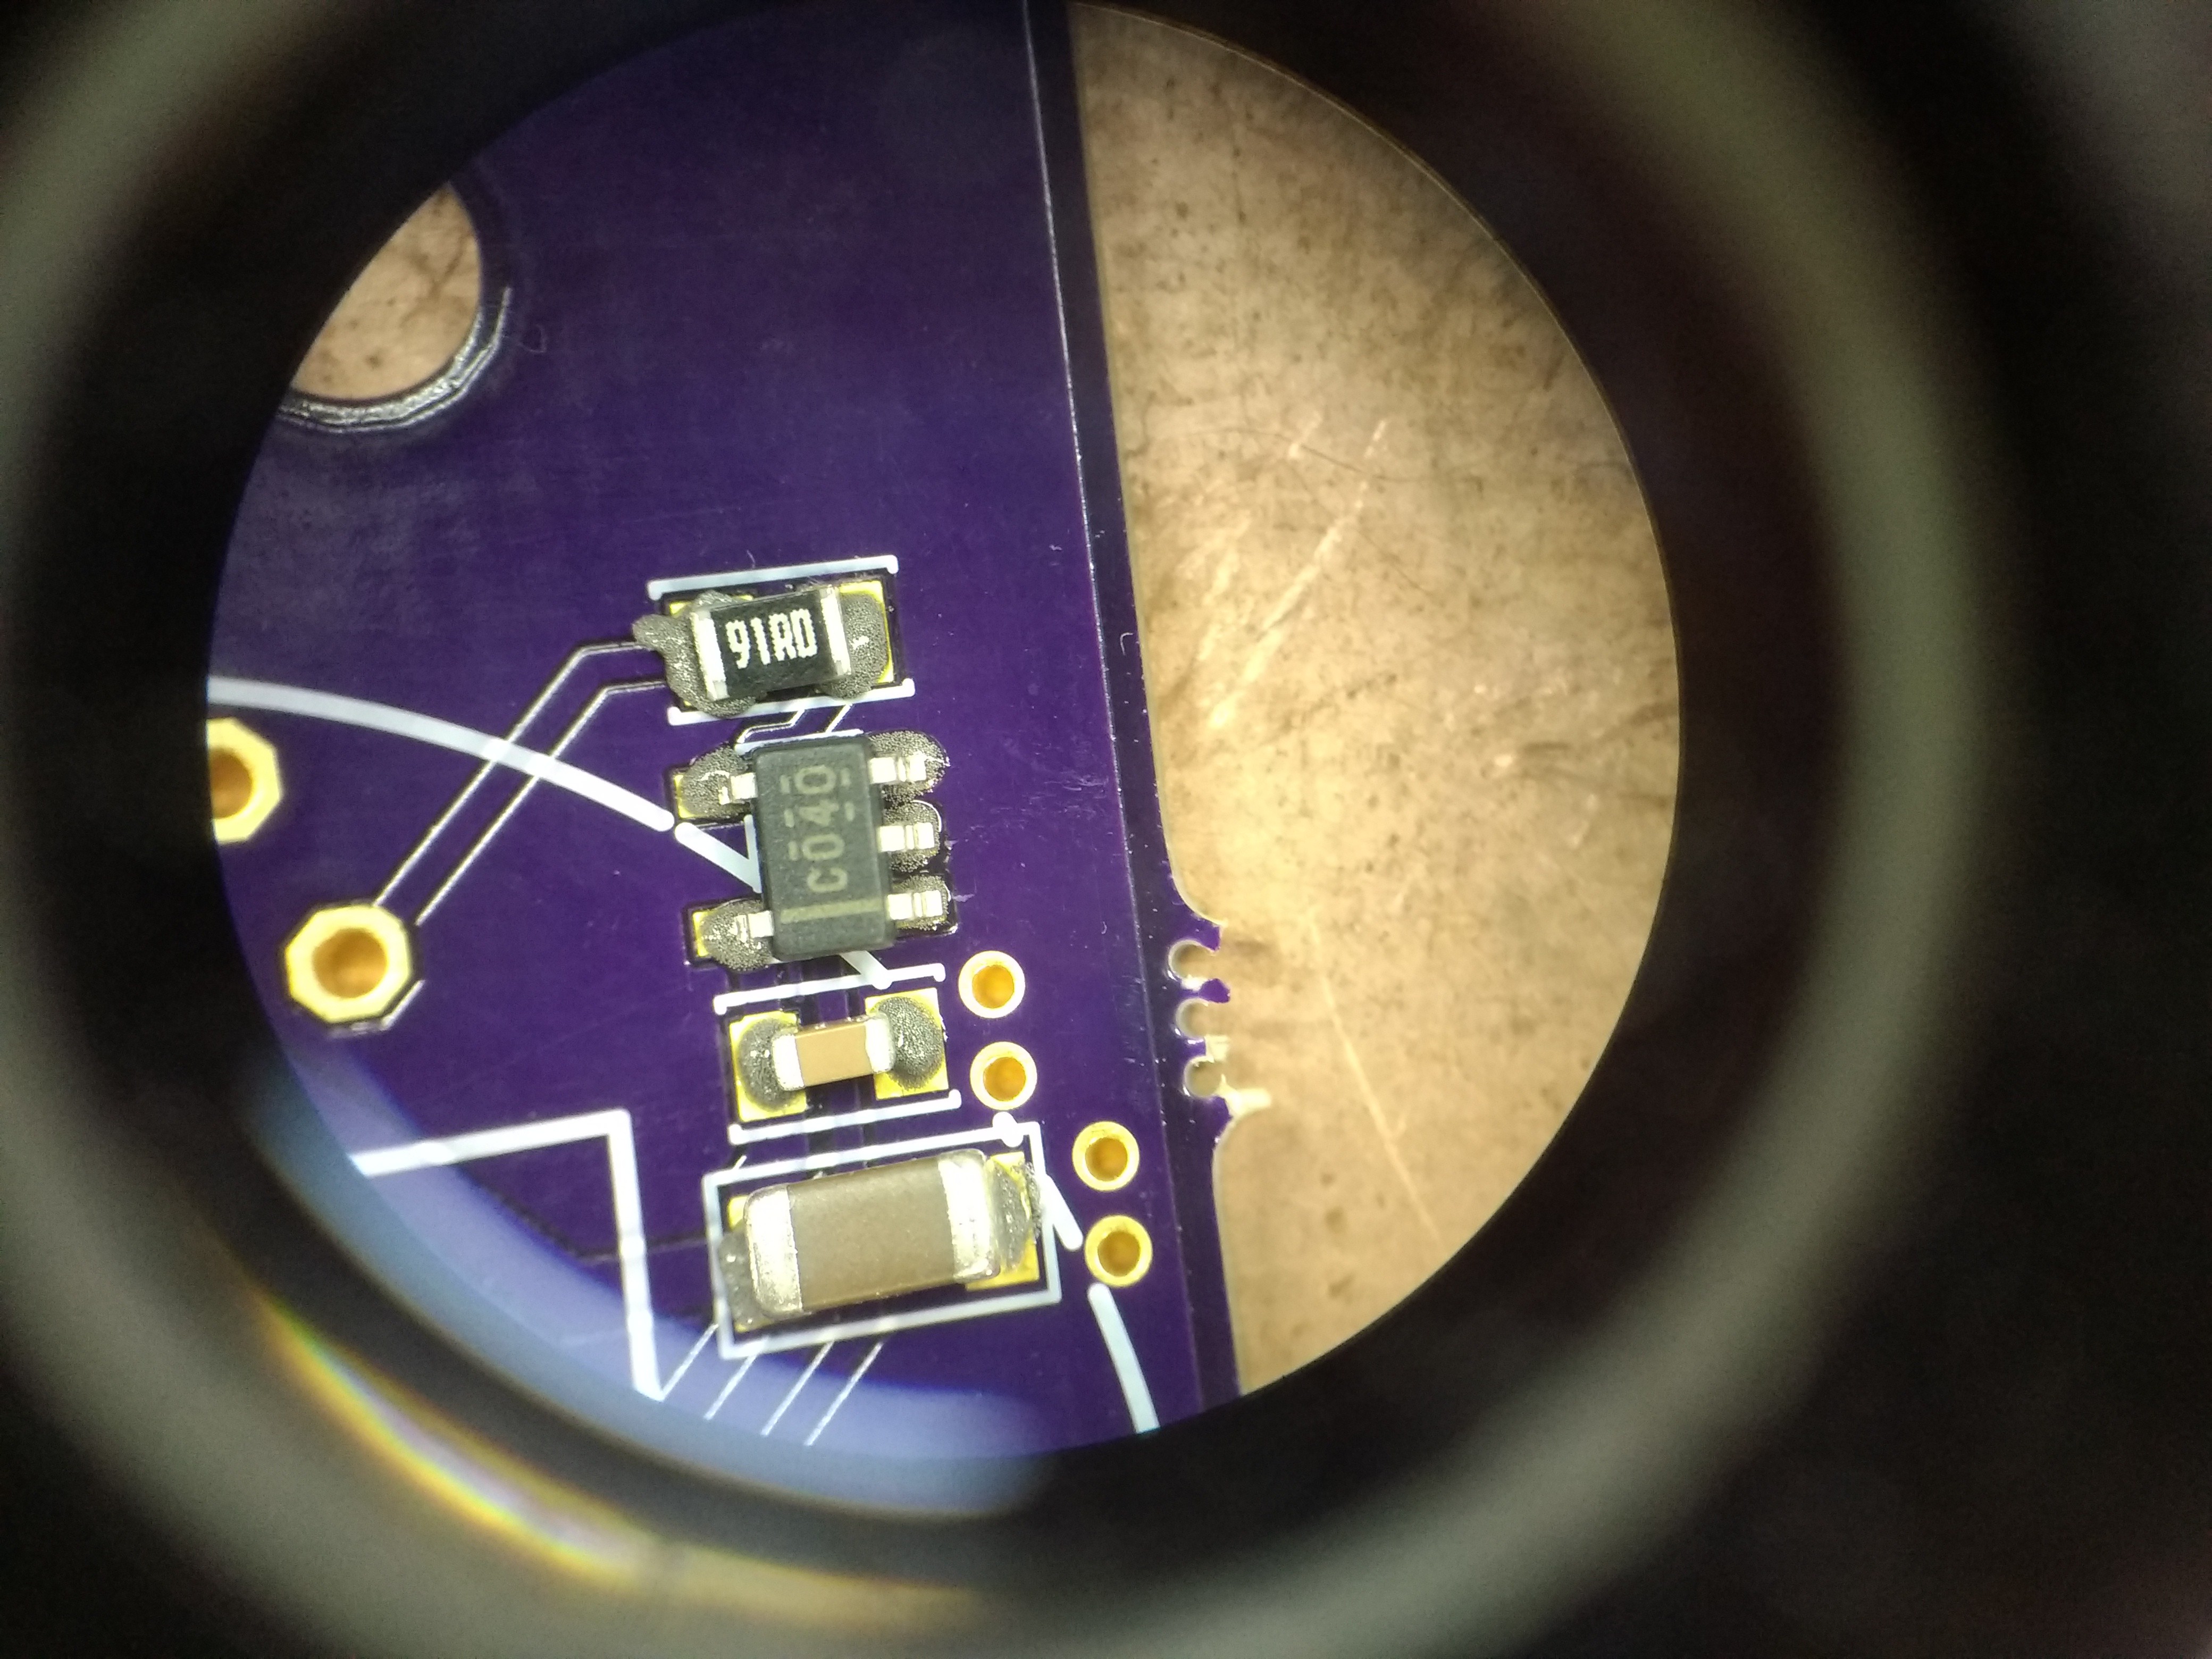
Once the PCB is done, I take it off the hotplate with a spatula and let it cool relatively slowly. Sometimes I rest it on a block of wood. After it has cooled, I check all the joints with a low-power inspection microscope. A magnifying glass or younger eyes would probably work just as well.
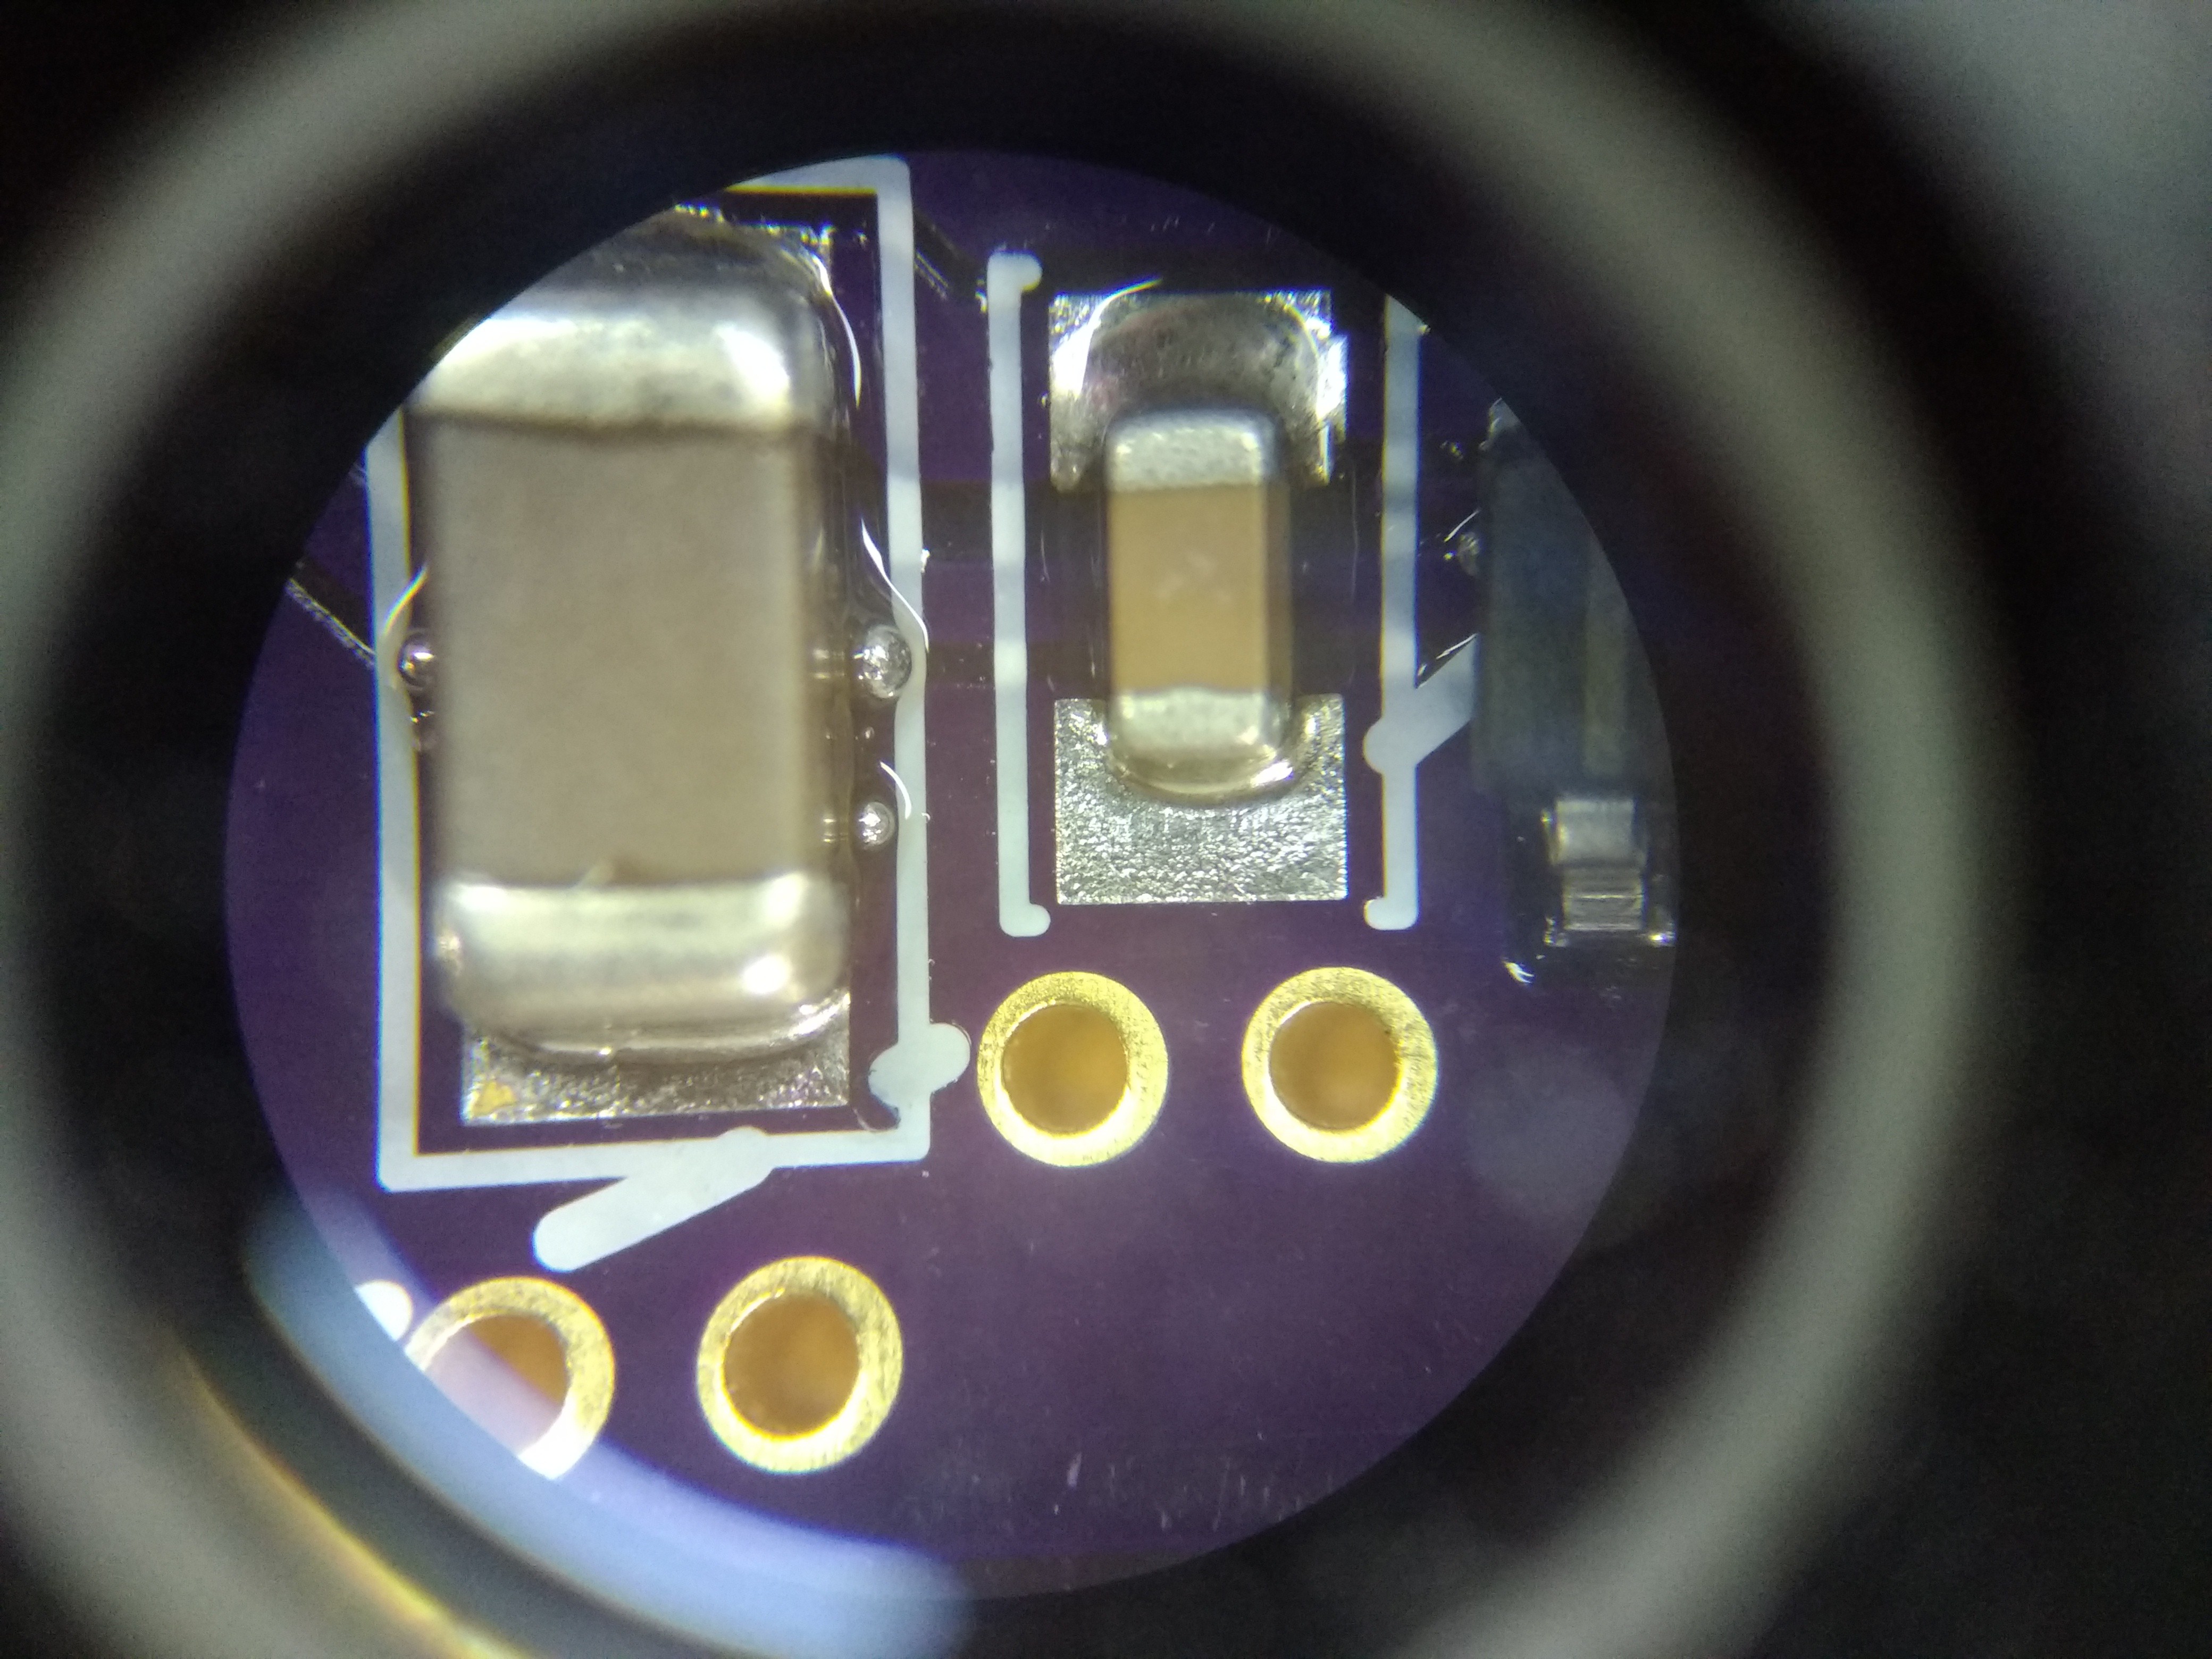
Here you can see what happens when you apply too much paste - you get solder balls. Luckily, there's an easy cure for this condition. The balls are just held onto the PCB with flux. You could wash the PCB in isopropyl alcohol to remove the flux, but I just pick off any solder balls with a dental pick. They come right off, especially if the board is still a little warm so the flux is soft.
That's how I reflow prototype PCBs. In this case, I still have to solder some through-hole connectors with an iron.
Discussions
Become a Hackaday.io Member
Create an account to leave a comment. Already have an account? Log In.
This is really similar to my current process using QuickChip low temp tin bismuth paste. I like to keep the hot air close at hand for those heat sinking parts like the USB connector. Right when all my other parts go, I hit the connector with hot air.
Are you sure? yes | no
I have some bismuth paste on the way - save the planet and all.
Augmenting with hot air is a great idea! I'm going to try that next time.
I accidentally flagged your comments as inappropriate just now, because, you know, I'm an idiot.
Are you sure? yes | no
using tweezers for small builds usually works ok, but for more exact placement, you really need a vacuum pickup! have a look at the build i did for a vacuum pickup tool: https://hackaday.io/project/19189-diy-vacuum-pickup-tool
Are you sure? yes | no
I built something similar with a reversed aquarium pump and a modified cheap vacuum pickup pencil a while back, but I could never get it to work as well as tweezers. Maybe not enough airflow.
Are you sure? yes | no
yea i tried a bunch of the inexpensive hacks like the aquarium pumps. you really need something with adjustable vacuum pressure and a solid method of release on the parts.
Are you sure? yes | no
Thanks, this is very useful, even though I prefer hot air to hot plate, a lot of the tips still work.
Are you sure? yes | no
I just bought a hot air station about a month ago. I haven't tried assembling with it, but for de-soldering, it's absolutely amazing. I used to have to cut up parts to get them off PCBS - now, they lift off as easily as they go on.
Are you sure? yes | no
Yeah, I really hesitated buying a more expensive hot air station (LF-852D) but never looked back. It's a massive help soldering and desoldering parts.
Tried a 5mm metal plate heated on my ceramic glass cooktop recently and have to say at least for the side with the most components it's a easy and quick method!
Another little "hack" is to dilute the solderpaste if it got thicker over time. Either with isopropyl alcohol or gel flux. No nee to throw it out!
Are you sure? yes | no
Thanks for posting a lot of pictures of the process; even minor bits like cleaning the excess paste off the syringe tip (heated up and expanded, that makes sense!) is helpful. I've never tried transferring paste into a _smaller_ syringe -- that is an excellent idea! My 10mL syringe has lasted a long time but its 'stock' Luer needle is huge; the smaller tips in particular seem quite handy. And I've never used a hotplate (always a toaster oven) -- seems like a good method and probably saves a bit of energy, too.
Are you sure? yes | no