Construction
The adapter attach itself to the spindle and a ¼-20 bolt is tightened into the chuck. It is installed or removed in a few seconds and I store it with the Dremel attached:
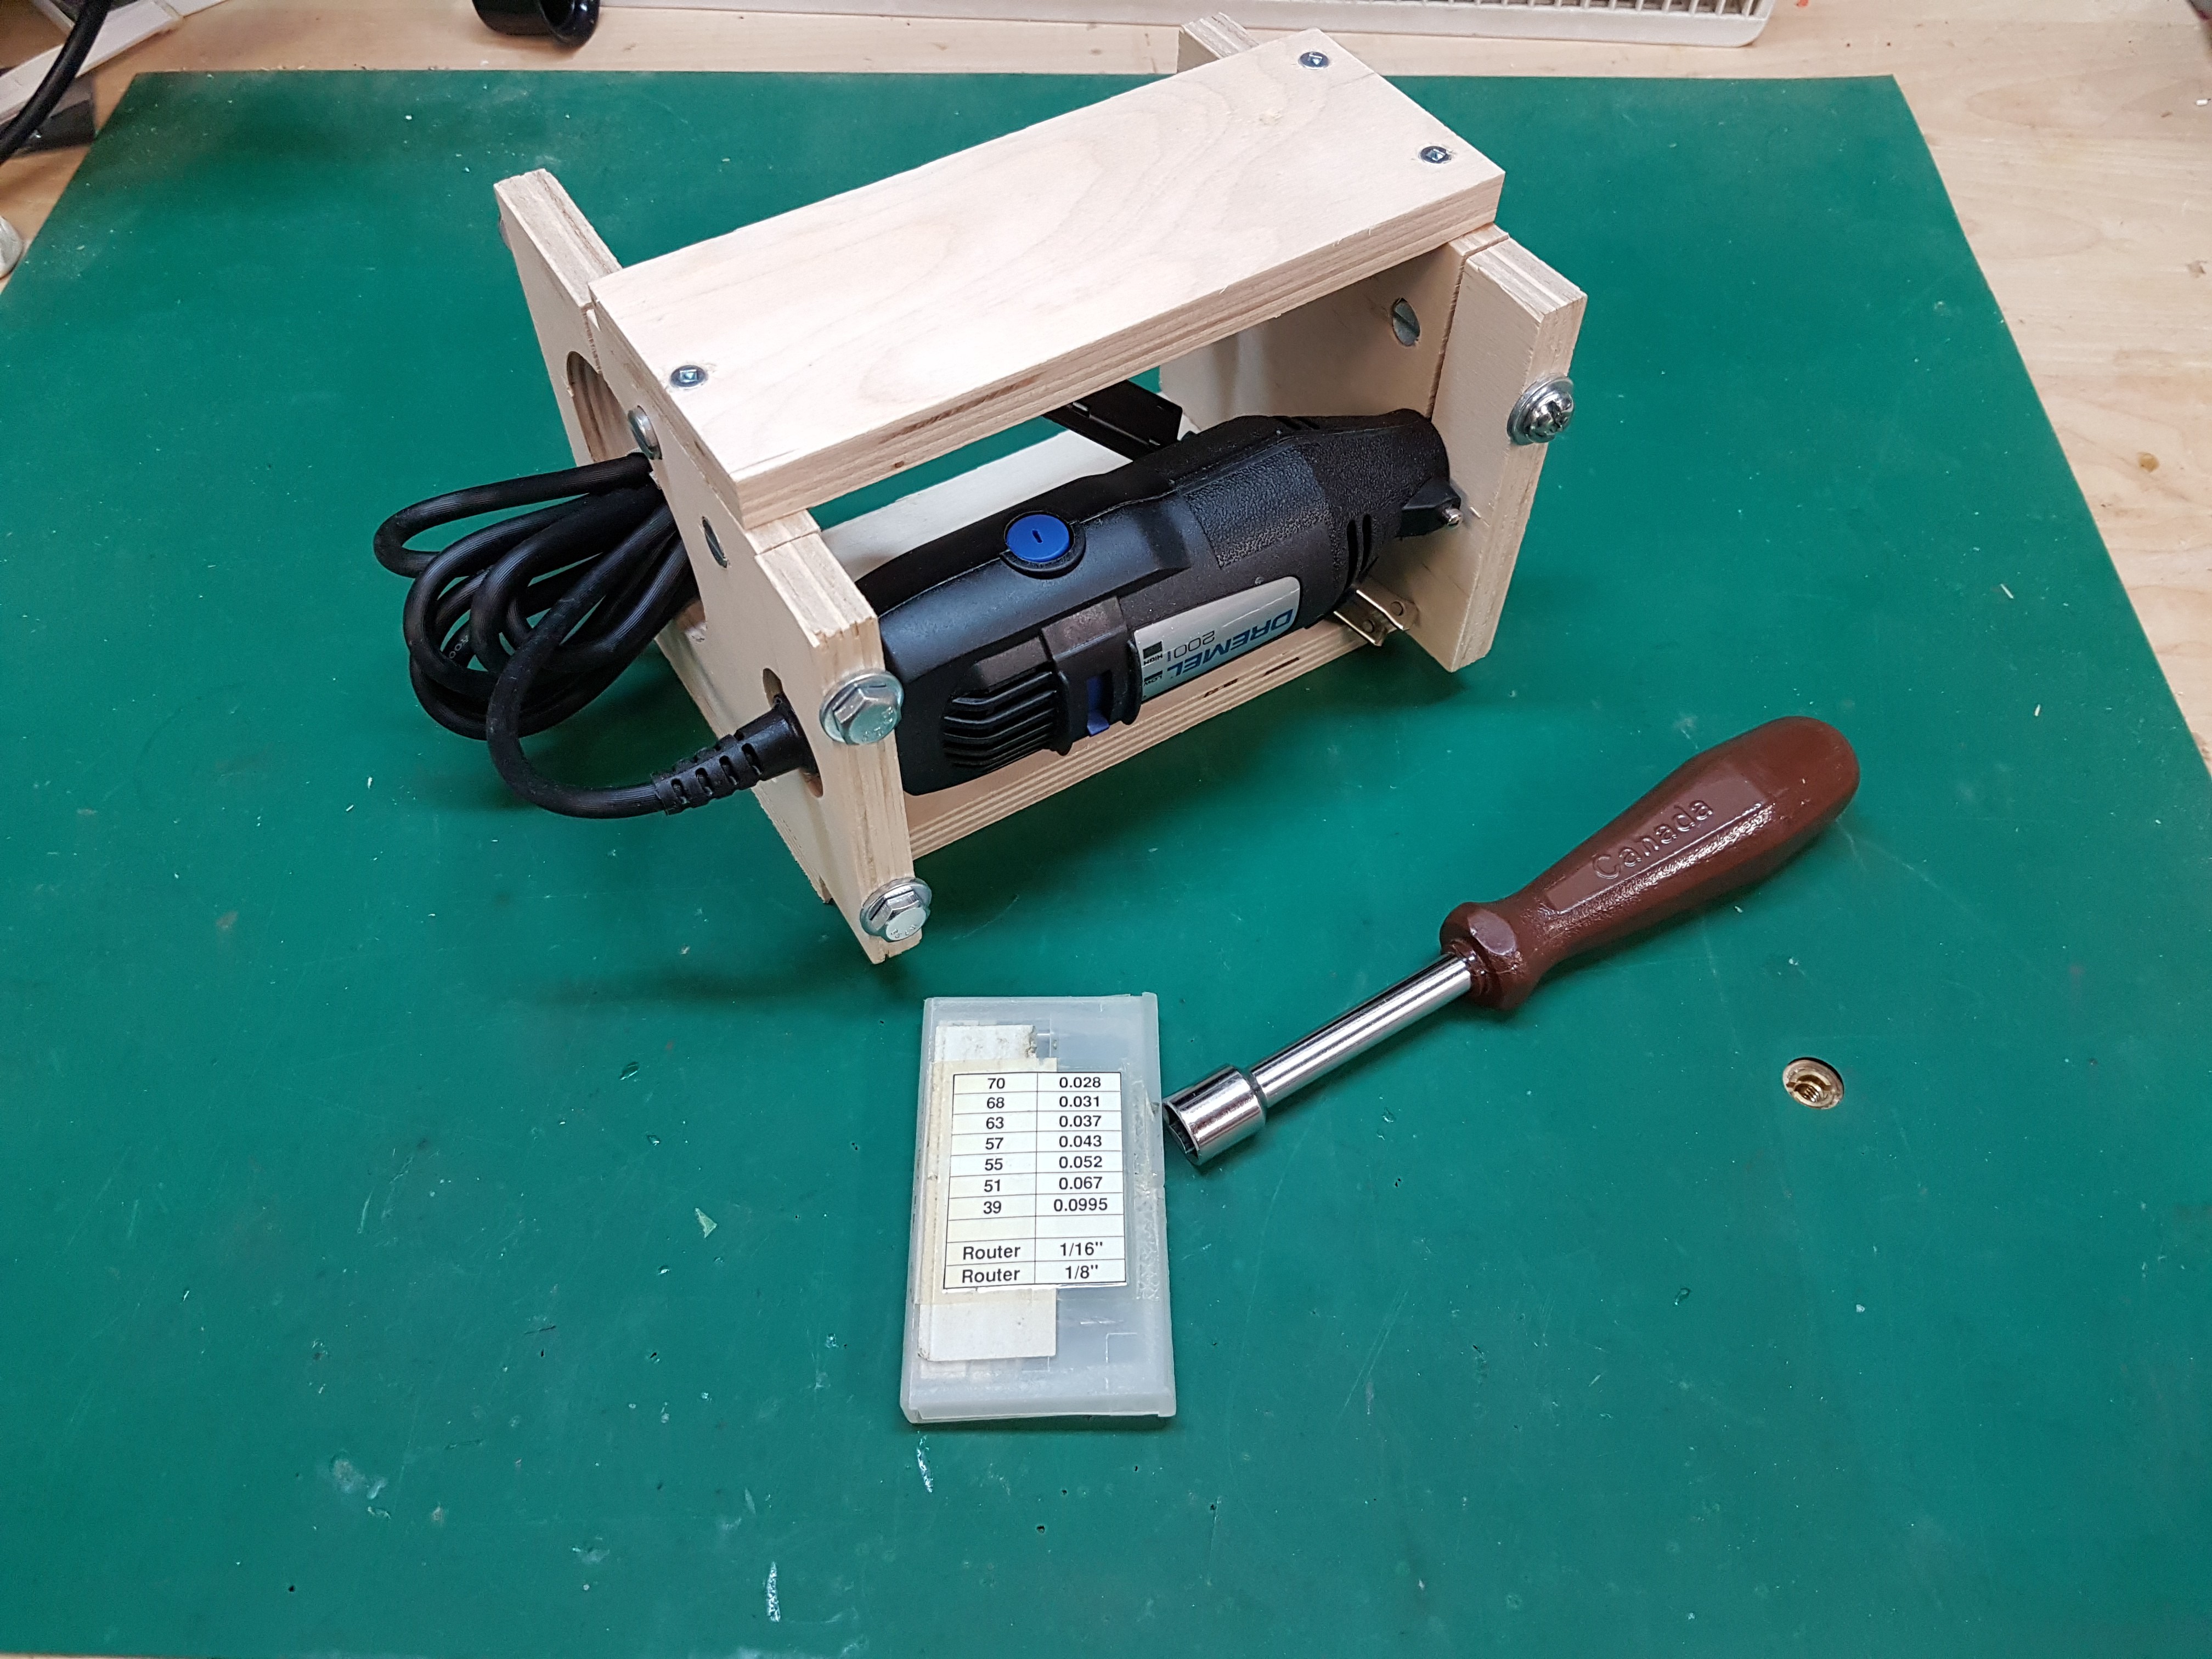
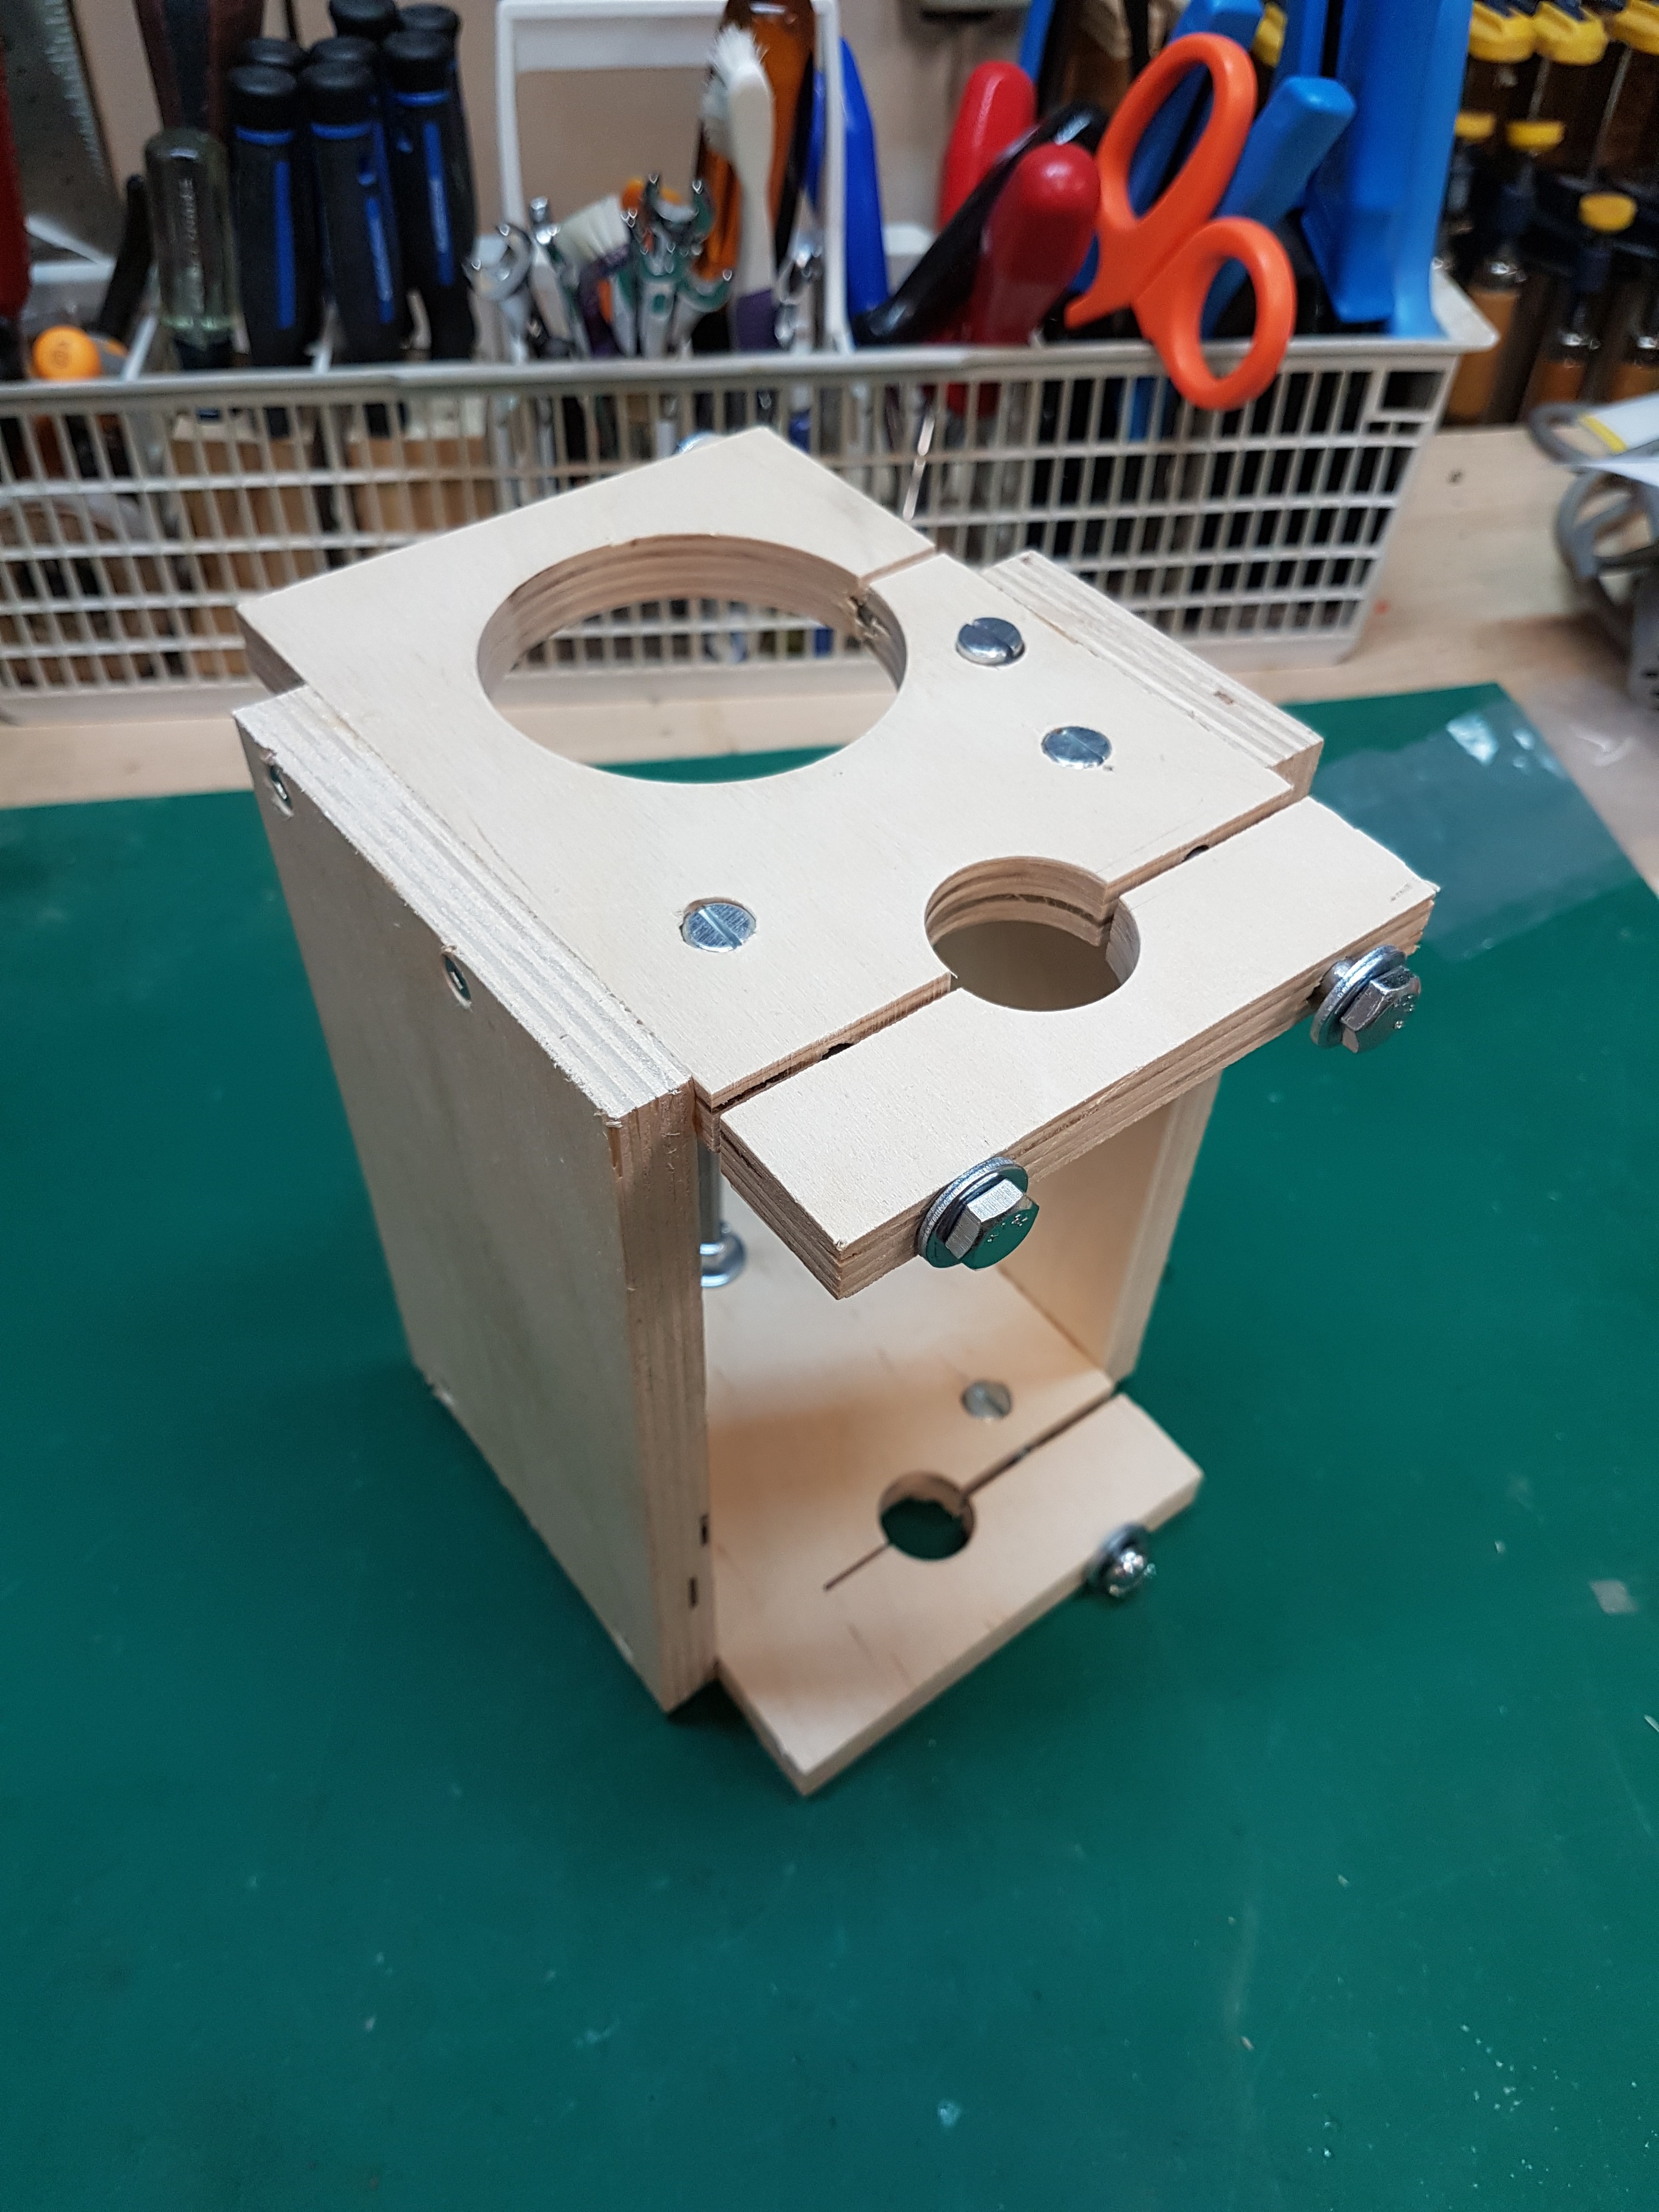
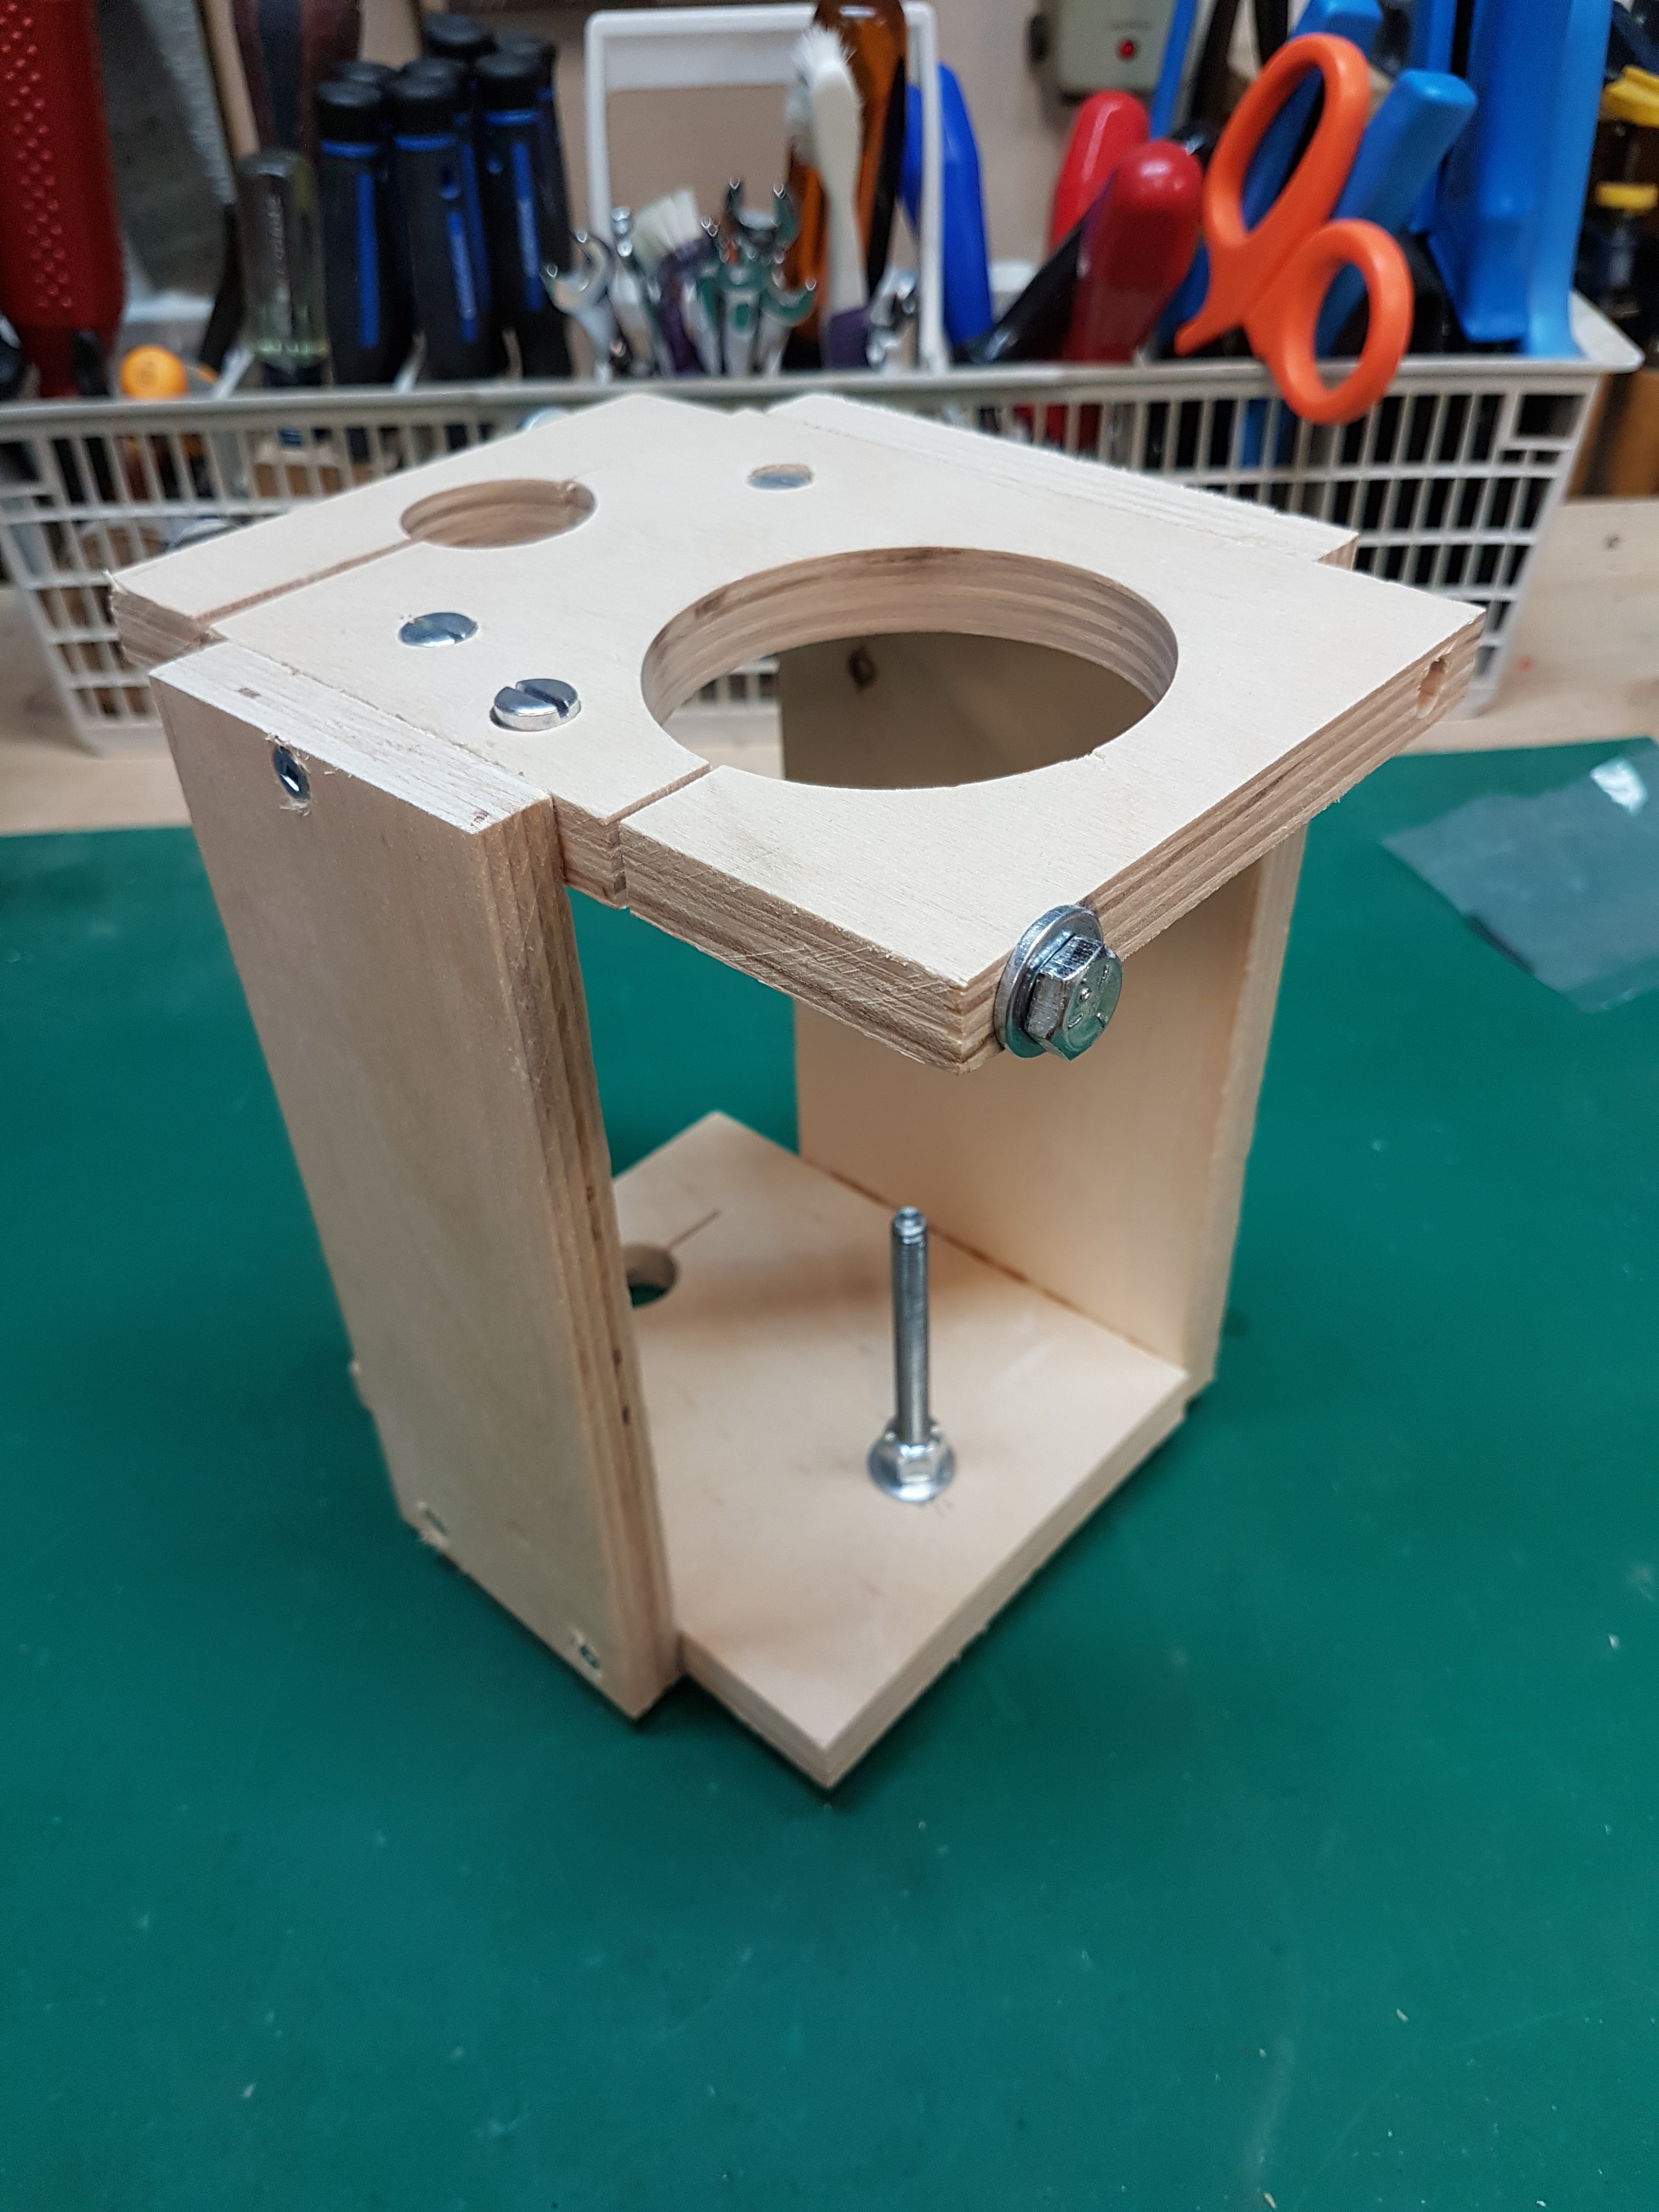
The adapter need to be made with precision but it is easy to build. It's all about working with the same reference point. Here is the mechanical drawing of the top and bottom plates (dimensions are shown for demonstration purposes):
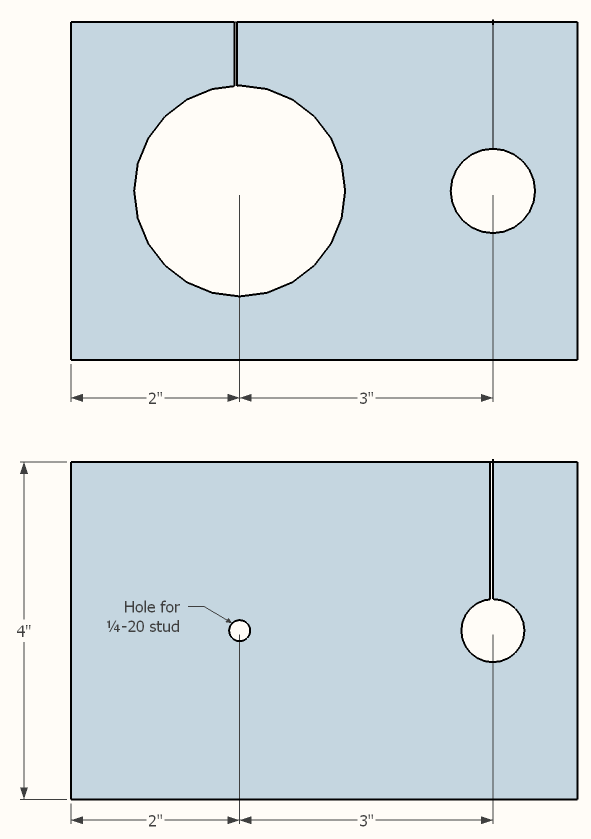
They are made from the same 4" wide piece of birch plywood and cut to the desired length. After the mounting holes are drilled some saw kerf are made to tighten to the spindle and Dremel. The tightening is made with some ¼-20 bolts and quick-connect cross dowels. The final glue up is made on the drill press for a perfect alignment. Screw holes are pre-drill to prevent any splitting:
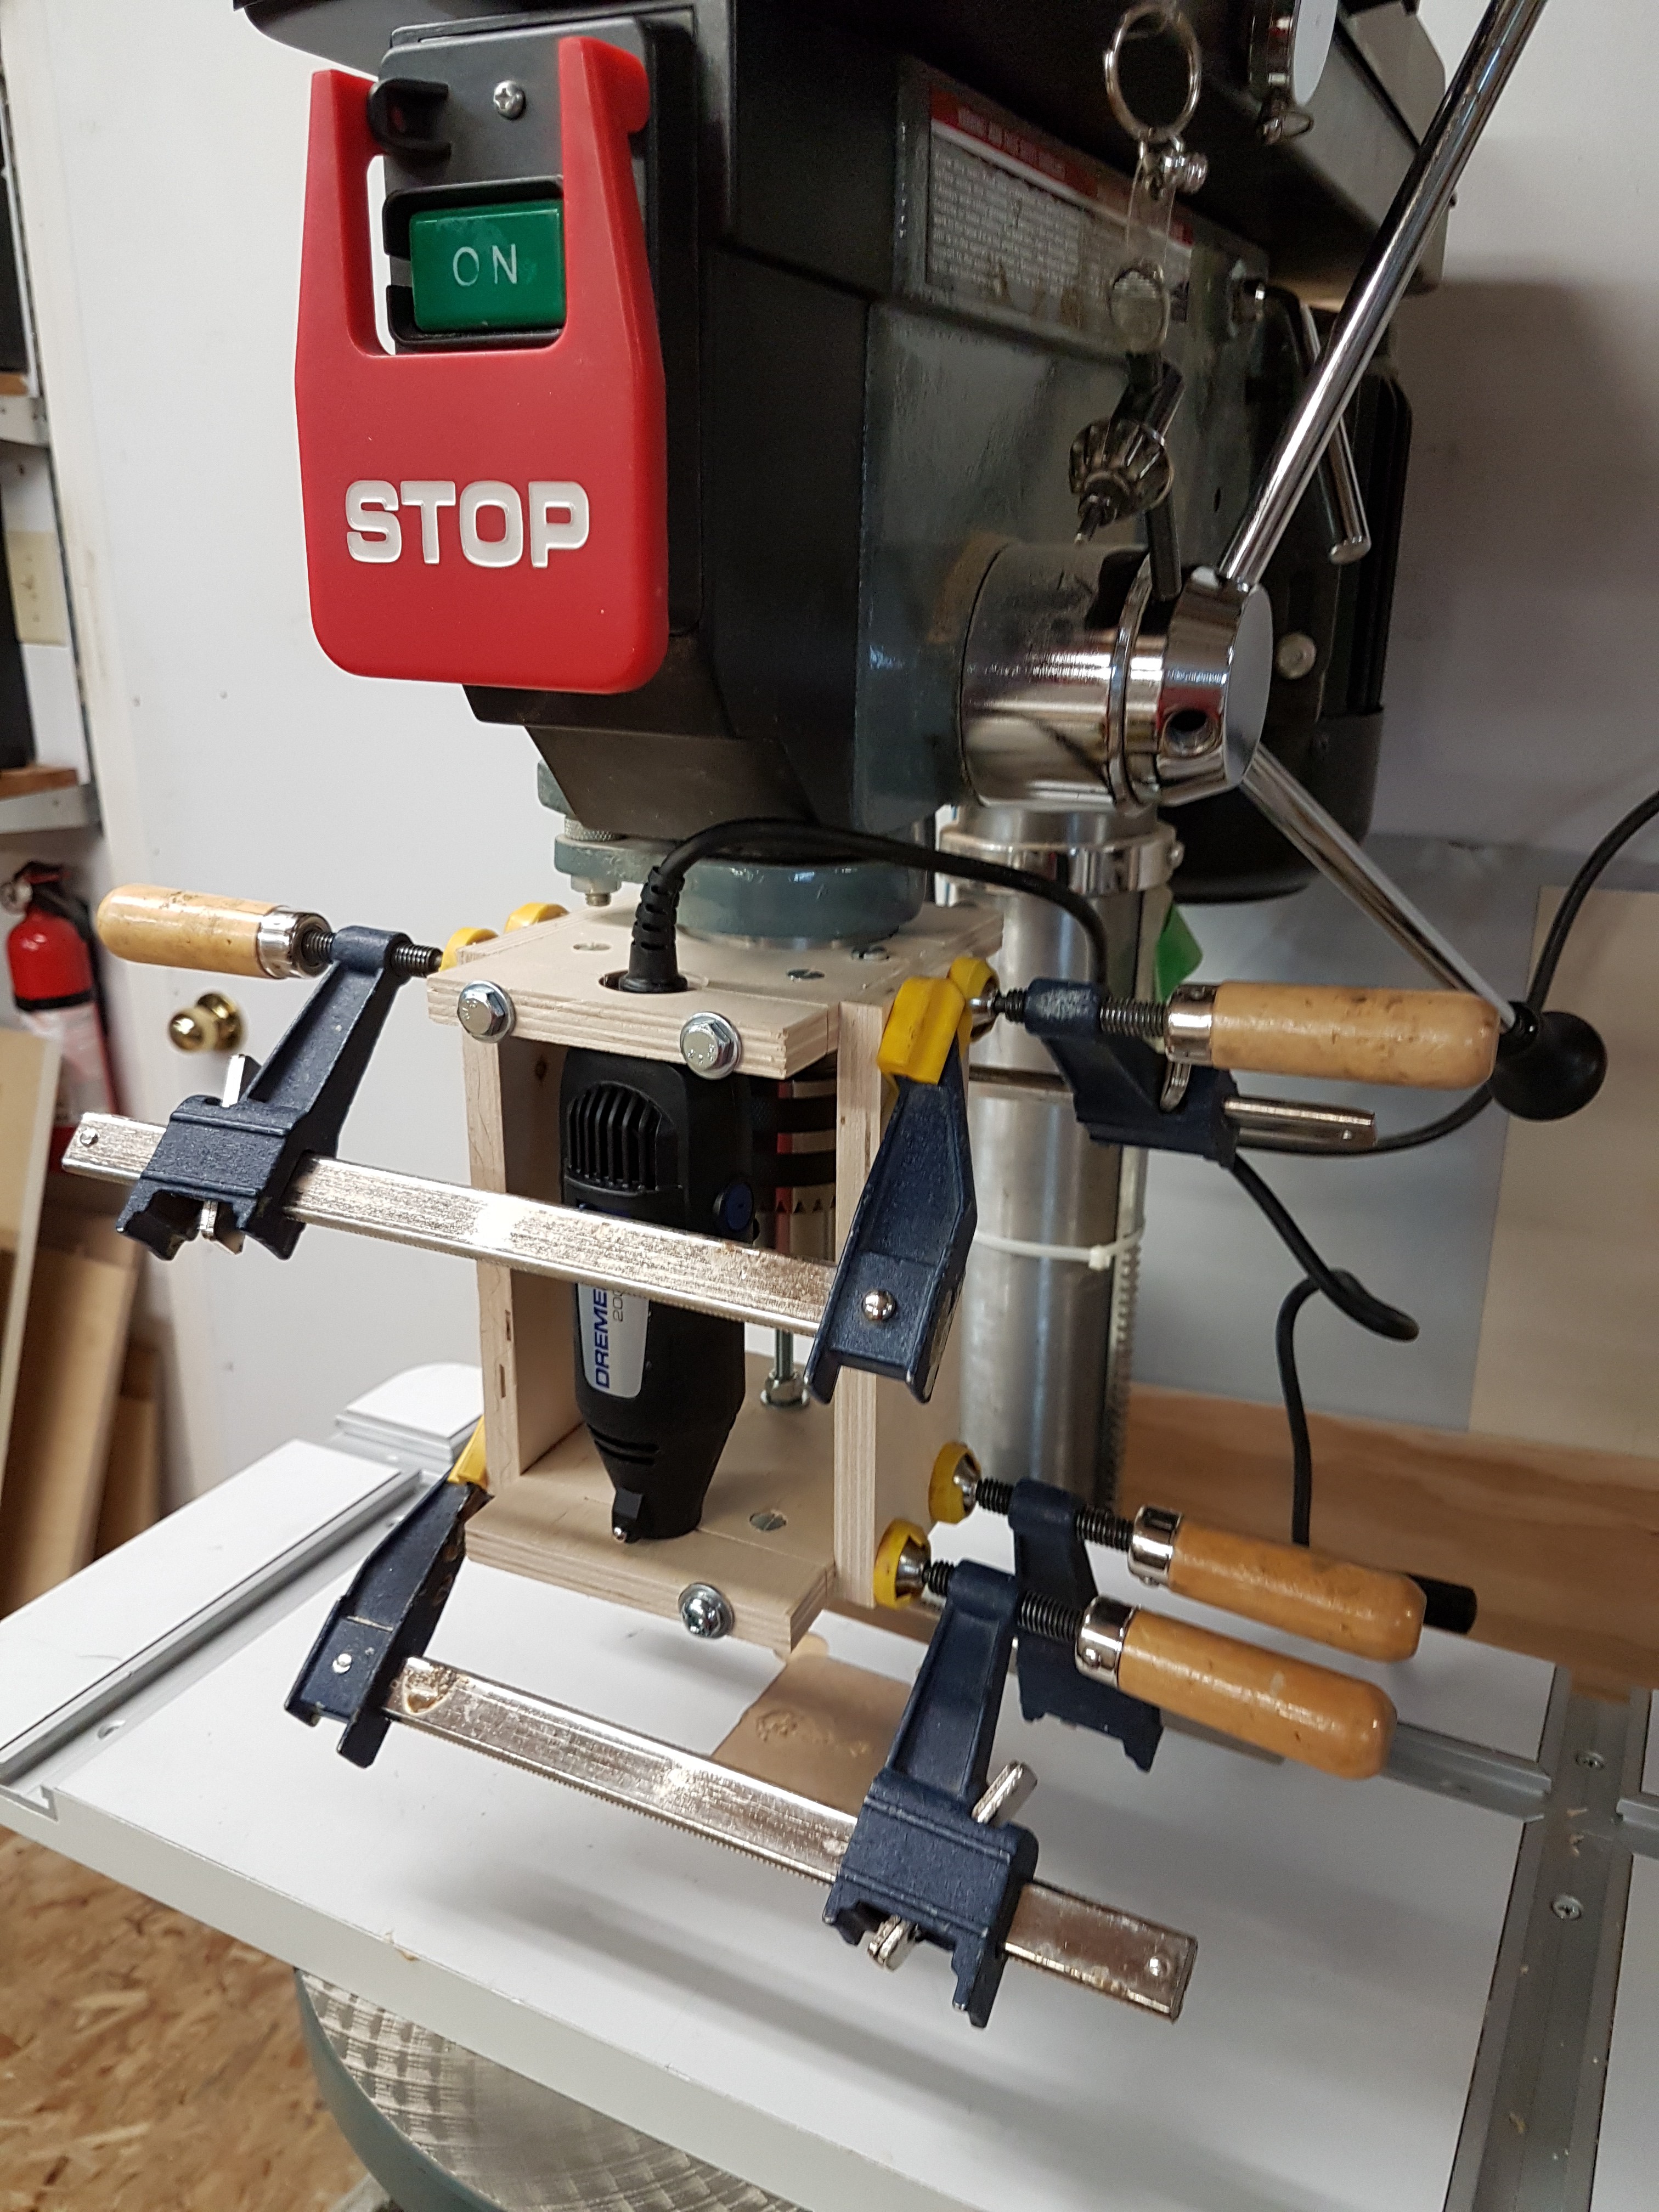
Here a few different views:
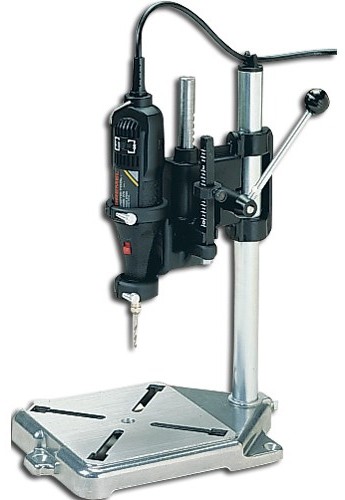
For reference, the crappy stand:

 Steve Dearden
 Petri Varsa