 Dillon Nichols
This project originated from a #Makevember tweet where I mentioned that I couldn't get my 555 circuit to flash an LED with the power from a coin cell battery. Chip replied with the tip about the LM3909 and I started doing some research on that part and found an interesting article where someone explained how the chip works. (Also refer to this simulation and this page for more details on the LM3909 and this page for some history on the chip). I set the project aside, but only two weeks later, Hackaday announced the Coin Cell Challenge and I knew I had to use this project for my entry. To my knowledge, nobody has ever recreated this IC on a PCB before.
I started by drawing the schematic based on Rob's design in KiCad and finding suitable parts. I wanted to use parts from Seeed's Open Part Library to keep costs down and not have sourcing issues. Most parts are on the OPL, but the uncommon resistor values, the headers, and the large capacitor are not. I chose to use surface mount 2.54mm headers to keep costs down, but Flip-Pins would be nice to use to mimic the IC look. Using default values, the external capacitor needs to be 150uF to have a 1Hz flash rate. This is a lot of capacitance for a 1206 surface mount part, so it adds about $1 to the BOM. An external capacitor in another package size would greatly reduce the overall BOM cost.
I also designed the circuit so it can be used in either the two-transistor current mirror configuration or with one-transistor and a resistor. The one-transistor version saves a few pennies but only works at 1.5V. This is fine for my design since I chose to use this project only when powered by a coin cell battery, but this does break full compatibility with the data sheet voltage range of 1.5 - 5V.
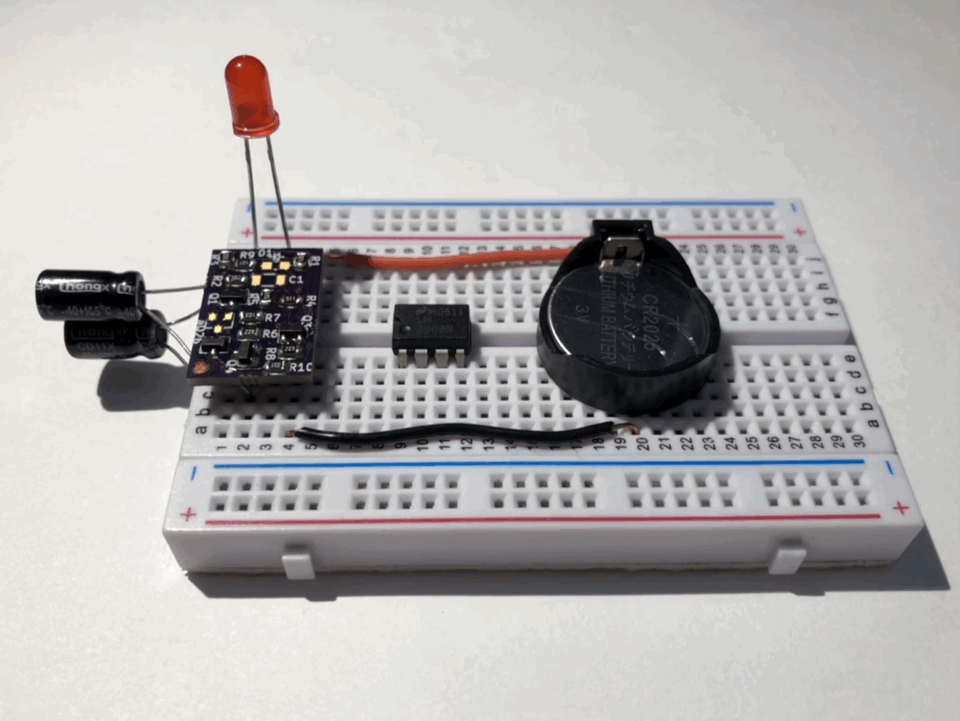
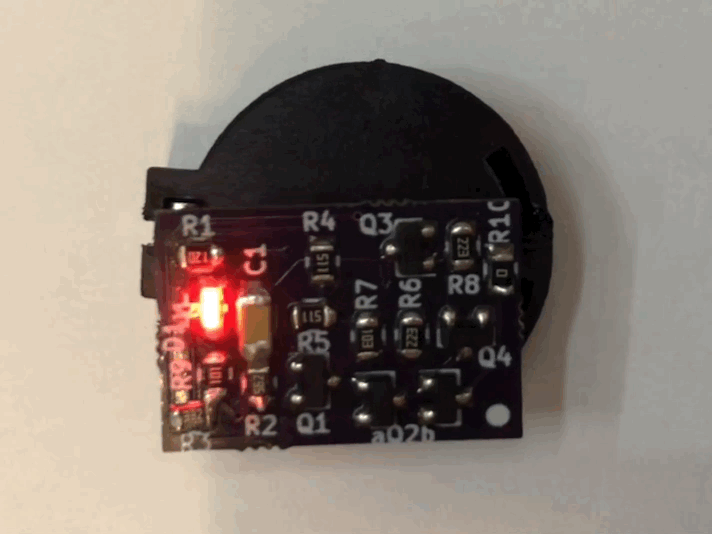
Originally, the circuit could work with only 4 components: the LM3909 IC, a battery, a capacitor, and an LED. It can be assembled to match the original IC and be a drop-in replacement or it could be assembled to be a standalone circuit. I already mentioned that I added a large capacitor to the PCB, and I also added a 0805-sized pad for the LED. With my PCB, everything is on board except for the power source. This configuration is great for making self-contained flashers and I could make a version that is the size of a coin cell battery holder and have a very compact, inexpensive LED flasher which could be great for something like LED throwies.
I laid out the circuit with all electronic components on one side and the pin headers on the other side. The headers are spaced so they match up exactly with the original LM3909's 8 pin DIP. The PCB size is 21.1 x 14.1 mm, which is about three times as large as an 8 pin DIP package. I chose to use mostly 0805 and SOT-23 components to make it easy to assemble, but I'm curious if I can make it match the original 8 pin DIP size if I use smaller packages like 0402 and SOT-883.
I ordered the PCBs from Oshpark and assembled two of them for testing. The first was made in the two-transistor configuration and included the LED and capacitor on board. I soldered this version to a coin cell holder and used a CR2025 battery, This circuit flashed for about a week. The second board was made in the one-transistor configuration and the LED and capacitors were external. This version lasted for about 5 days. The capacitor probably had a higher ESR and the LED may have drawn more current, or it could've been the transistor mirror was less effective. Unfortunately, these tests were not very scientific and I know the batteries were at maximum capacity before powering this circuit. It's safe to say these will last for a couple days, and can probably be adjusted to last even longer.
As a final note, this circuit is a great, modern replacement for the LM3909. You know exactly what you're getting because it's open source (you're not buying a perhaps counterfeit IC from the secondary market) so you can change the value of any component (even internal R or C values) to fit your specifications, and you can use the module or the whole circuit in your own design. The only downside is that it strays from the original's data sheet so some specifications may not match.
Are you interested in buying this project? I plan to sell a version of this circuit on my Tindie store. You can help me shape the future of this project by answering a few questions about the project on this Google form: https://goo.gl/forms/pYQyXDbamU2PCpFf2 Thanks! Feel free to drop a comment with any questions or suggestions.