 Djiriod
I first planned out the table in sketch-it. Mostly to get the right measurements.
Then I went to sawing each and every piece and sanding it down a bit, to smoothe the surface out a bit.
All pieces are fixated with screws and woodglue and the two top pieces have hinges for easy access.
For the window the wood has a cutout, so the glass lays flush on top.
Then the back piece of an old PC case was cut to size and screwed in the seperating piece (which is there to hide all the cables from the PSU) .
It standing on little wood spacings, to allow the cables to run under the motherboard. It is not screwed down or glued in any way there, it's just the weight of the component. But like this it is easier to navigate the cables along the spacings.
The drives are all below the motherboard in the drawer. There is a hole for the cables , so they are all stored out of sight, but can be accessed if needed.
As it was my first time bending hardtubes (PETG) I screwed up a few times, but these are mostly hidden by the wood. All bendings are free formed with a silikon inlay. I found it easier that way, after I got the hang of it.
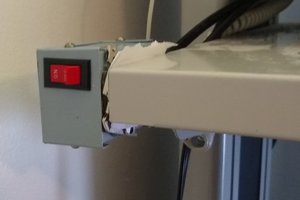
The frontpanel is made for a normal case, but I cut the back, so it won't be visible. The buttons are all purpose buttons, which have been cabled to the MB pins. Left one is the power button, with power LED, right one the reset button with HDD LED.

 Quinn
Quinn
 RW
RW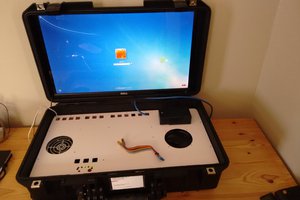
 David Brown
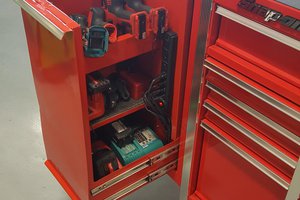
 BreeStephany
Great